Requirements Before Starting
To use the E-Invoice feature, you need to:
- ✅ Have a GTG CRM account
- ✅ Log in to the system
- ✅ (Optional) An e-invoice provider account (S-Invoice or MISA)
Accessing the E-Invoice Feature
Step 1: Log in to GTG CRM
Log in to the GTG CRM system with your account.
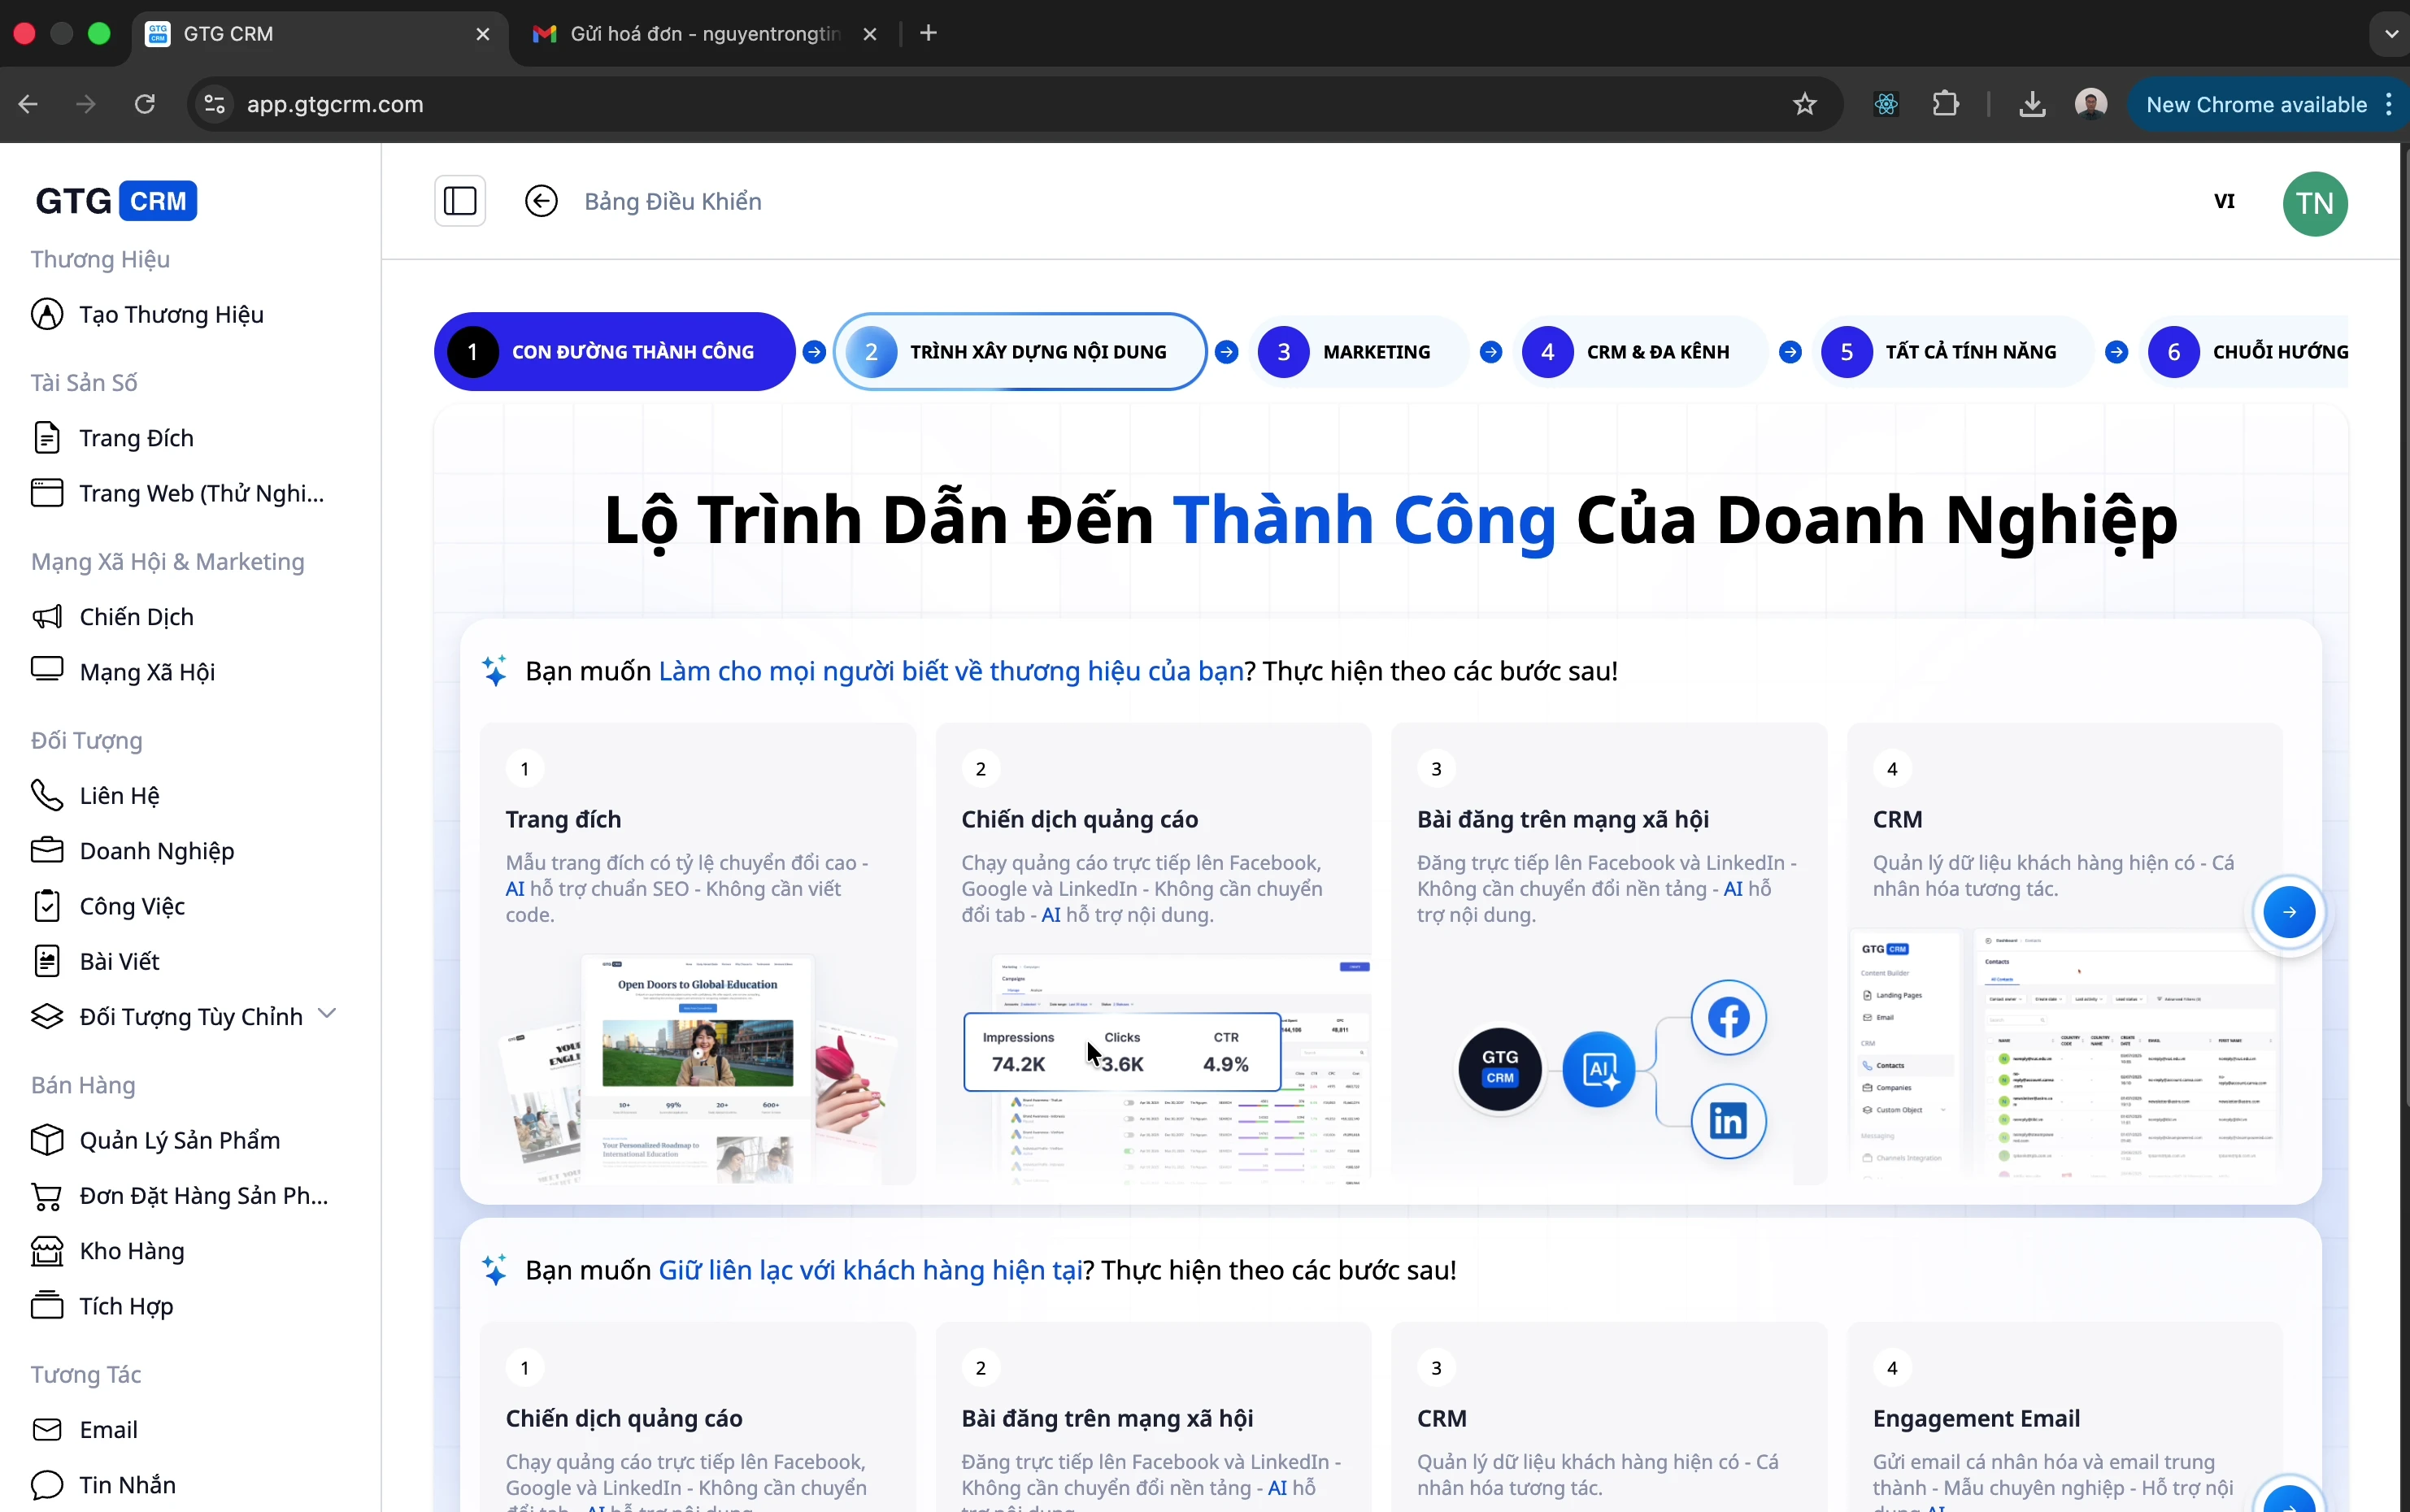
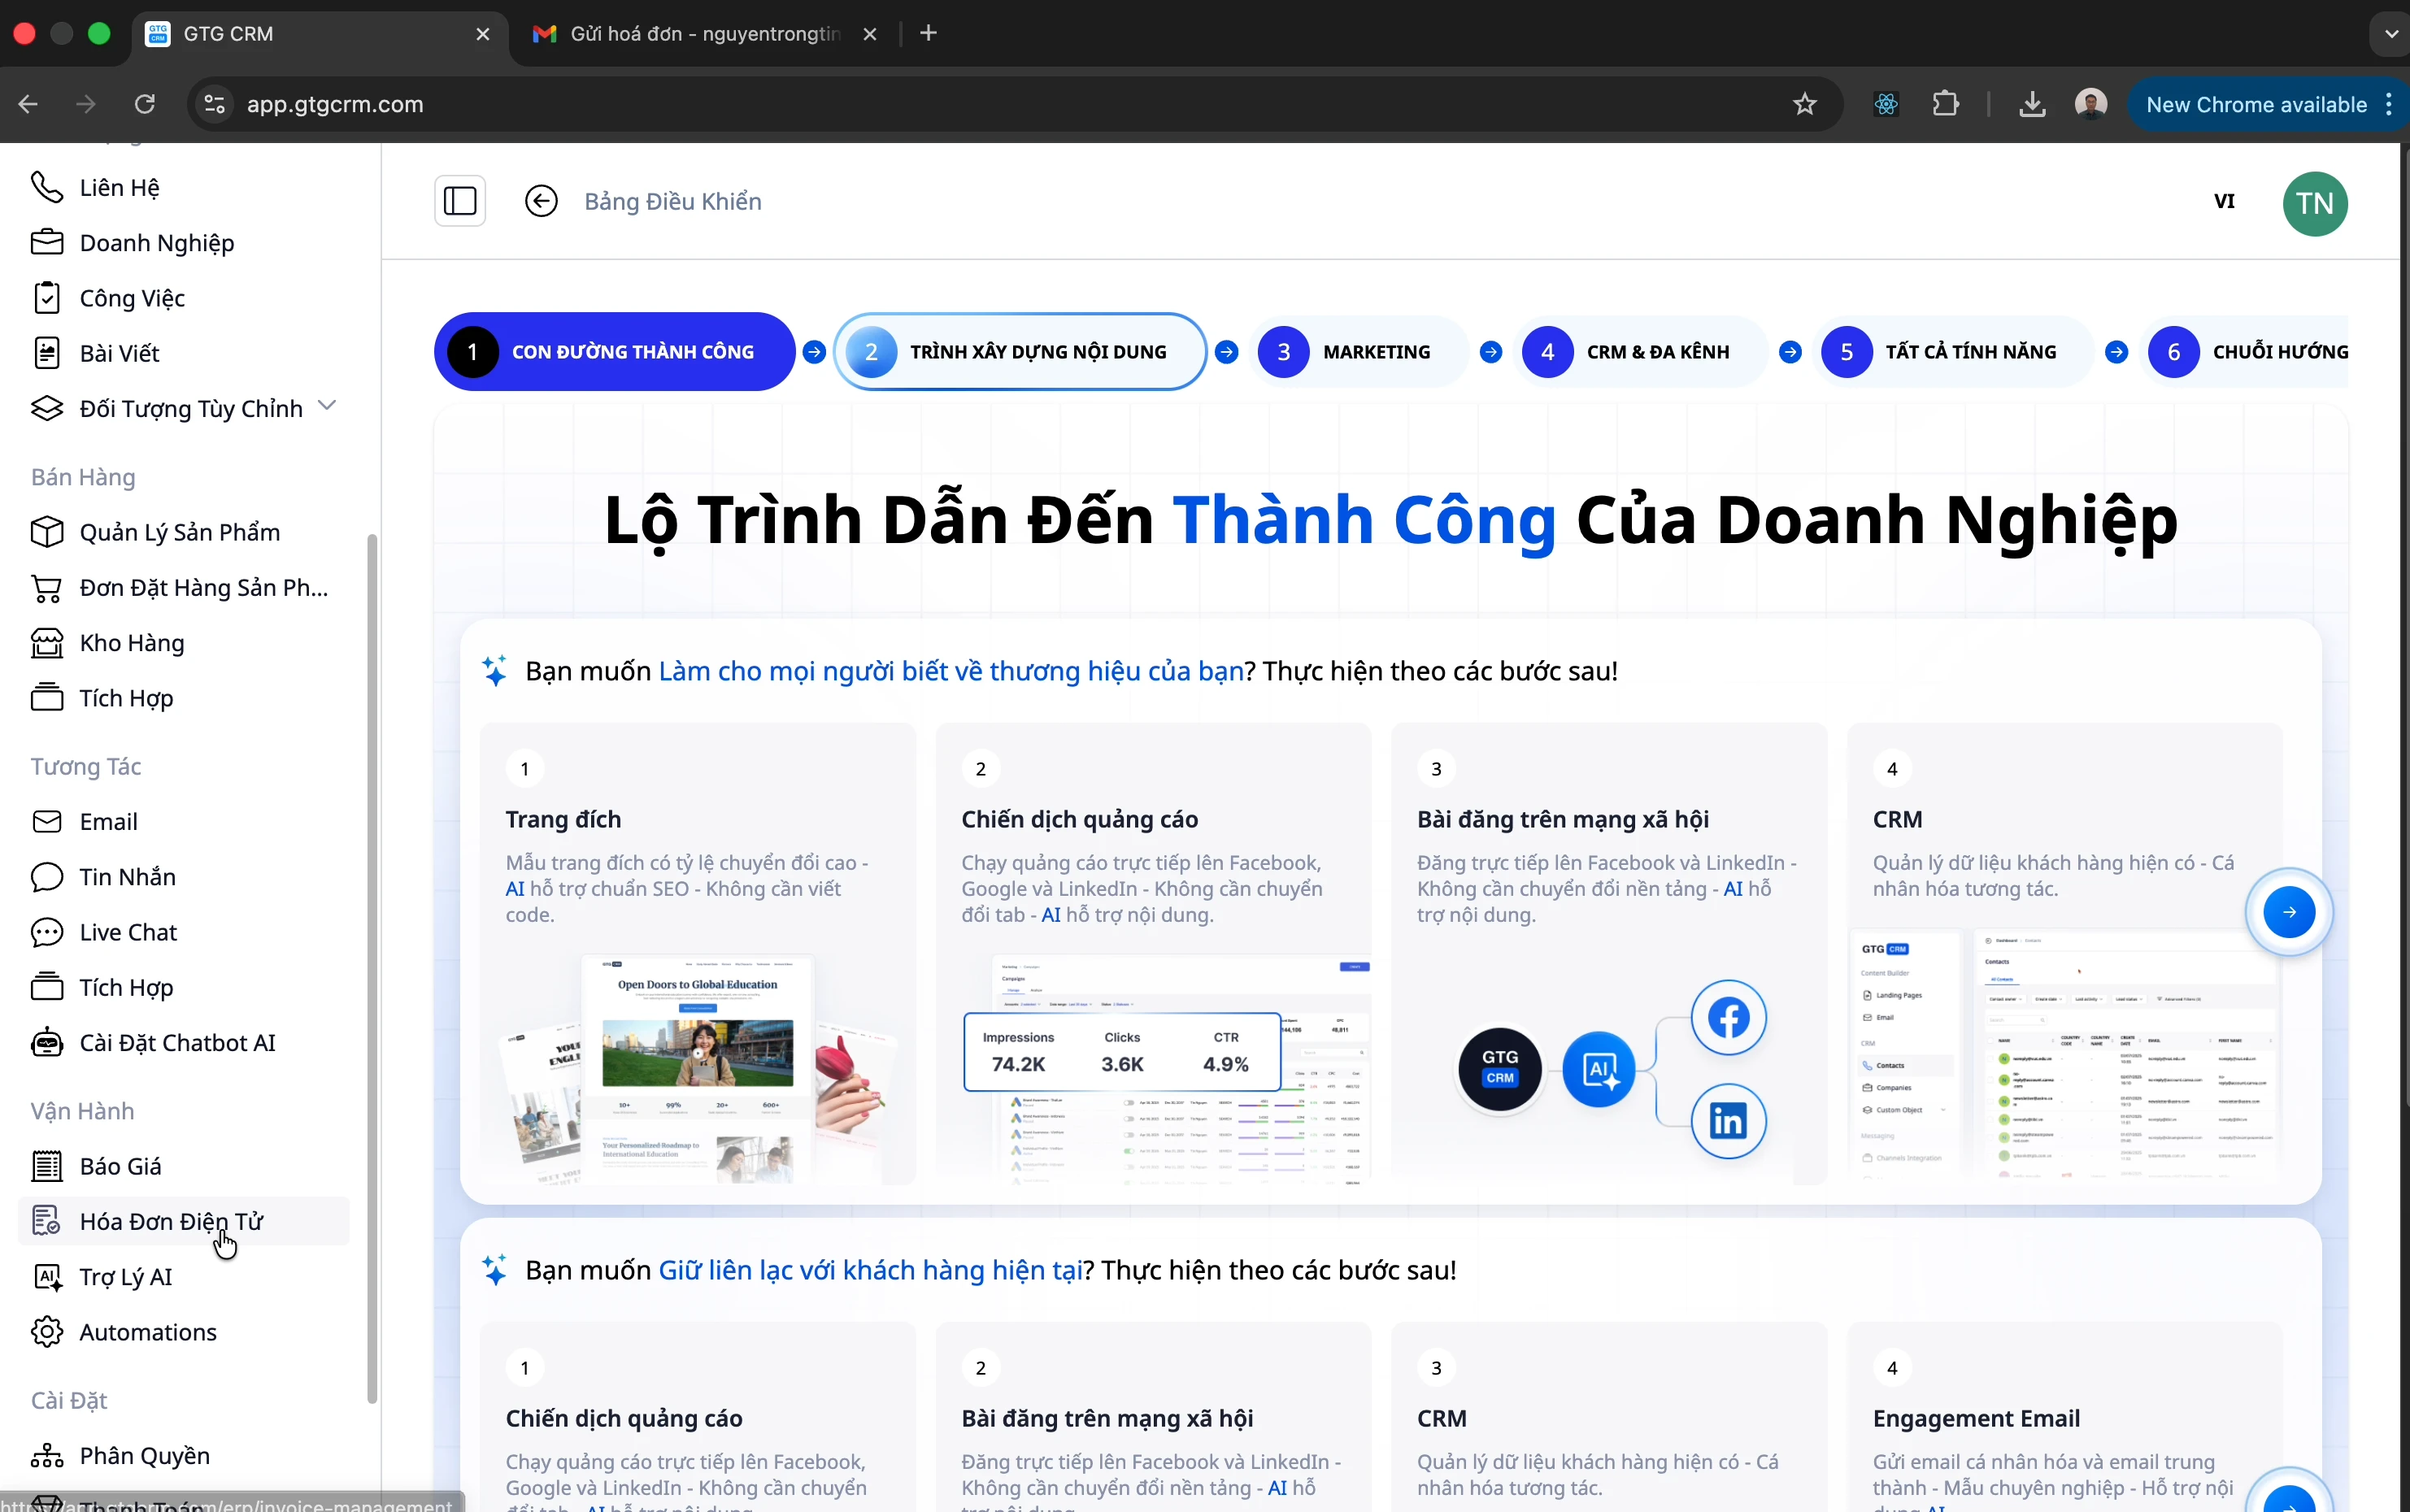
Step 2: Open the E-Invoice Menu
- Look at the left-hand menu bar
- Click on "E-Invoice"
Step 3: Select Invoice Type
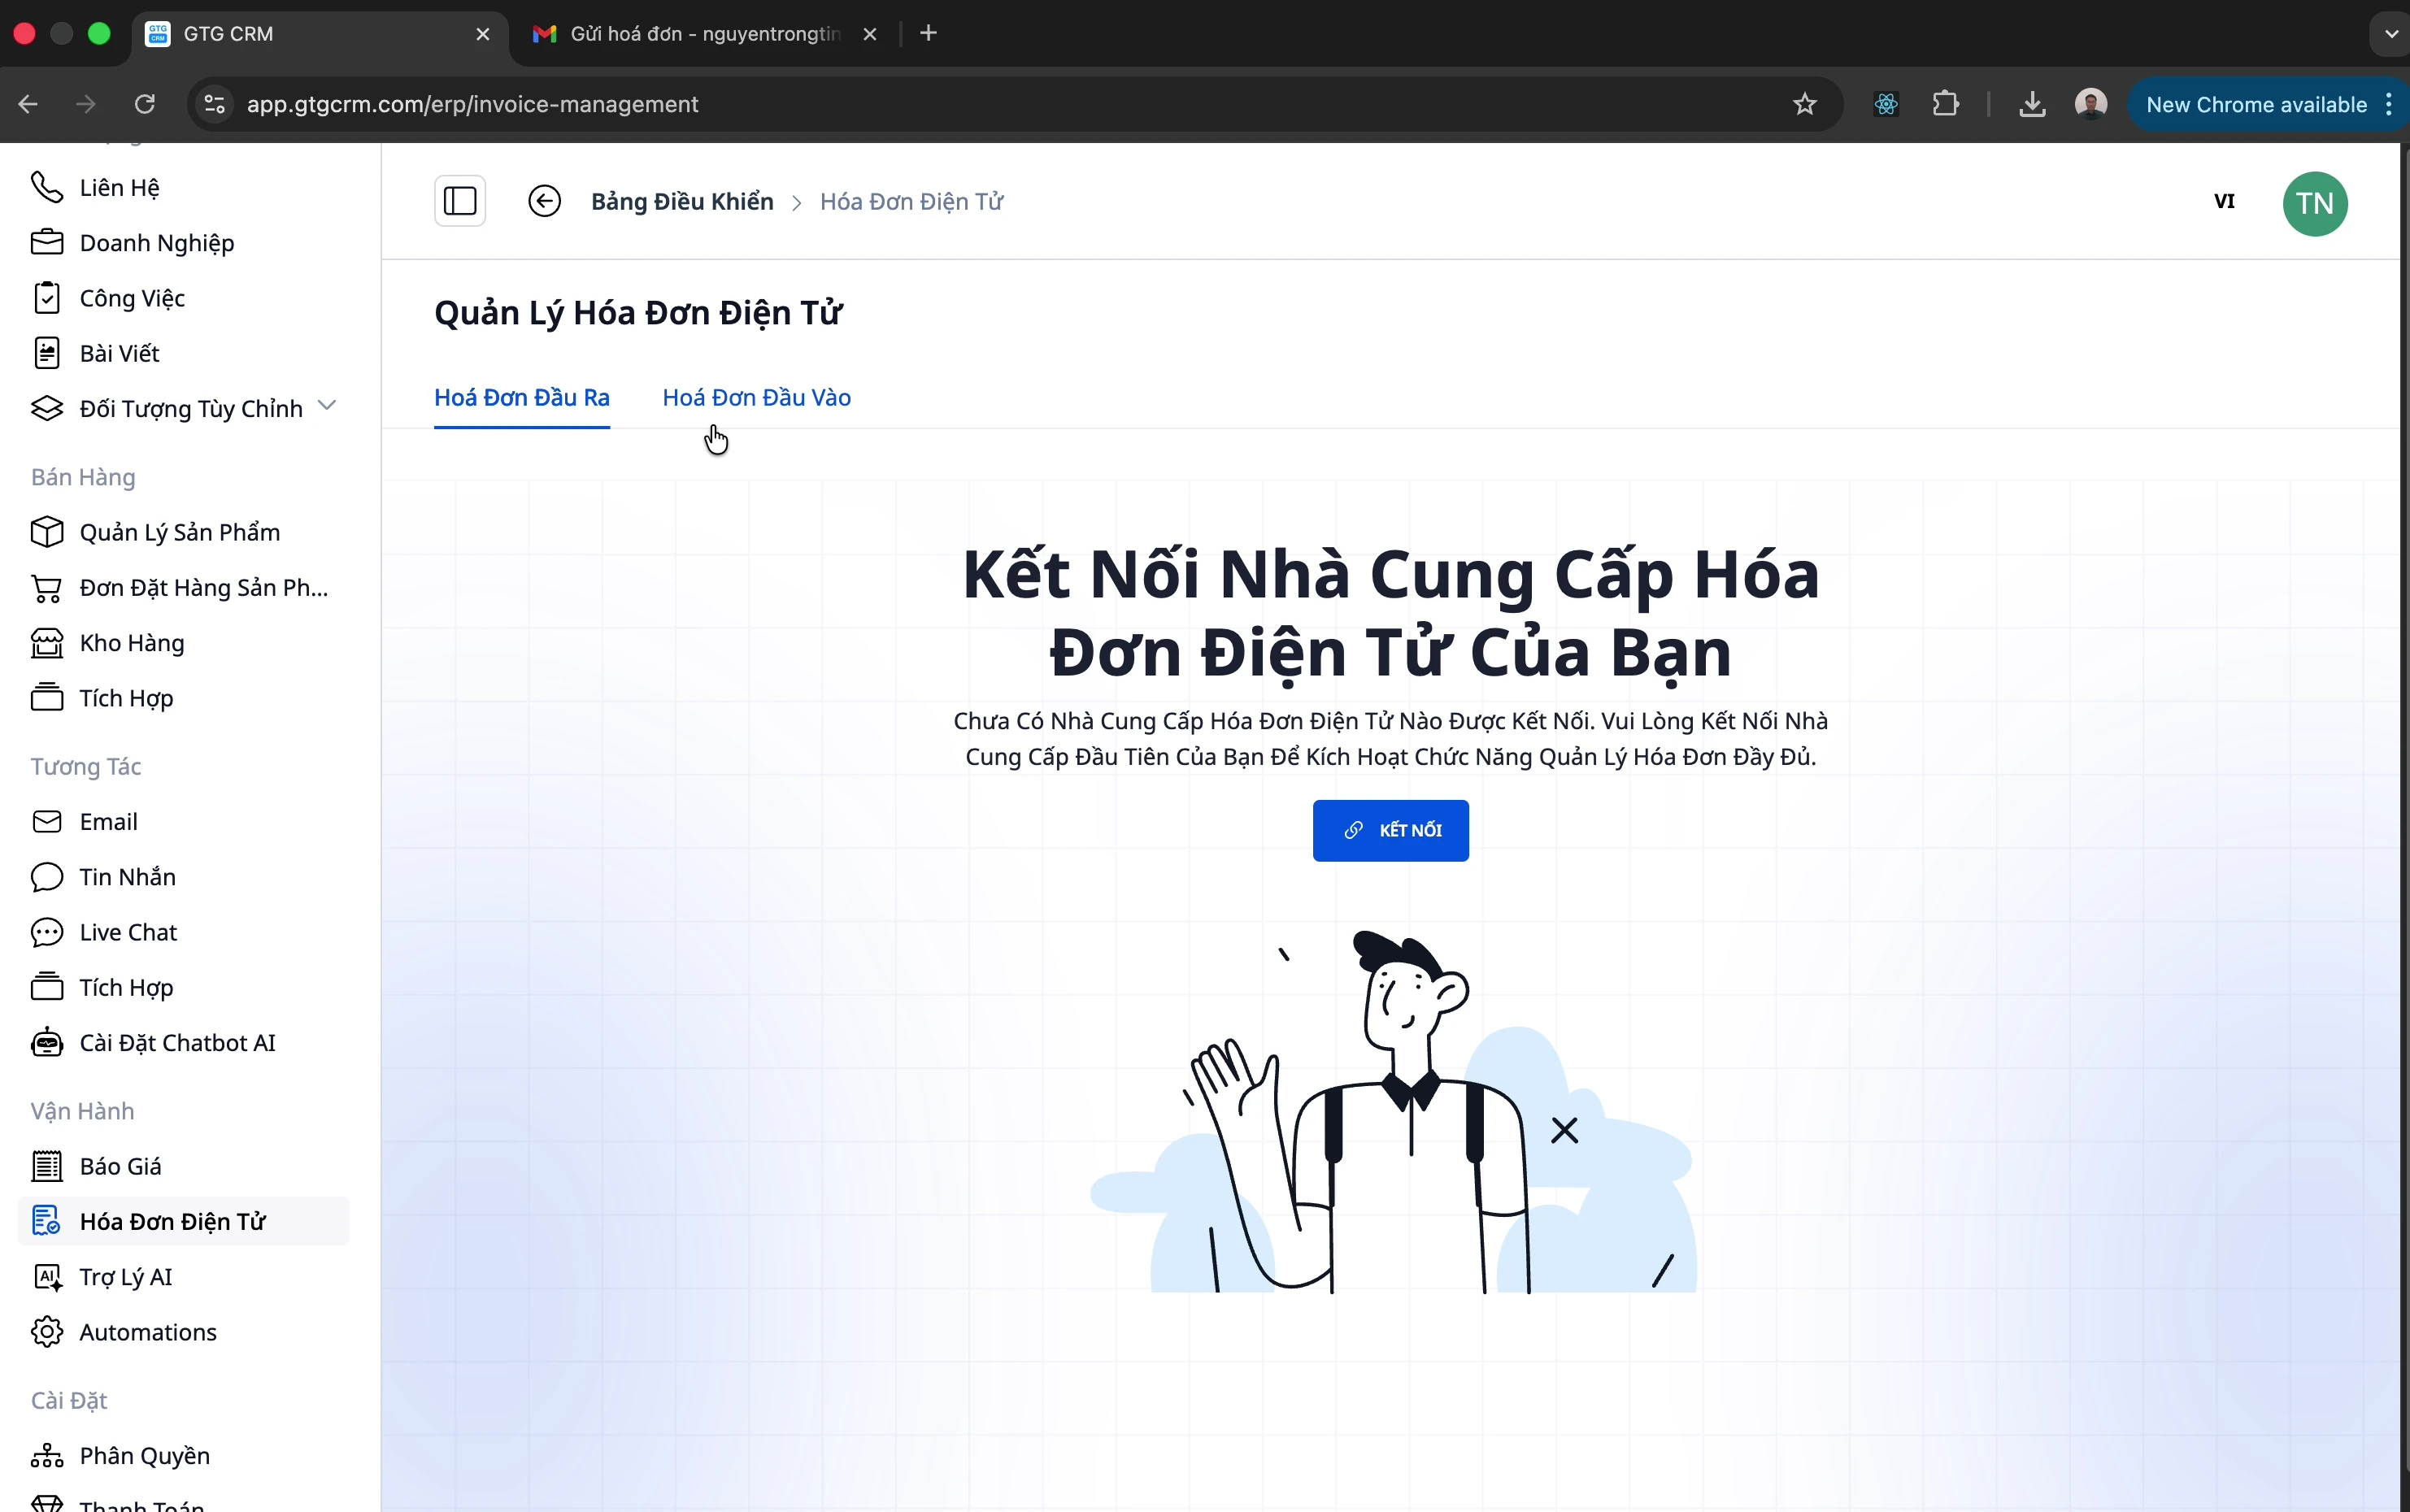
The e-invoice screen has 2 tabs:
| Tab | Description |
|---|---|
| Outgoing Invoices | Invoices you issue to customers |
| Incoming Invoices | Invoices suppliers issue to you |
Managing Incoming Invoices
Method 1: Manual Invoice Upload
Step 1: Click the Upload Button
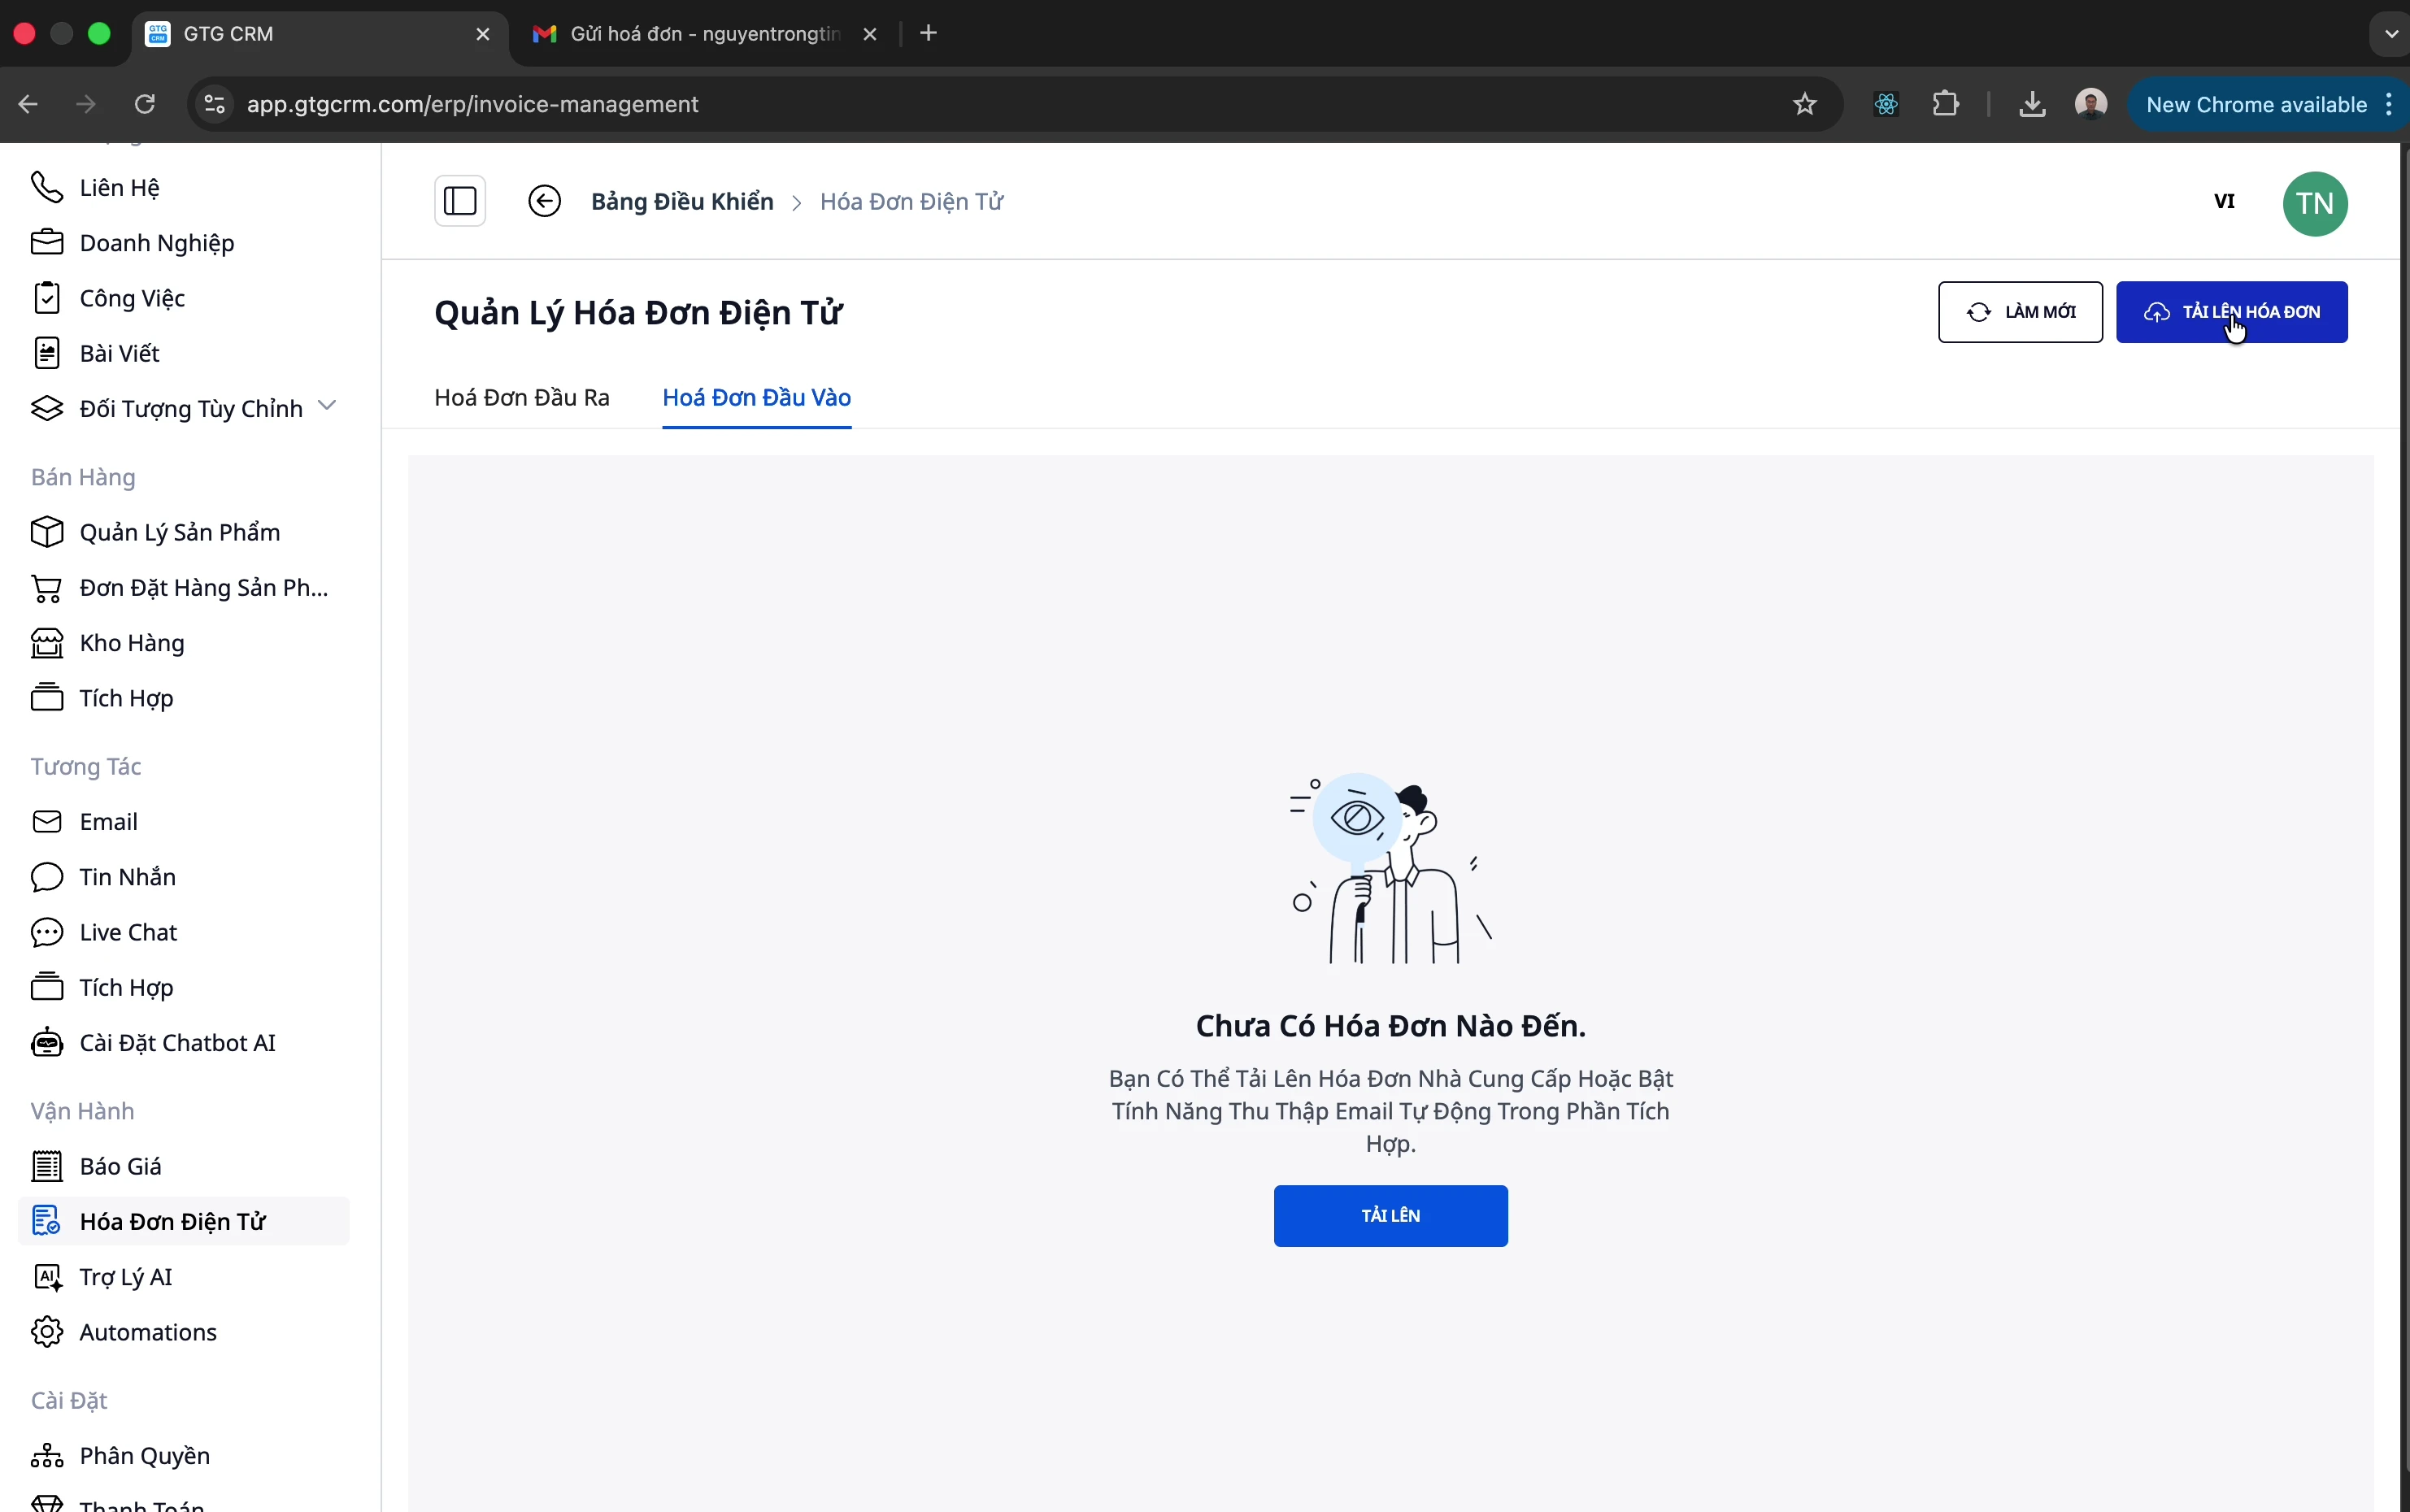
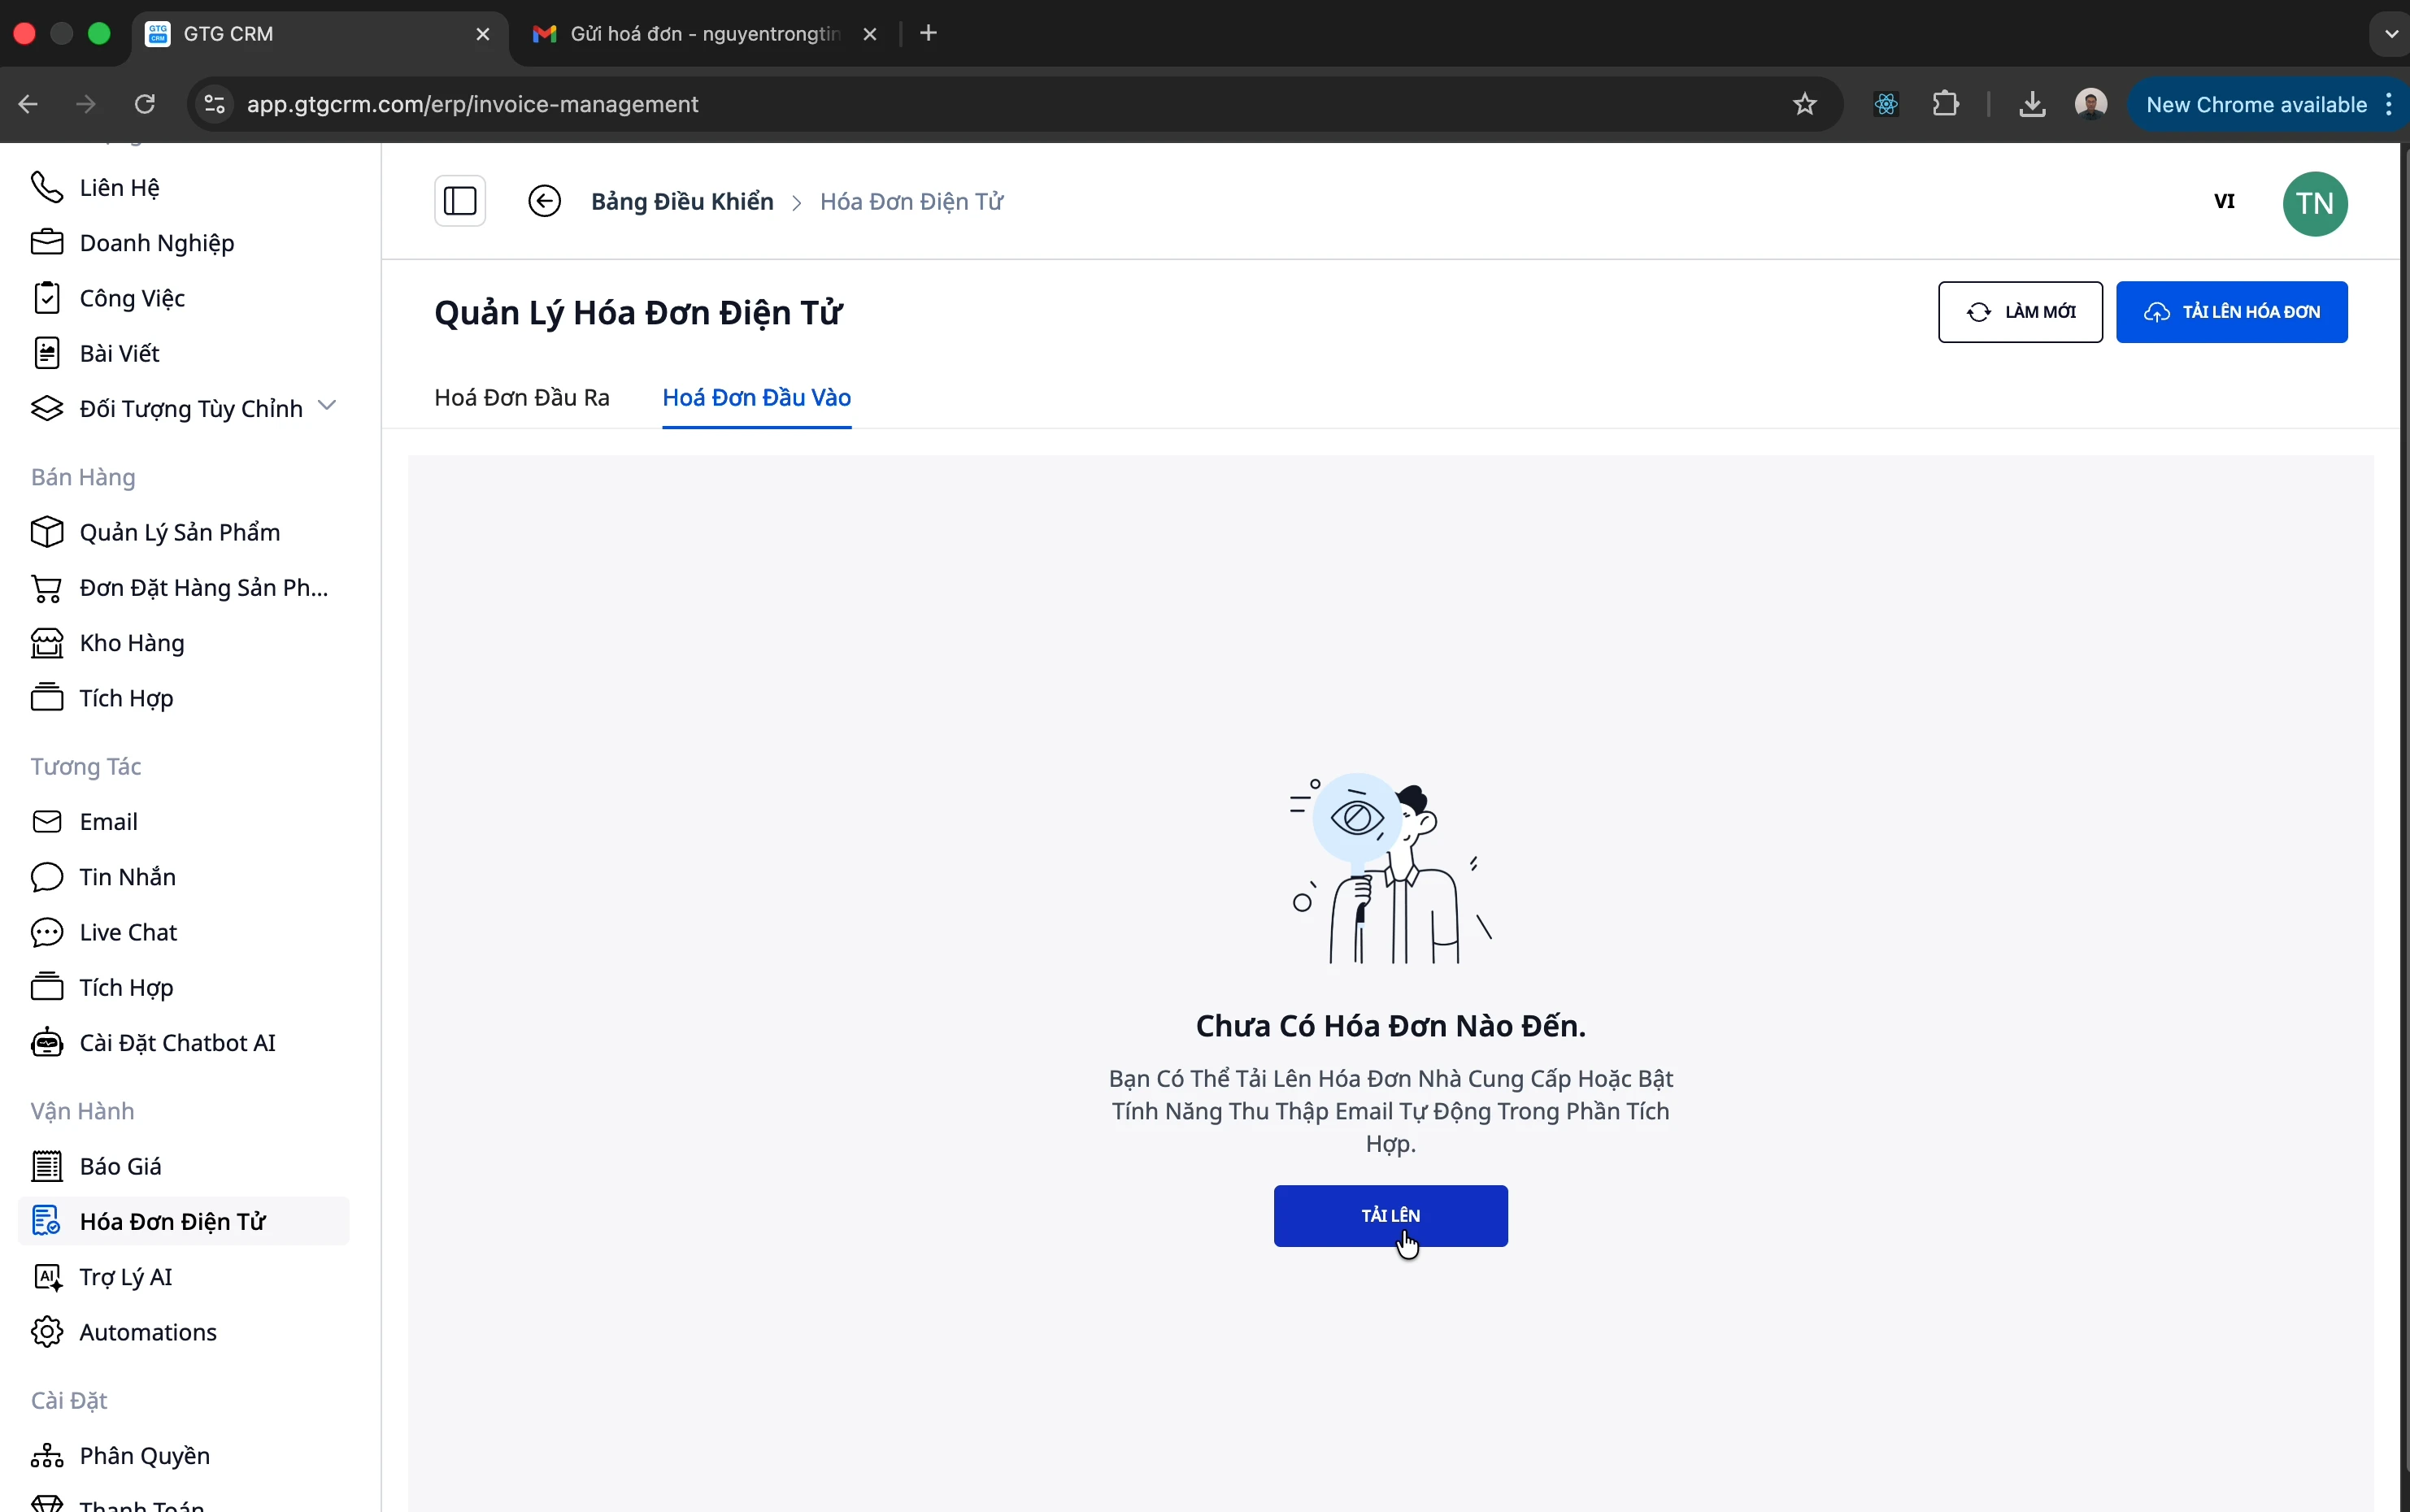
There are 2 ways to open the upload dialog:
- Click the "Upload" button in the top right corner
- Or click the "Upload Invoice" button
Step 2: Select Invoice File
- Drag and drop the invoice PDF file into the upload area
- Or click to select a file from your computer
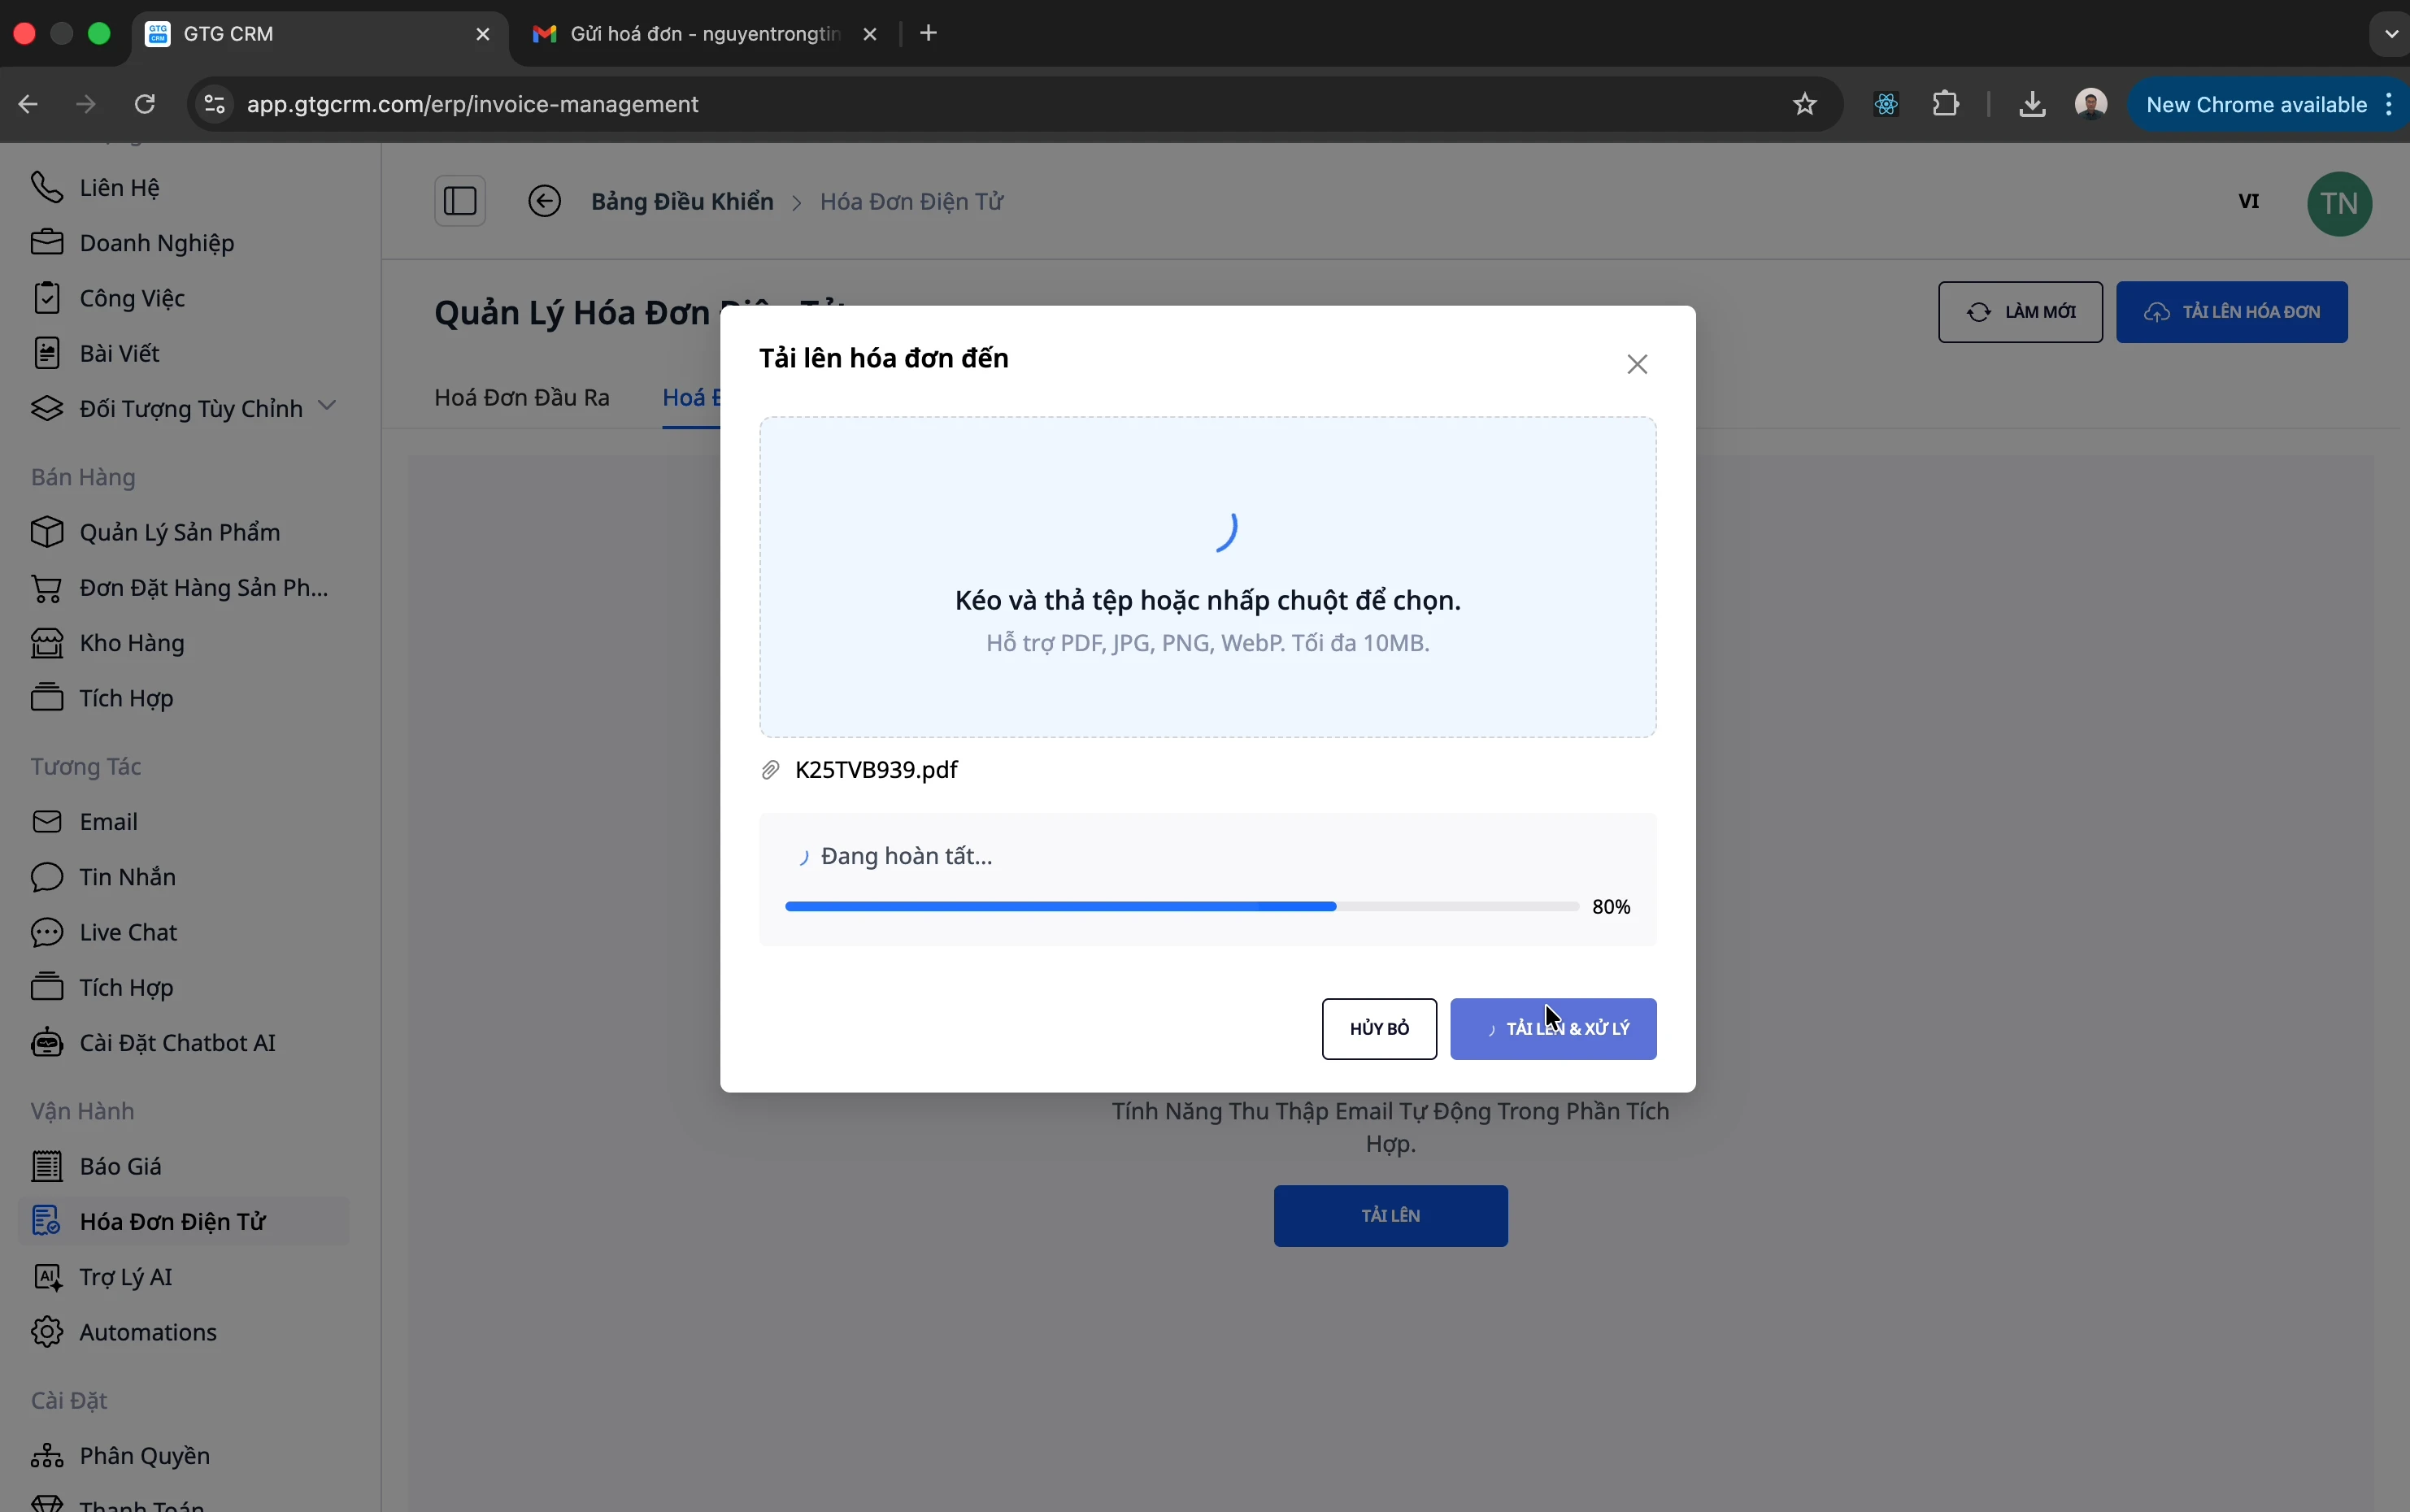
Step 3: Upload and Process
- Click "Upload and Process"
- Wait for the system to process (status: "Processing")
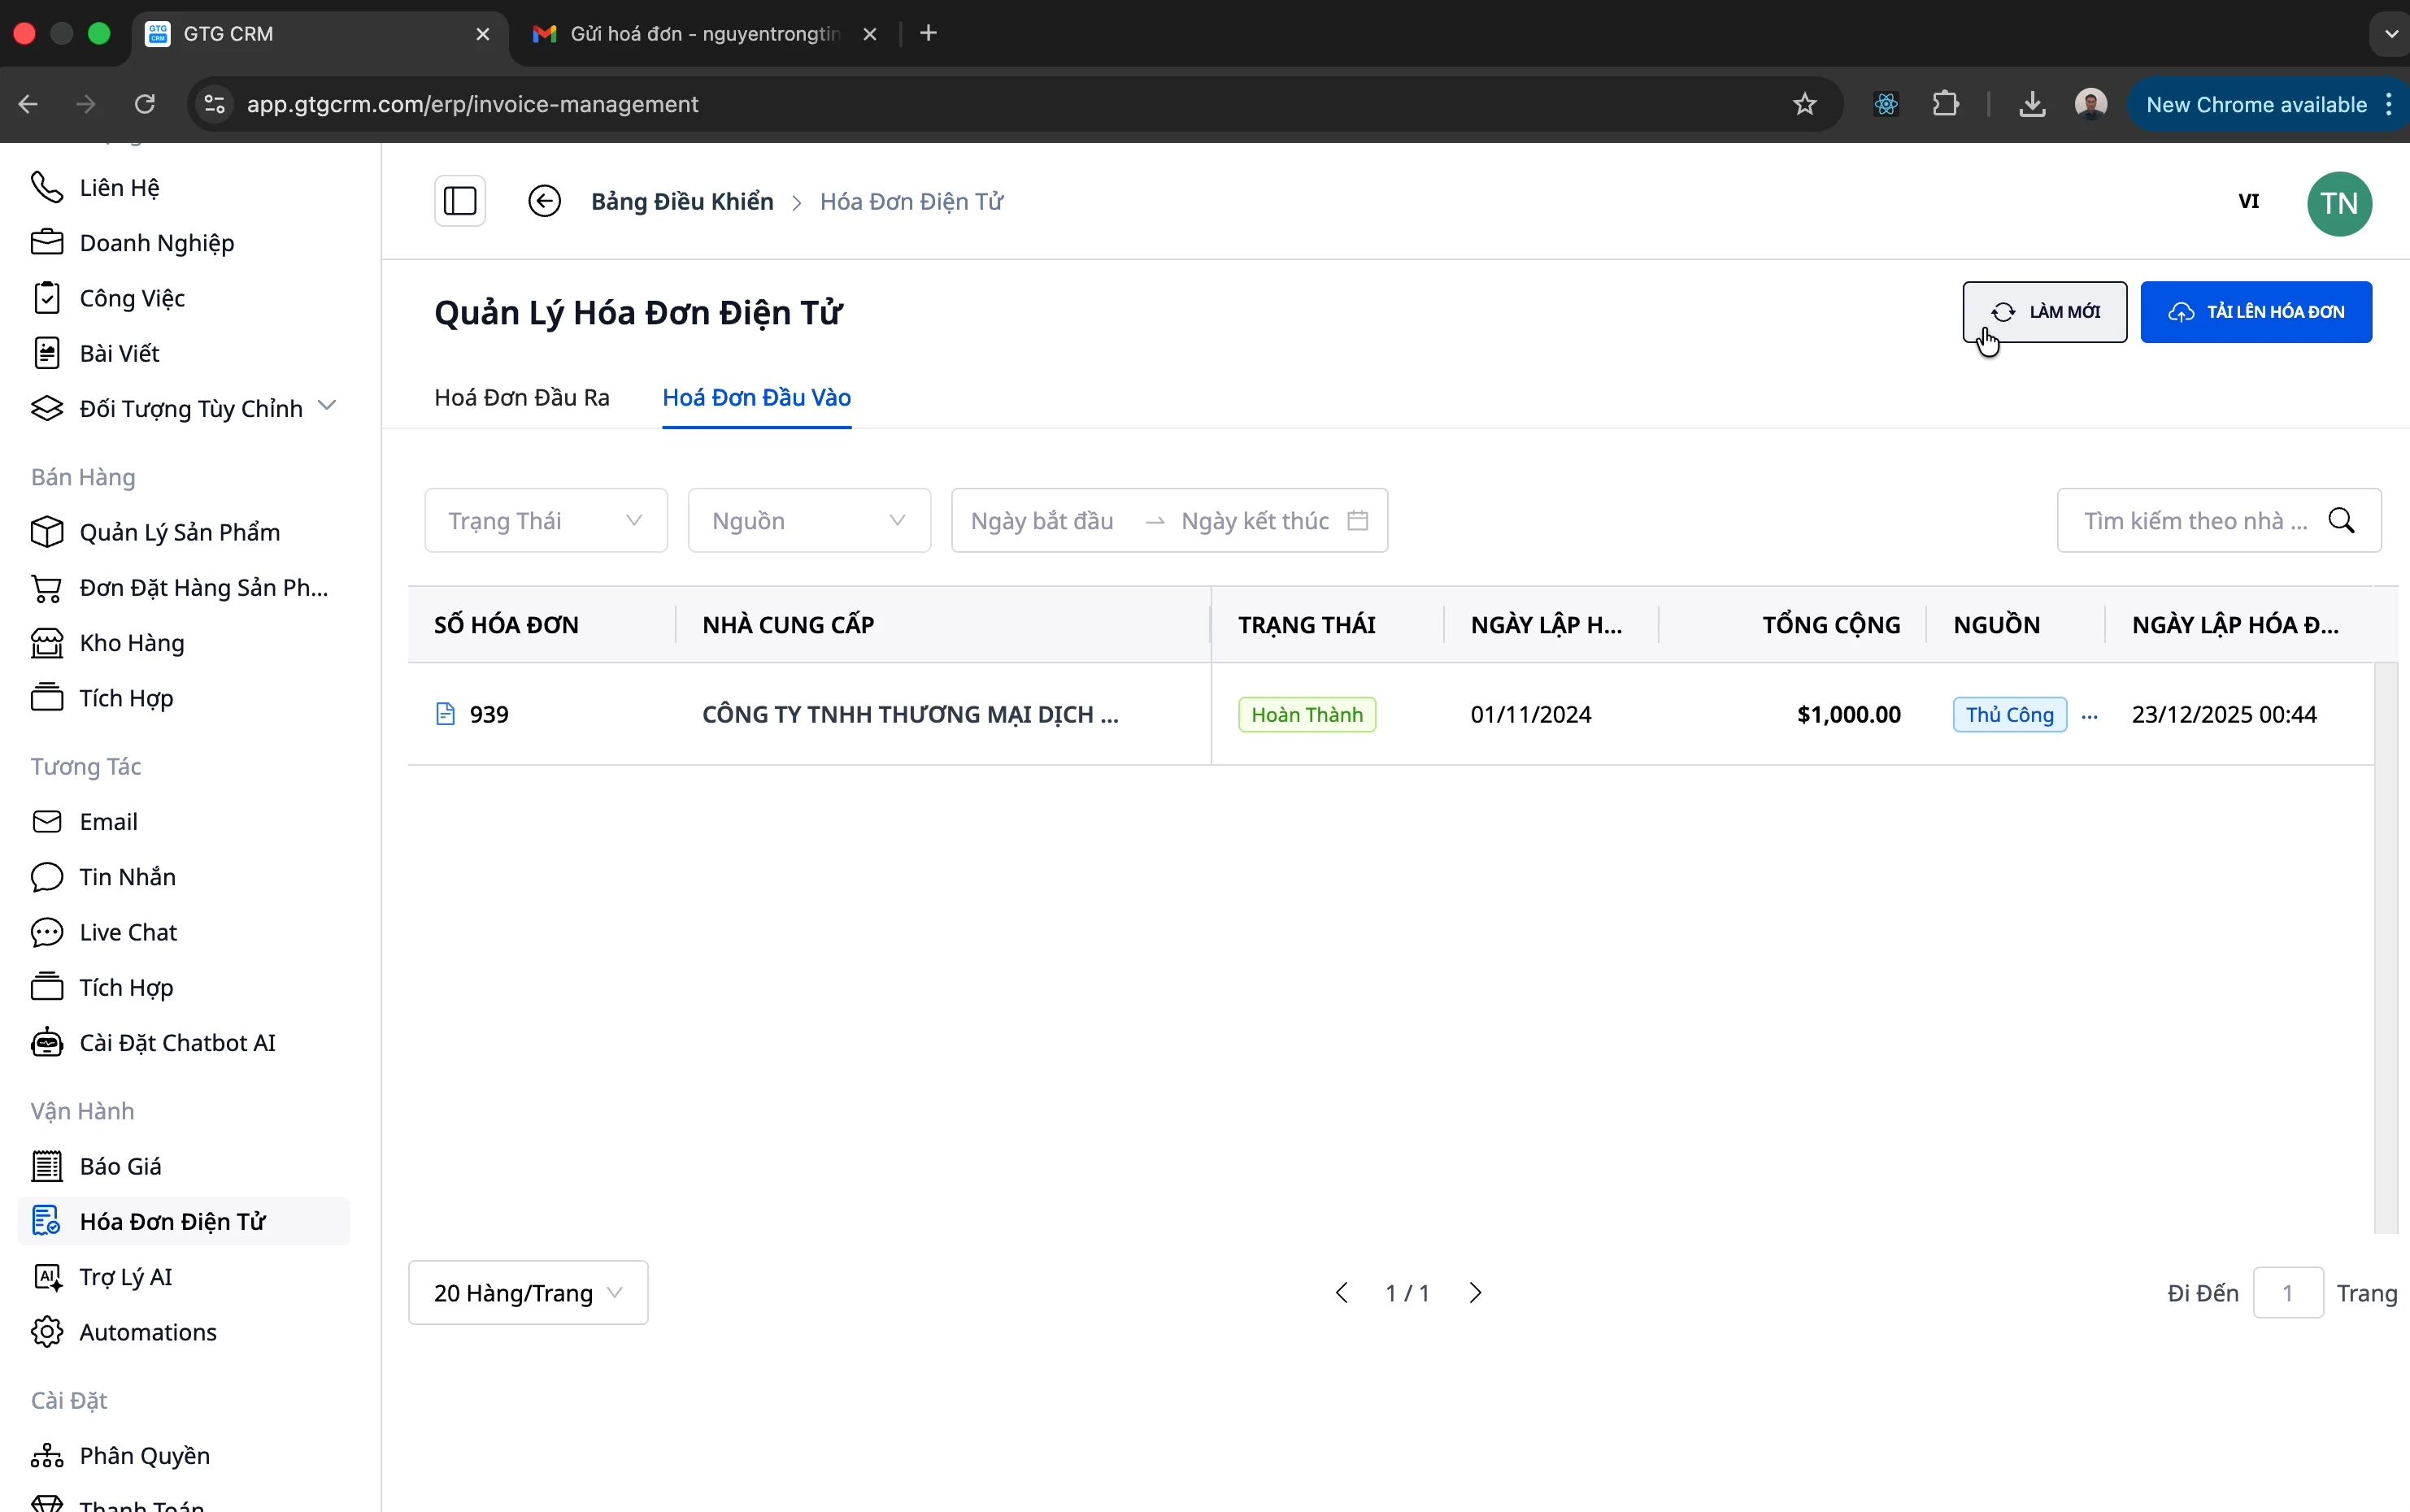
Step 4: View Results
- After about 10 seconds, click "Refresh"
- The invoice has been imported with complete information
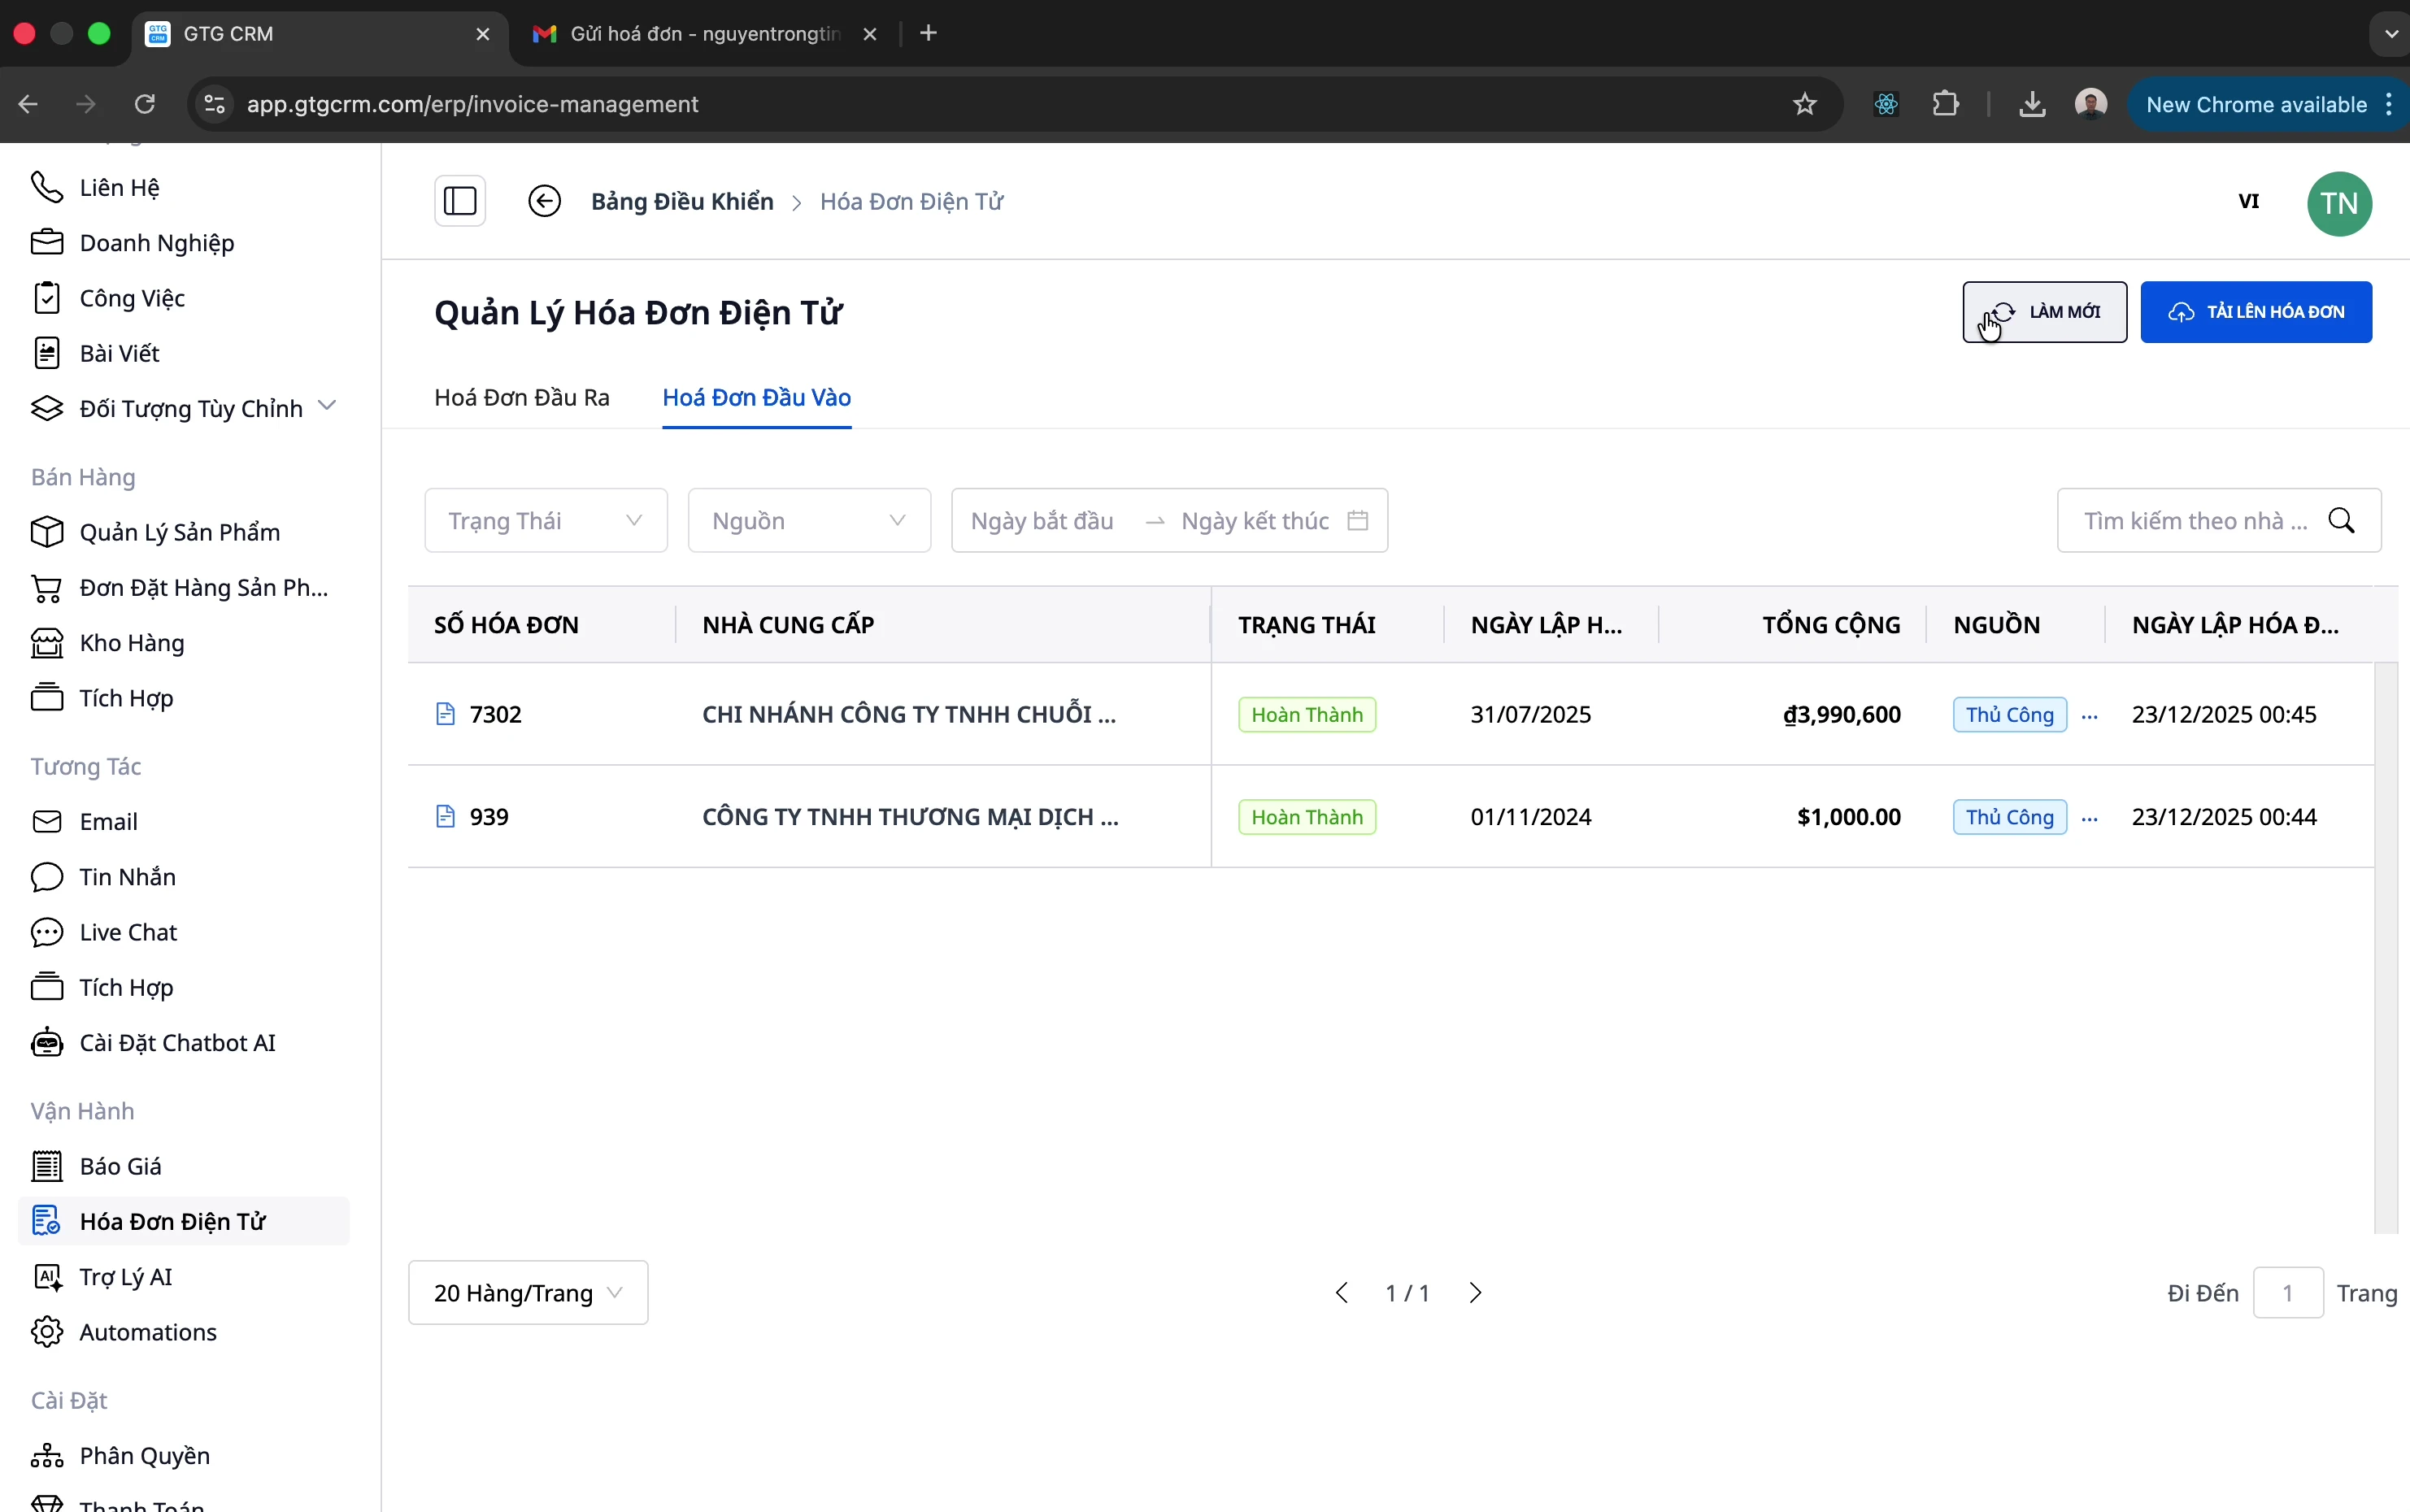
💡 Note: The system supports complex invoices with multiple products. For example, an invoice with 32 products is also processed automatically!
Method 2: Automatic Email Collection
This is the most convenient method - the system automatically retrieves invoices from your email!
Setting Up Automatic Email Collection
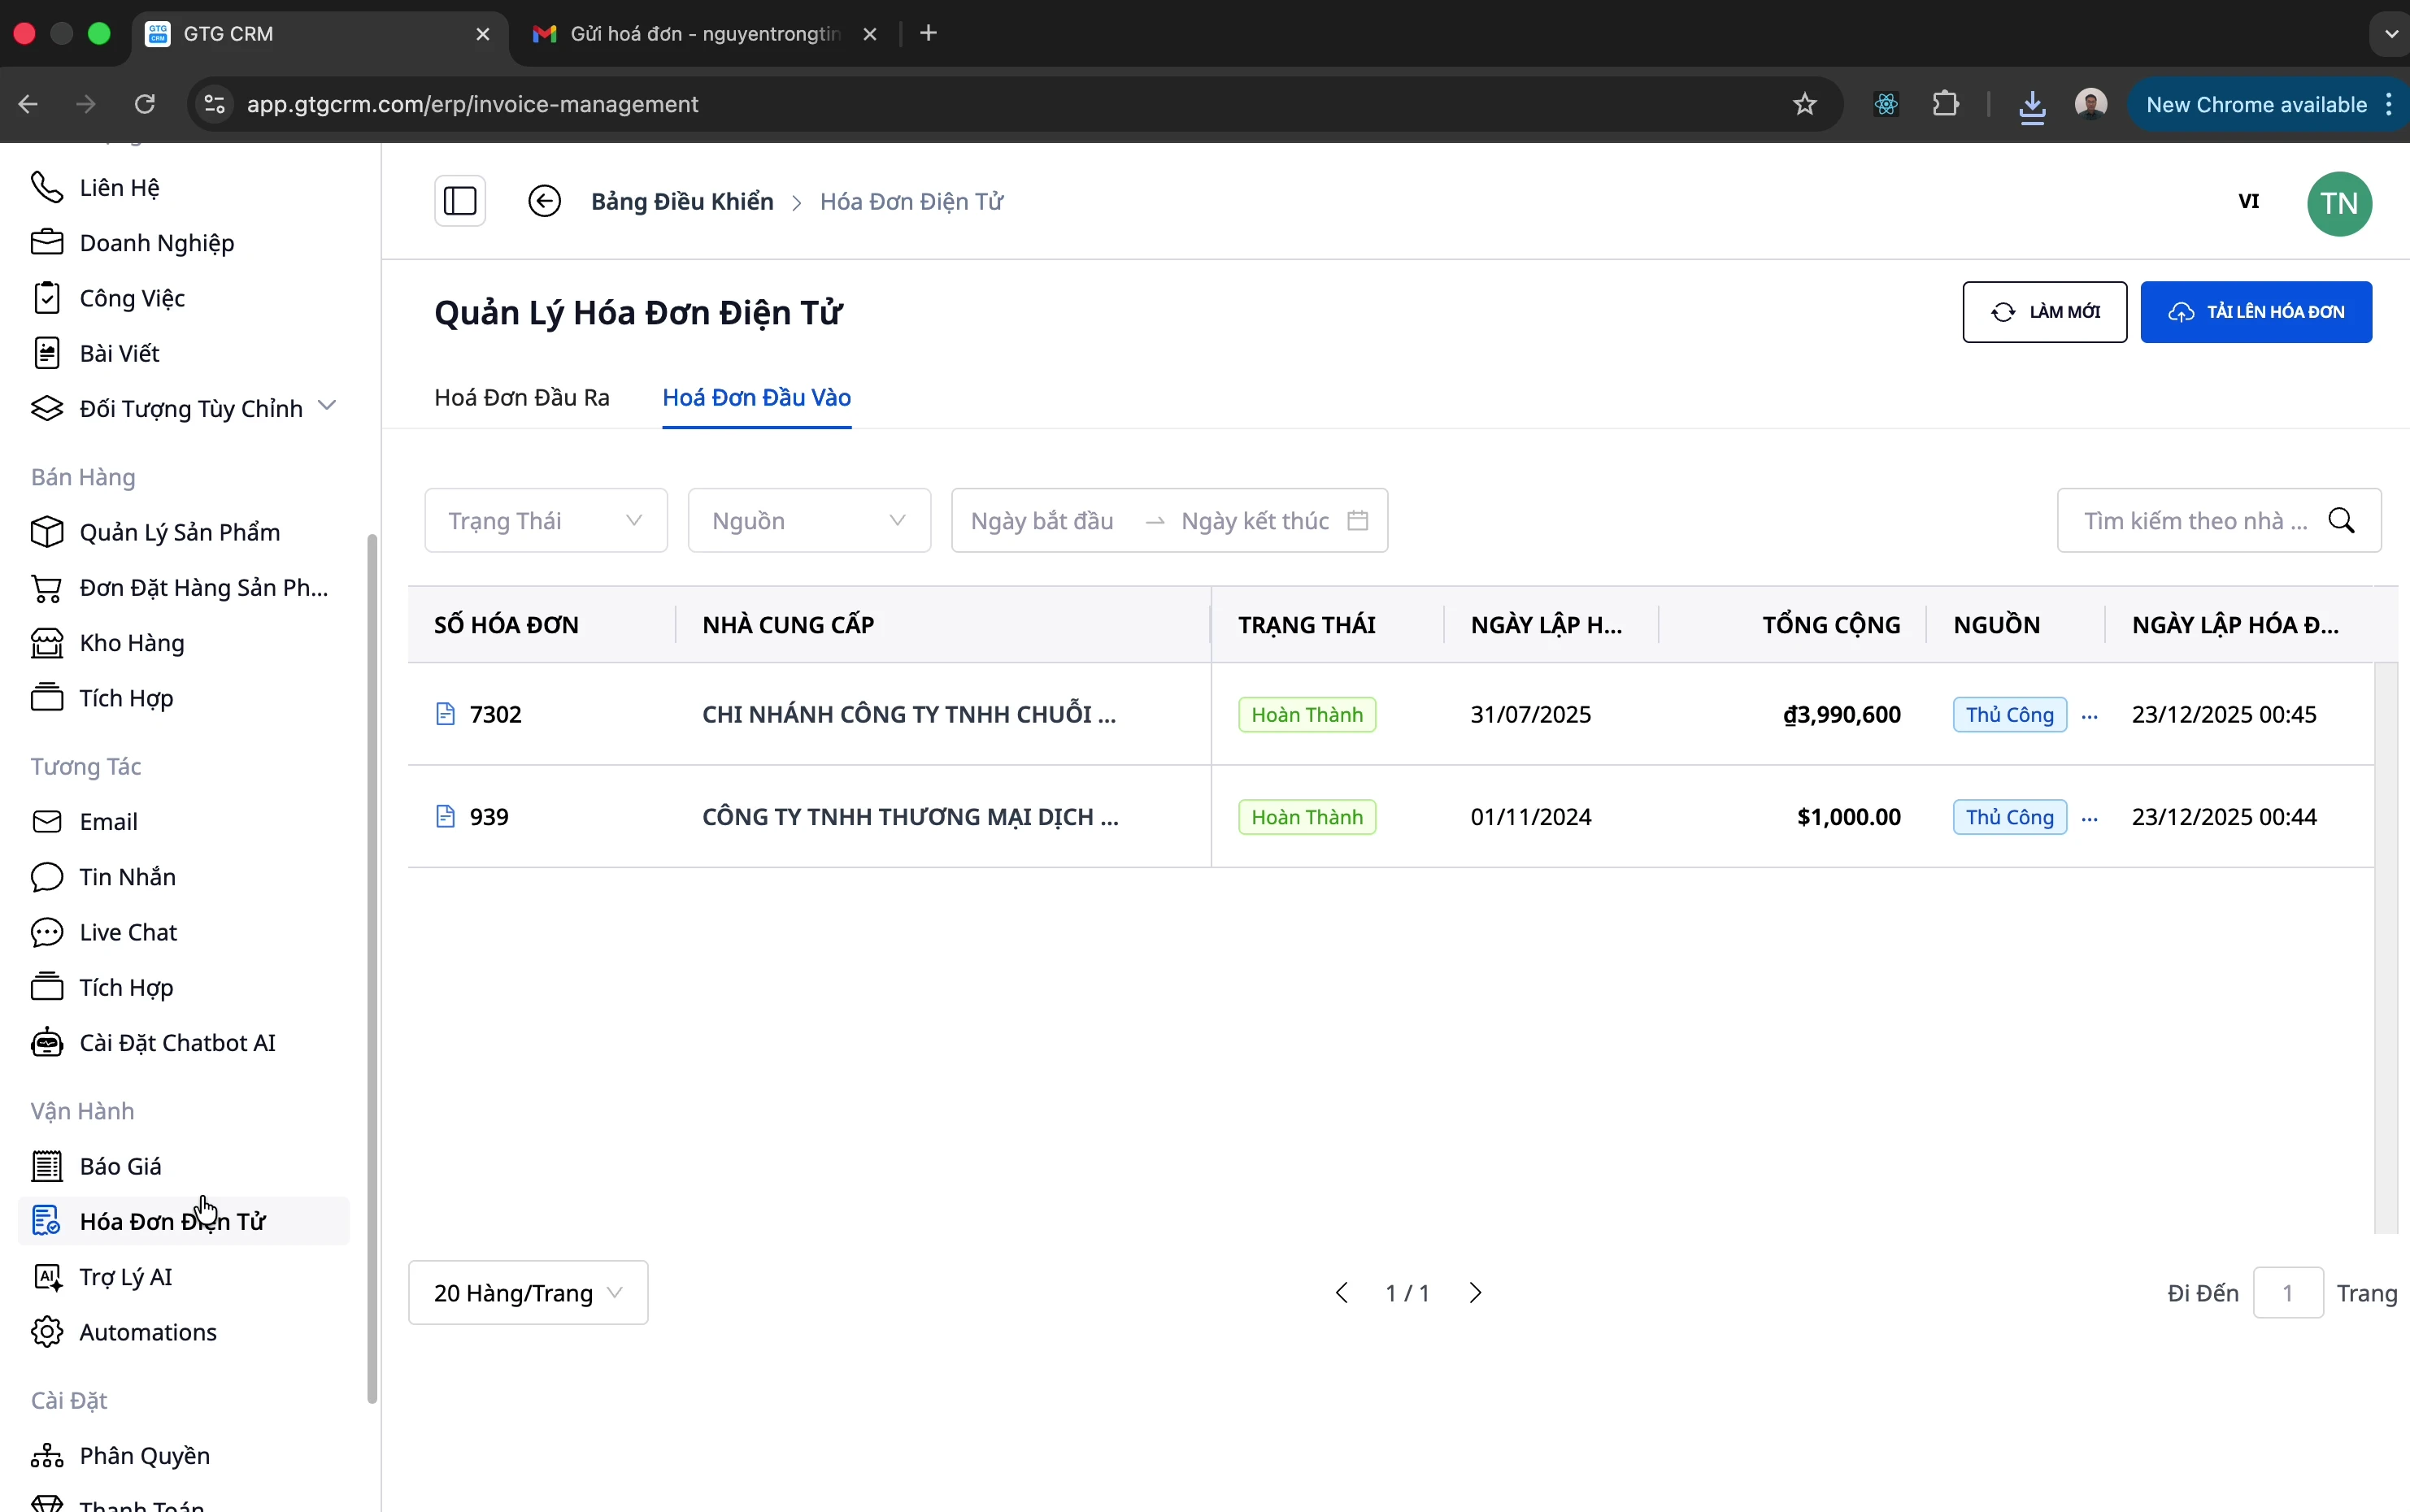
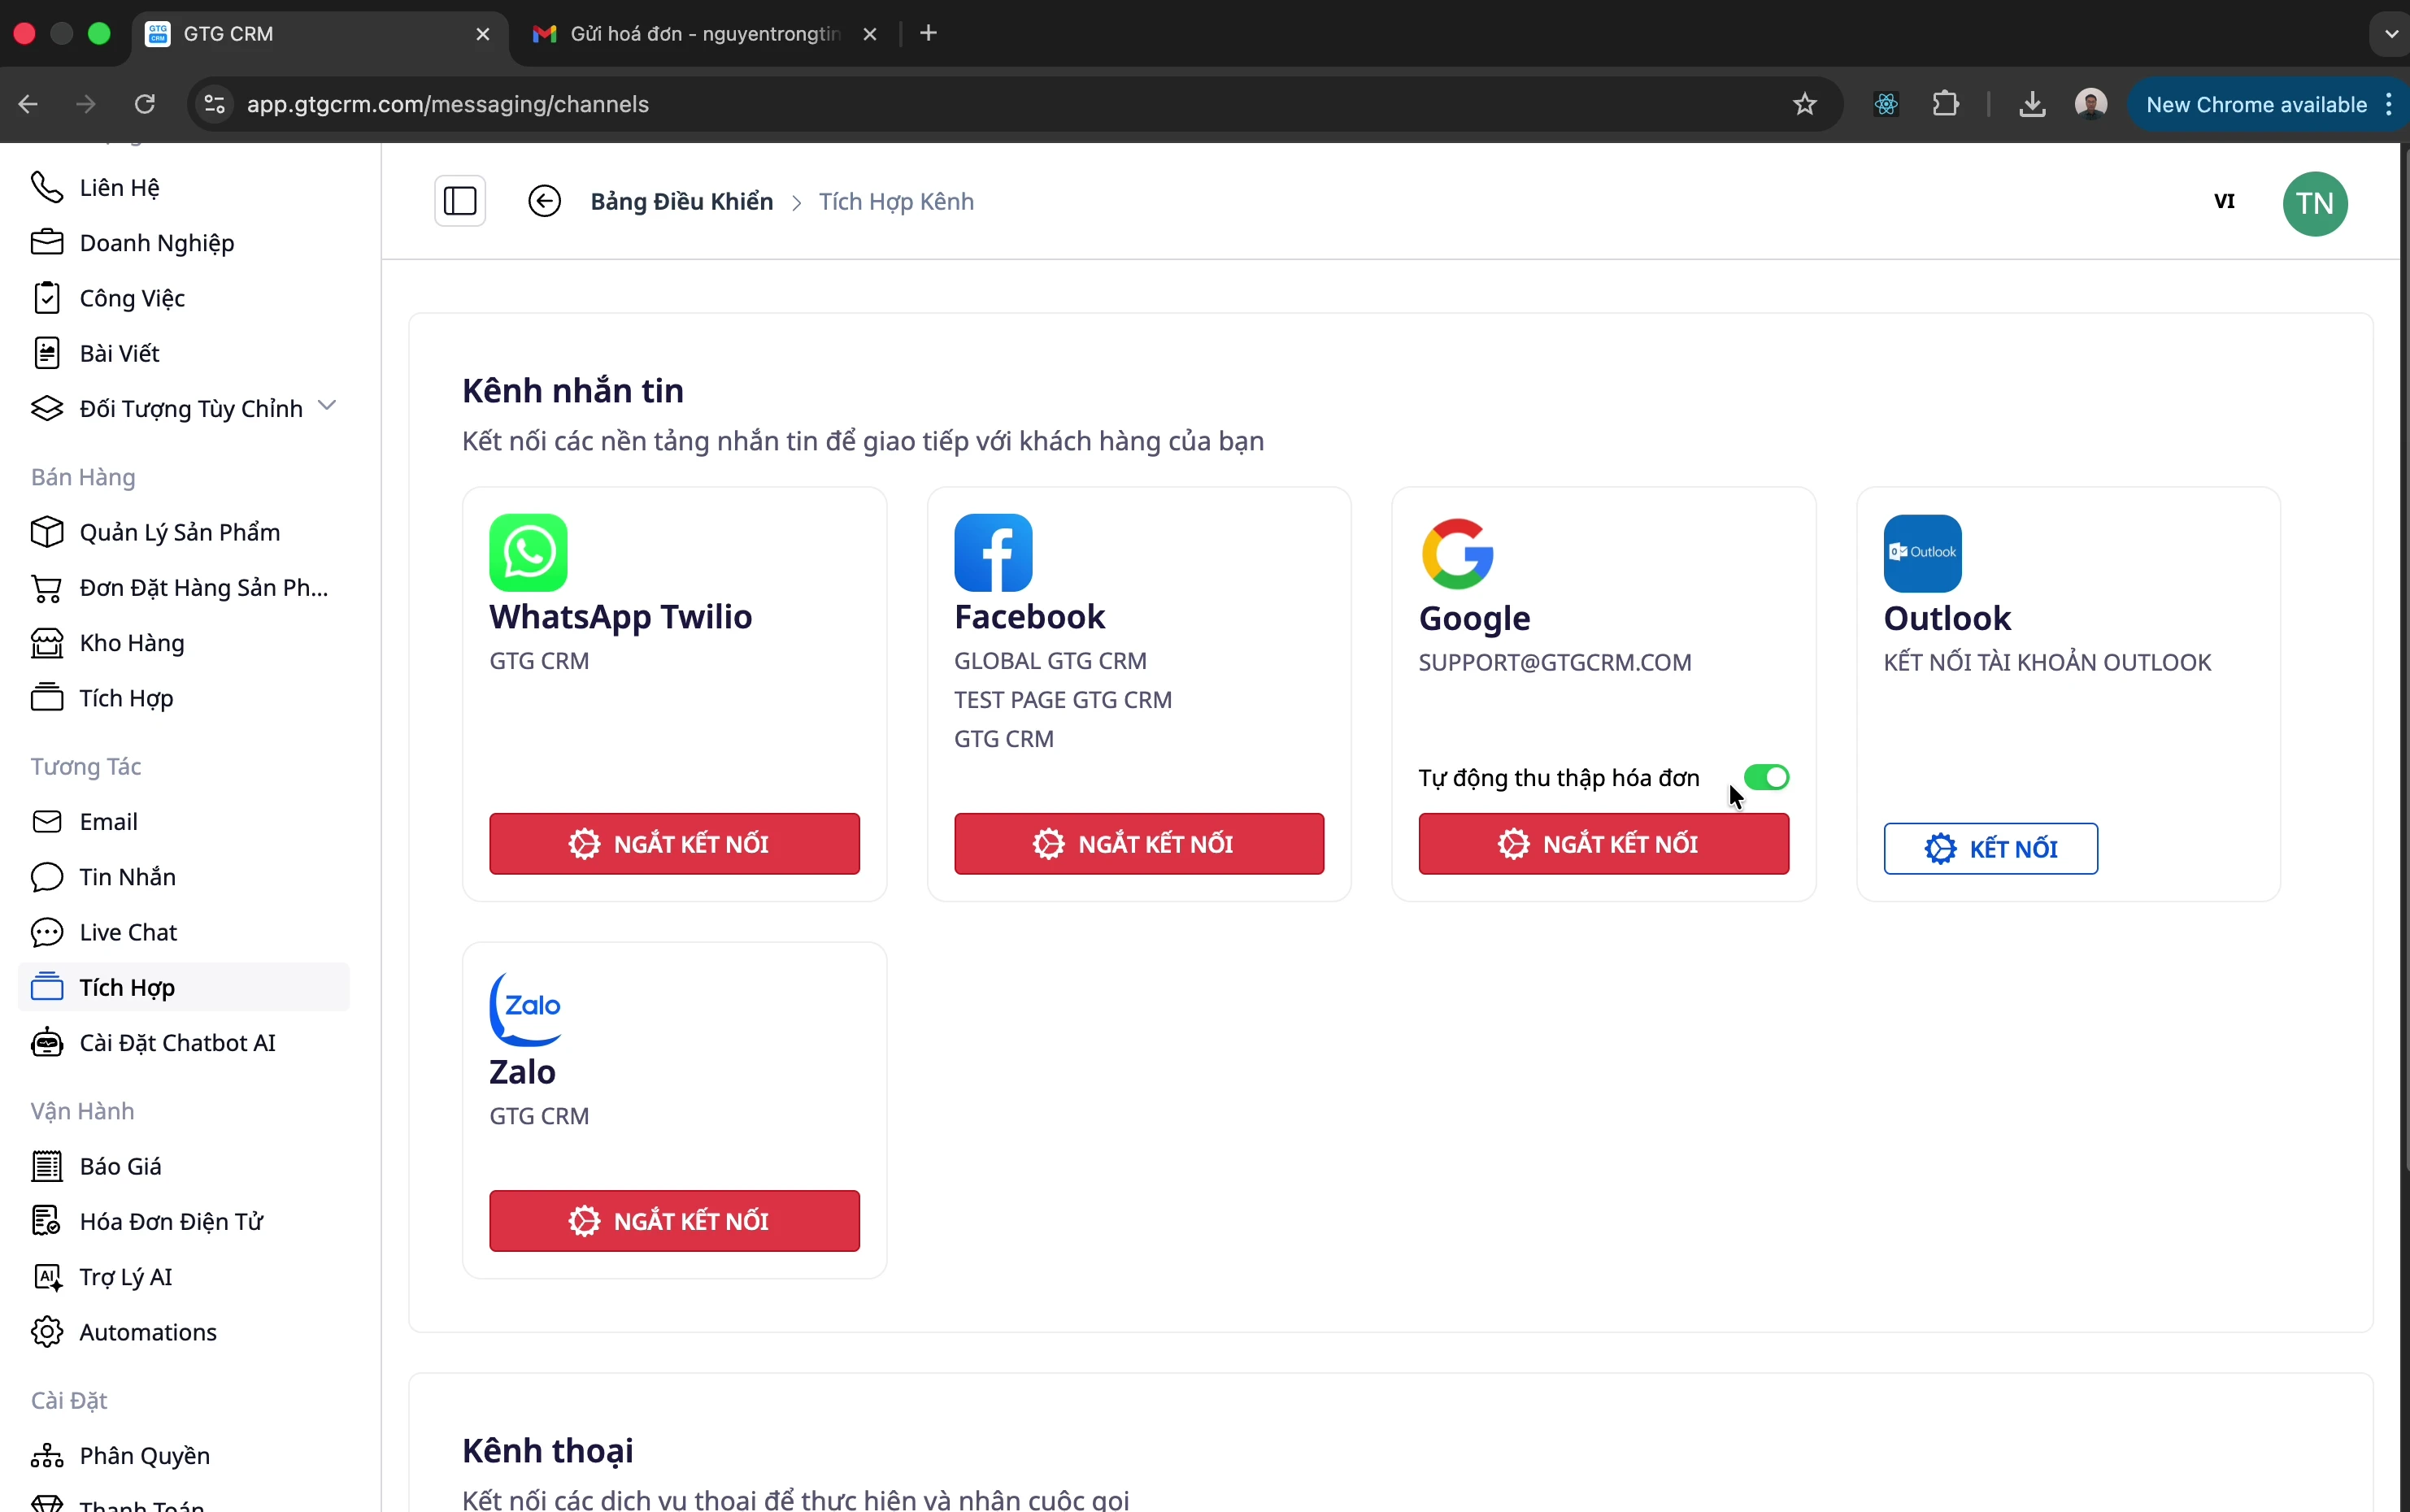
Step 1: Open Integration Menu
- Click on the "Integrations" menu in the left-hand menu bar
Step 2: Connect Email
- Connect your business email (e.g., support@company.com)
- Allow GTG CRM to access your email
Step 3: Enable Automatic Collection
- Find the "Automatic Invoice Collection" option
- Enable this feature
Step 4: Check Results
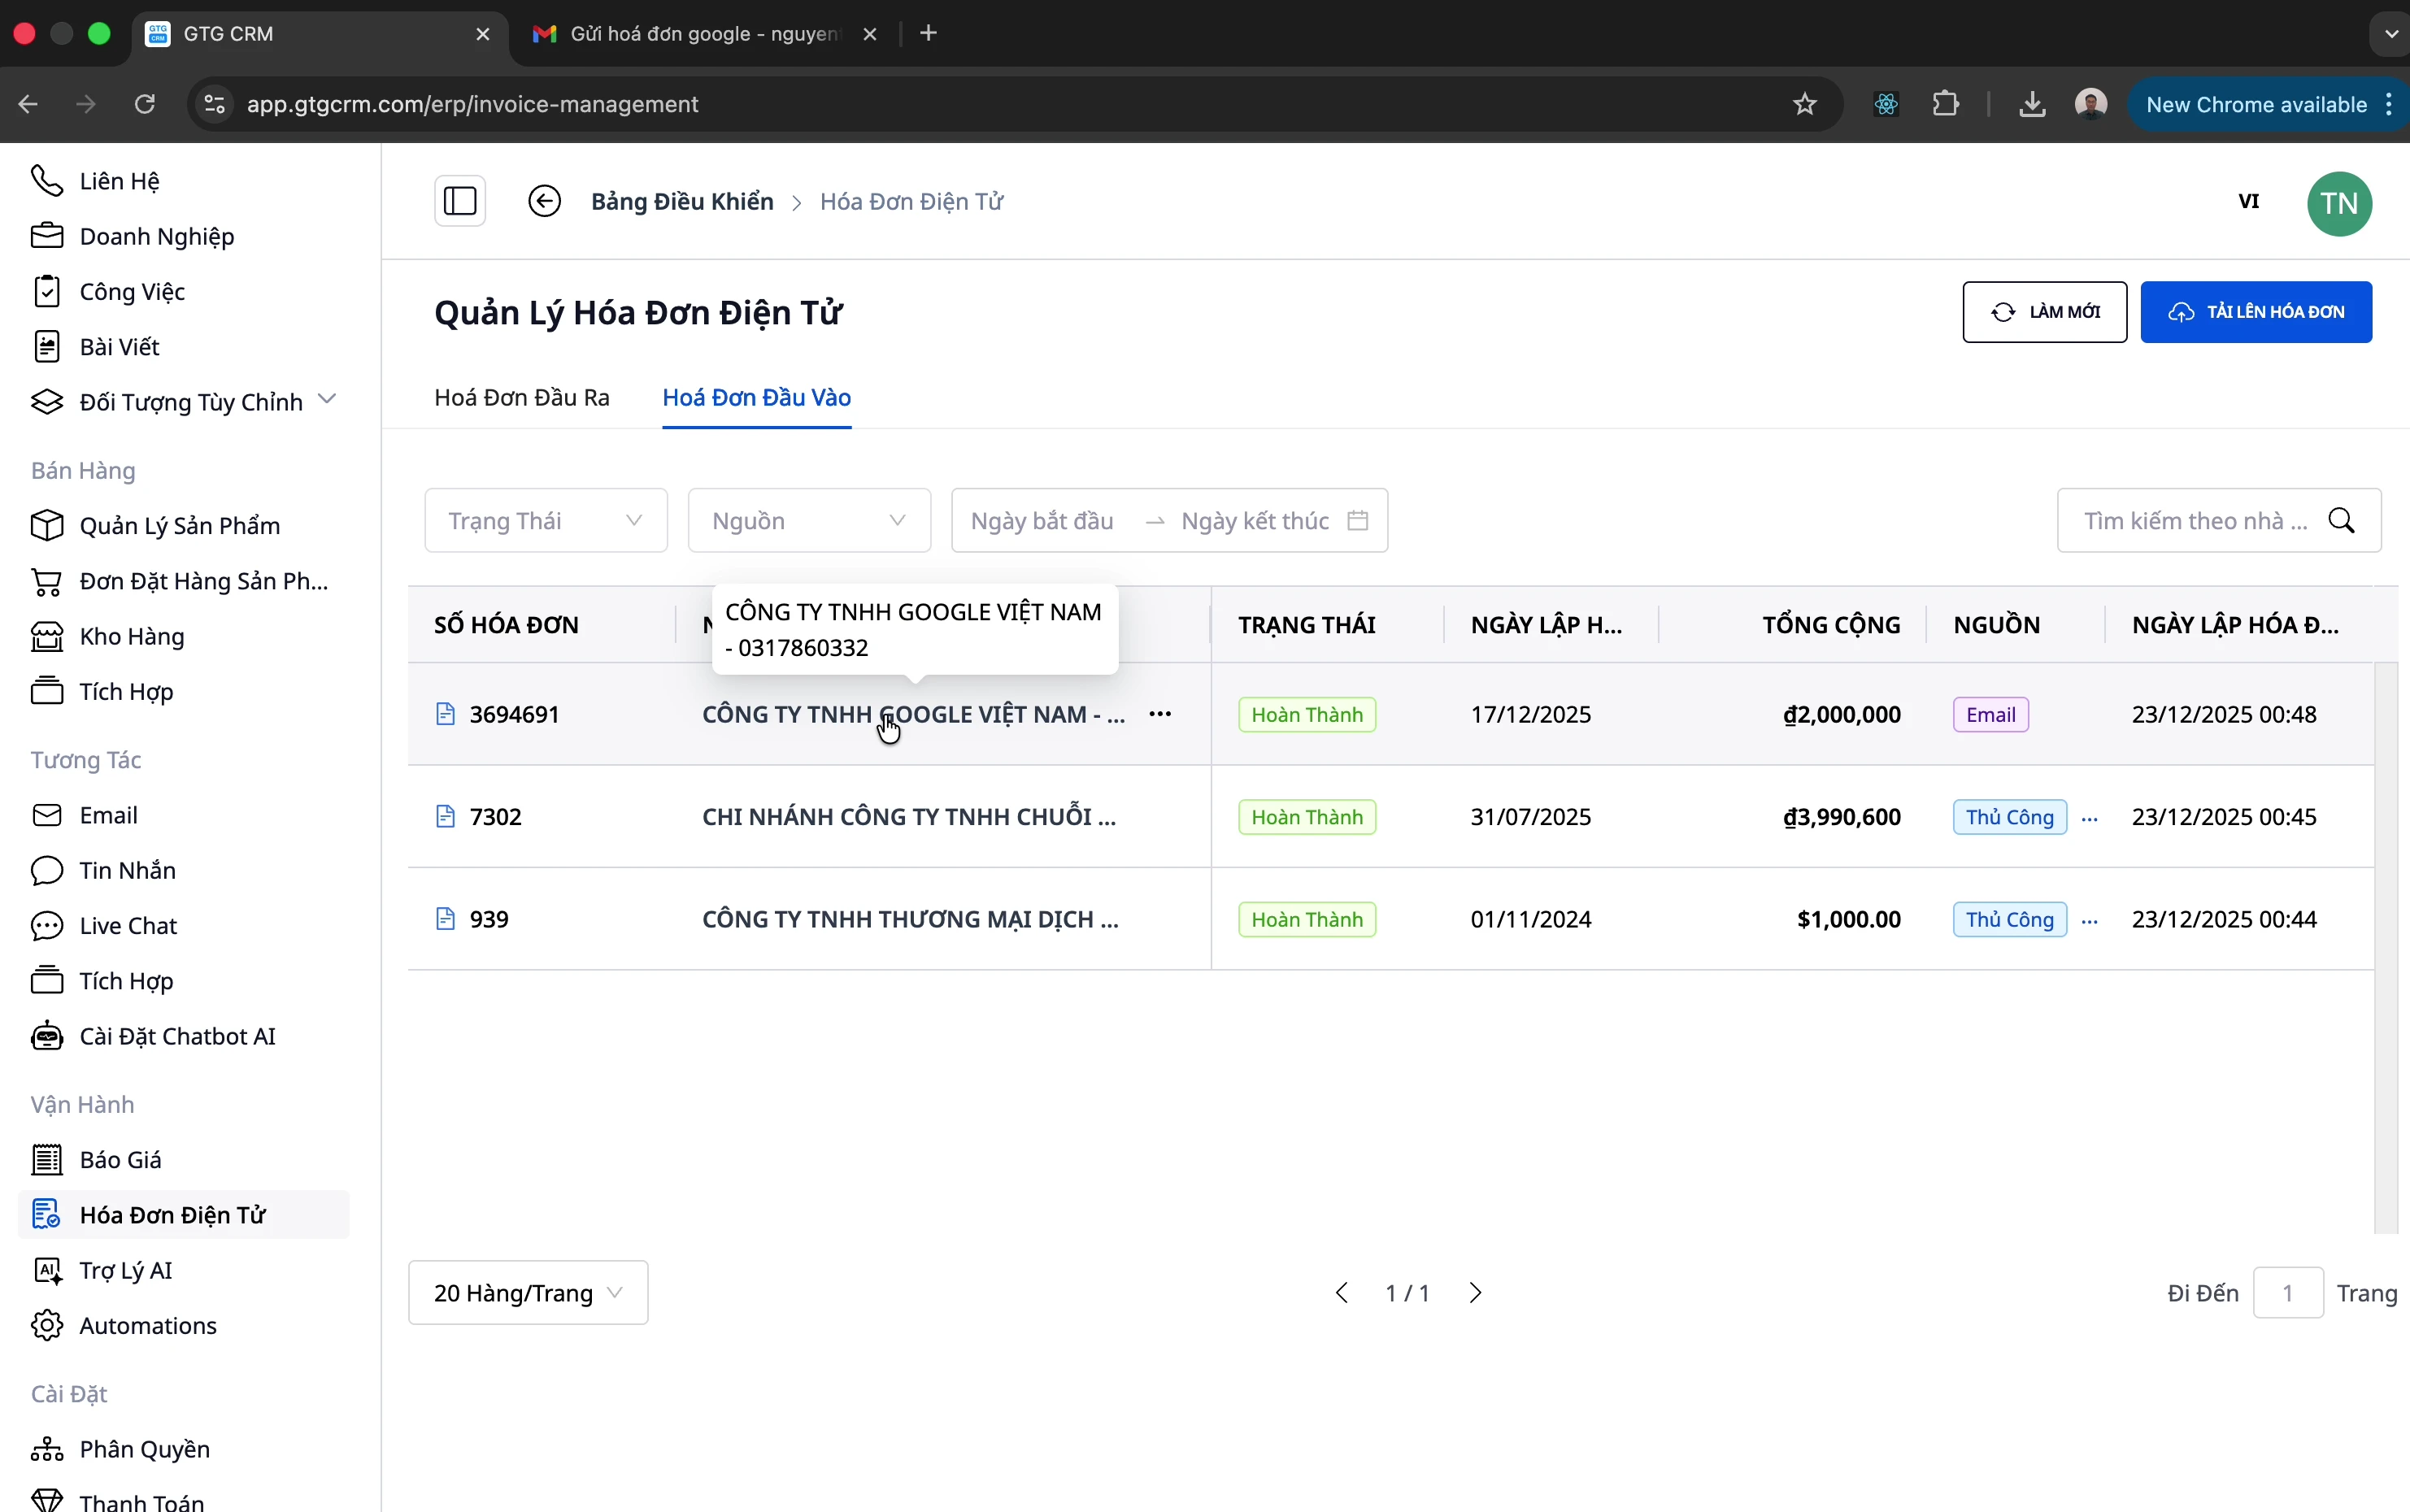
When a new invoice email arrives:
- The system automatically detects and imports it
- Go to Incoming Invoices to view
- The source will be displayed as "Email"
Edit Information (If Needed)
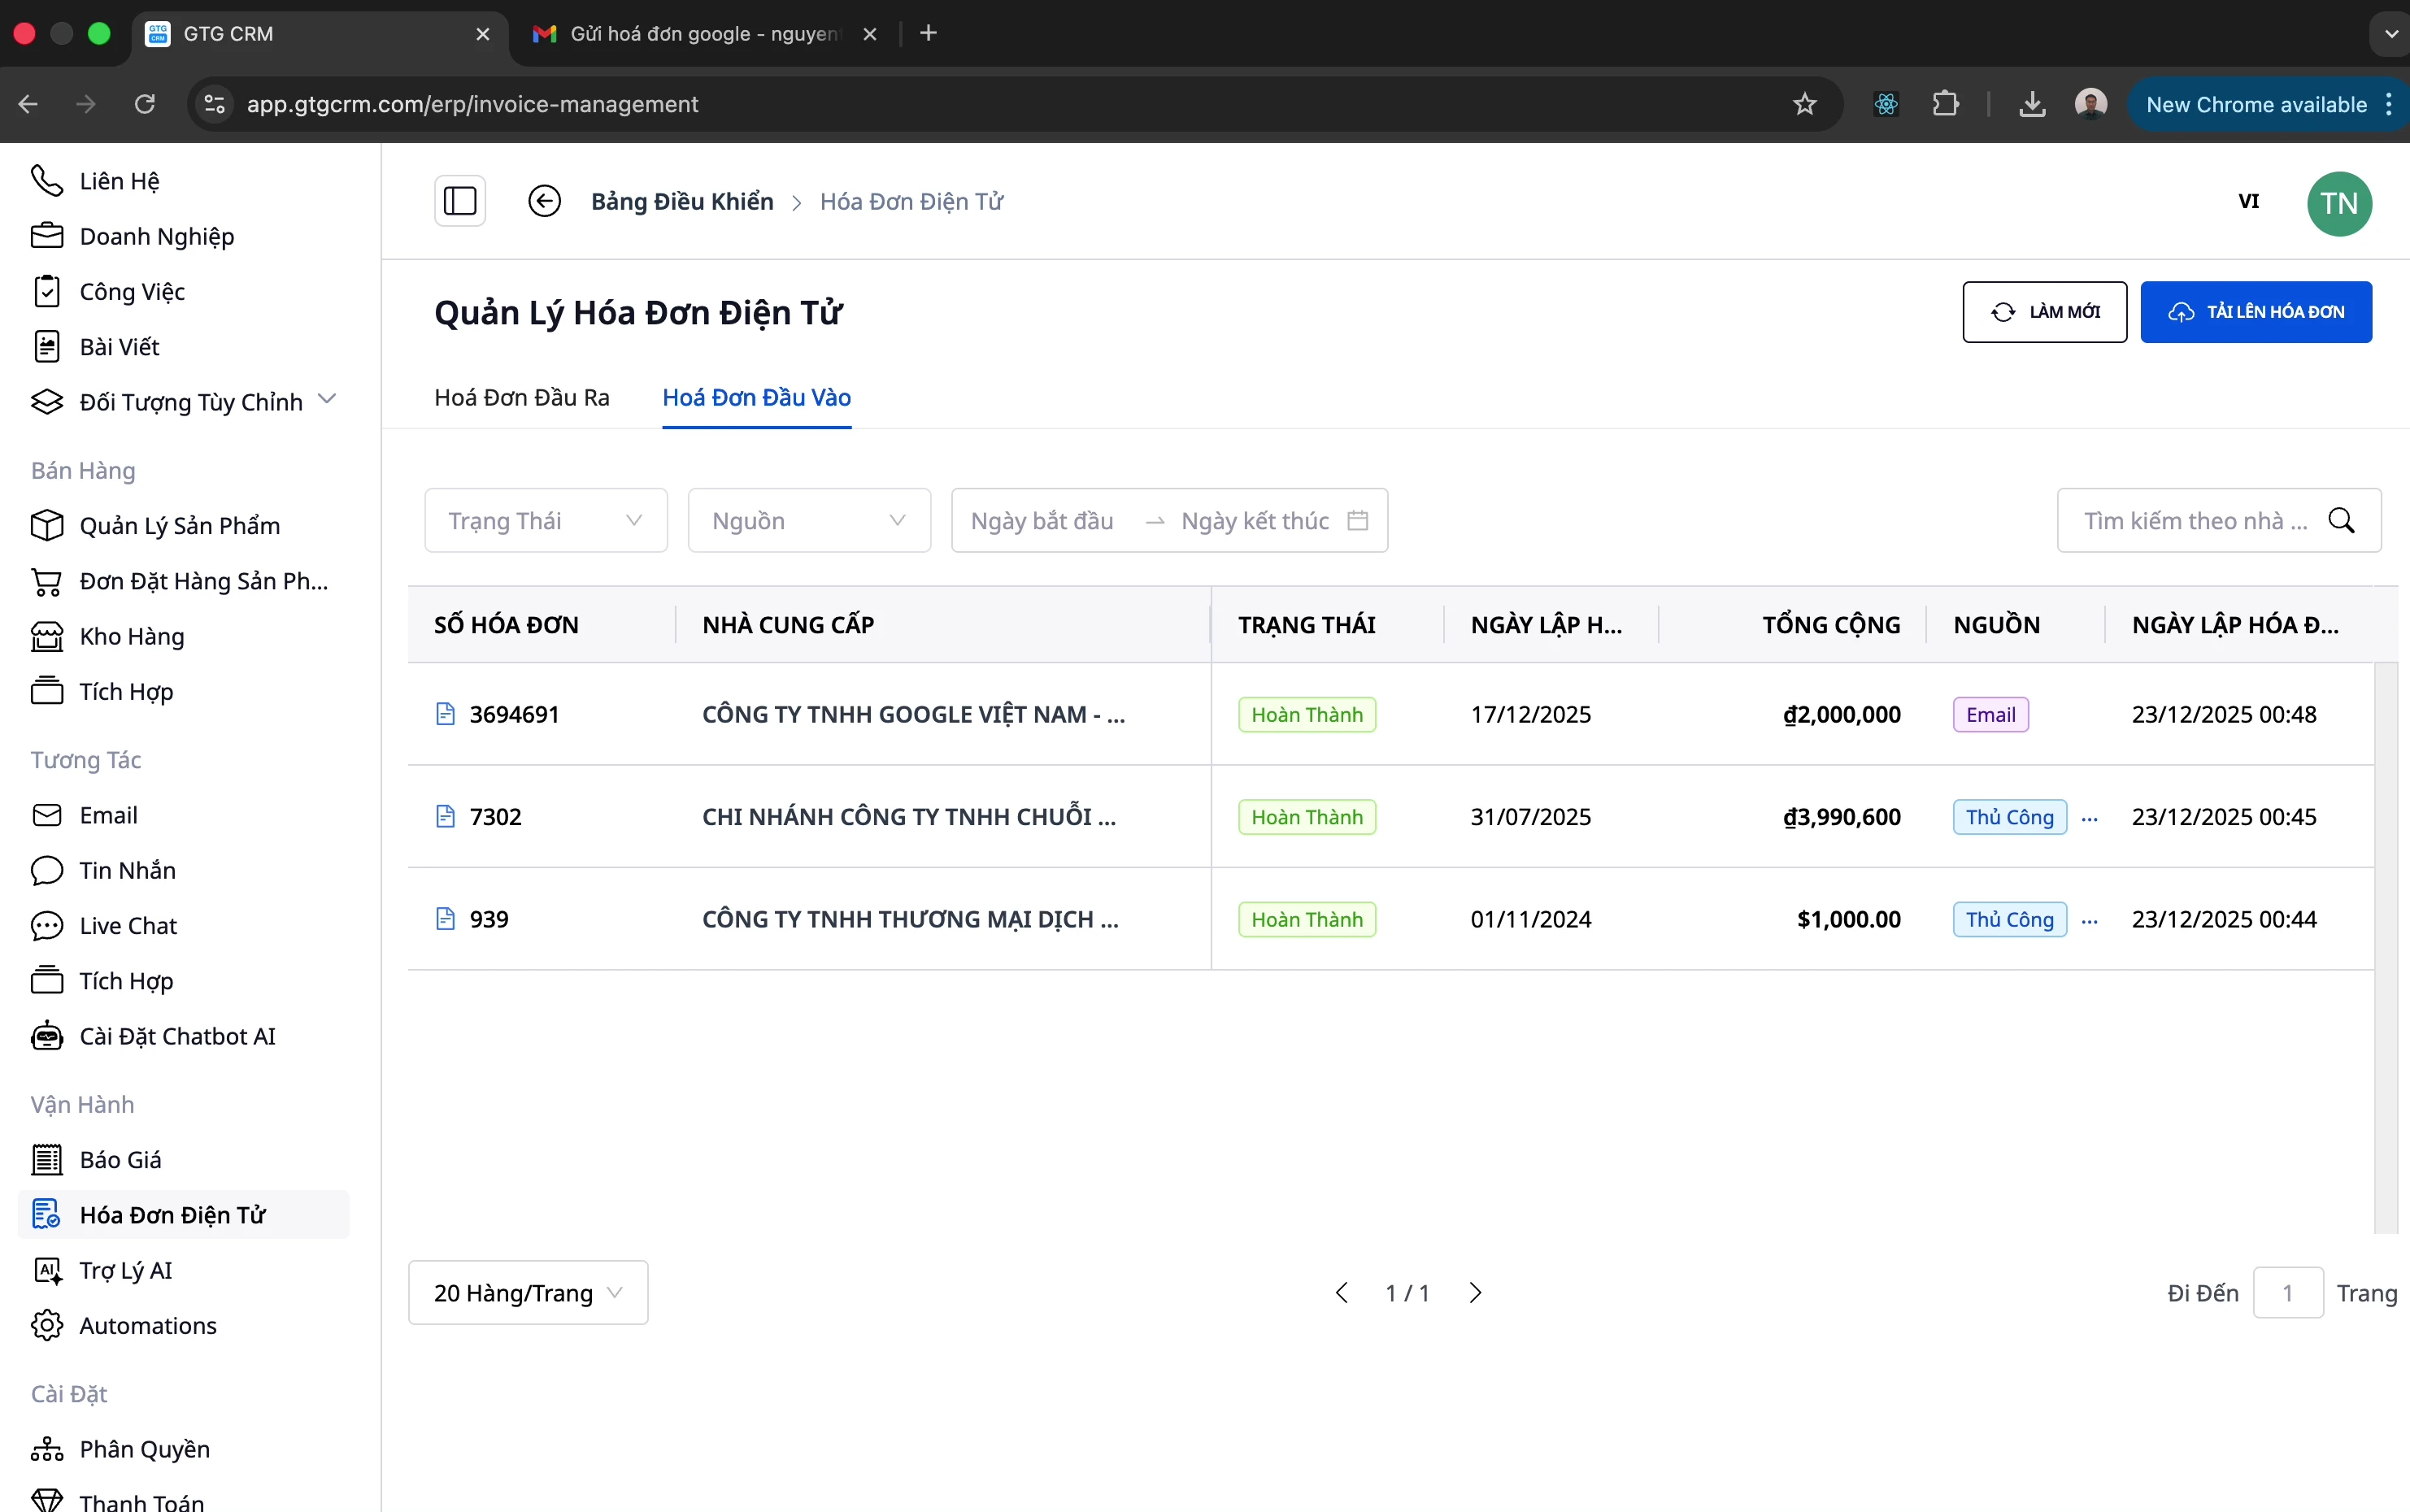
If the information is incorrect, you can edit it:
- Click on the invoice to edit
- Click "Edit"
- Edit the information
- Save
Connecting Invoice Providers
To issue outgoing invoices, you need to connect with an e-invoice provider.
Connect S-Invoice (Viettel)
Step 1: Open Connection
- Go to the "Outgoing Invoices" tab
- Click the "Connect" button in the top right corner
Step 2: Select S-Invoice
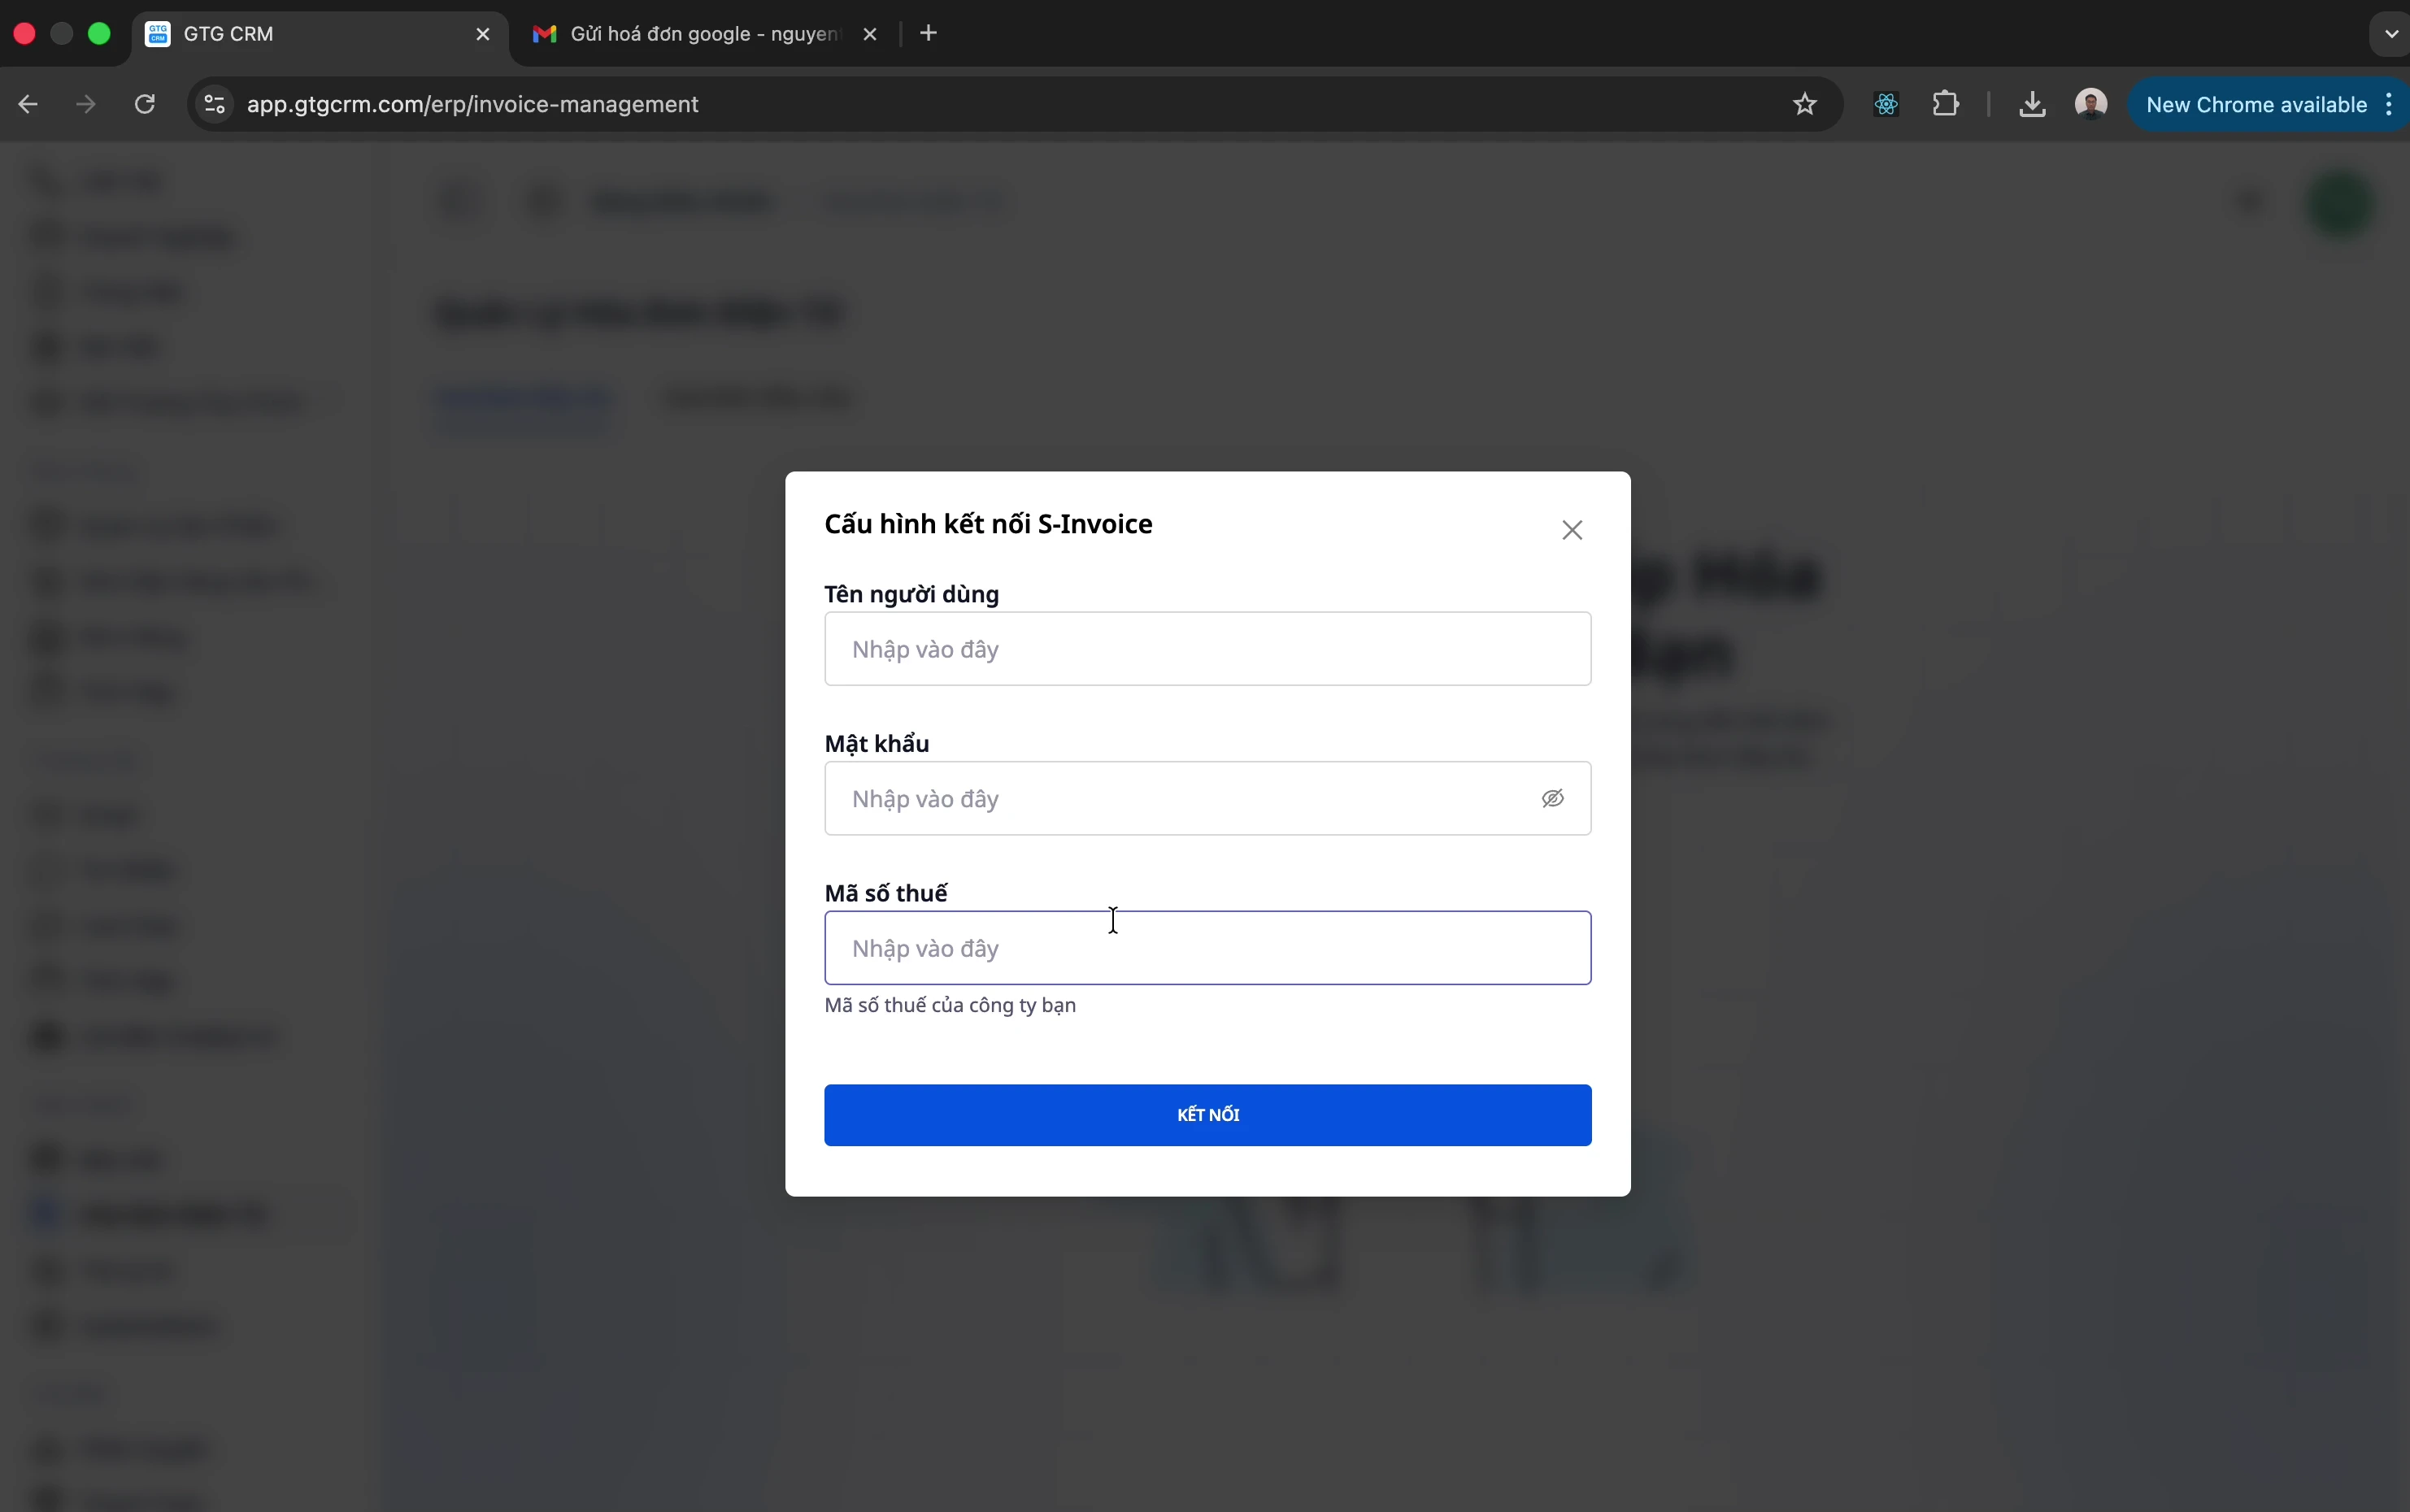
- Select the S-Invoice provider
- Enter login information:
- Username: (usually the tax code)
- Password: S-Invoice account password
- Tax Code: Company tax code
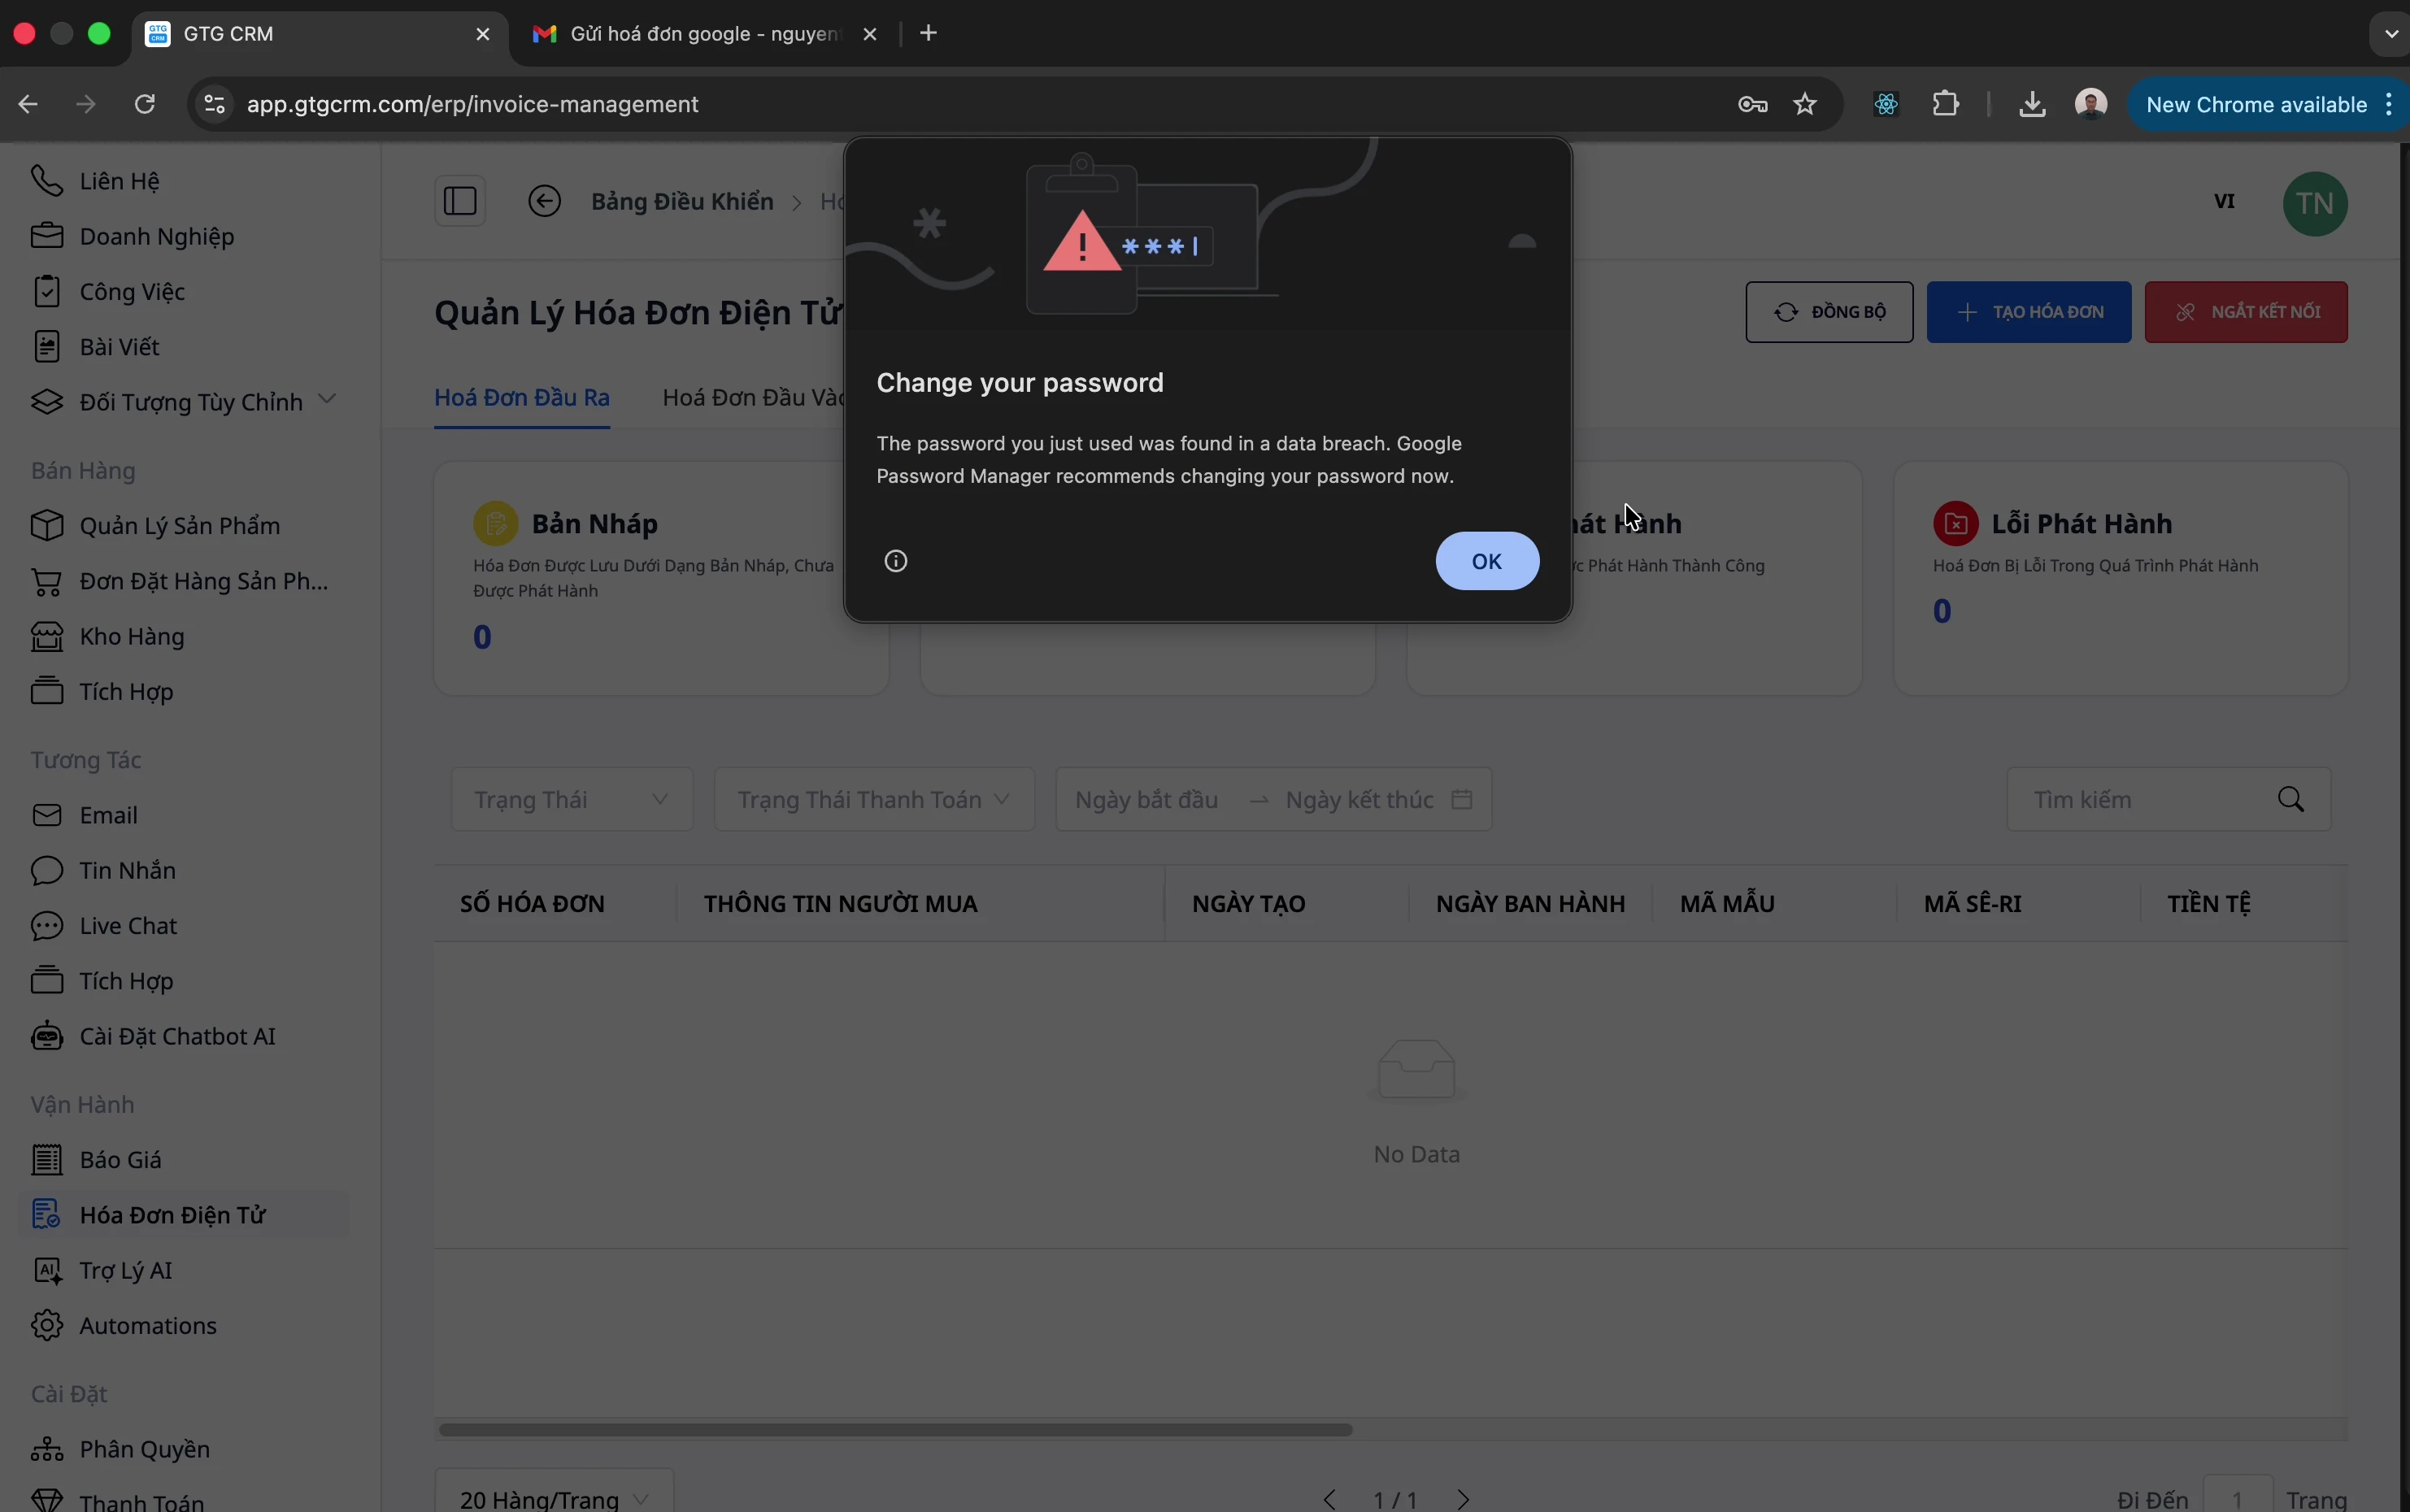
Step 3: Confirm Connection
Click "Connect" and wait for a success notification.
Connect MISA
Step 1: Select MISA
- Click the "Connect" button
- Select the MISA provider
Step 2: Enter Information
- Username: MISA registered email
- Password: MISA account password
- Tax Code: Company tax code
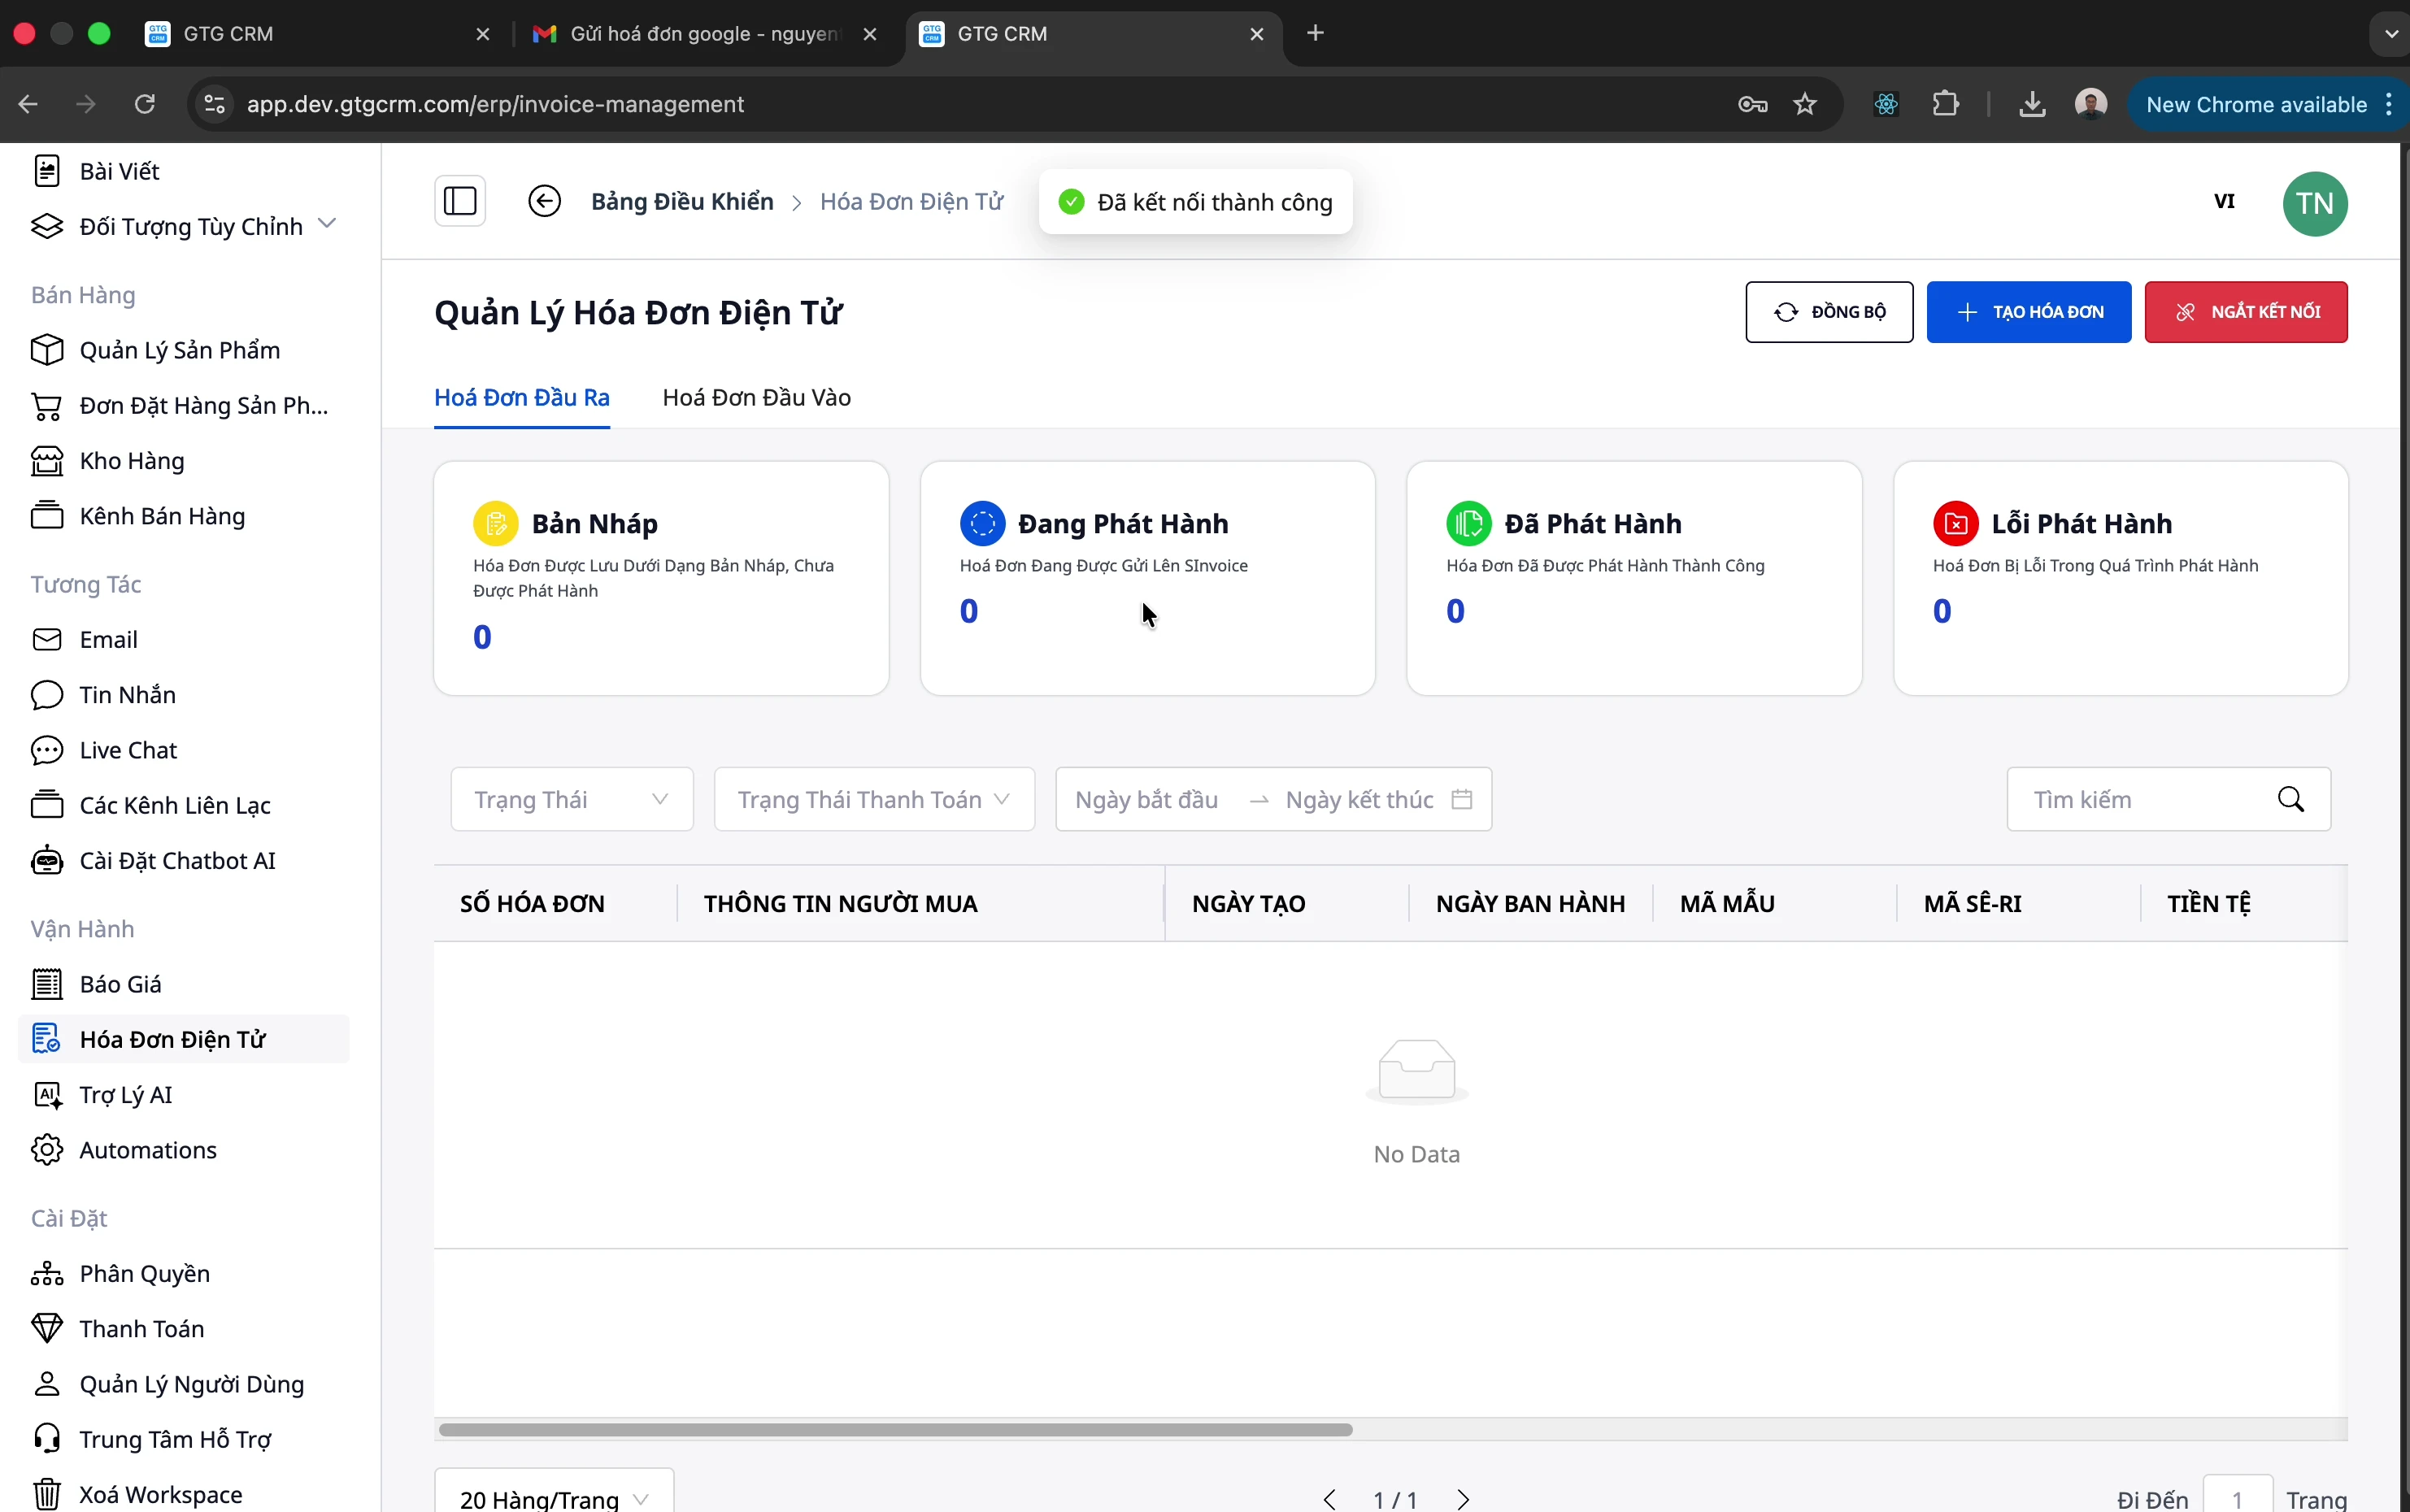
Step 3: Confirm
Click "Connect" and wait for a success notification.
Issuing Outgoing Invoices
Step 1: Open Invoice Creation Form
- Go to the "Outgoing Invoices" tab
- Click "Create Invoice"
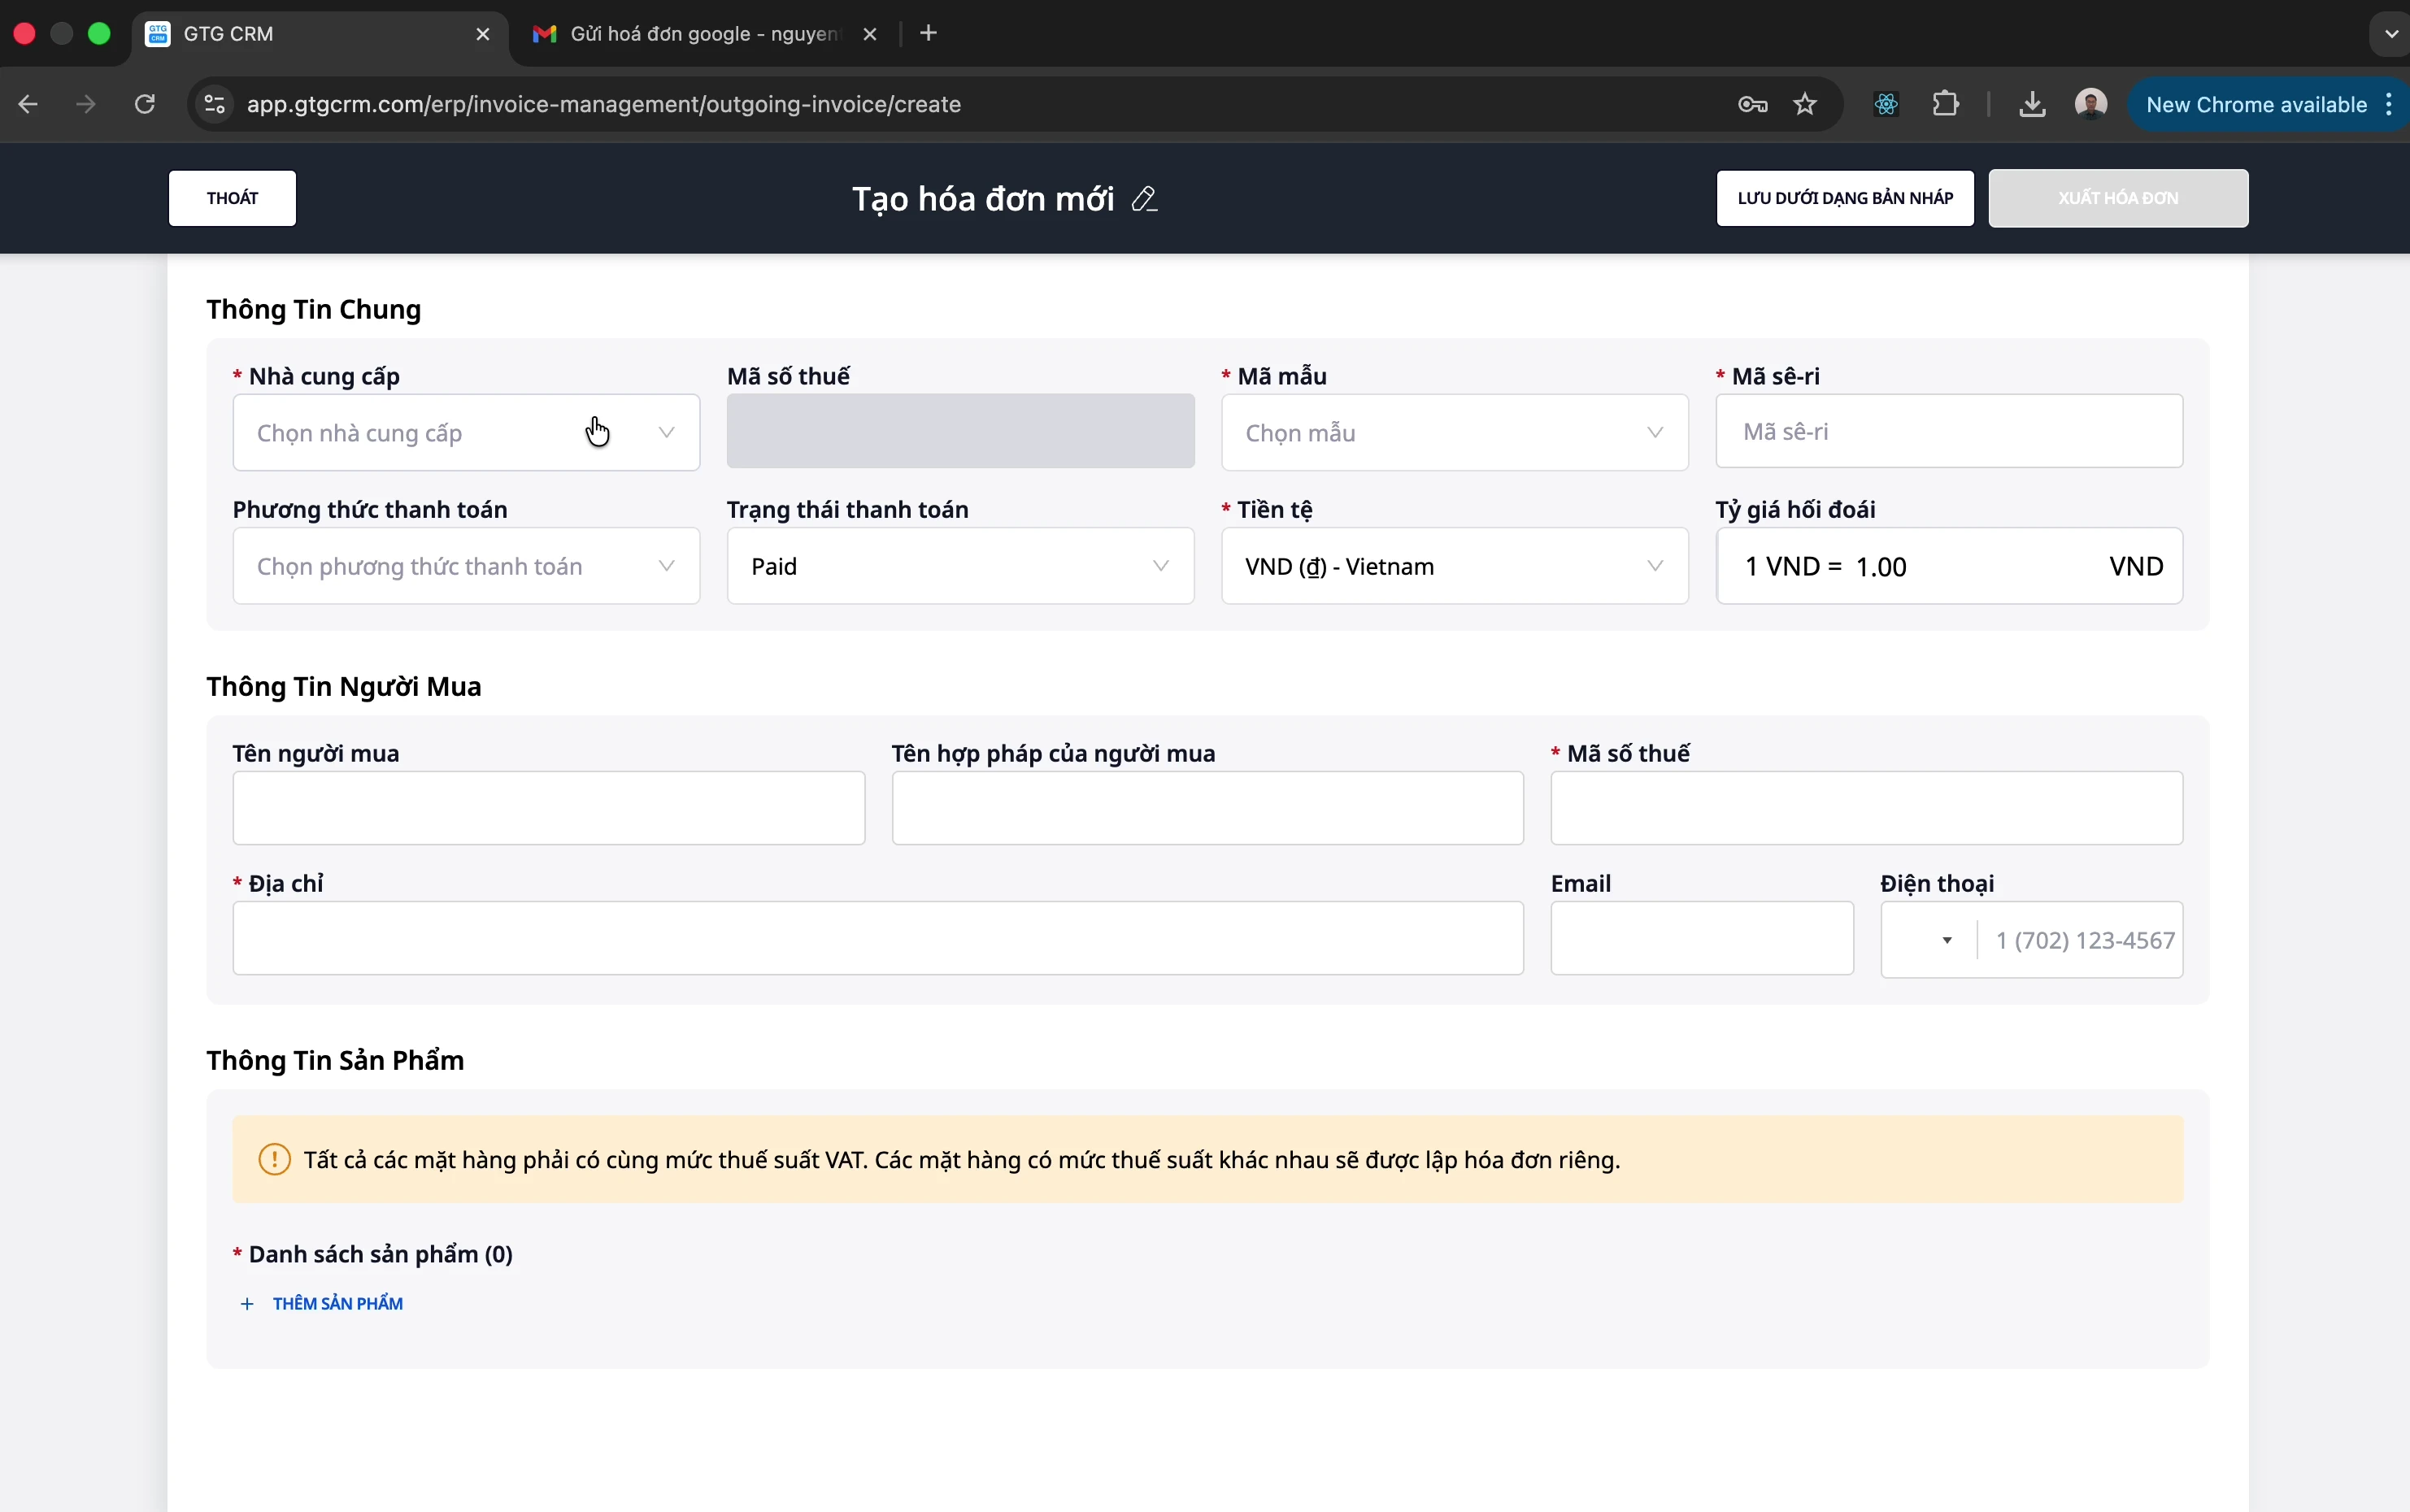
Step 2: Select Basic Information
| Field | Description |
|---|---|
| Provider | S-Invoice or MISA |
| Invoice Template | Select a suitable template (contact accounting) |
| Payment Method | Cash / Bank Transfer |
| Payment Status | Paid / Unpaid |
⚠️ Note: The payment status does not affect the tax authorities, but it helps you track accounts receivable.
Step 3: Enter Buyer Information
- Legal Name: Buyer's company name
- Tax Code: Buyer's tax code
- Address: Company address
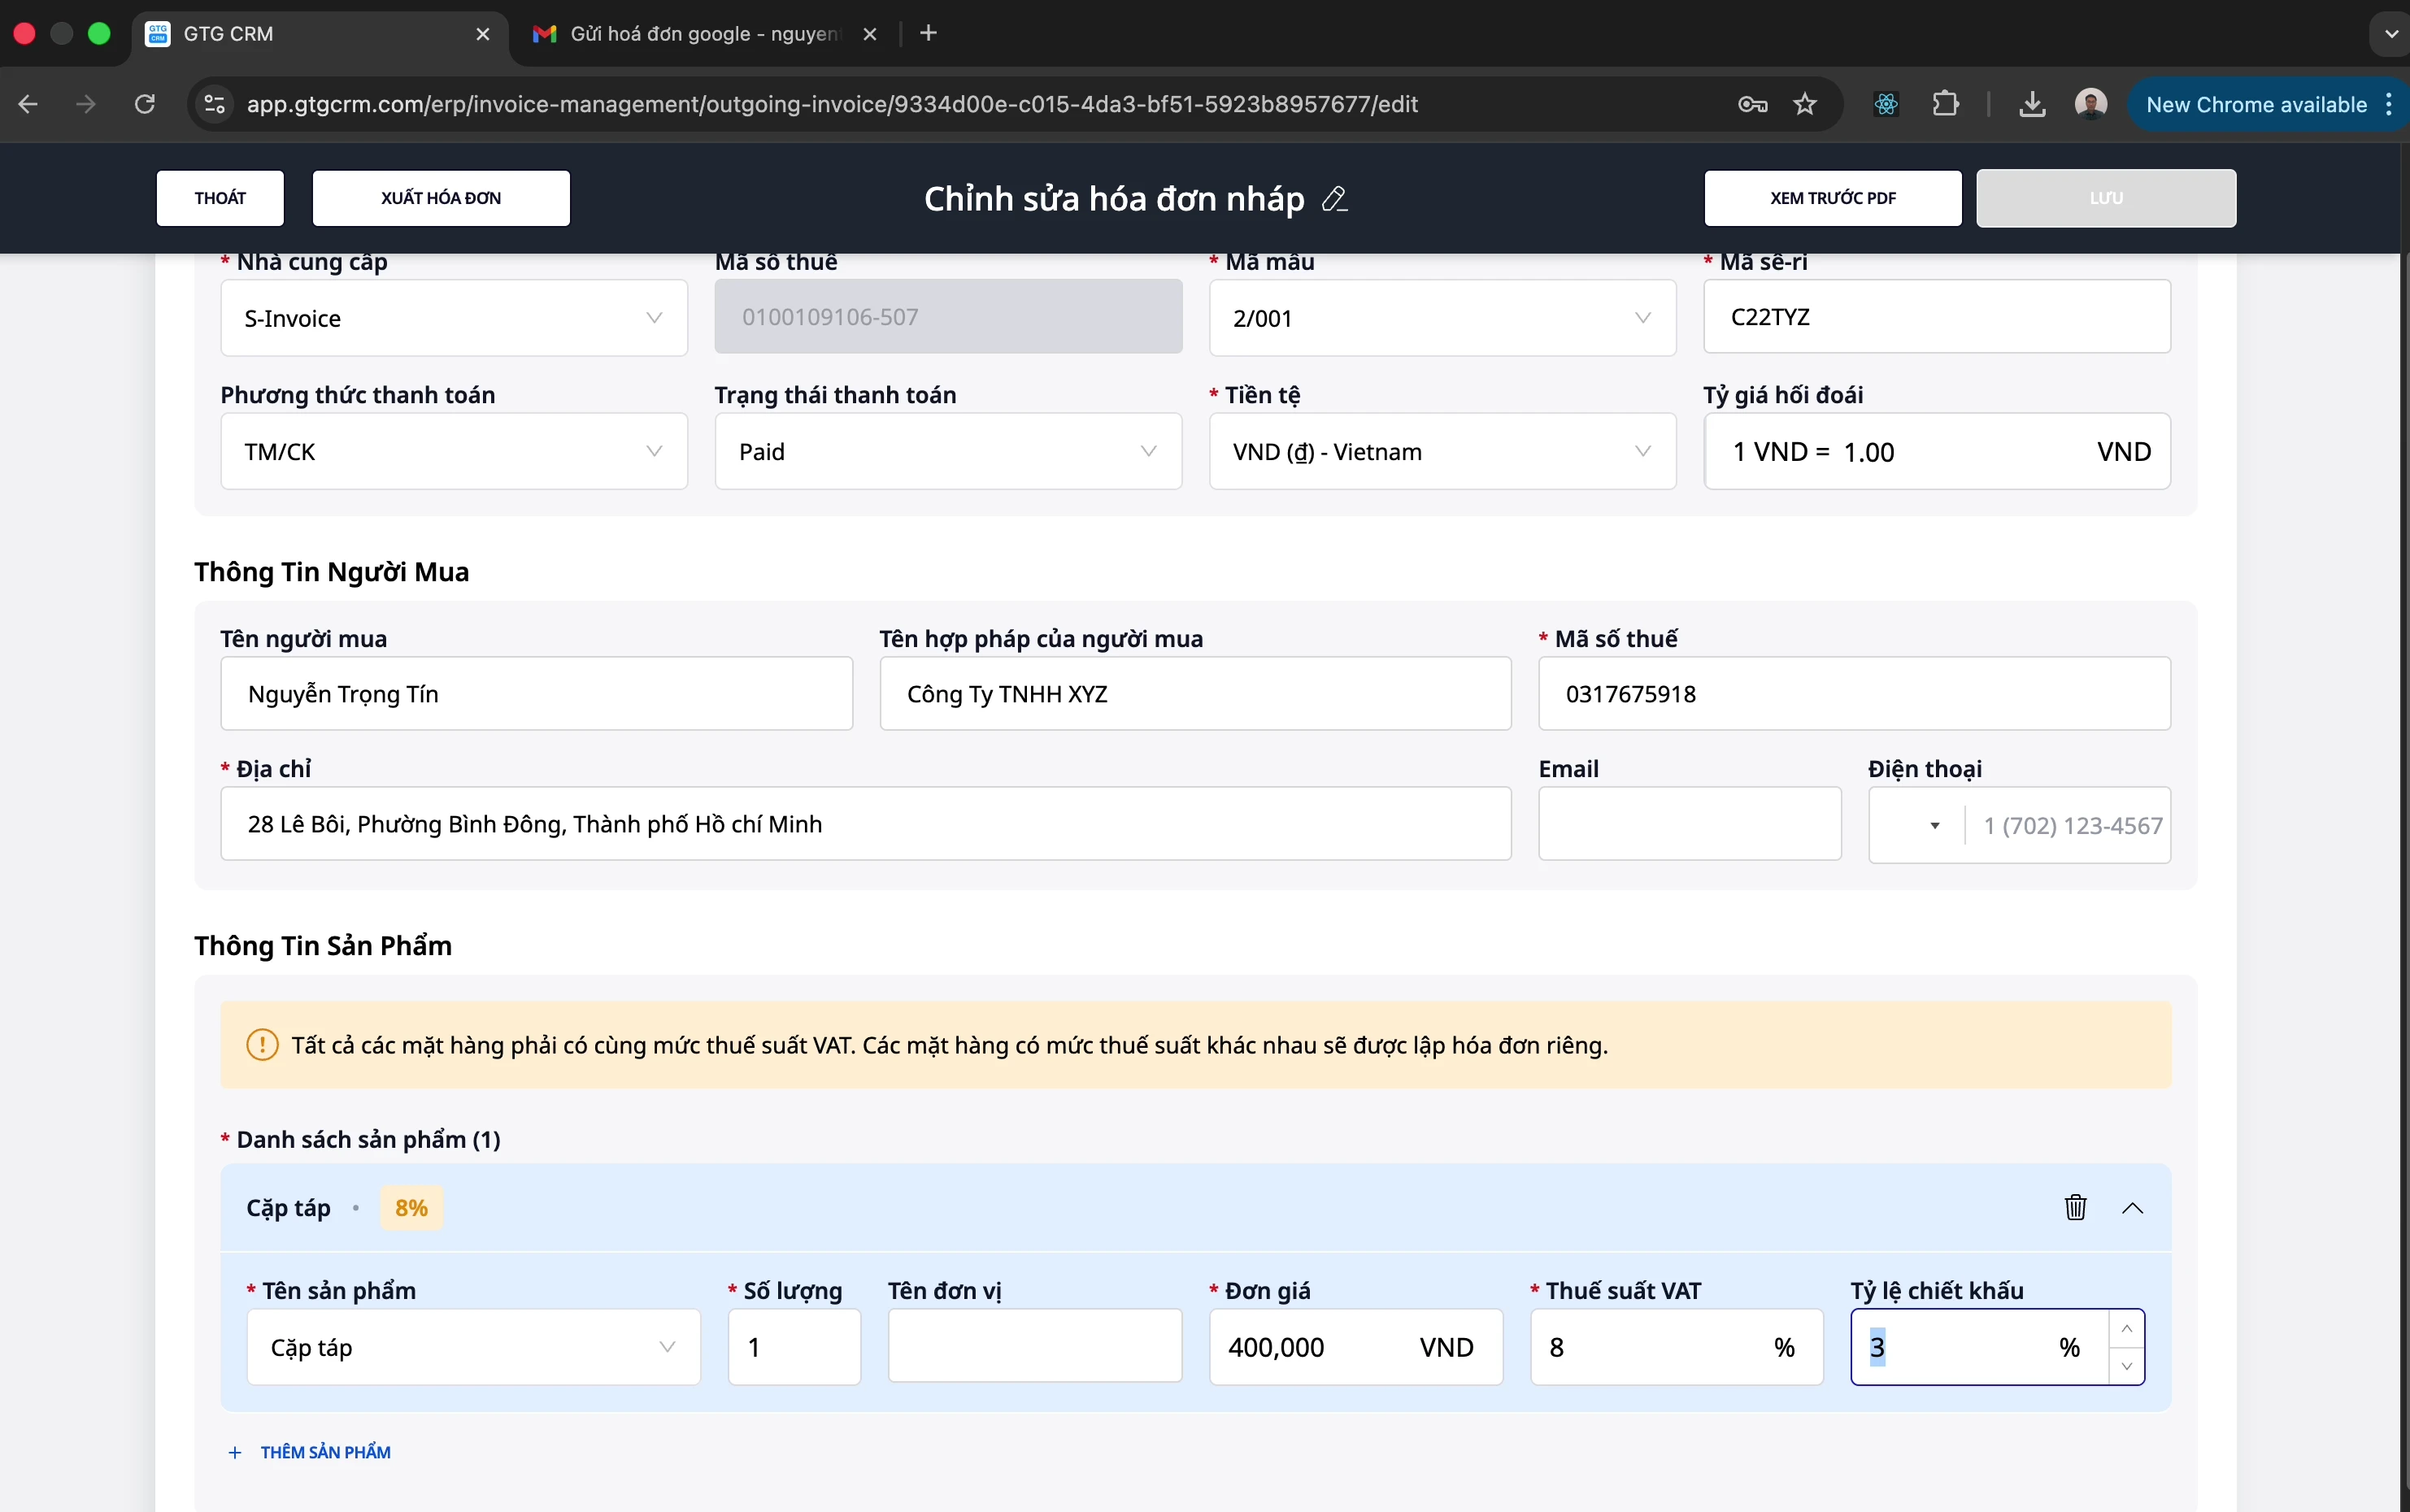
Step 4: Add Products/Services
- Click "Add Product"
- Enter information:
- Product name
- Quantity
- Unit price
- Tax rate (8% or 10%)
- Discount rate (if any)
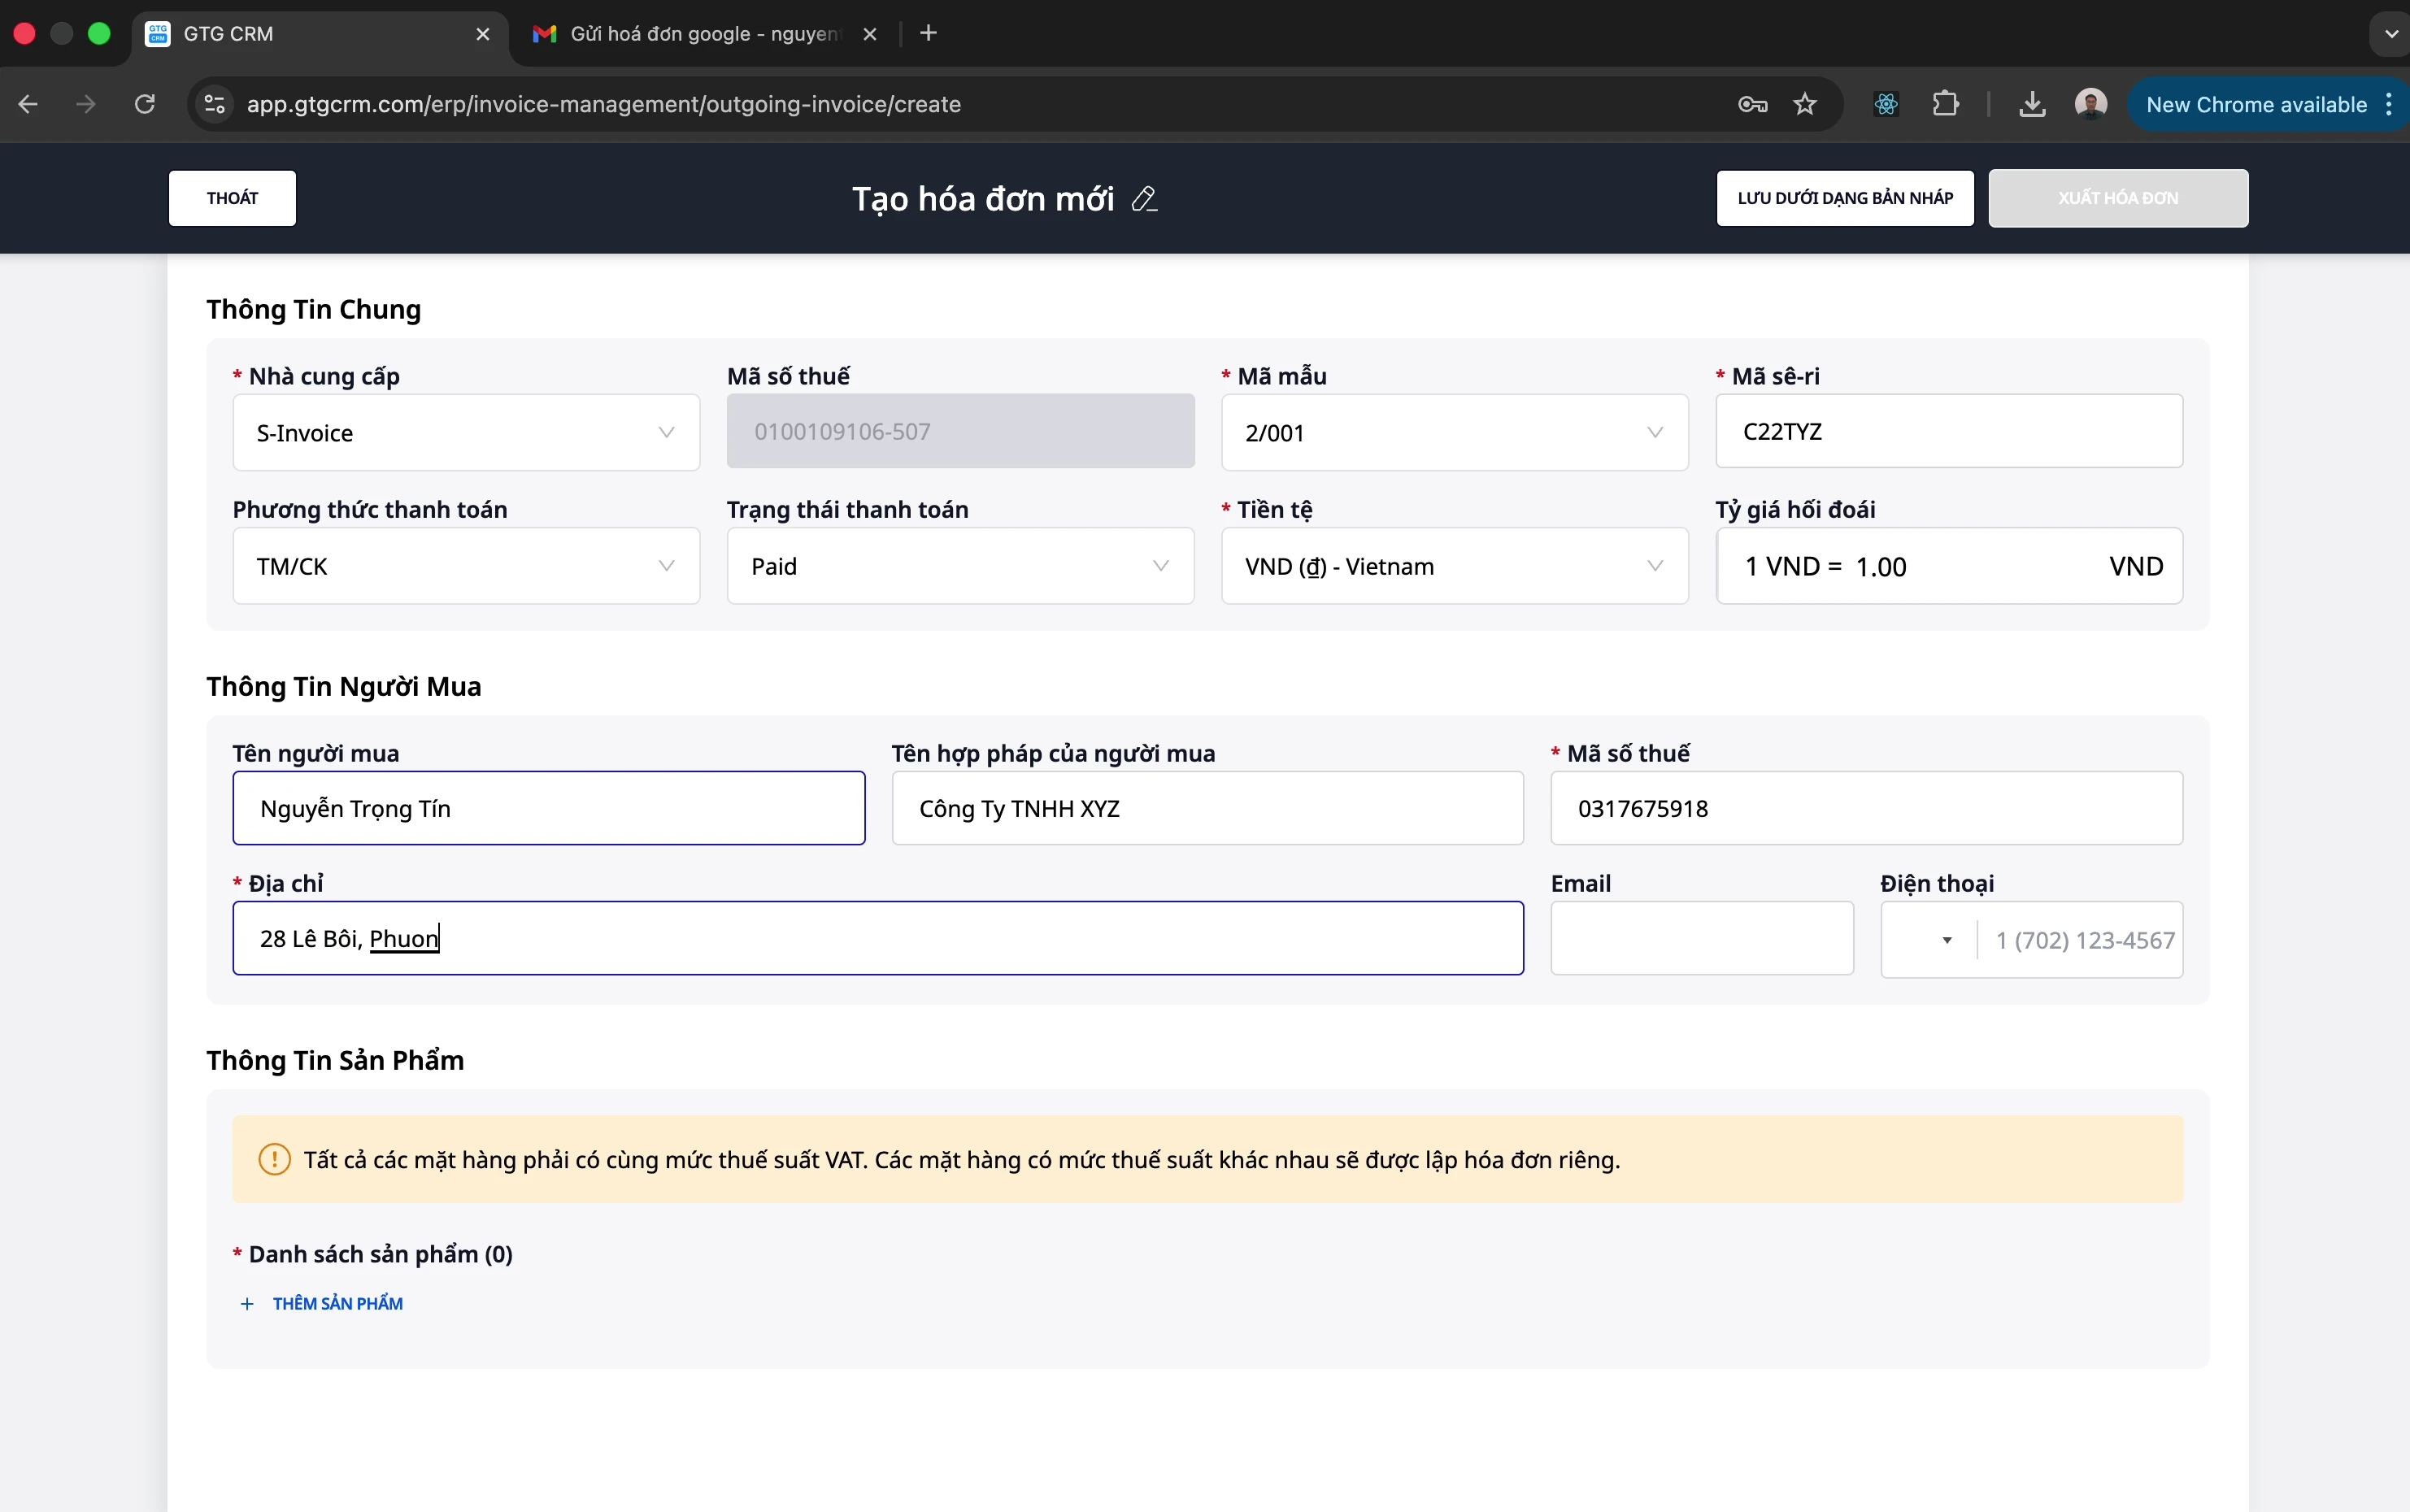
💡 Tip: If there are multiple products with different tax rates (8% and 10%), the system will automatically split them into 2 separate invoices.
Step 5: Save Draft
Click "Save Draft" to save before issuing.
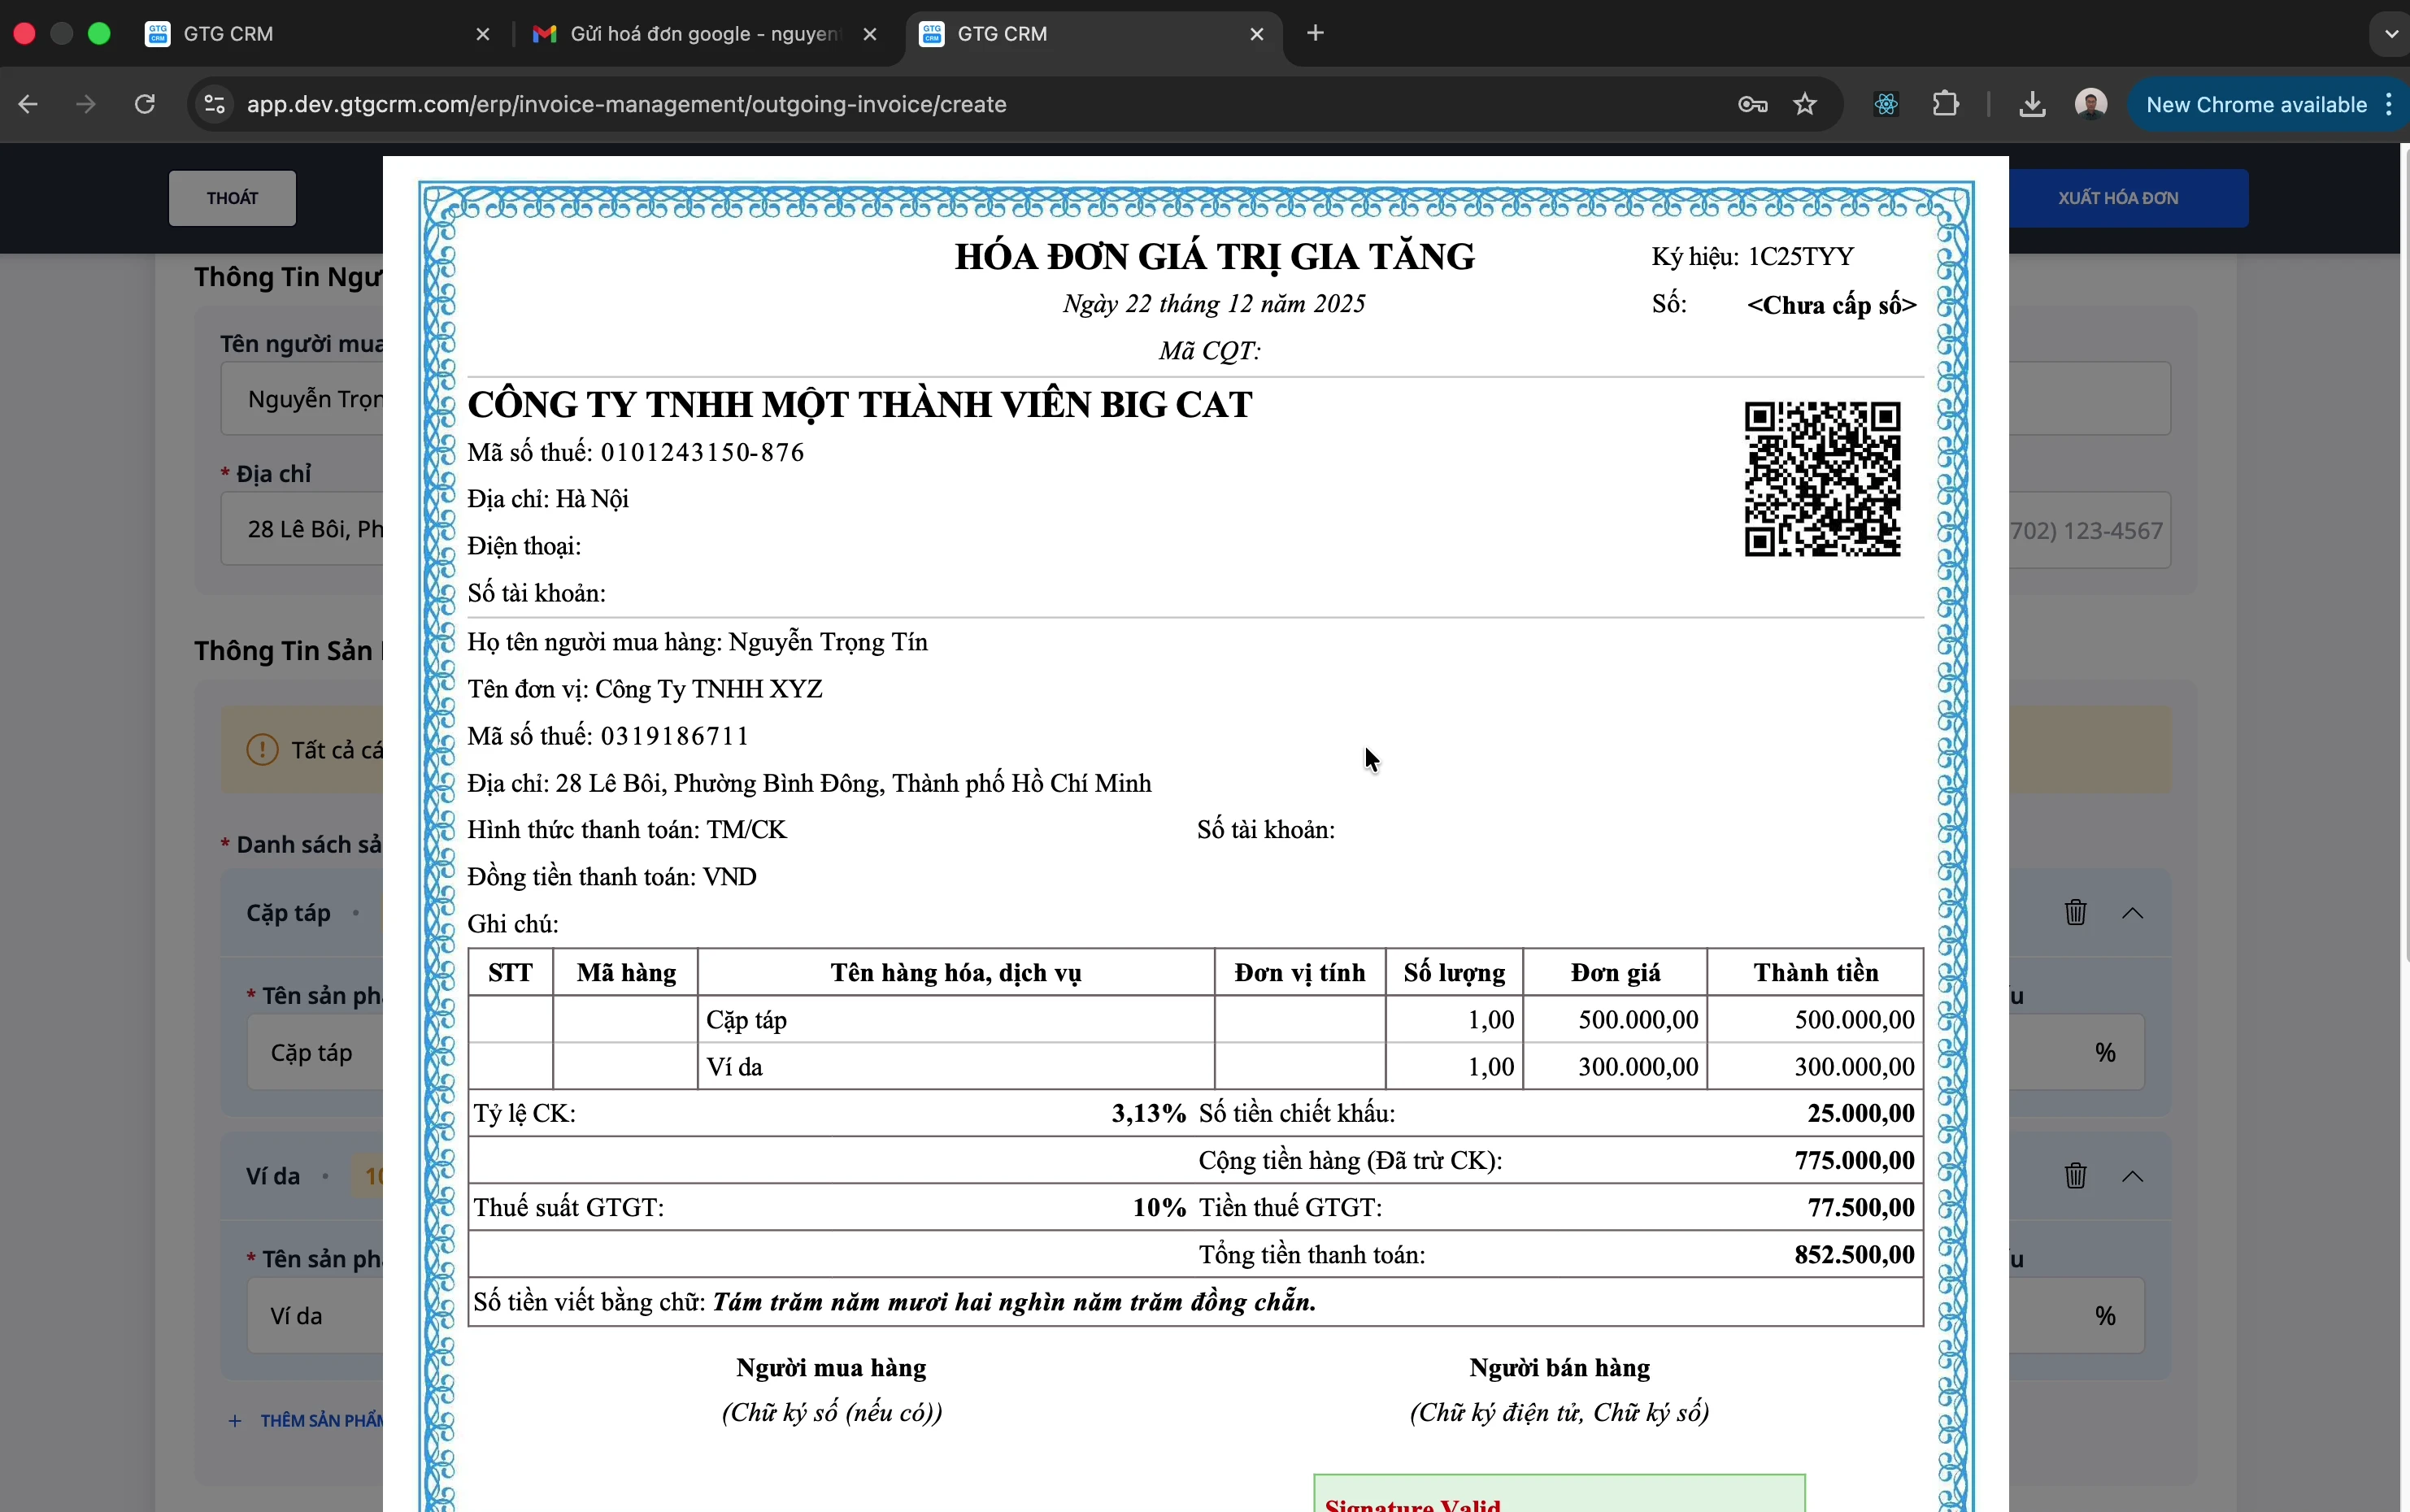
Step 6: Preview PDF
- Click "Preview PDF"
- Check invoice information
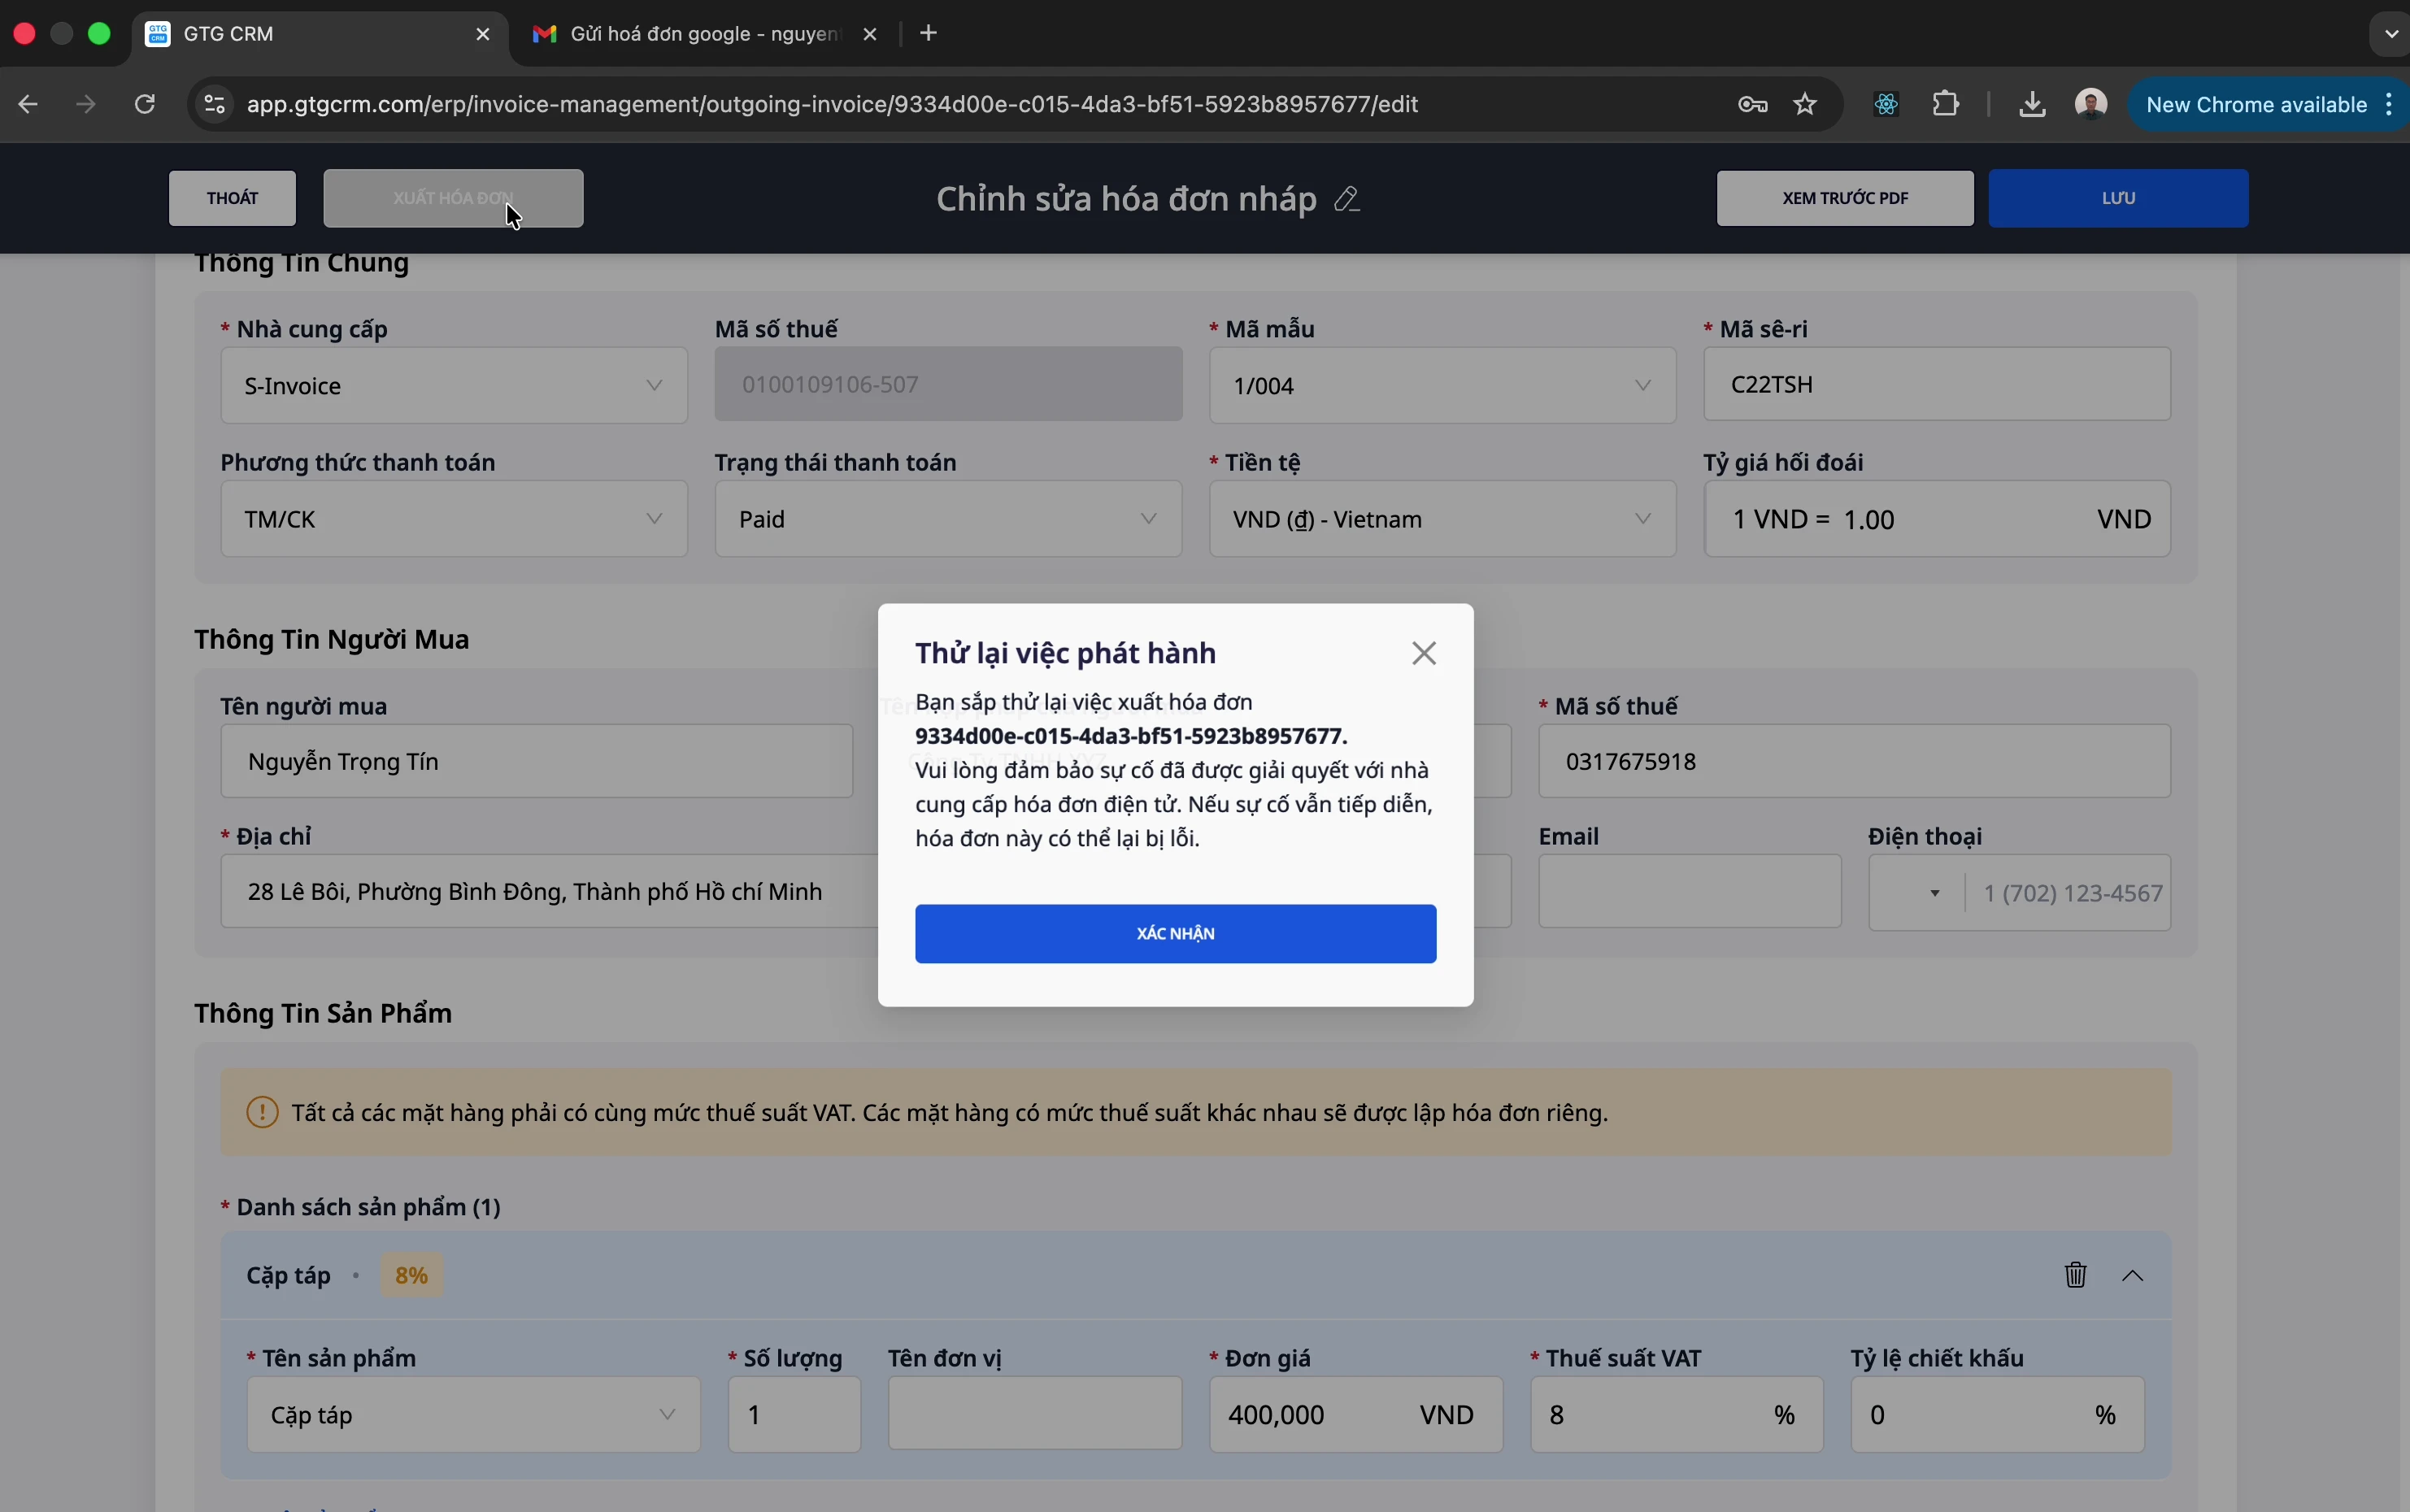
Step 7: Issue Invoice
- Carefully check the information
- Click "Issue Invoice"
- Wait for a success notification
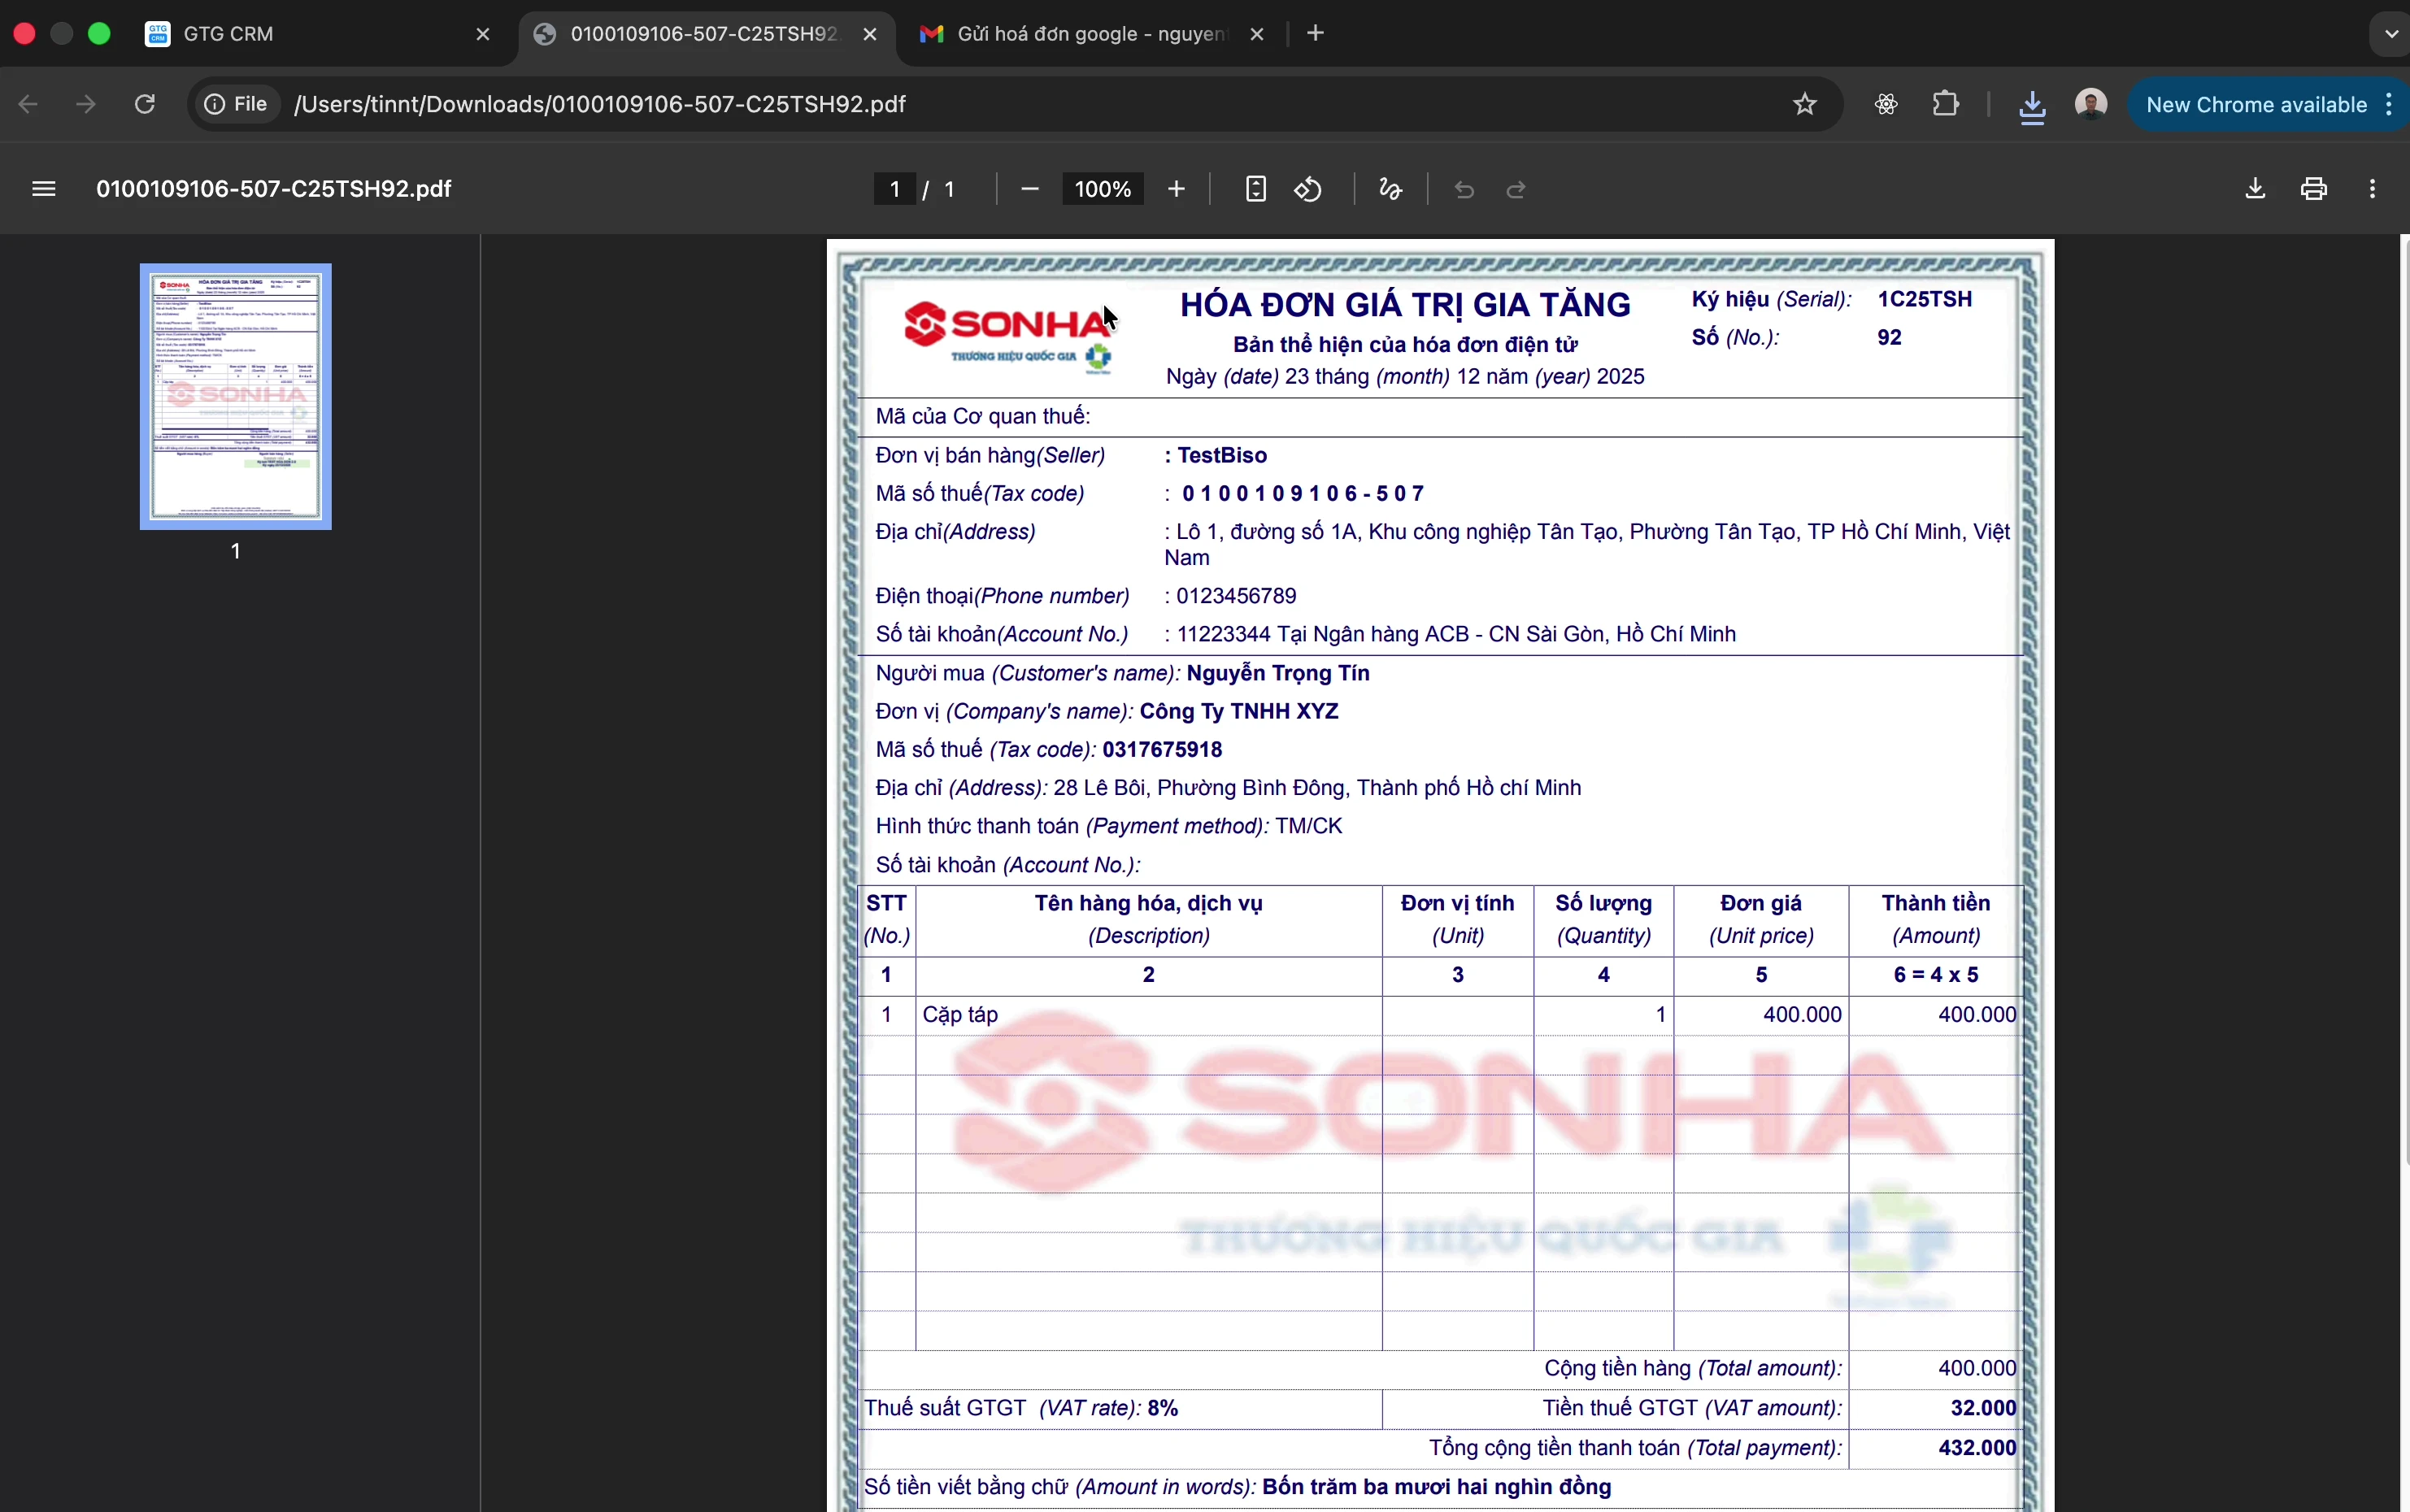
Step 8: Download Invoice PDF
After successful issuance:
- Click "Download PDF" to download the invoice
- Send to customer
Creating Replacement Invoices
When you need to adjust an issued invoice (customer returns goods, errors detected...):
Step 1: Open Original Invoice
- Go to the "Outgoing Invoices" tab
- Find and click on the invoice to be replaced
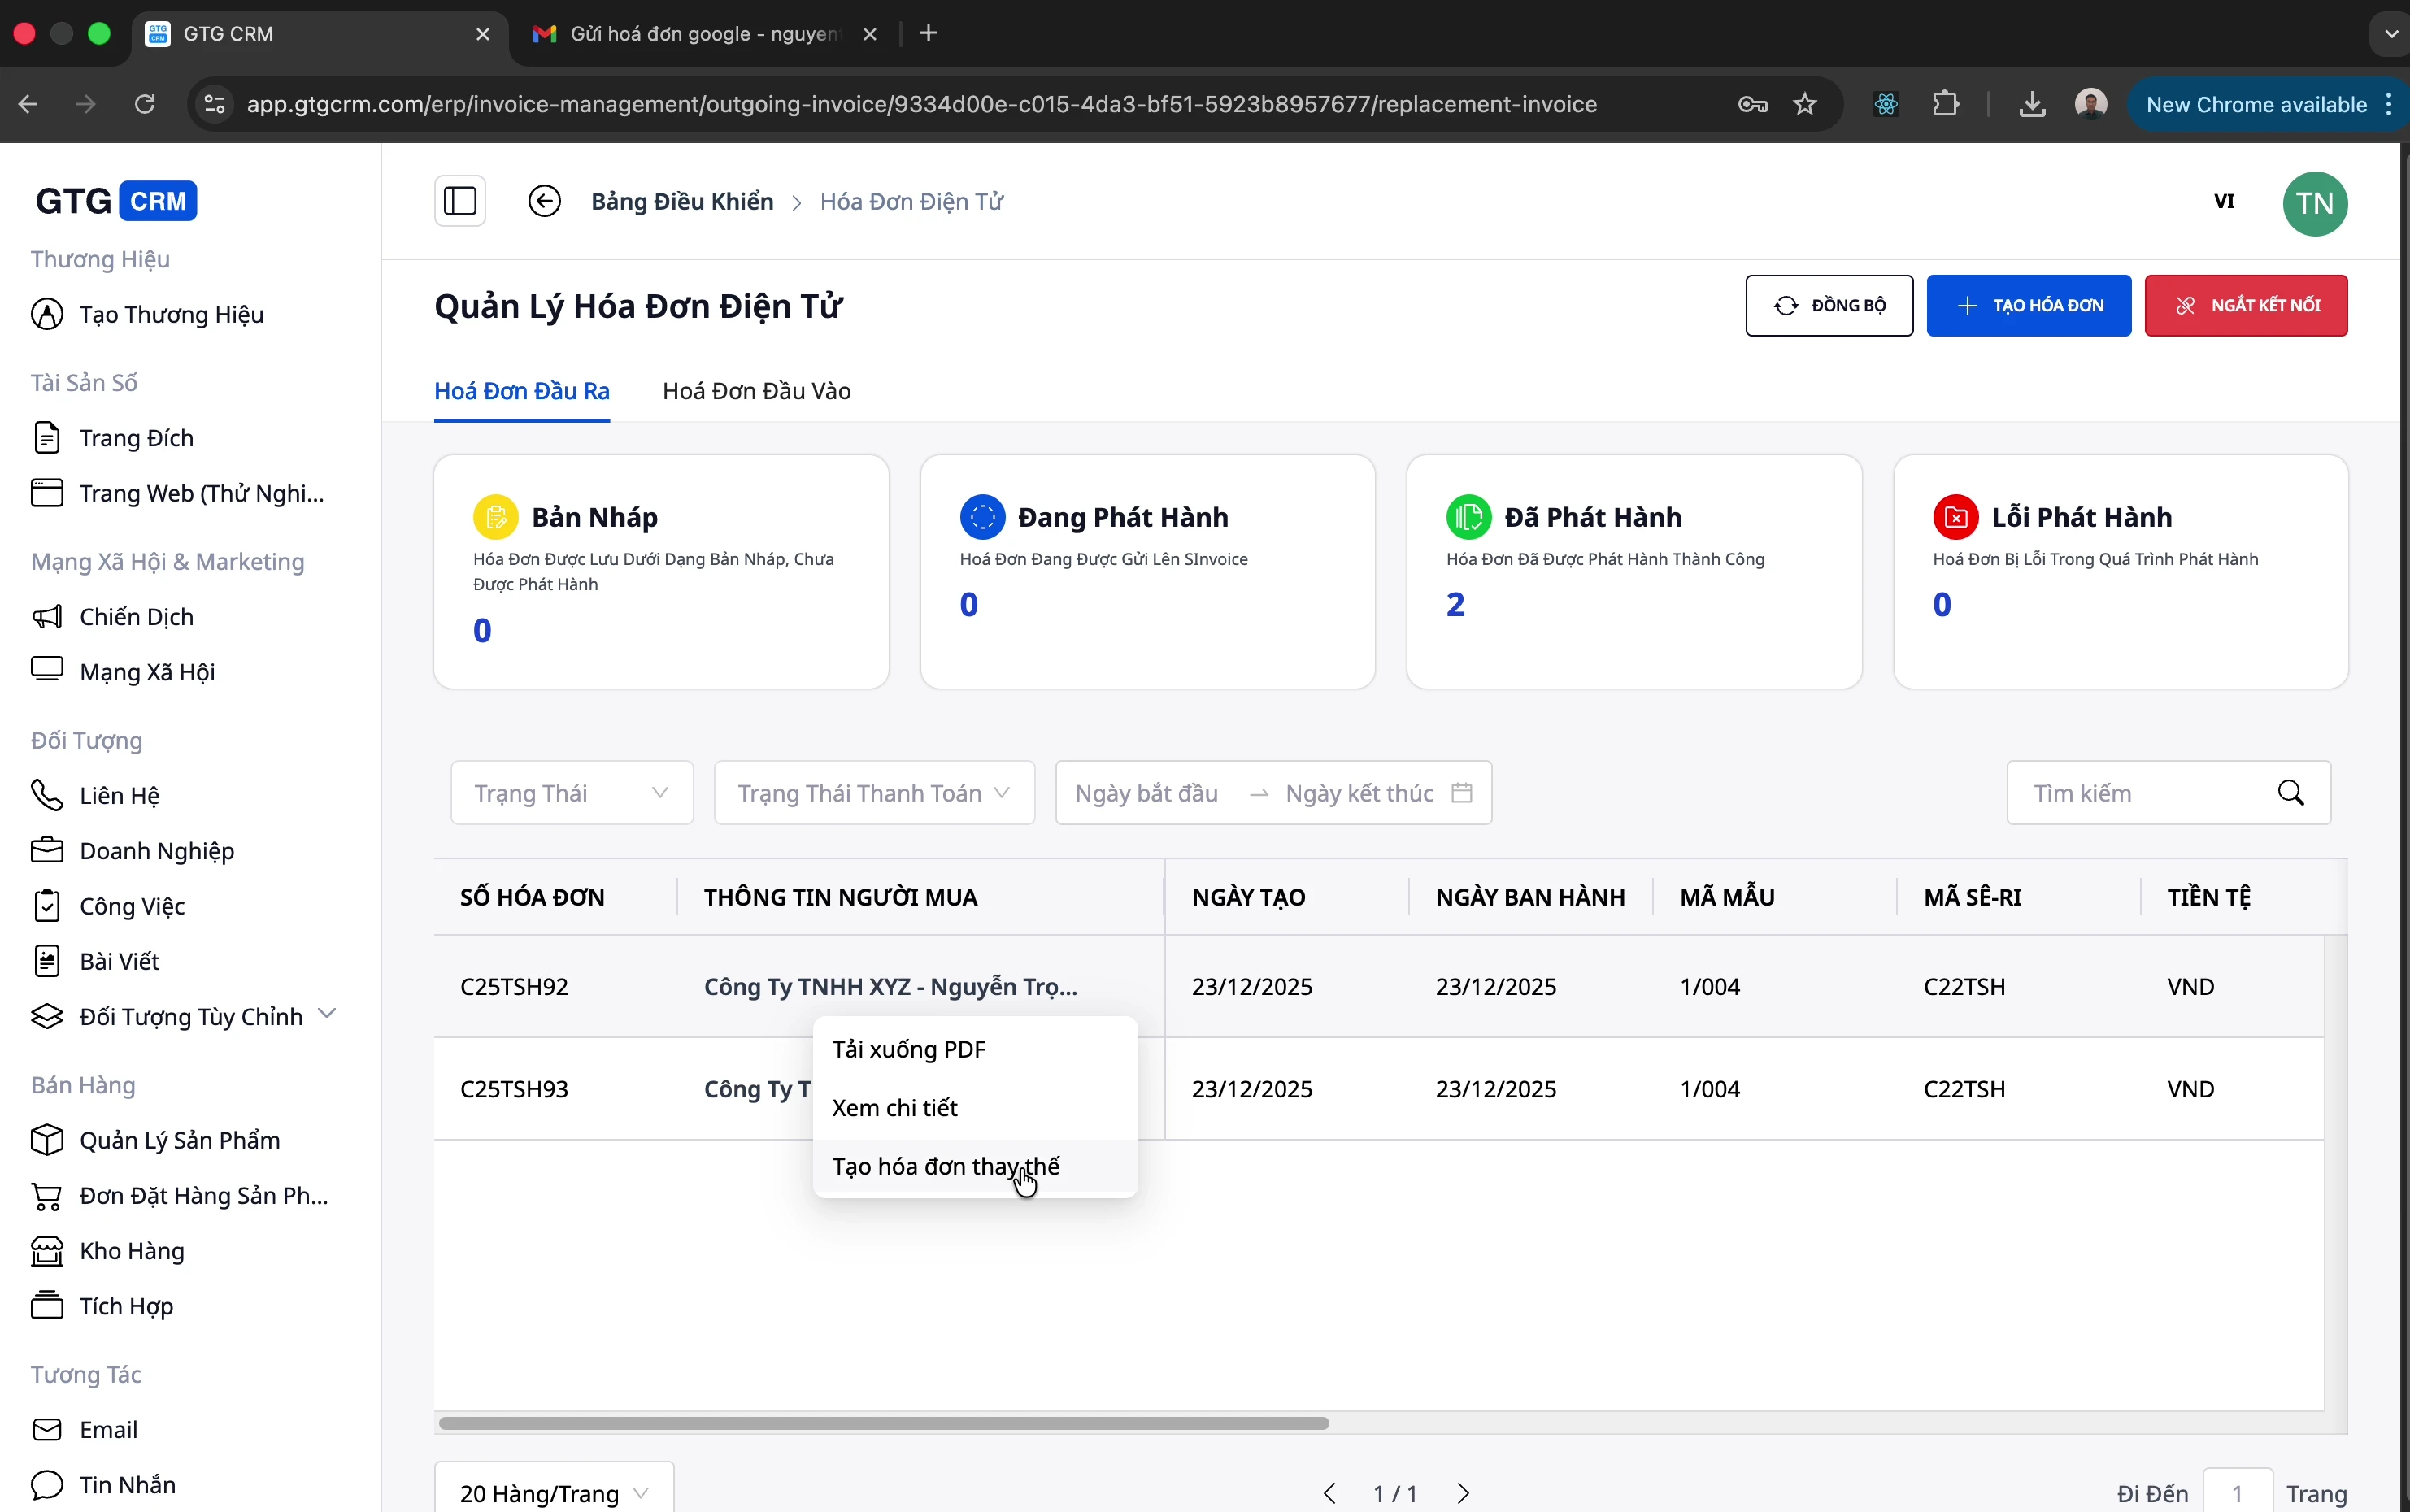
Step 2: Create Replacement Invoice
- Click "Create Replacement Invoice"
Step 3: Adjust Information
- Change products, quantities, prices if necessary
- Add or remove products
⚠️ Note: You cannot change the tax rate to be different from the original invoice within the same replacement invoice.
Step 4: Issue Replacement Invoice
- Save Draft
- Preview PDF
- Issue Replacement Invoice
Other Operations
Sync Invoices
Synchronize invoices from the provider to GTG CRM:
- Click the "Sync" button
- Wait for the system to update
Disconnect Provider
- Click the "Connect" (or "Disconnect") button
- Confirm disconnection
- You can connect to another provider
View Invoice Details
Click on any invoice to view:
- Detailed information
- Product list
- Total amount and VAT
Change Invoice Template
- Go to edit the invoice (draft)
- Select a new template
- Save before previewing the PDF
Tips for Effective Use
1. Set Up Automatic Email Collection
- Saves time downloading monthly invoices
- Accountants just need to log in to GTG CRM to download them
2. Check Carefully Before Issuing
- Always Preview PDF before issuing
- Issued invoices cannot be edited; only replacement invoices can be created
3. Track Payment Status
- Mark as "Paid" when payment is received
- Helps effectively manage accounts receivable
4. Grant Permissions to Accountants
- Grant accountants access to the E-Invoice module
- Accountants can download invoices themselves for tax reporting