Prerequisites
Before using the Social Hub feature, you need to:
- Have a GTG CRM account
- Log in to the system
Connect Social Media Accounts
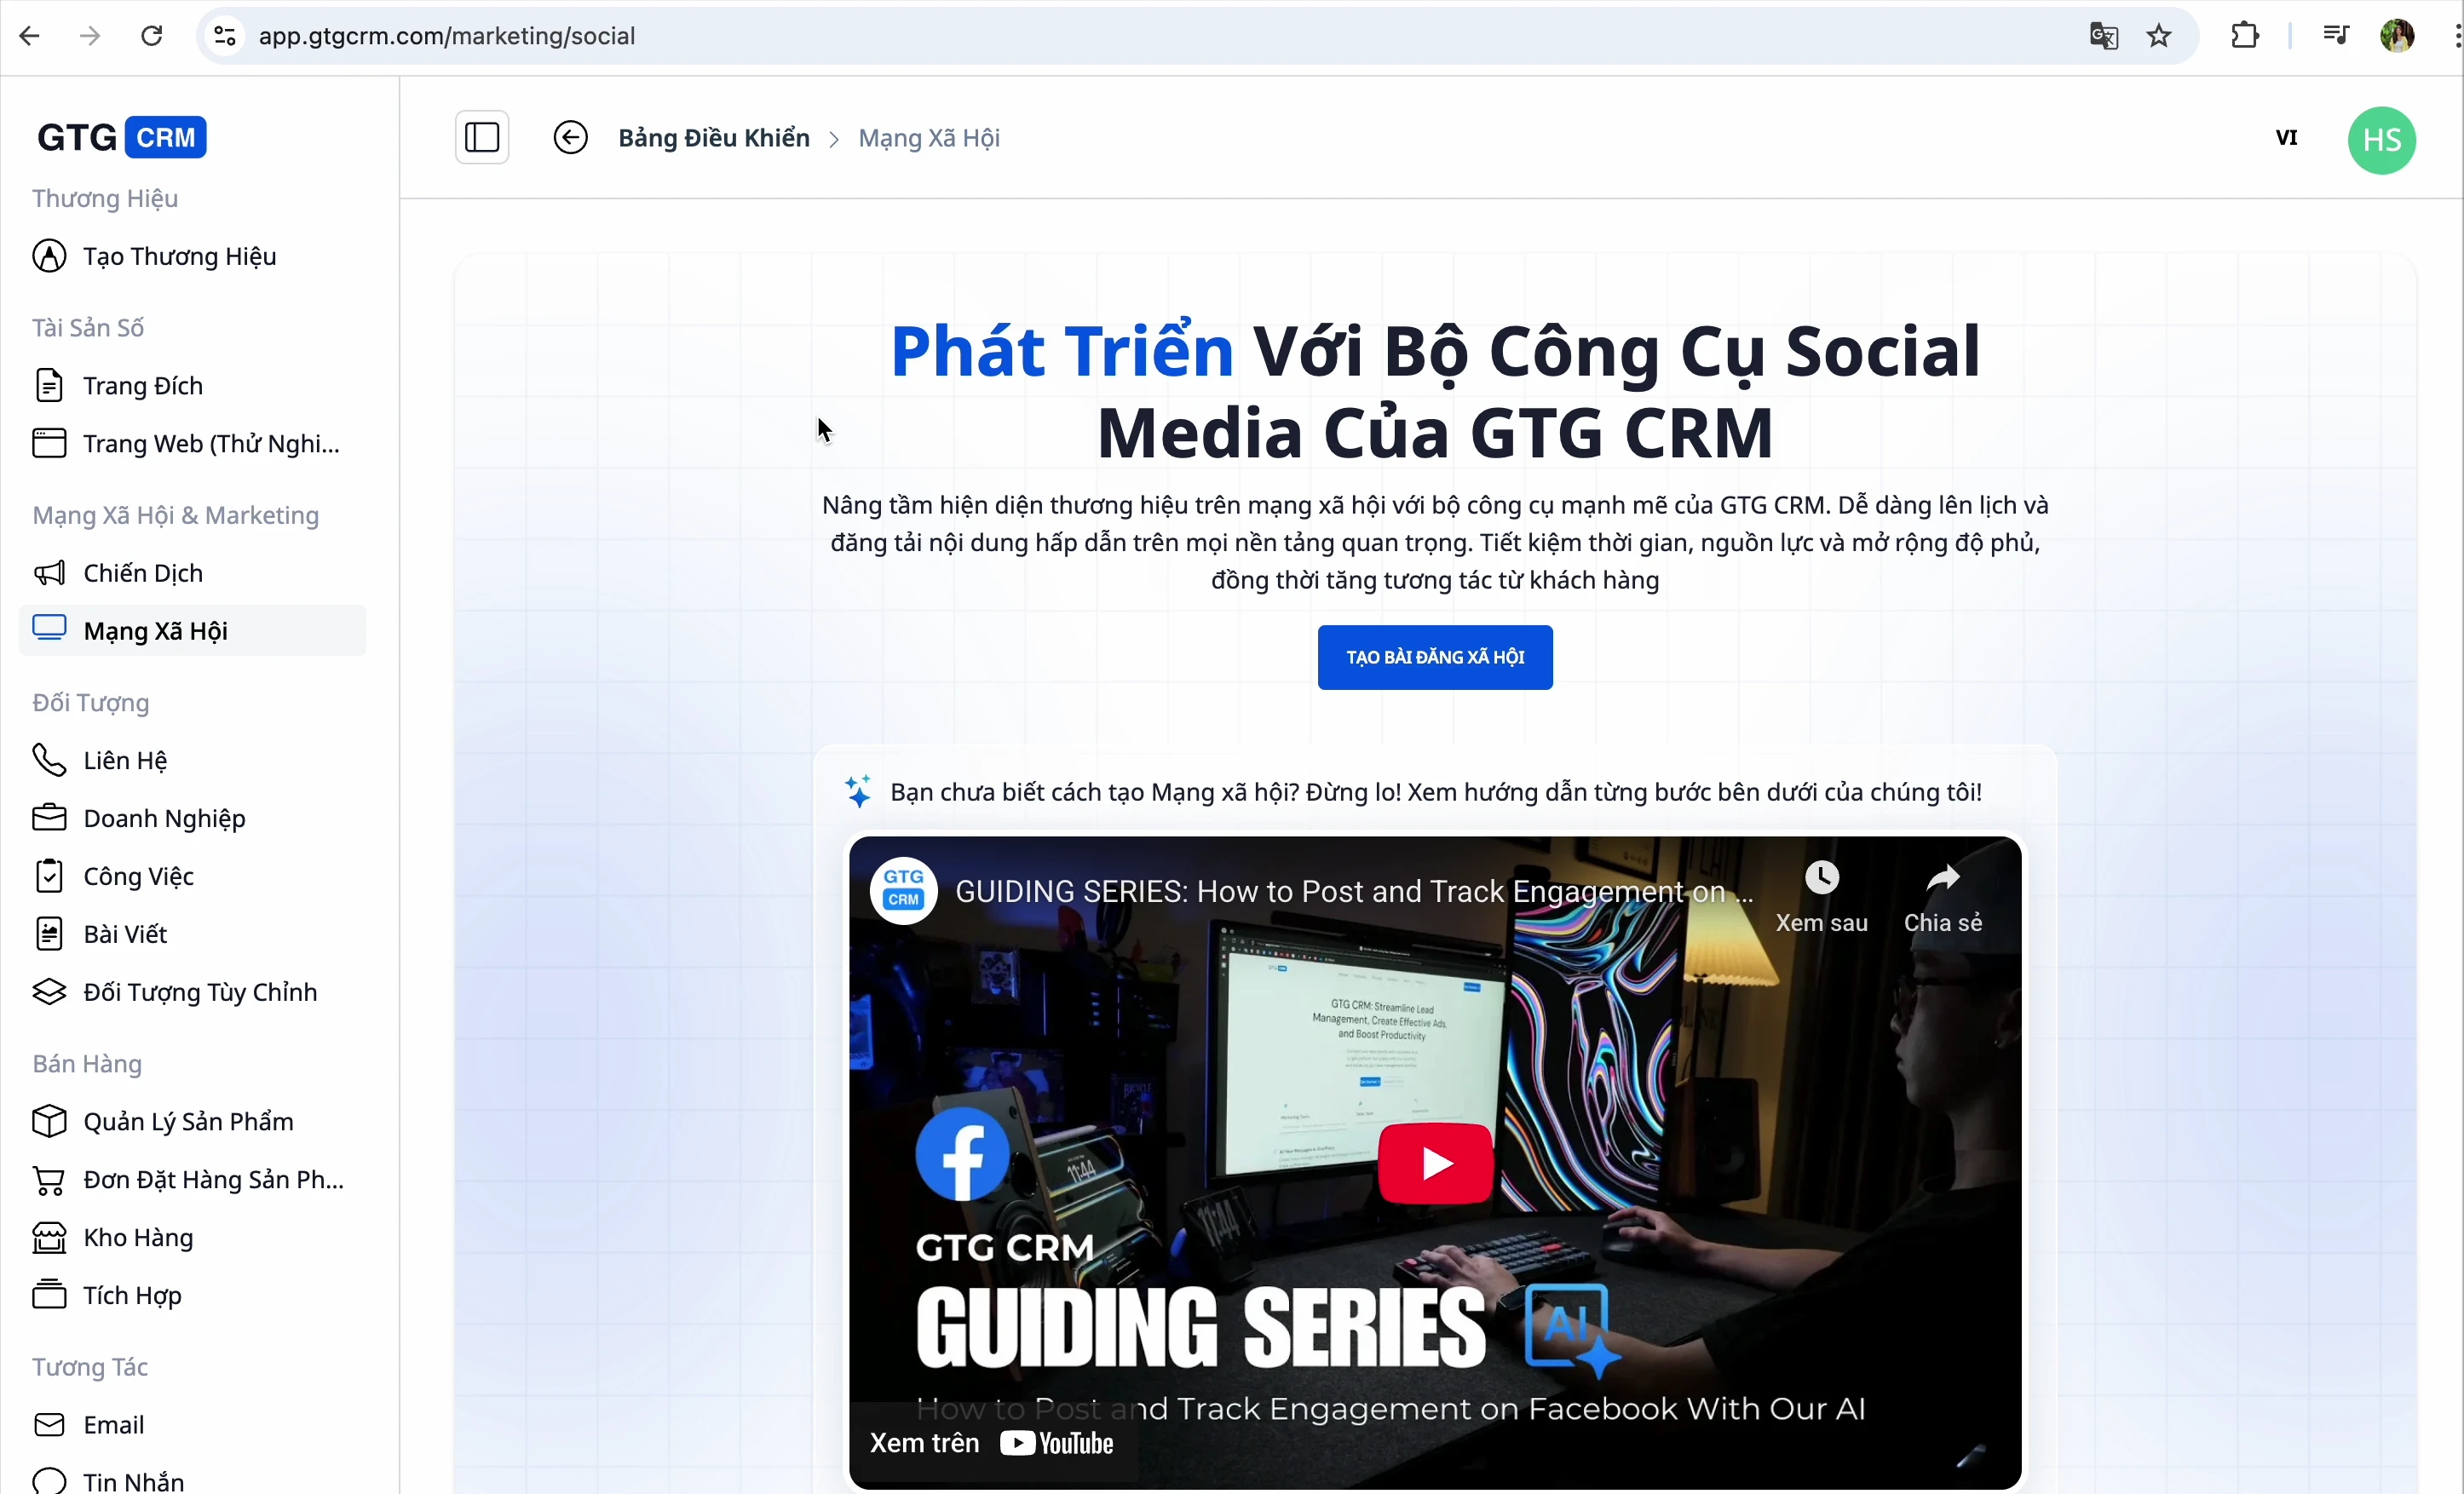
Step 1: Access Social Hub
- Log in to GTG CRM
- Look at the left-hand menu bar
- Click on "Social Post Publishing"
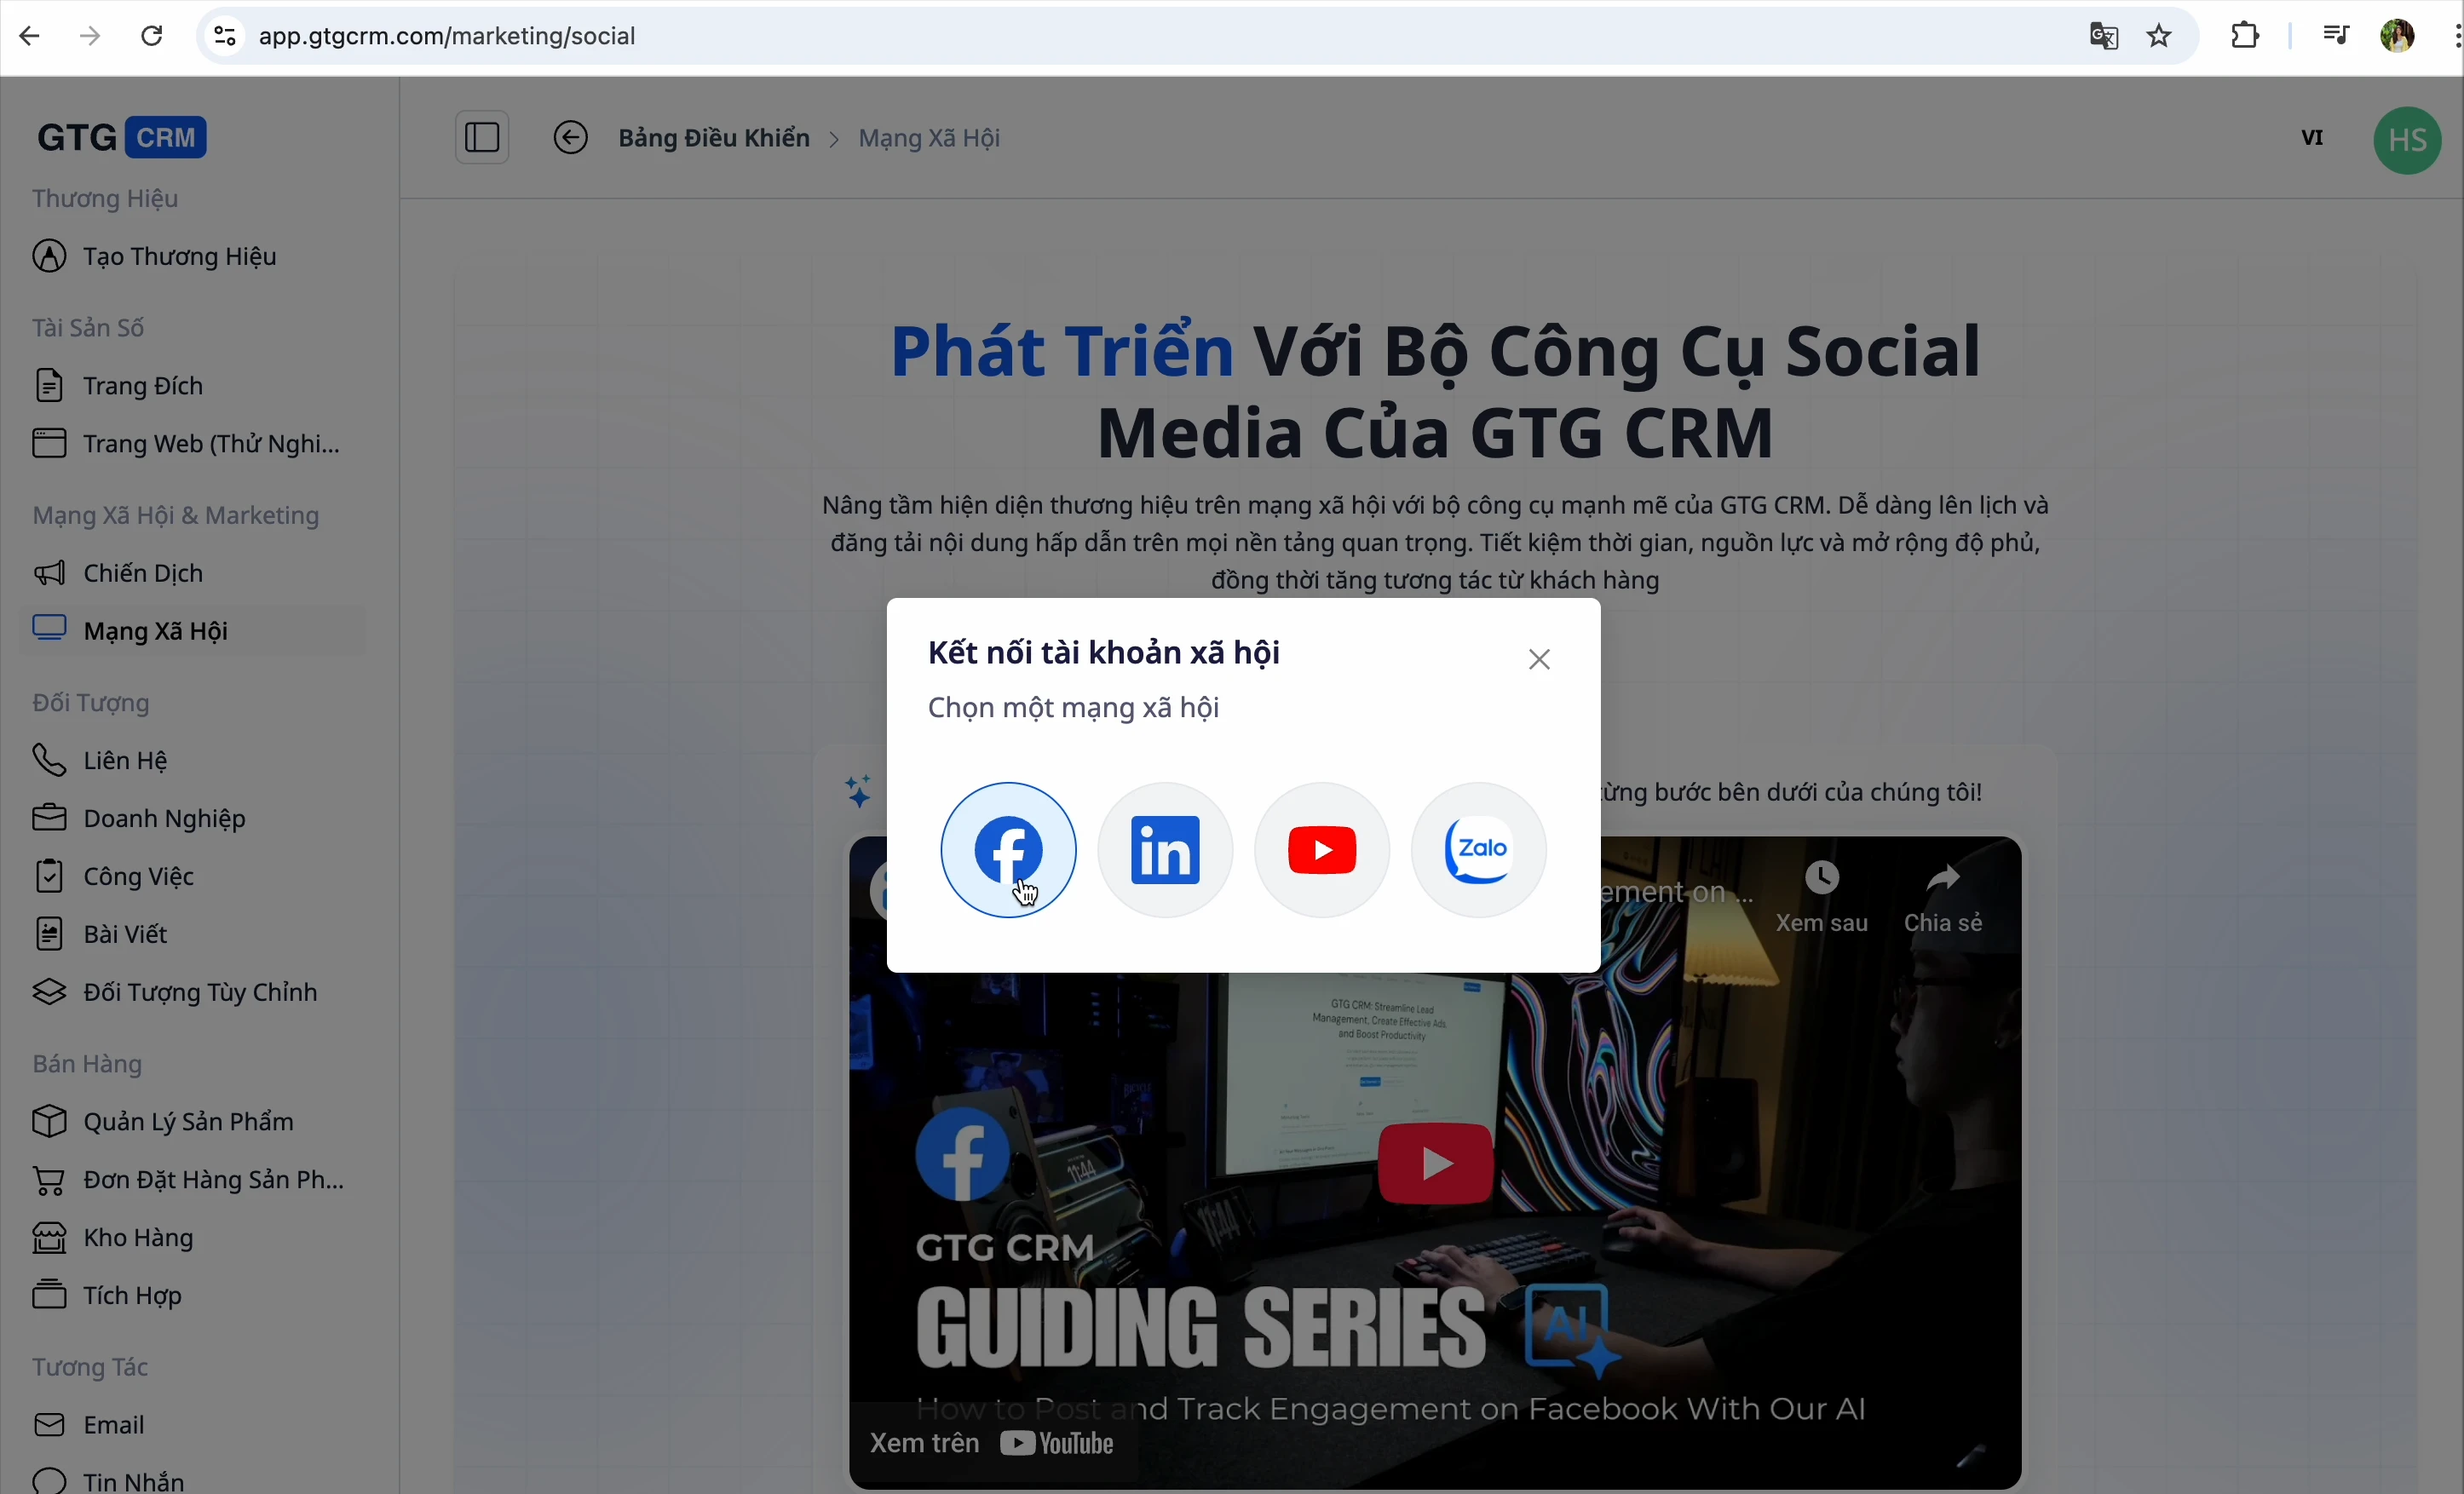
Step 2: Choose Platform to Connect
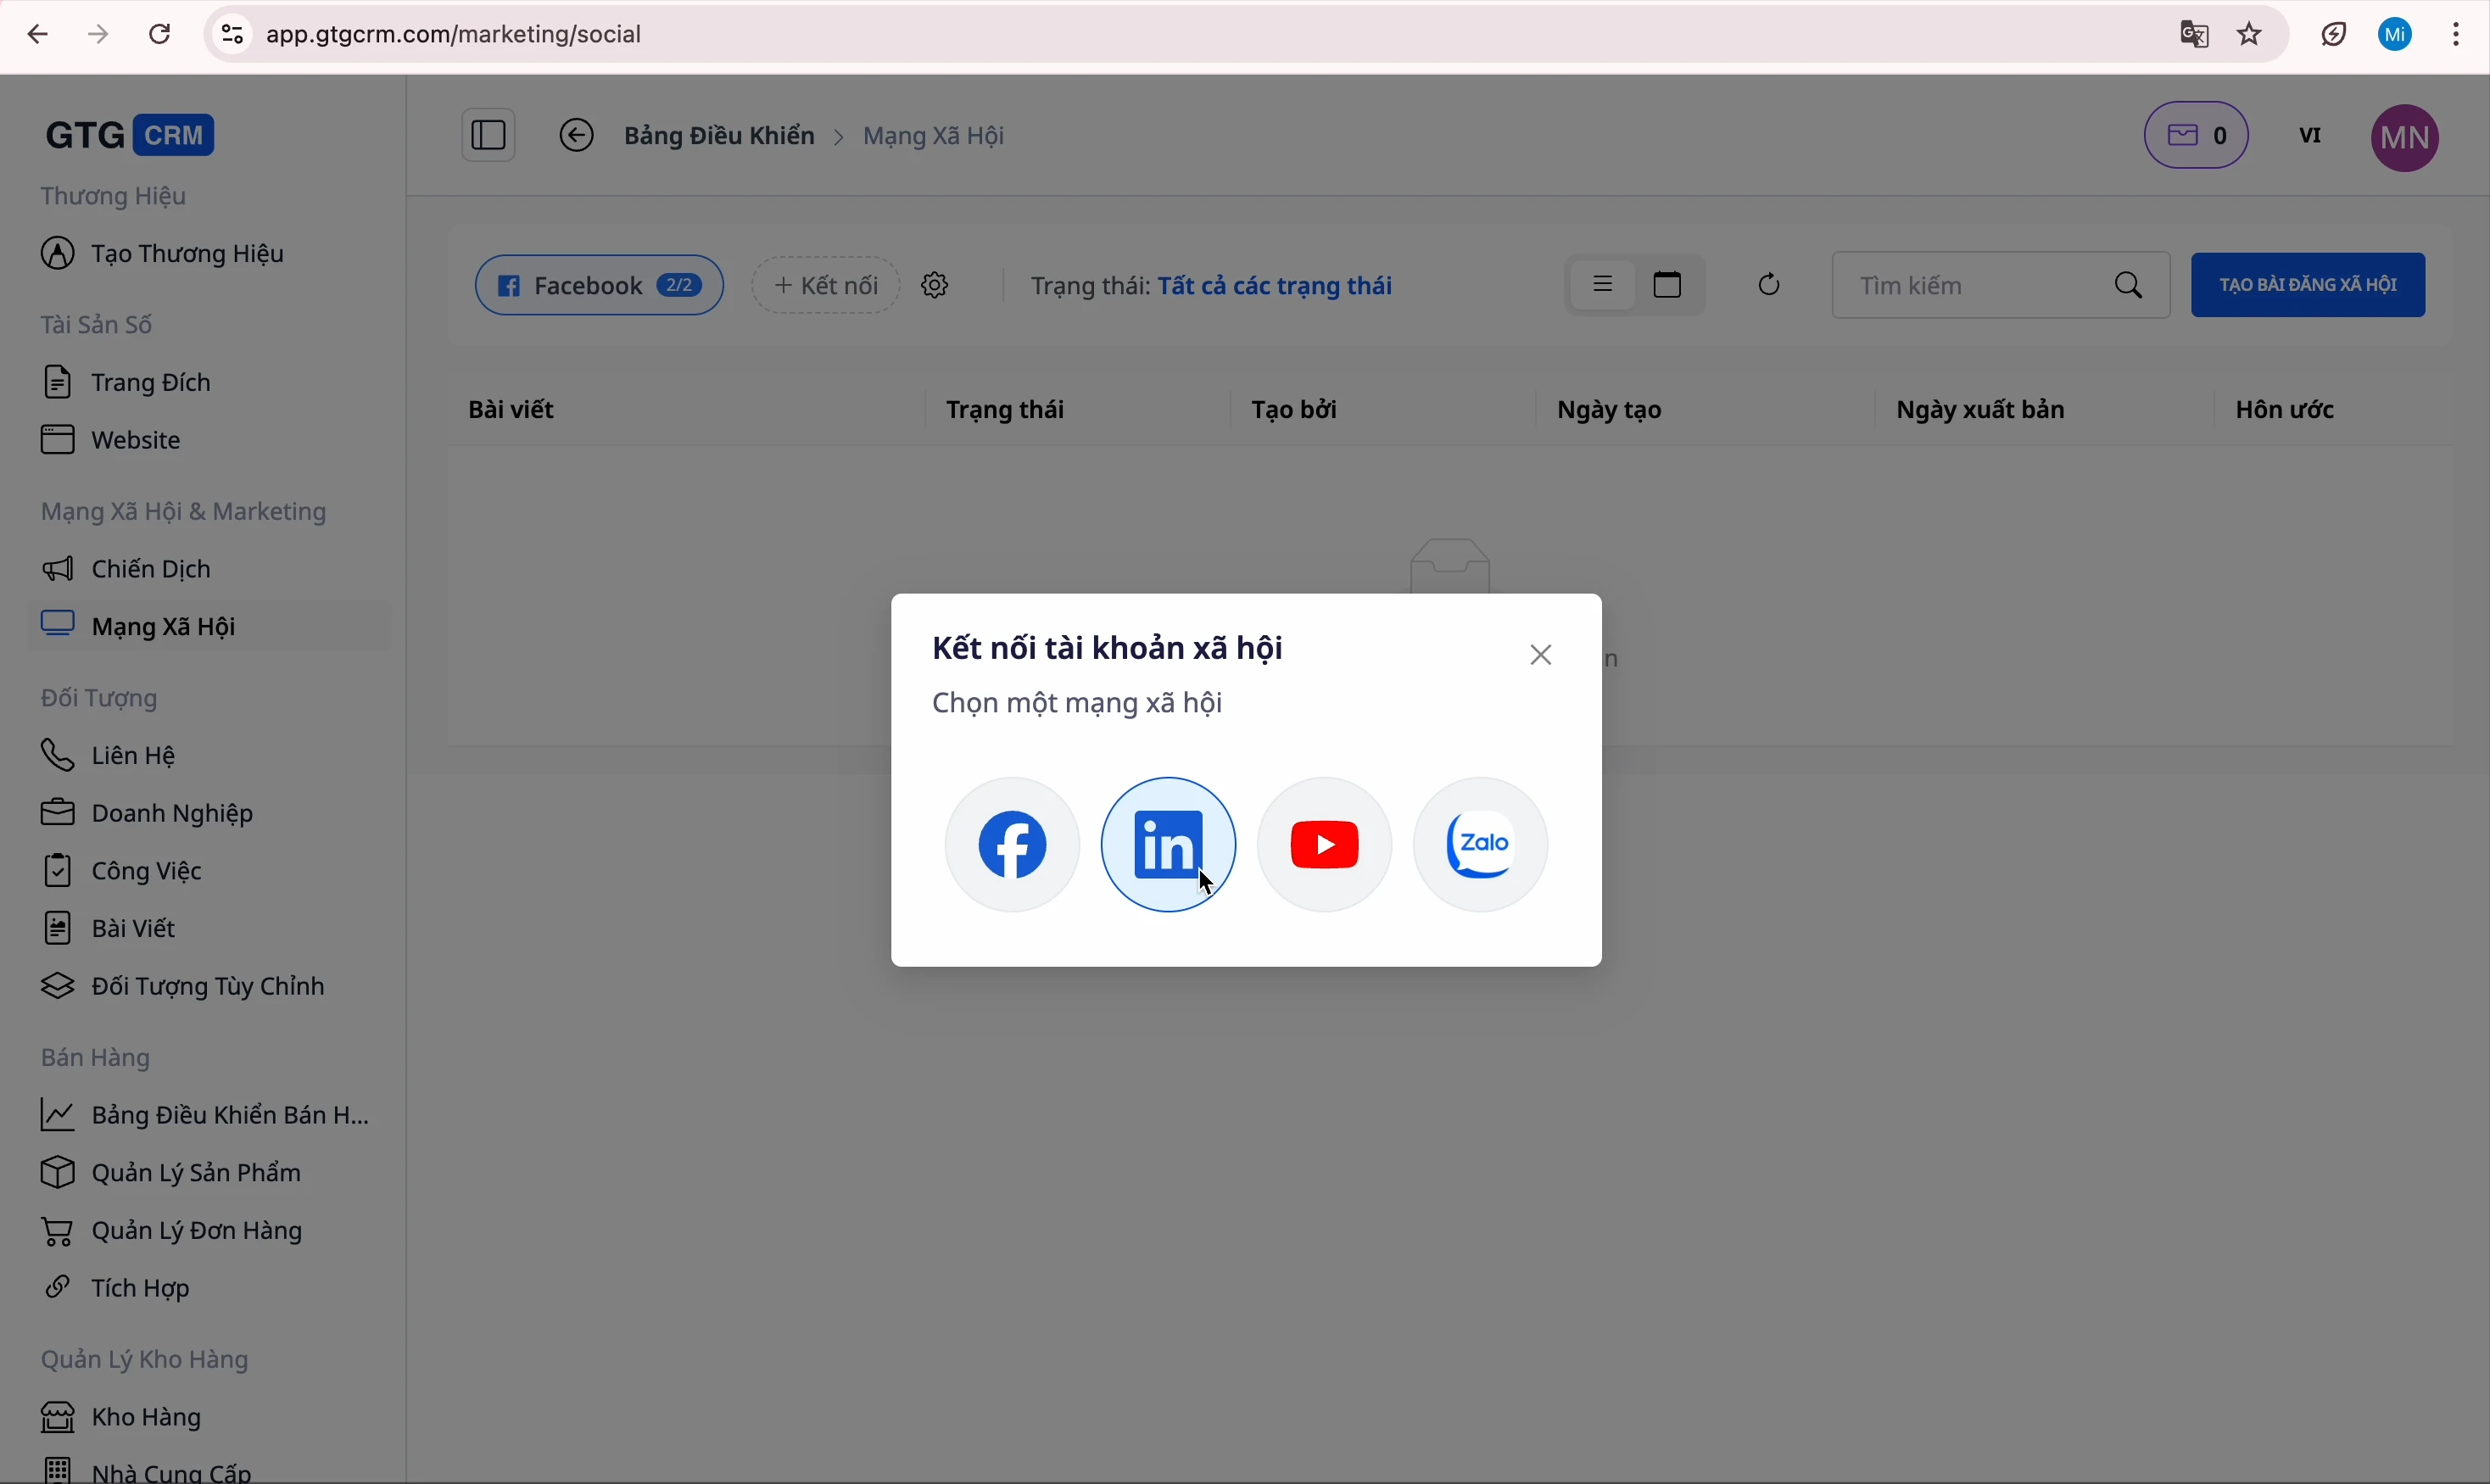
GTG CRM supports 4 platforms: Facebook, LinkedIn, YouTube, and Zalo
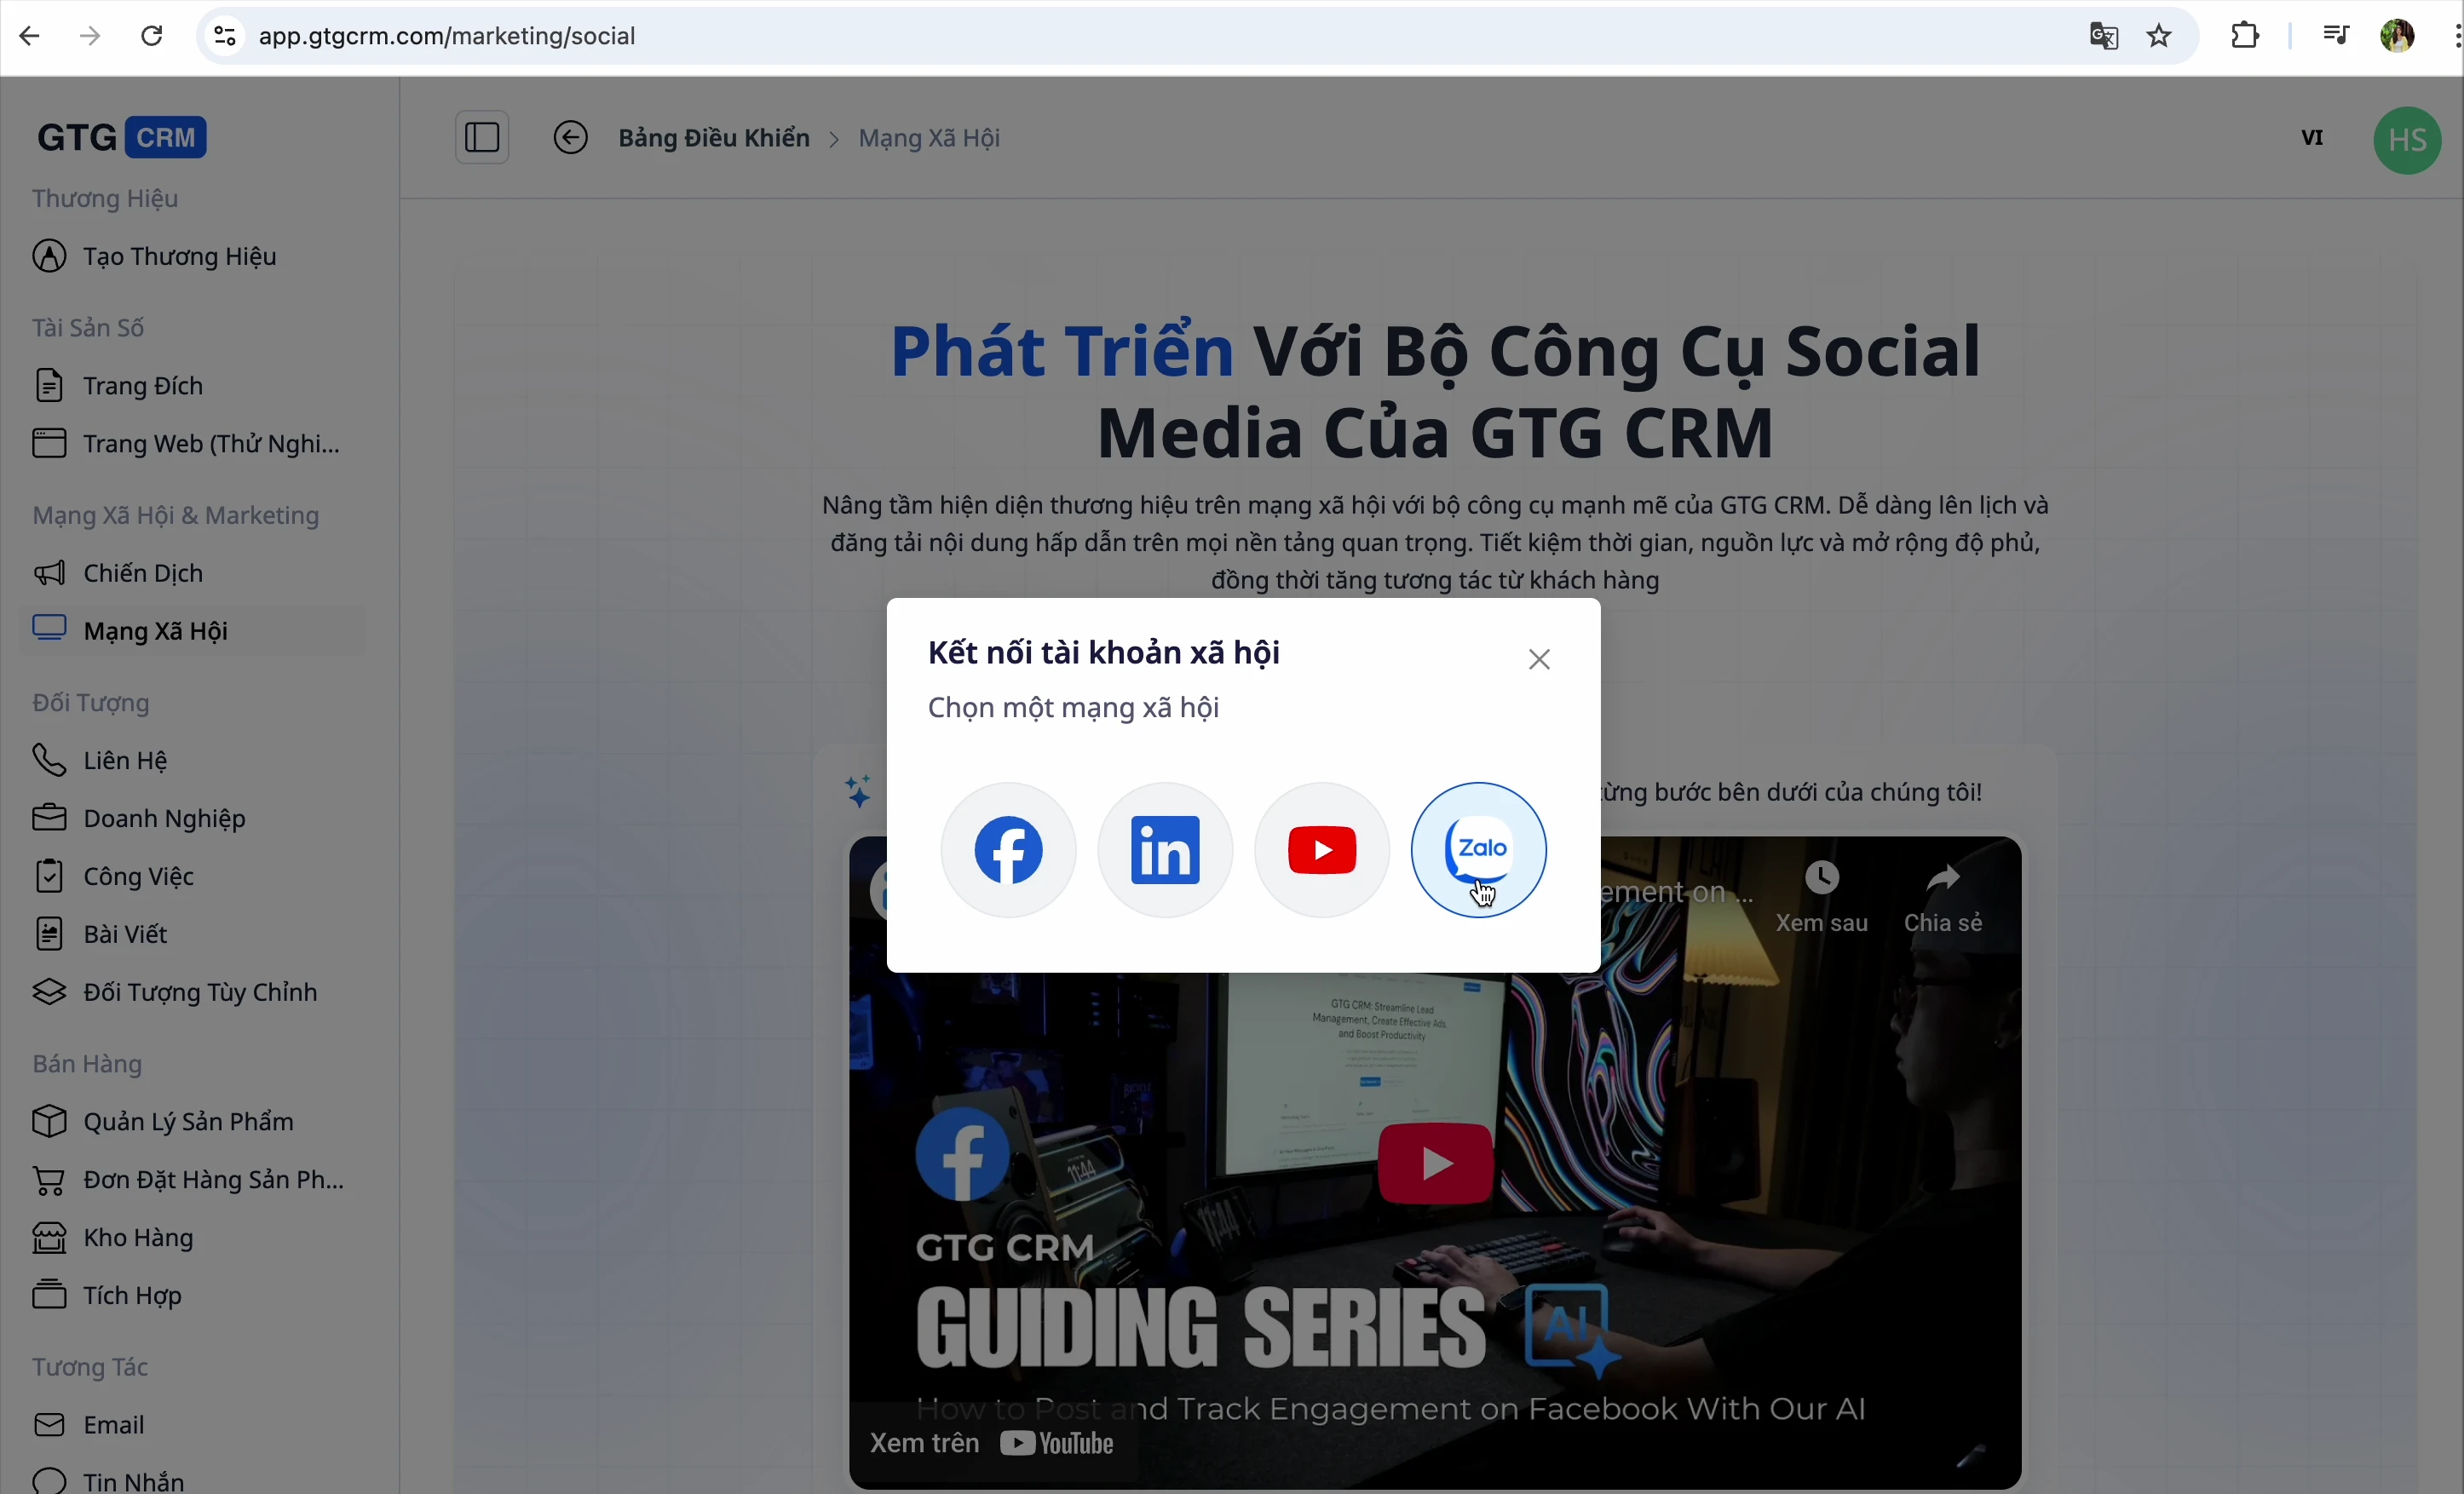
Step 3: Connect Facebook
- Click the Connect Facebook button
- Log in to your Facebook account
- The system will automatically retrieve the Fanpages you manage
- Select the Fanpages you want to connect with GTG CRM
💡 Tip: GTG CRM allows you to select multiple Fanpages. Choose all the Fanpages you need to manage.
Step 4: Connect LinkedIn
- Click the Connect LinkedIn button
- Log in to your LinkedIn account
- Select the Company Pages you want to manage
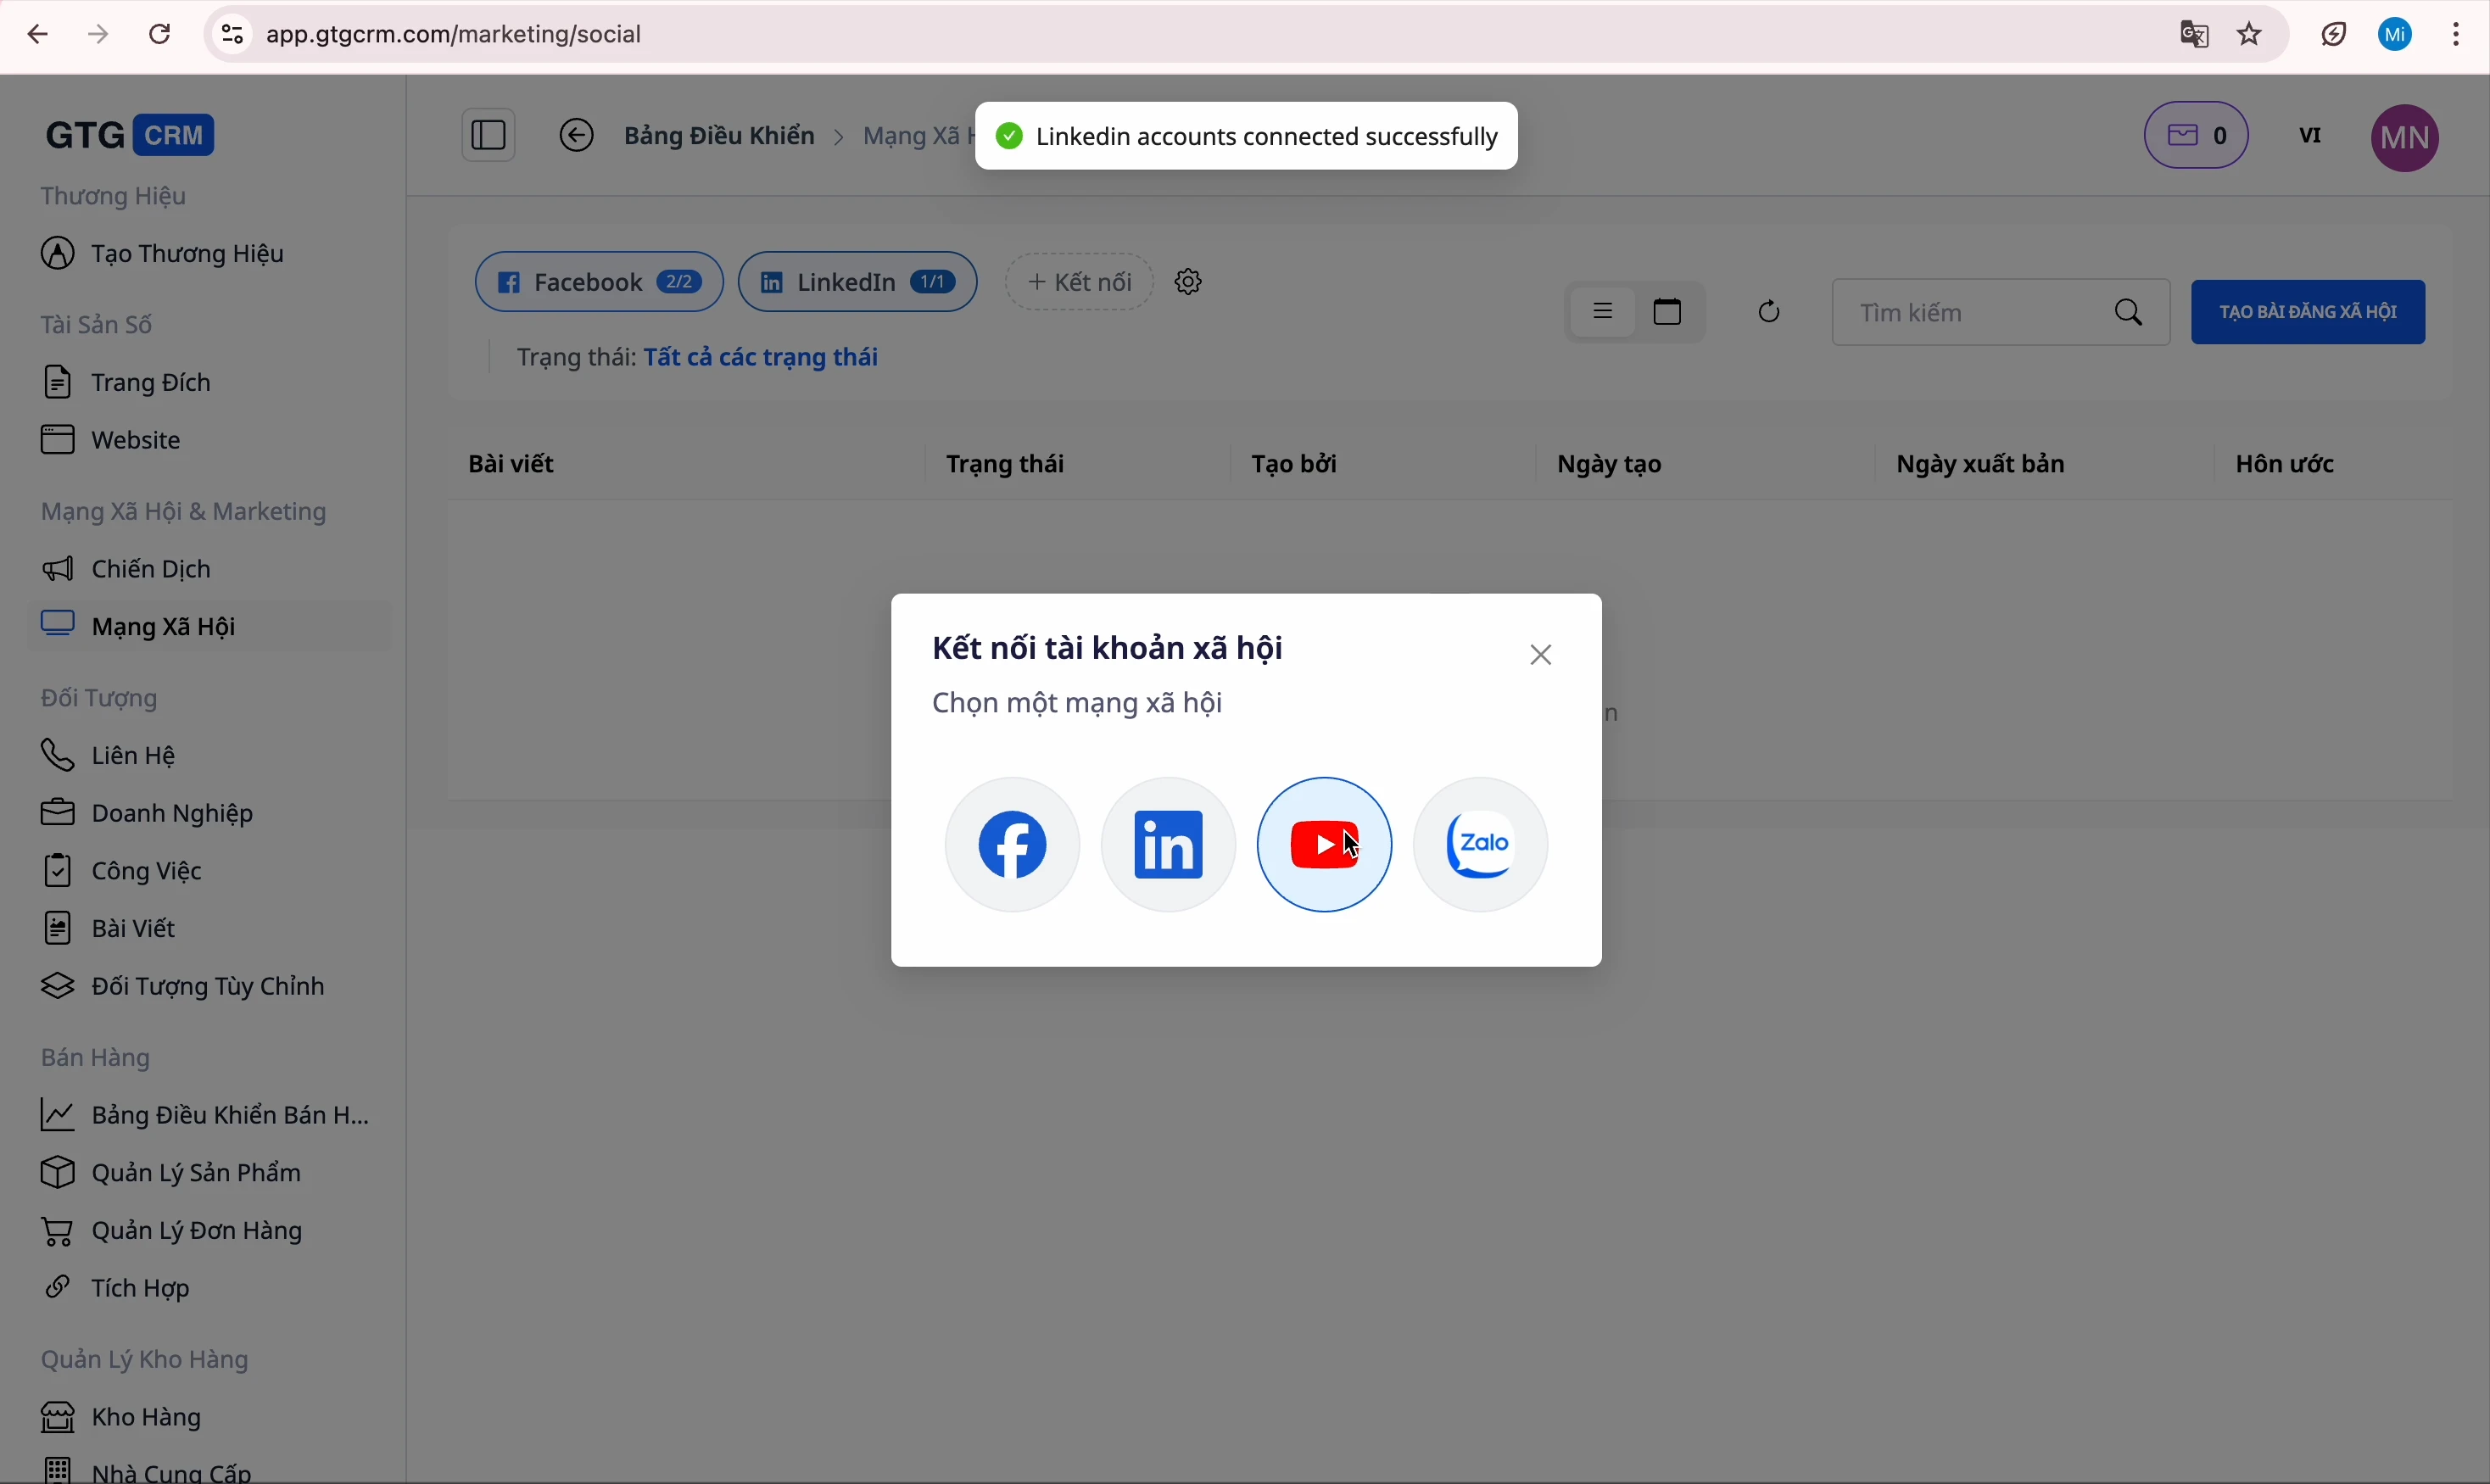
Step 5: Connect YouTube
- Click the Connect YouTube button
- Log in to your Google account
- Select your YouTube channel
Step 6: Connect Zalo
- Click the Connect Zalo button
- Log in to your Zalo Official Account
- Confirm the connection
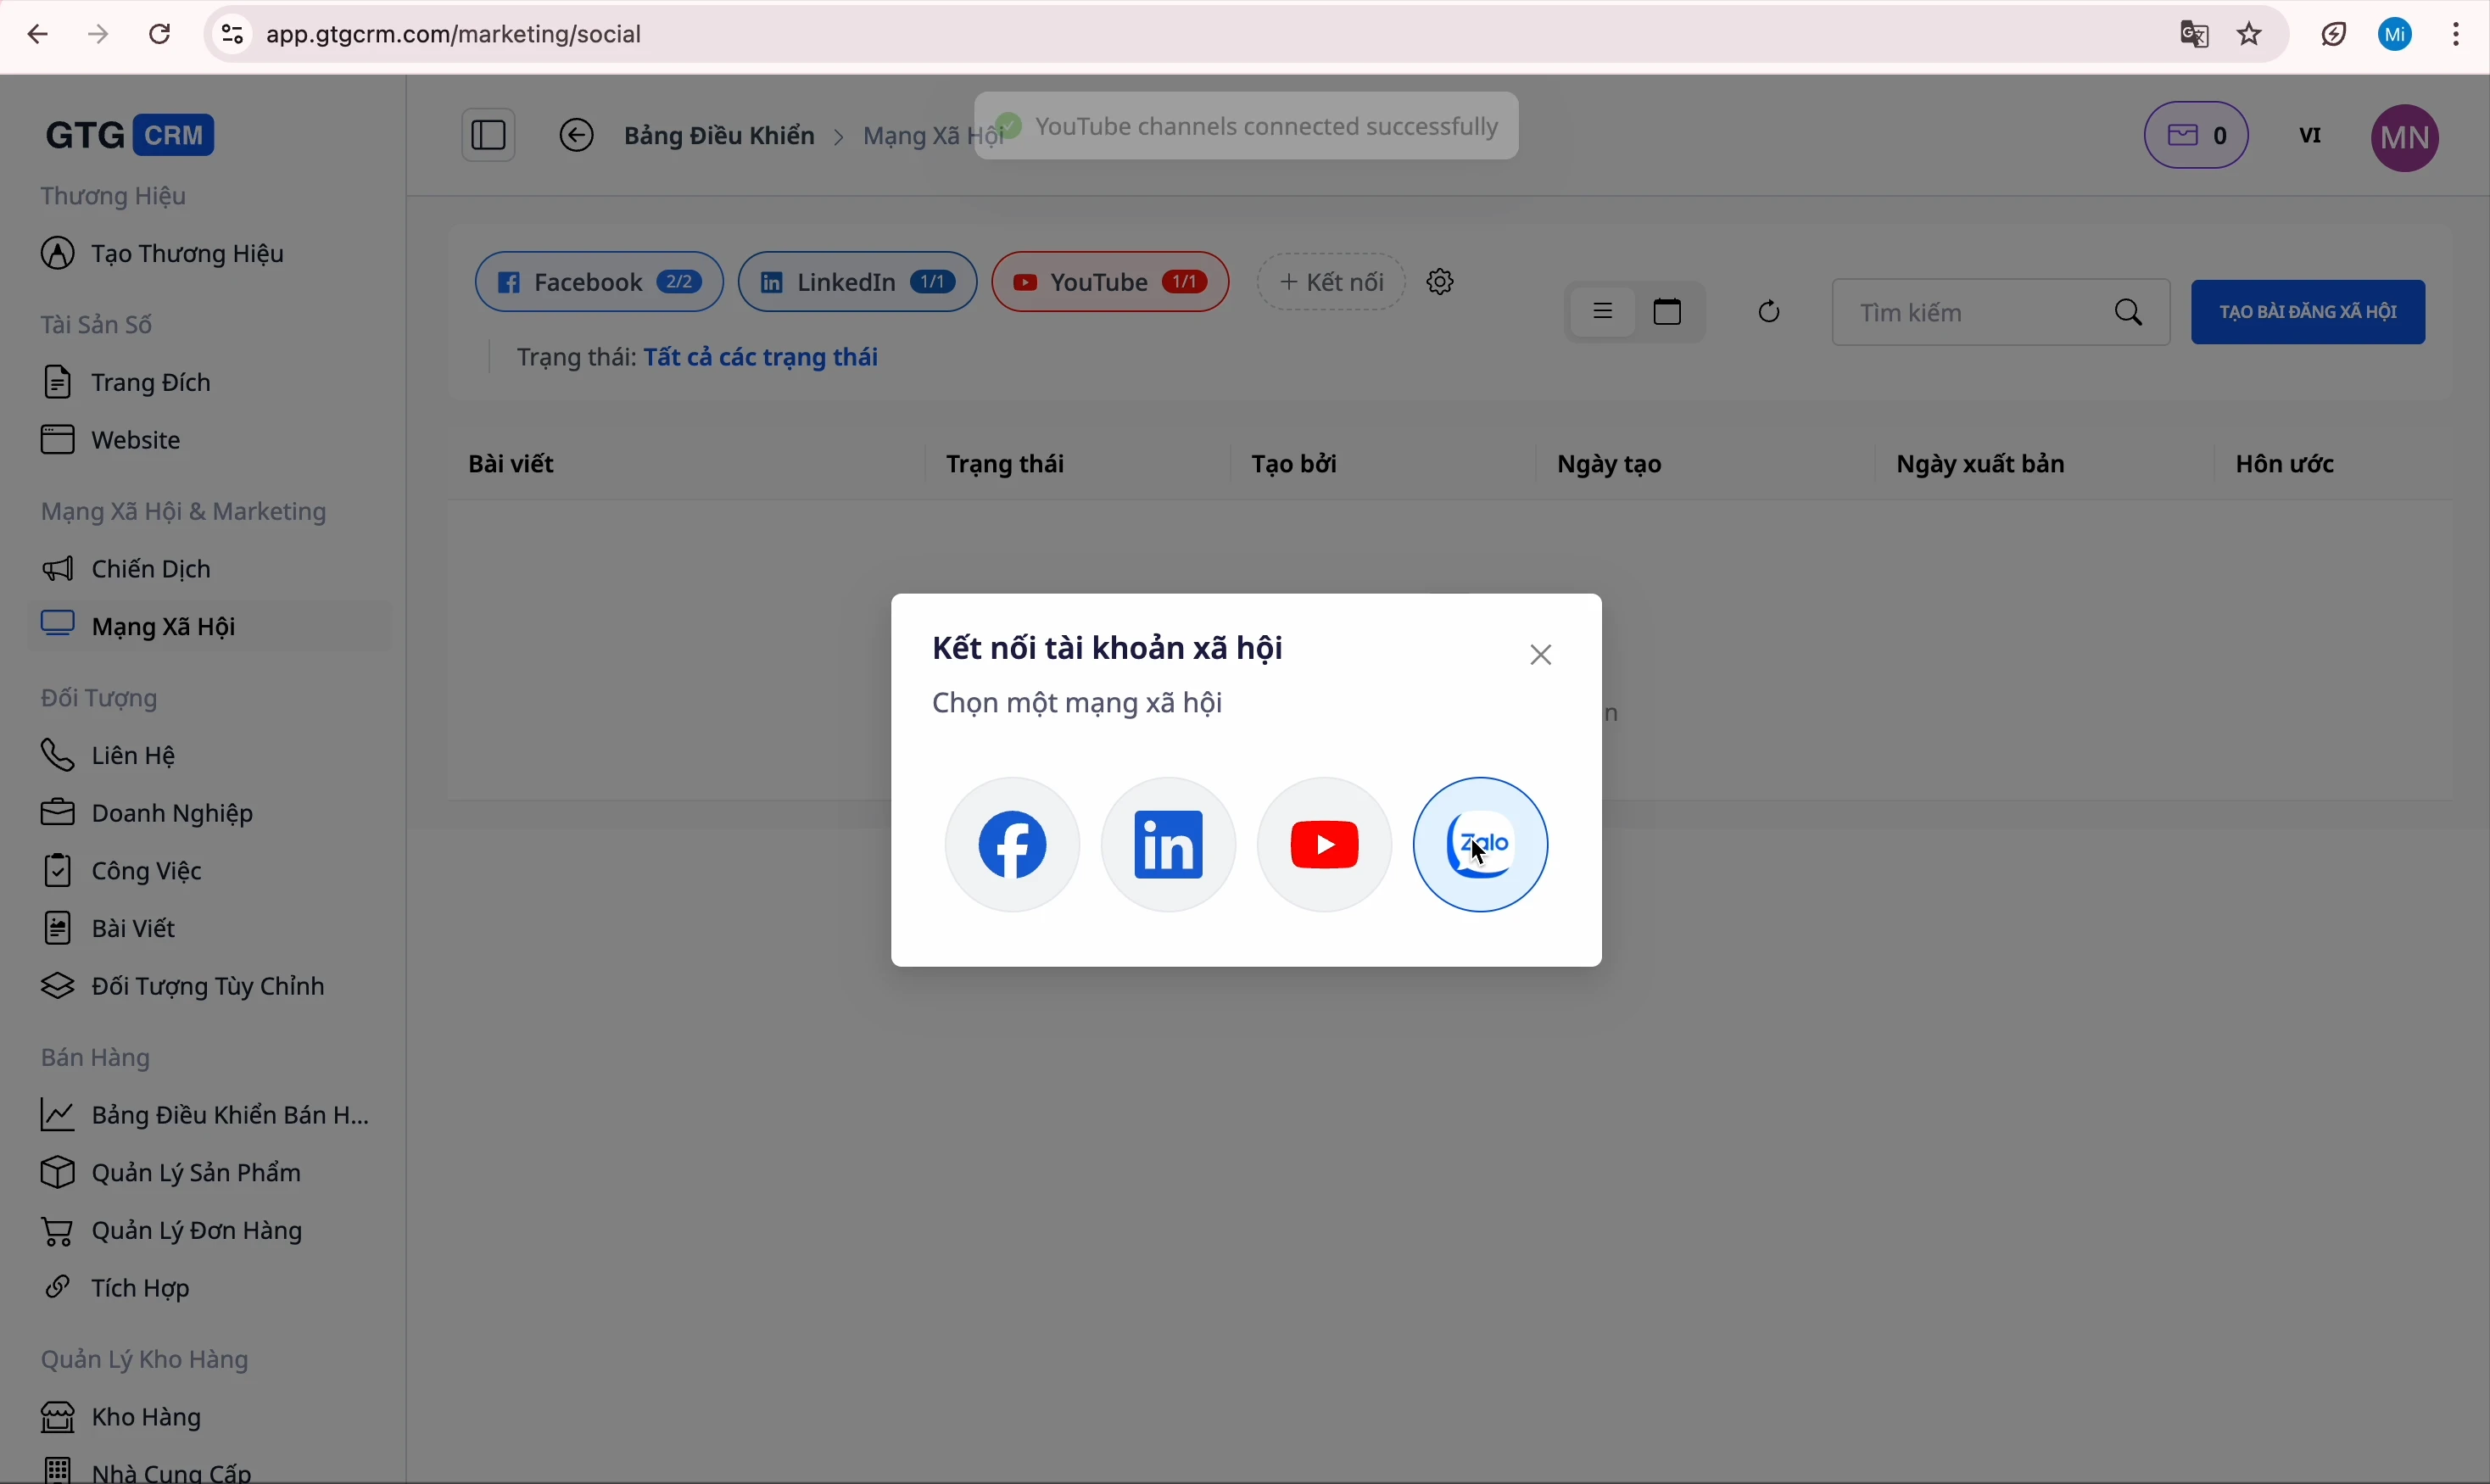
All set! All accounts have been successfully connected.
Create Facebook Post
Step 1: Open Post Creation Interface
Click the "Create Post" button to open the composition interface
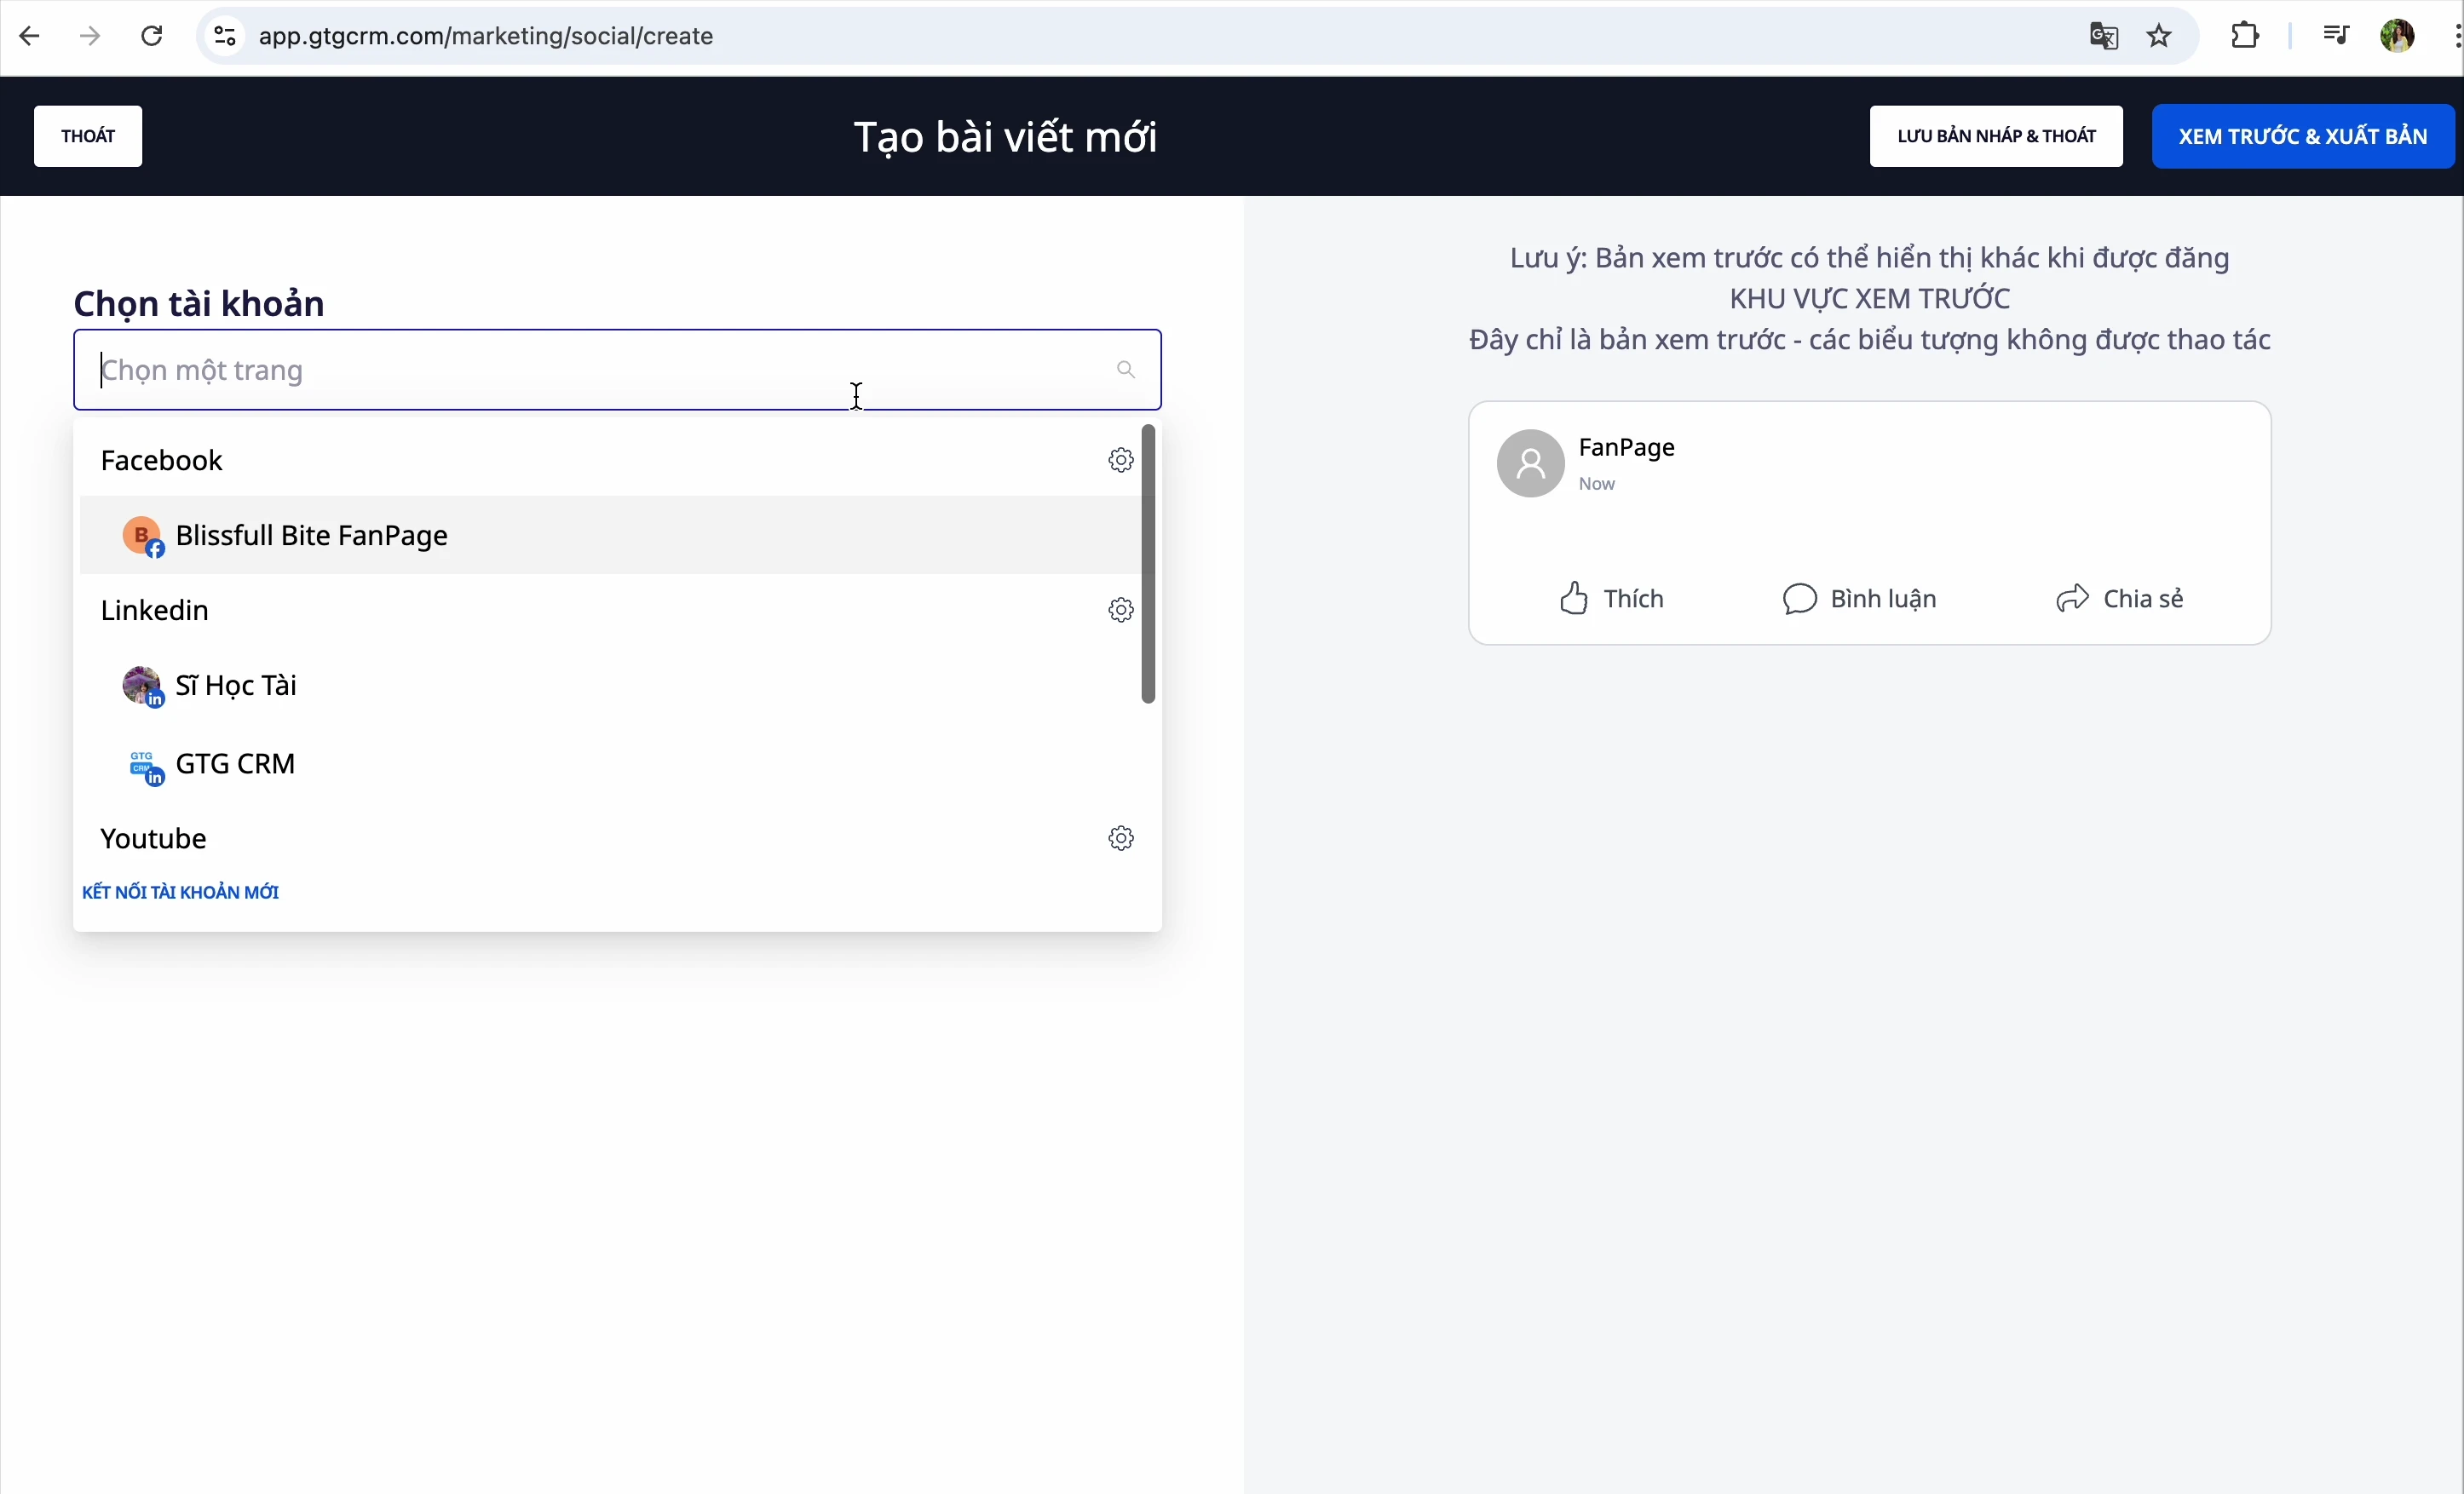
Step 2: Select Fanpage
Select the Facebook Fanpage you want to post to
Step 3: Enter Content
You have 2 ways to create content:
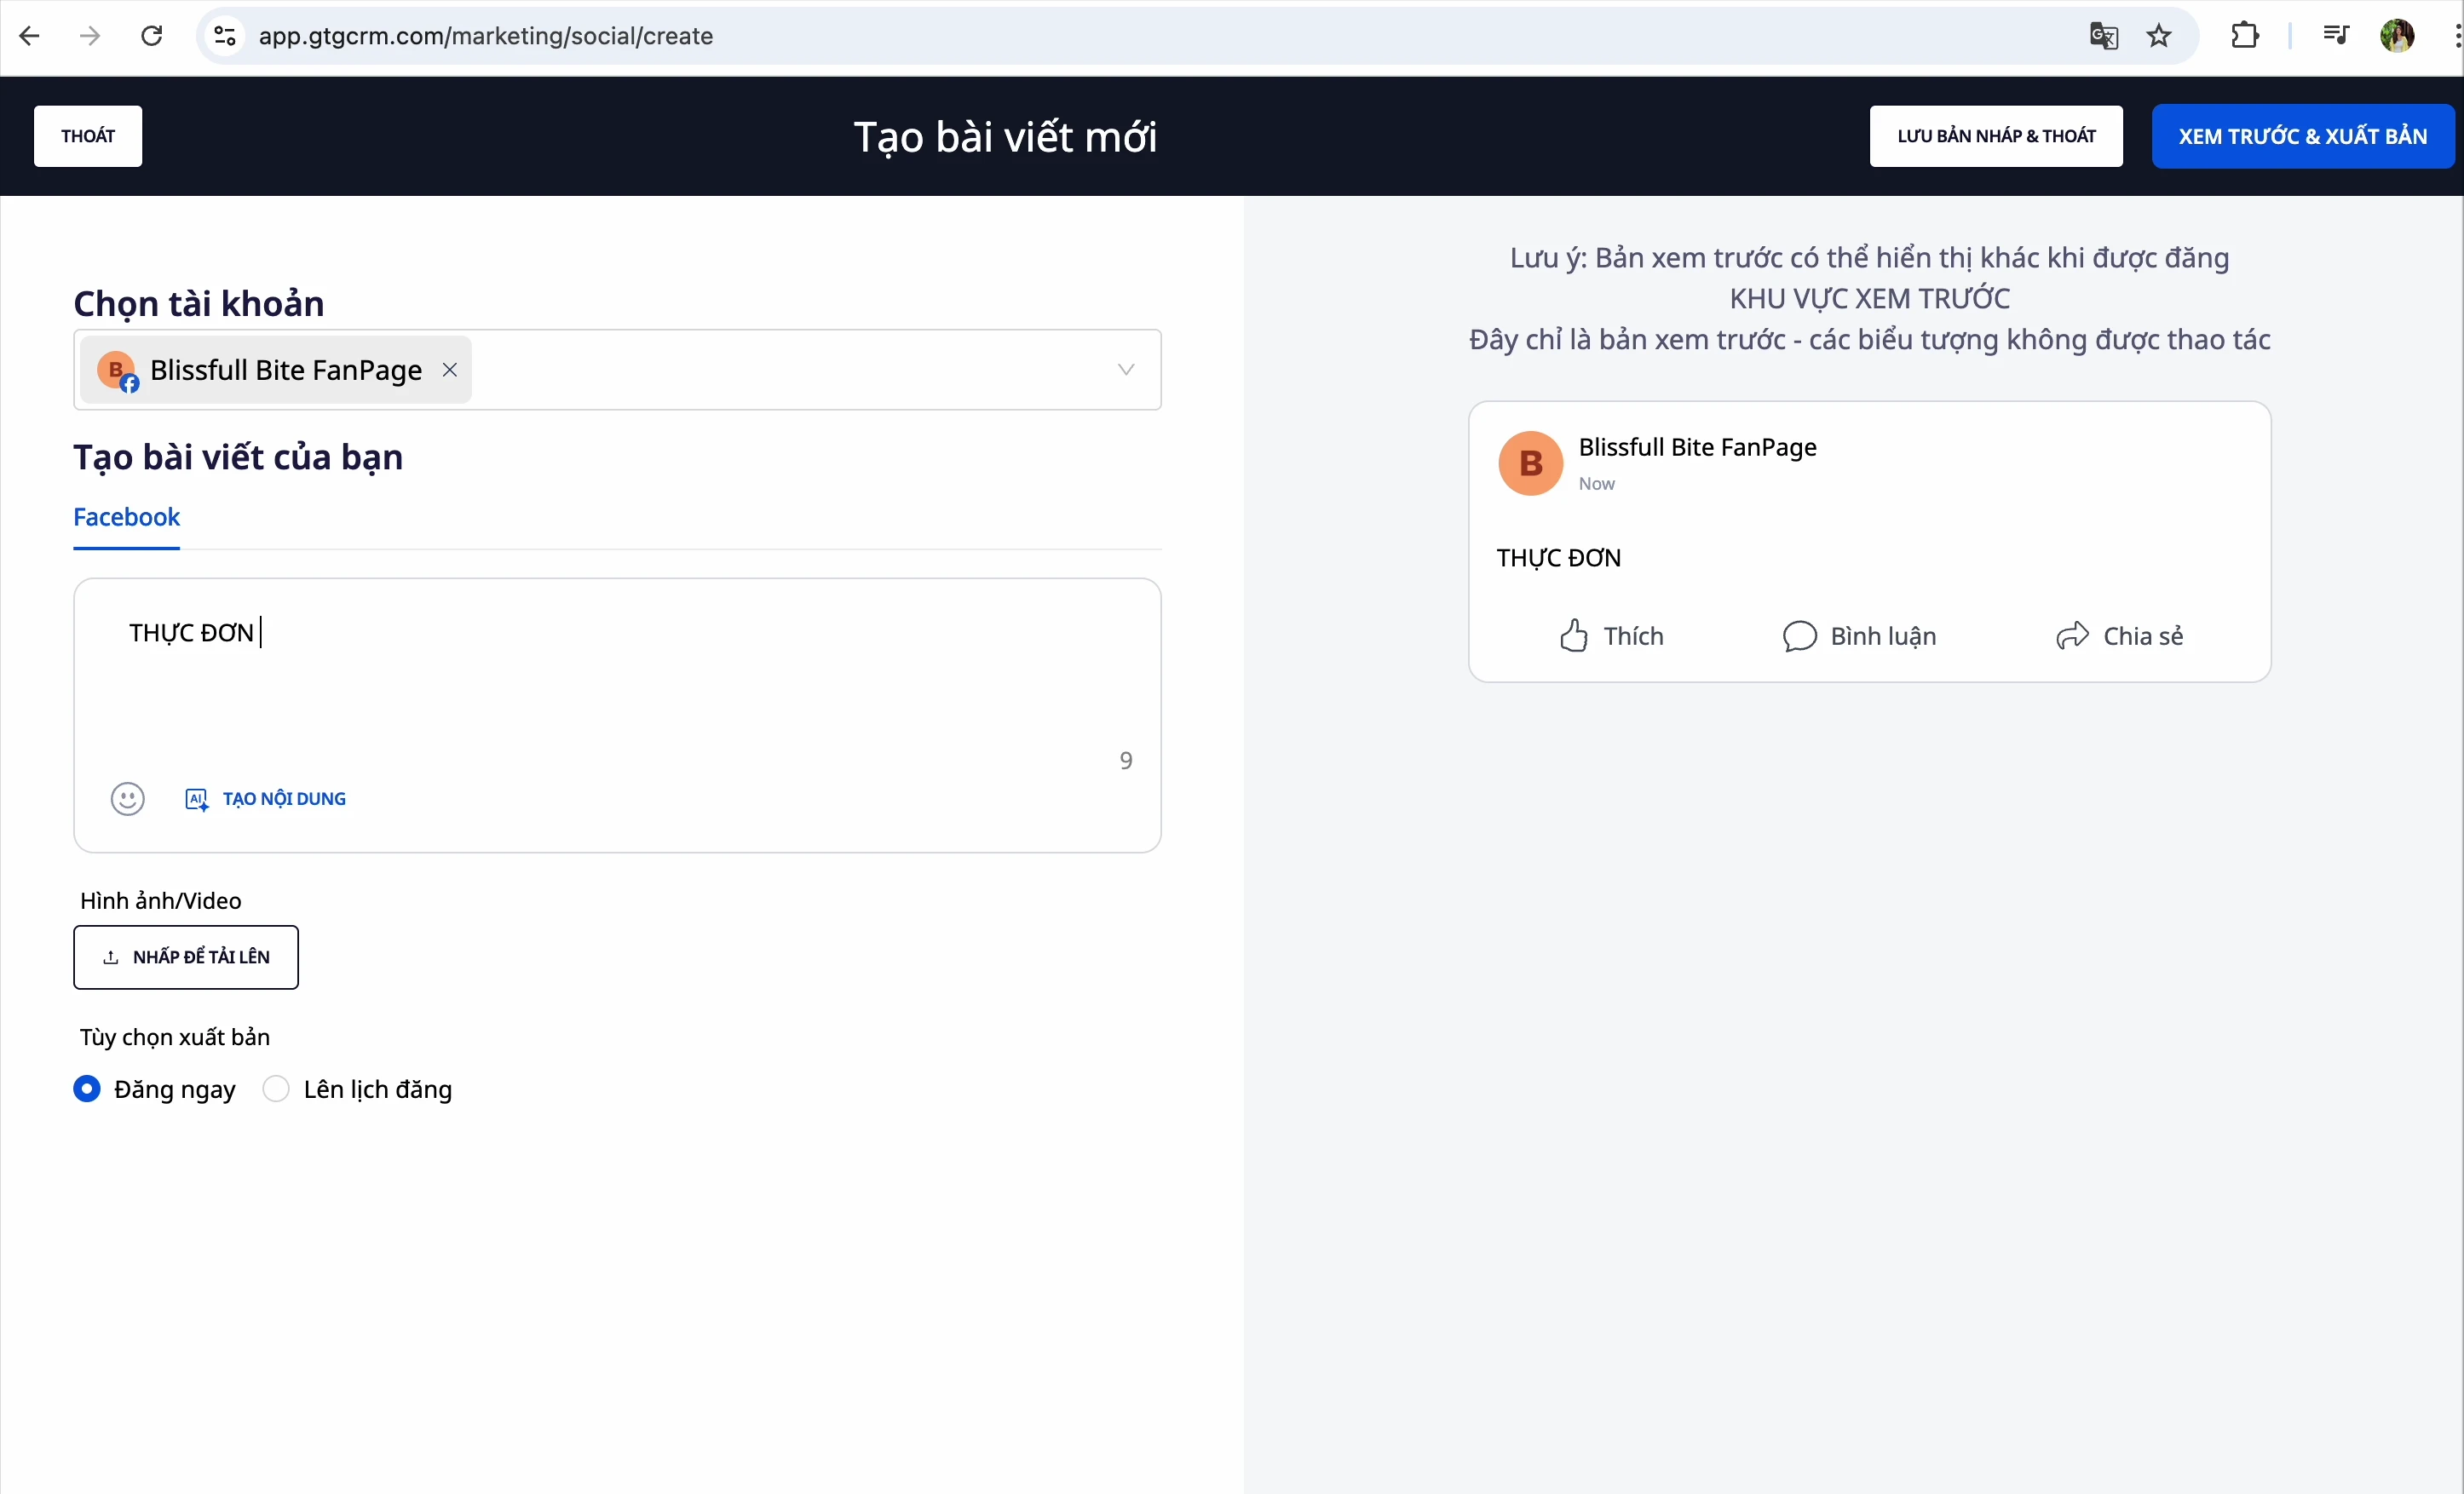
Method 1: Manual Input
Type content directly into the editor
Method 2: Create Content with AI
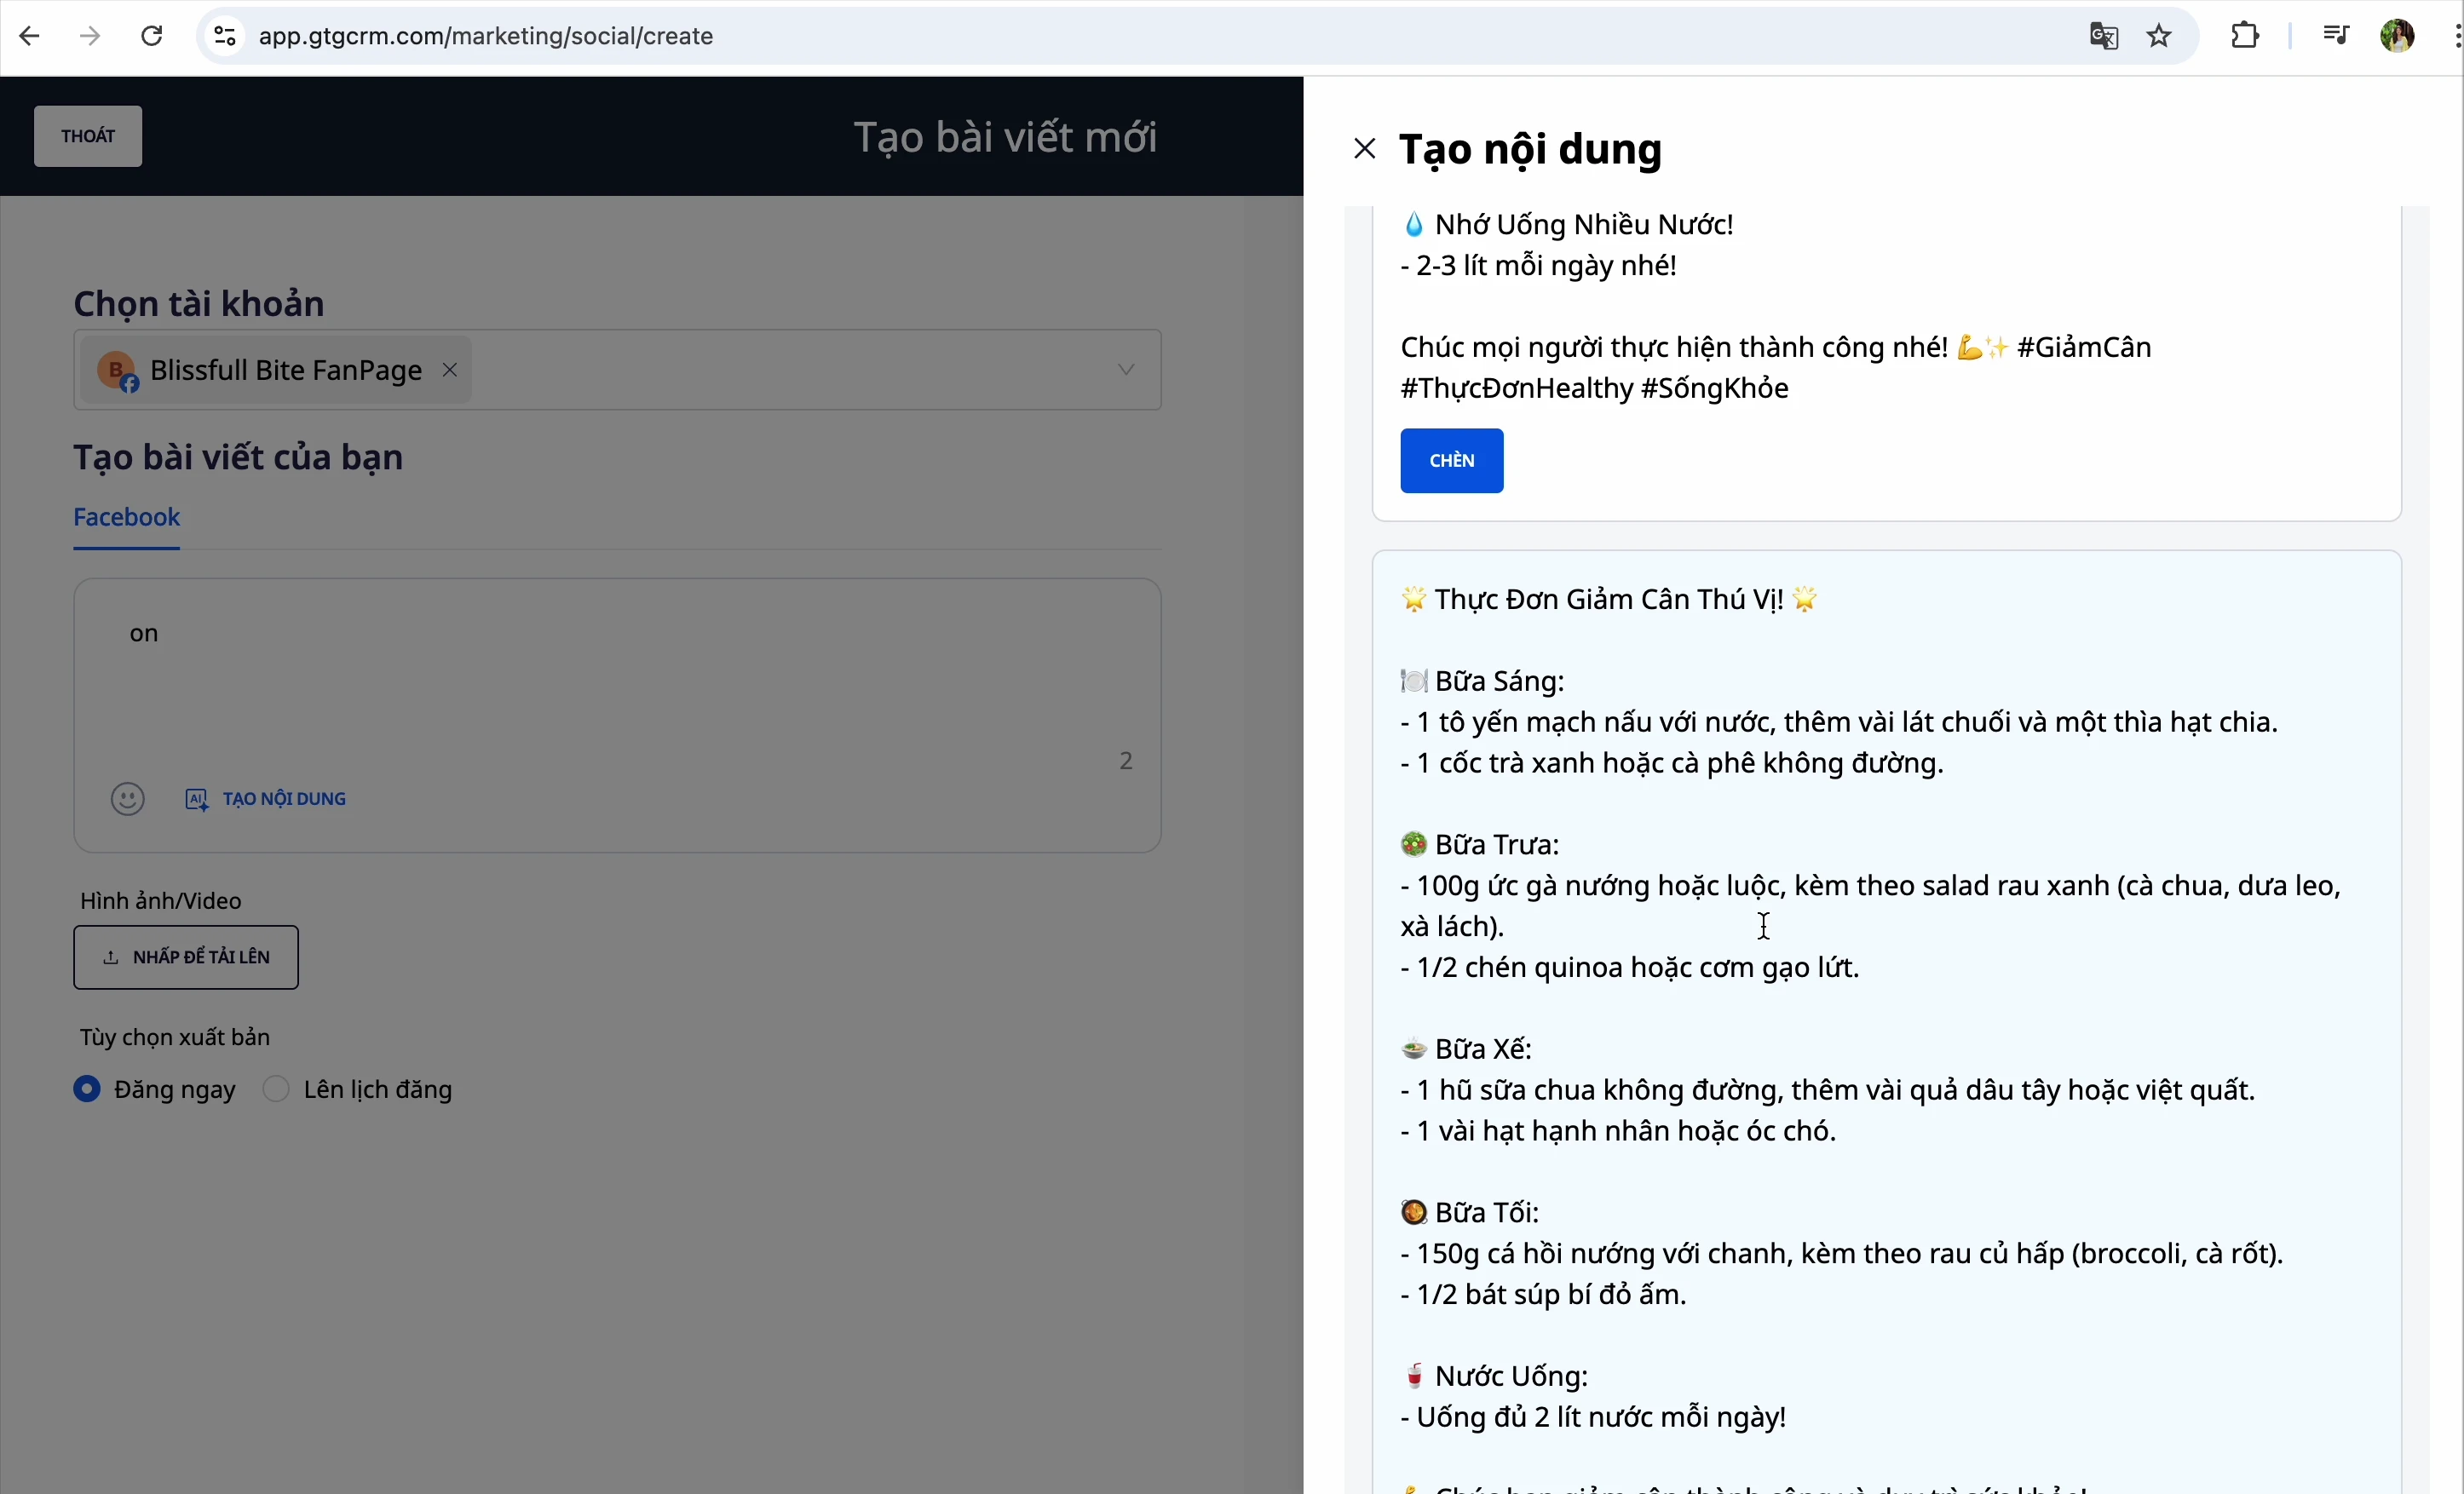
- Click the "Create Content with AI" button
- Enter a prompt for the AI - e.g., "Write a post introducing a new product..."
- (Optional) Add a website URL for the AI to reference
- The AI will return 3 different results
- Choose the most suitable result
💡 Tip: If you have a product website, enter the URL in the "Reference data from web" field for the AI to write more accurately.
Step 4: Add Images
You have 3 ways to add images:
Method 1: Upload from Computer
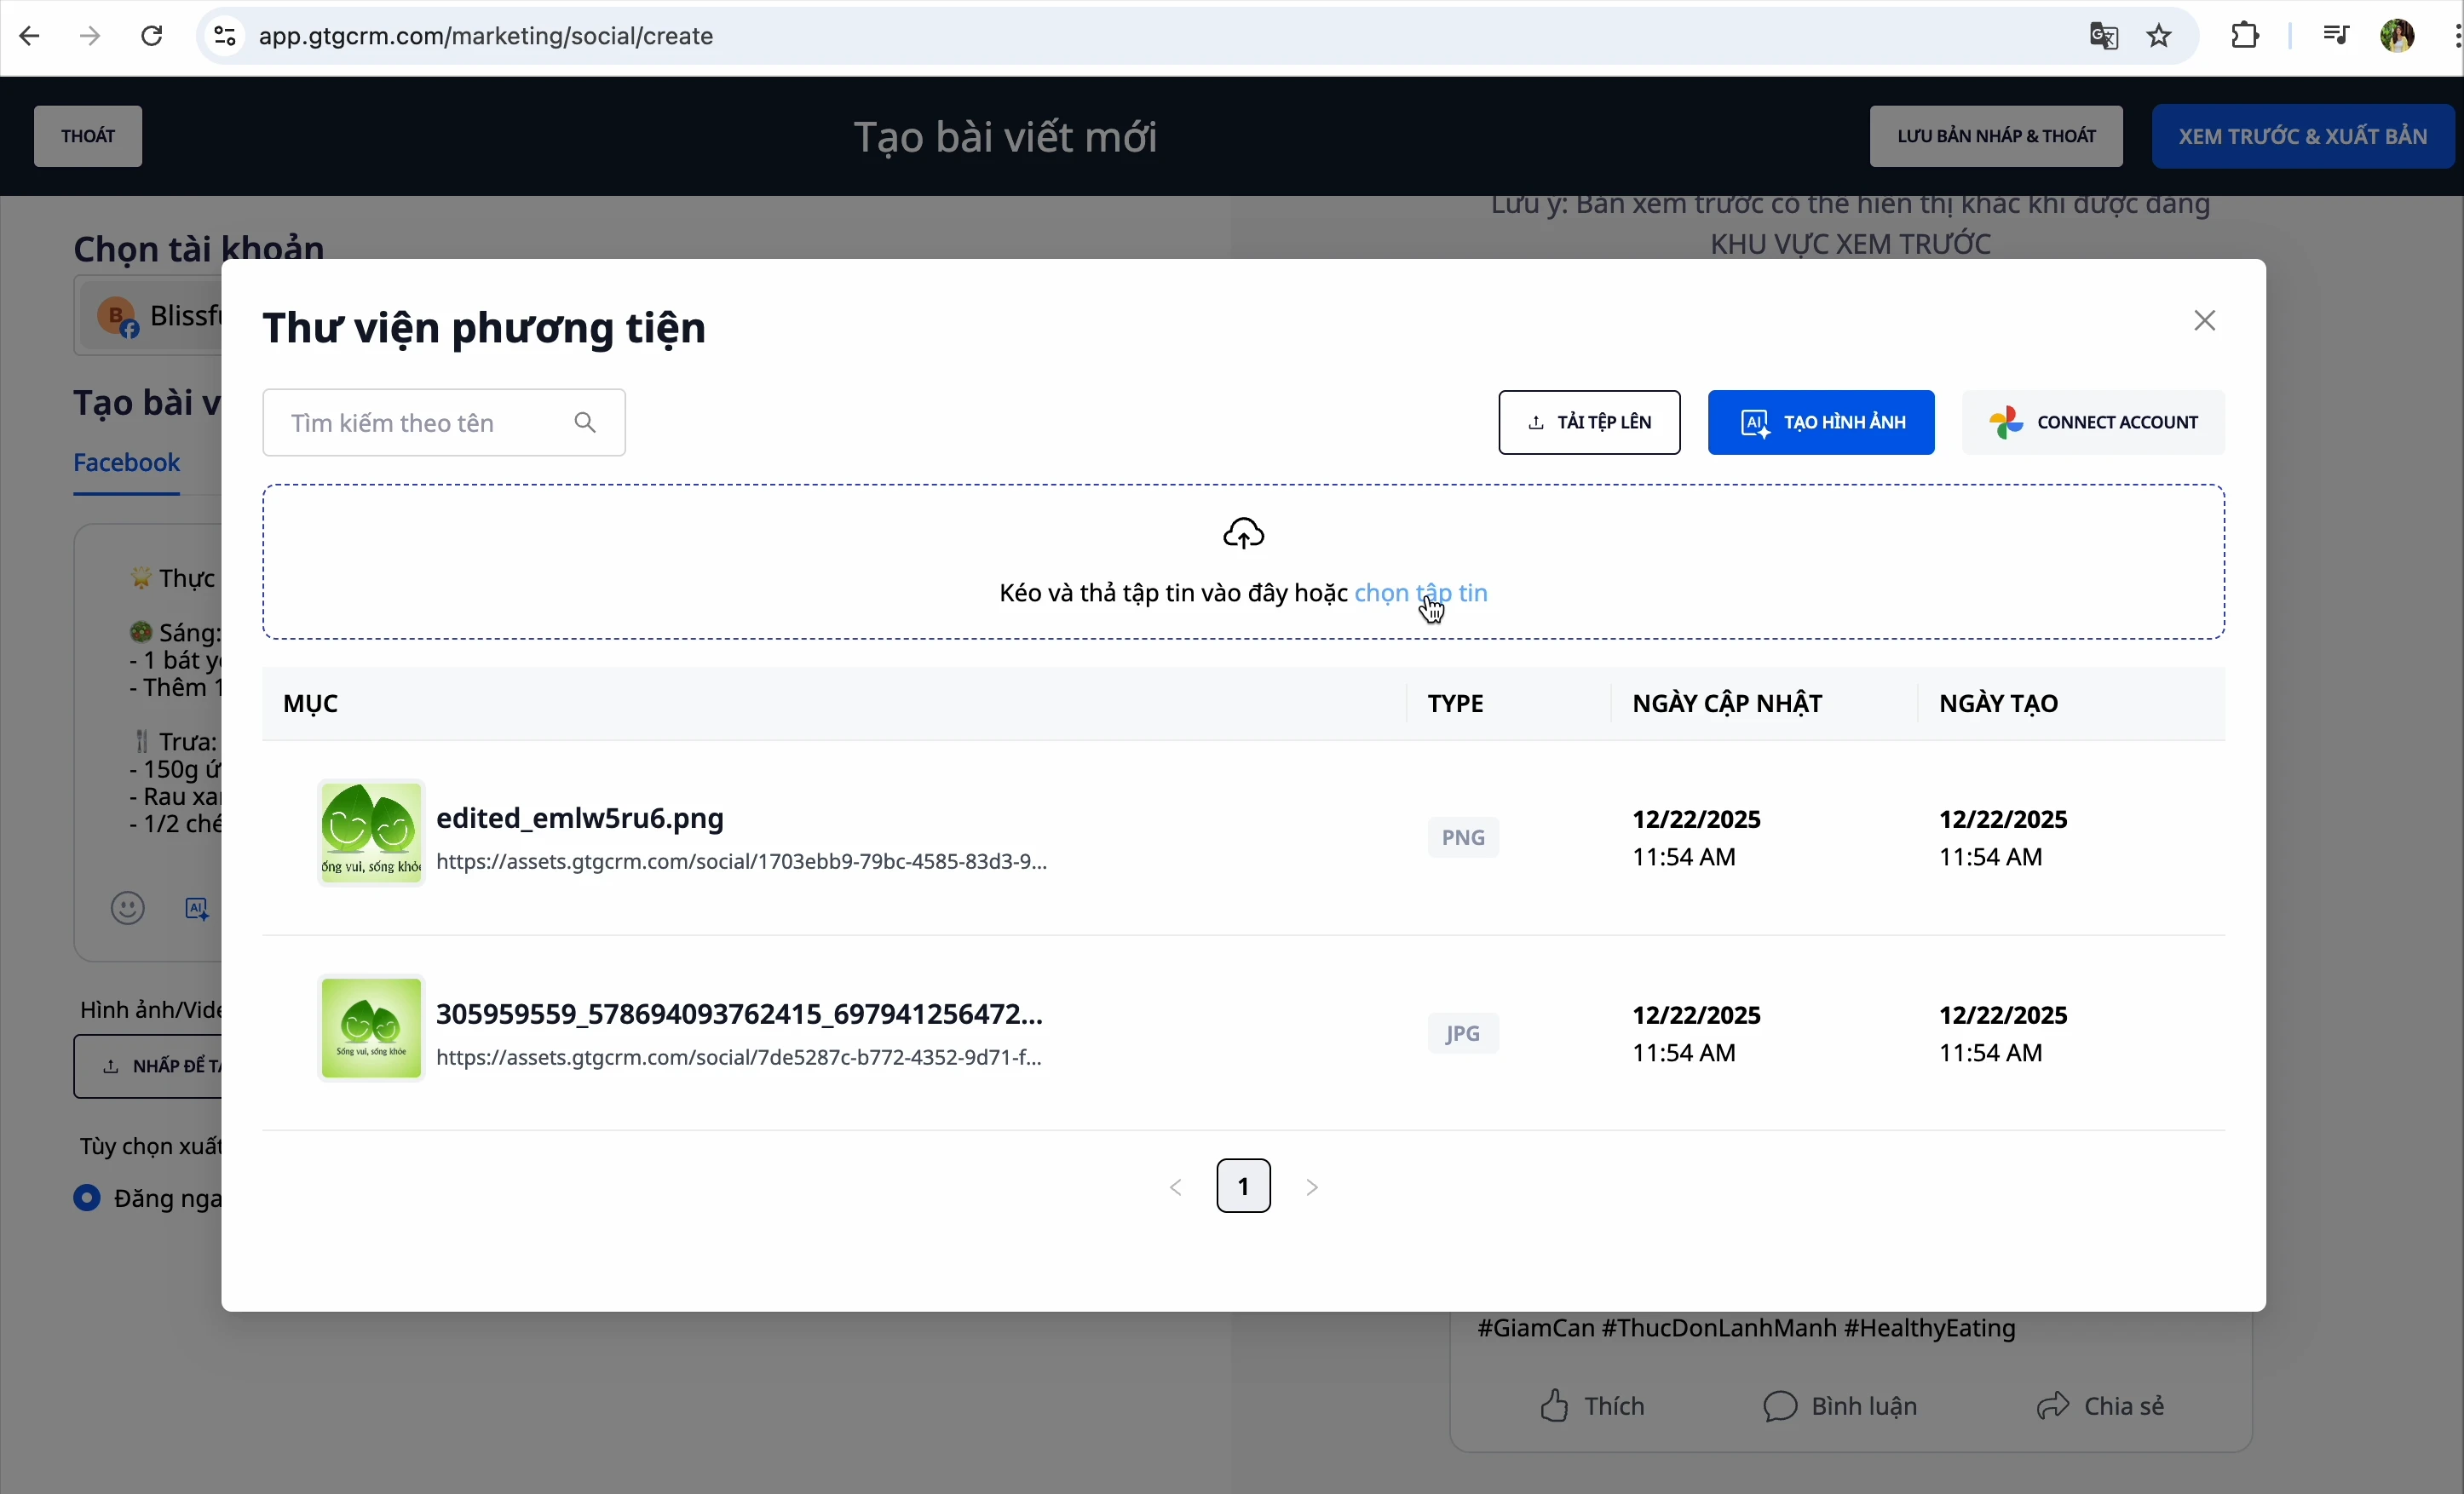
- Click the image selection button
- Select image files from your computer
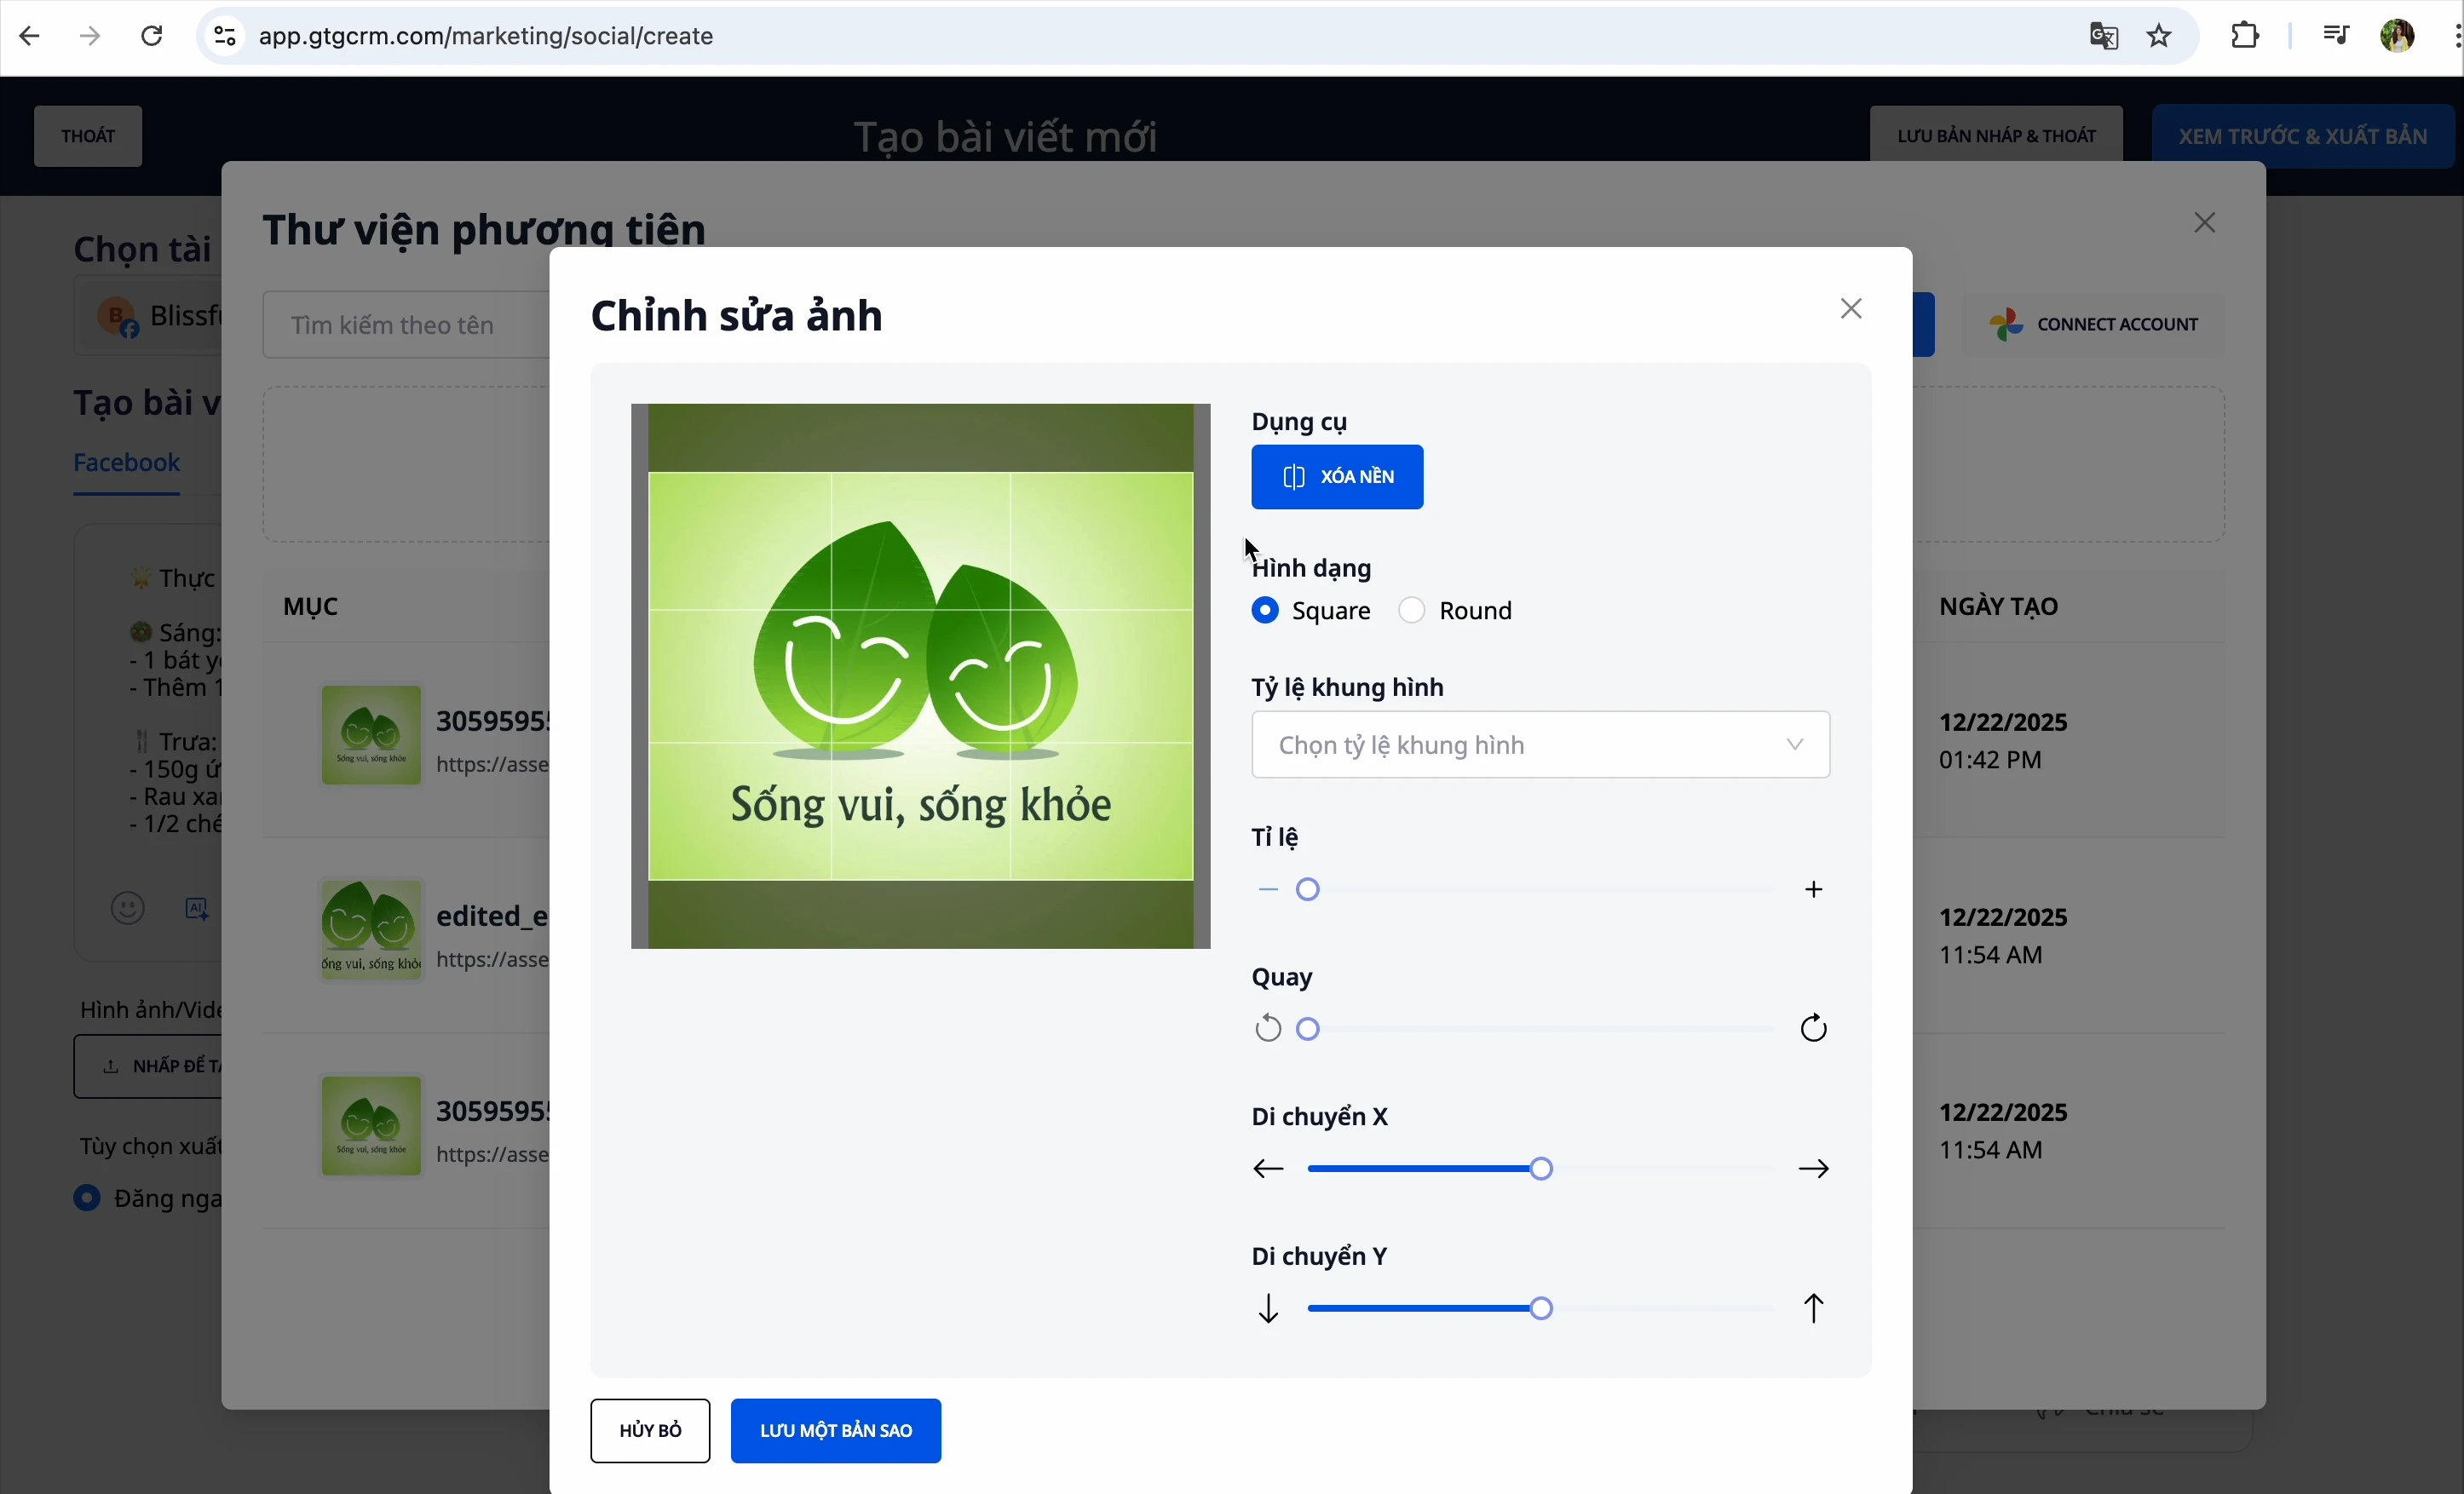
Method 2: Edit Image
After selecting an image, you can edit:
- Change aspect ratio
- Rotate horizontally/vertically
- Crop image
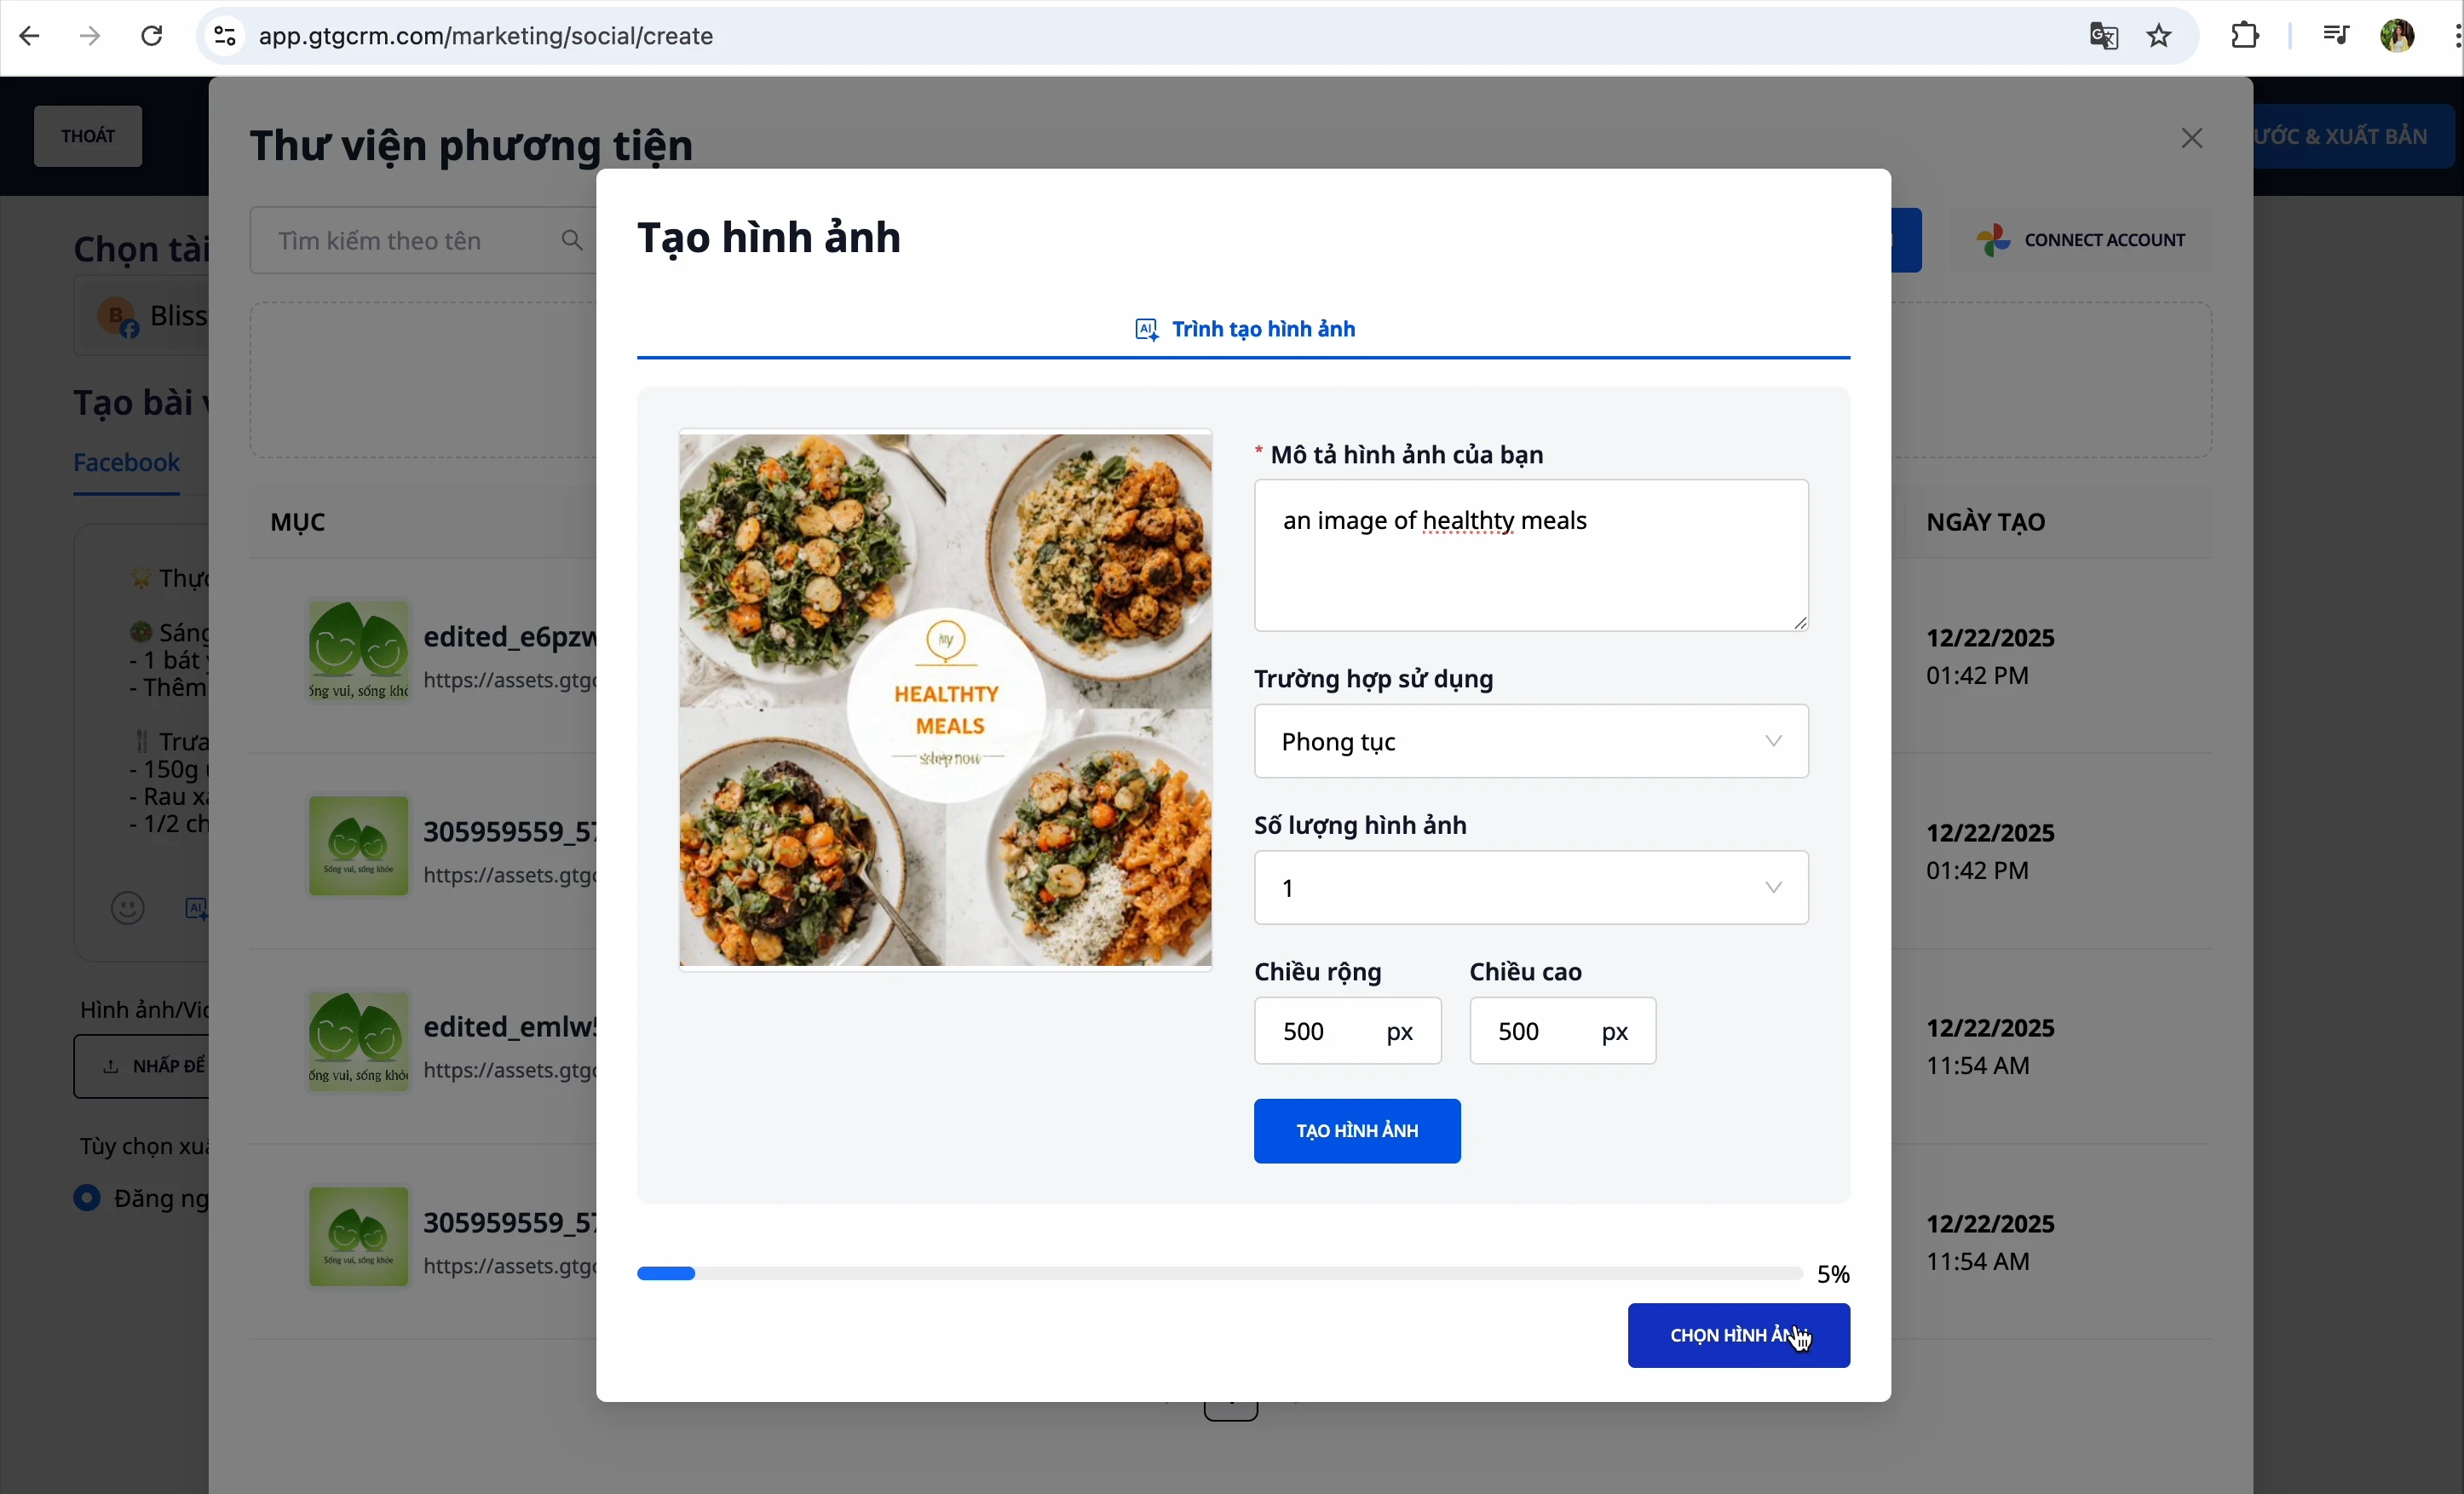
Method 3: Create Image with AI
- Click "Create Image with AI"
- Describe the image you want
- The AI will generate the image automatically
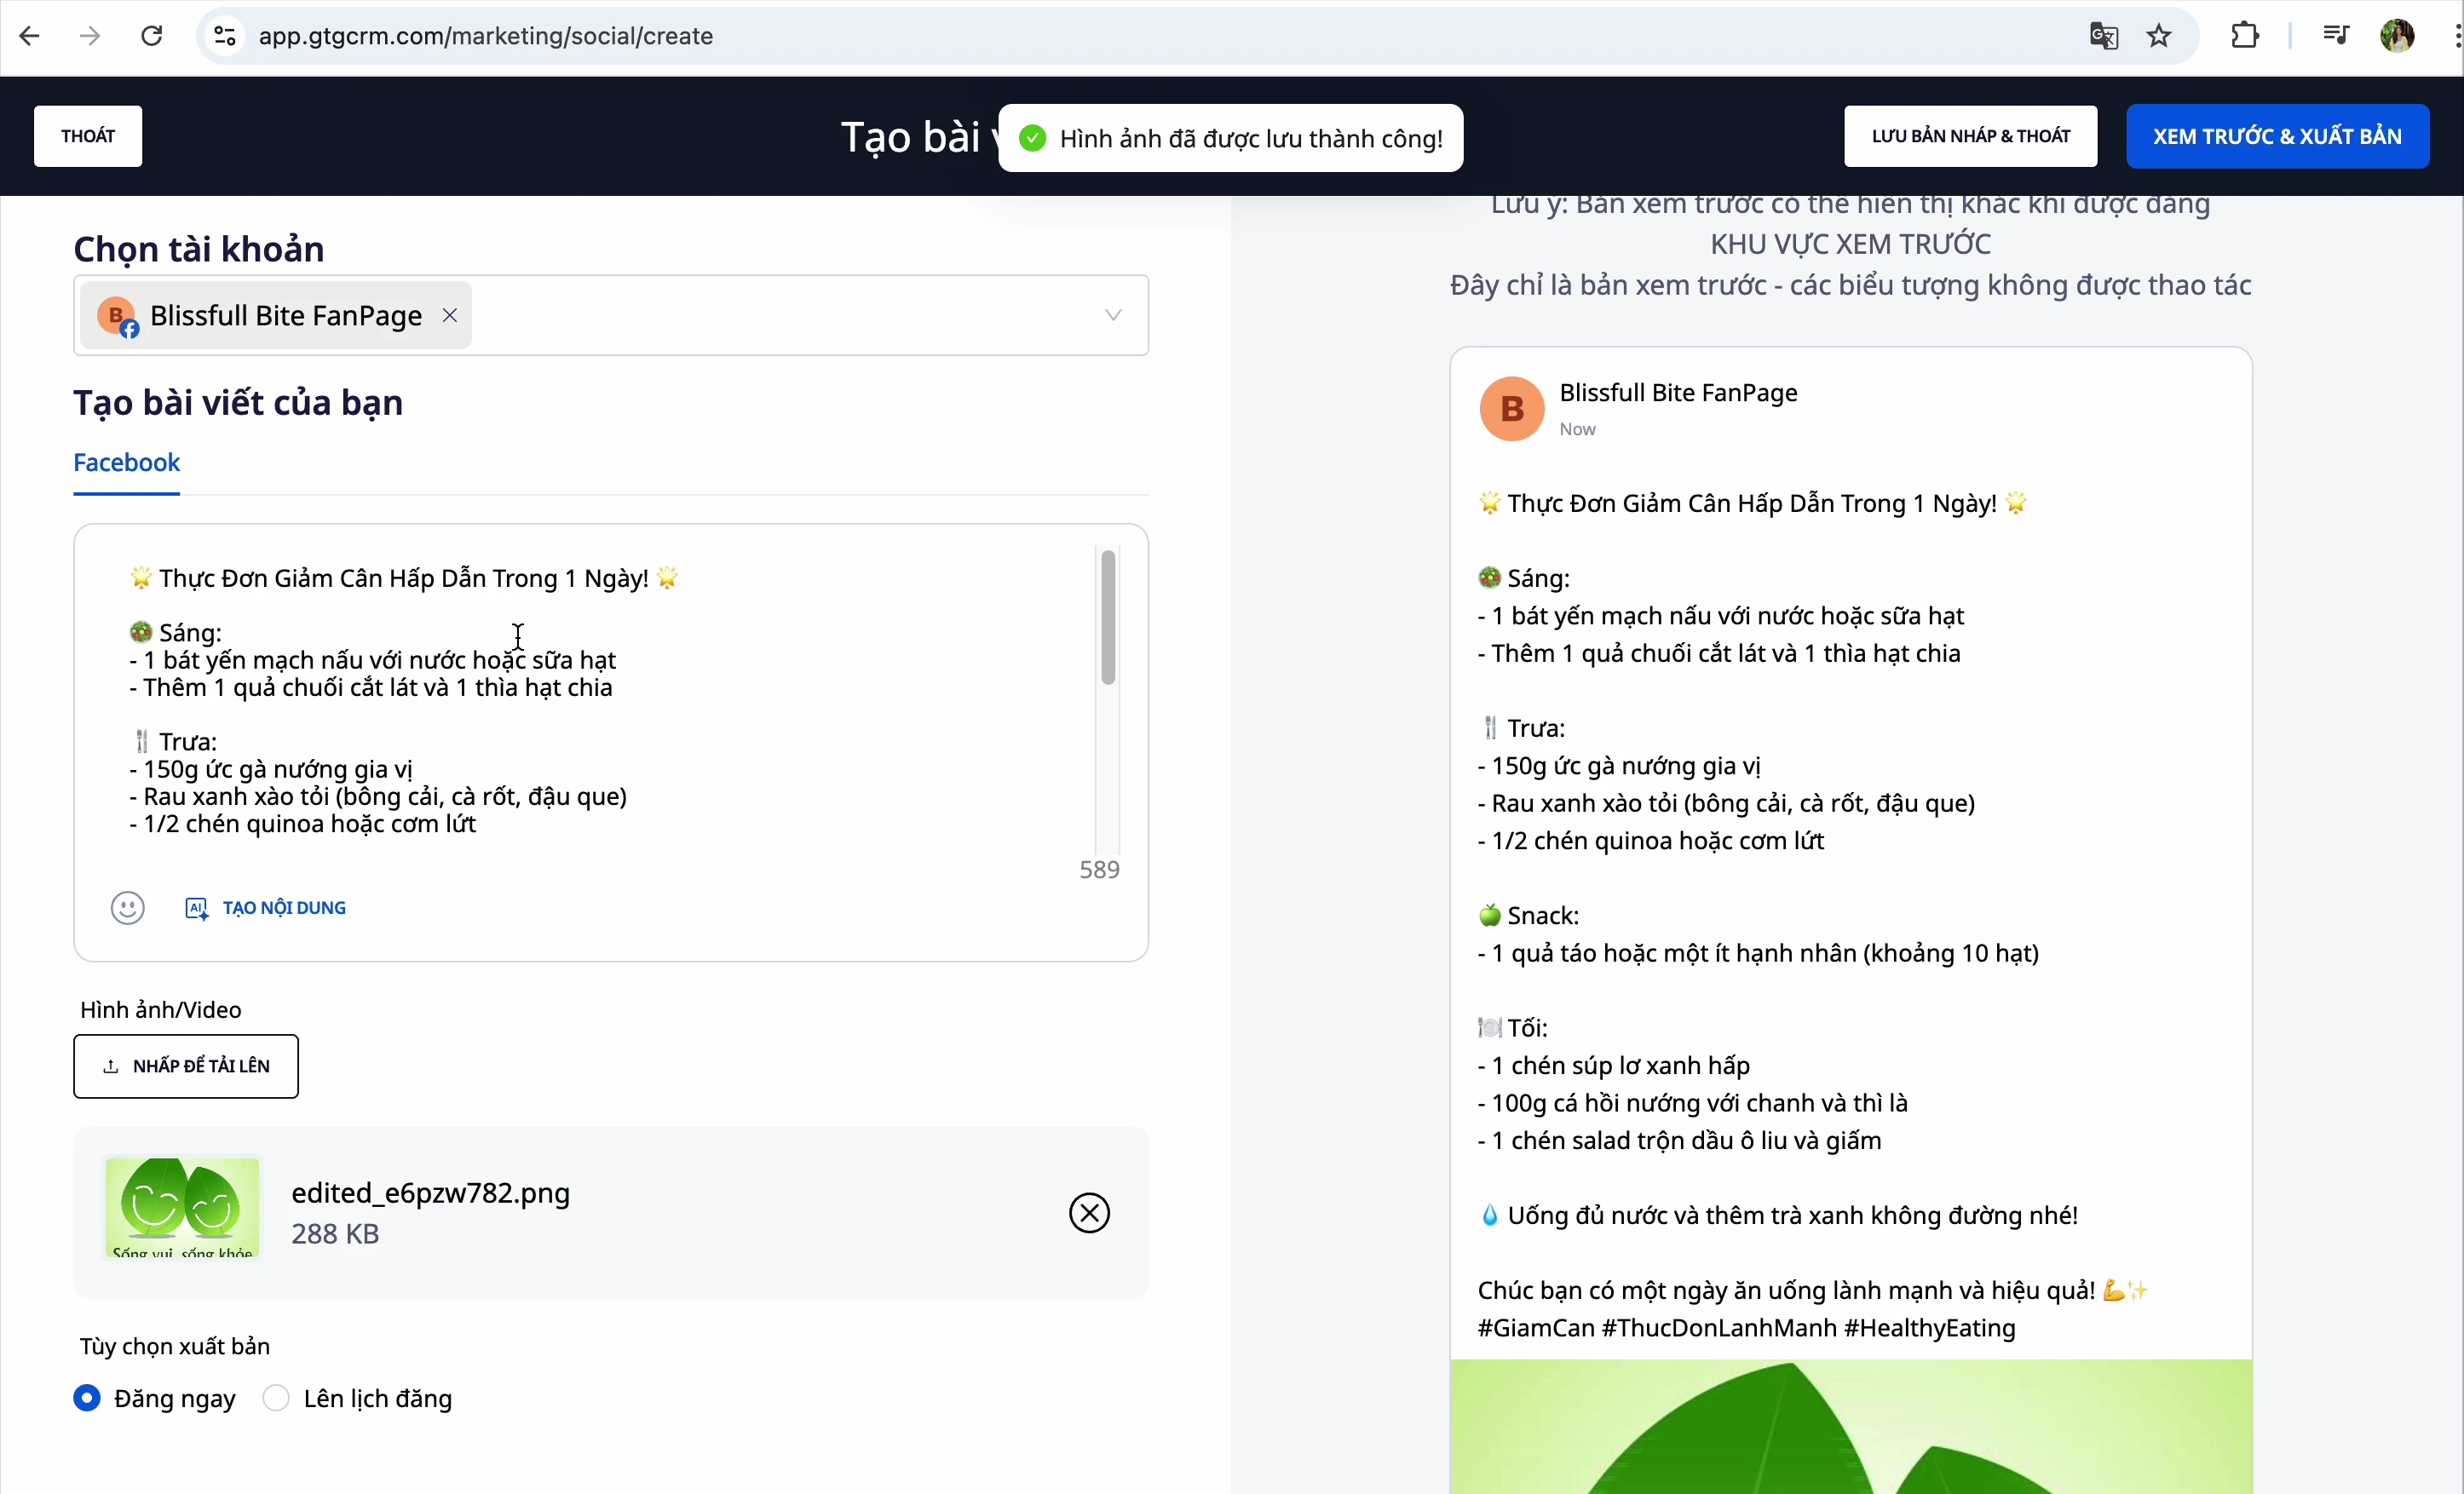
Step 5: Preview Post
Click "Preview" to check the post before publishing
Step 6: Publish Post
You have 3 options:
| Option | Description |
|---|---|
| Publish Now | Publish the post immediately |
| Schedule Post | Select a specific date and time for automatic posting |
| Save Draft | Save for later completion |
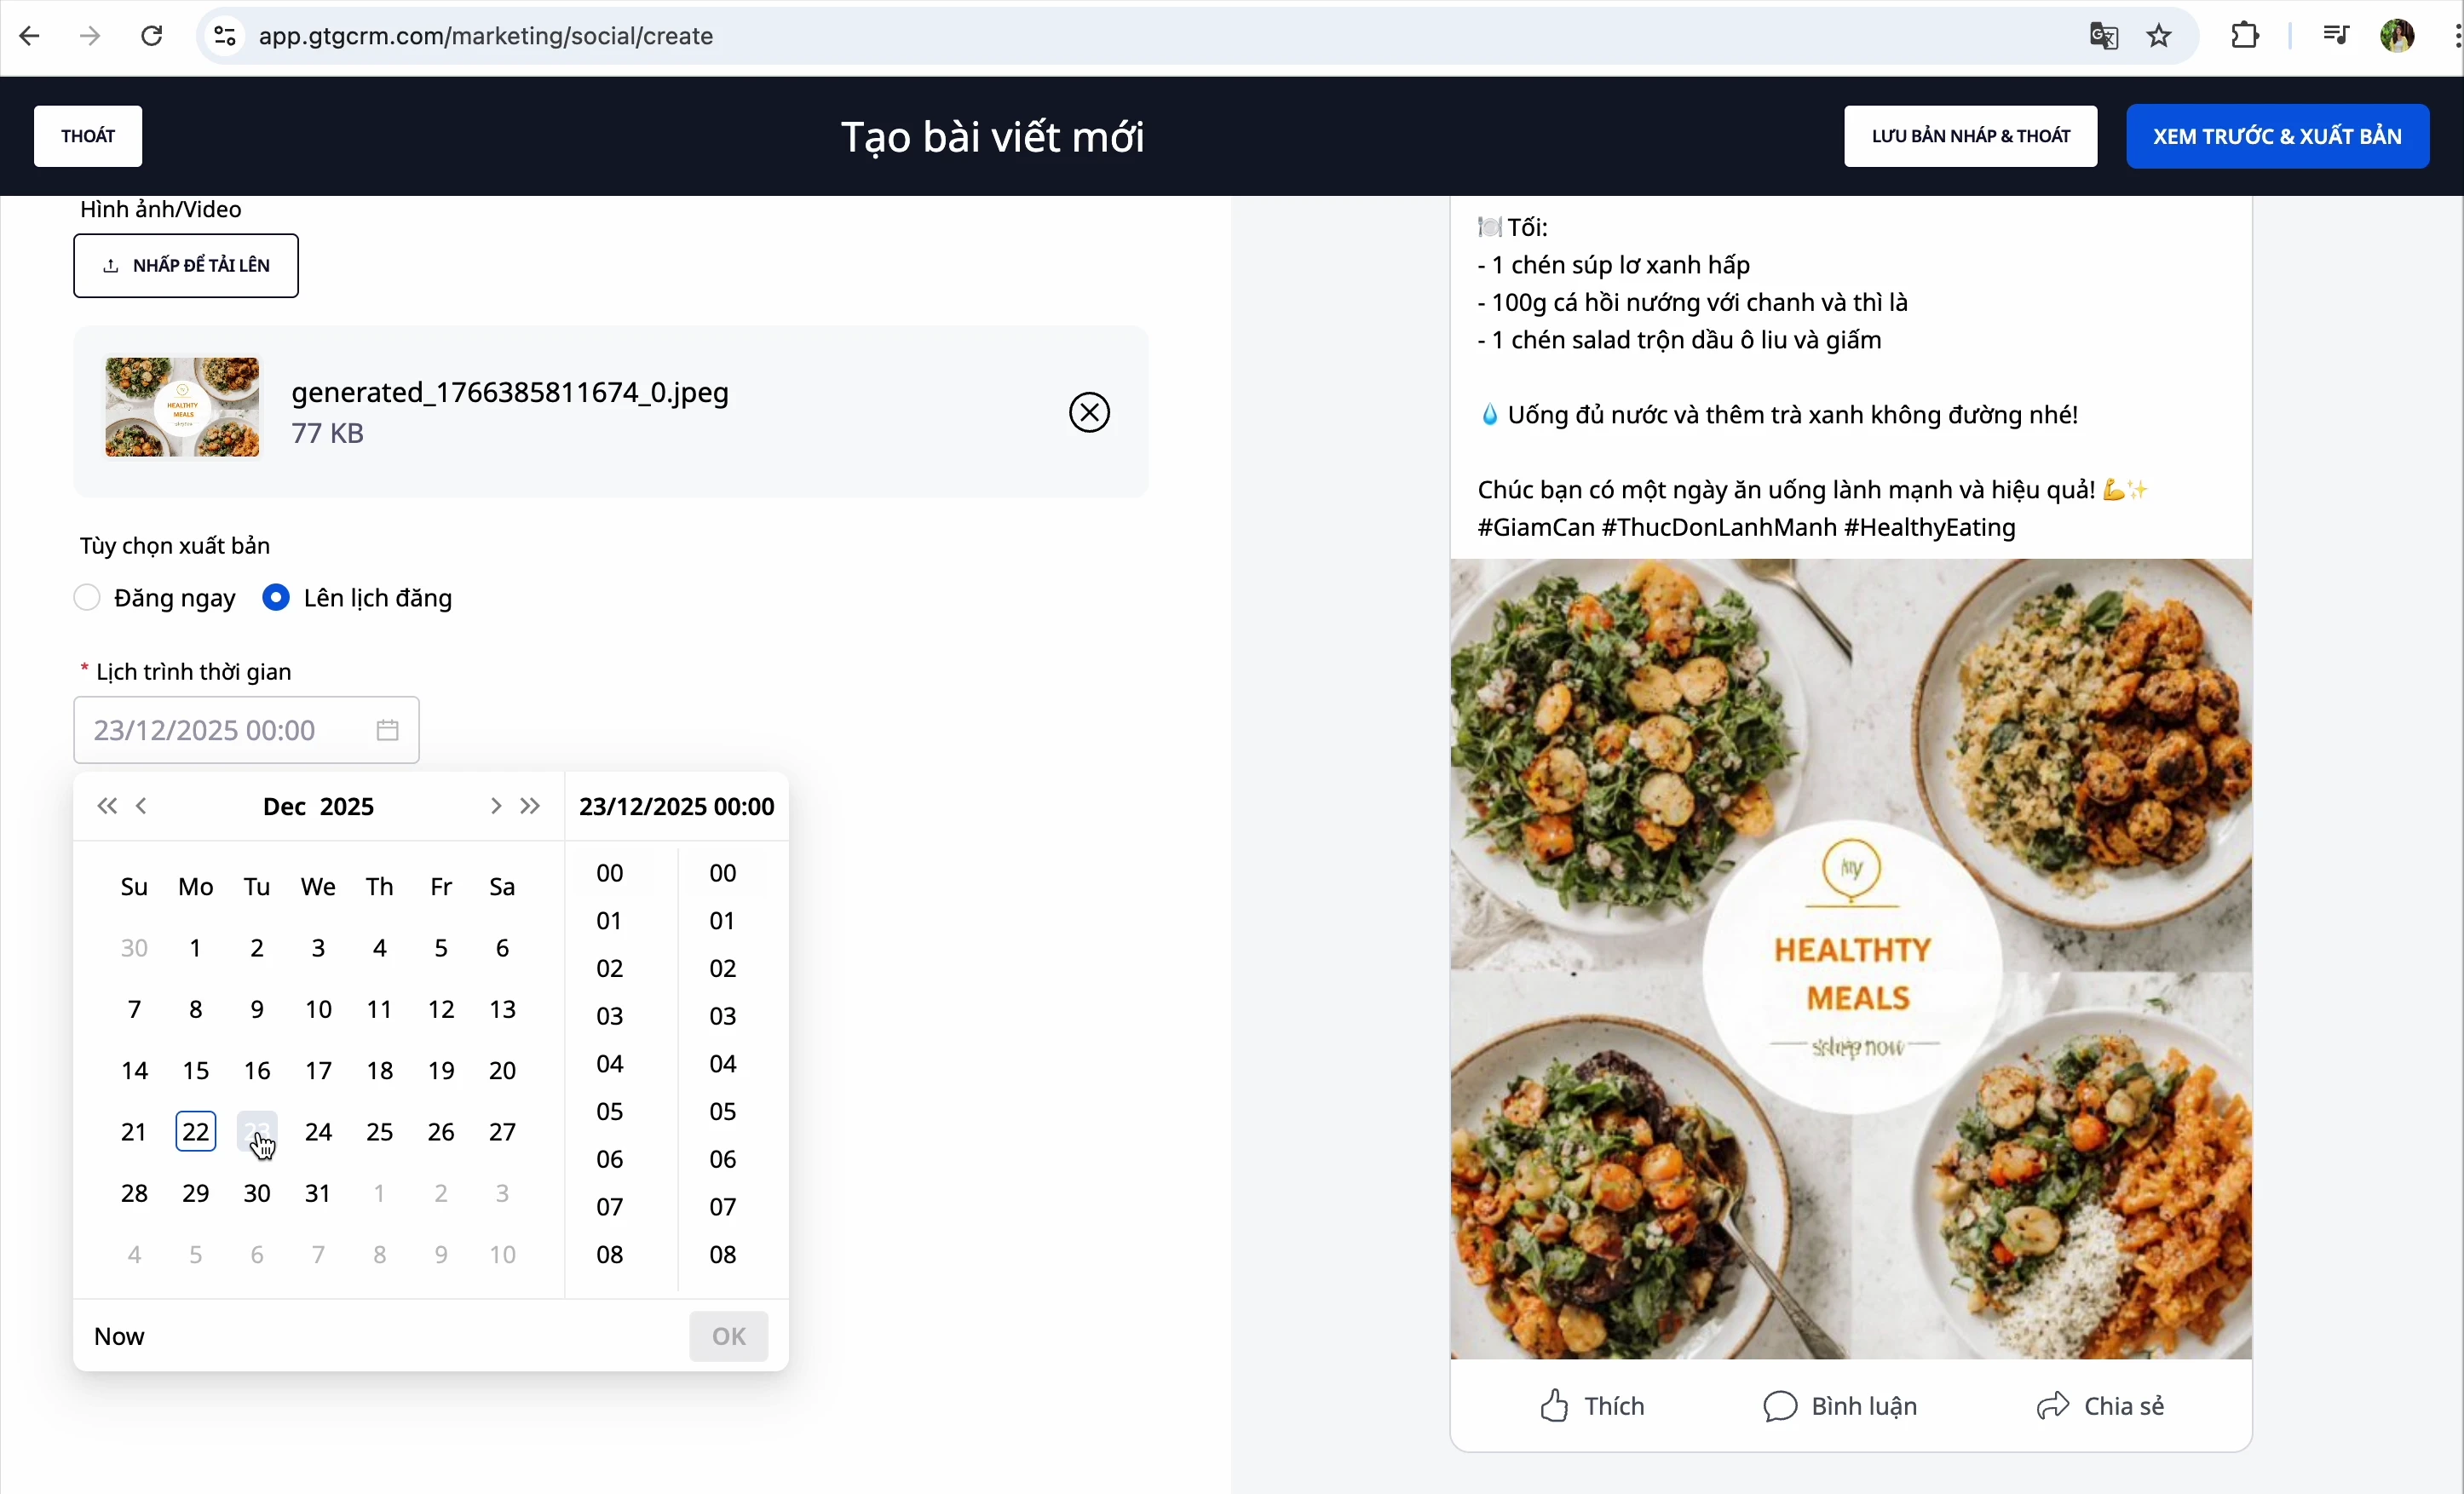
To schedule a post:
- Select "Schedule"
- Choose the desired date and time
- Click "Preview and Publish"
Create LinkedIn Post
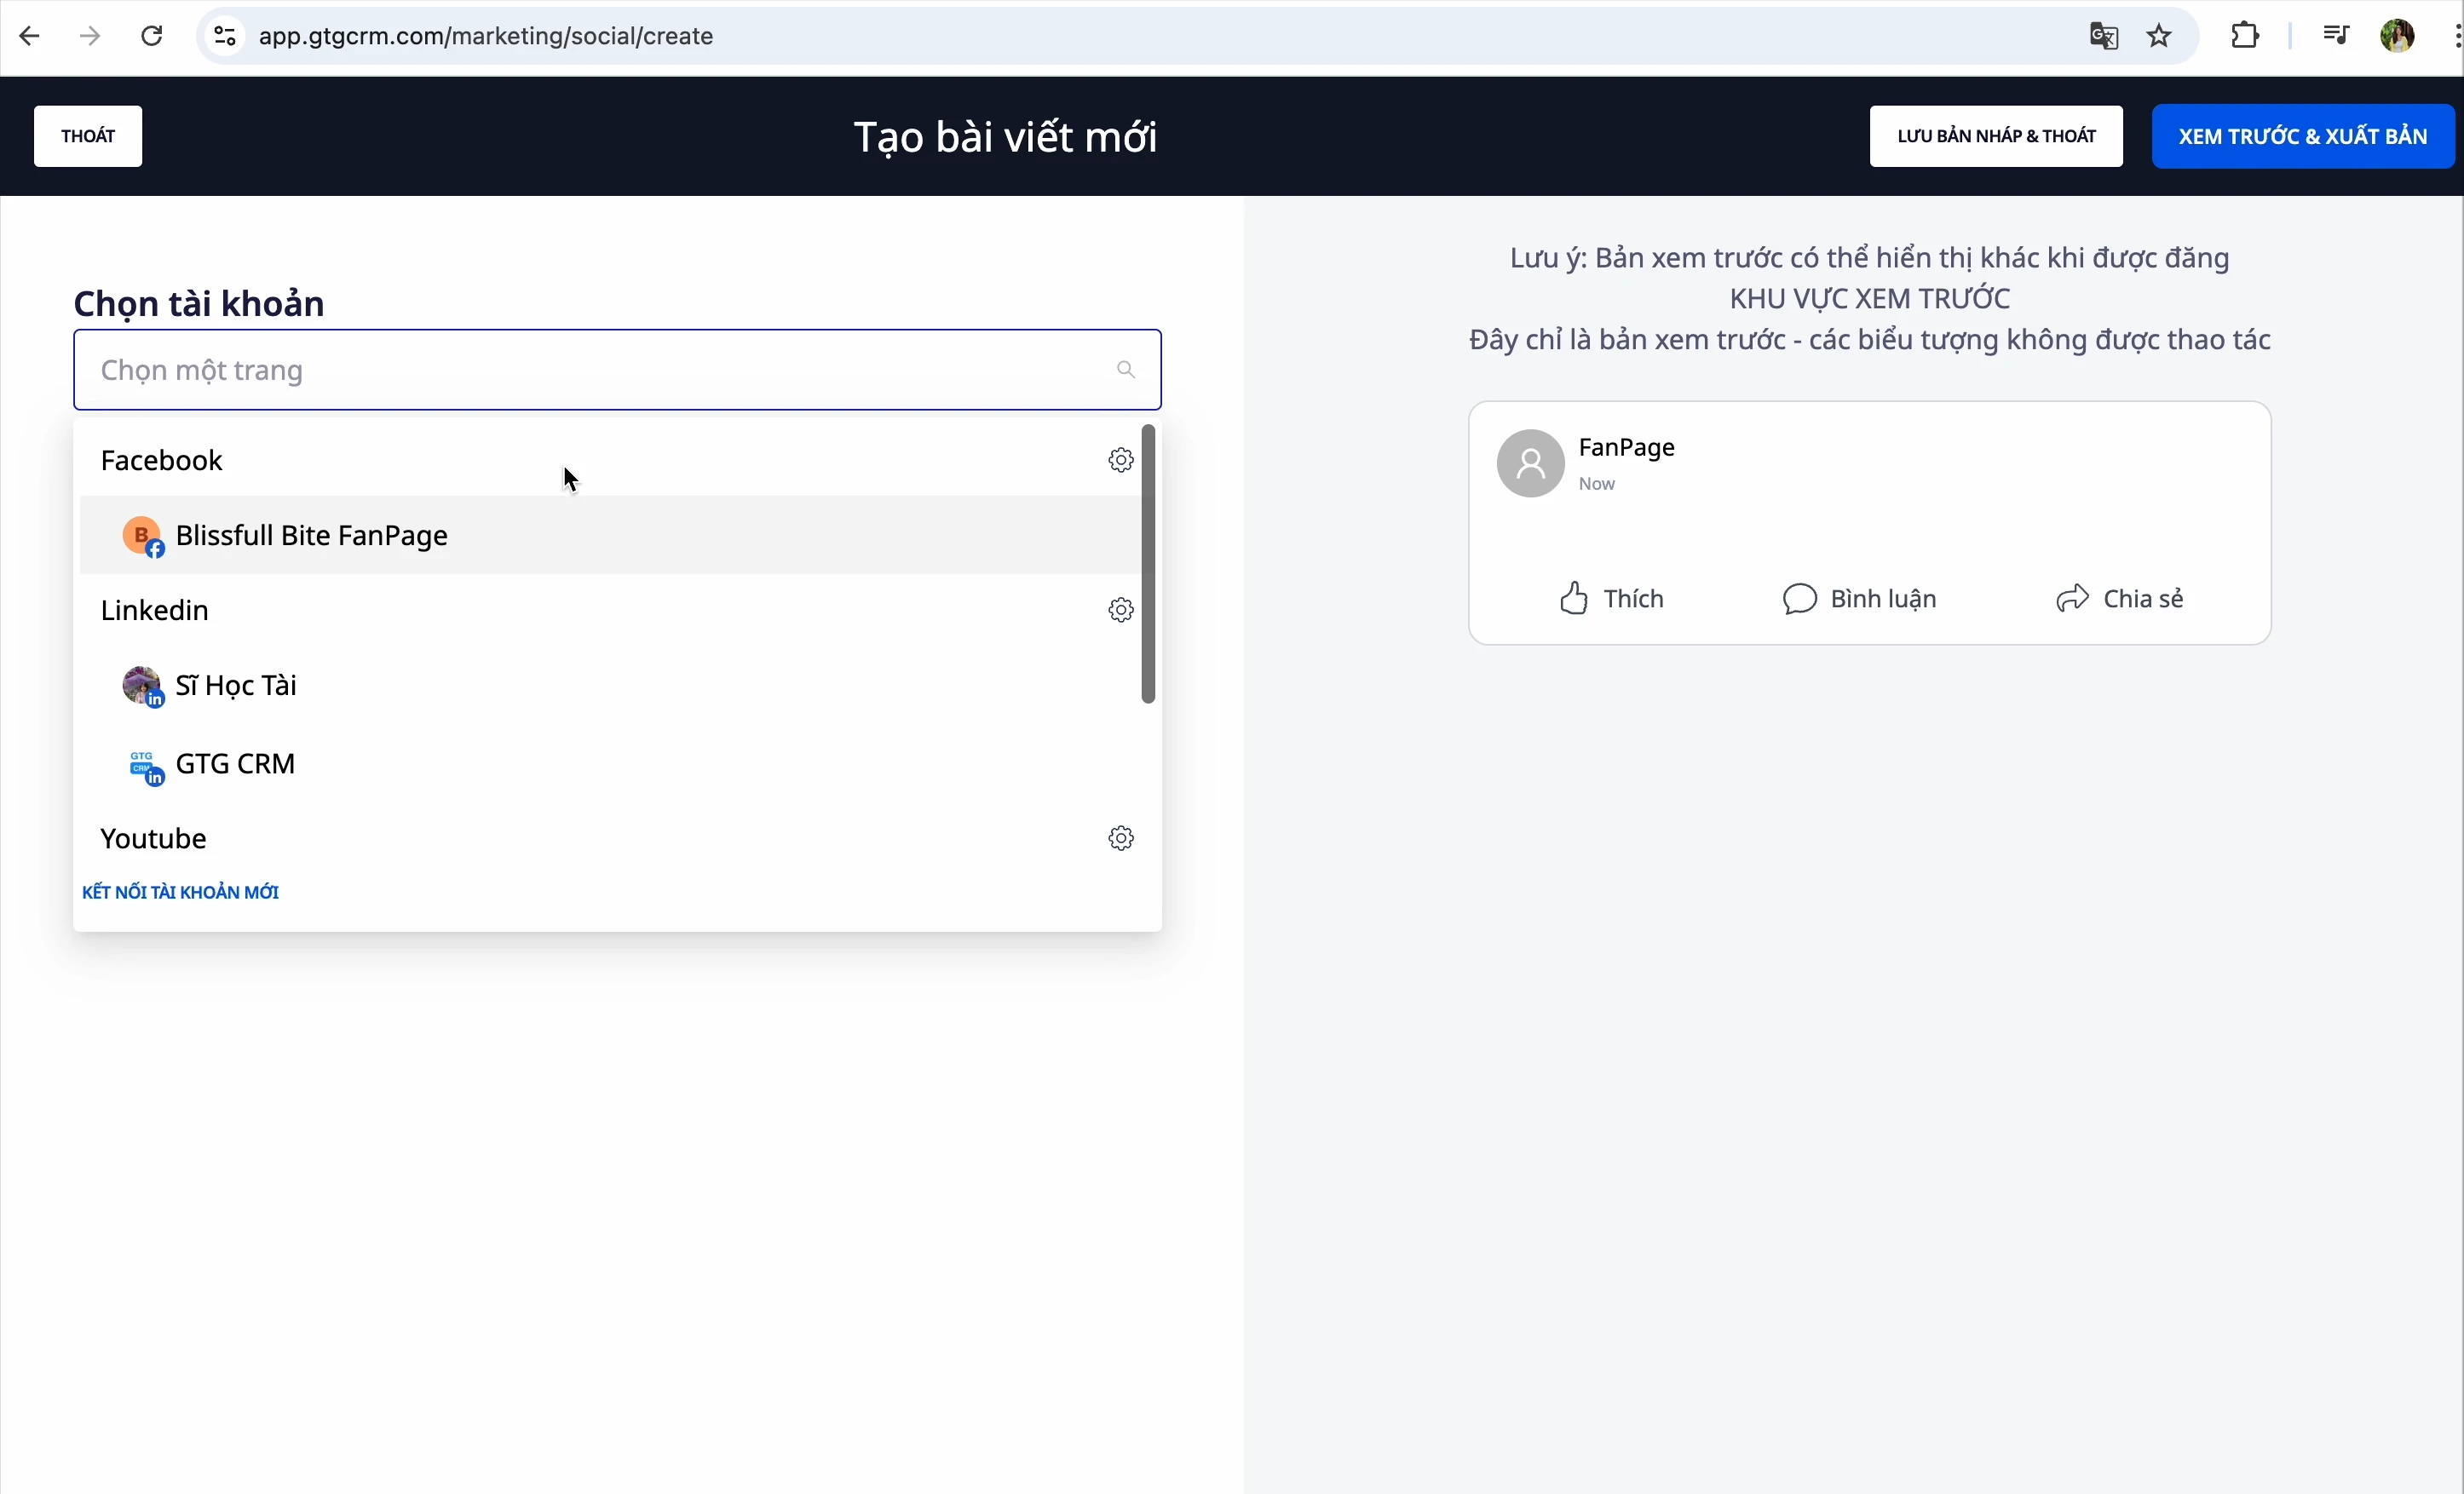
Step 1: Select LinkedIn Page
From the post creation interface, select your LinkedIn page
Step 2: Create Content
Similar to Facebook, you can:
- Input manually
- Have AI generate content
Step 3: Add Images
Choose from:
- Image library
- Your computer
- AI-generated images
Step 4: Add First Comment (Optional)
LinkedIn has a special feature: First Comment
- When posting, the system will automatically add this comment
- Often used to add extra links or hashtags
Step 5: Publish
Choose Save Draft or Publish Now
Upload YouTube Video
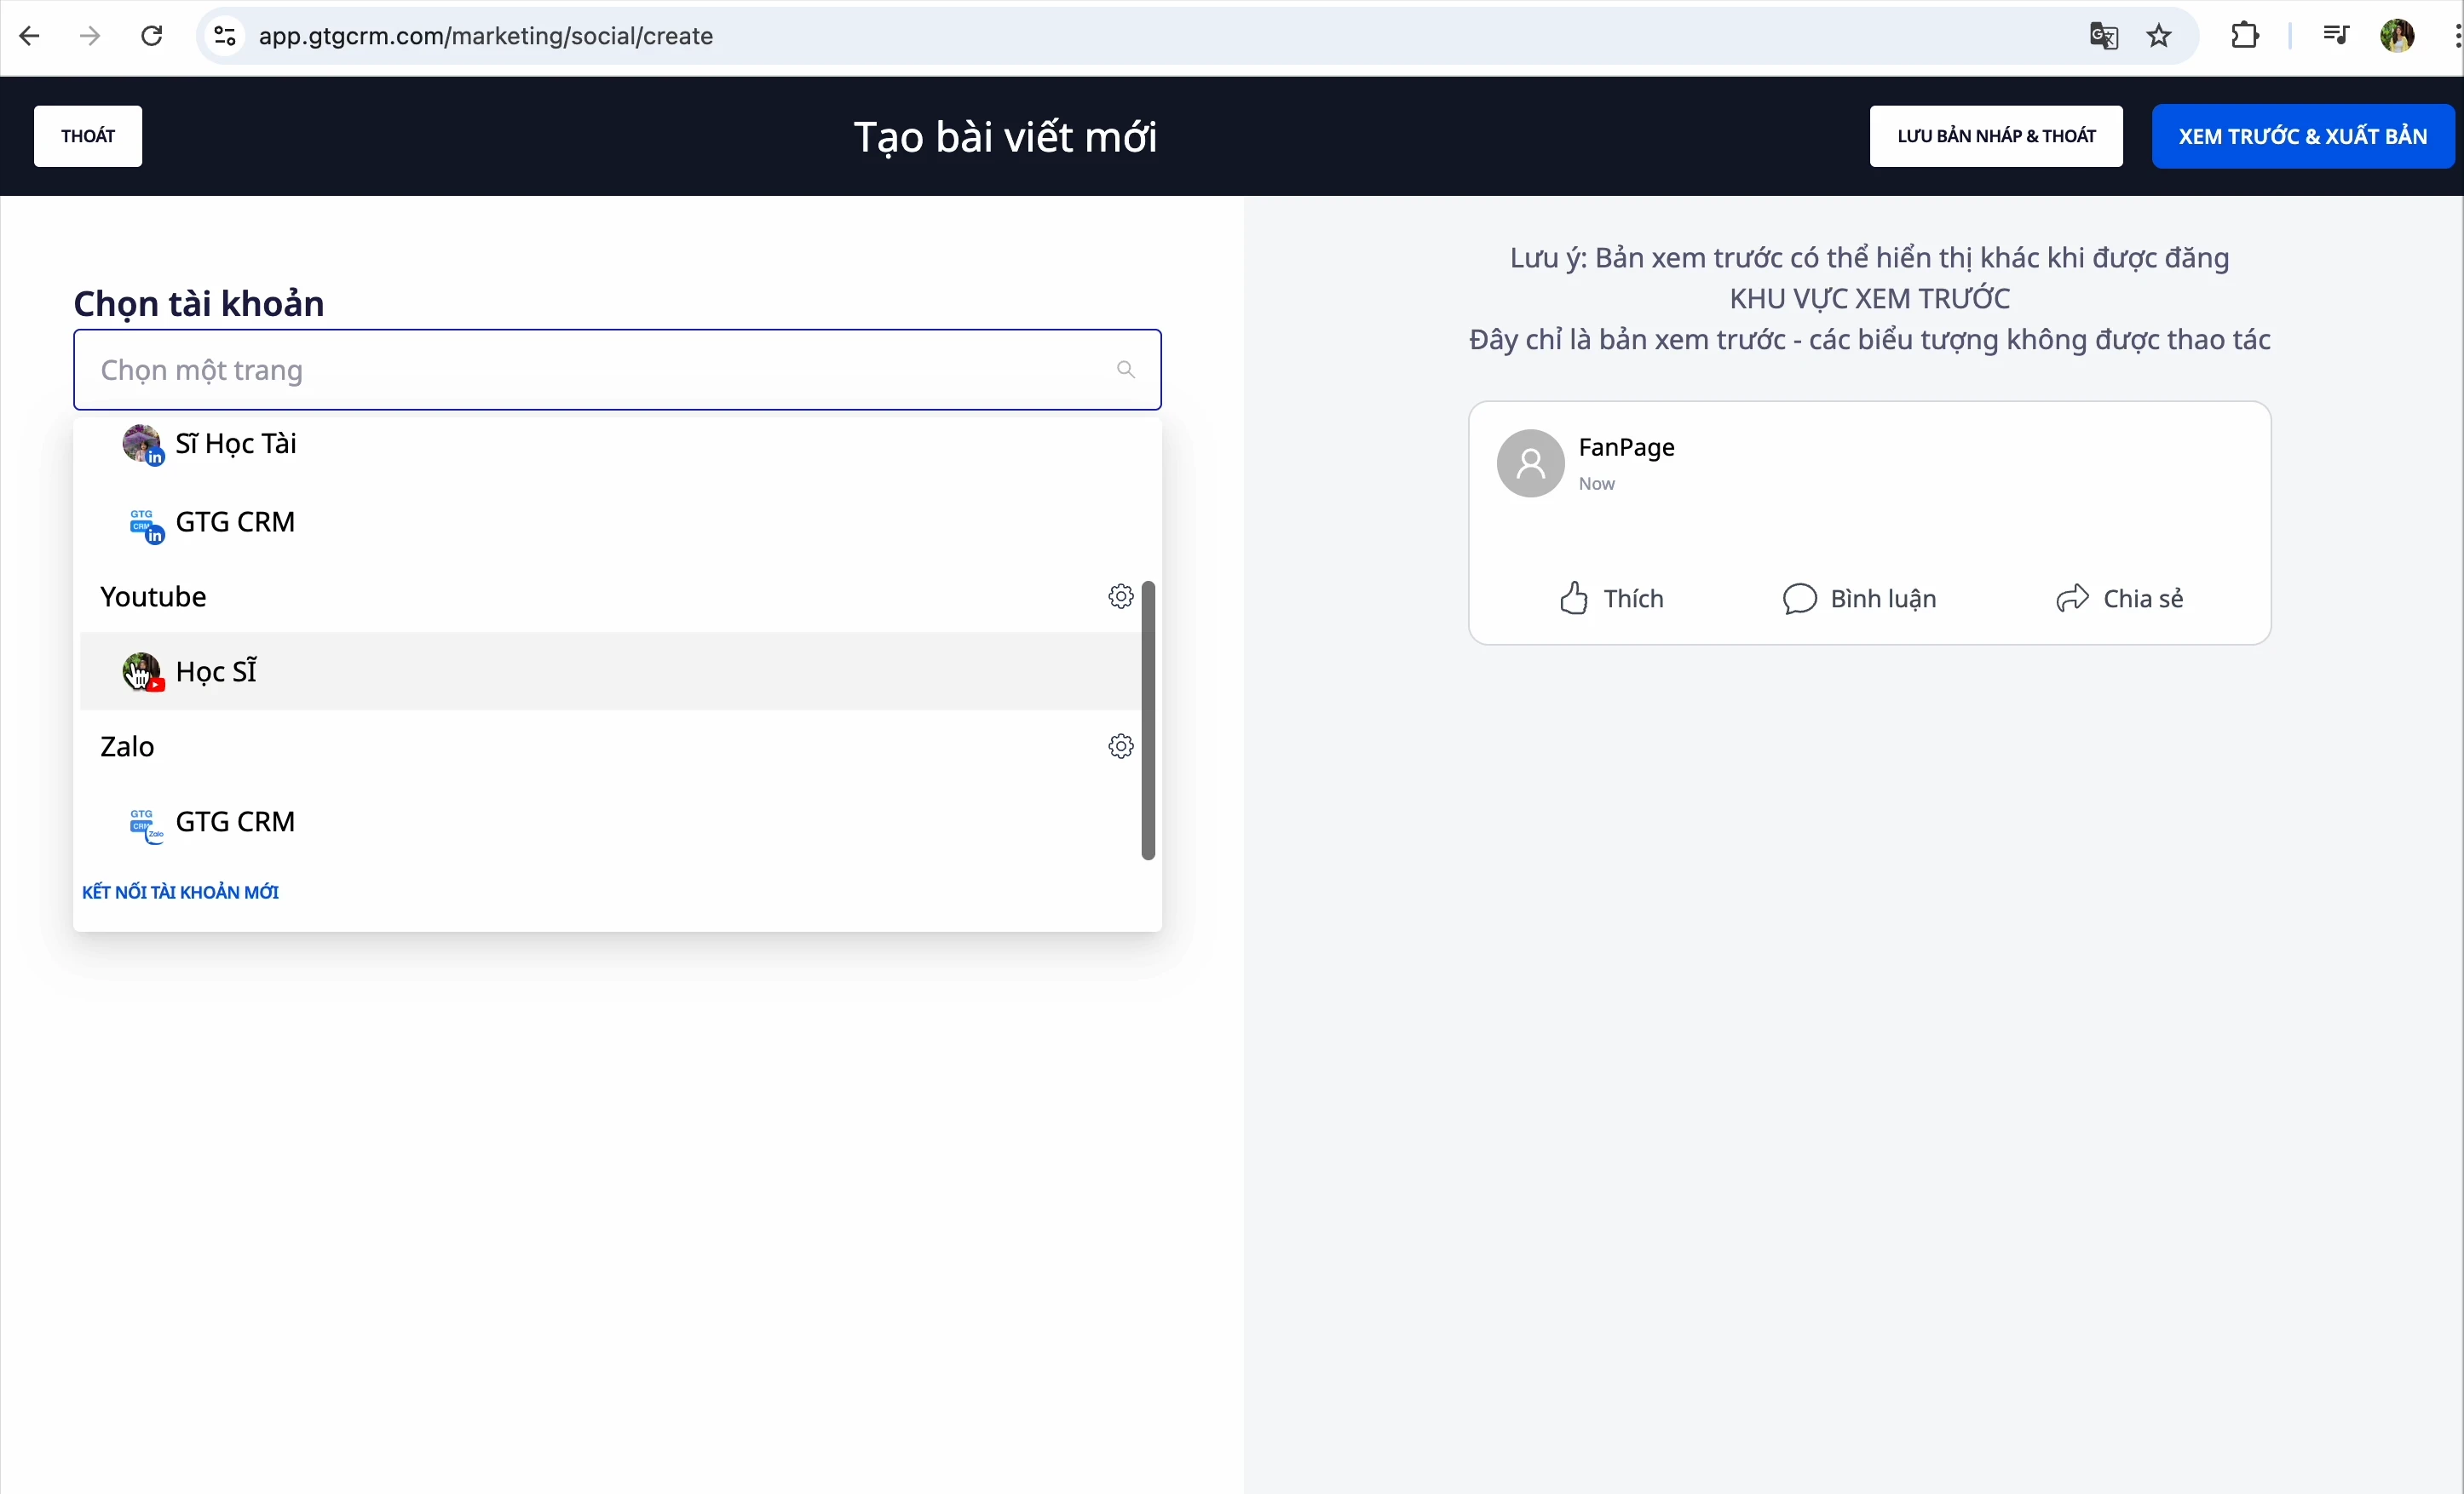
Step 1: Select YouTube Channel
From the post creation interface, select your YouTube channel
Step 2: Select Video
Click to select a video file from your computer
Step 3: Enter Video Information
Fill in all the details:
| Field | Description |
|---|---|
| Title | The name of the video displayed |
| Description | Detailed description of the content |
| Playlist | Select a playlist if available |
| Audience | Is the video made for kids? |
| Tags | Keywords, separated by commas |
| Language | The language of the video (e.g., Vietnamese) |
| Category | Documentary, Education, Entertainment... |
| Visibility | Public / Unlisted / Private |
⚠️ Note: When entering tags, press comma after each tag for the system to recognize it.
Step 4: Upload Video
Select:
- Publish Now: The video is uploaded and made public immediately
- Schedule Post: Choose an upload time
- Save Draft: Save to upload later
Create Zalo Article
Zalo has 2 types of posts:
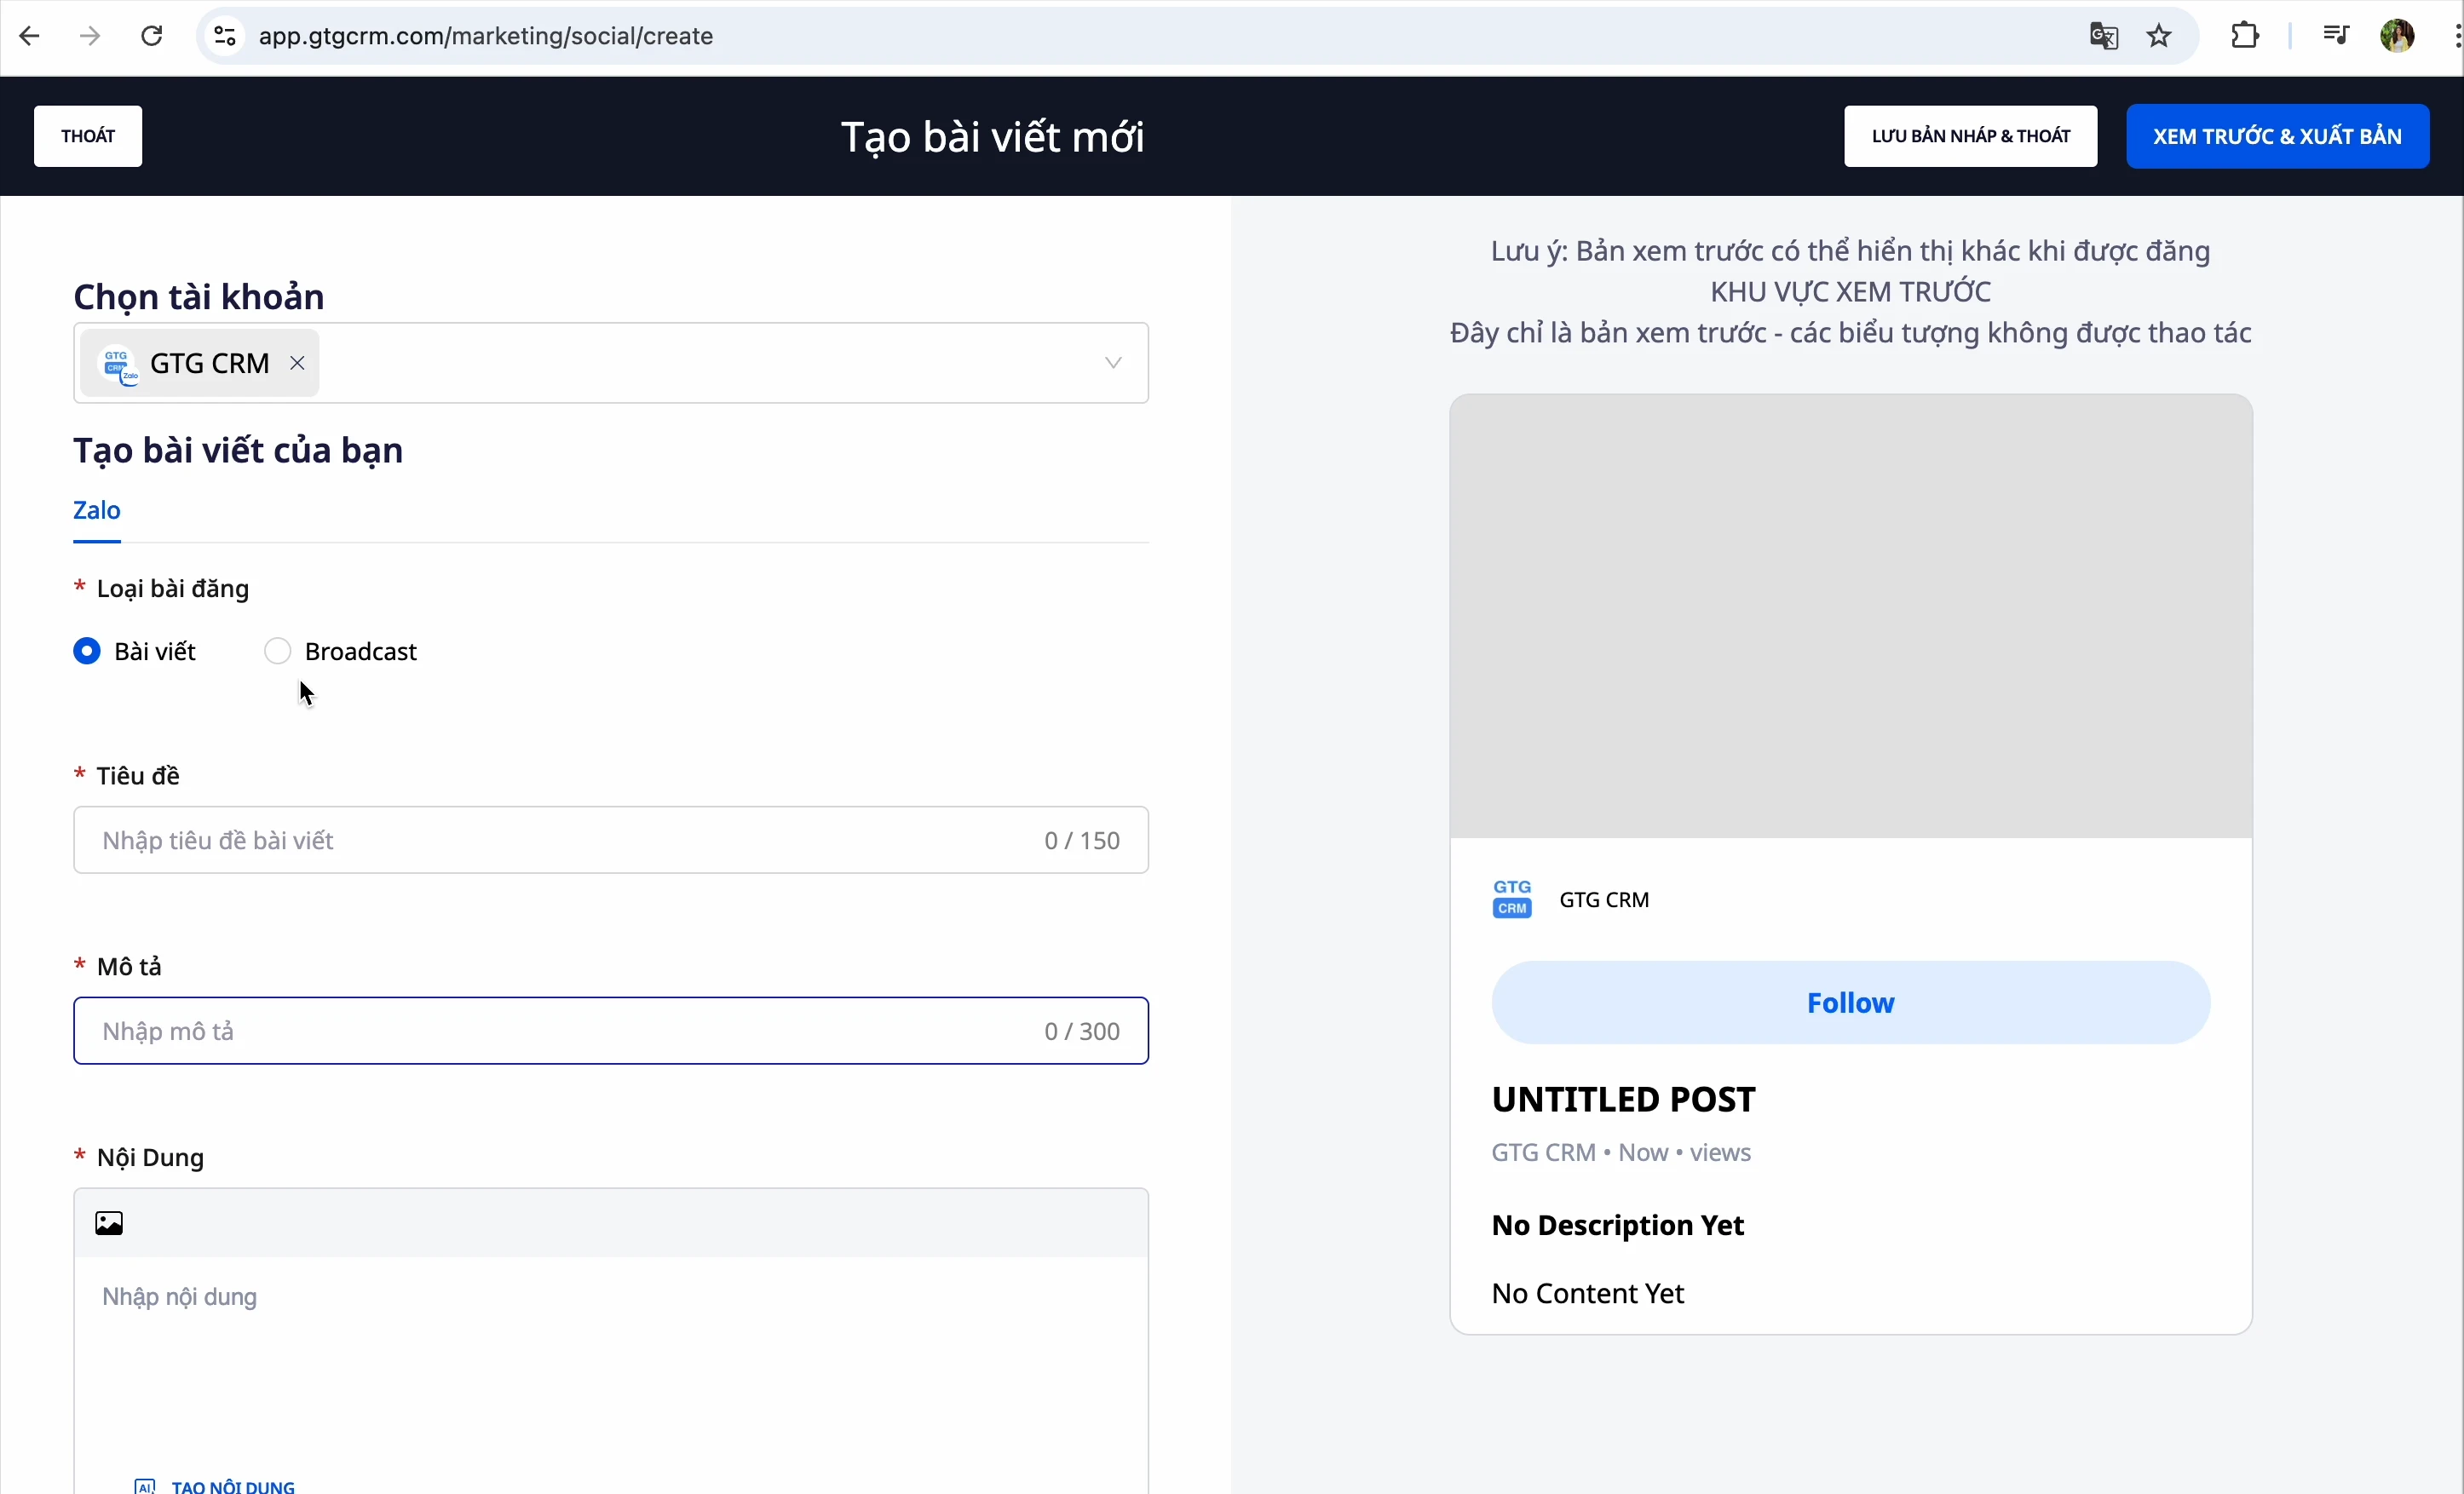
Type 1: Article
Posts displayed on the Official Account's timeline
Steps:
- Enter article title
- Enter description
- Select images:
- Upload from computer
- Connect Google Photos to select images
- Have AI generate images
- Select related articles: When this article is displayed, the system will suggest related articles
- Comment settings: Allow or disallow user comments
- Publish or save as draft
Sync Old Articles
If you have existing posts on Zalo:
- Click the "Sync" button
- GTG CRM will pull all articles for centralized management
Type 2: Broadcast
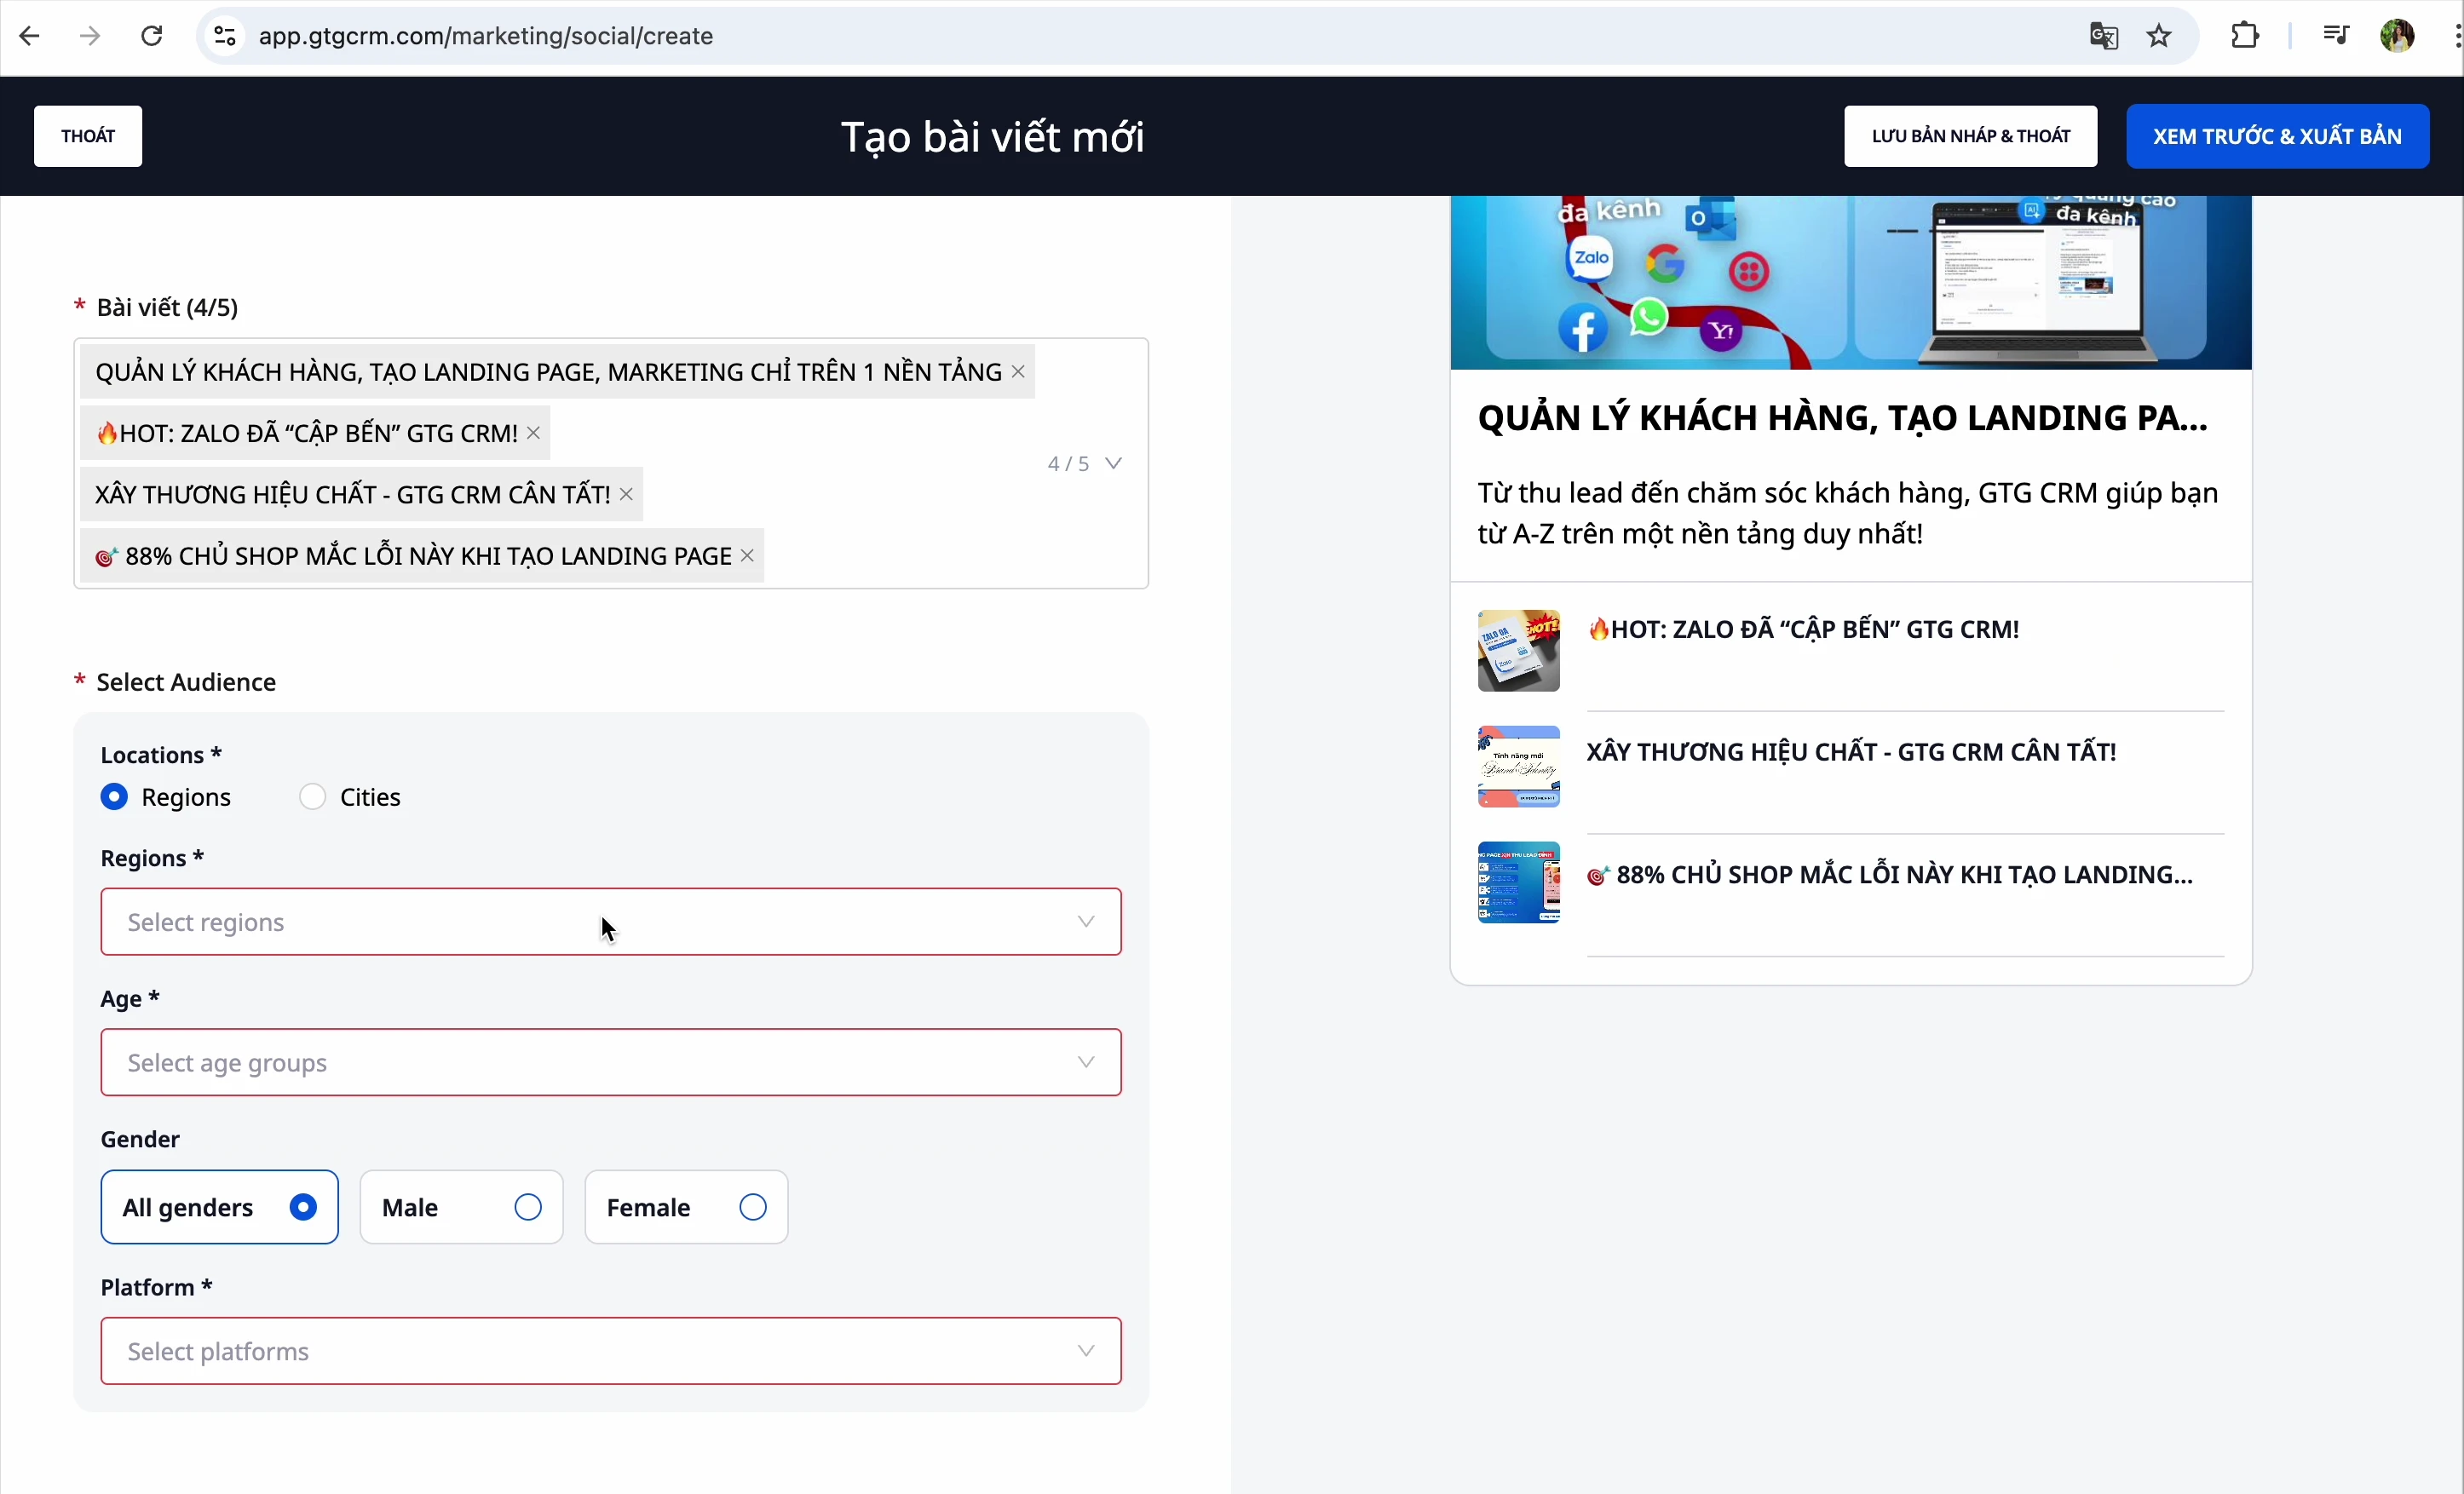
Send direct messages to target customers
Steps:
- Create broadcast content
- Select target audience:
- Location: South, North, Central
- Age range: Select desired age range
- Platform: iOS, Android, Windows (can select multiple)
- Save draft or send now
Manage Posts
View All Posts
After creating posts, you can view all created posts across 4 channels
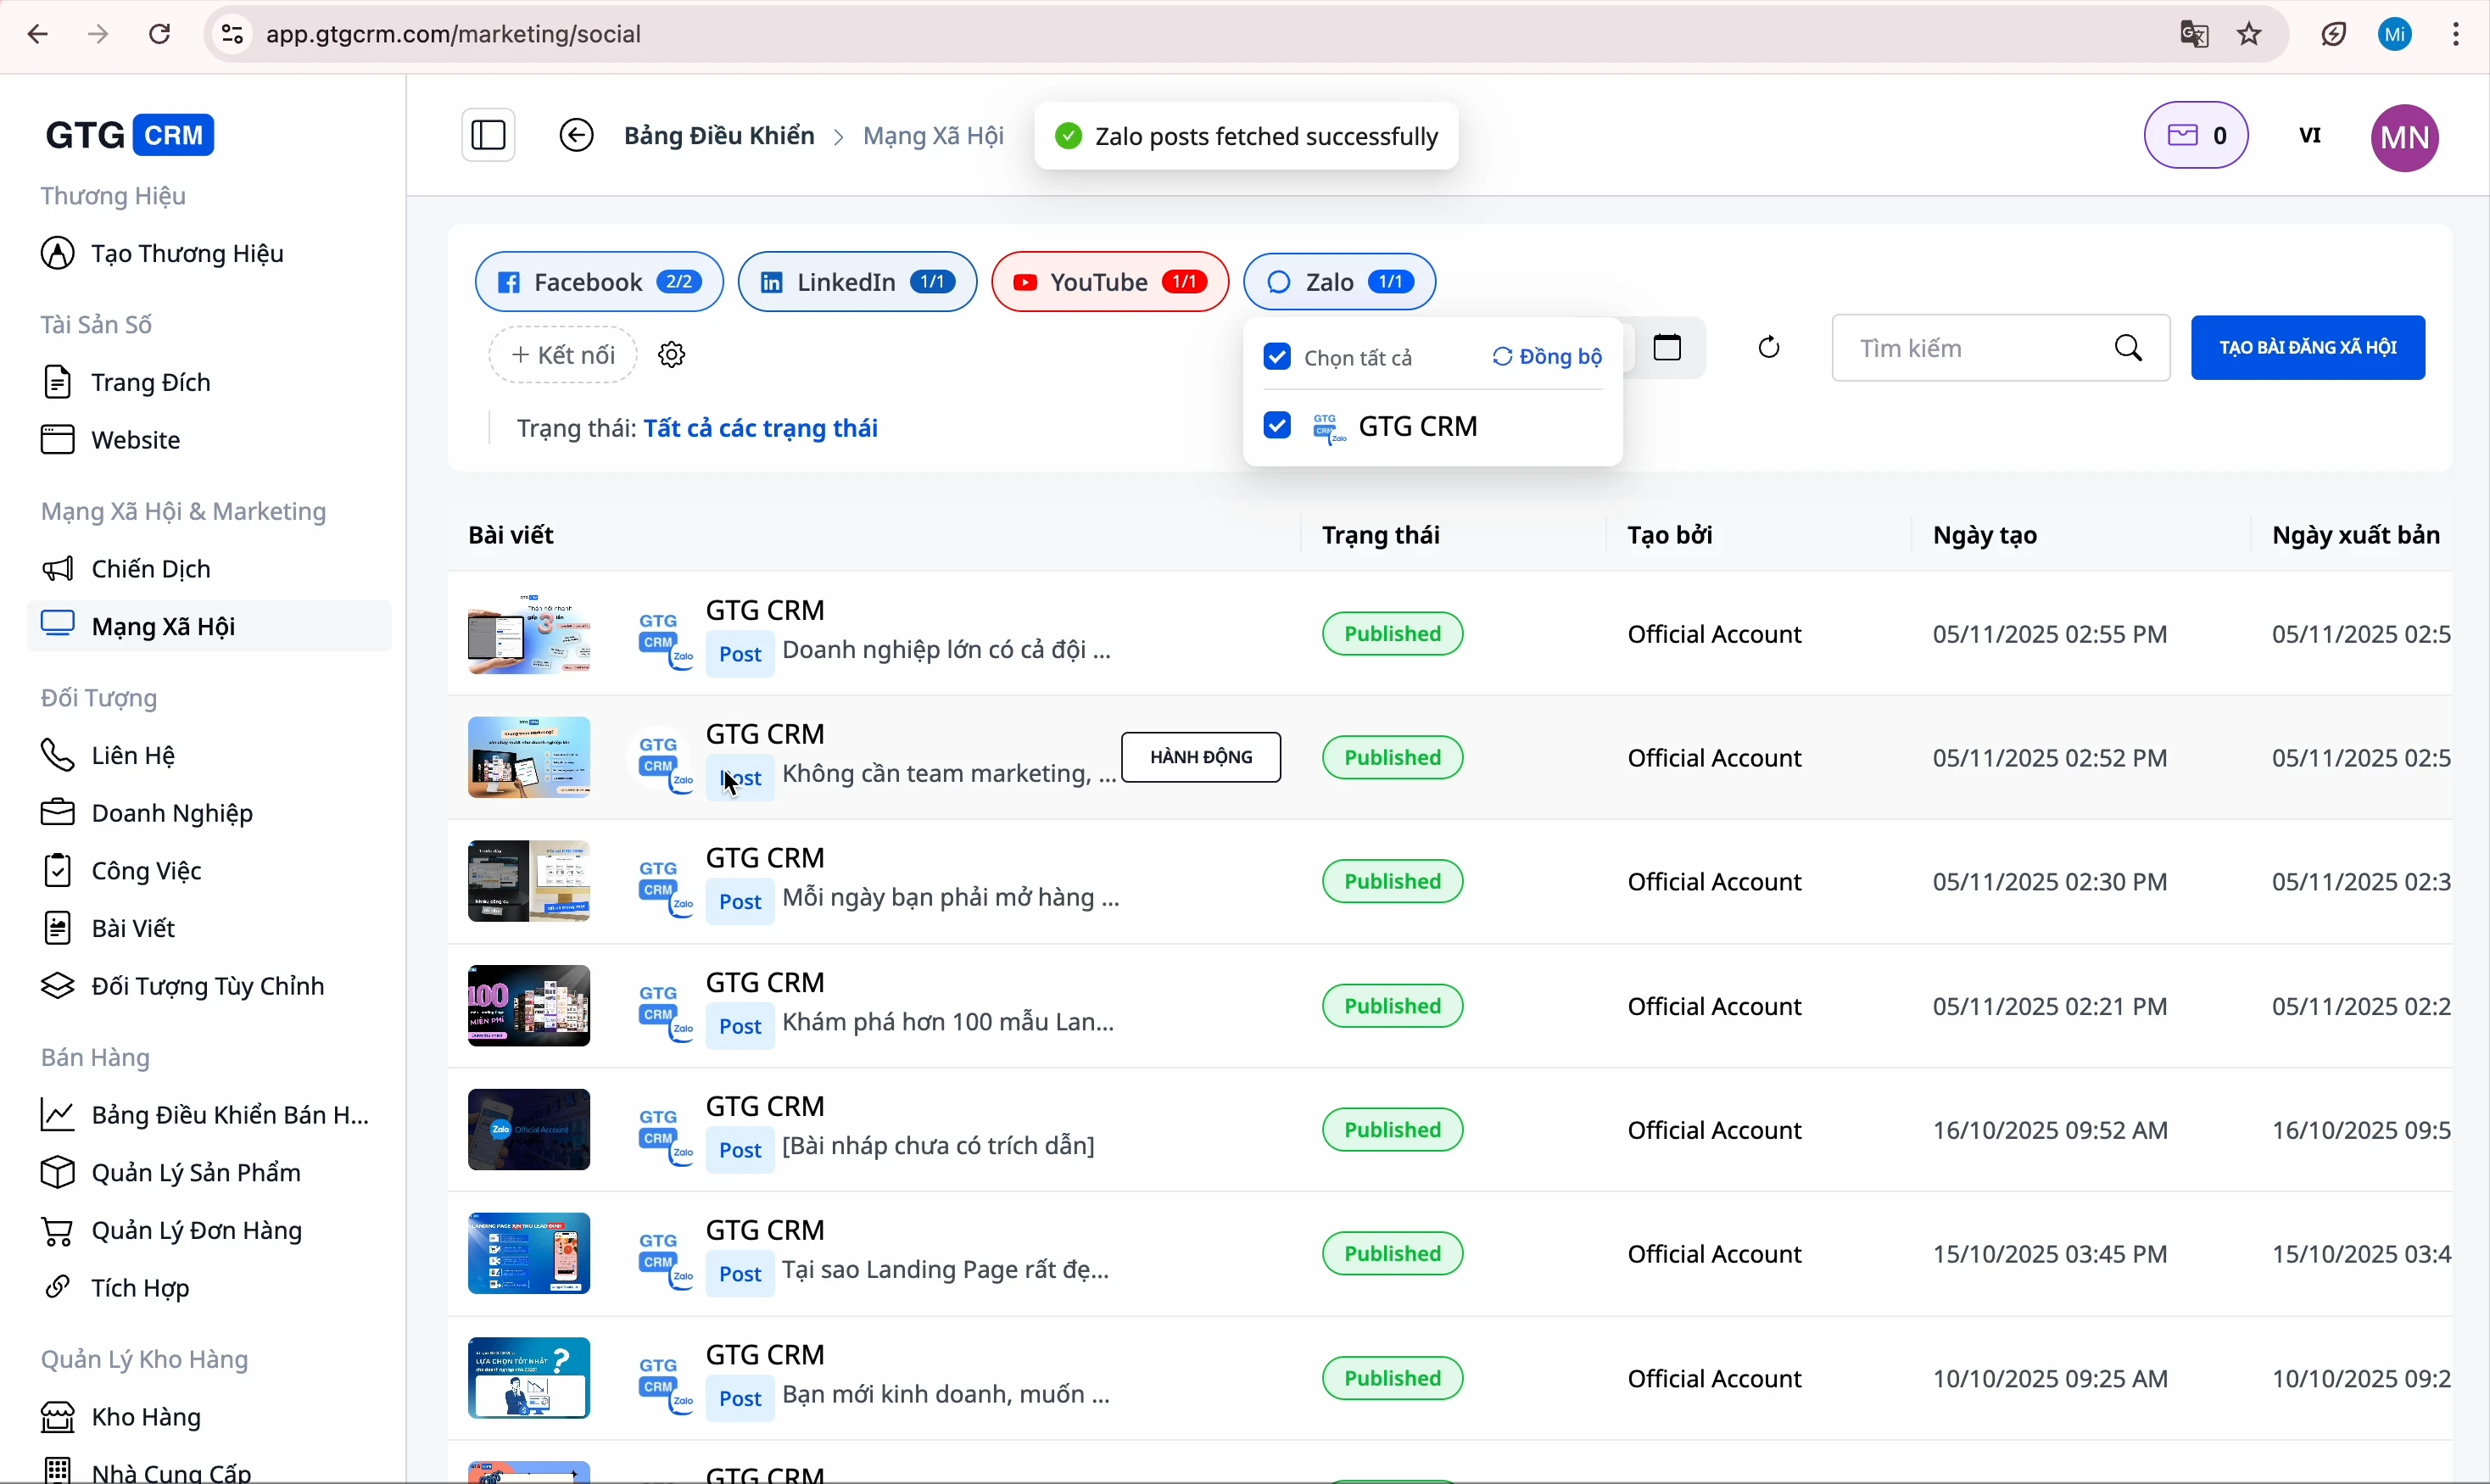
Filter by Status
Click on the tabs to filter:
- All: Displays all posts
- Drafts: Incomplete posts
- Scheduled: Posts pending publication
- Published: Successfully posted articles
- Errors: Posts that encountered an error during posting
Edit Post
- Find the post to edit
- Click the "Edit" button
- Make changes
- Click "Preview and Publish"
Interaction Statistics
GTG CRM provides detailed statistics:
- Interactions (likes, shares...)
- Comments
- Performance of each post

Delete Post
- Find the post to delete
- Click the "More" menu
- Select "Delete"
Manage Accounts
View Connected Accounts
Click on Manage Accounts to see all connected accounts
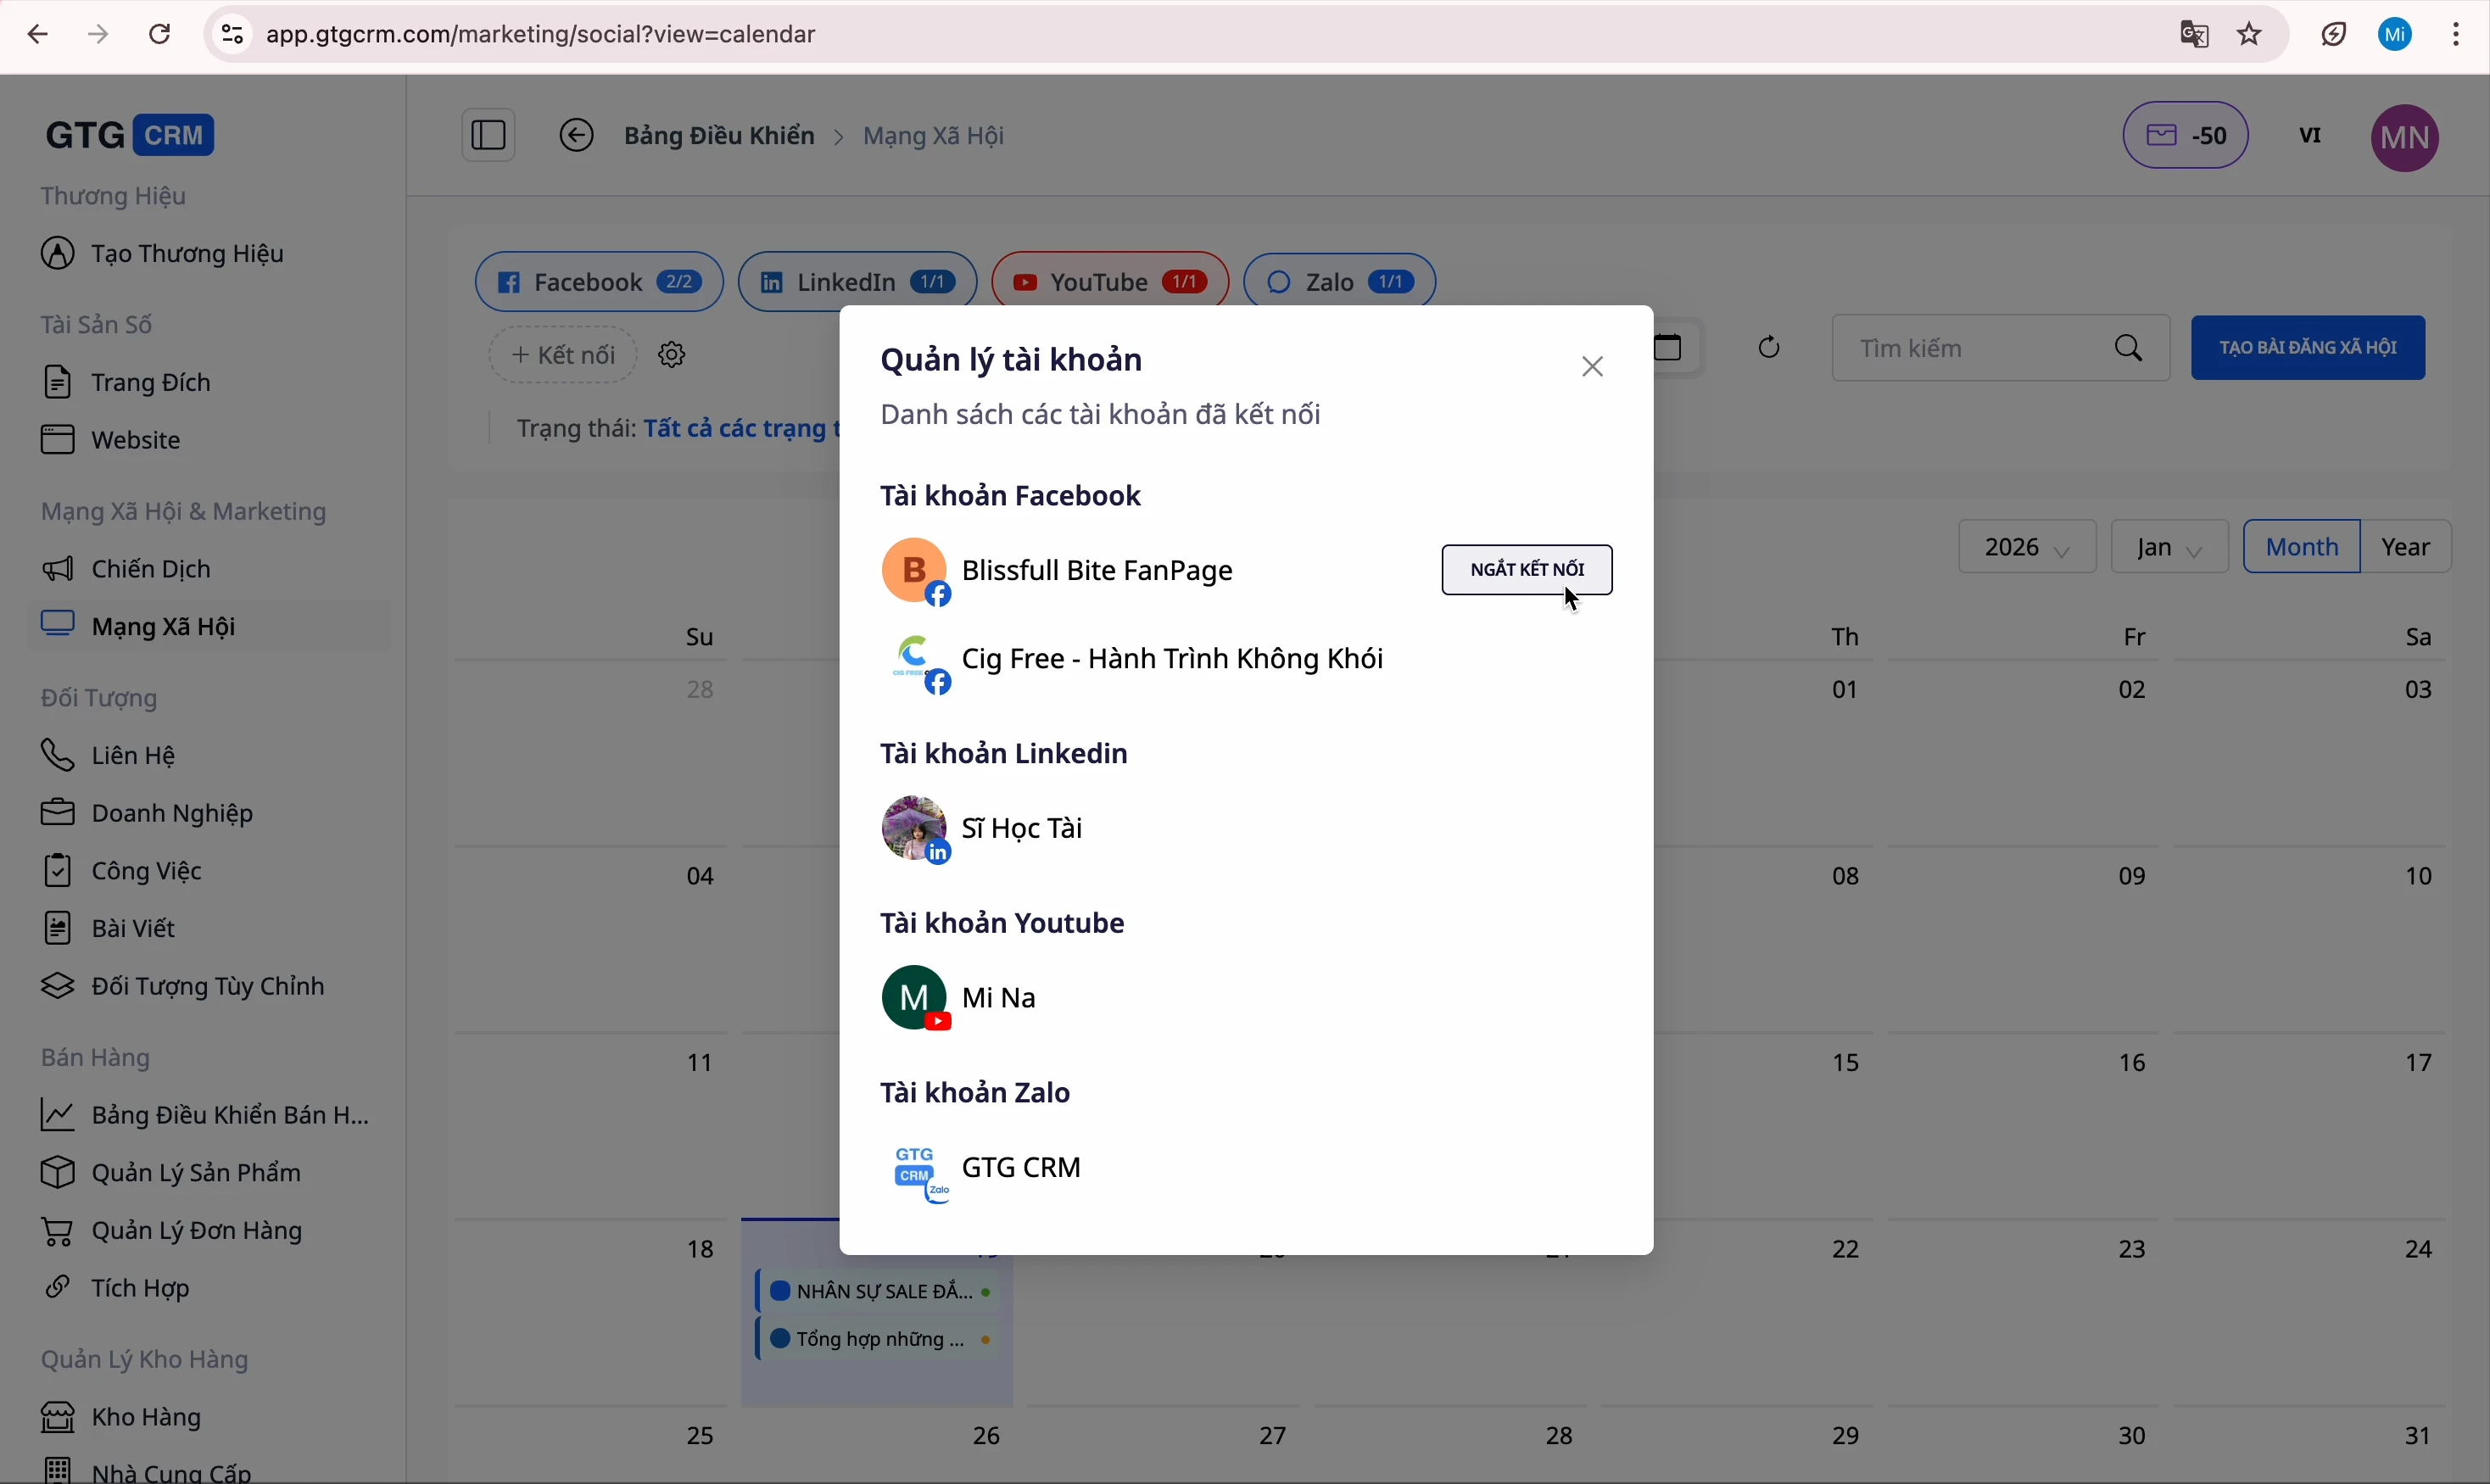
Disconnect Account
- Find the account to disconnect
- Click the "Disconnect" button
- Confirm
⚠️ Note: After disconnecting, you will not be able to post to that platform until you reconnect.
Connect New Account
- Click the "Connect New Account" button
- Select the platform
- Log in and confirm
Tips for Effective Use
1. Plan Content
- Create posts in advance and save them as drafts
- Schedule posts during peak hours
2. Leverage AI
- Use AI for content creation to save time
- Provide reference URLs for more accurate AI writing
3. Sync Images
- Connect Google Photos for easy image selection
- Use AI to generate images when unique visuals are needed
4. Monitor Performance
- Regularly check interaction statistics
- Adjust content based on feedback