Table of Contents
What you can do after this guide
Create job posts + JDs with AI → find candidates on LinkedIn → add candidates by dragging and dropping CVs (AI reads + scores) → manage kanban workflow → create and send offers → schedule & send interview invites → onboard candidates.
Preparation
| # | Prerequisite | Why it's needed |
|---|---|---|
| 1 | Log in to GTG CRM, have HRM_MANAGE_RECRUITMENT (or HRM_MANAGE_EMPLOYEE) permission. | To create postings, source, score, offer, interview, and hire. |
| 2 | (Optional) A connected mailbox in HR Settings. | Only needed when sending interview invitations / offers. |
| 3 | Workspace has credits. | Reading CVs + AI scoring + creating JDs + LinkedIn sourcing incur costs. |
Step 1 — Create job posts + JDs with AI
- Left navigation bar → Human Resources → Recruitment → + New job post.
- Fill in: Job Title, Department, Location, Level, Employment Type, Country, Quantity.
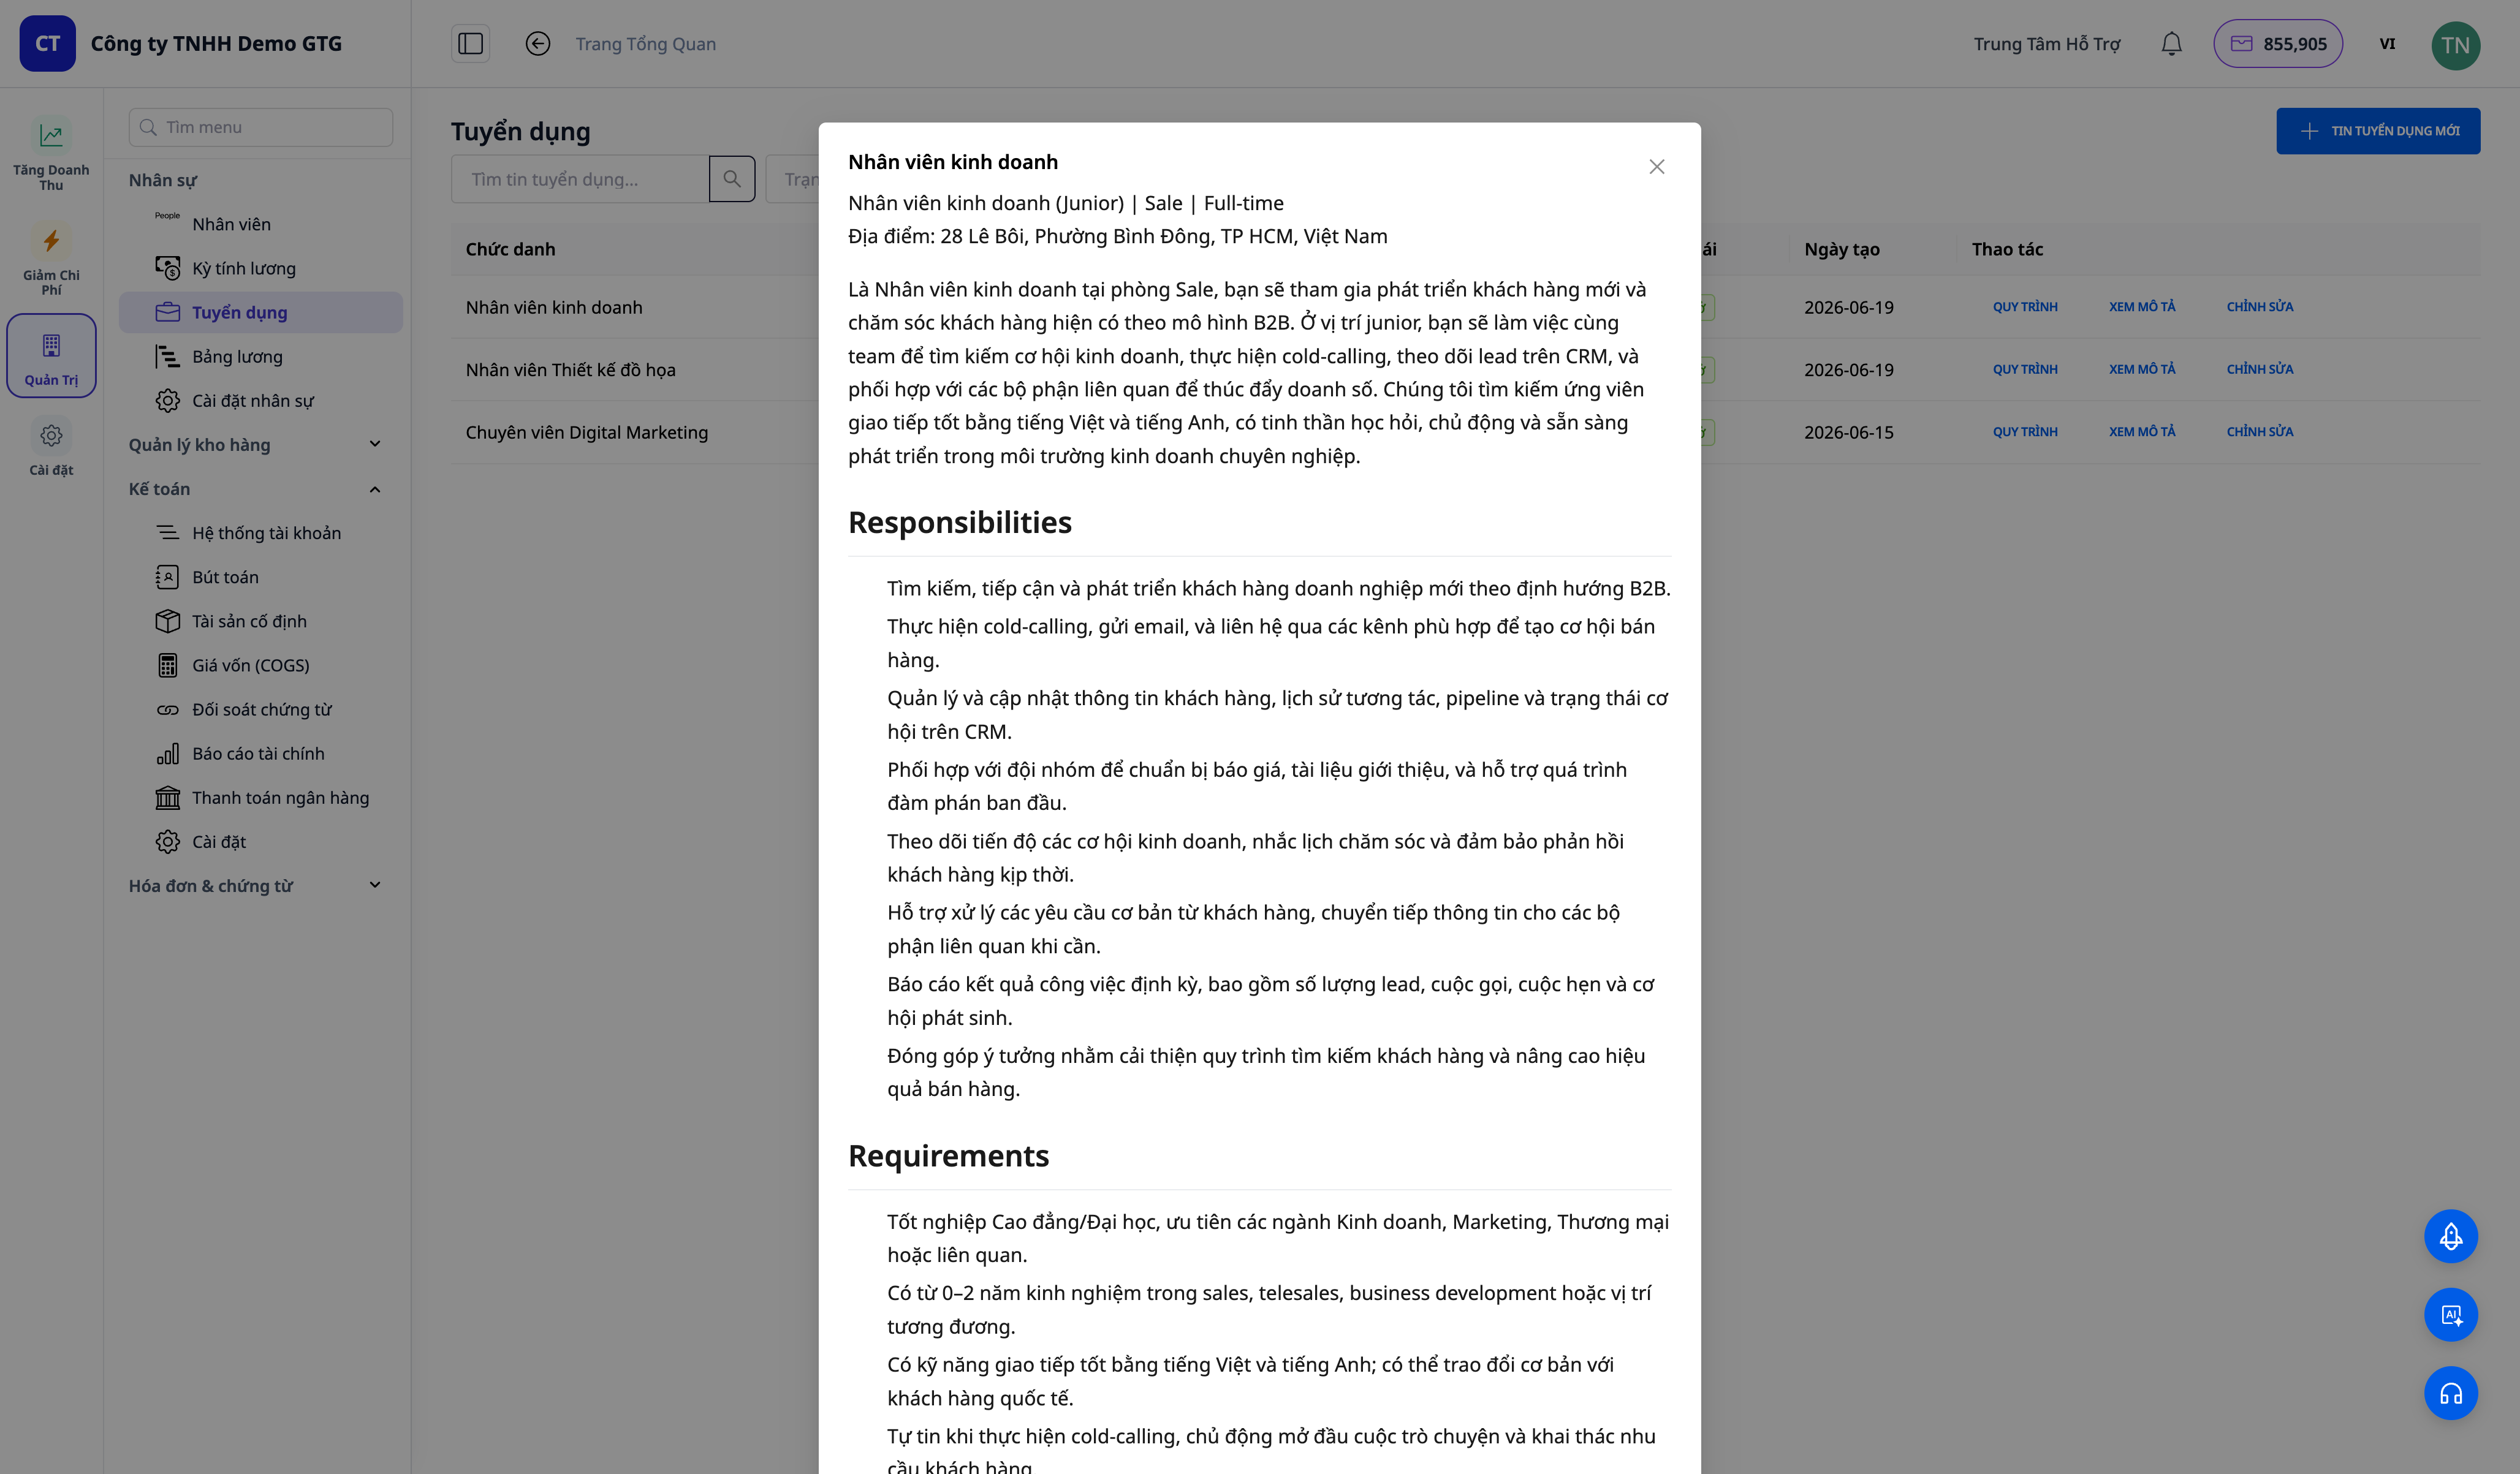
- Enter Key Requirements → click ✨ Create with AI next to the Job Description field → click Save.
✅ Expected result: Salary field displays thousands separators + currency selection. If an active salary range exists, the Apply salary range dropdown auto-fills the salary range. After a few seconds, the Job Description field is populated with a structured JD (responsibilities / requirements / nice-to-haves / benefits). Once saved, the posting appears in the list with OPEN/Draft status.
Step 2 — Find candidates on LinkedIn
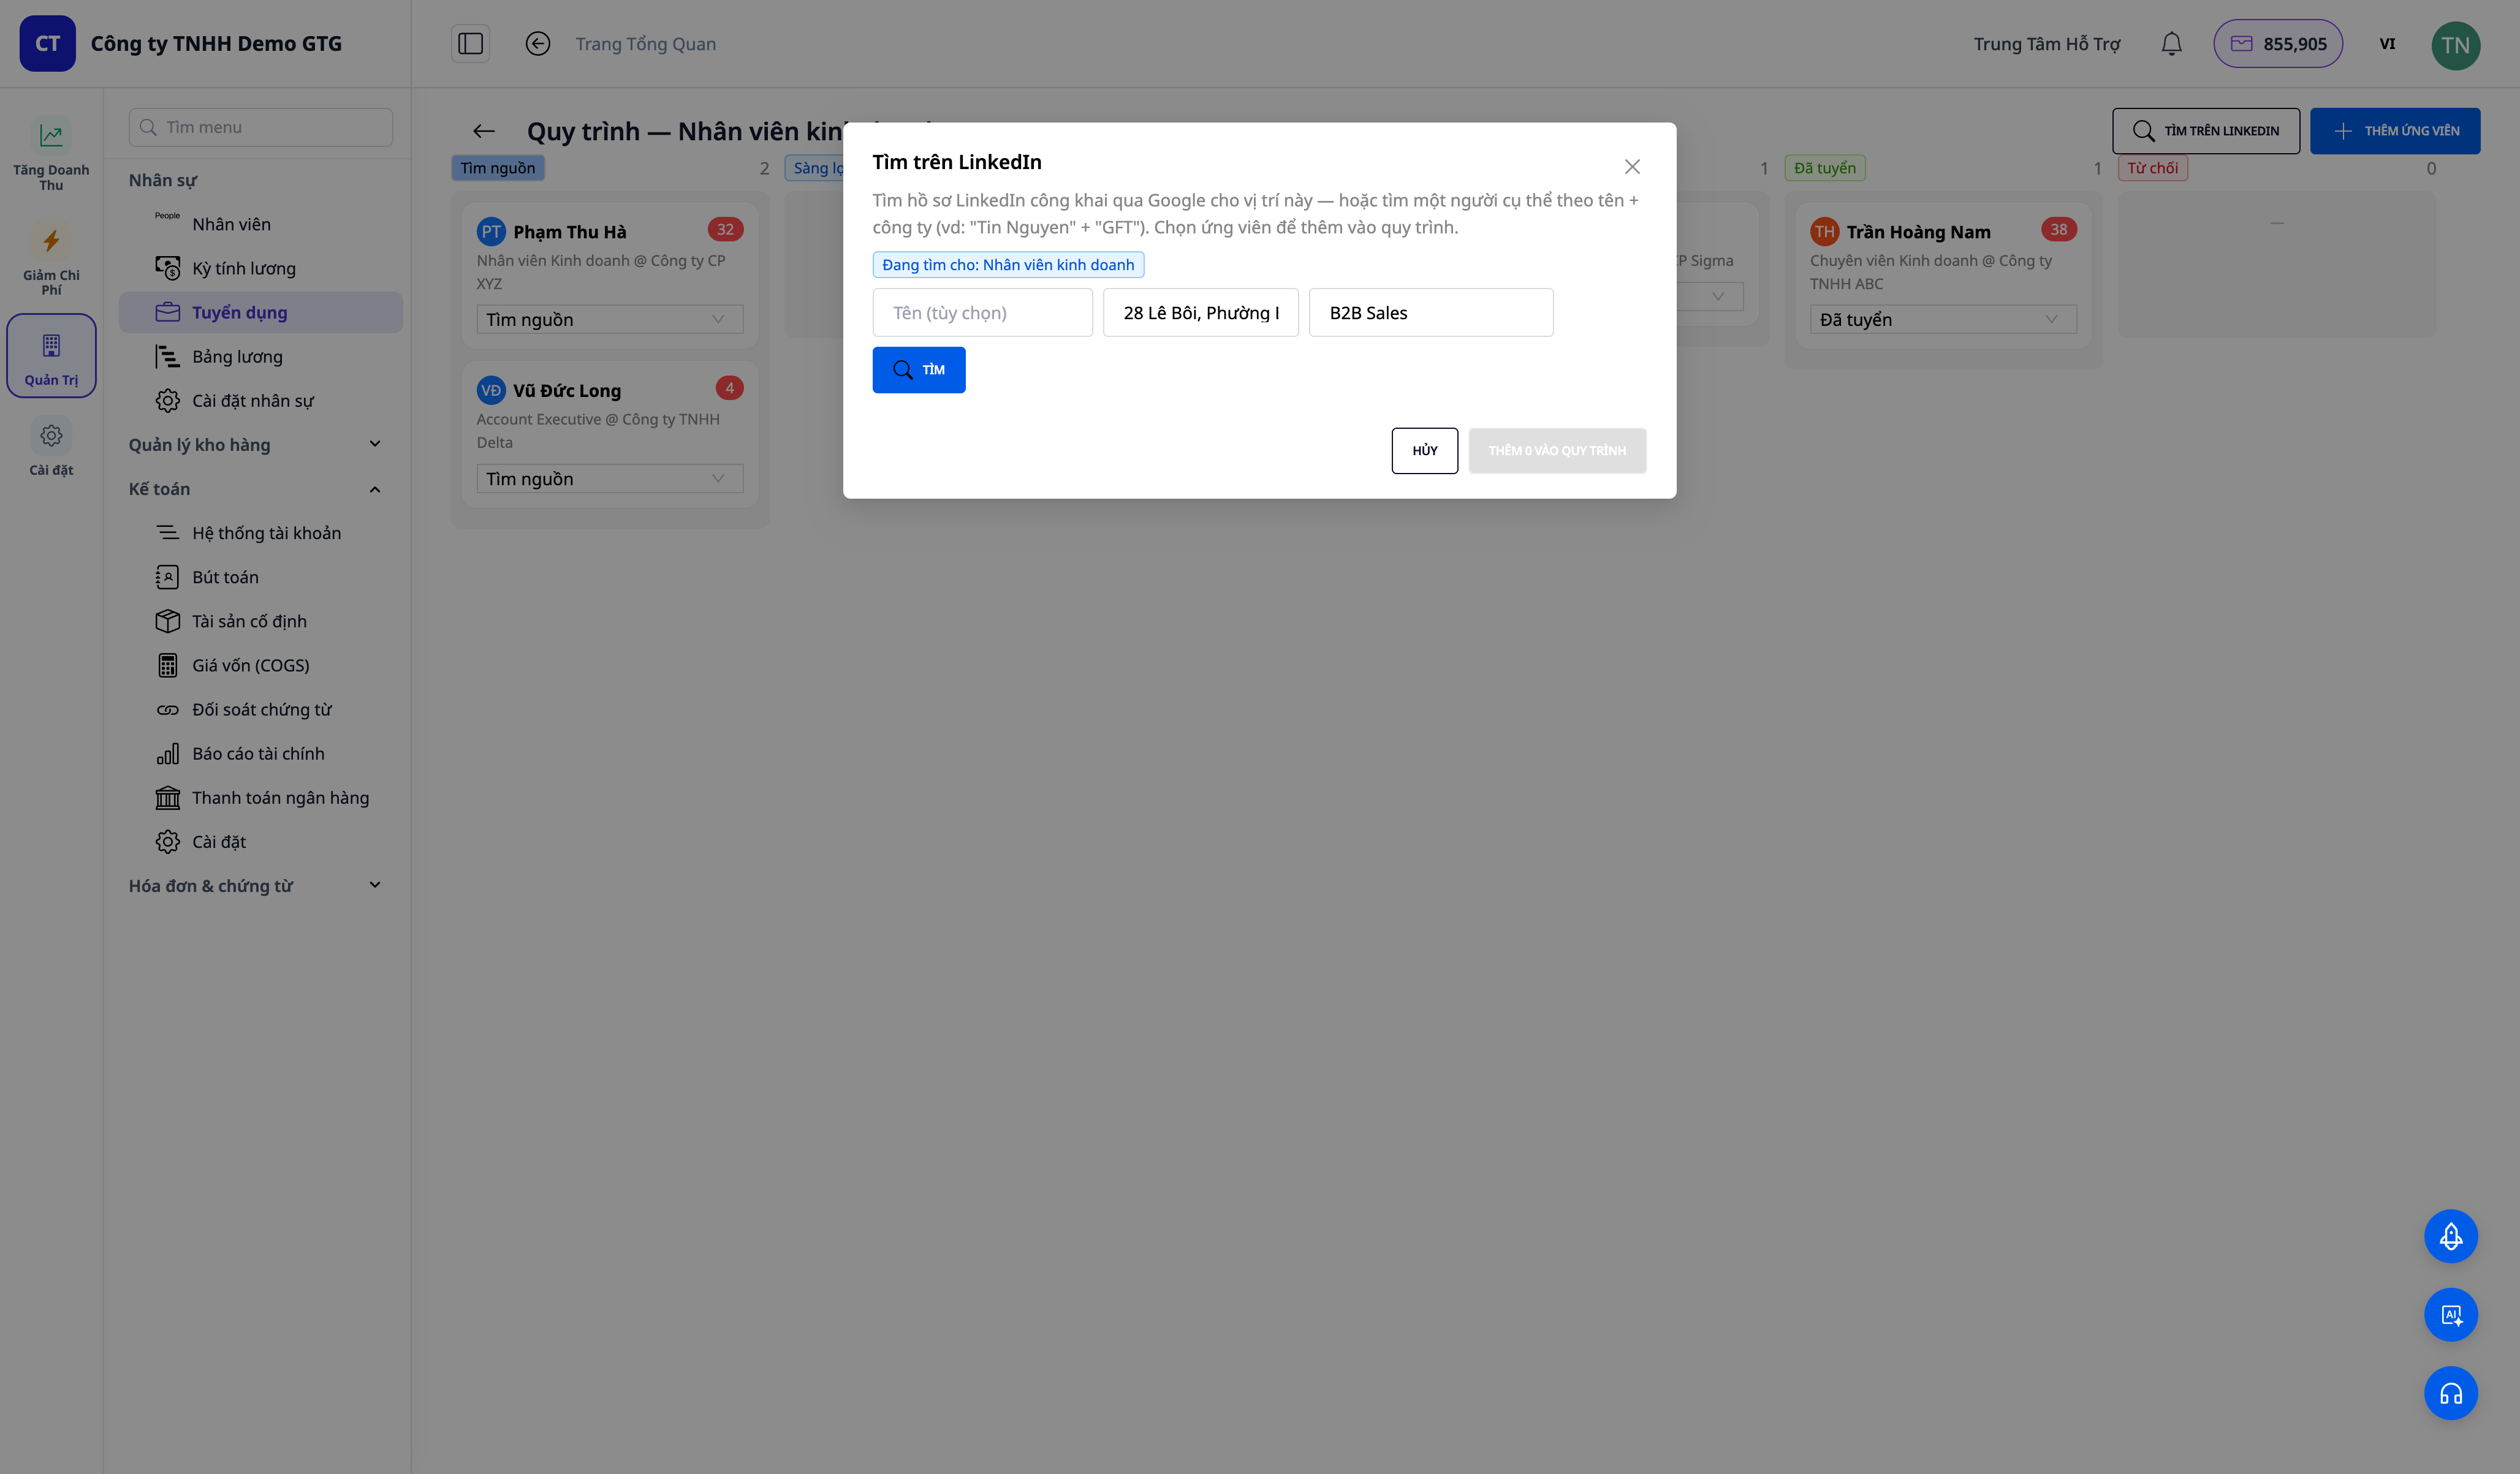
- On the job post row, click PIPELINE → the kanban board opens → click FIND ON LINKEDIN.
- Location auto-fills from the posting. Enter Company/skill (e.g.,
Solution Architect) → click SEARCH. - Tick 1–2 candidates → ADD TO PIPELINE.
✅ Expected result: A list of public LinkedIn profiles appears (initial avatar, name, title @ company, location, "open to work" label when available). Selected candidates appear in the Sourced column with basic profiles; the Load more button fetches more candidate pages.
Step 3 — Add candidates by dragging and dropping CVs (AI reads + scores)
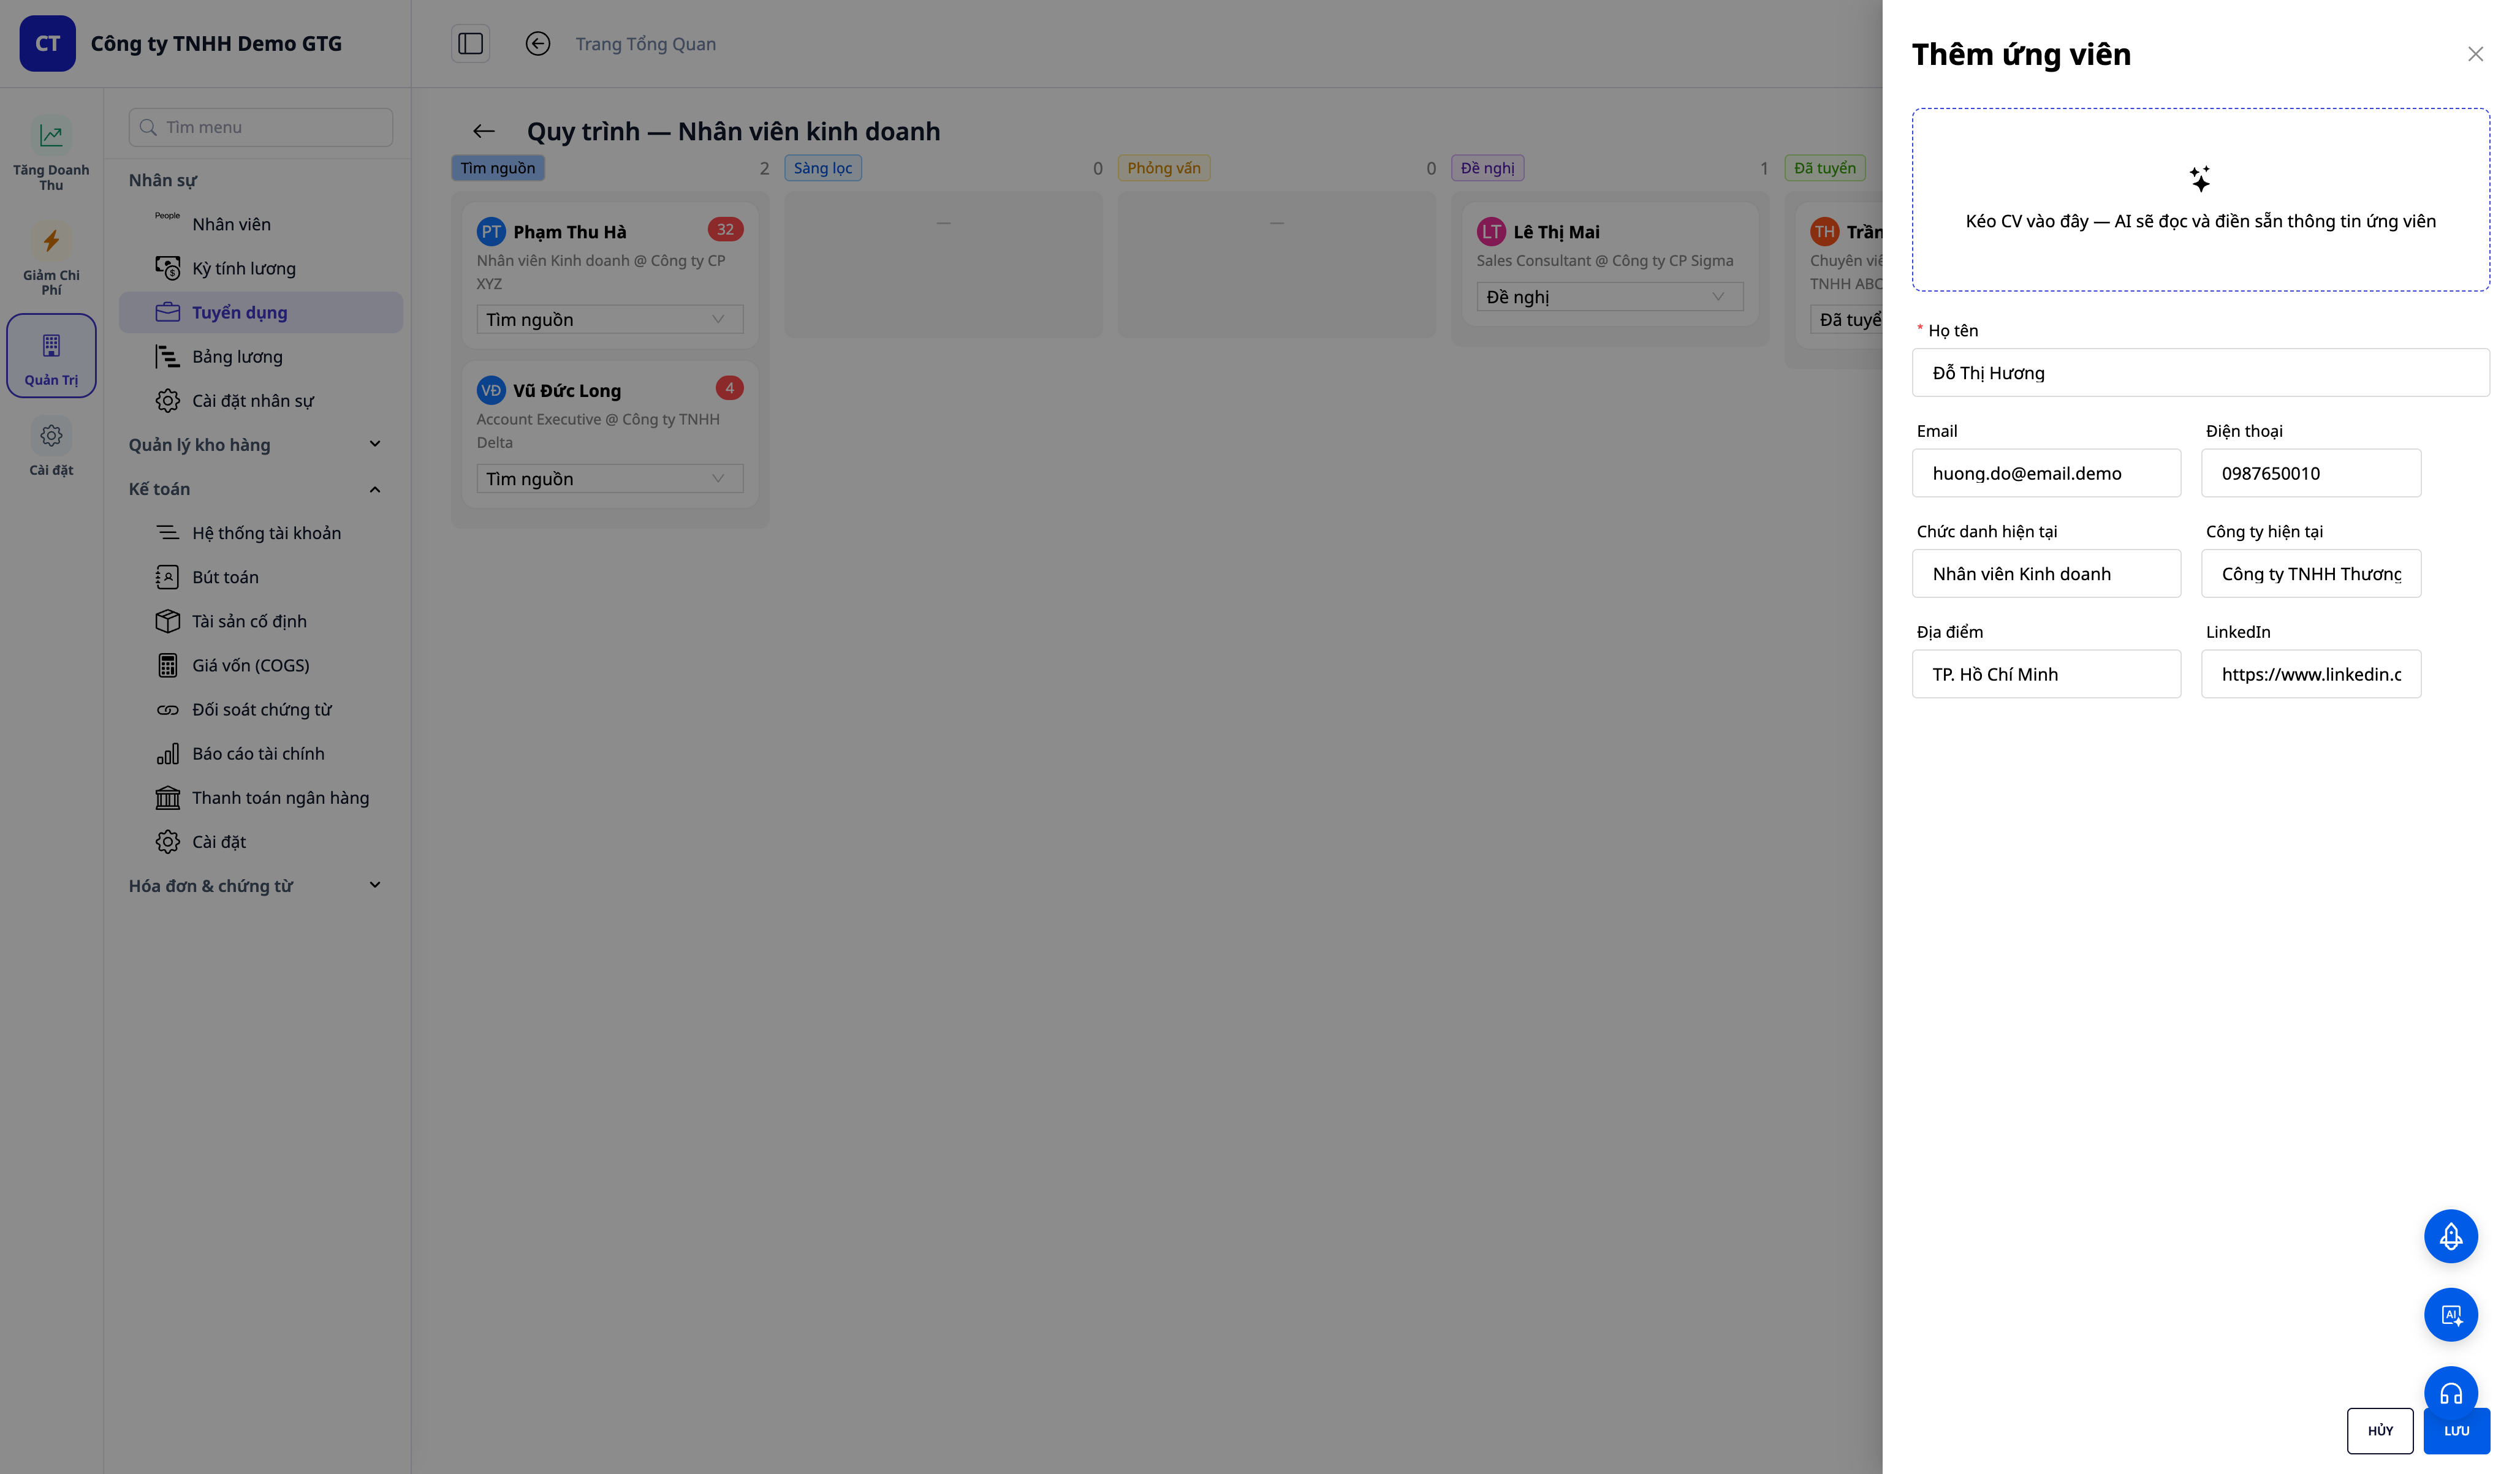
- On the pipeline board, click ADD CANDIDATE → drag a CV (PDF/DOCX) into the drop zone.
- Wait for "Reading CV..." → fields (full name, email, phone, job title) auto-fill from the CV.
- Click Save.
✅ Expected result: "AI scoring..." appears, then a toast message "Added — AI fit score: NN/100". The candidate appears in the Sourced column with a colored score tag (green ≥75, yellow 50–74, red <50).
Step 4 — Manage kanban workflow + notes
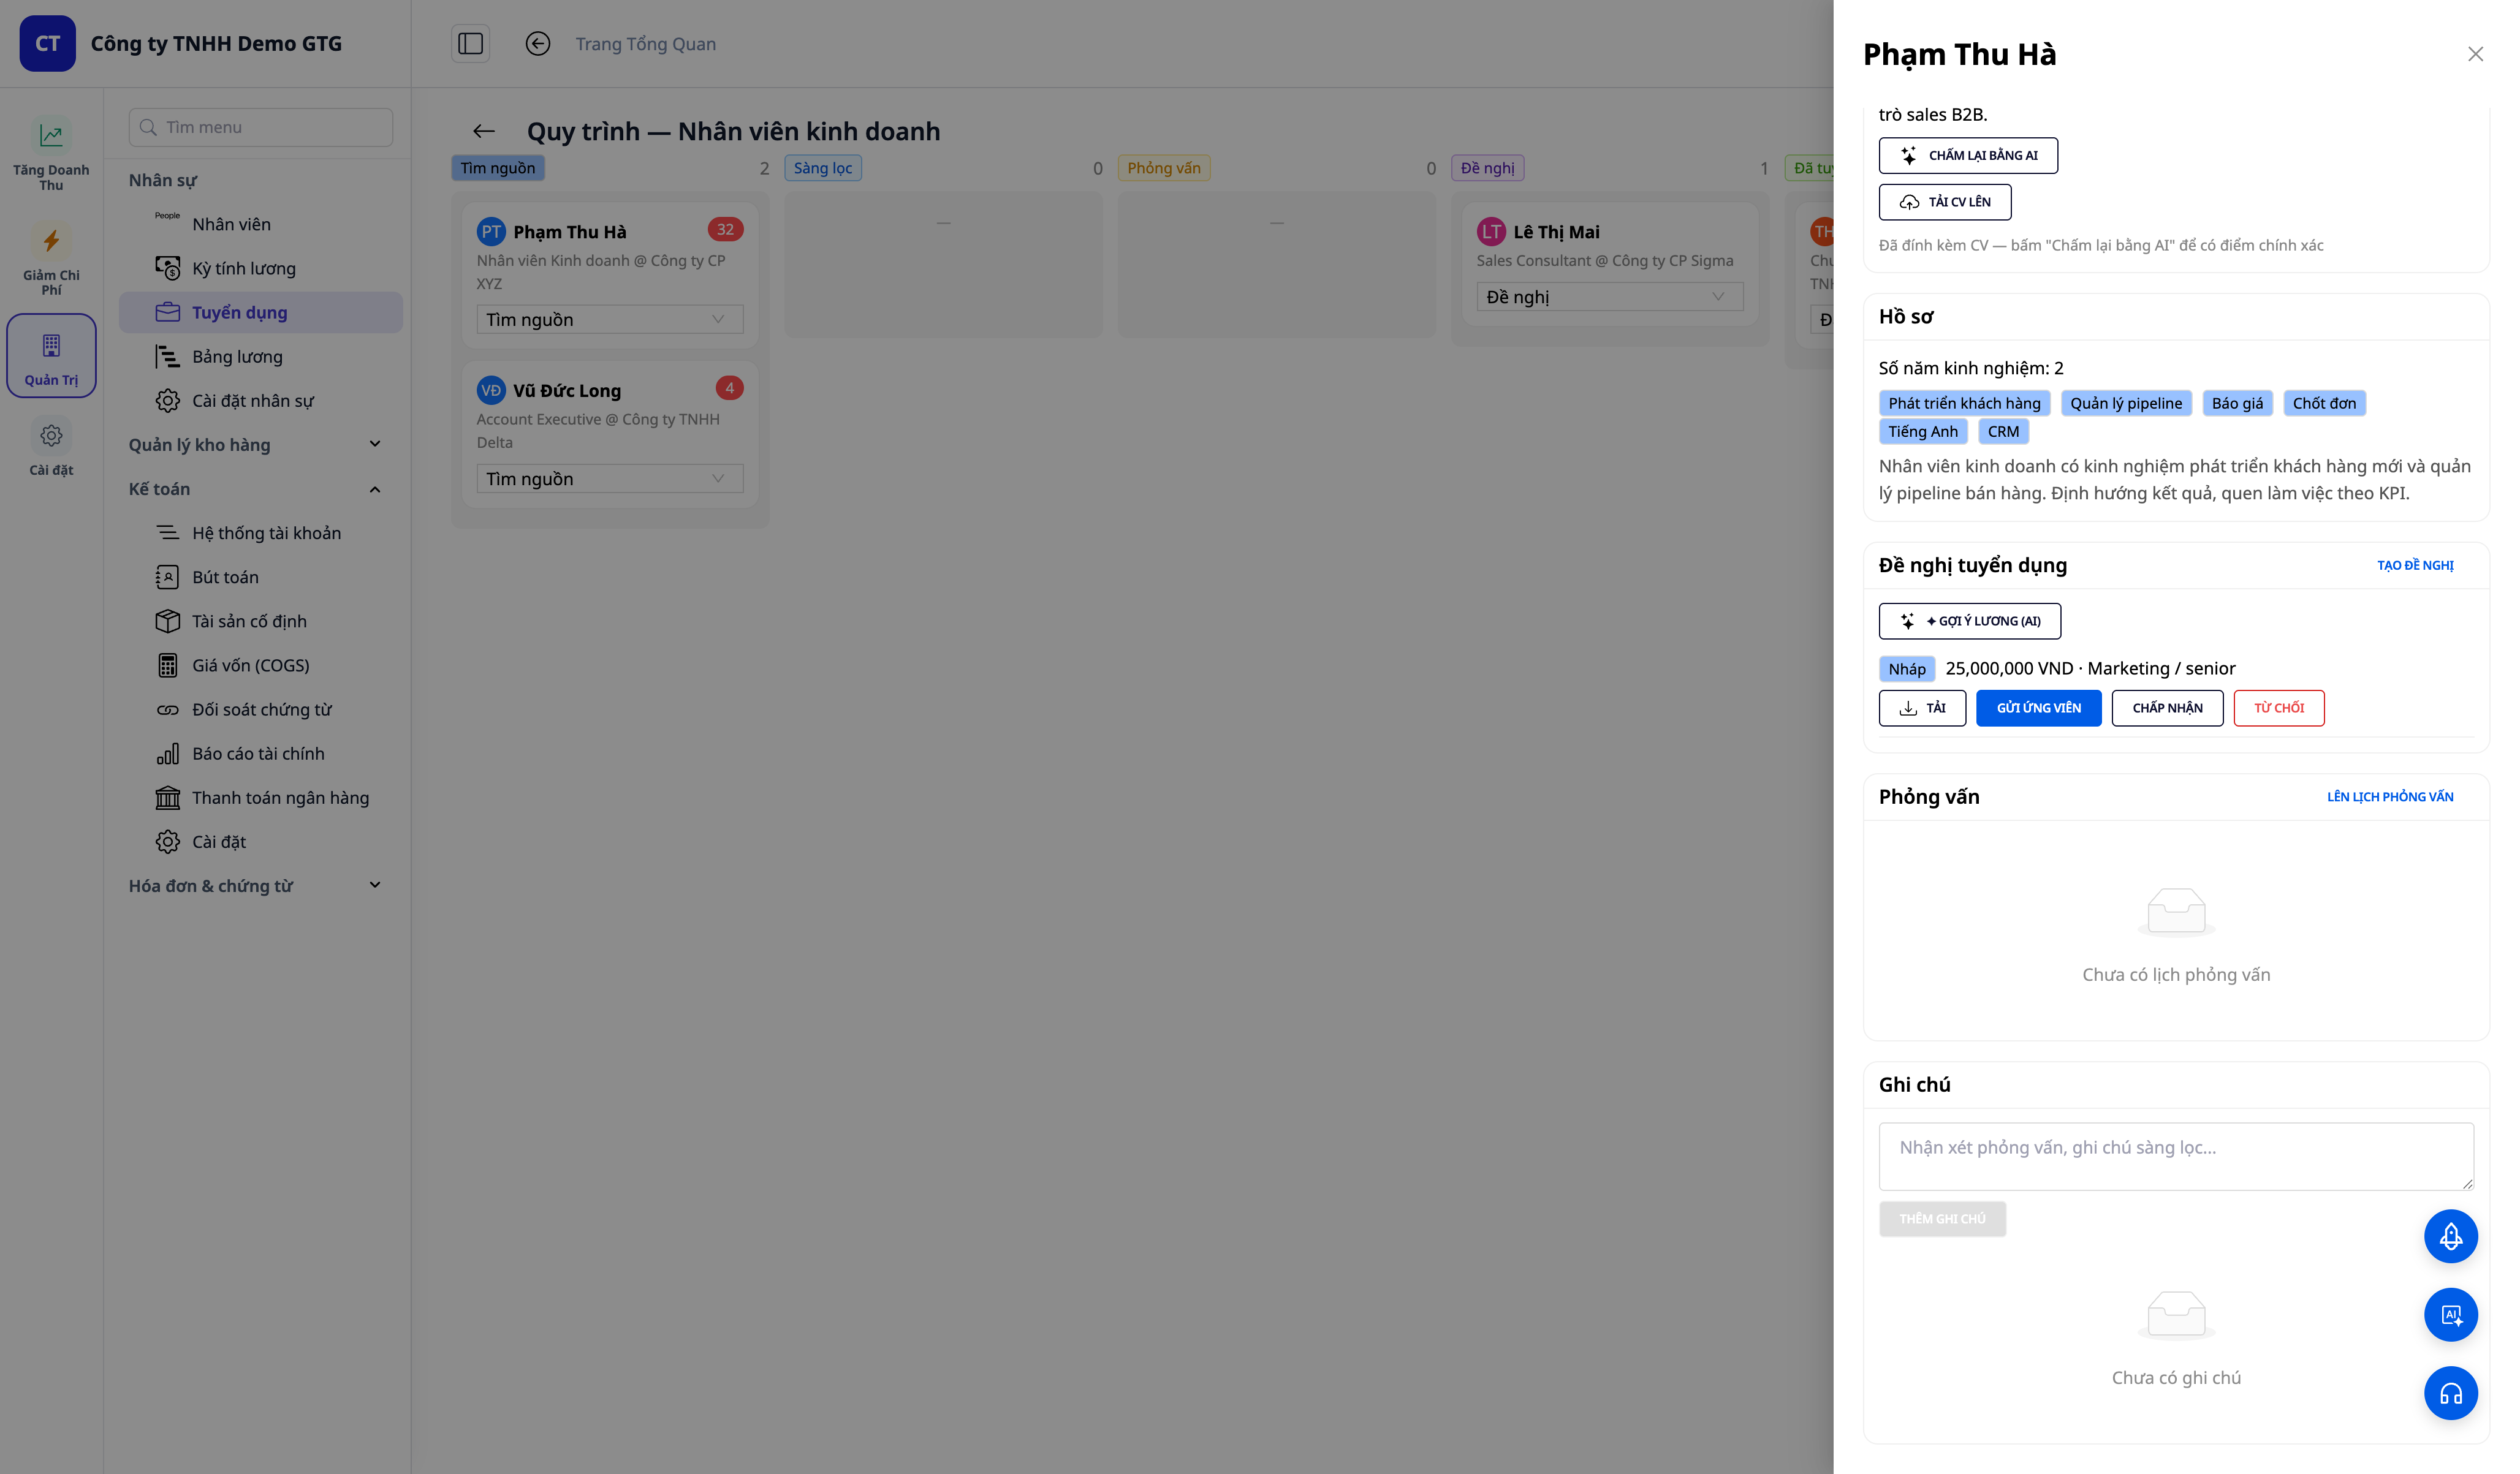
- Click on a candidate card → opens candidate details.
- View the Contact tab (email/phone/LinkedIn link/download CV), AI score + explanation, profile.
- Change status via dropdown → e.g.,
Screening. Add a Note then click Add Note.
✅ Expected result: The card moves to the new column, the count updates. Notes appear with timestamps and are saved after refreshing the page.
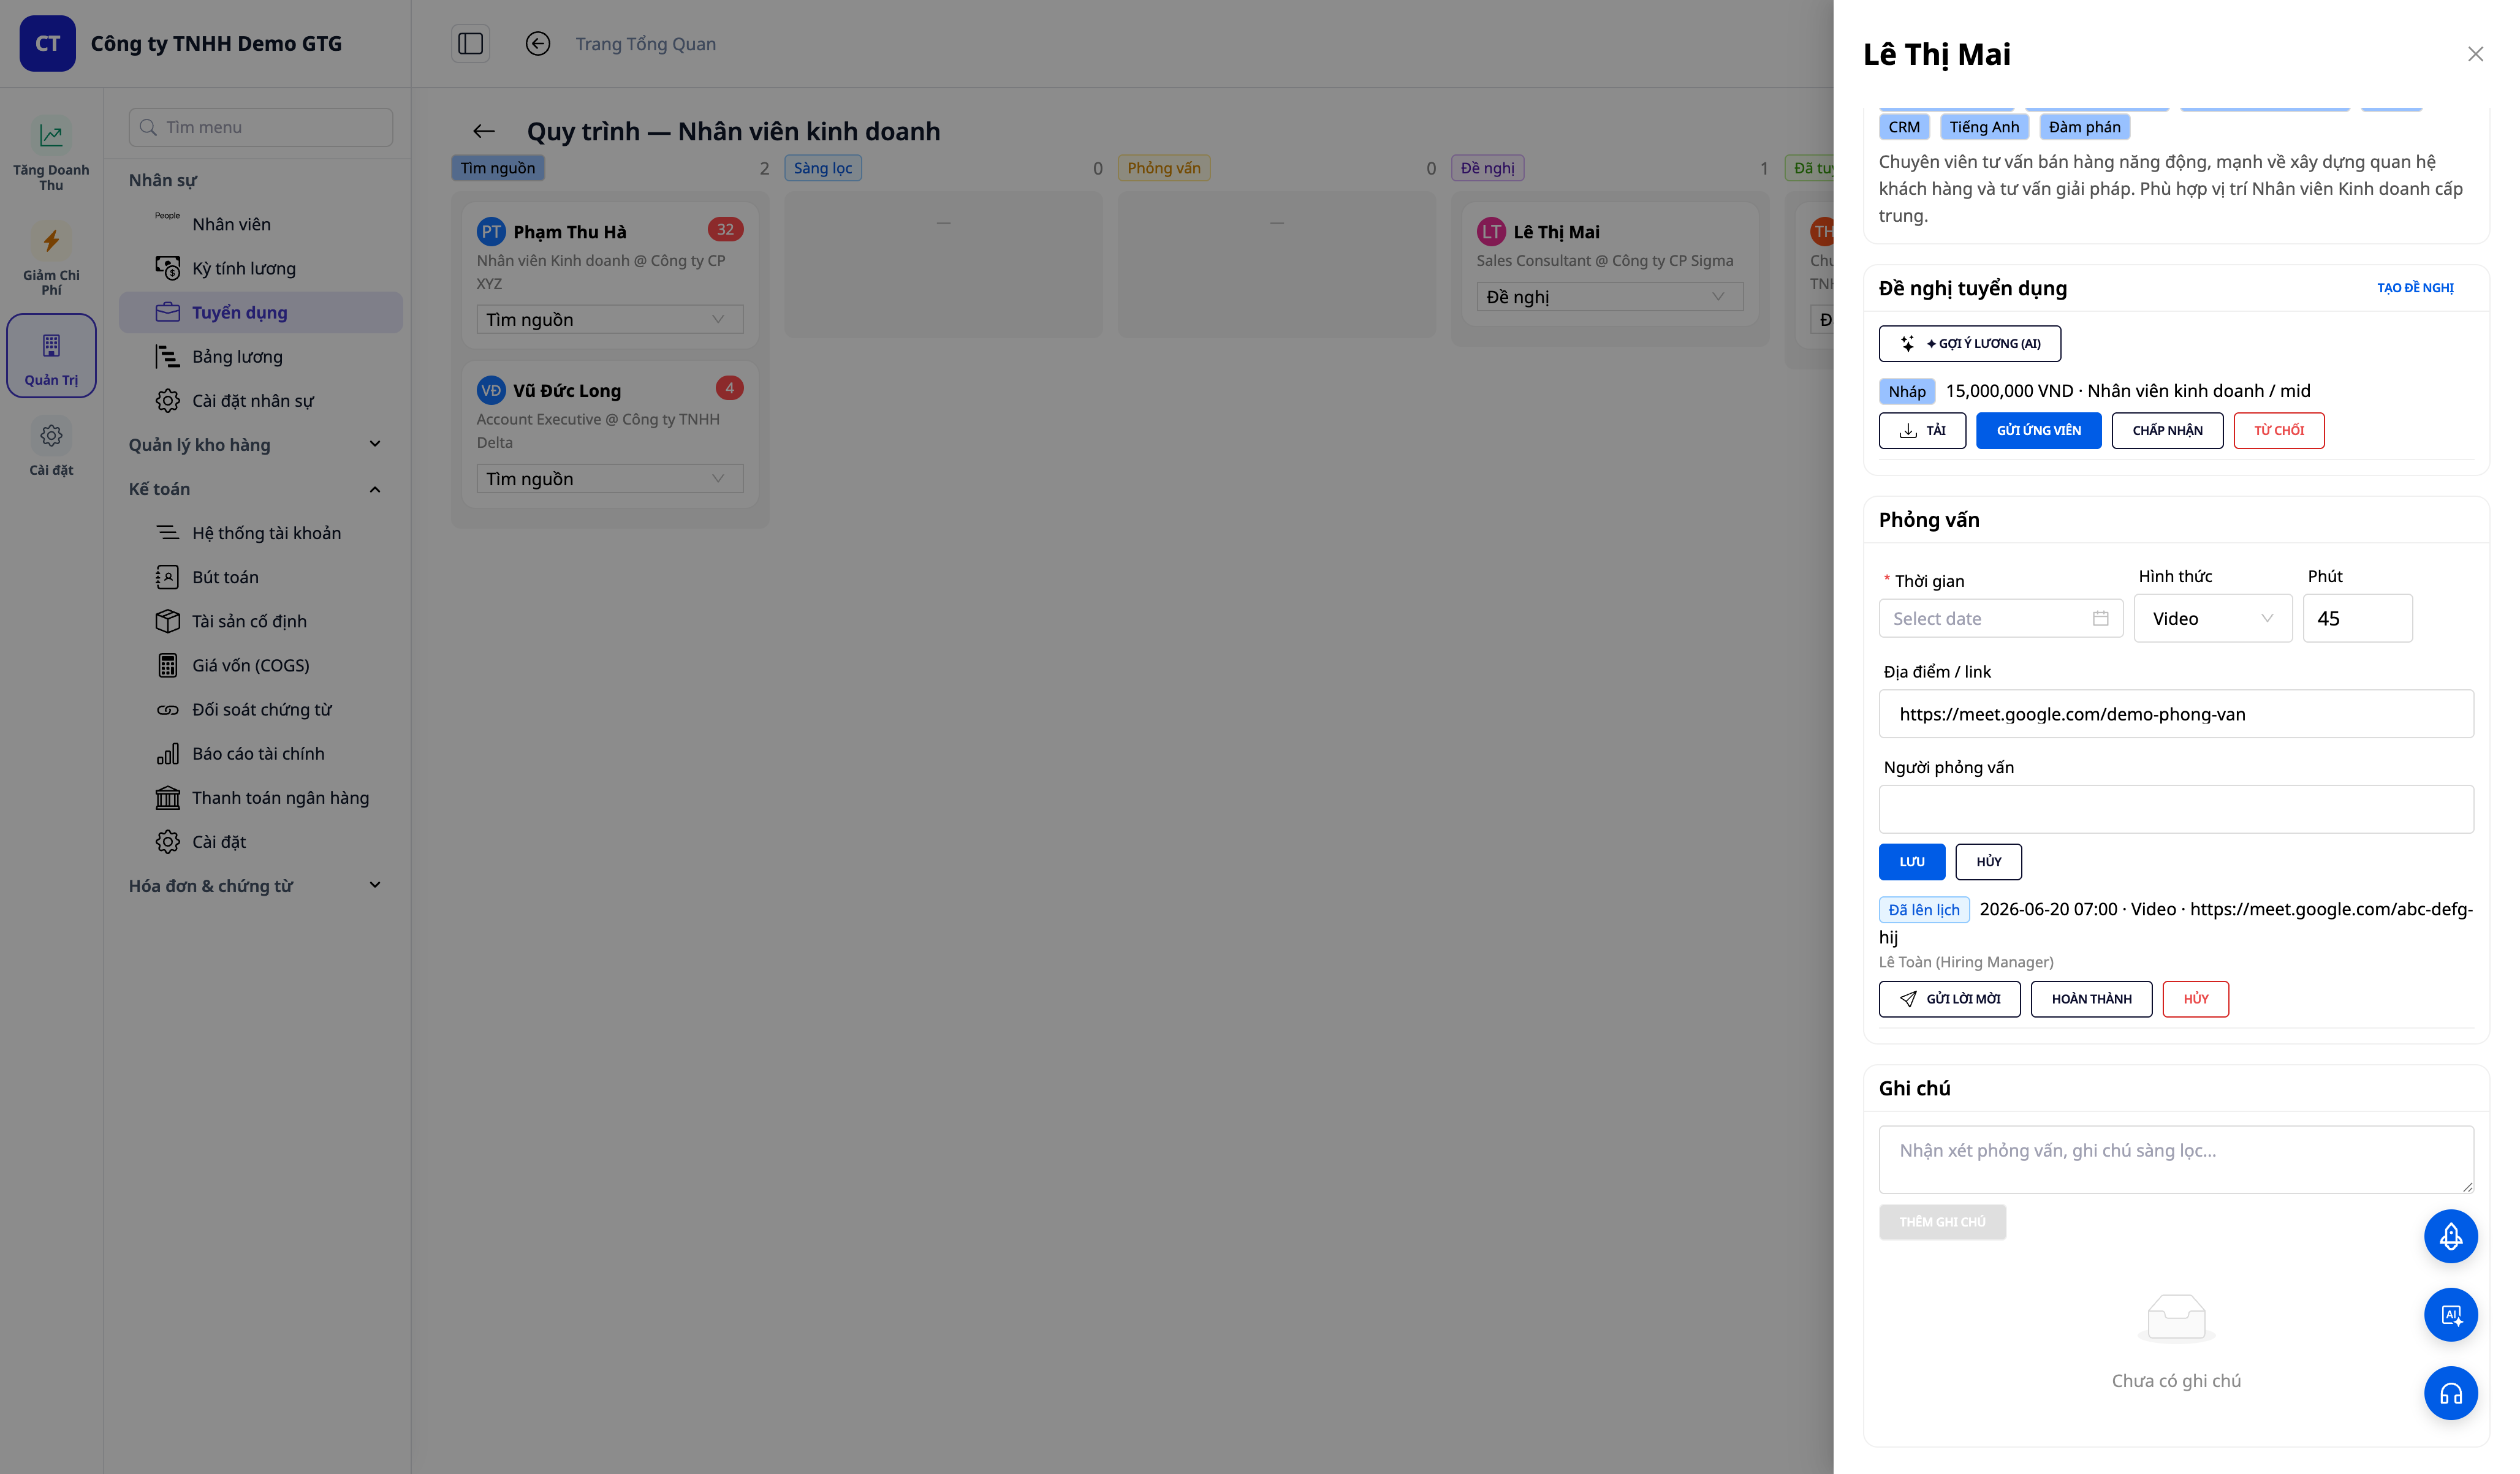
Step 5 — Create and send offers to candidates
- In candidate details → Offers tab → CREATE OFFER (job title, salary, currency; can click ✦ Suggest Salary (AI)) → Save. The offer appears with Draft status.
- On the Draft offer row, click DOWNLOAD to get the official offer letter in .docx format (by country). (There is no separate "Create Offer Letter (AI)" button — the offer letter text is generated and downloaded directly from the offer's DOWNLOAD button.)
- (Requires candidate email + connected mailbox) Click SEND TO CANDIDATE.
✅ Expected result: The Draft offer displays salary + job title; clicking DOWNLOAD will download the offer letter file (e.g., Job_Offer_Letter_(Formal).docx). When sent: "email sent" toast, status changes to Sent. If the candidate has no email, the Send to candidate button is locked with a tooltip reminding to add an email (no backend error).
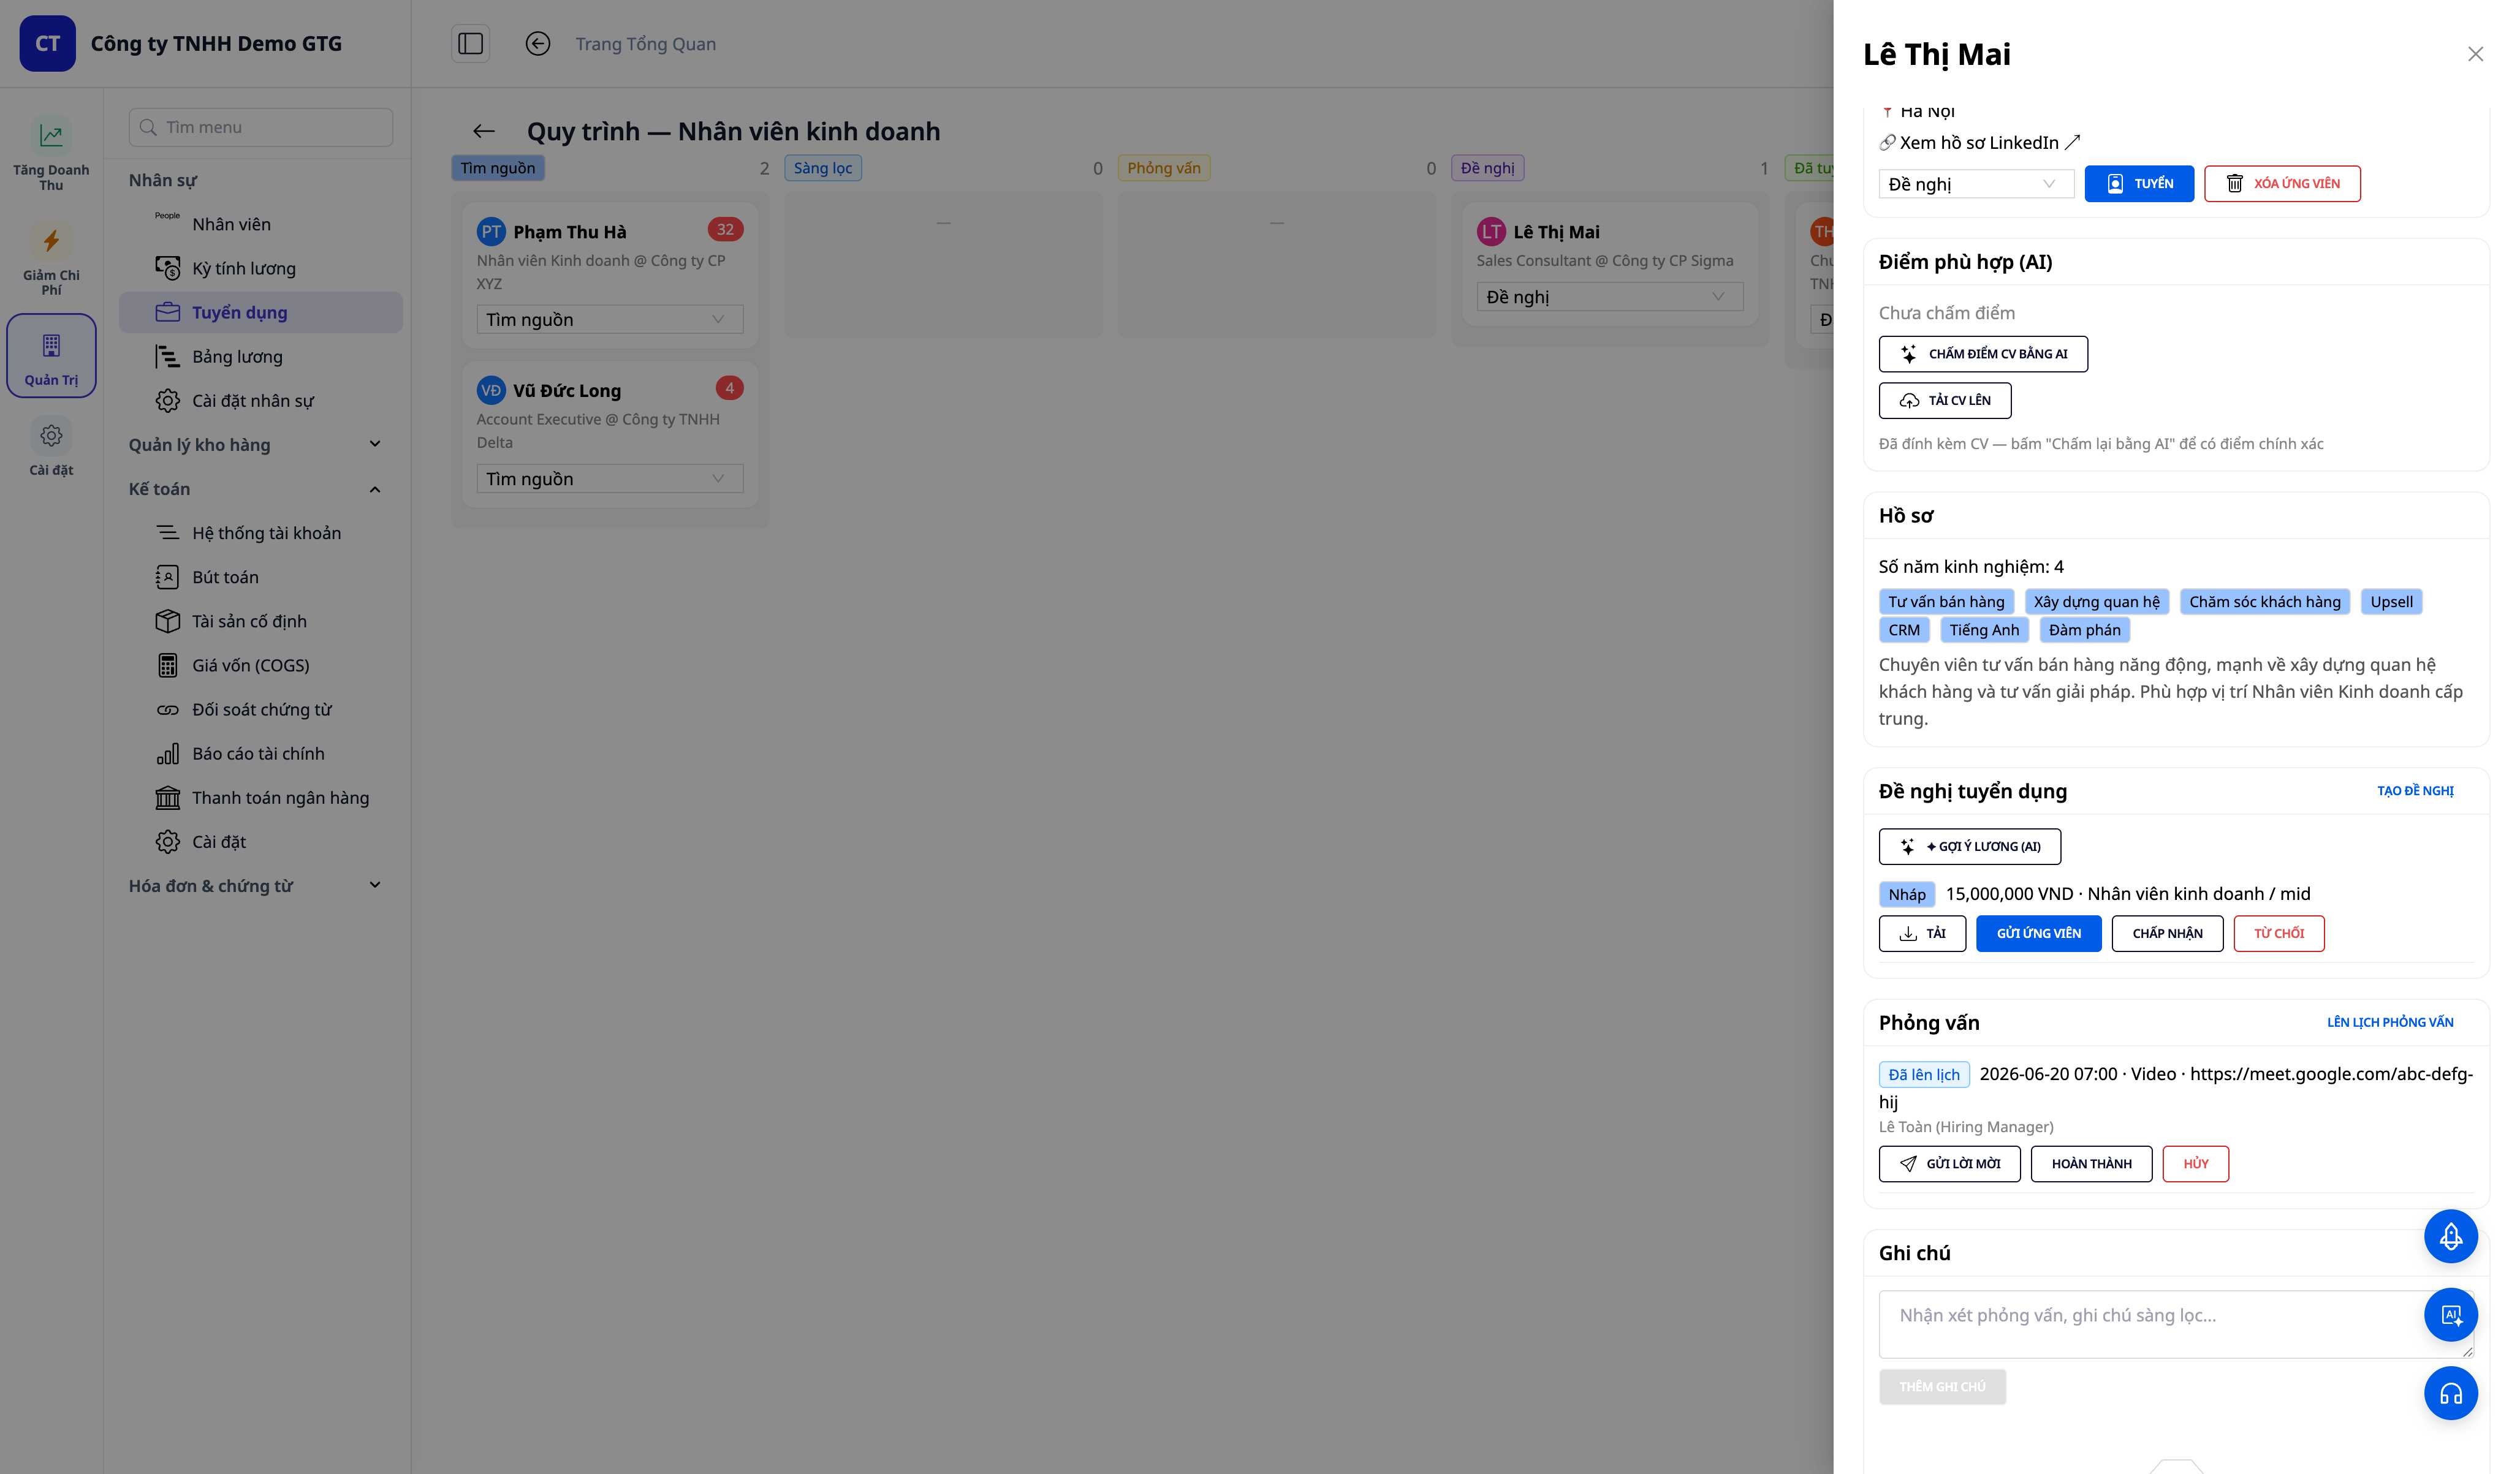
Step 6 — Schedule and send interview invites
- In candidate details → Interviews tab → SCHEDULE INTERVIEW → fill in When (time), Type (format, default Video), Min (duration in minutes), Location / link (address or meeting link), Interviewers (interviewer names) → SAVE.
- (Requires email + mailbox) On the newly created interview row, click SEND INVITE.
✅ Expected result: An interview row shows Scheduled with date · format · link · interviewer, along with SEND INVITE / COMPLETE / CANCEL buttons. When sending the invite: "sent" toast, candidate receives an email with date/format/link — the time is displayed in your timezone, the email subject includes the company name.
Step 7 — Hire candidate → automatically become an employee
- On a candidate with an accepted offer (with salary), click Hire (or select the status Hired then confirm).
✅ Expected result: "Hired — employee EMP-xxxx created" toast; the candidate moves to the Hired column. Go to Human Resources → Employees to find this person as a real employee (CV + profile carried over) and a draft employment contract has been pre-created from the offer — just review and Activate.

ℹ️ Note: The Hire button is located within the candidate details drawer. After hiring, the candidate appears in the Human Resources → Employees screen as a real employee (EMP-xxxx code, with CV + profile) along with a draft employment contract — HR only needs to review and Activate it.
Quick reference table of expected results
| Action | Result you will see |
|---|---|
| Create posting + ✨ Create with AI (Step 1) | Structured JD in seconds; OPEN/Draft posting |
| LinkedIn Search (Step 2) | Public profiles + initial avatars; added to Sourced column; Load more |
| Drag-and-drop CV (Step 3) | Auto-filled form + "Added — AI score: NN/100" + colored score tag |
| Change column + notes (Step 4) | Card moves column, count updates; notes with timestamps, saved |
| Create + send offer (Step 5) | Offer text + Download; send → "Sent"; missing email → locked button + tooltip |
| Interview (Step 6) | "Scheduled" row; send → email by timezone + company name |
| Hire (Step 7) | "Hired — EMP-xxxx"; employee + draft employment contract auto-created |
Notes
- Sending offers / invites requires a connected mailbox (HR Settings) and the candidate must have an email; if not, the system will display a friendly notification, and the document will still be downloadable.
- LinkedIn sourcing uses public search results (SERP) — no profile pictures (uses initial avatars) and no immediate email/phone available; enrich profiles by uploading CVs and re-scoring.
- Recruitment permissions can be granted independently of employee management permissions (HRM_*_RECRUITMENT). After being granted permission, log out and log back in for the token to be updated.
Maybe You Should Read These
Guide
ACCOUNTING & INVOICE
Grow. Thrive. Go.
Accounting & E-Invoice User Guide
Guide
LINKEDIN ADS
Grow. Thrive. Go.
LinkedIn Ads User Guide - GTG CRM
Guide
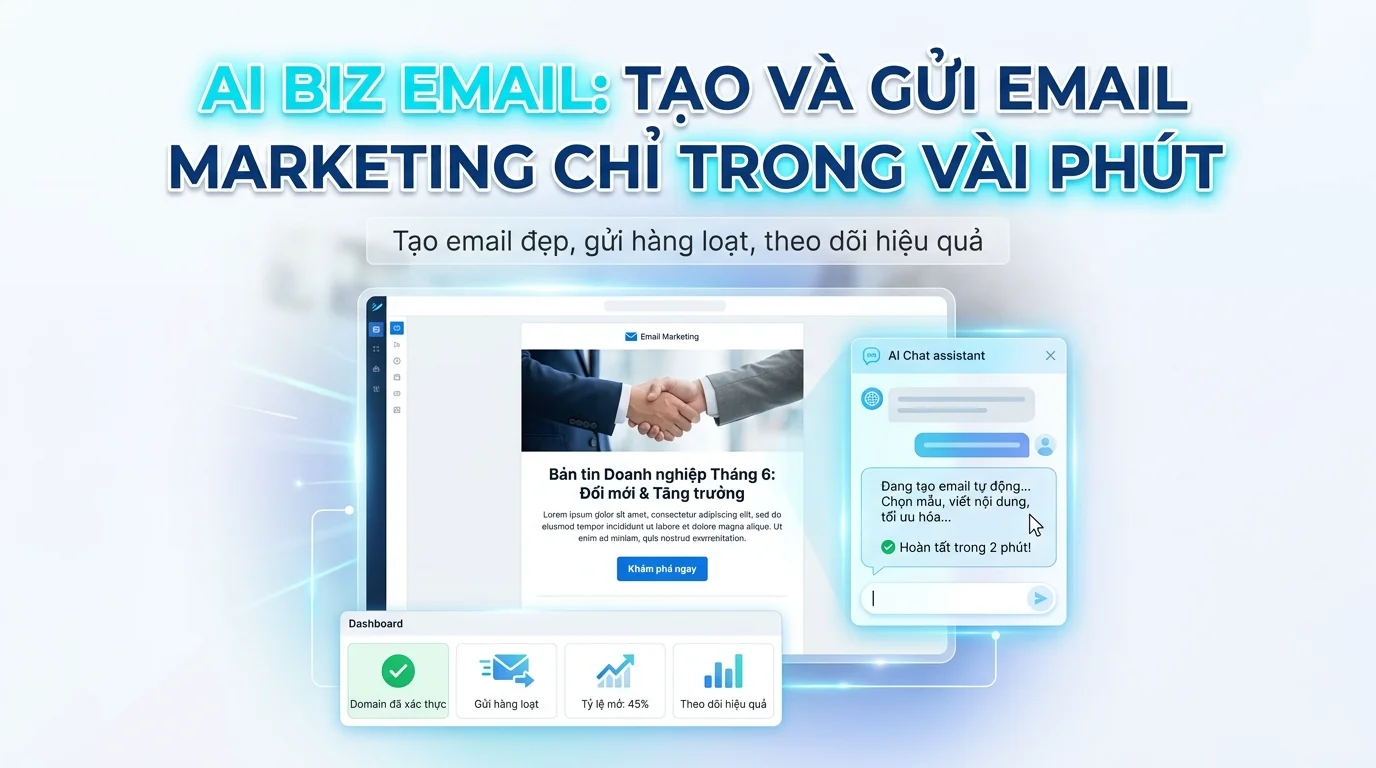
AI BIZ EMAIL
Grow. Thrive. Go.
AI Biz Email: Create and Send Professional Marketing Emails
Guide
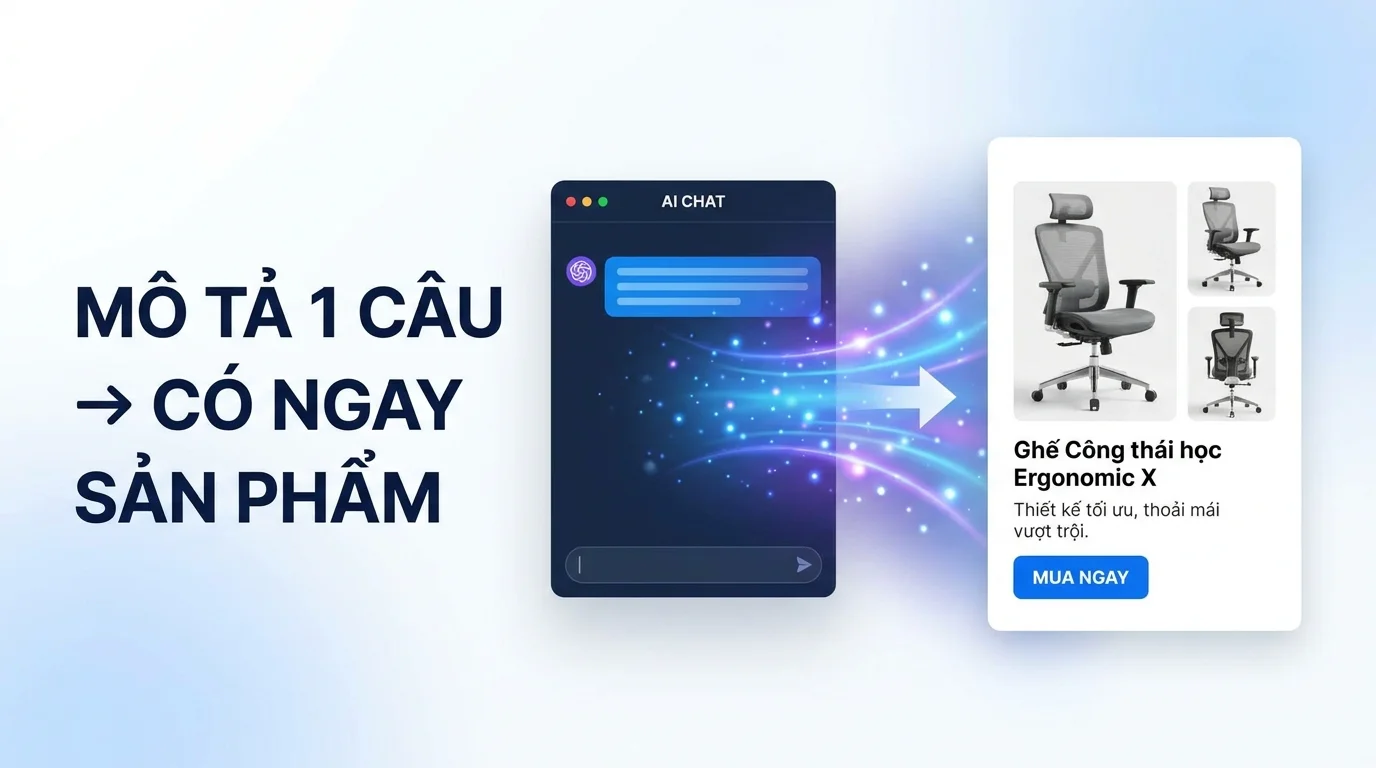
AI PRODUCT CREATION
Grow. Thrive. Go.
AI-Powered Product Creation Guide
Guide
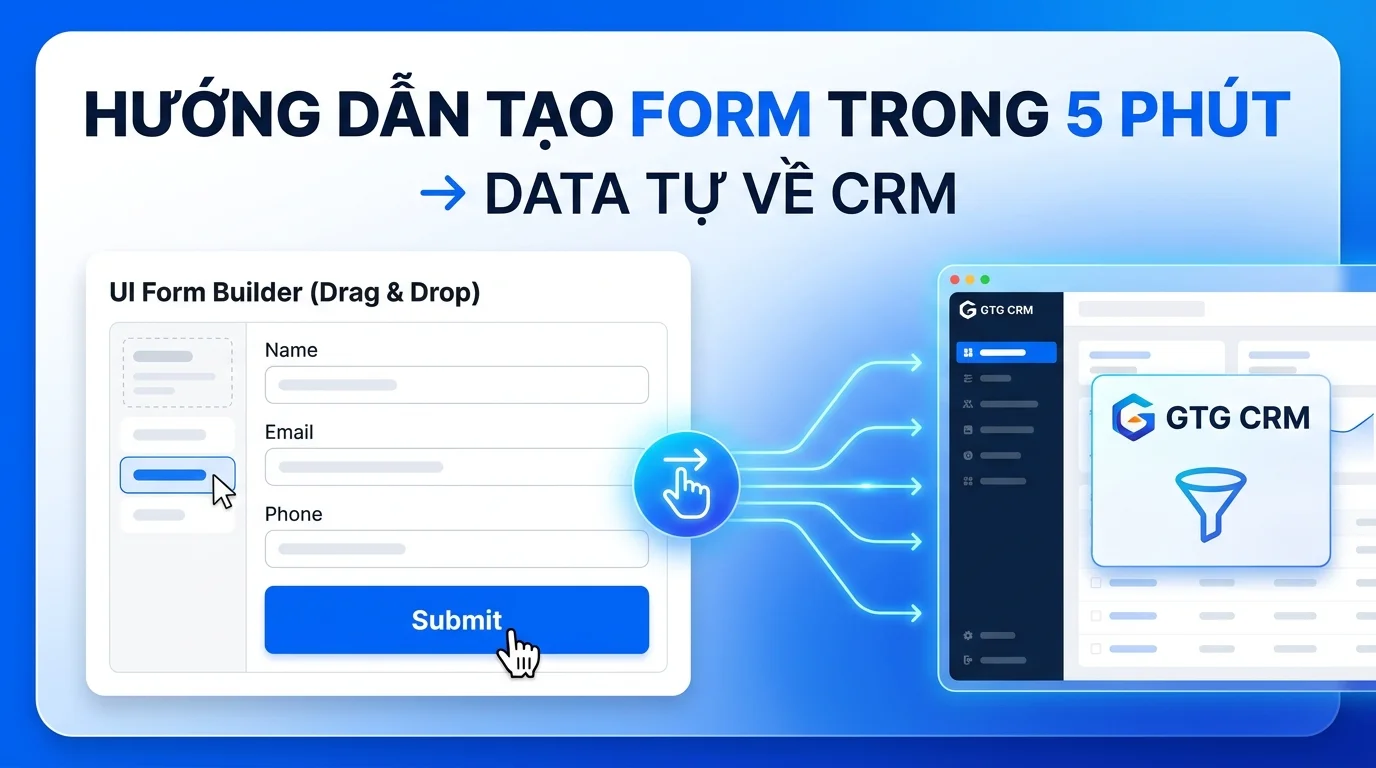
FORM BUILDER
Grow. Thrive. Go.
Customer Information Collection Form Builder Guide

Guide
ARTICLE INTEGRATION
Grow. Thrive. Go.
Guide to Integrating GTG CRM Articles with Your Website
Guide
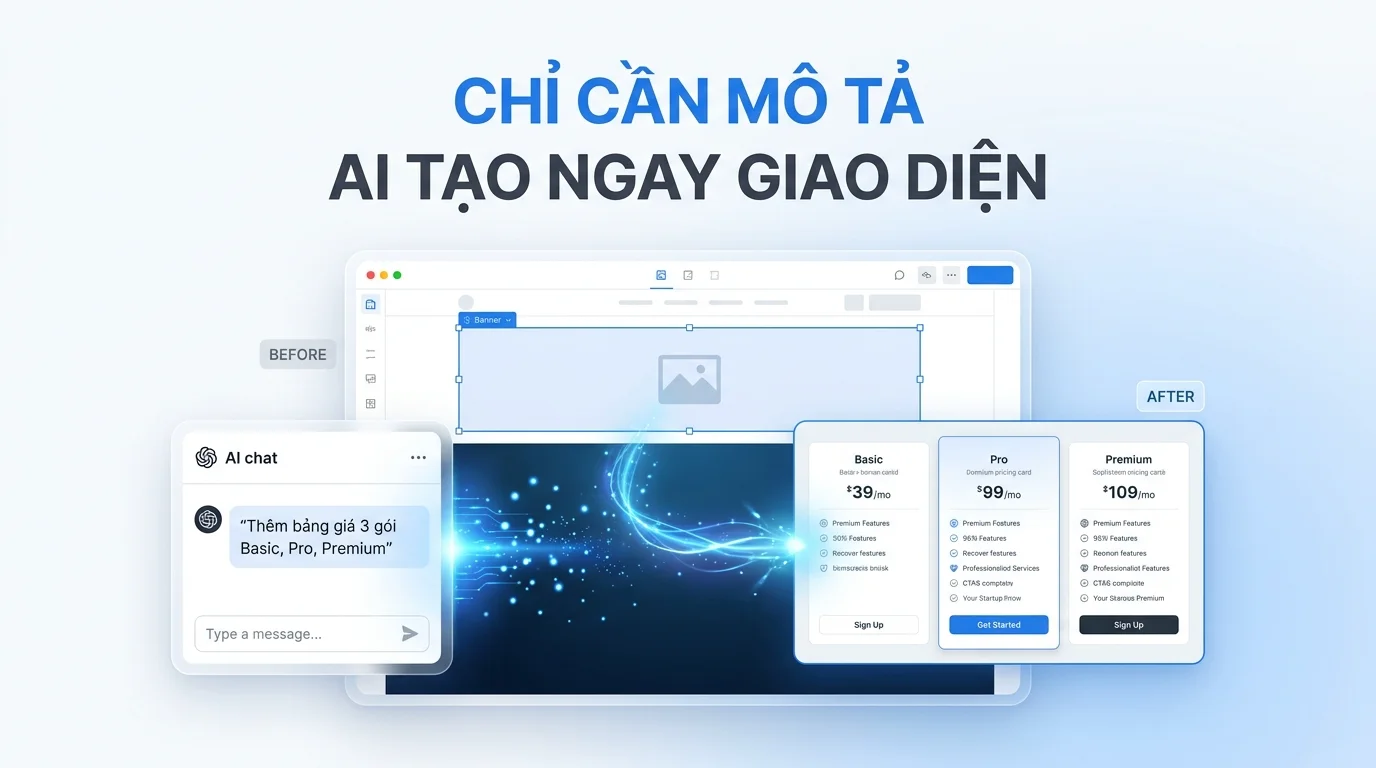
AI SECTION CREATION
Grow. Thrive. Go.
Guide to Creating Website Sections with AI

Guide
AI EMAIL CAMPAIGN
Grow. Thrive. Go.
AI Email Campaign Guide
Guide
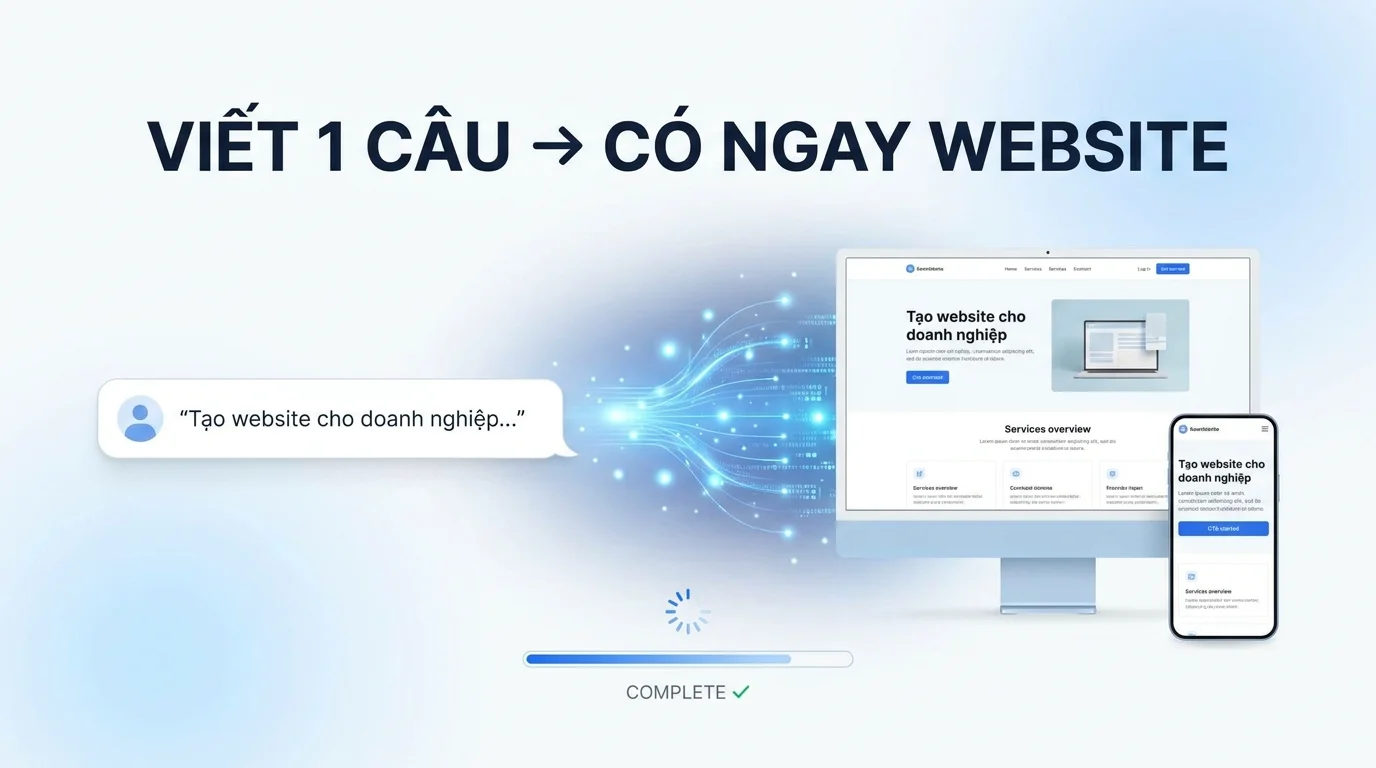
AI WEBSITE CREATION
Grow. Thrive. Go.
AI Full Website Creation Guide

Guide
AI ARTICLE GENERATION
Grow. Thrive. Go.
AI-Generated Article Guide

Guide
OMNI-CHANNEL ORDER MANAGEMENT
Grow. Thrive. Go.
Omni-channel Order Management — Shopee + Lazada + TikTok Shop

Guide
AUTOMATIC ORDER CREATION
Grow. Thrive. Go.