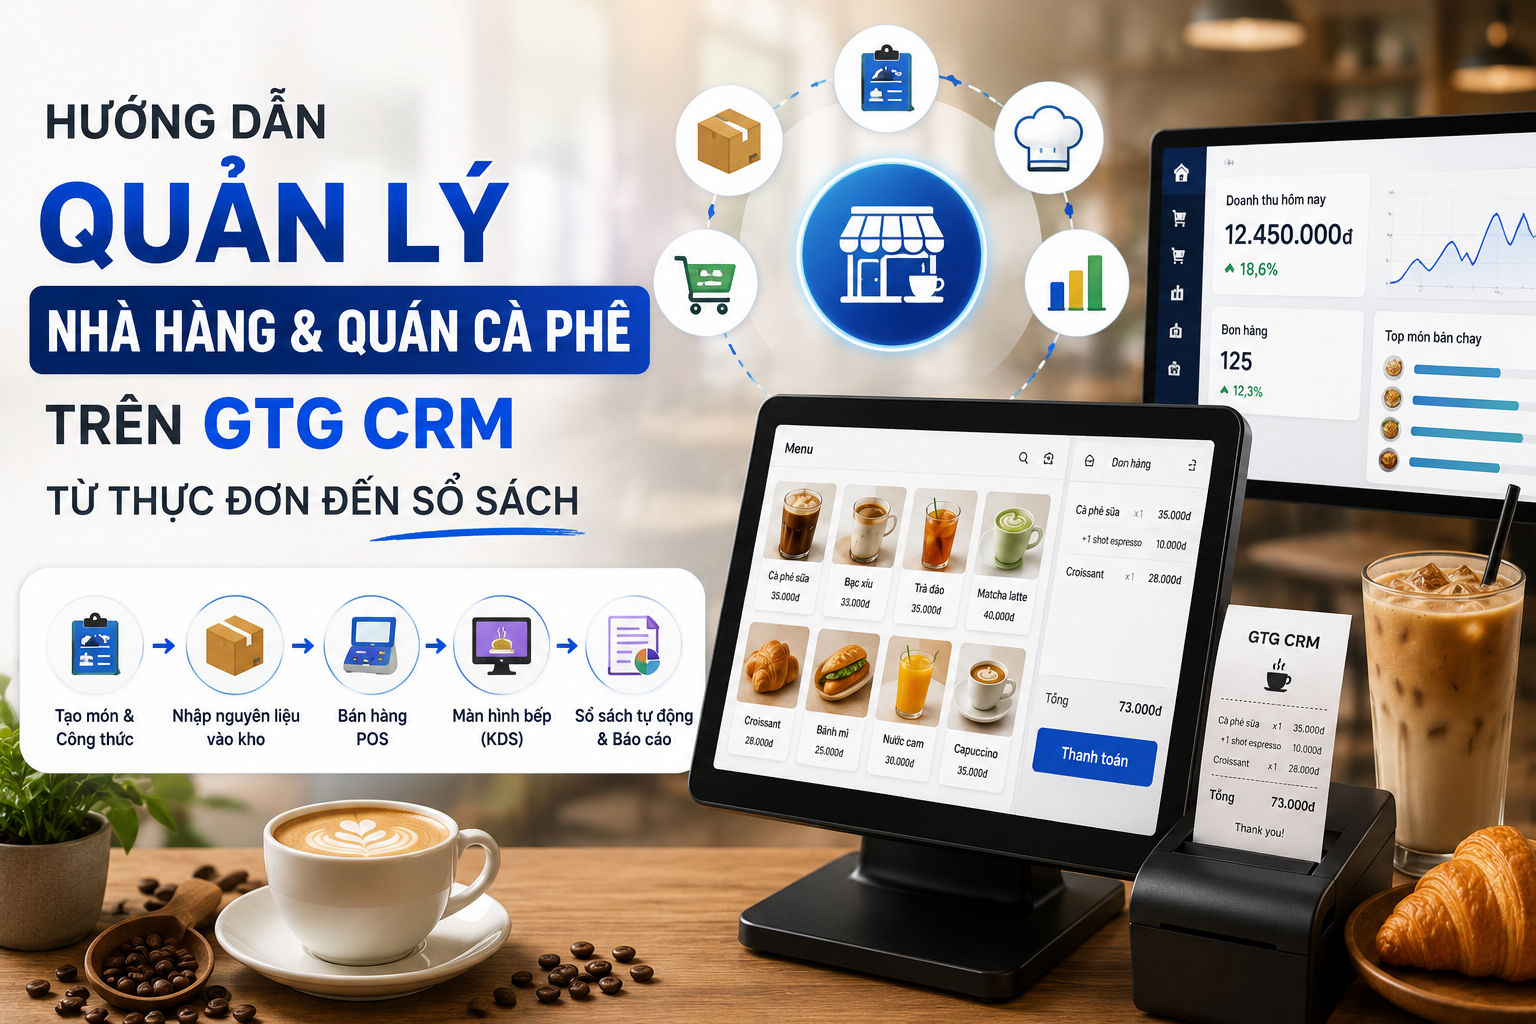
What will you be able to do after following this guide?
Create your own product catalog (up to 3 levels) → add products with variations and prices → quickly import entire product lines from a website link → retrieve images from PDF catalogs and crop/edit them directly in the Media Library → set up inventory → push products to Shopee/Lazada/TikTok with catalog mapping . From an empty catalog to a full-of-product multi-channel store, all in one system.
Not yet familiar with the features? Check out the Product Hub tutorial to understand what the module can do.
Prepare in advance
1. Log in to GTG CRM and be granted permission to manage Products. — Product/category/inventory management permissions are granted by the workspace administrator.
2. (Input from website) There is a store/product page link and trial credit remaining. — Each page scan costs a small amount of credit.
3. (For platform synchronization) Shopee/Lazada/TikTok Shop account connected. — To download to/upload to these platforms.
Step 1 — Create your own categories (up to 3 levels)
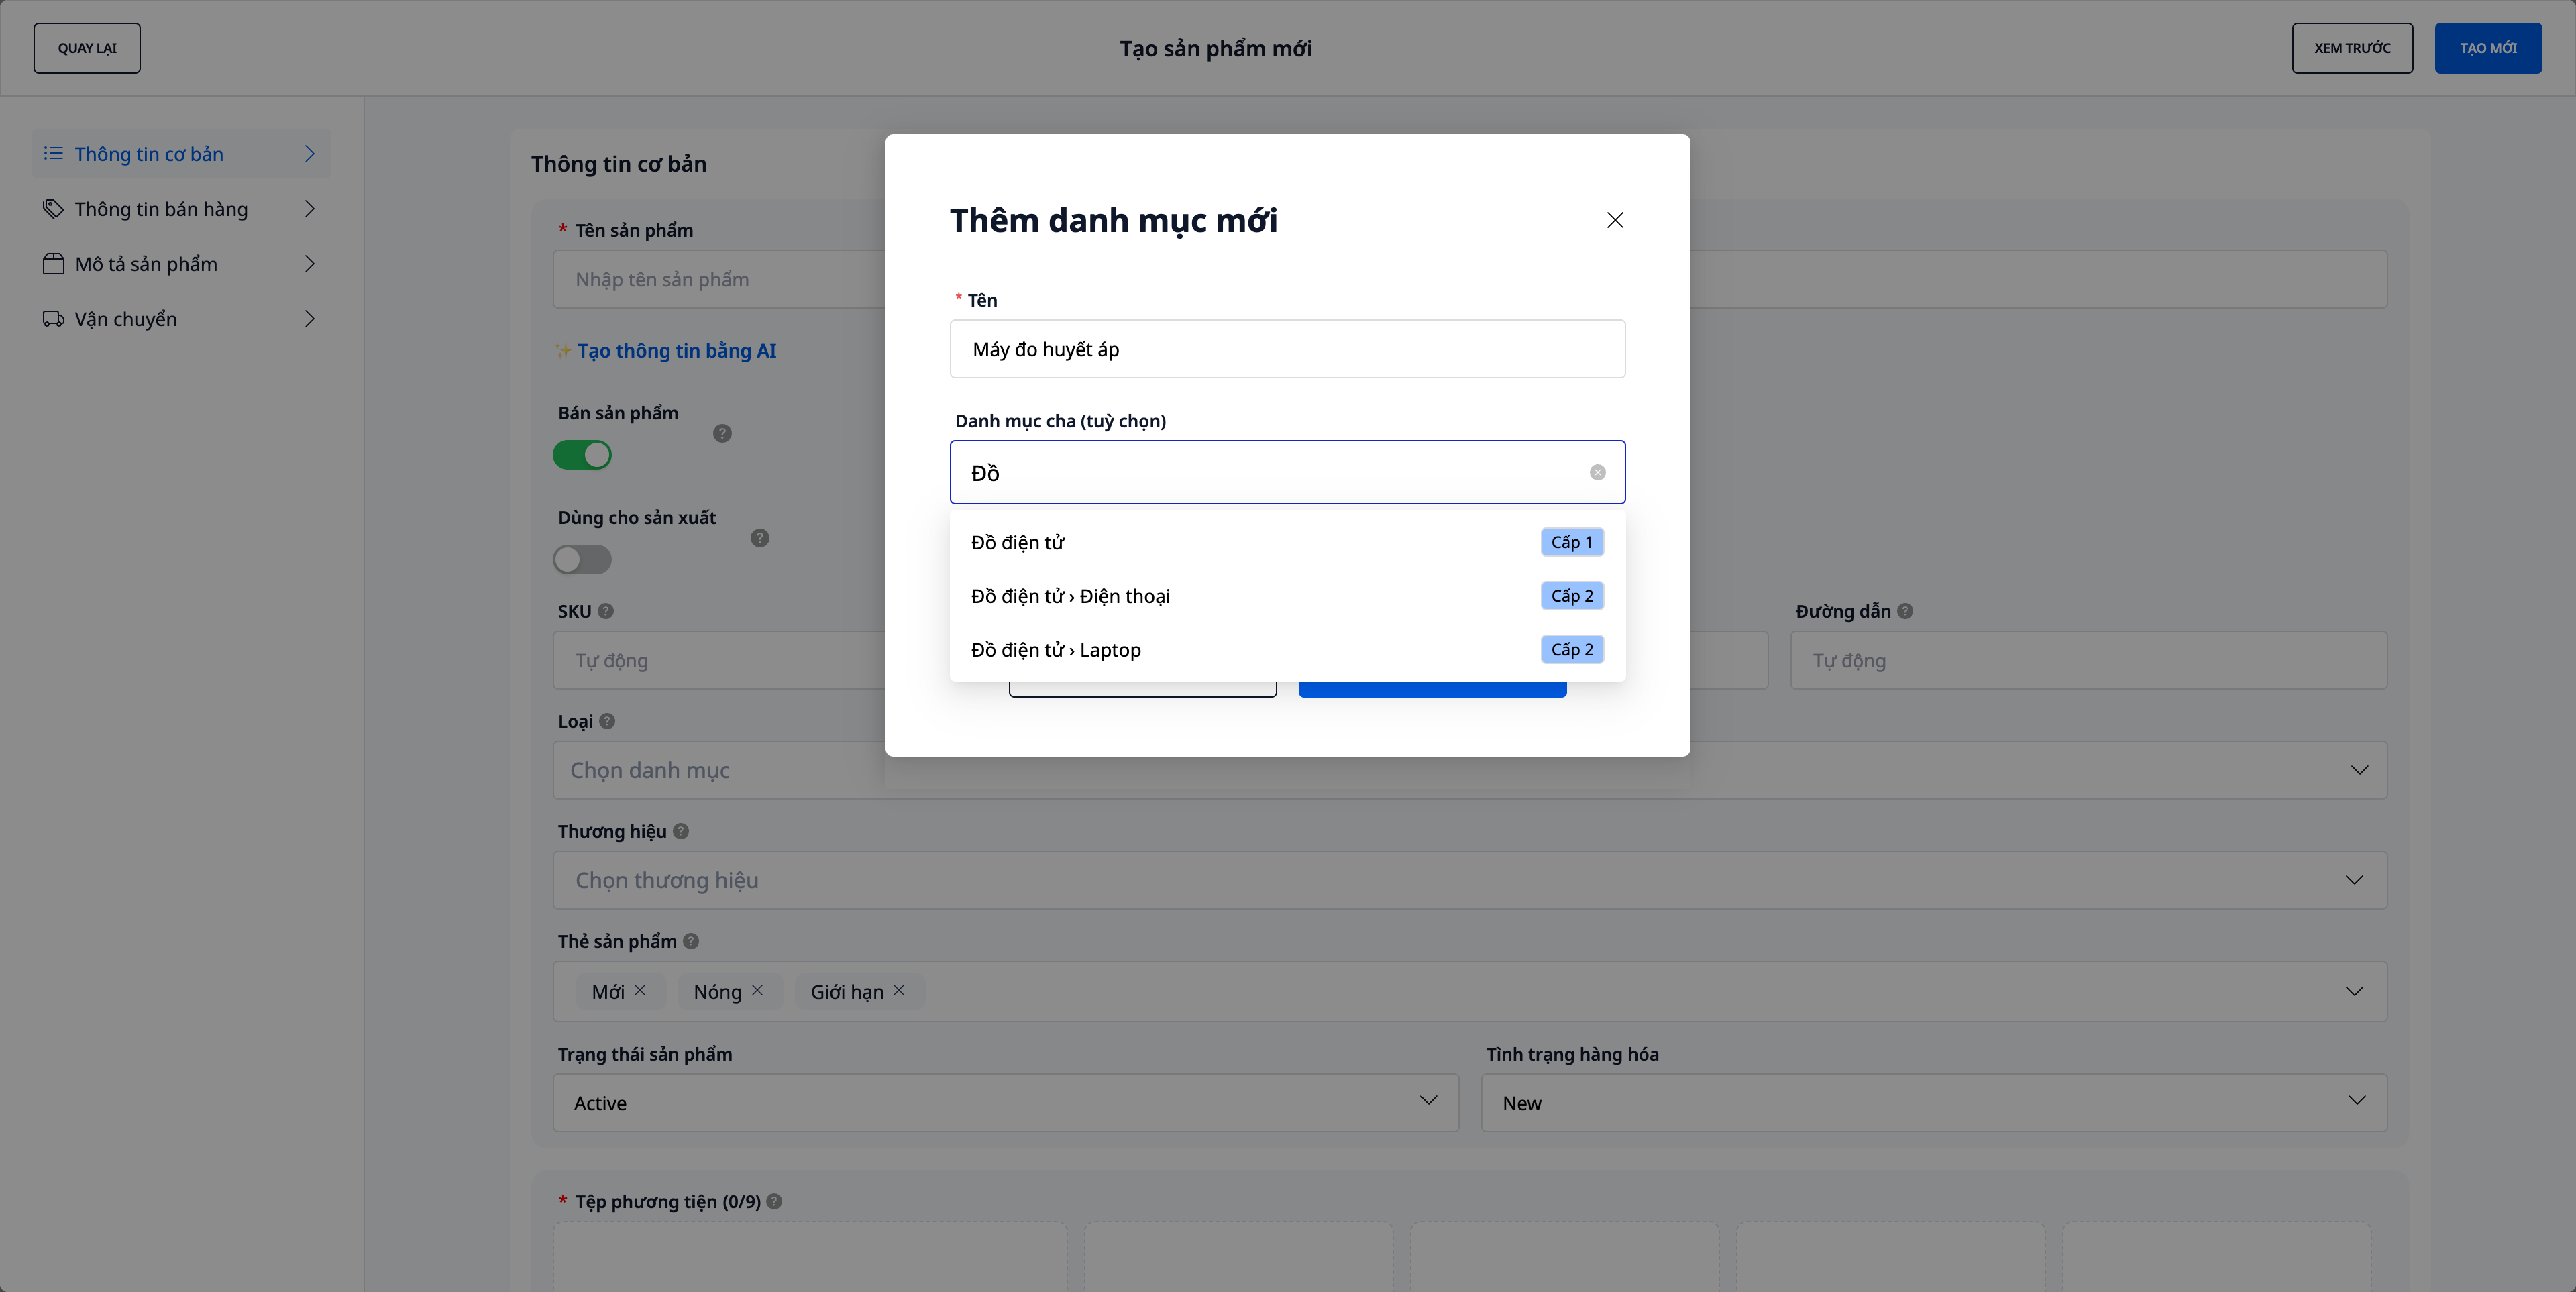
- Go to Products , open the form to create/edit a product, and then to the Category field.
- Click "Add new category" .
- Type the category name (e.g.,
Gaming). - (Optional) Select Parent Category — to see Level 1 / Level 2 labels on each selection; to see all 3 levels , select an item that is currently Level 2 (the item with the
›symbol). - Look at the "Preview" section — for example,
Đồ điện tử › Laptop › Gaming — 3 cấp— then click Save .
✅ Expected result : The new category appears in the category selector as a hierarchical tree. Older products (if any) will remain in "Old Category" in read-only mode until you reclassify them.
💡 Tip : 1-2 levels are sufficient for most stores. The platform's category tree (Shopee/Lazada/TikTok) is only used when uploading products to the platform (Step 6).
Step 2 — Add products & variations
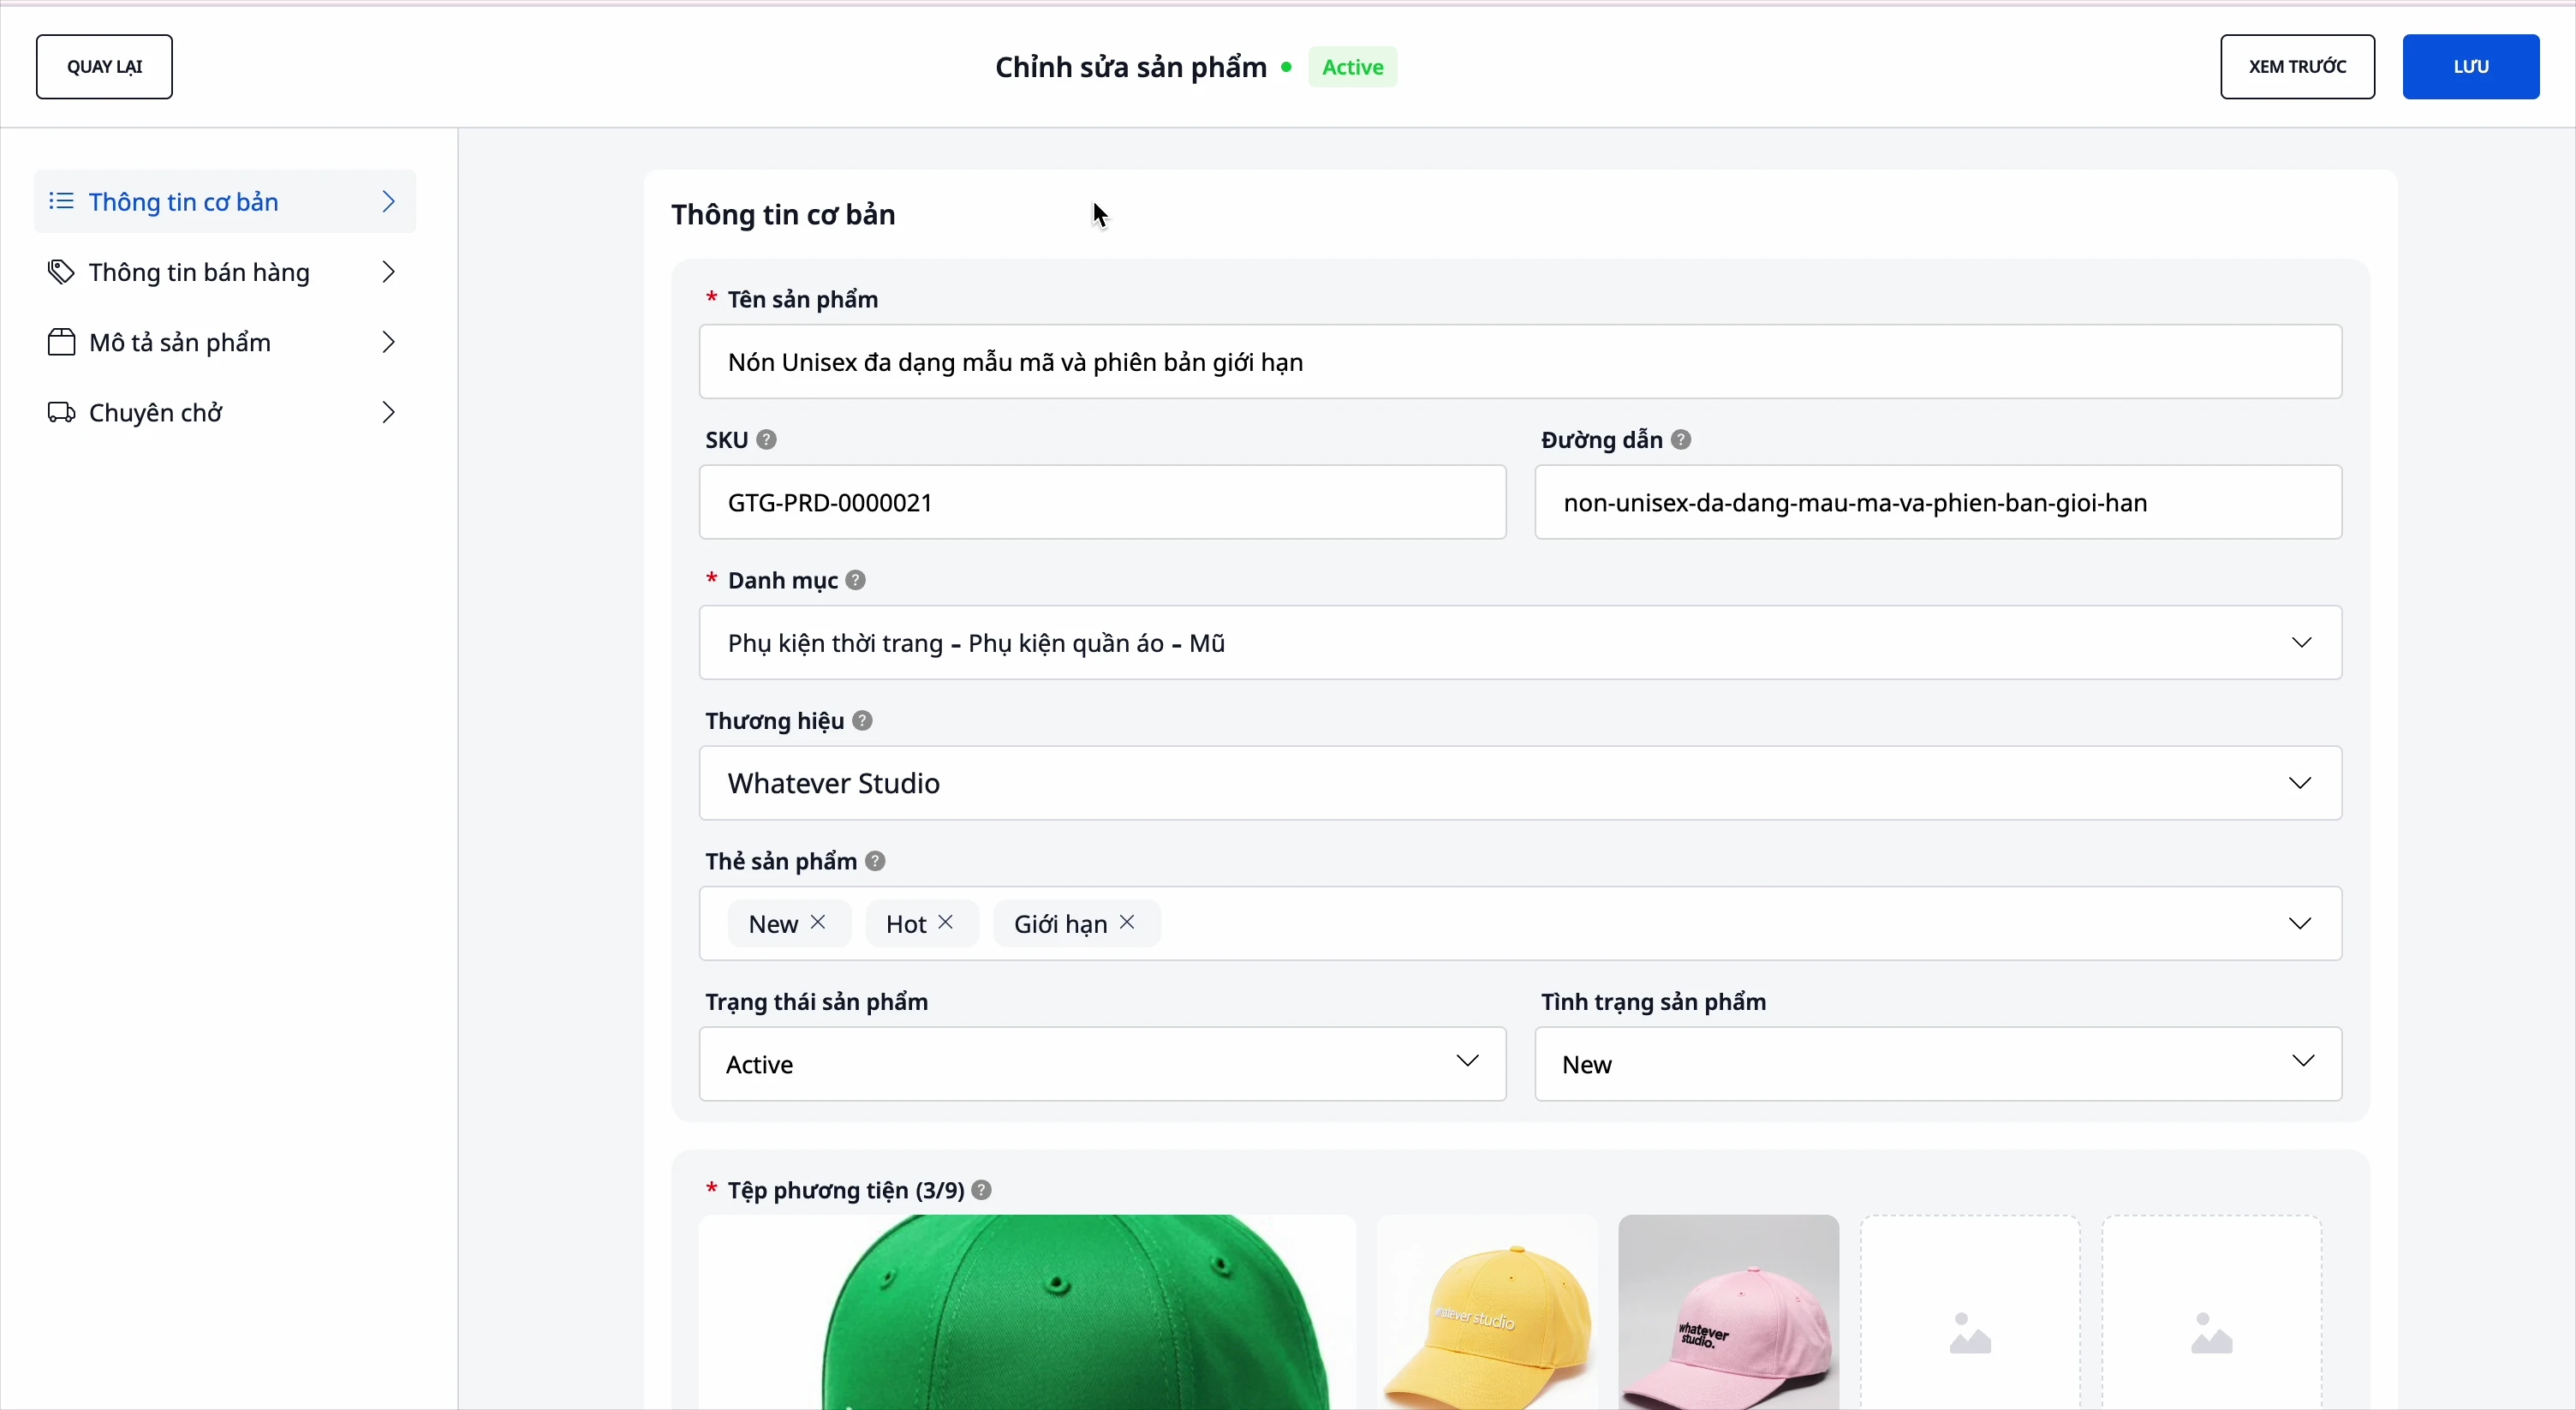
- In Products , click Create New Product.
- Fill in the name, SKU, category, brand, description, and specifications .
- Add variations (color, size… up to 3 attributes); each variation has its own SKU and price.
- Enter the original price, VAT, and selling price — the system will automatically calculate the profit .
✅ Expected outcome : The product is saved with all variations; the price list displays automatically calculated profit for each variation.
Step 3 — Import products in bulk from the website link
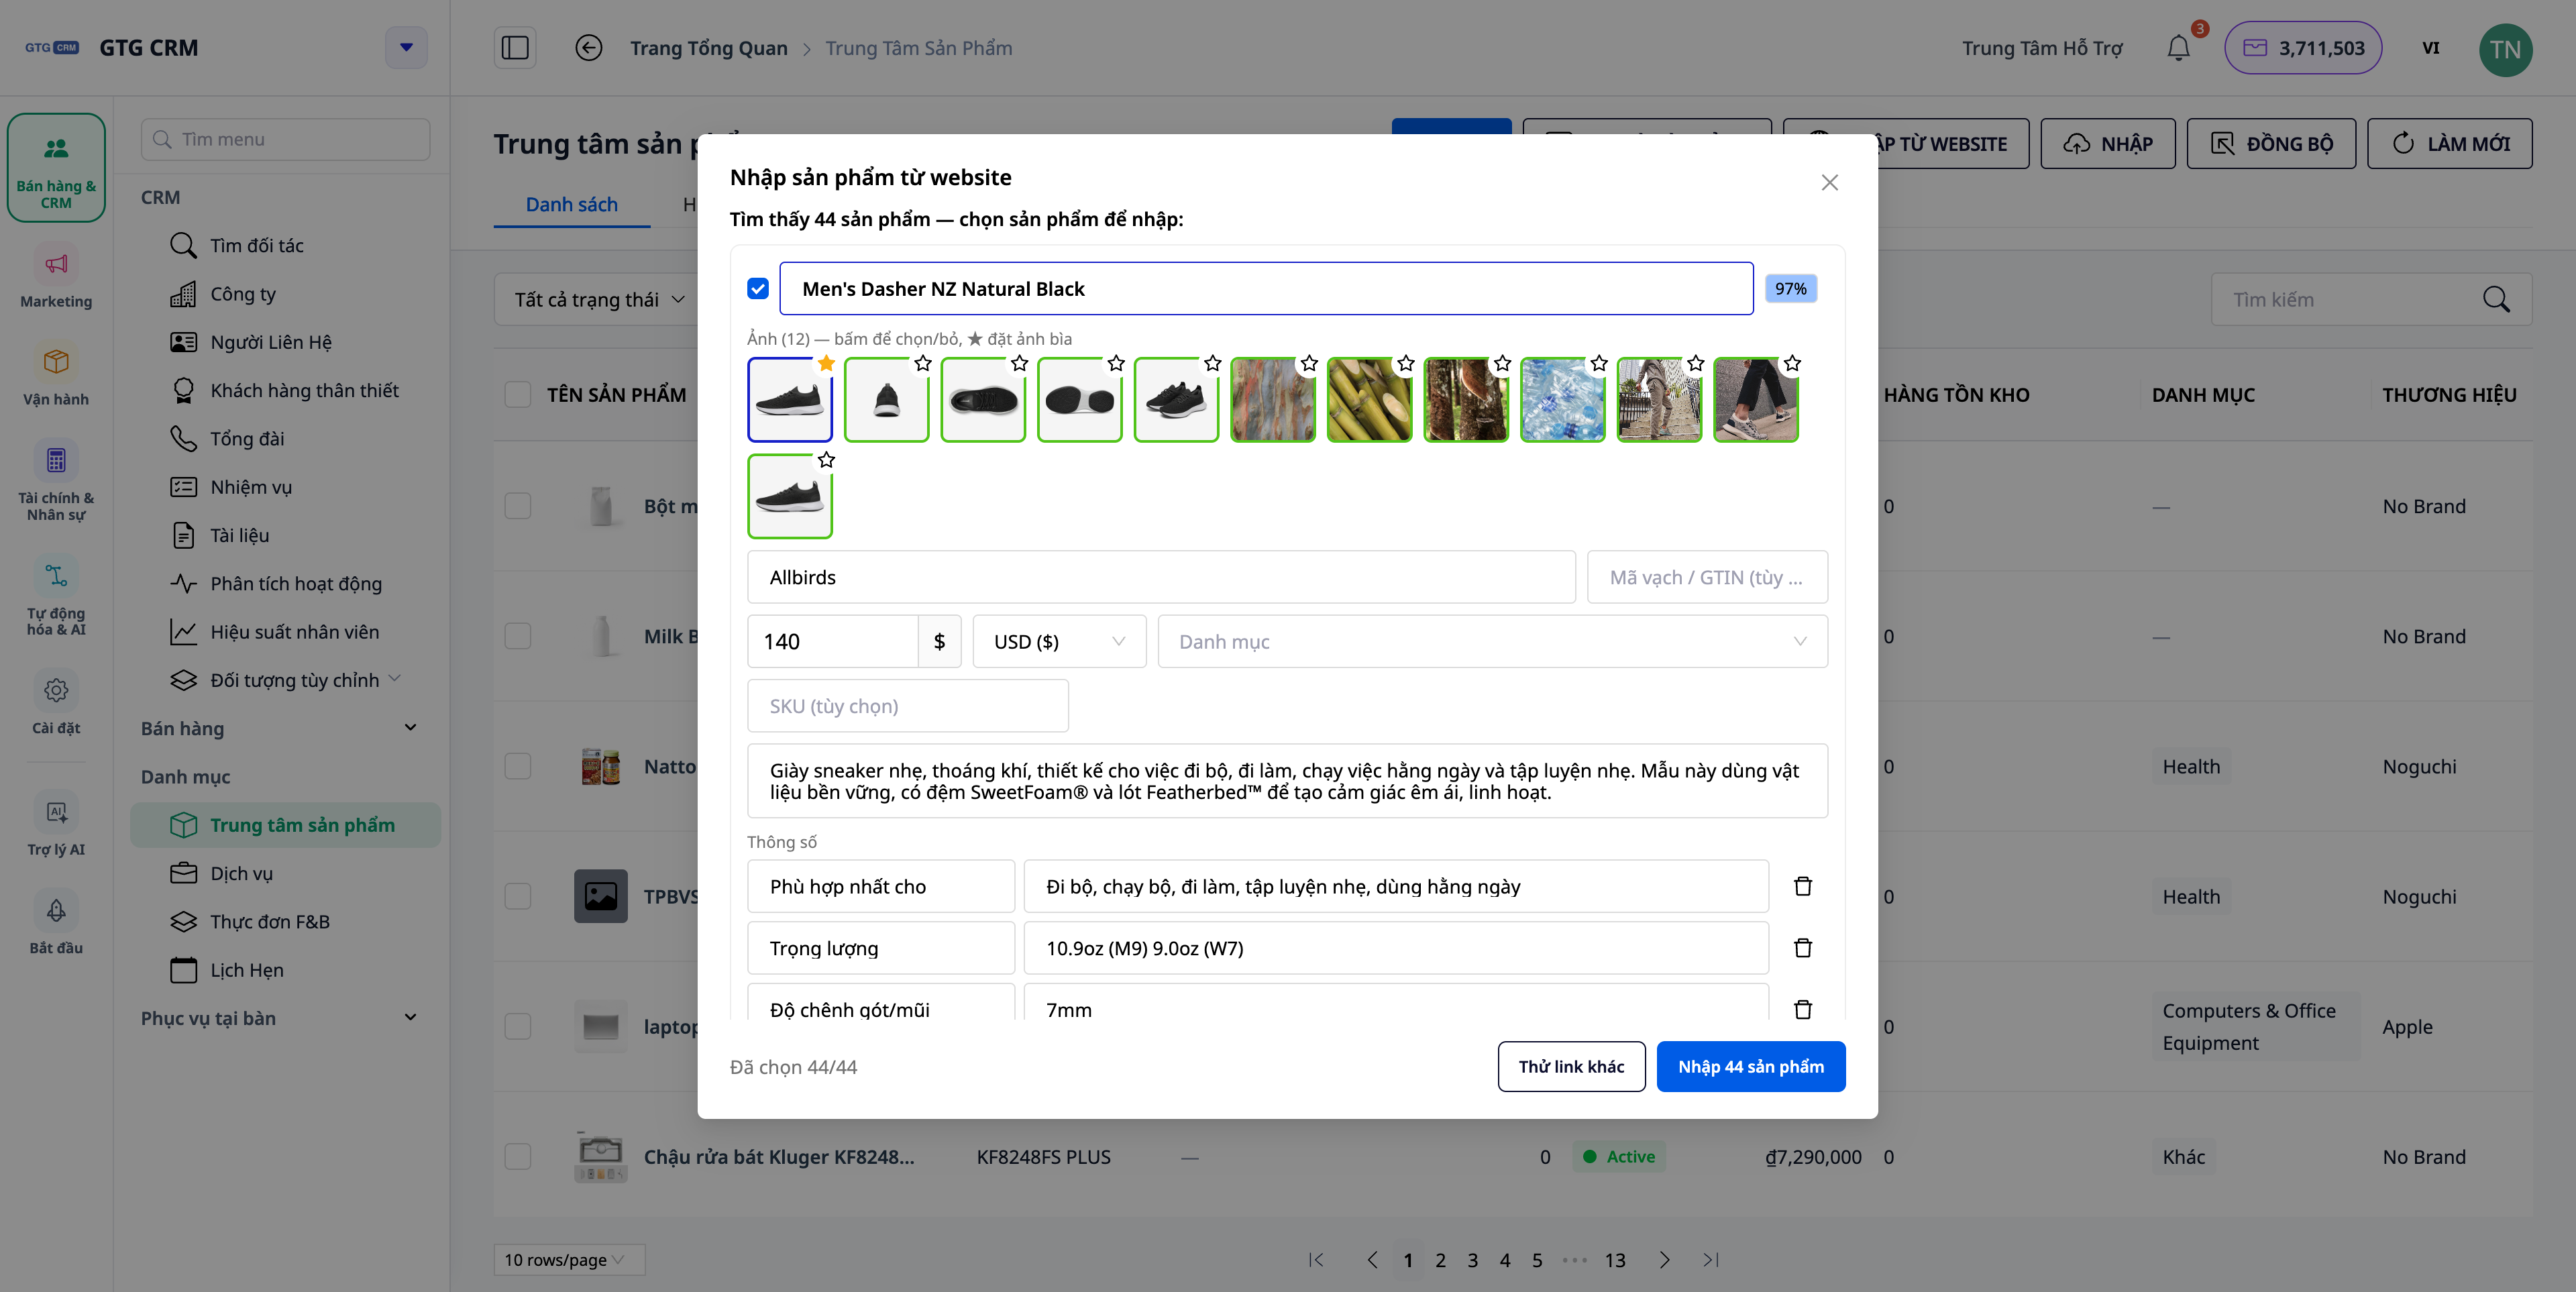
- In Products , select Import products from website .
- Paste the link (a product page, or a category page / "all products"), set the maximum number of products , tick the box to agree, and then click Scan page .
- (Optional) Enable "Get full details" to have the system open each product page and retrieve the complete set of images, descriptions, specifications, and variations.
- On the browsing screen: edit name/price/category/SKU/description/brand/barcode/specifications/variants ; deselect unnecessary products; select images to keep and set a cover image (★) .
- Click Create .
✅ Expected result : Products are created in the catalog exactly as approved — including brand, barcode, specifications, variations, selected photo set and cover image; suggested categories are matched to your own catalog .
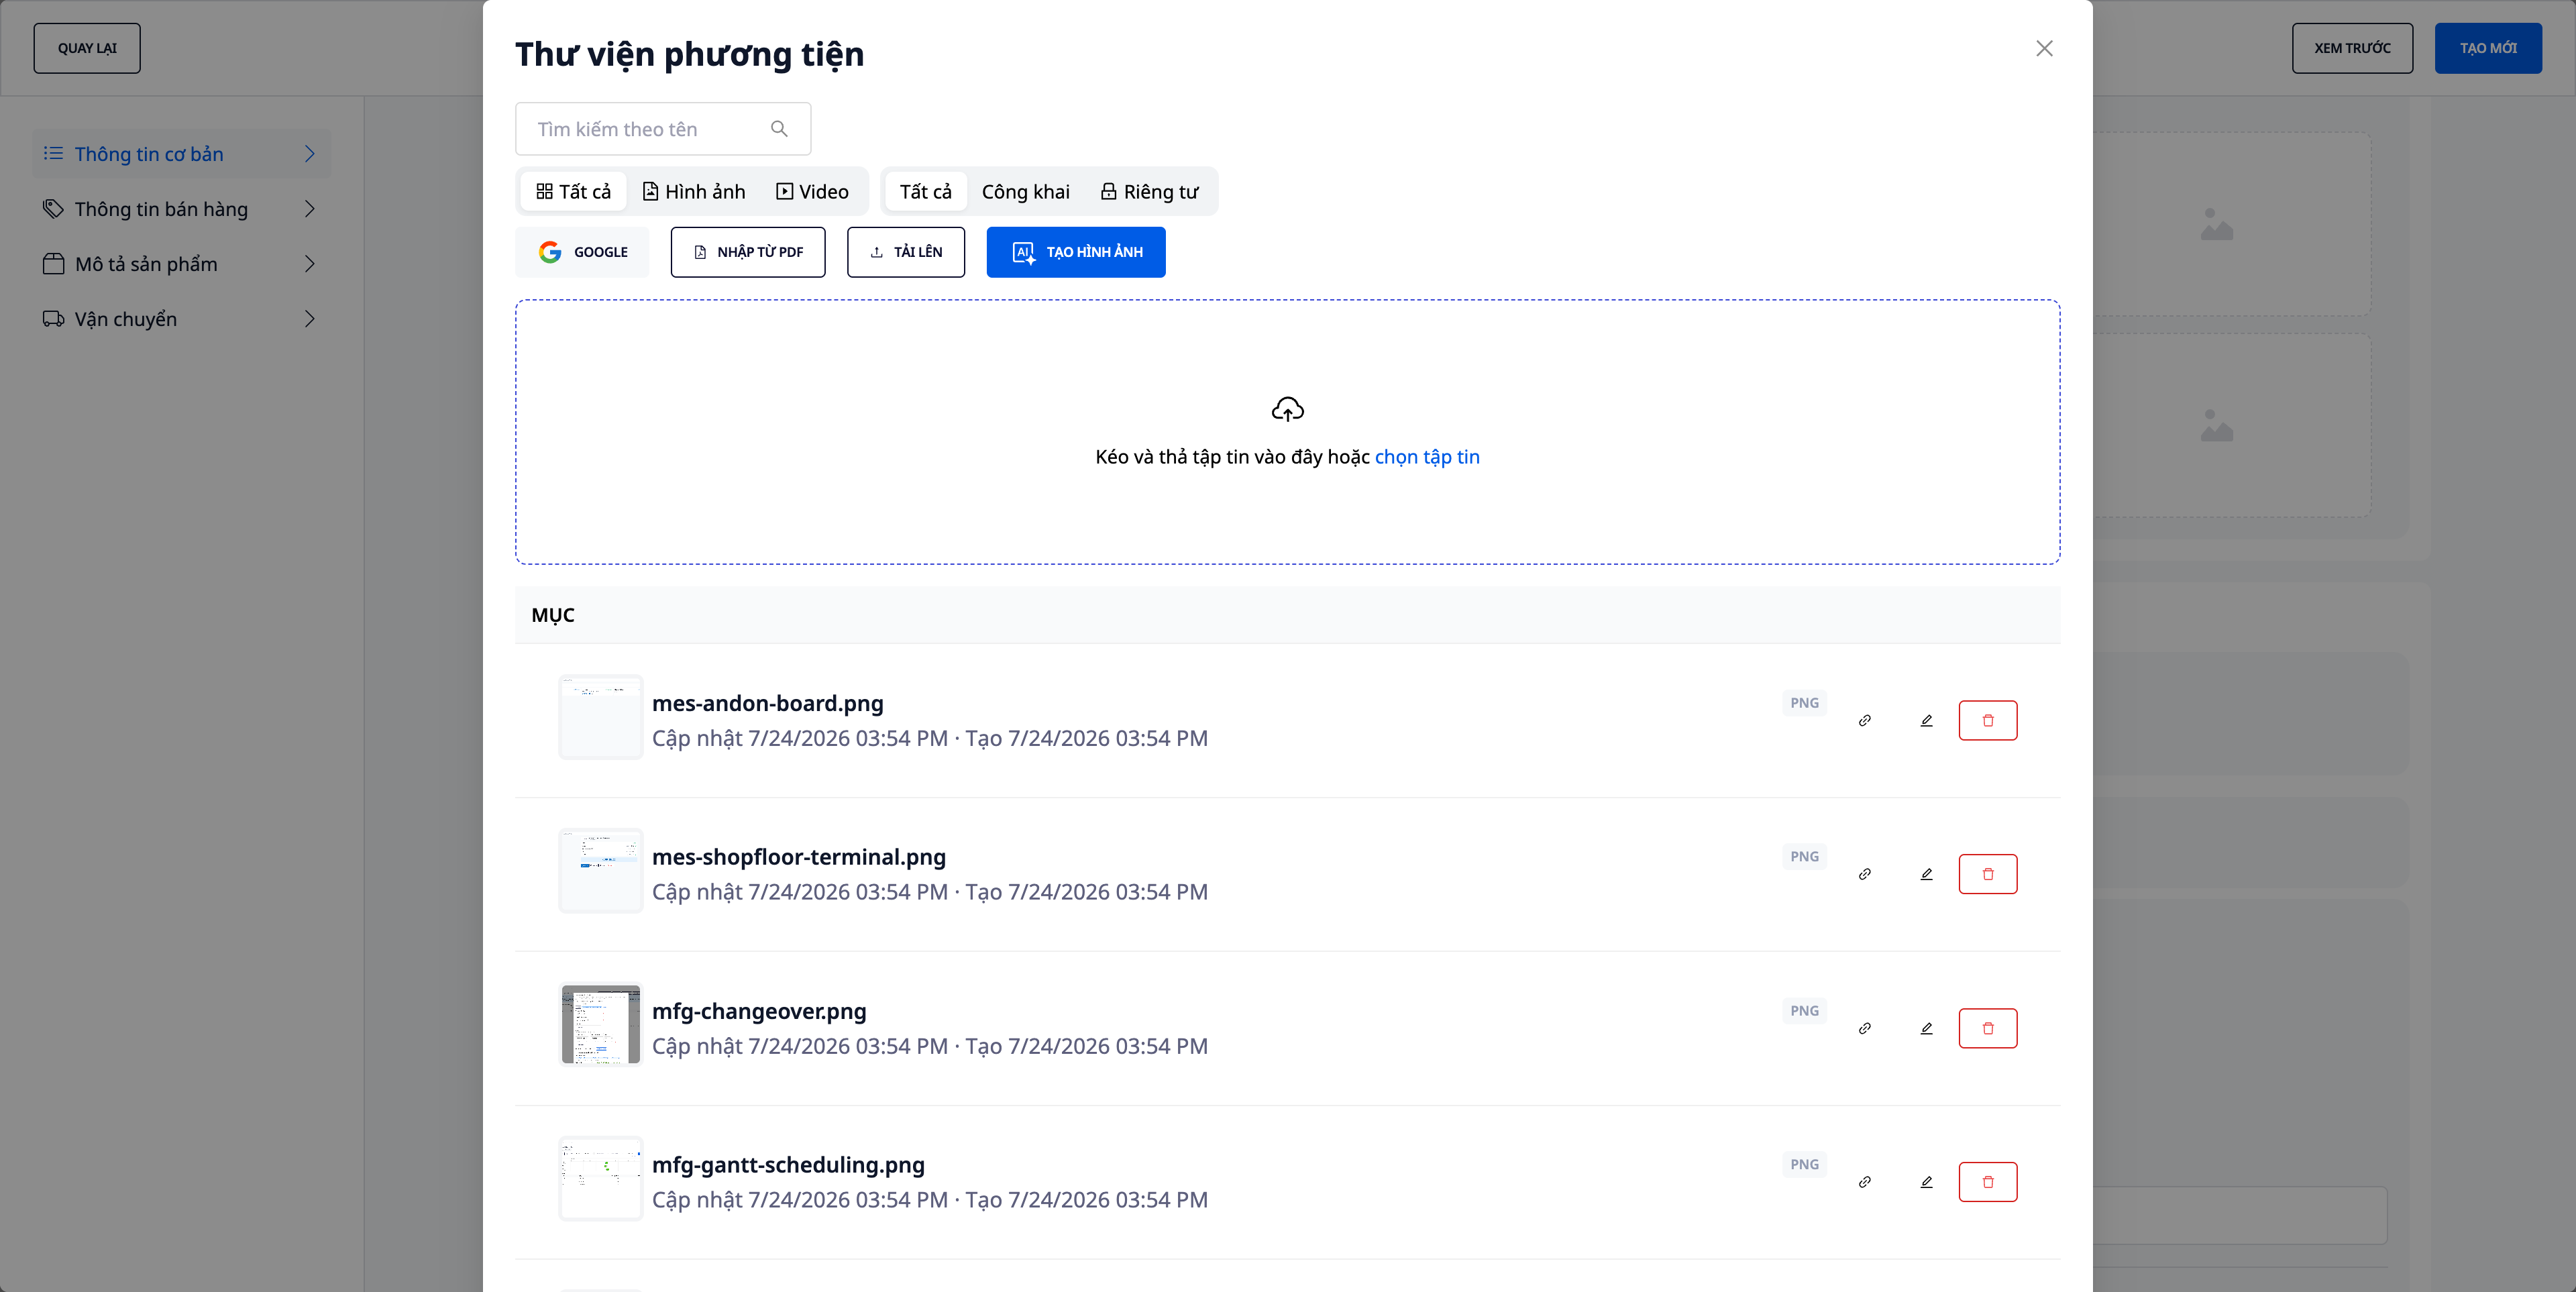
Step 4 — Import images from the PDF catalog and crop/edit them on the spot.
- When creating/editing a product, click the image box to open the Media Library .
- To import images from a PDF catalog , drag the supplier's catalog file into the folder, and then select the images you want.
- With any image, use the cropping/reshaping tools available in the library to adjust the frame.
- Assign images to products/variants.
✅ Expected result : Images from the PDF are imported into the library (keeping the original file names), and can be edited directly without leaving the product form.
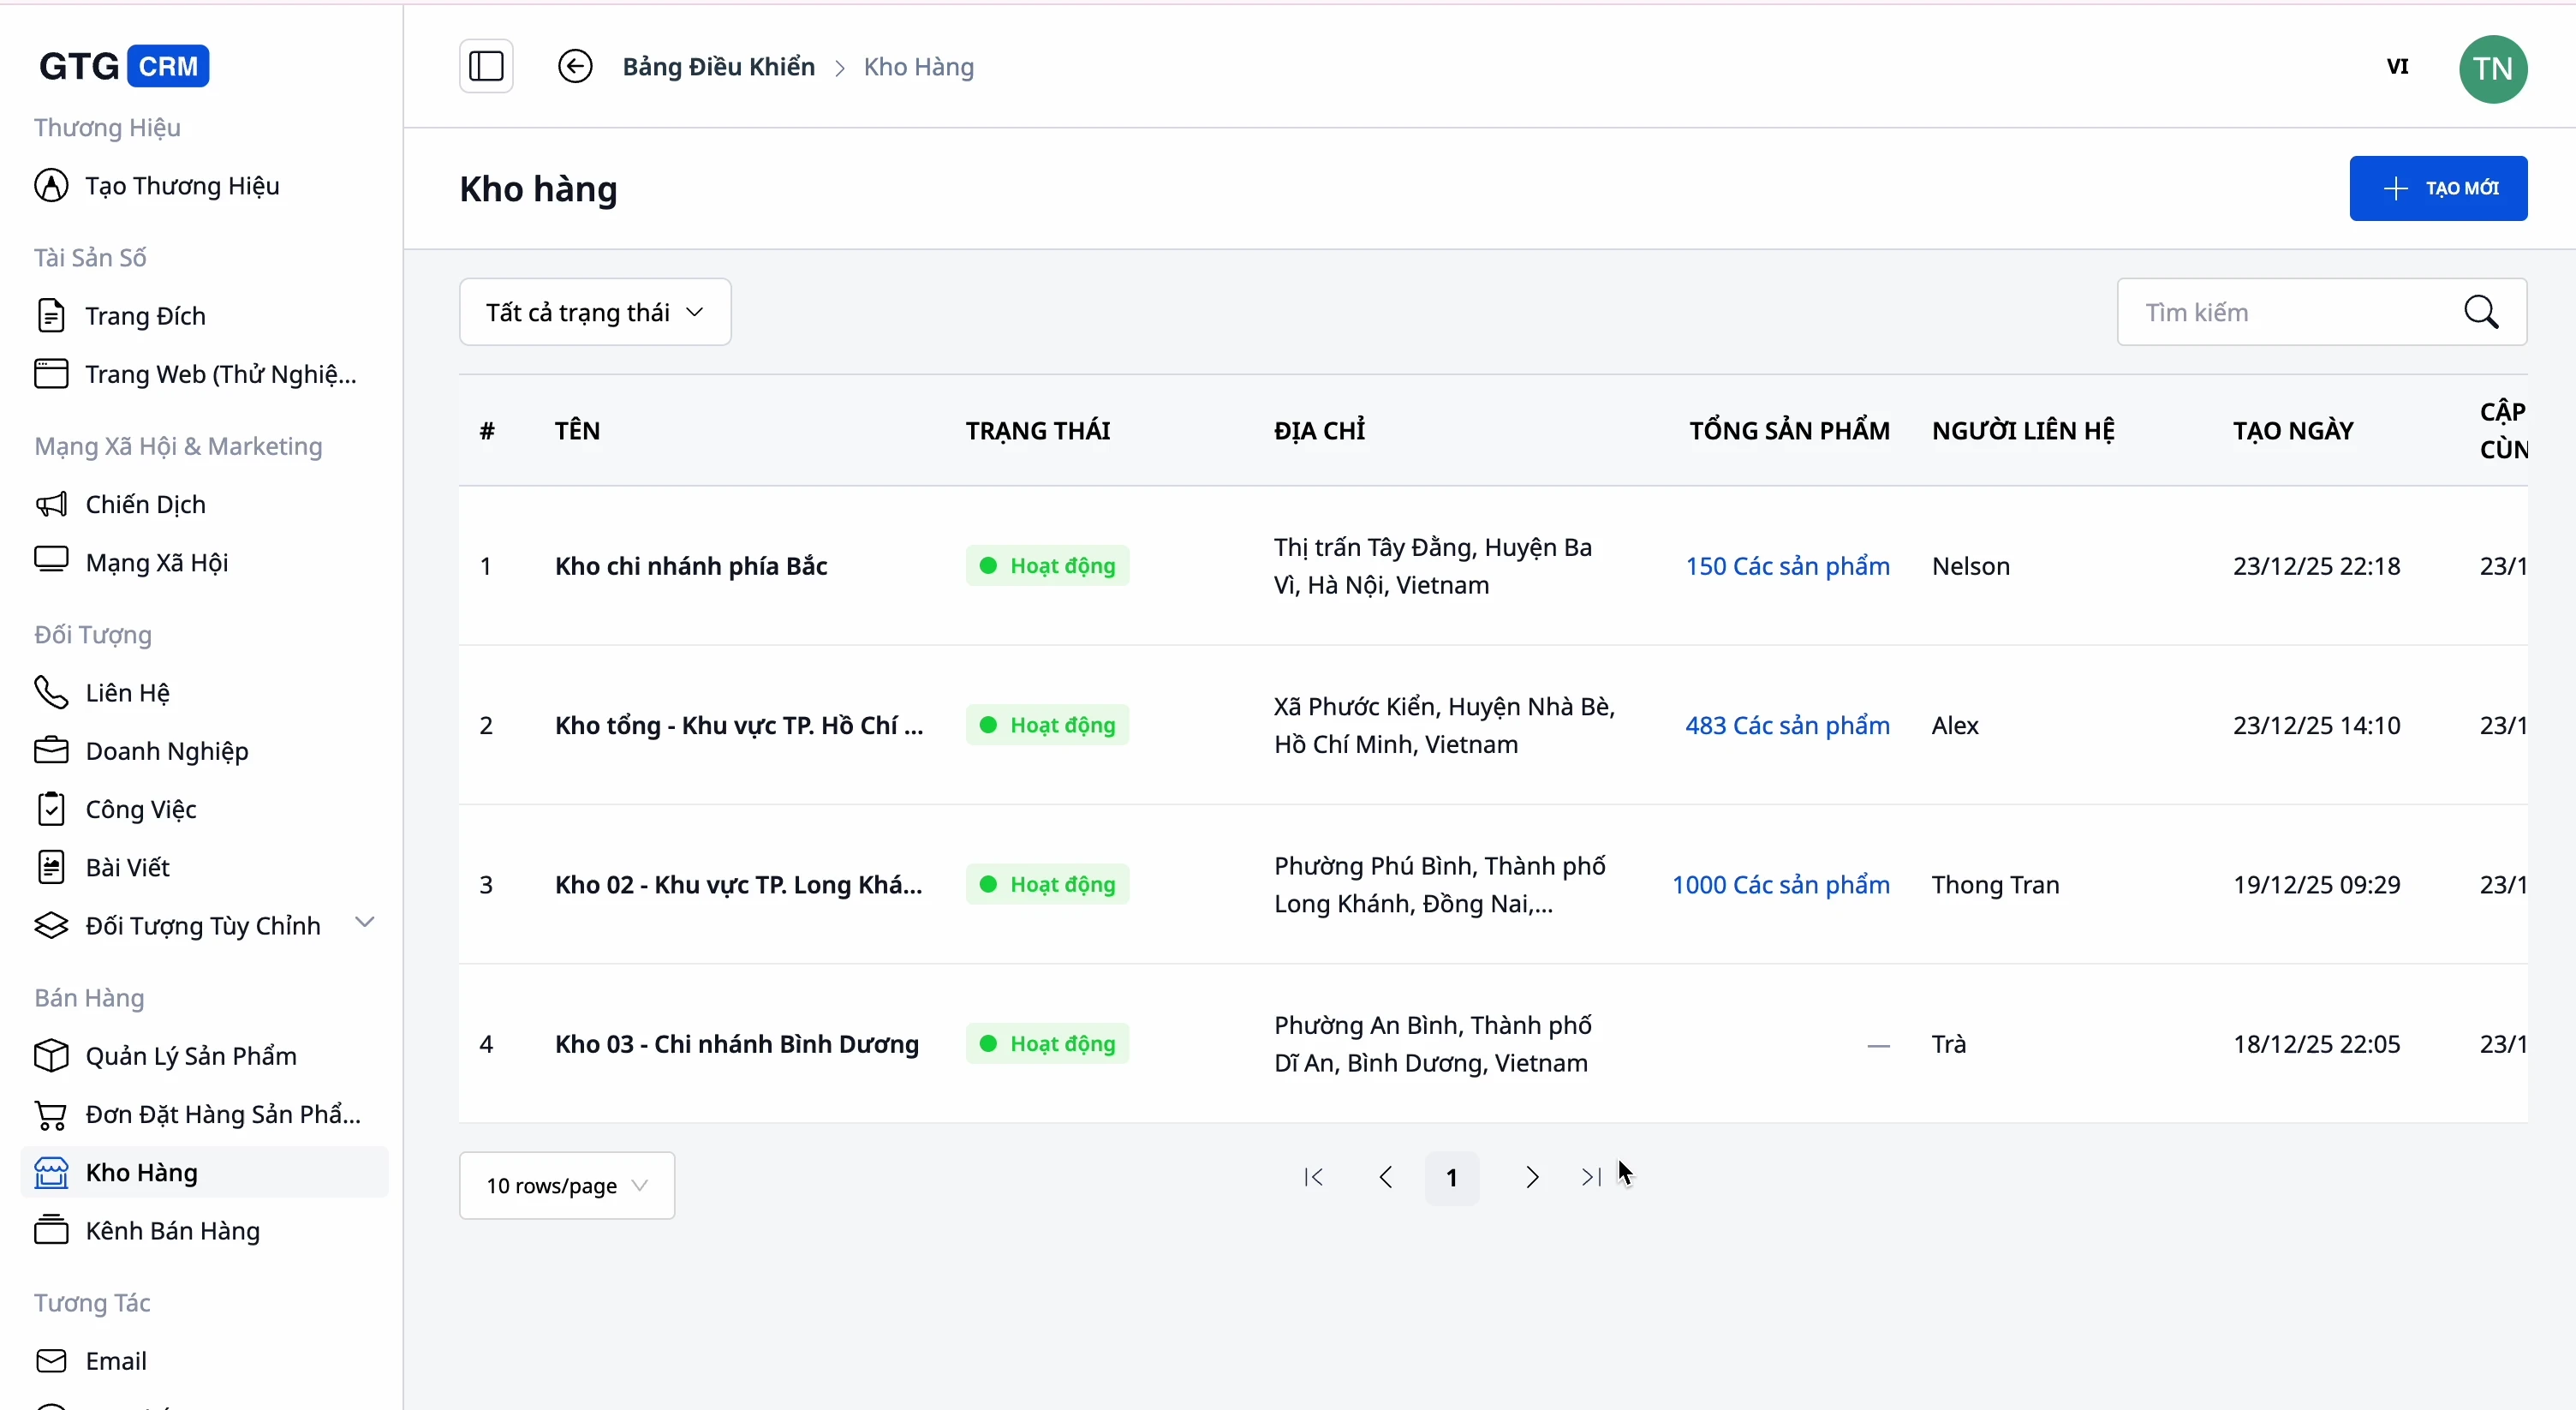
Step 5 — Setting up the warehouse
- Go to the Warehouse section and create a warehouse (name, code, address, contact person).
- Link products to warehouses and track inventory levels for each warehouse.
✅ Expected outcome : There is at least one warehouse; inventory is displayed by warehouse for each product.
Step 6 — List your product on the marketplace using category mapping
- Connect your account to a marketplace (Shopee/Lazada/TikTok Shop) if you don't already have one.
- Select the product you want to push → Push it onto the floor .
- When asked for the platform category, view the suggested category and confirm (or re-select).
✅ Expected outcome : The product is listed on the platform with a confirmed platform category; the category mapping is remembered so that it doesn't need to be re-selected for subsequent listings.
Quick lookup table for expected results
Add a new category with the parent category "Level 2" — Preview shows A › B › C — 3 cấp , save as a 3-level category.
Scan a store link — A draft product list with images, brand, barcode, specifications, and variations is available for browsing.
Drag the PDF catalog into the Media Library — Images from the PDF will appear for selection, preserving the original file names.
List your product on the marketplace — Check the marketplace category suggestion box for confirmation; remember to map it yourself next time.
Note
- The old categories (based on the previous floor classification tree) are not deleted — they remain read-only until you reclassify them using your own categories.
- Importing from websites consumes a small amount of credits per scan — always displayed before running.
- The catalog tree provided by the platform is only used in the uploading step (catalog mapping), not for organizing your internal catalogs.