Endurskipulagning er ein skilvirkasta auglýsingaaðferðin til að ná aftur til fólks sem hefur heimsótt vefsíðu þína en ekki gert viðskipti. Þessi leiðarvísir mun hjálpa þér að setja upp fyrsta endurskipulagningarherferð þína á aðeins 30 mínútum, jafnvel þó þú sért nýliði.
Hvað munt þú ná eftir þessa leiðarvísir?
Eftir að hafa lokið eftirfarandi skrefum munt þú:
- Tengja auglýsingareikninga með góðum árangri
- Búa til fyrsta endurskipulagningarsafn þitt
- Kynna og virkja endurskipulagningarherferð þína
Skref 1: Tengja auglýsingareikninga
Fyrir Facebook
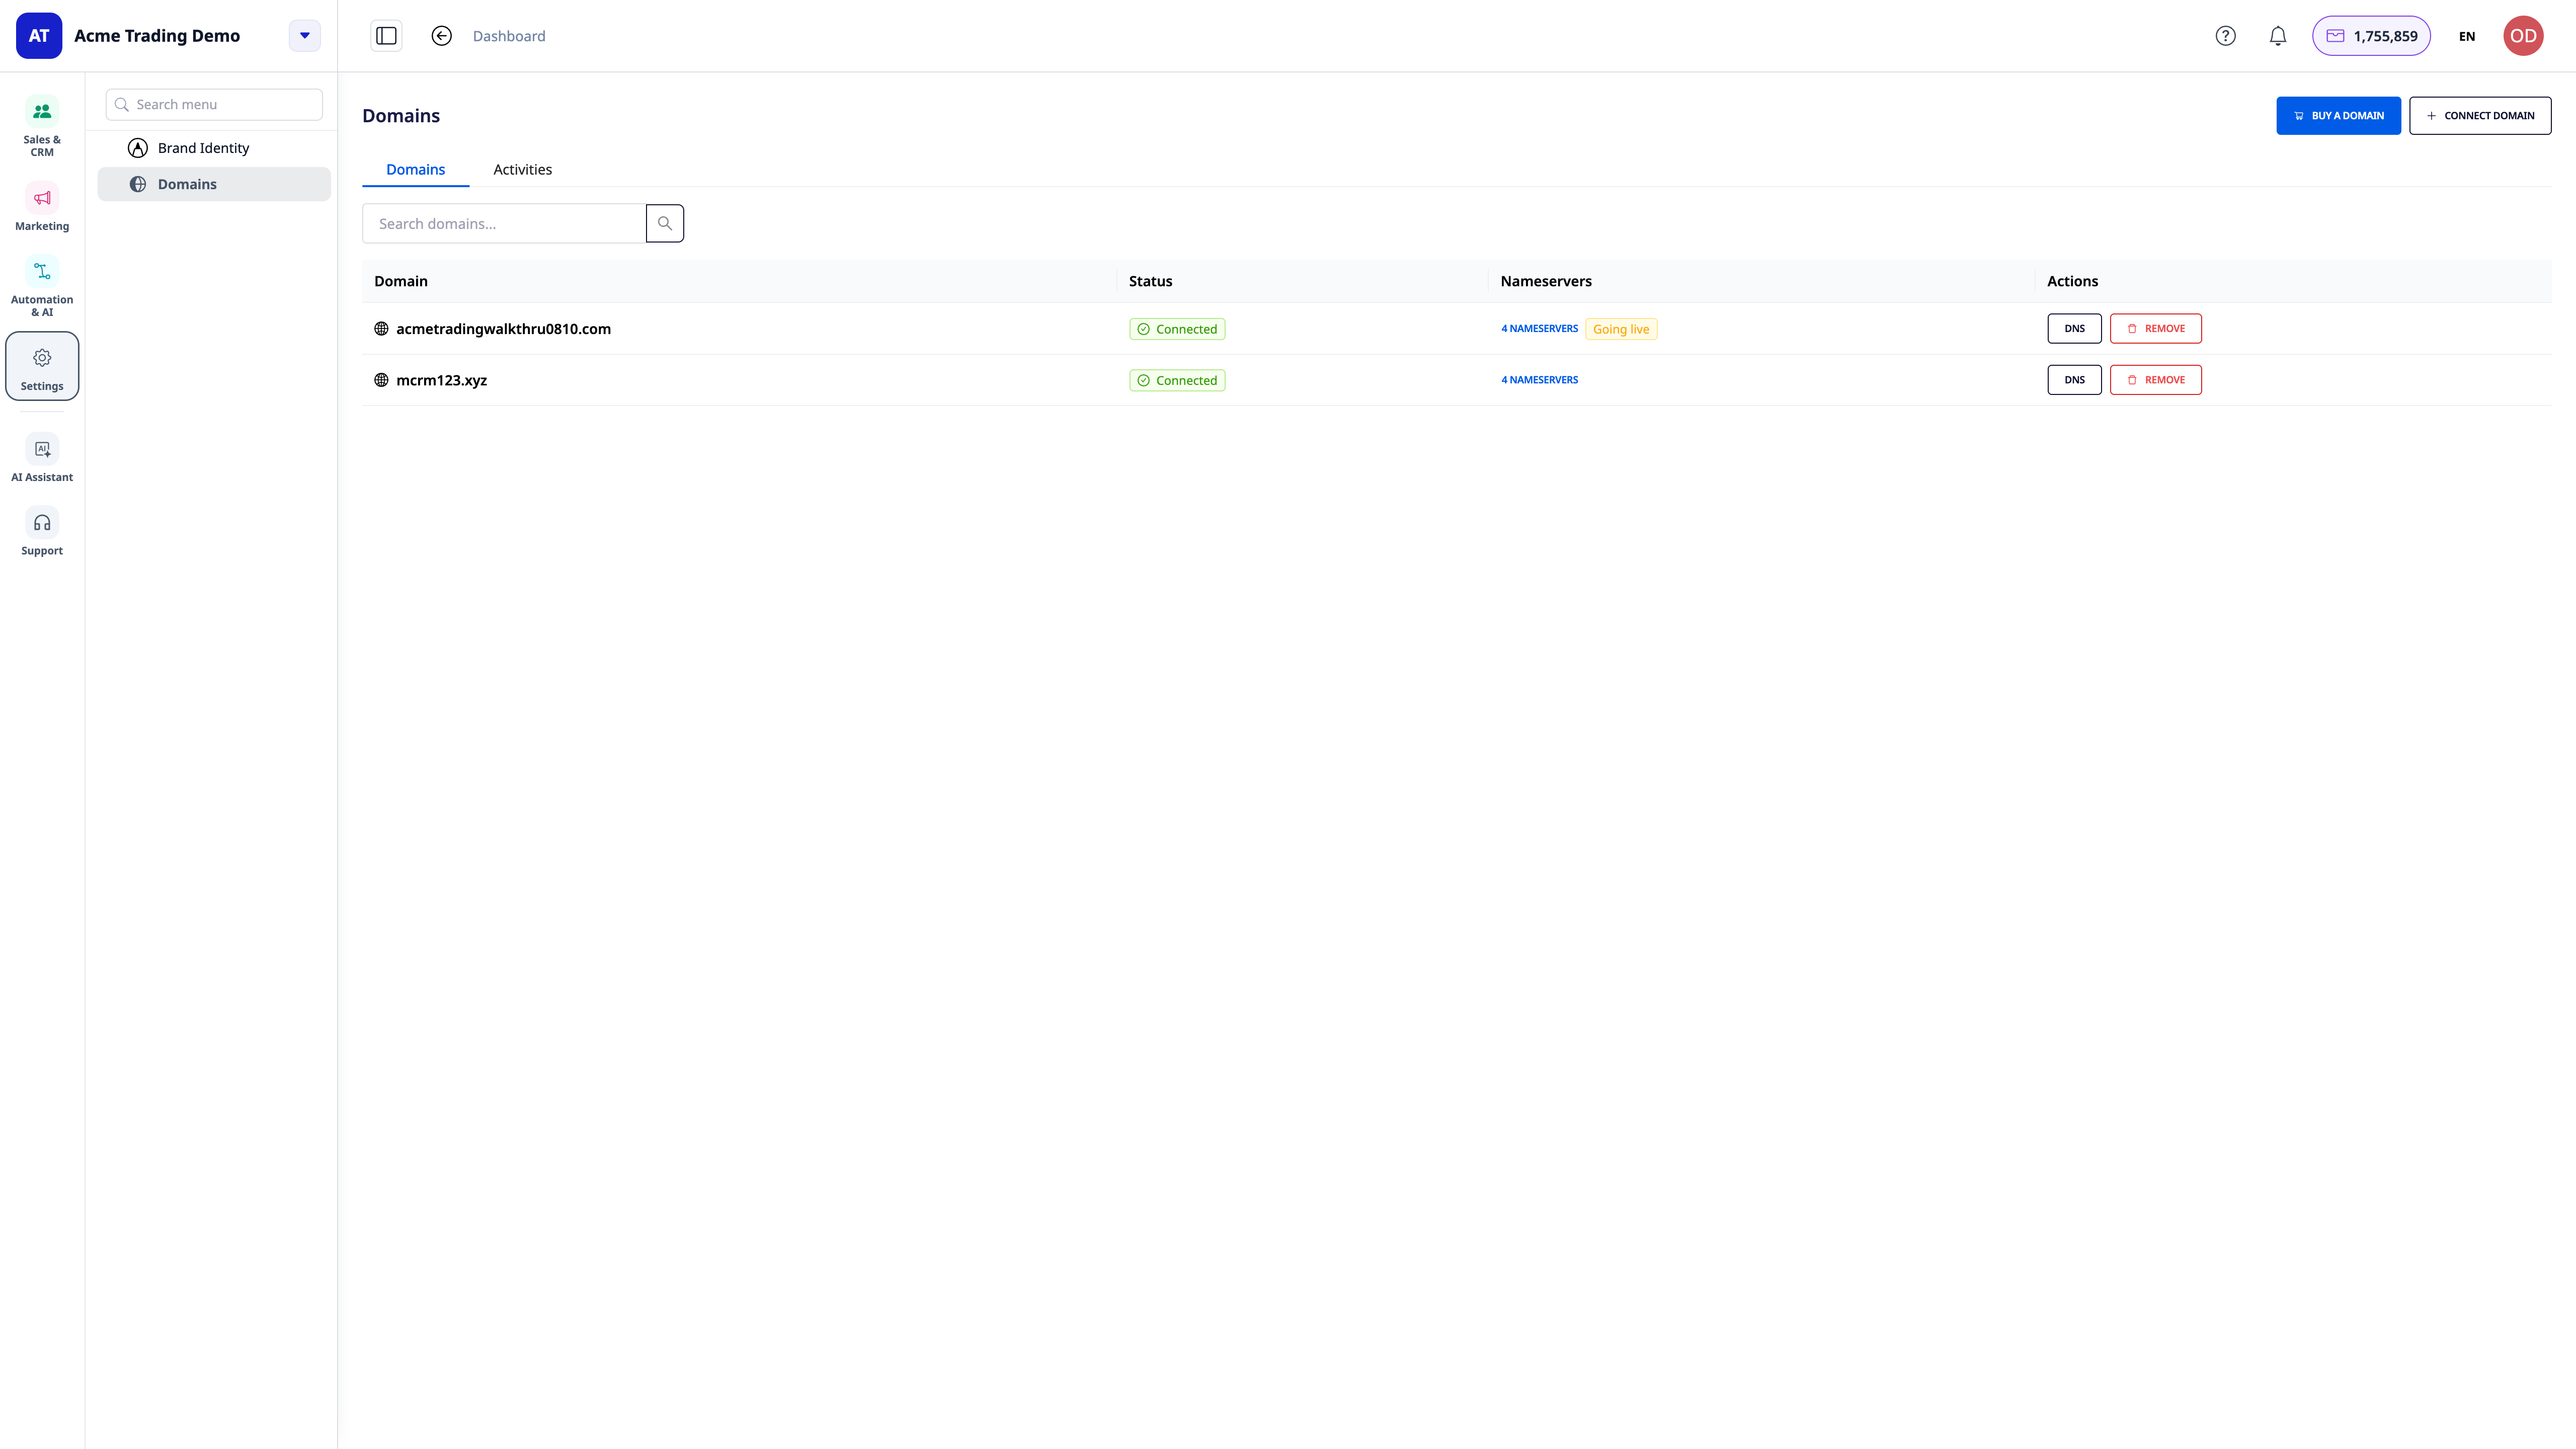
- Farðu á Settings → Integrations → Facebook
- Smelltu á Connect Facebook Account
- Skráðu þig inn á Facebook reikninginn þinn
- Veldu Business Manager og Ad Account sem þú vilt tengja
- Veittu nauðsynleg leyfi
- Smelltu á Done til að ljúka
Fyrir Google Ads
- Farðu á Settings → Integrations → Google Ads
- Smelltu á Connect Google Account
- Skráðu þig inn á Google reikninginn þinn
- Veldu Google Ads Account
- Staðfestu leyfisveitingu
- Smelltu á Done
Skref 2: Athuga hvort mælingar séu virkar
Athuga Facebook Pixel
Facebook Pixel er oft sett upp fyrirfram. Til að staðfesta:
- Settu upp Facebook Pixel Helper Chrome viðbótina
- Farðu á vefsíðuna þína
- Smelltu á táknmynd viðbótarinnar
- Ef þú sérð PageView atburð með ✅ tákni, þá er Pixel virkt
Ef Pixel er ekki að virka, þarftu að athuga Pixel stillingar þínar aftur.
Athuga Google Tag
- Settu upp Google Tag Assistant Chrome viðbótina
- Farðu á vefsíðuna
- Opnaðu viðbótina og veldu Enable
- Endurhlaða síðuna
Ef Google Ads merkið sýnir grænt ✅ tákn, eru mælingar tilbúnar
Skref 3: Búa til fyrsta endurskipulagningarsafnið
Í þessu skrefi muntu búa til einfalt safn fyrir nýliða: Til að búa til safn af öllum vefsíðuheimsóknarmönnum á síðustu 30 dögum, fylgdu þessum skrefum:
Búa til safn á Facebook
- Farðu á Marketing → Campaigns
- Veldu Facebook Ad Account
- Opnaðu Audiences flipann
- Smelltu á Create Audience → Website Custom Audience
- Fylltu út upplýsingar:
- Name: All Visitors – 30 Days
- Include: All website visitors
- Retention: 30 days
- Smelltu á Create Audience
Búa til safn á Google Ads
- Farðu á Marketing → Campaigns
- Veldu Google Ads Account
- Opnaðu Audiences flipann
- Smelltu á Create Audience → Website Visitors
- Fylltu út upplýsingar:
- Name: All Visitors – 30 Days
- Rule: URL contains
- Duration: 30 days
- Smelltu á Create Audience
Athugaðu: Safn notenda tekur venjulega 24-48 klukkustundir til að byrja að safna notendagögnum.
Skref 4: Kynna endurskipulagningarherferð
Þegar safnið nær lágmarksstærð:
- Facebook: frá 1.000 manns
- Google Ads: frá 100 manns
Þú ert tilbúinn til að keyra herferðina
Búa til endurskipulagningarherferð
- Farðu á Marketing → Campaigns
- Smelltu á Create Campaign
- Veldu Retargeting markmið
- Veldu vettvang: Facebook eða Google
Stilla herferð (mælt með)
- Fjárhagsáætlun: 200.000-400.000 VND/dag
- Tími: Lágmark 2 vikur
- Markhópur: All Visitors - 30 Days
- Birtingarstaðir: Automatic
Búa til fyrstu auglýsingastefnu
Einfaldar efnisleiðbeiningar:
- Yfirskrift: „Ertu enn að velta fyrir þér?“
- Efni: „Kíktu aftur og sjáðu hvað þú gætir hafa misst af. [Tilboðið þitt]“
- Mynd: Vinsælar vörur eða vörumerkjamynd
- CTA: „Verslaðu núna“ eða „Lærðu meira“
Ræstu herferð
- Athugaðu allar stillingar aftur
- Smelltu á Birta eða Ræsa herferð
- Auglýsingar verða samþykktar á um það bil 15–60 mínútum
Hvað gerir þú næst eftir að herferðin hefst?
Fyrstu 24-48 klukkustundirnar
- Athugaðu stöðu herferðarinnar (Virk)
- Staðfestu að auglýsingar hafi verið sýndar
- Fylgstu með tilkynningum um brot á reglum (ef einhverjar)
Fyrstu vikuna
- Fylgstu með upphaflegum mælingum
- Athugaðu CTR (endurmarkaðssetning ætti að vera 0,5% eða meira)
- Fylgstu með kostnaði á smelli
Eftir 2 vikur
- Greindu umbreytingargögn
- Búðu til ítarlegri skrá:
- Hafa hætt við innkaupakörfu
- Skoðaðu vörusíðu
- Skoðuðu verðsíðu
- Prófaðu nýjar auglýsingagerðir
Snjöll ráð fyrir skilvirka endurmarkaðssetningu
Gera ætti
- Byrjaðu með breiðan markhóp og þrengdu síðan
- Notaðu aðlaðandi myndir
- Hafðu skýran CTA
- Takmarkaðu birtutíðni 3-5 sinnum á viku
- Prófaðu margar auglýsingabreytur
Ætti ekki að gera
- Birta sömu auglýsinguna of oft
- Endurmarkaðssetja einstaklinga sem hafa þegar breyst
- Setja of lágt fjárhagsáætlun sem leiðir til skorts á gögnum til hagræðingar
- Hætta við herferð of snemma (ætti að keyra í að minnsta kosti 2 vikur)