User Guide to the Email Builder on GTG CRM
GTG CRM Team · GTG CRM
June 05, 2025
Table of Contents
1. Access Email Builder
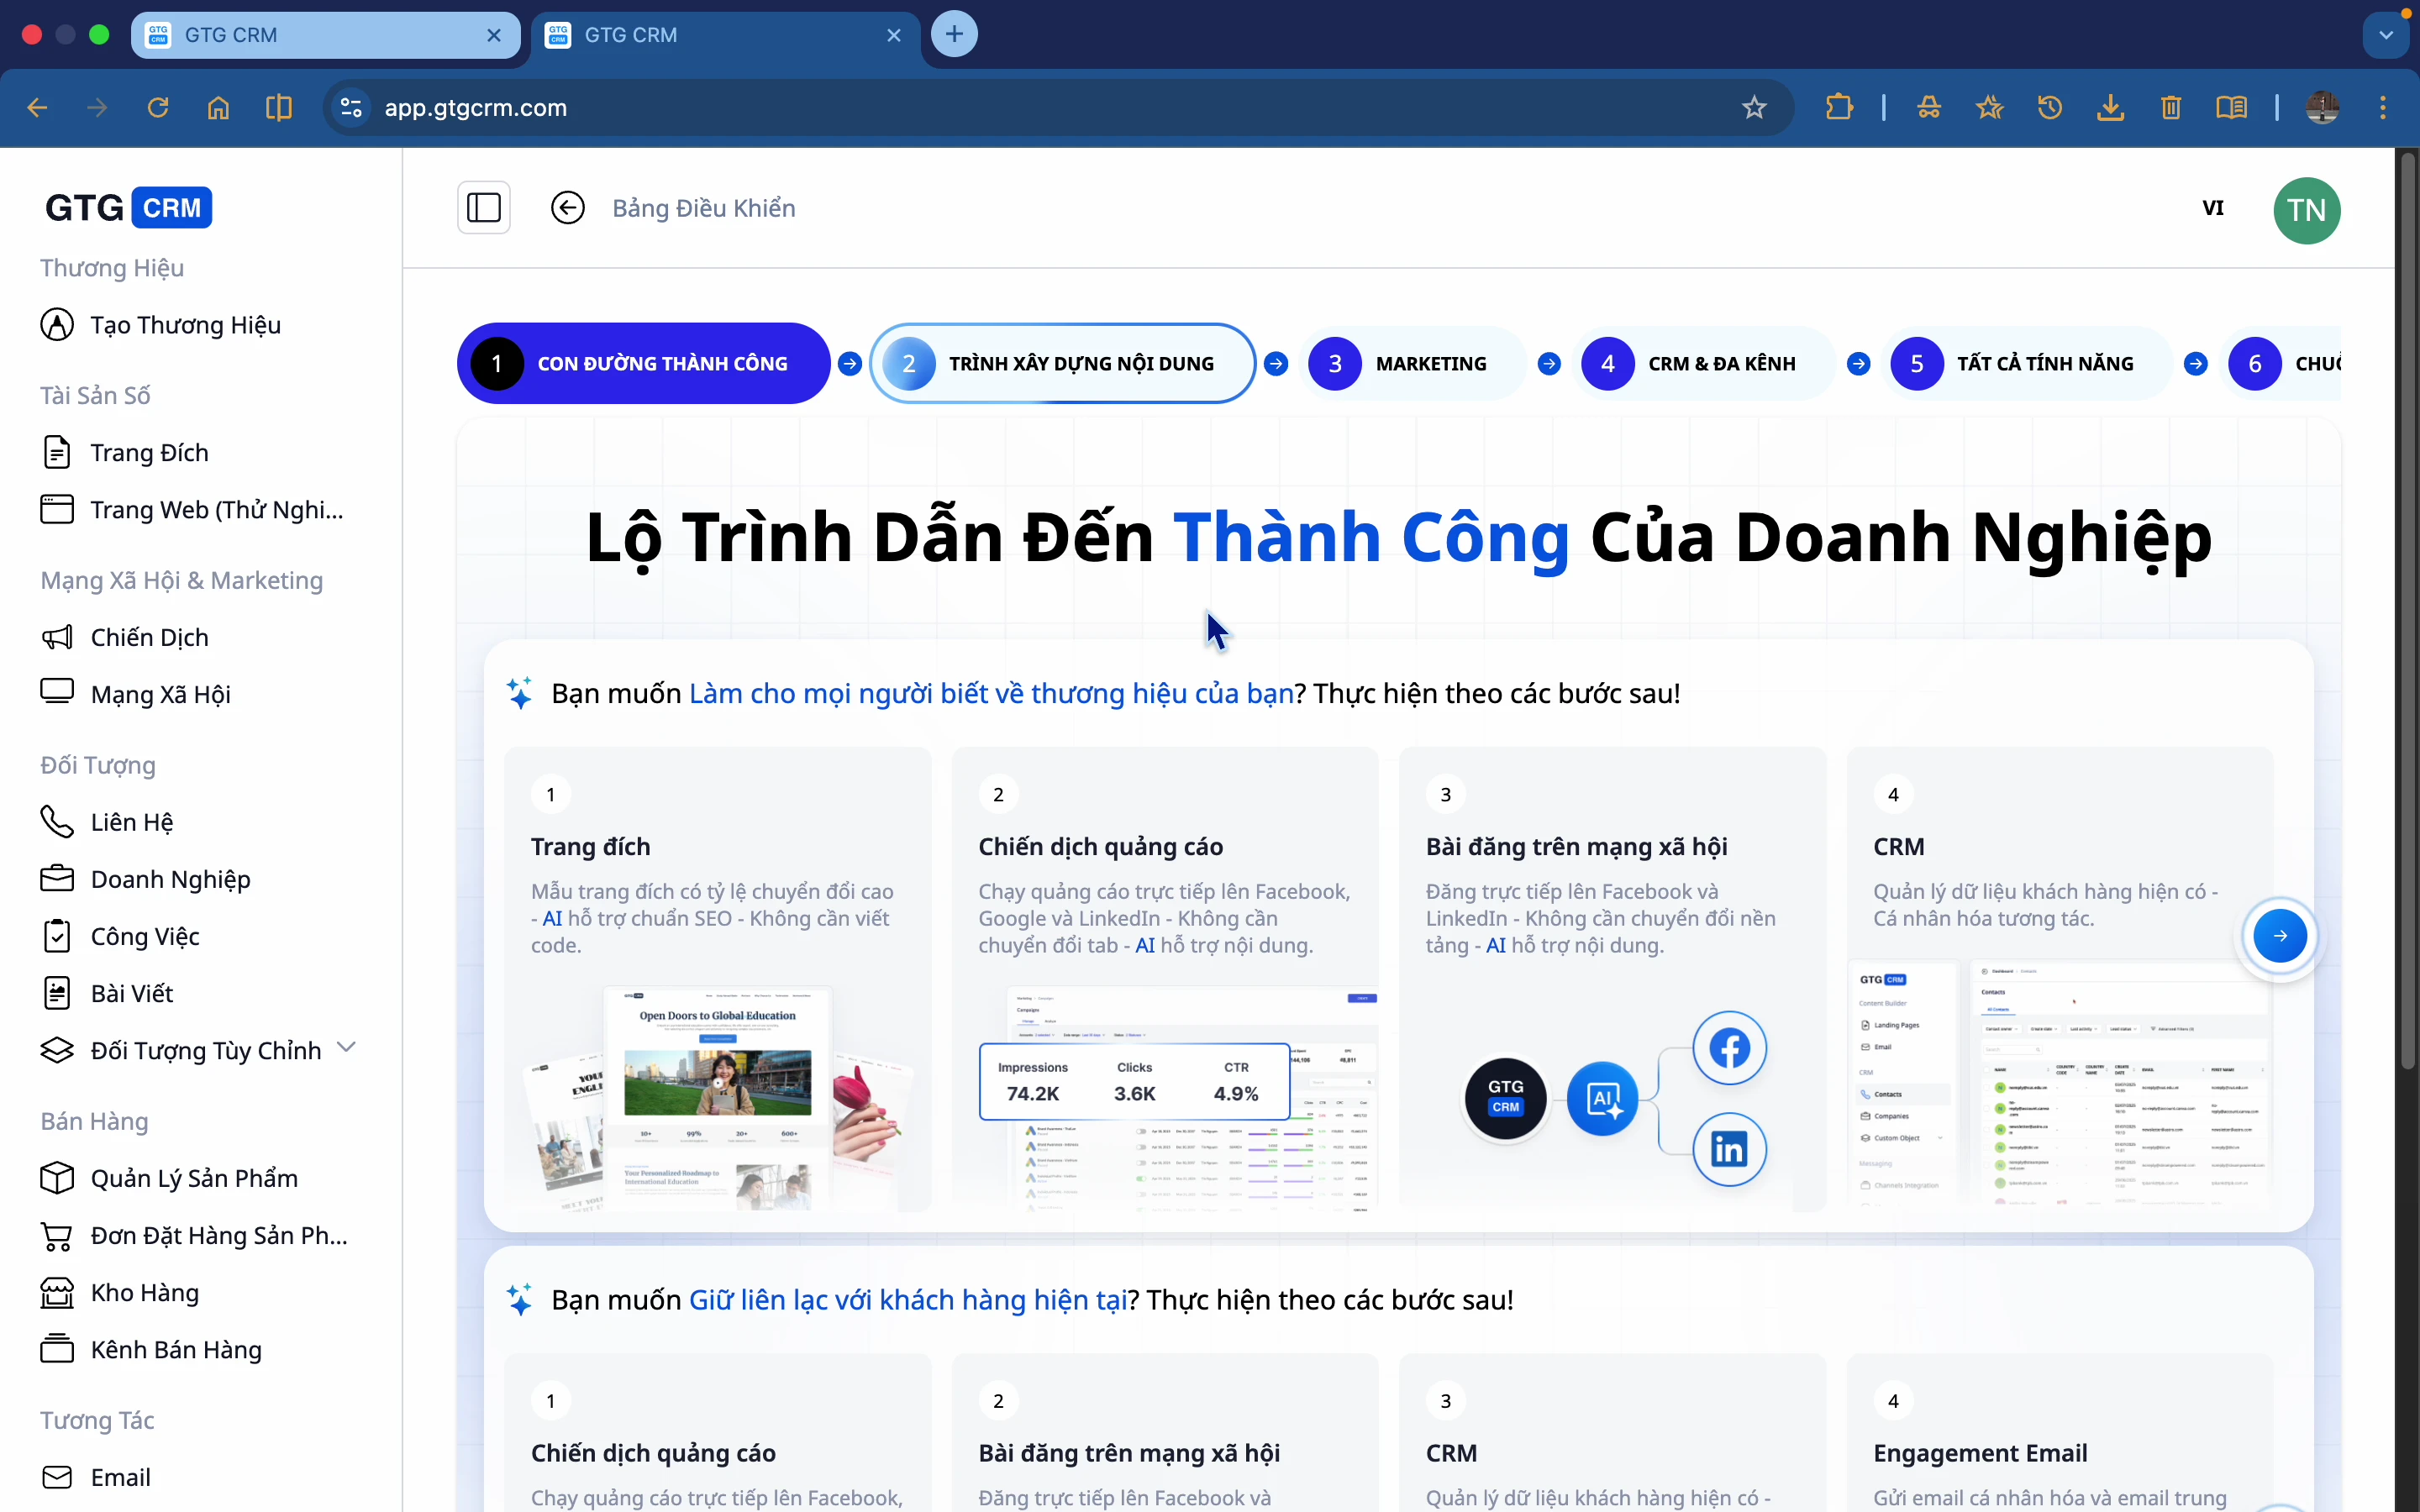
Step 1: Log in to GTG CRM
Log in to your GTG CRM account.
Step 2: Go to the Email menu.
In the left sidebar, scroll down to find the Interactions section, then click Email .
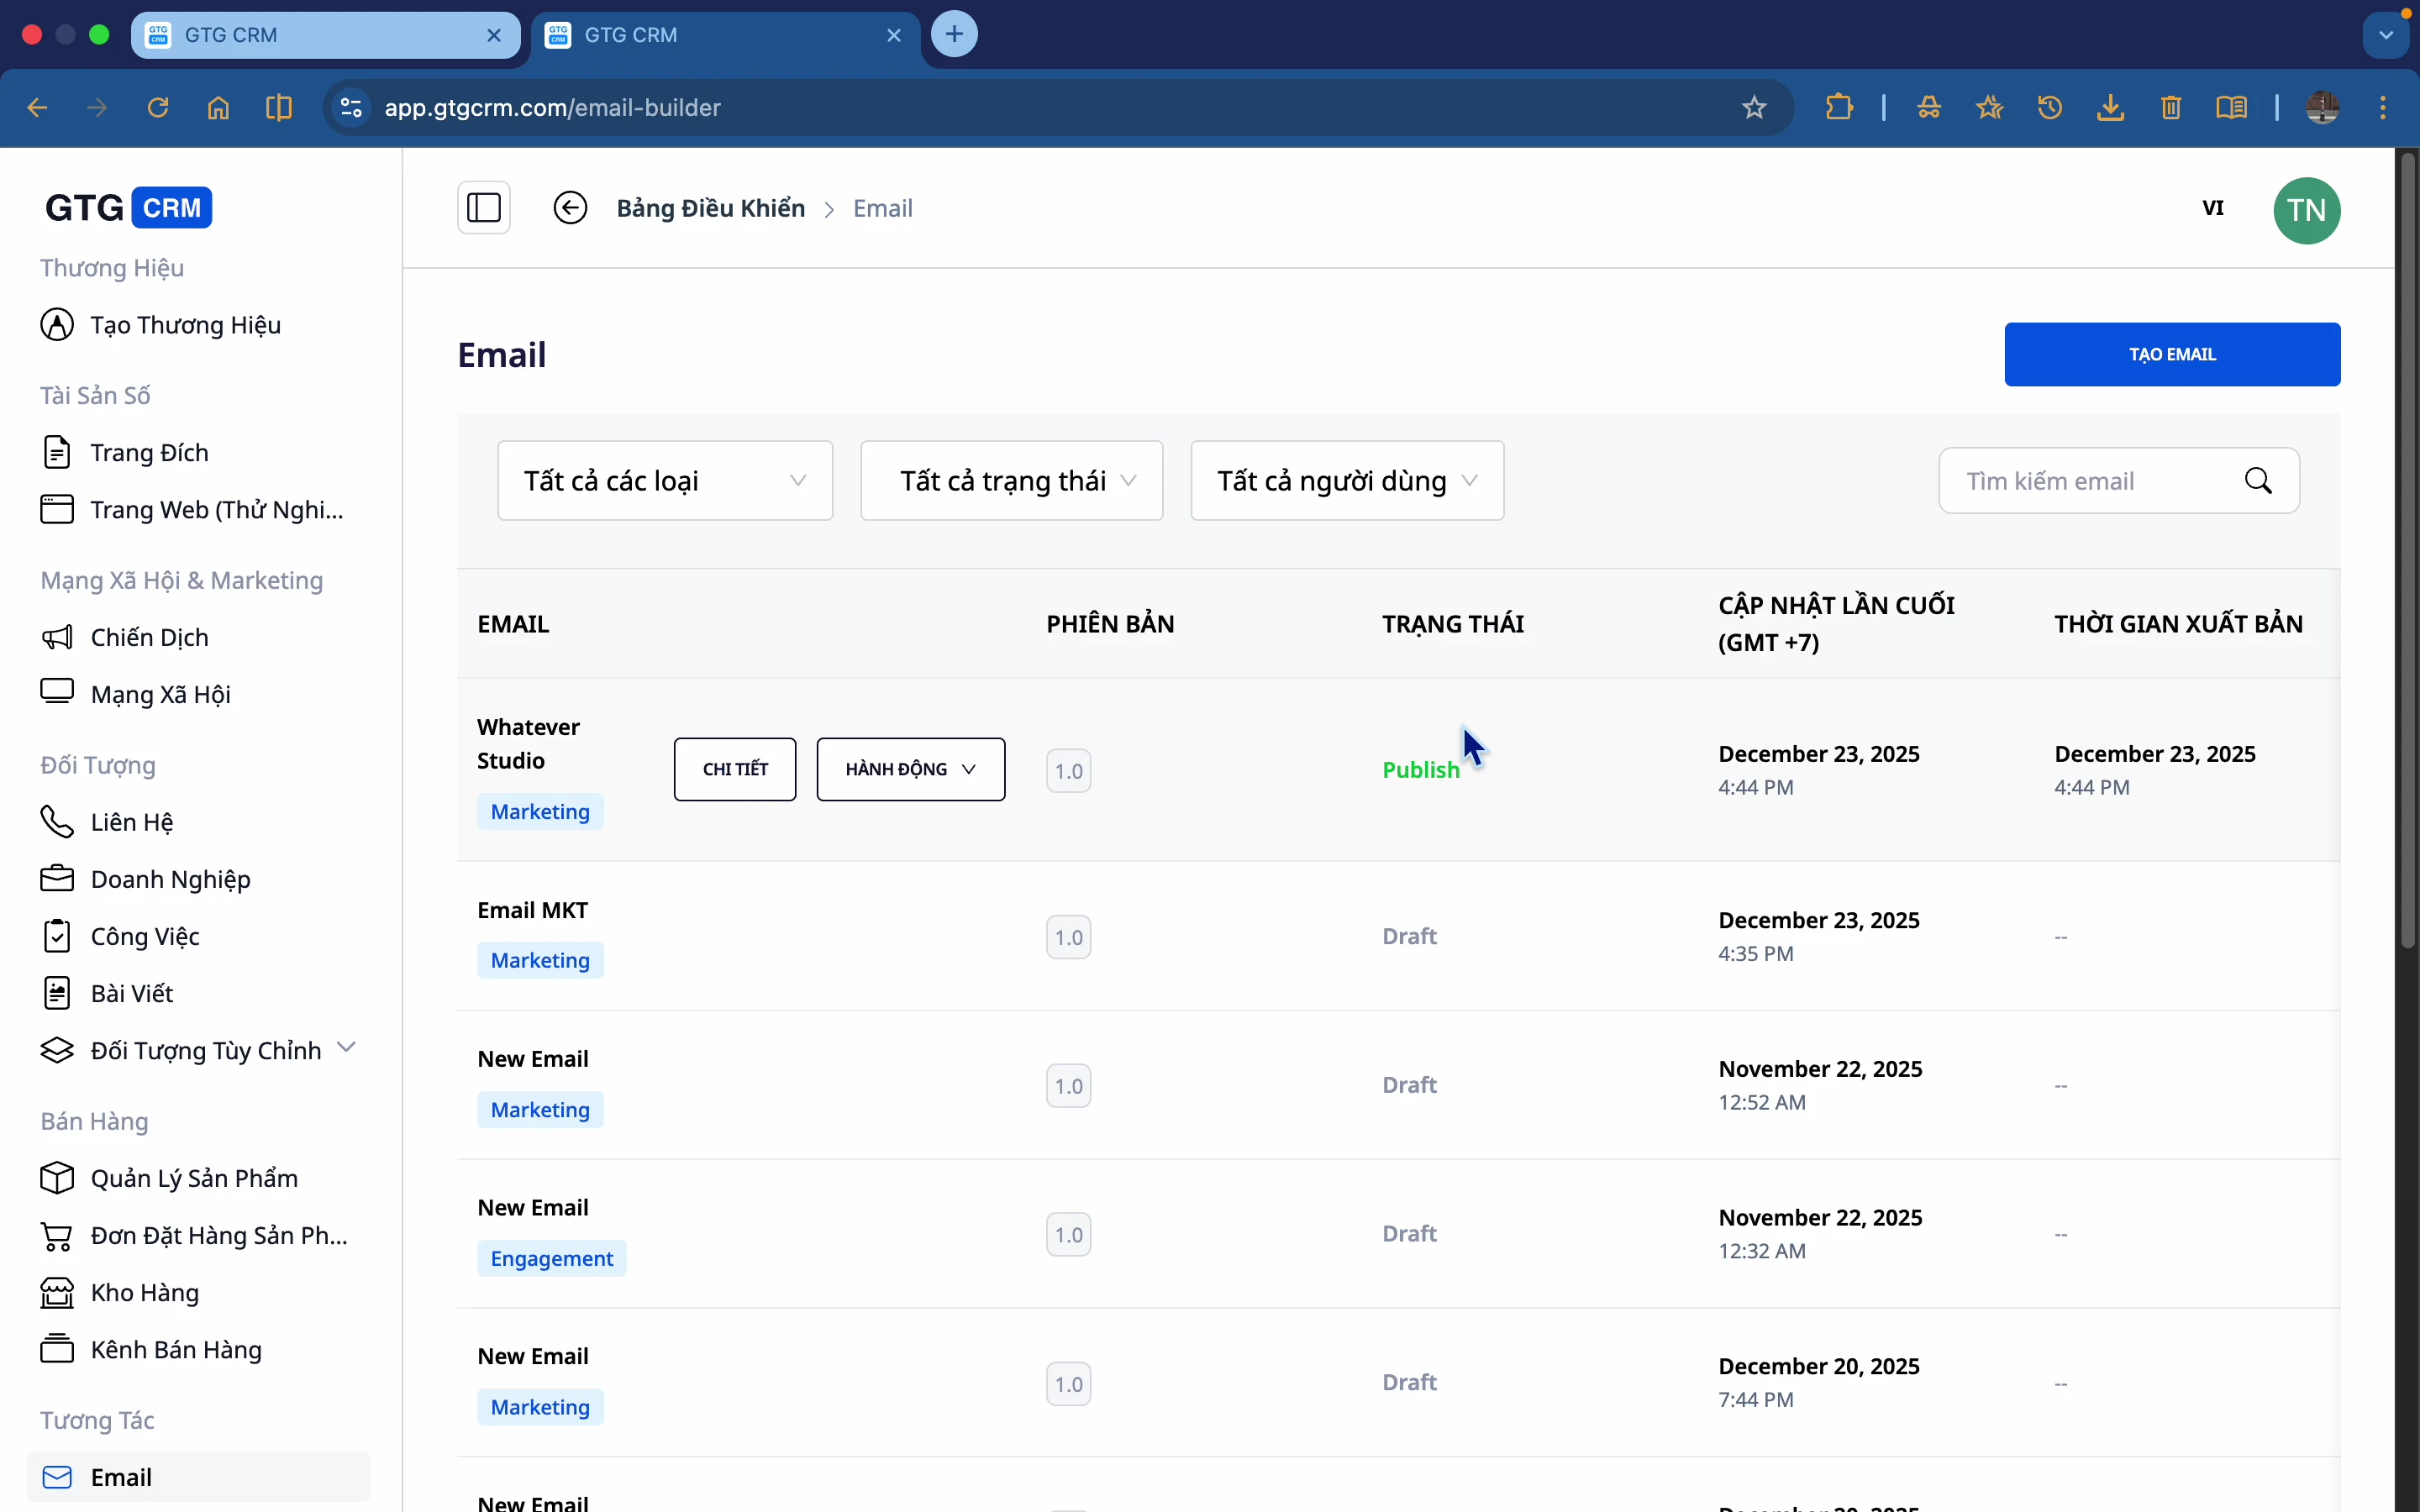
2. View Email List
Email list created
After going to Email, you will see a list of the email addresses you have created:
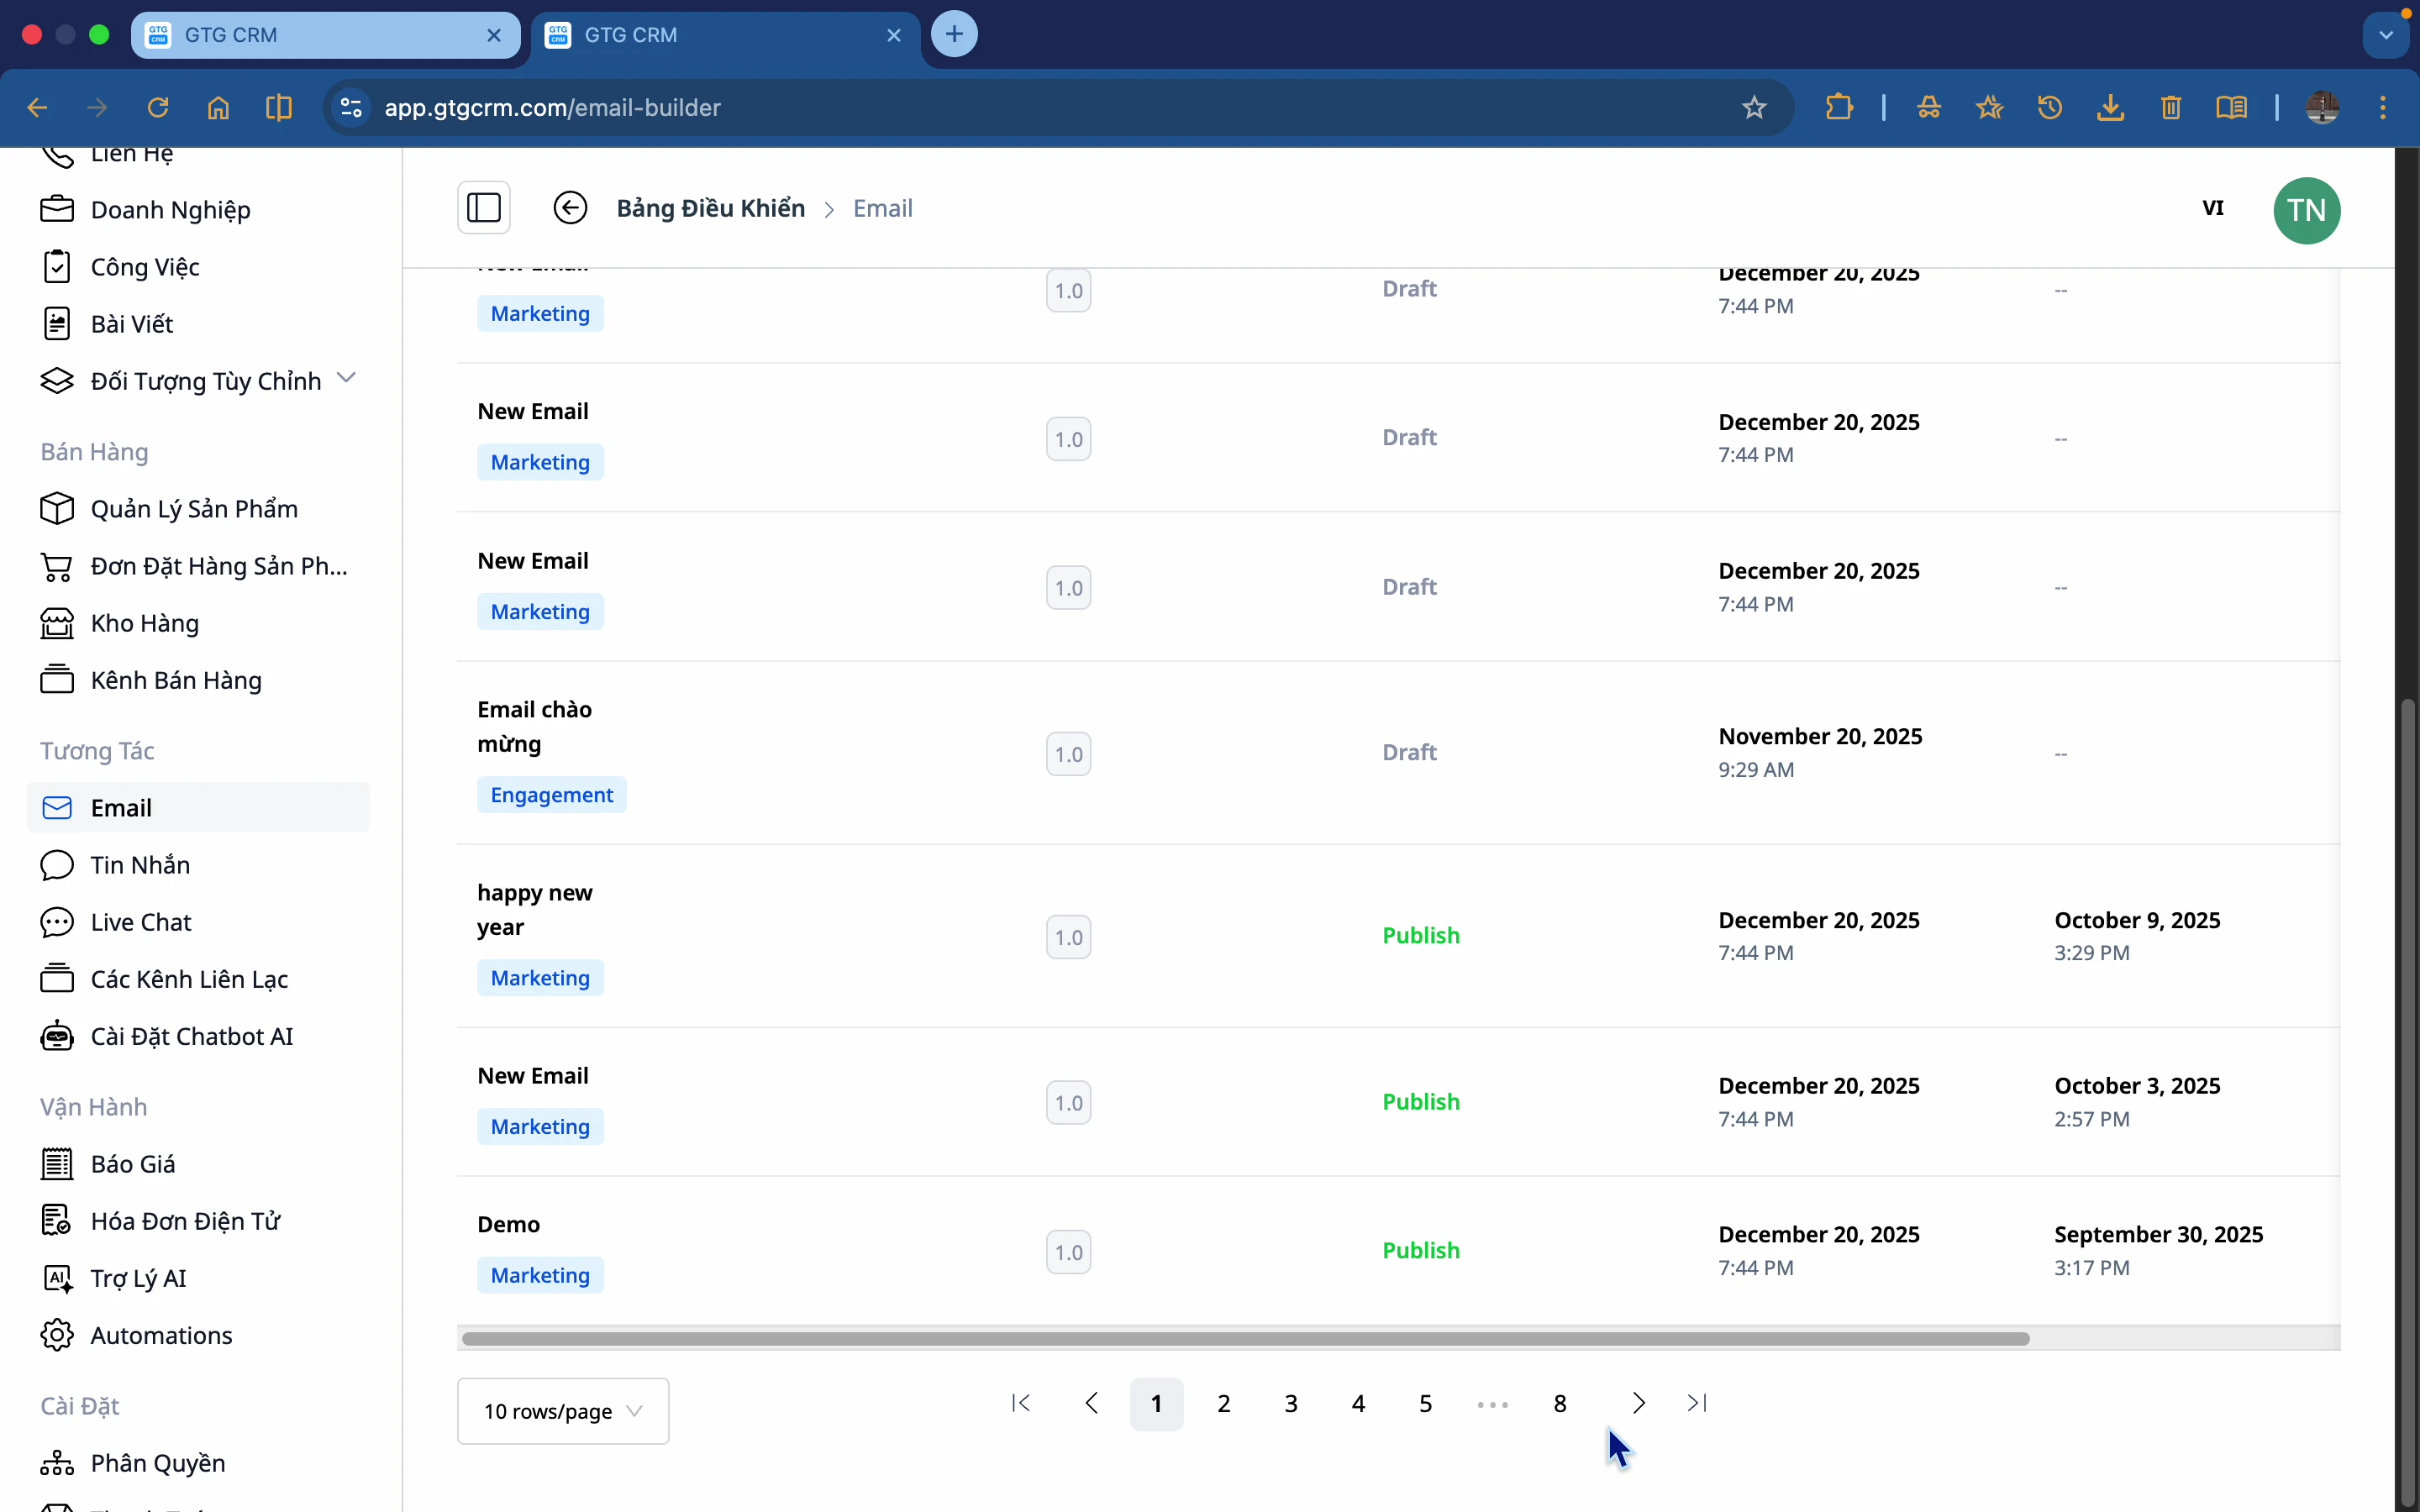
Information displayed:
- Email type : Marketing or Nurturing
- Version : 1.0 (newly created), 2.0 (edited once)...
- Status : Draft, Published
- Time published
- Last updated
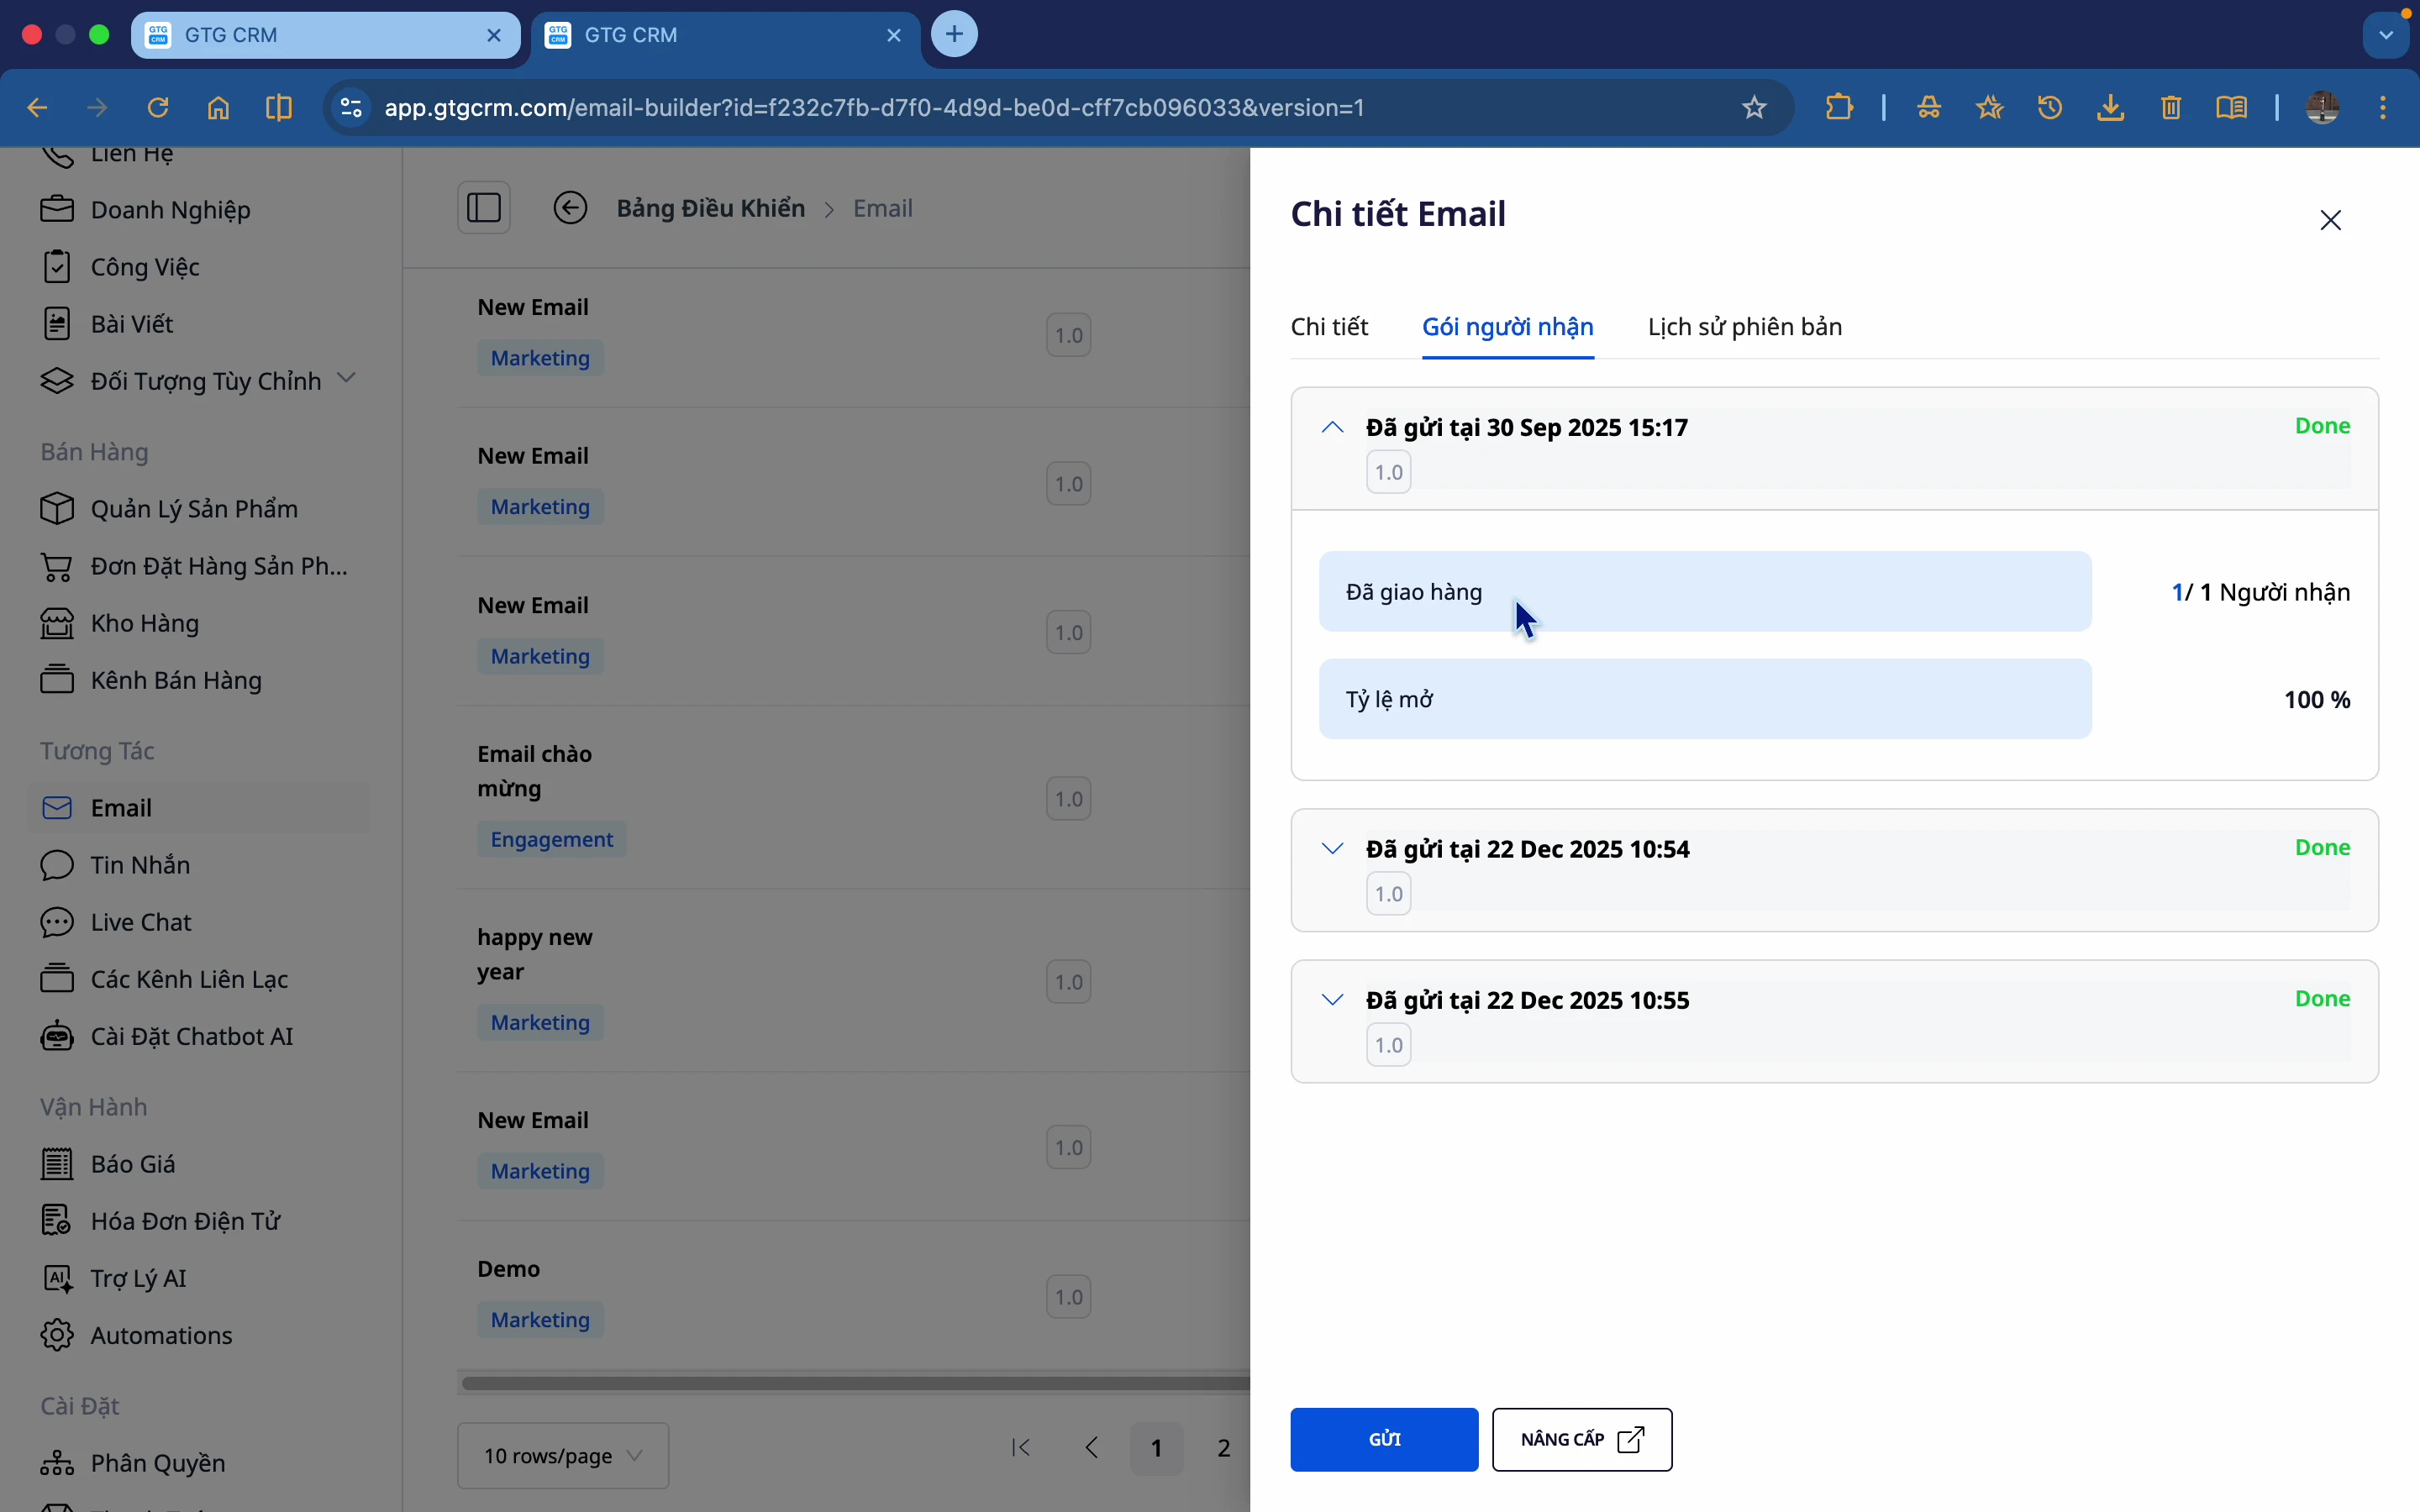
View detailed statistics
Click on the email to view the statistics:
- Number of recipients
- Open Rate
- Version history
3. Create Emails from Templates
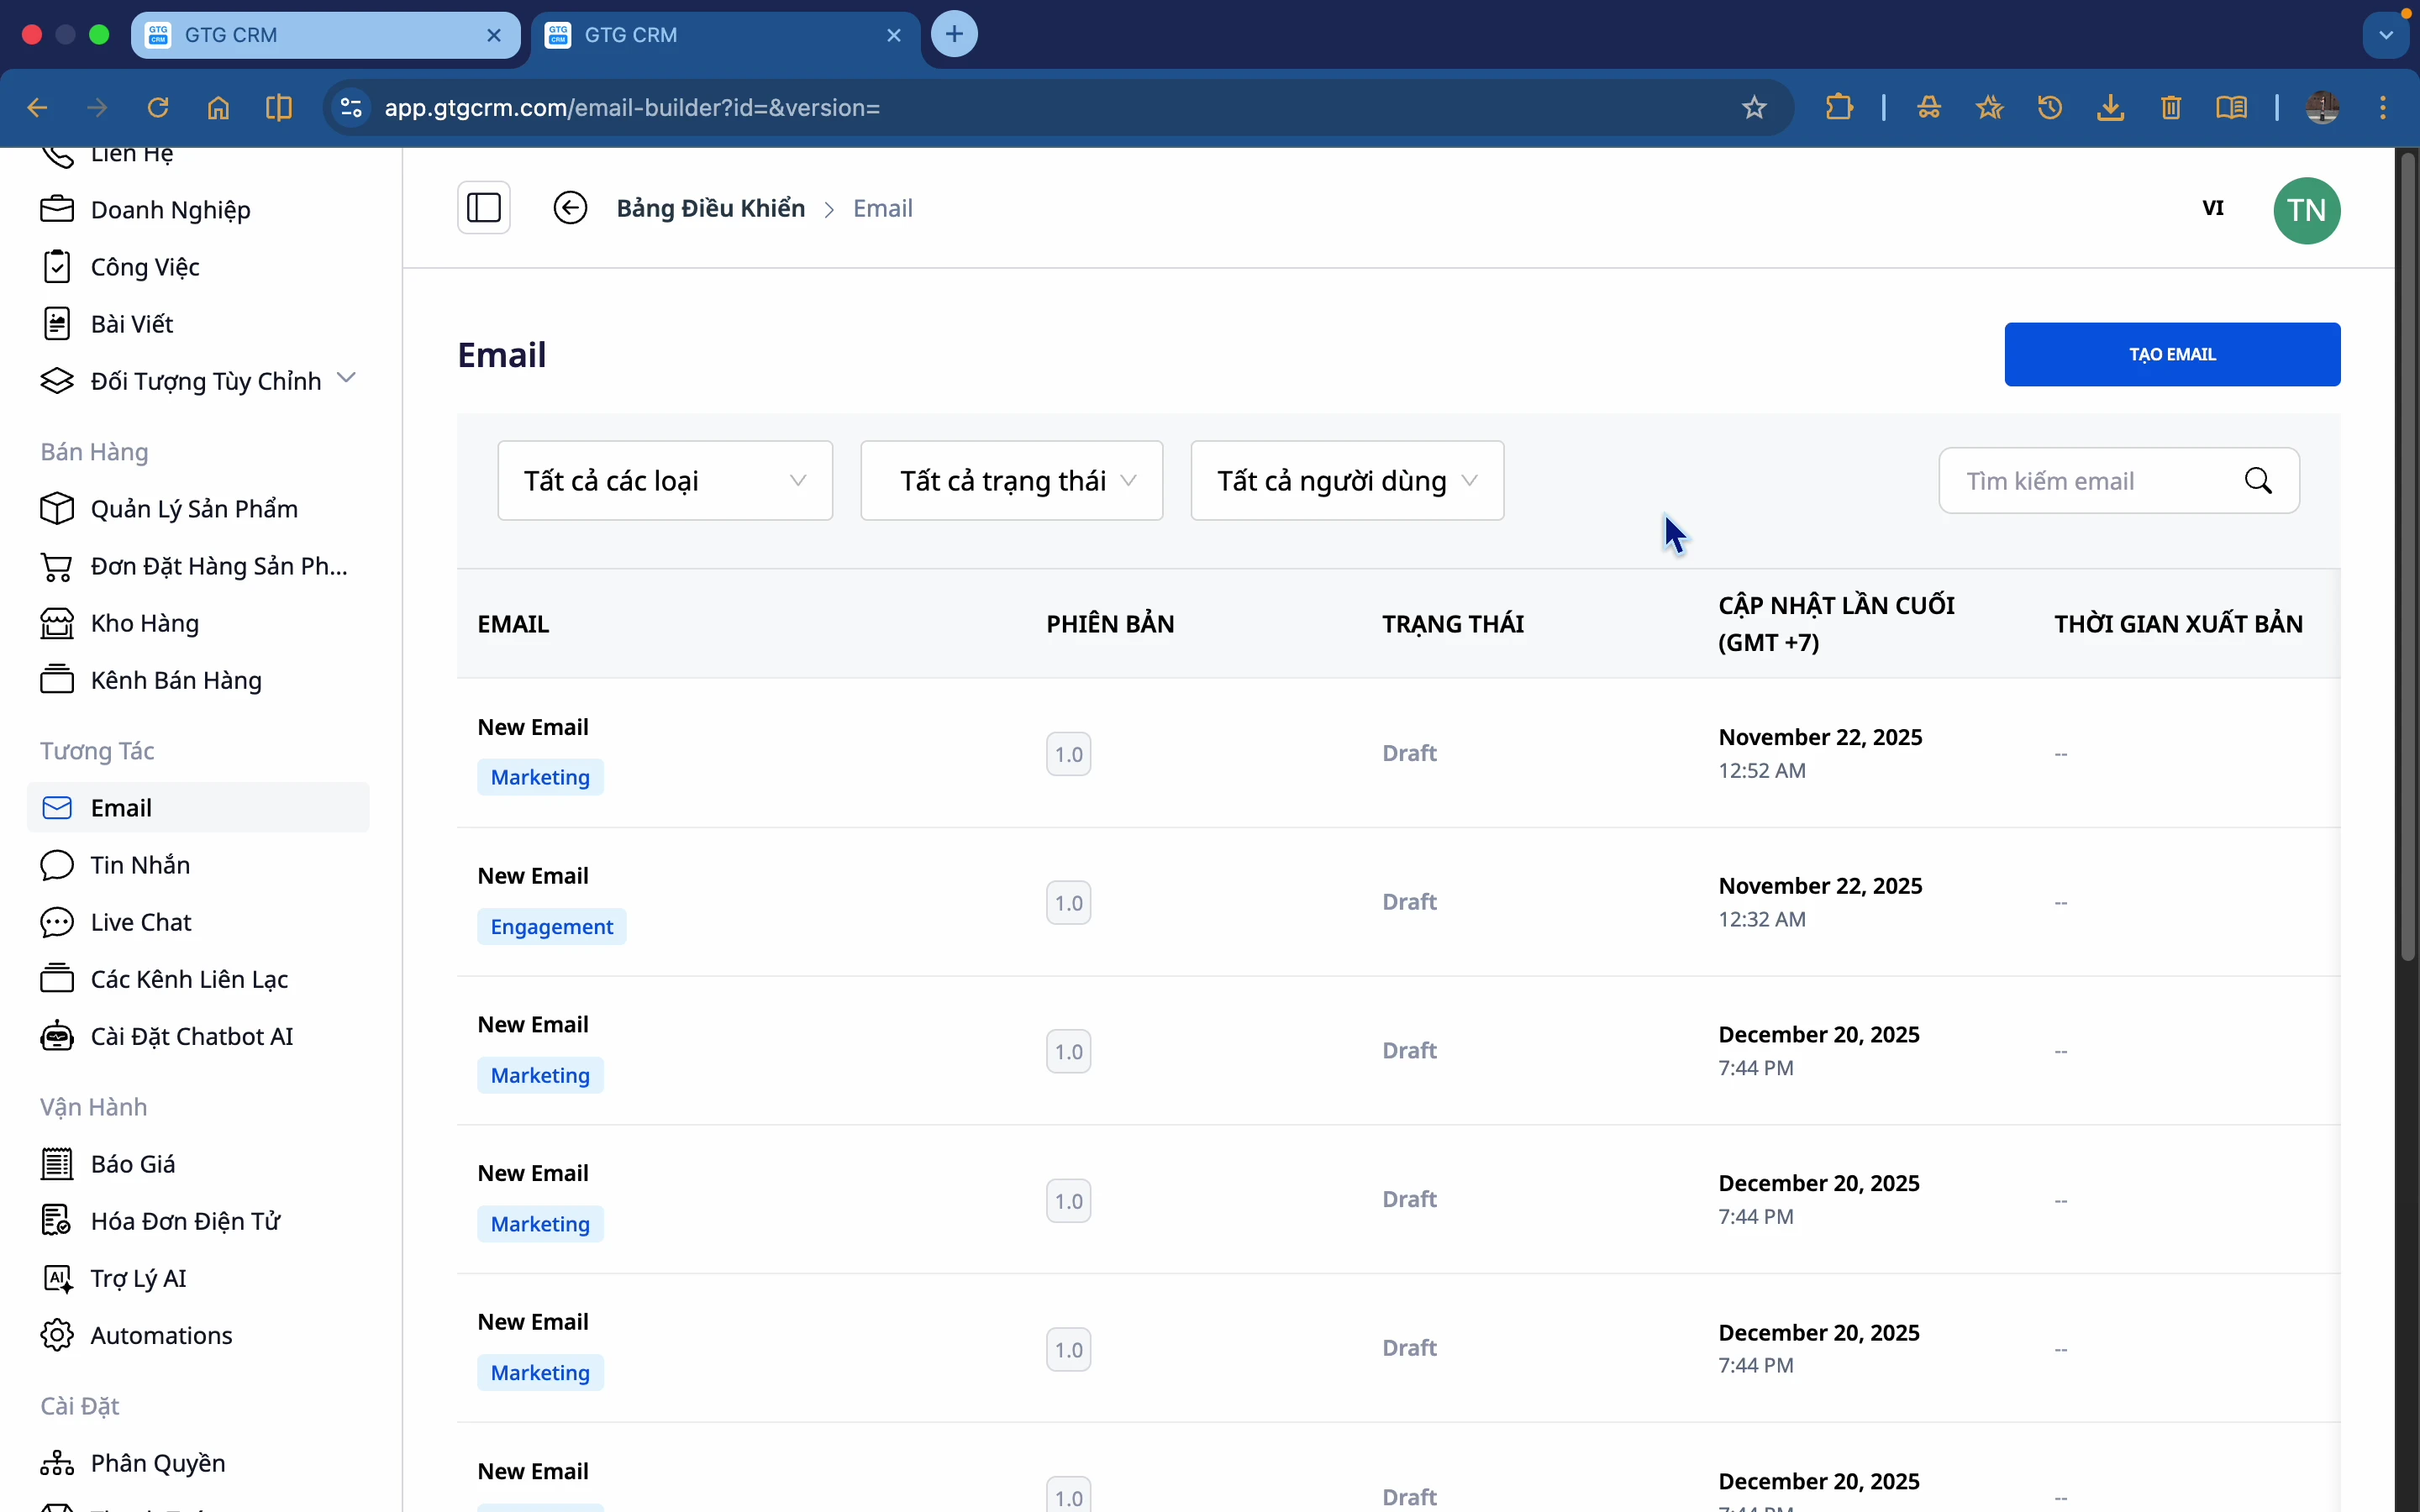
Step 1: Click "Create Email"
Click the Create Email button to get started.
Step 2: Choose the email type
There are two types of email:
- Email Marketing : Promoting products and promotions.
- Email Nurturing : Lead care, drip campaigns
Select Email Marketing and click Continue .
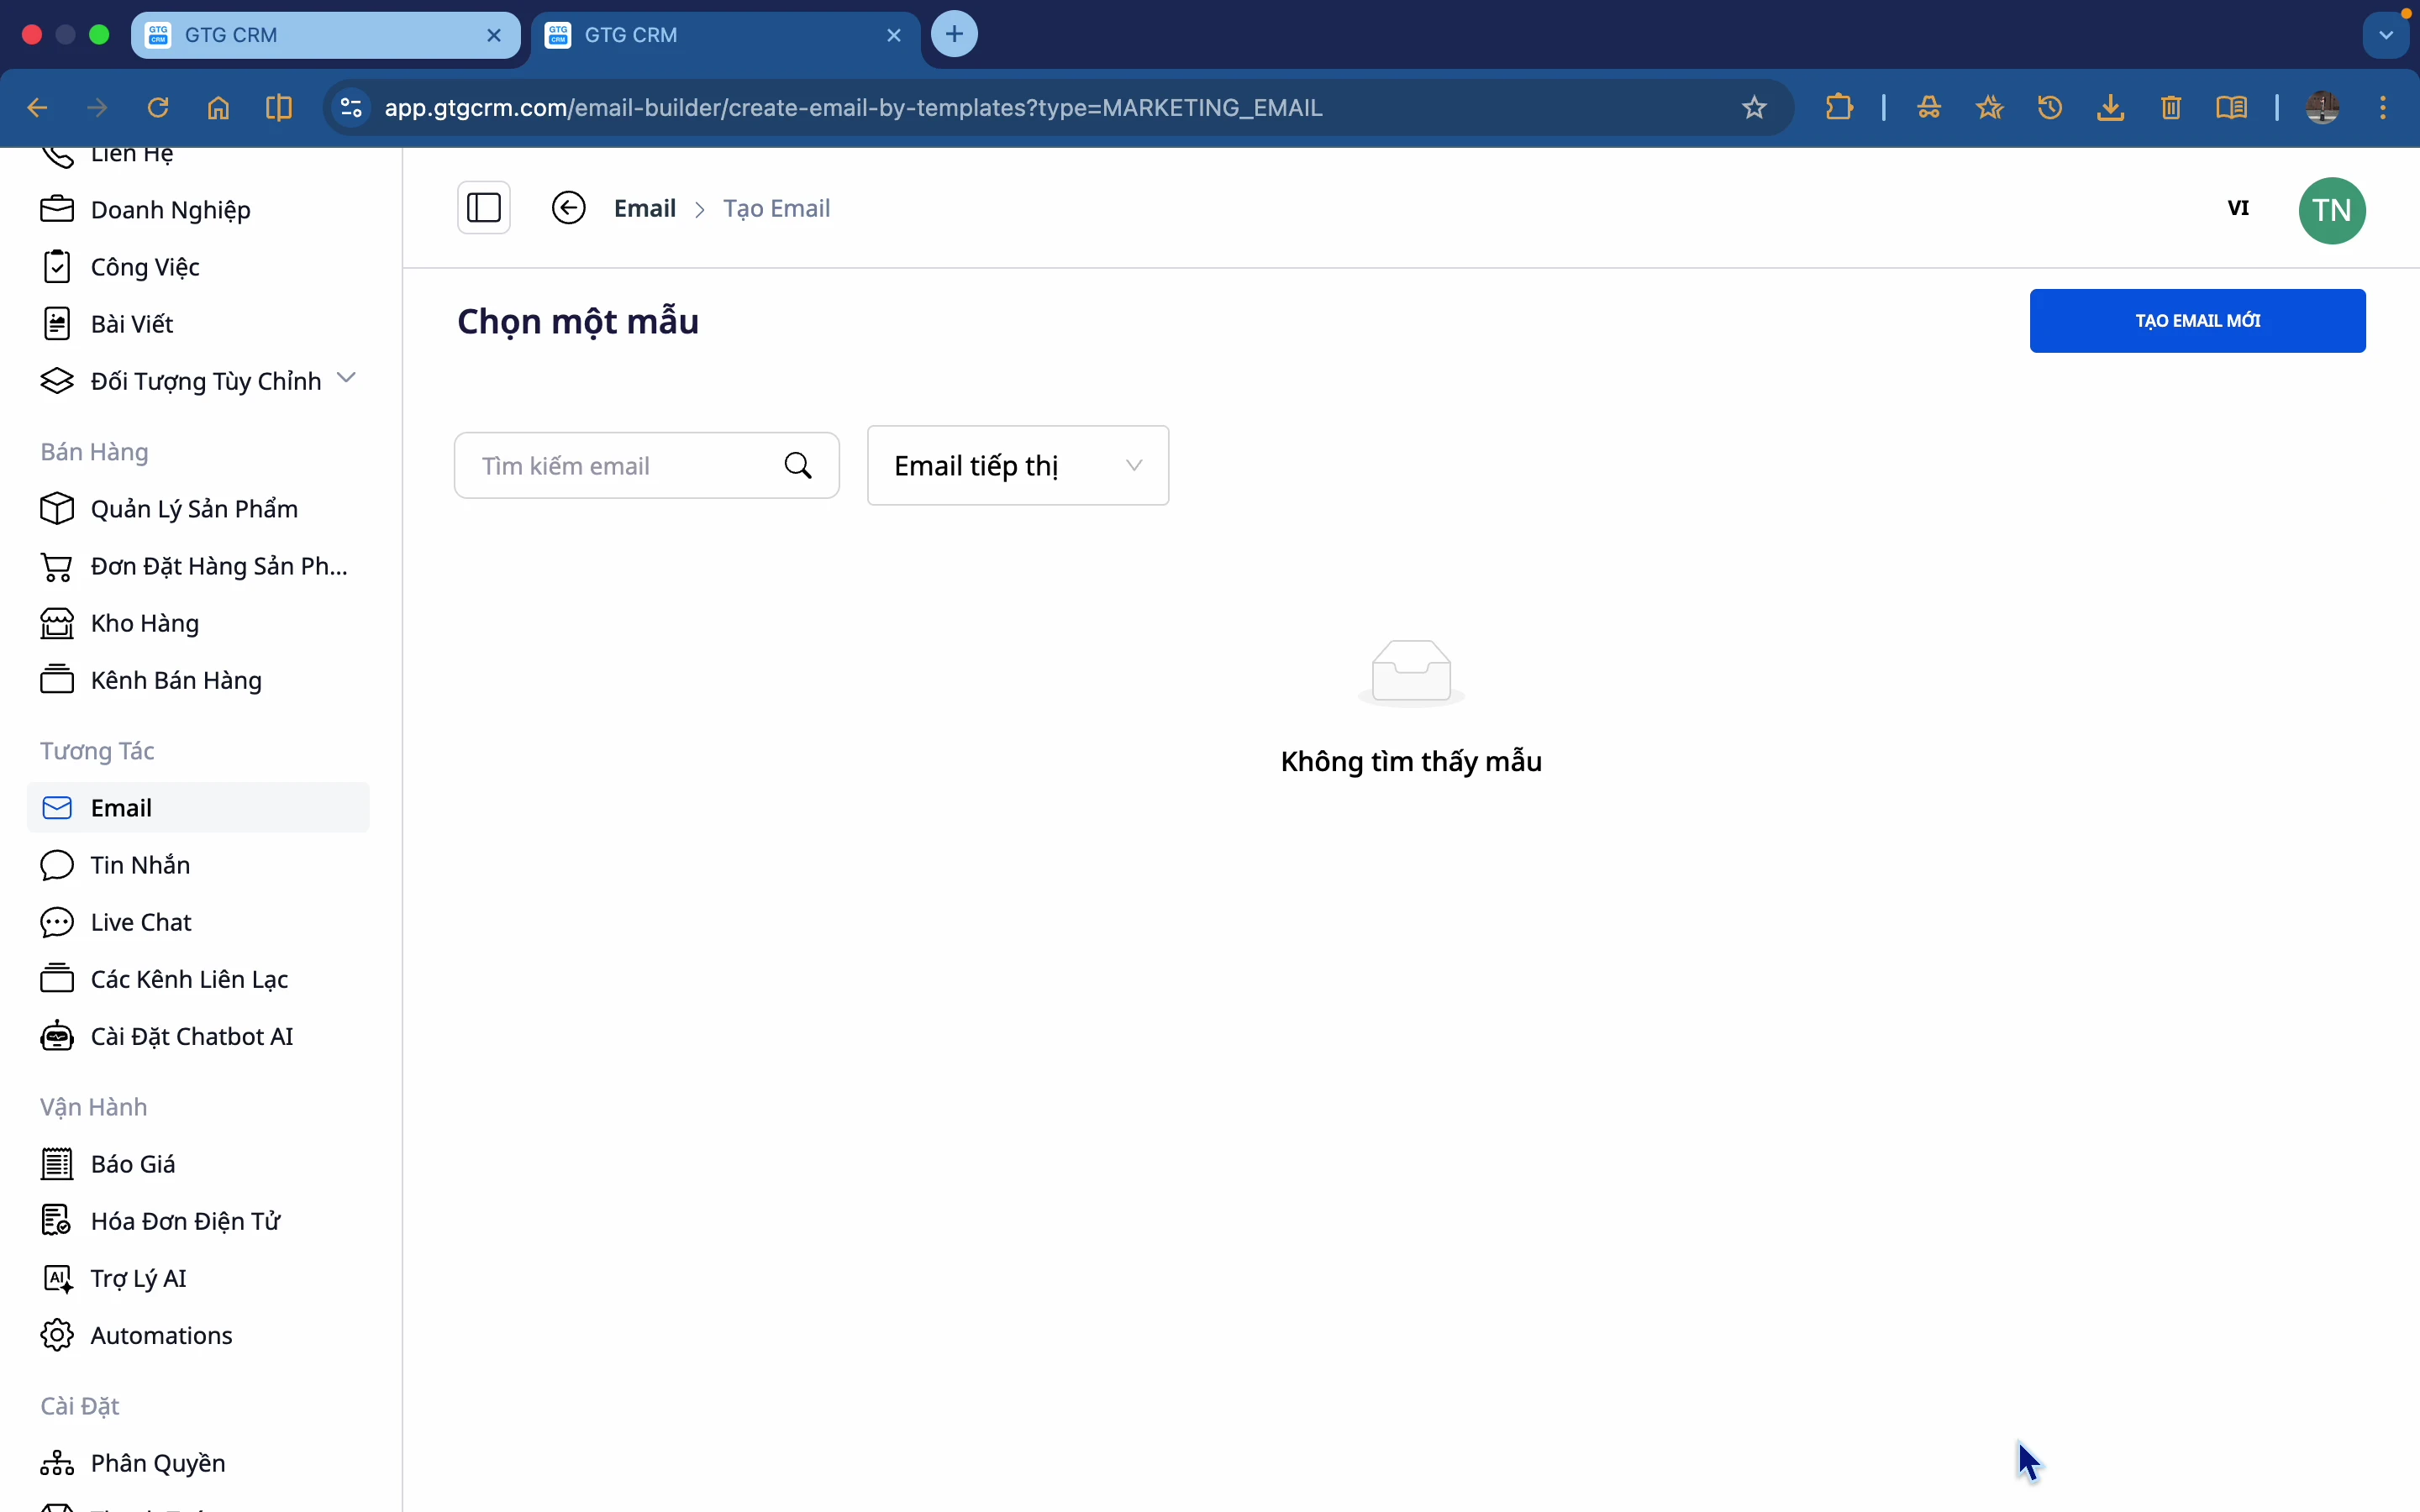
Step 3: Choose a Template
GTG CRM offers many ready-made templates:
- View a preview before making your selection.
- Choose a template that suits your purpose.
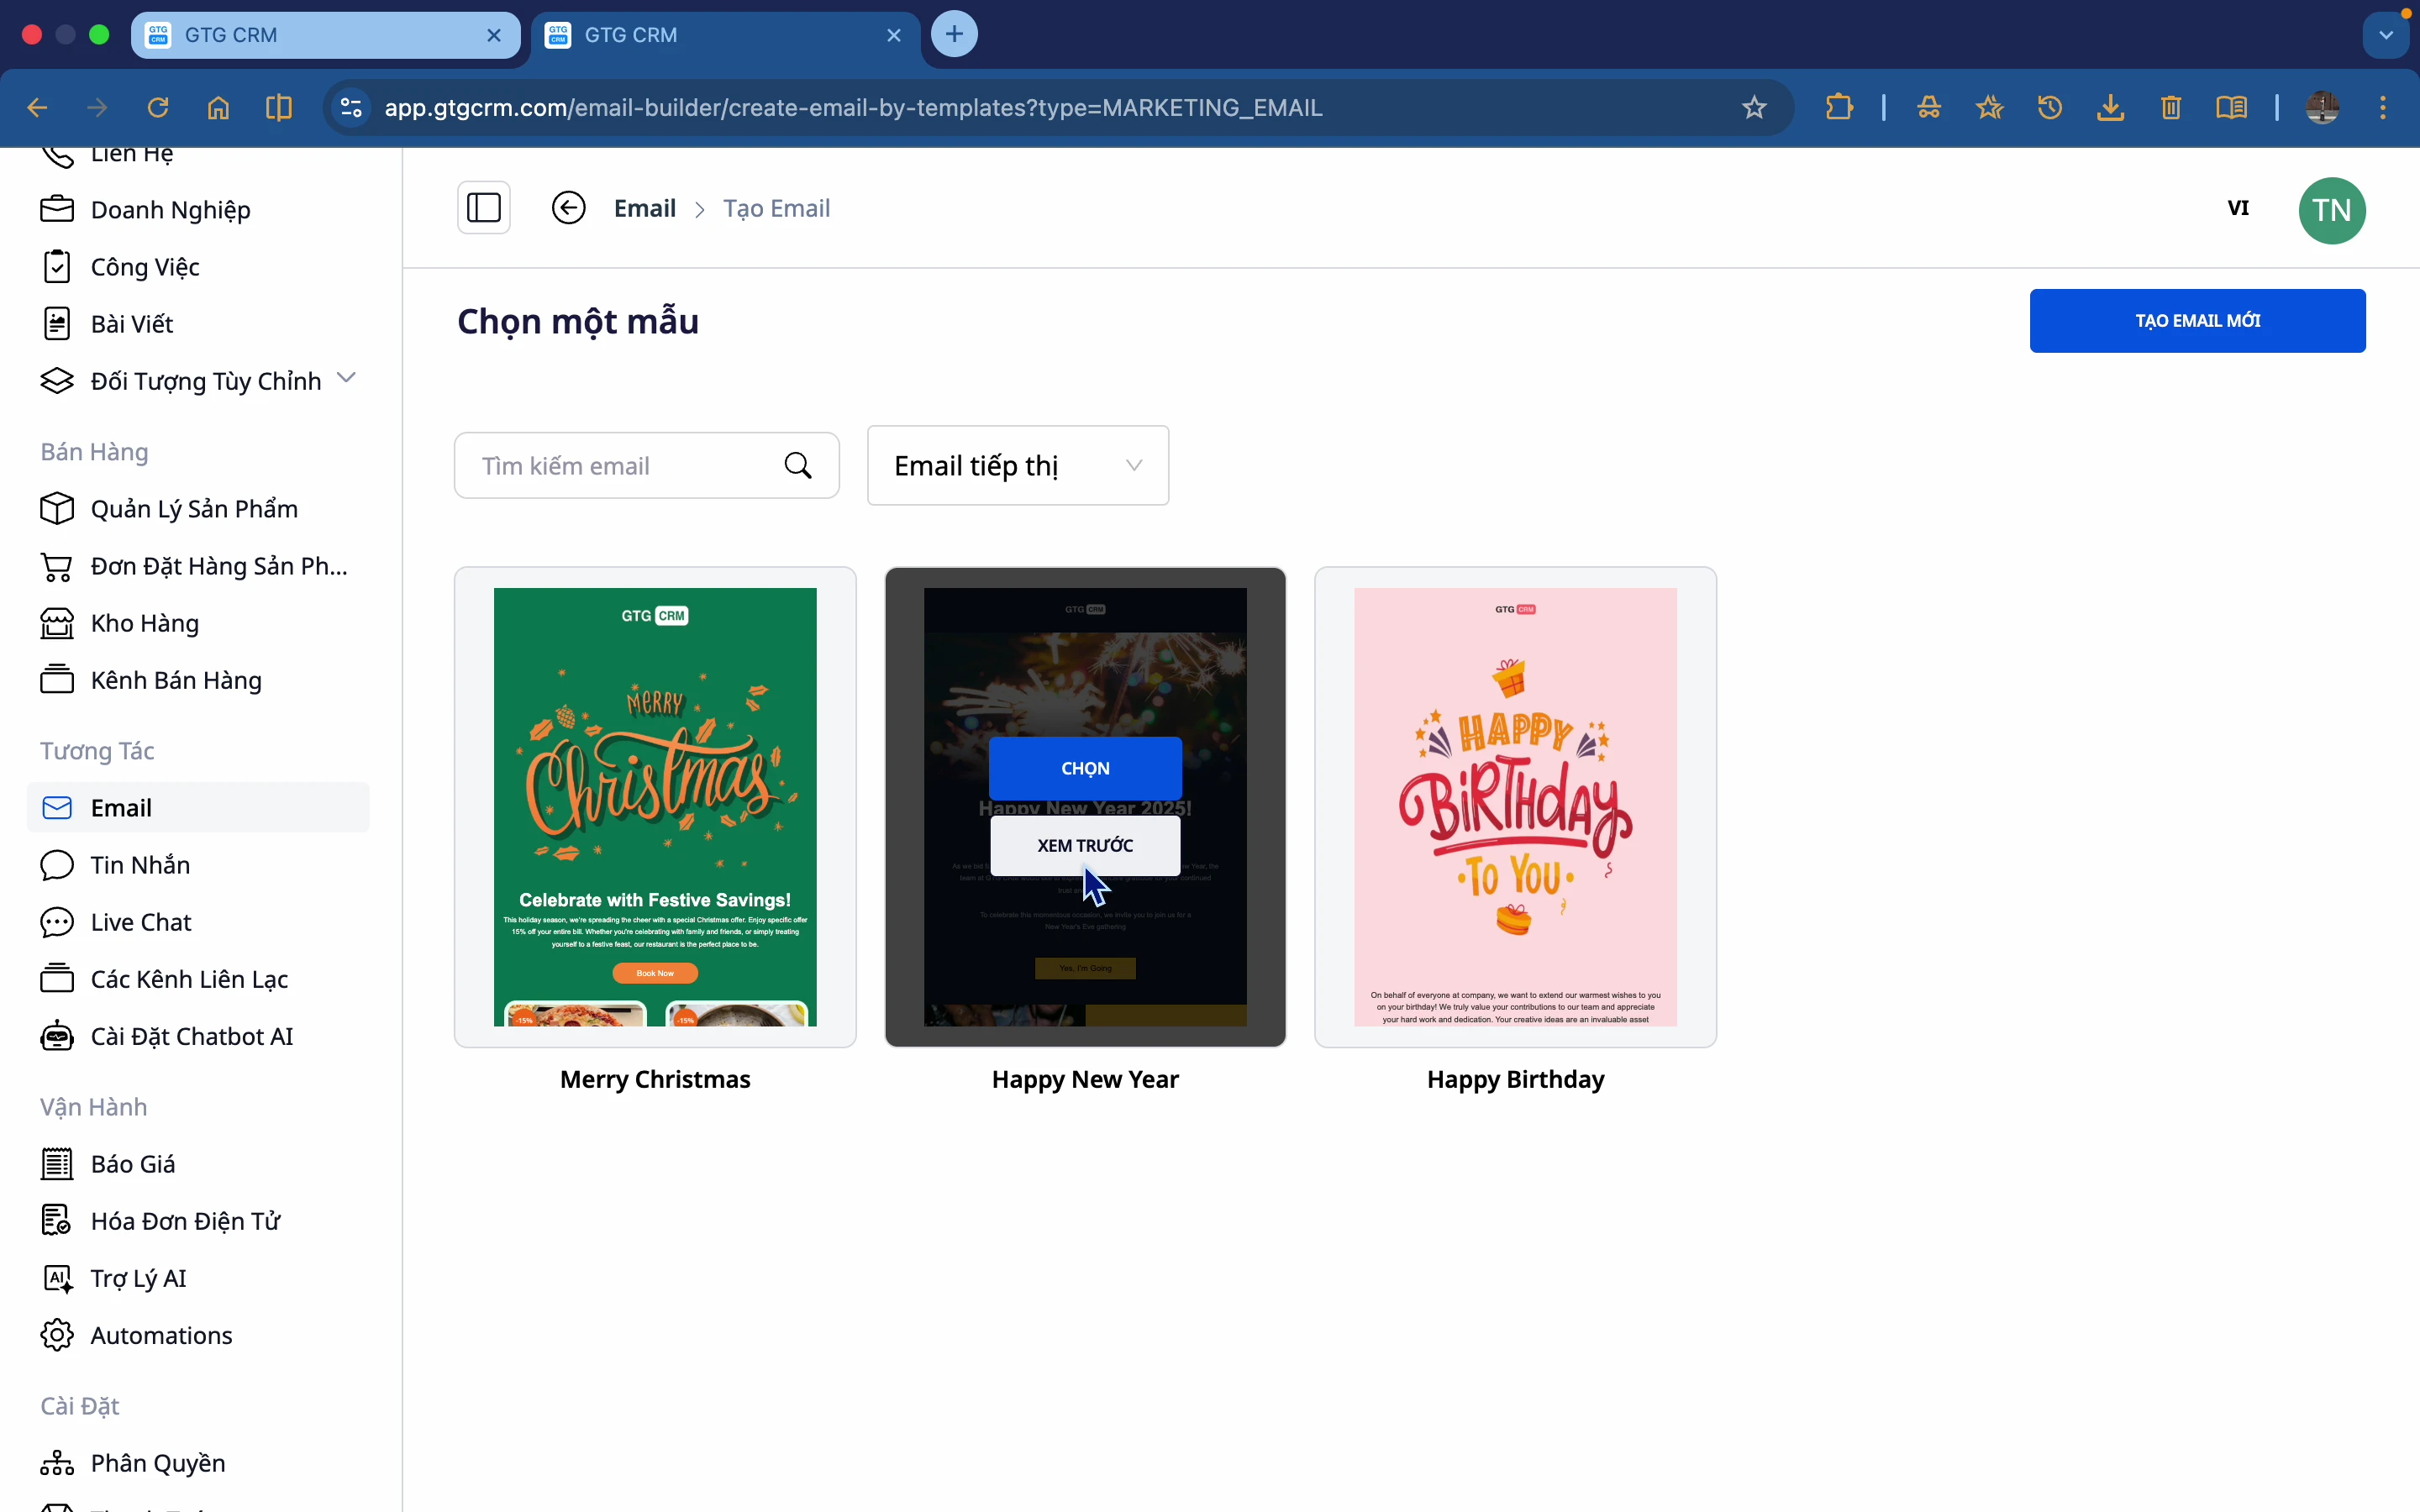
Step 4: Preview the template
Click on the template to preview the details.
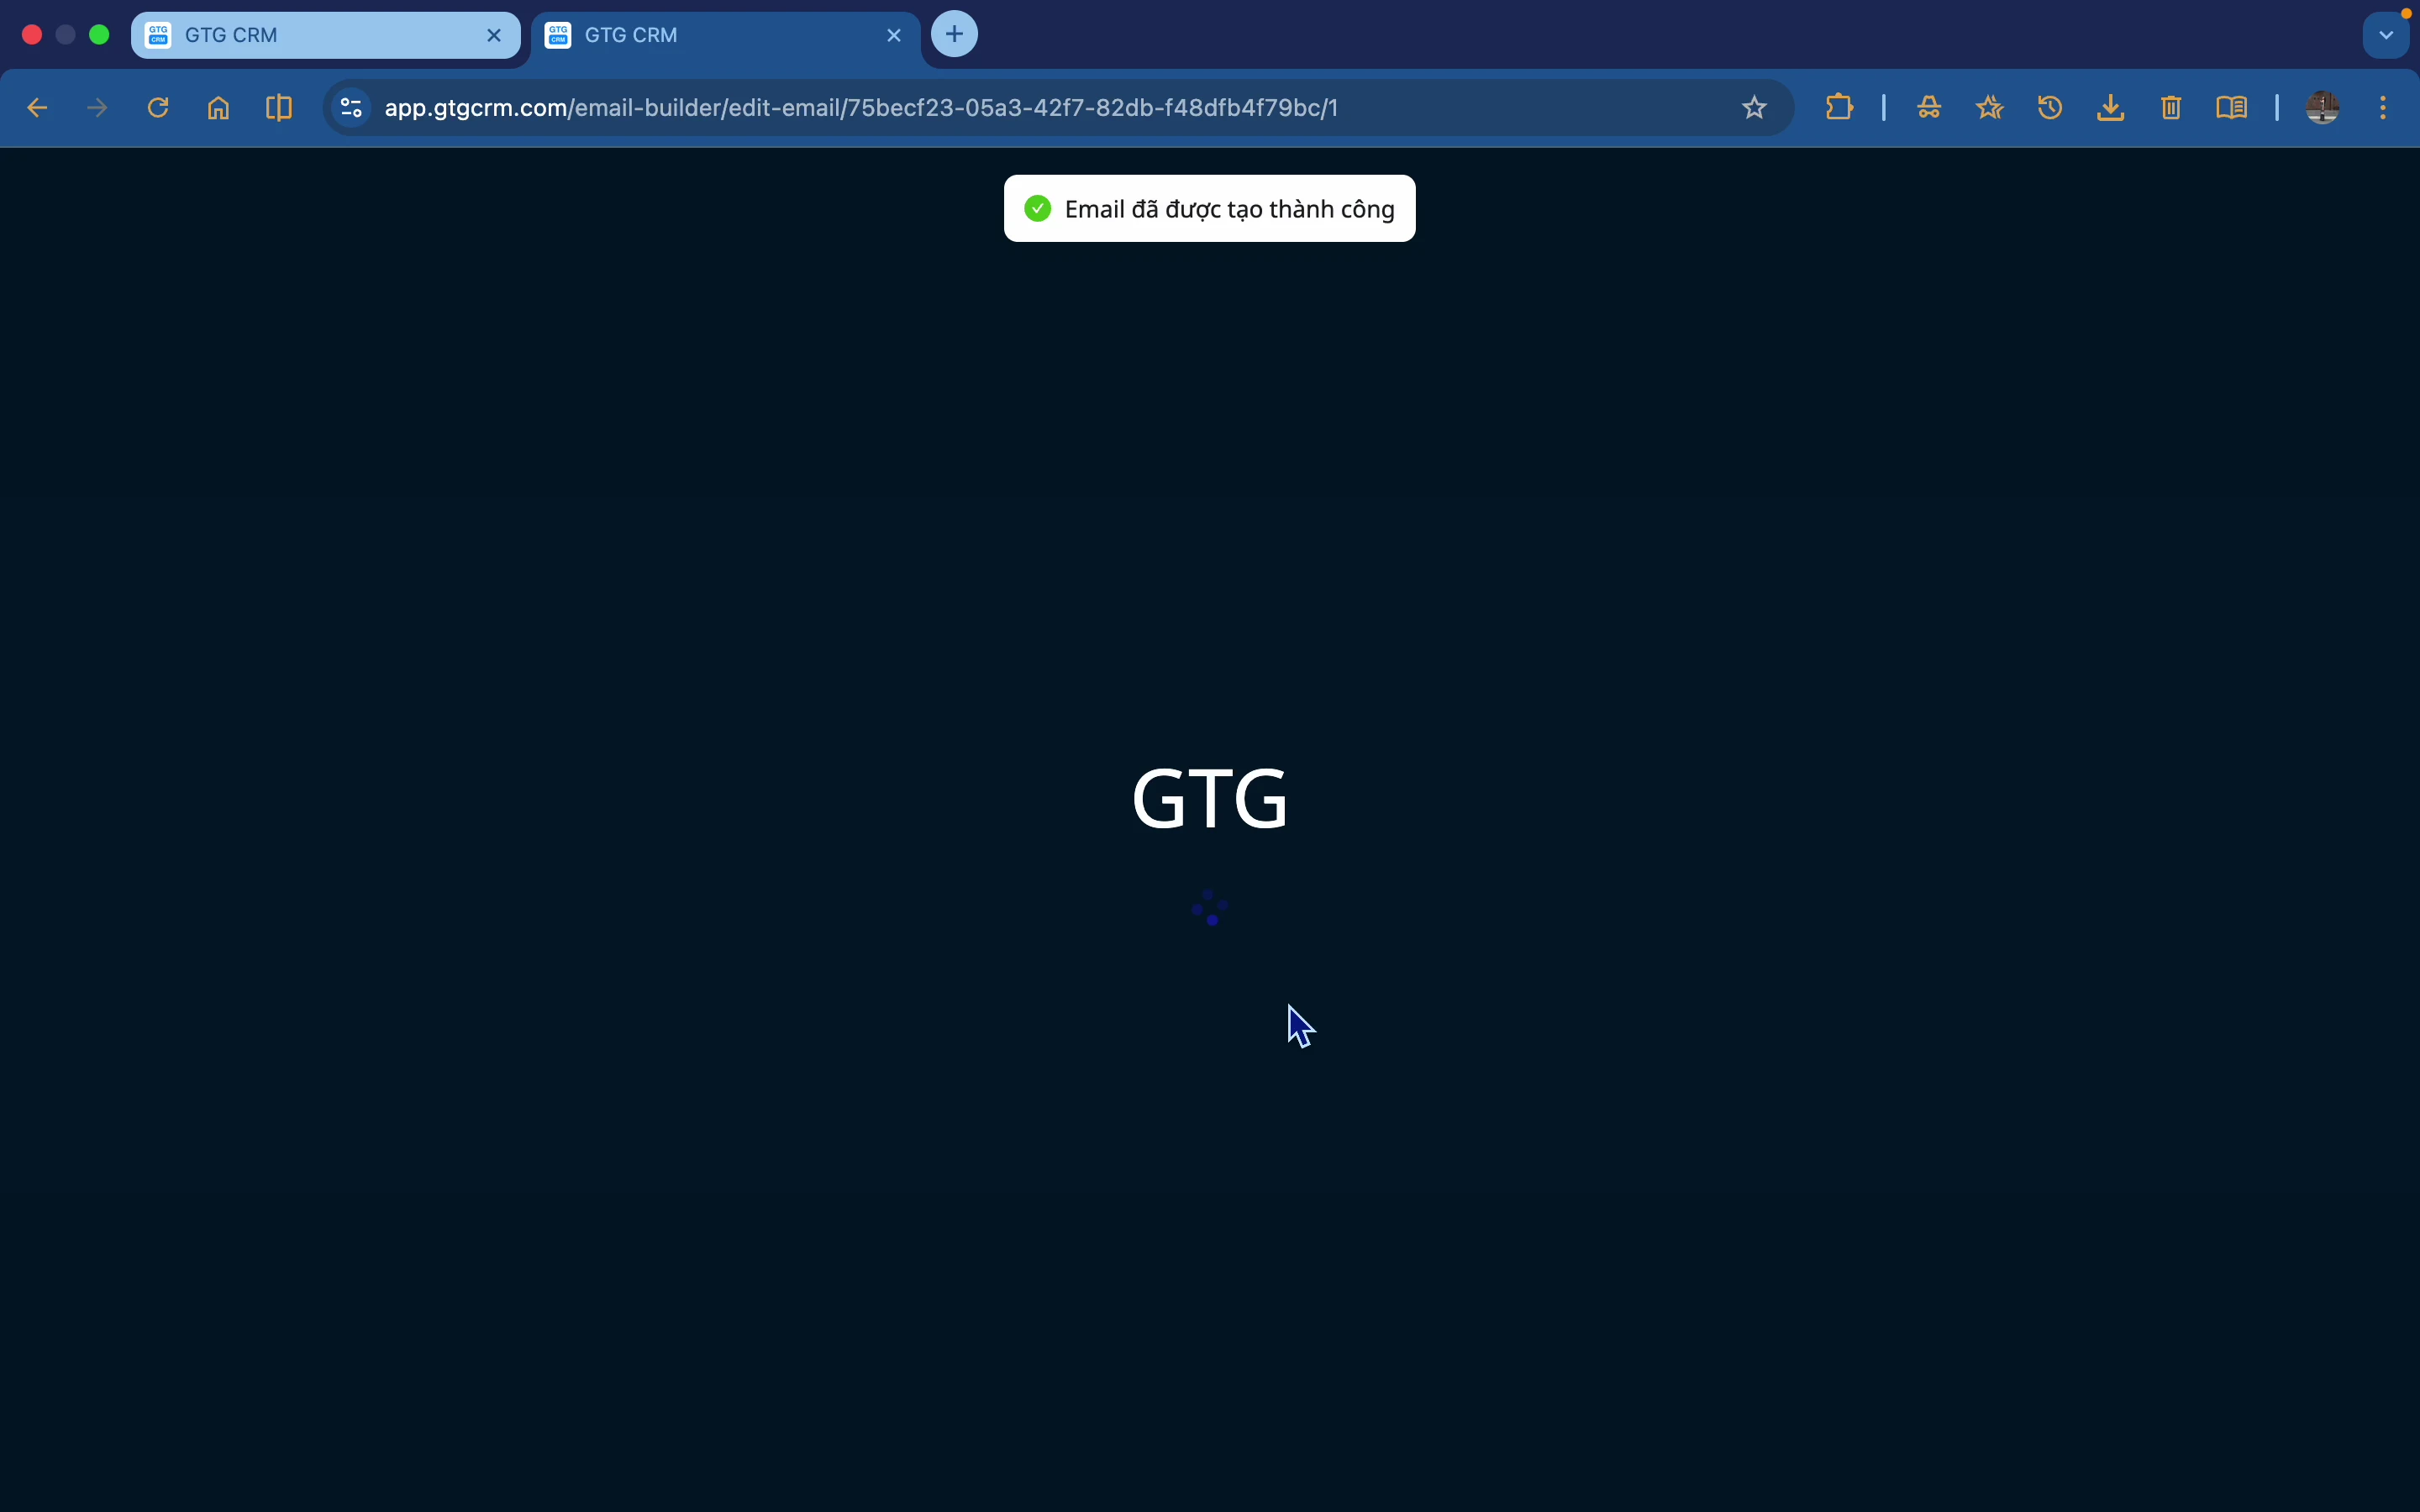
Step 5: Name it and start editing
- Click Use this template
- Give your email a name (e.g., "Email Marketing Q1 2024")
- Start editing

Step 6: Edit the content
- Edit text : Select the text and edit it directly.
- Color editing : Select the area to edit → Style → Choose a color
- Edit image : Select image → Change
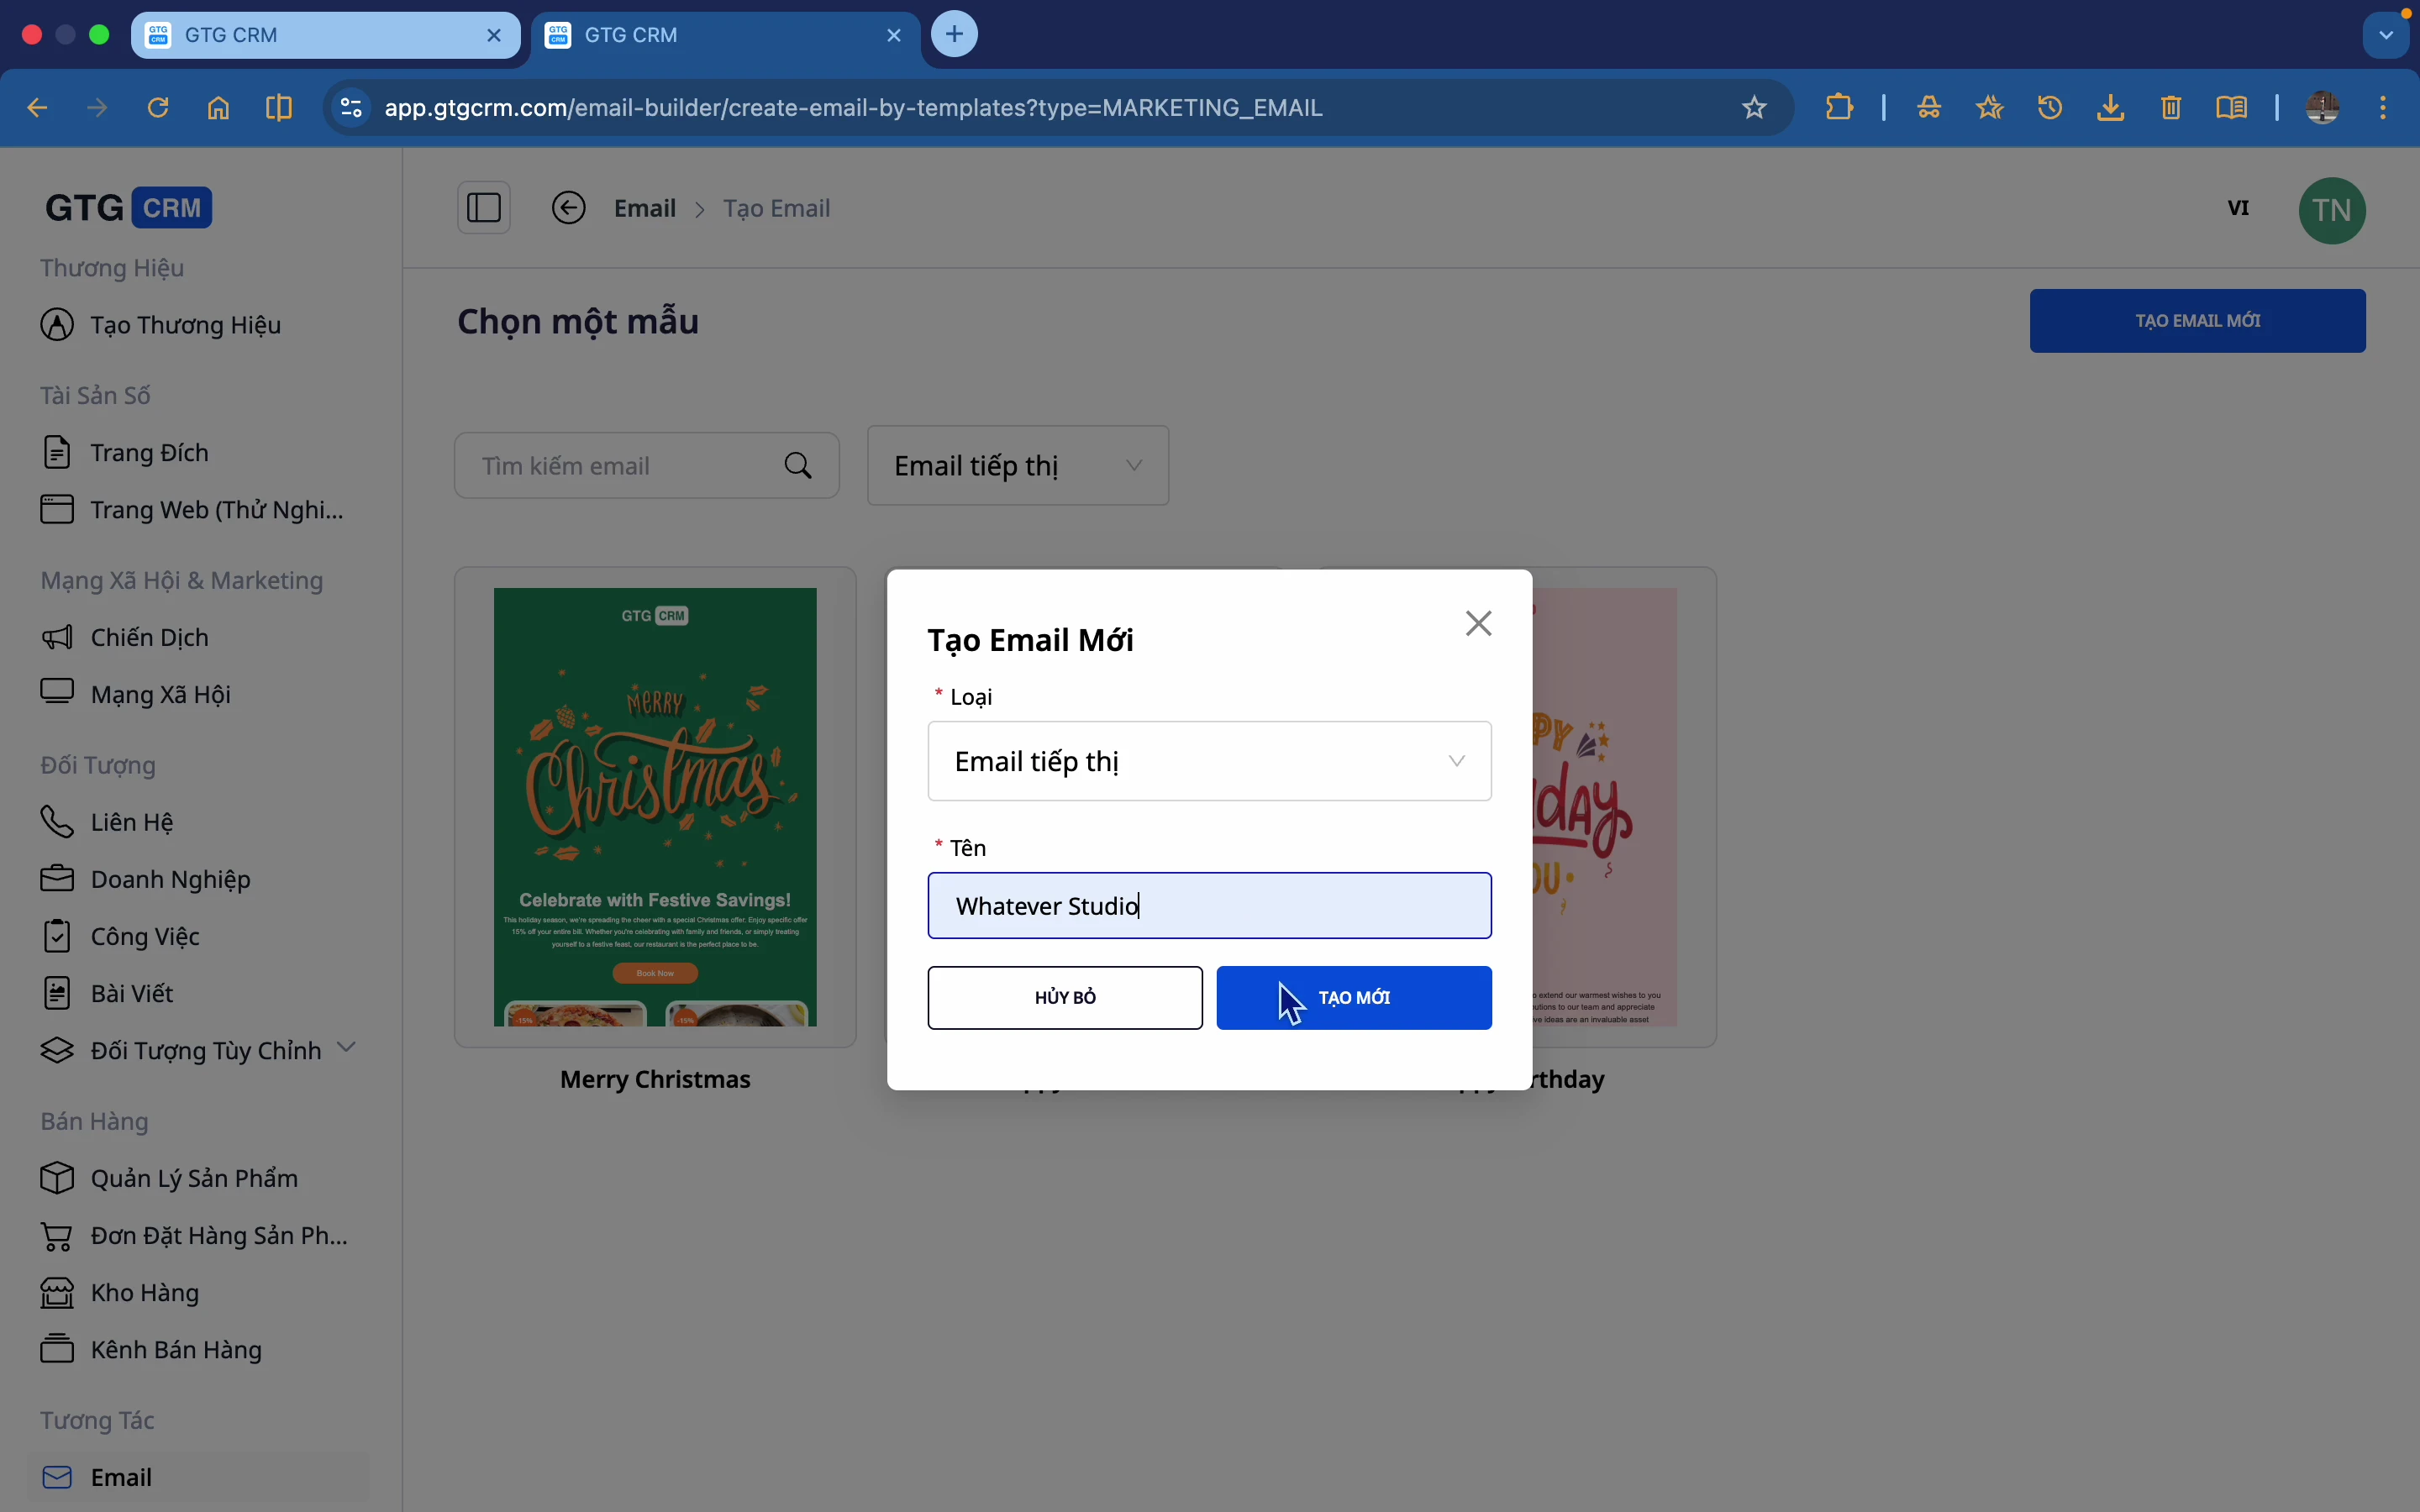
4. Create Emails From a Blank Page
Step 1: Select "Create New"
Instead of choosing a template, select Create New to start from a blank page.
Step 2: Name your email
Enter a name for the new email address.
Step 3: Start with a white canvas.
This is a blank page interface for you to build your own email.
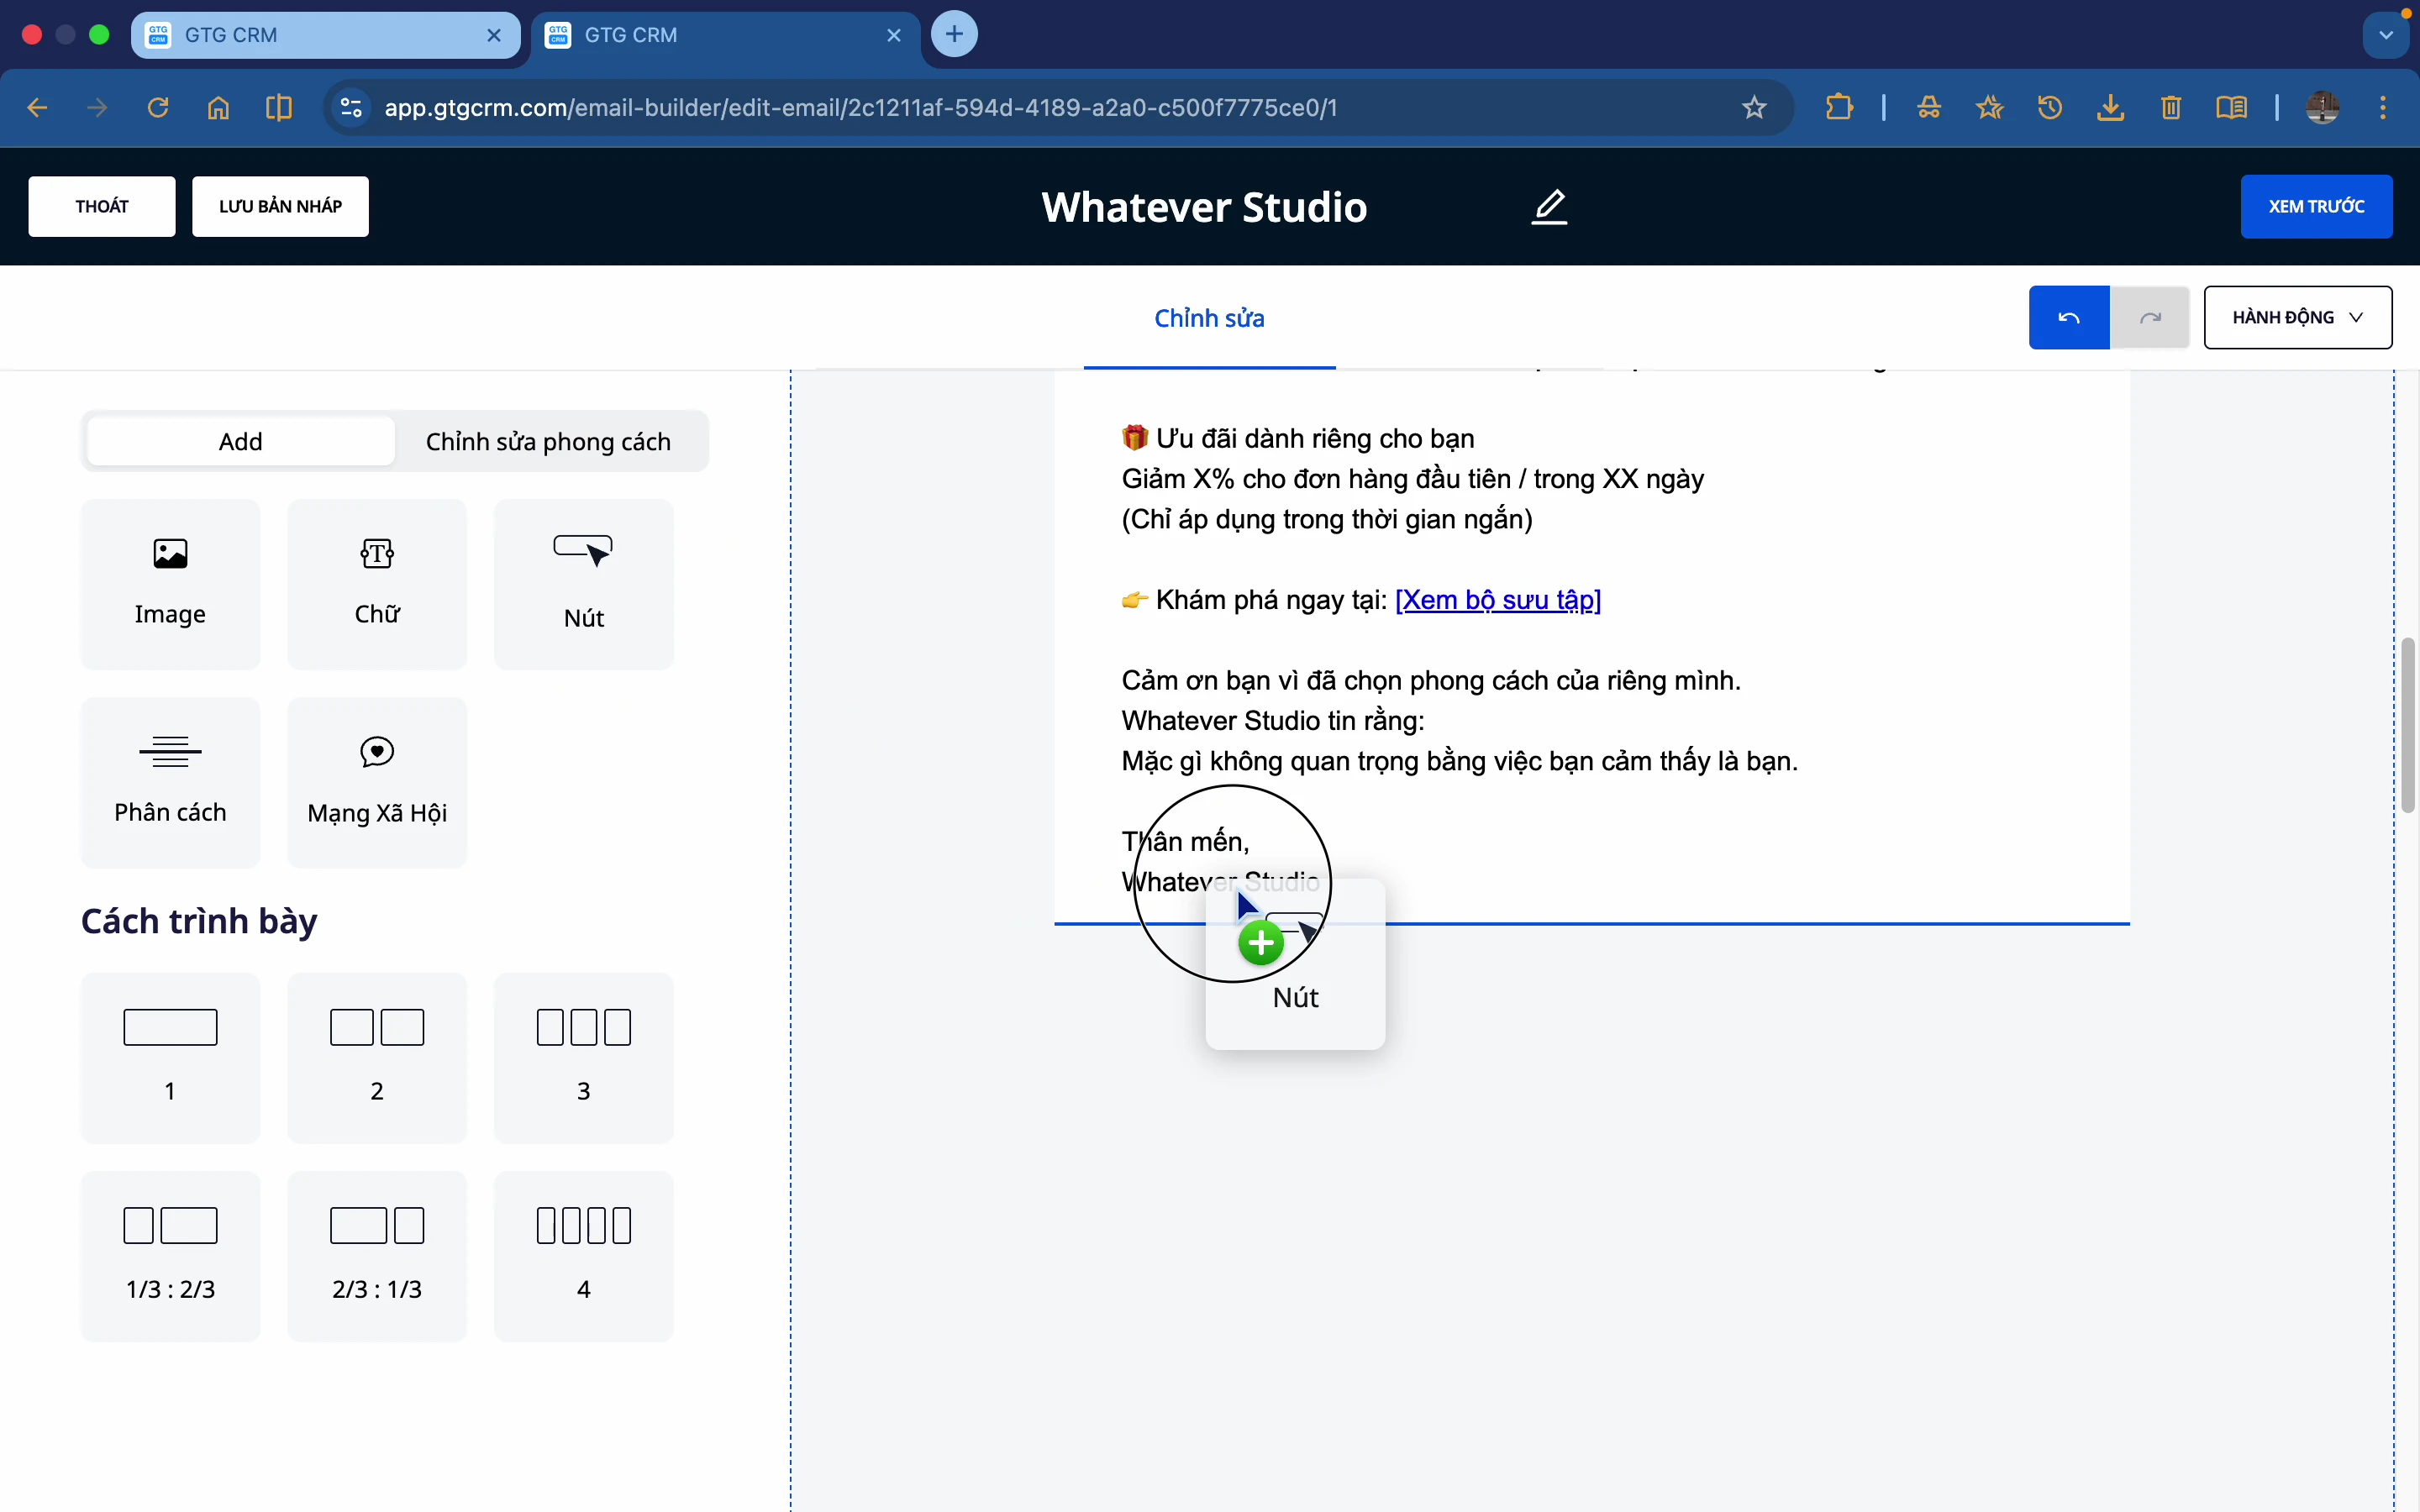
Step 4: Drag and drop the components
Drag the elements from the left sidebar onto the canvas:
- Image
- Text
- Button
- Divider
- Social
- Layout
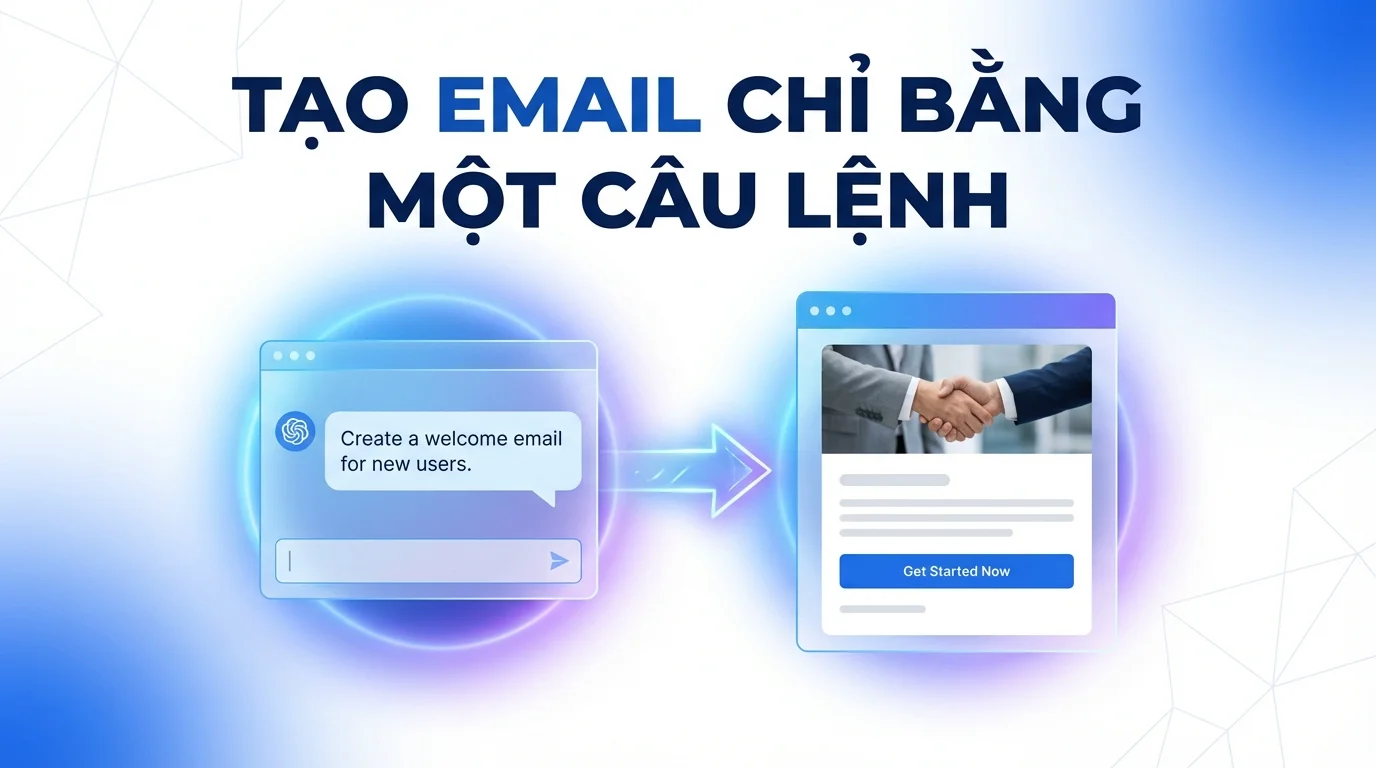
5. Using AI to Create Content
Step 1: Select the text block
Select the text you want to change.
Step 2: Open the AI tool
Click the AI icon or "Enter content for your email using AI" .
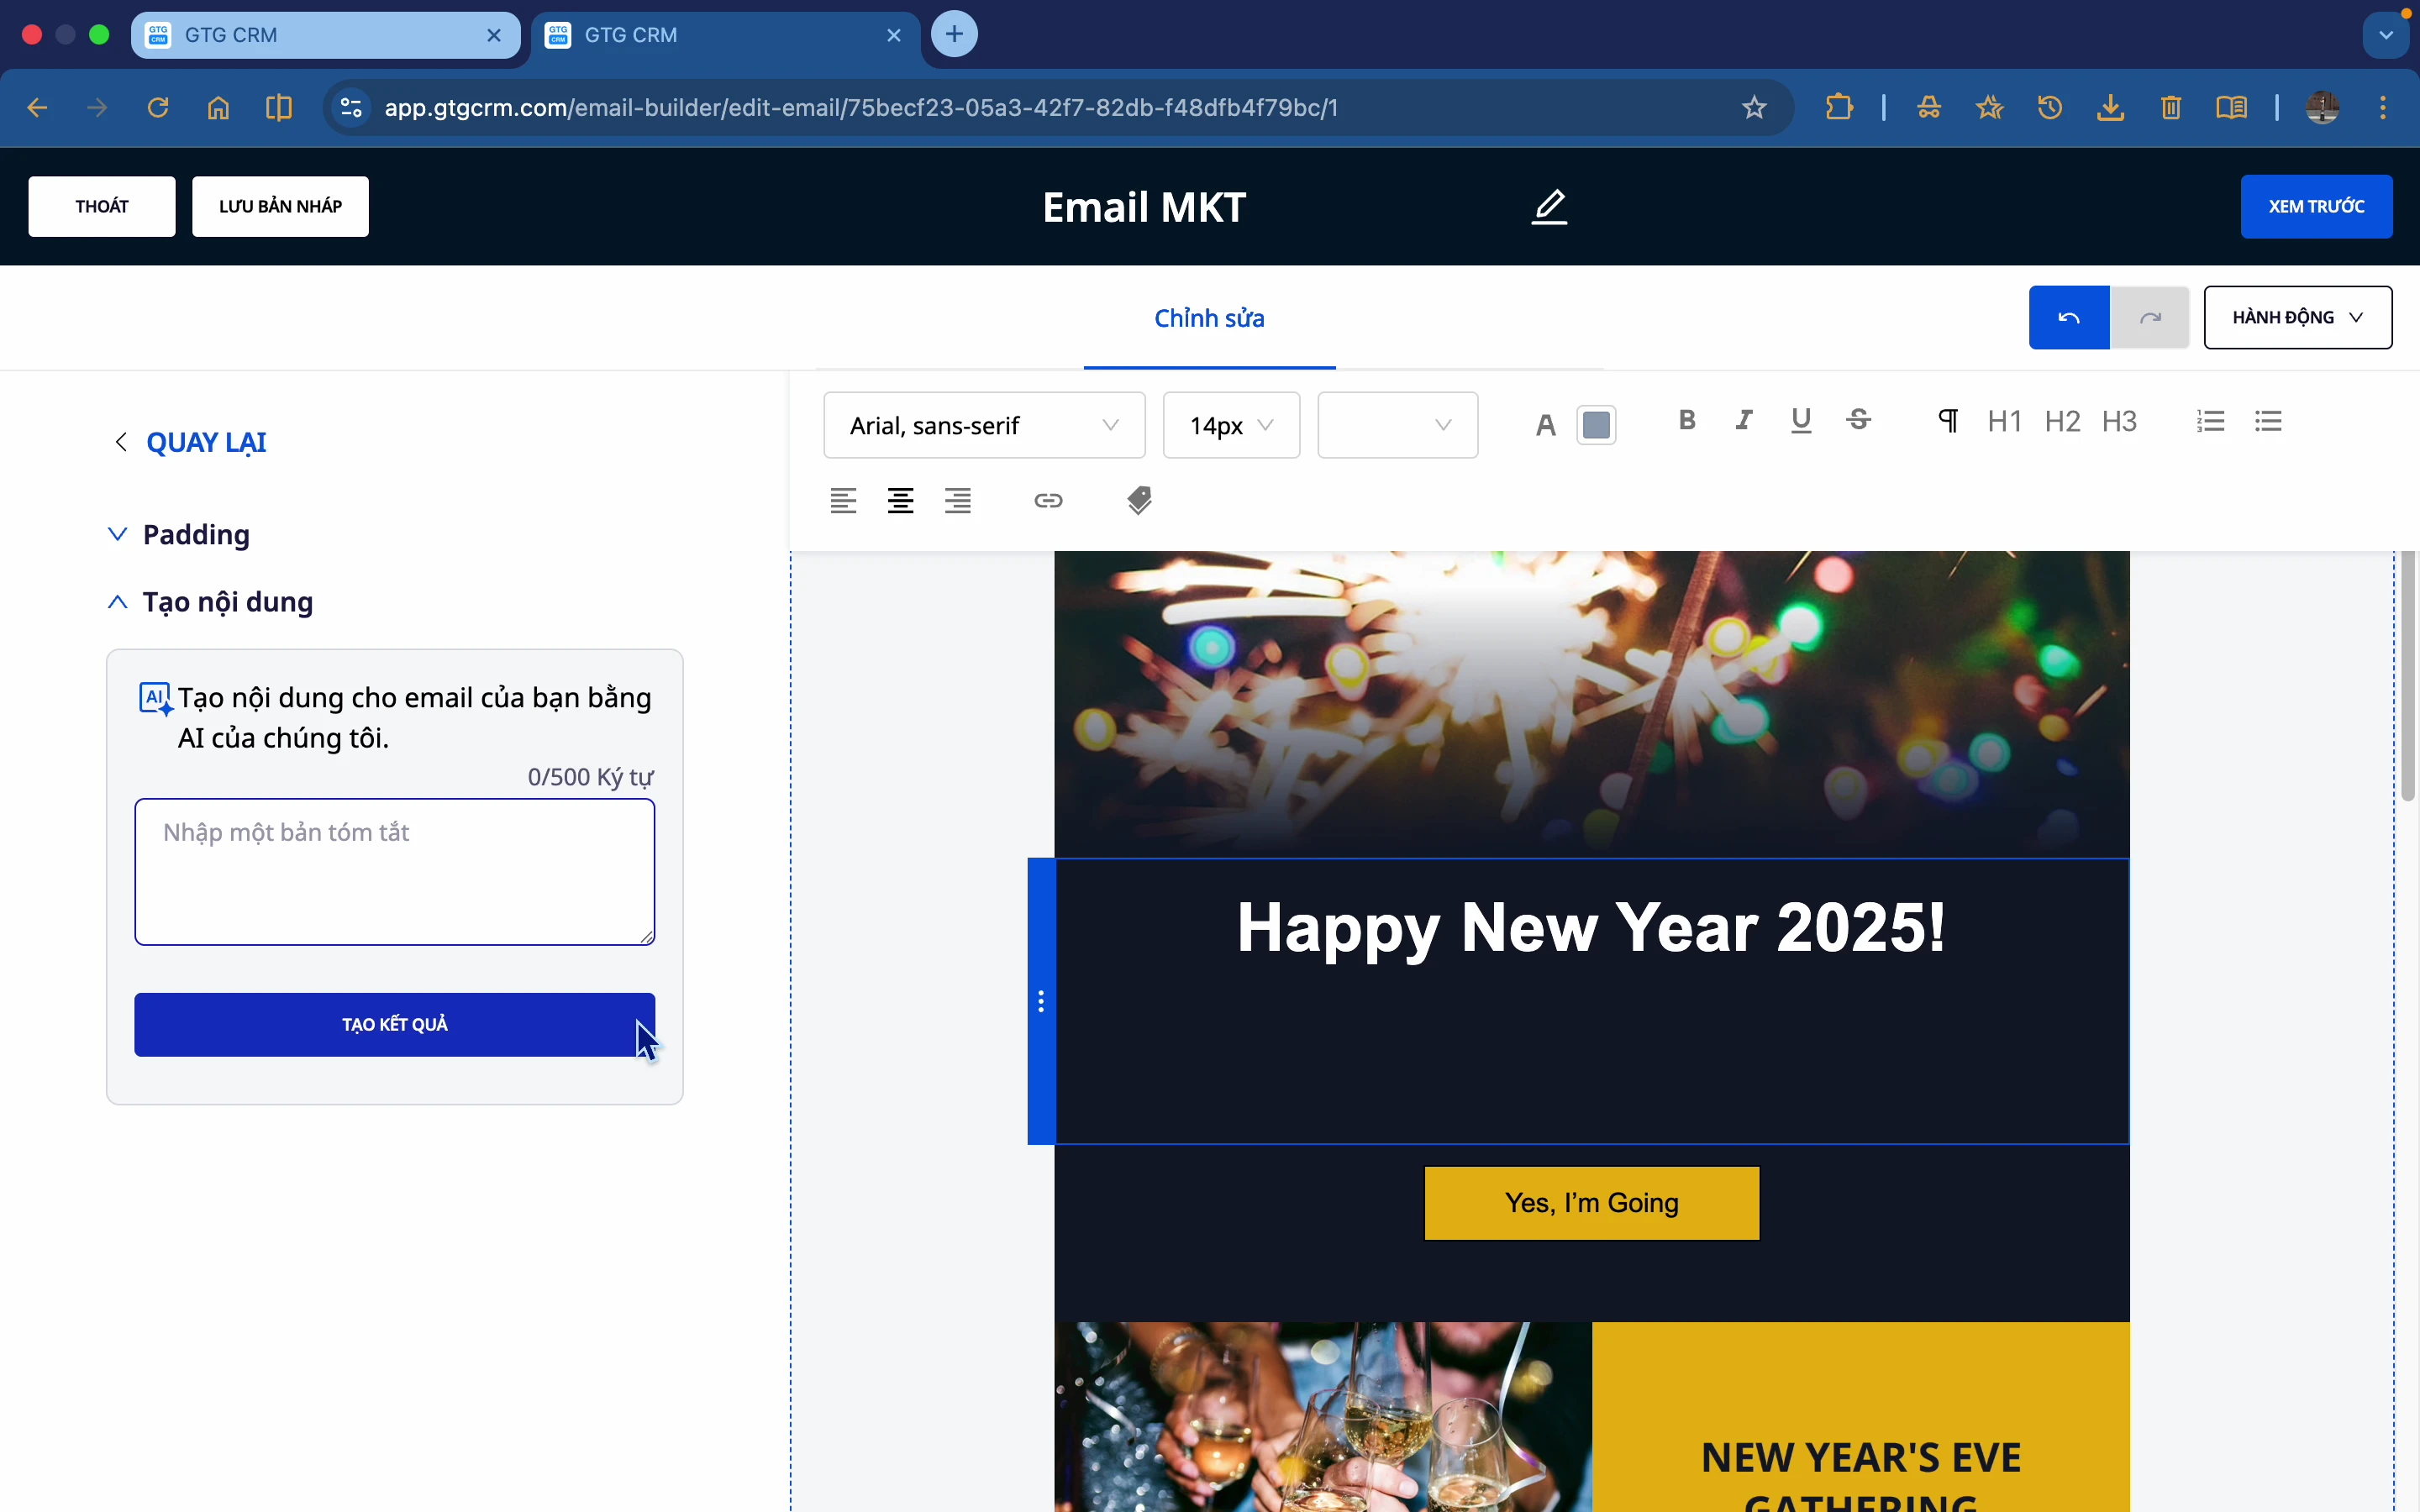
Step 3: Enter a description
Enter a brief description of the content you want to create. For example: "Email inviting customers to a New Year's party"
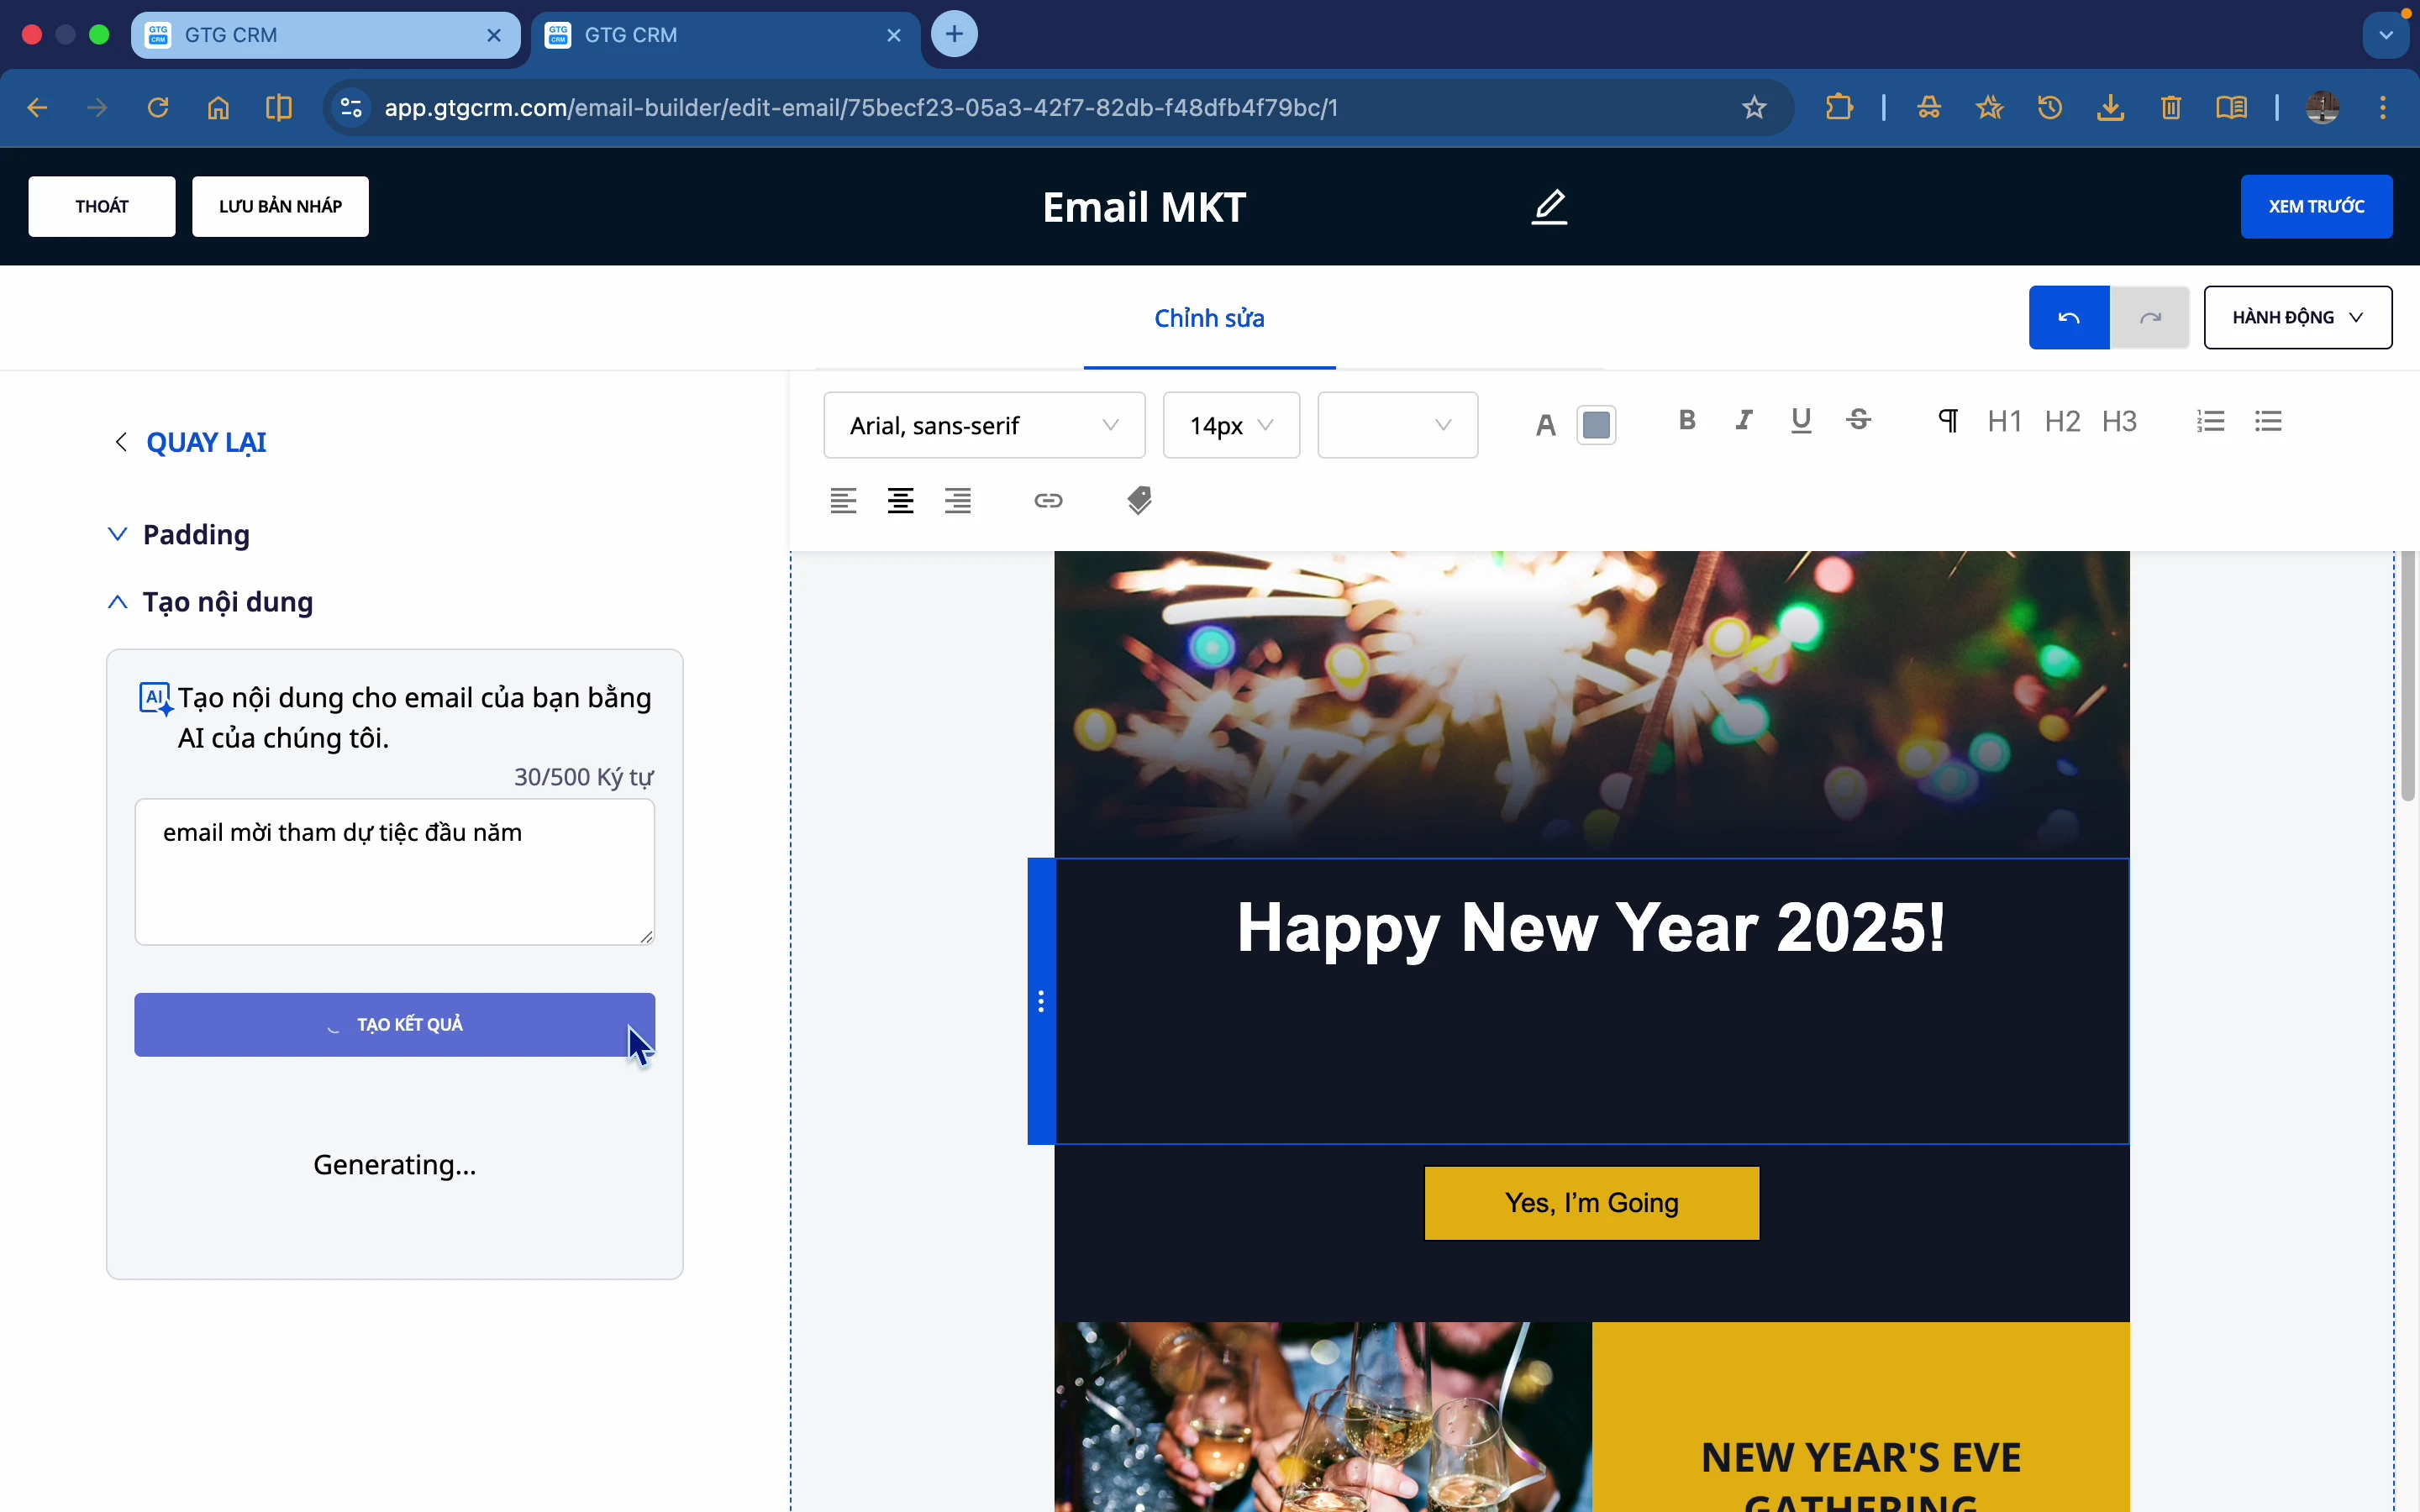
Step 4: Create and select the result
- Click Create Results
- Wait for the AI to generate (a few seconds).
- View suggested options
- Choose the option that suits you best.
- Click Insert to use
Step 5: Edit if necessary.
After inserting, you can make further edits:
- Correct the wording
- Change text color
- Change font
6. Using AI to Create Images
Step 1: Select image block
Select the image you want to change.
Step 2: Click "Change"
Press the Change button to open the options.
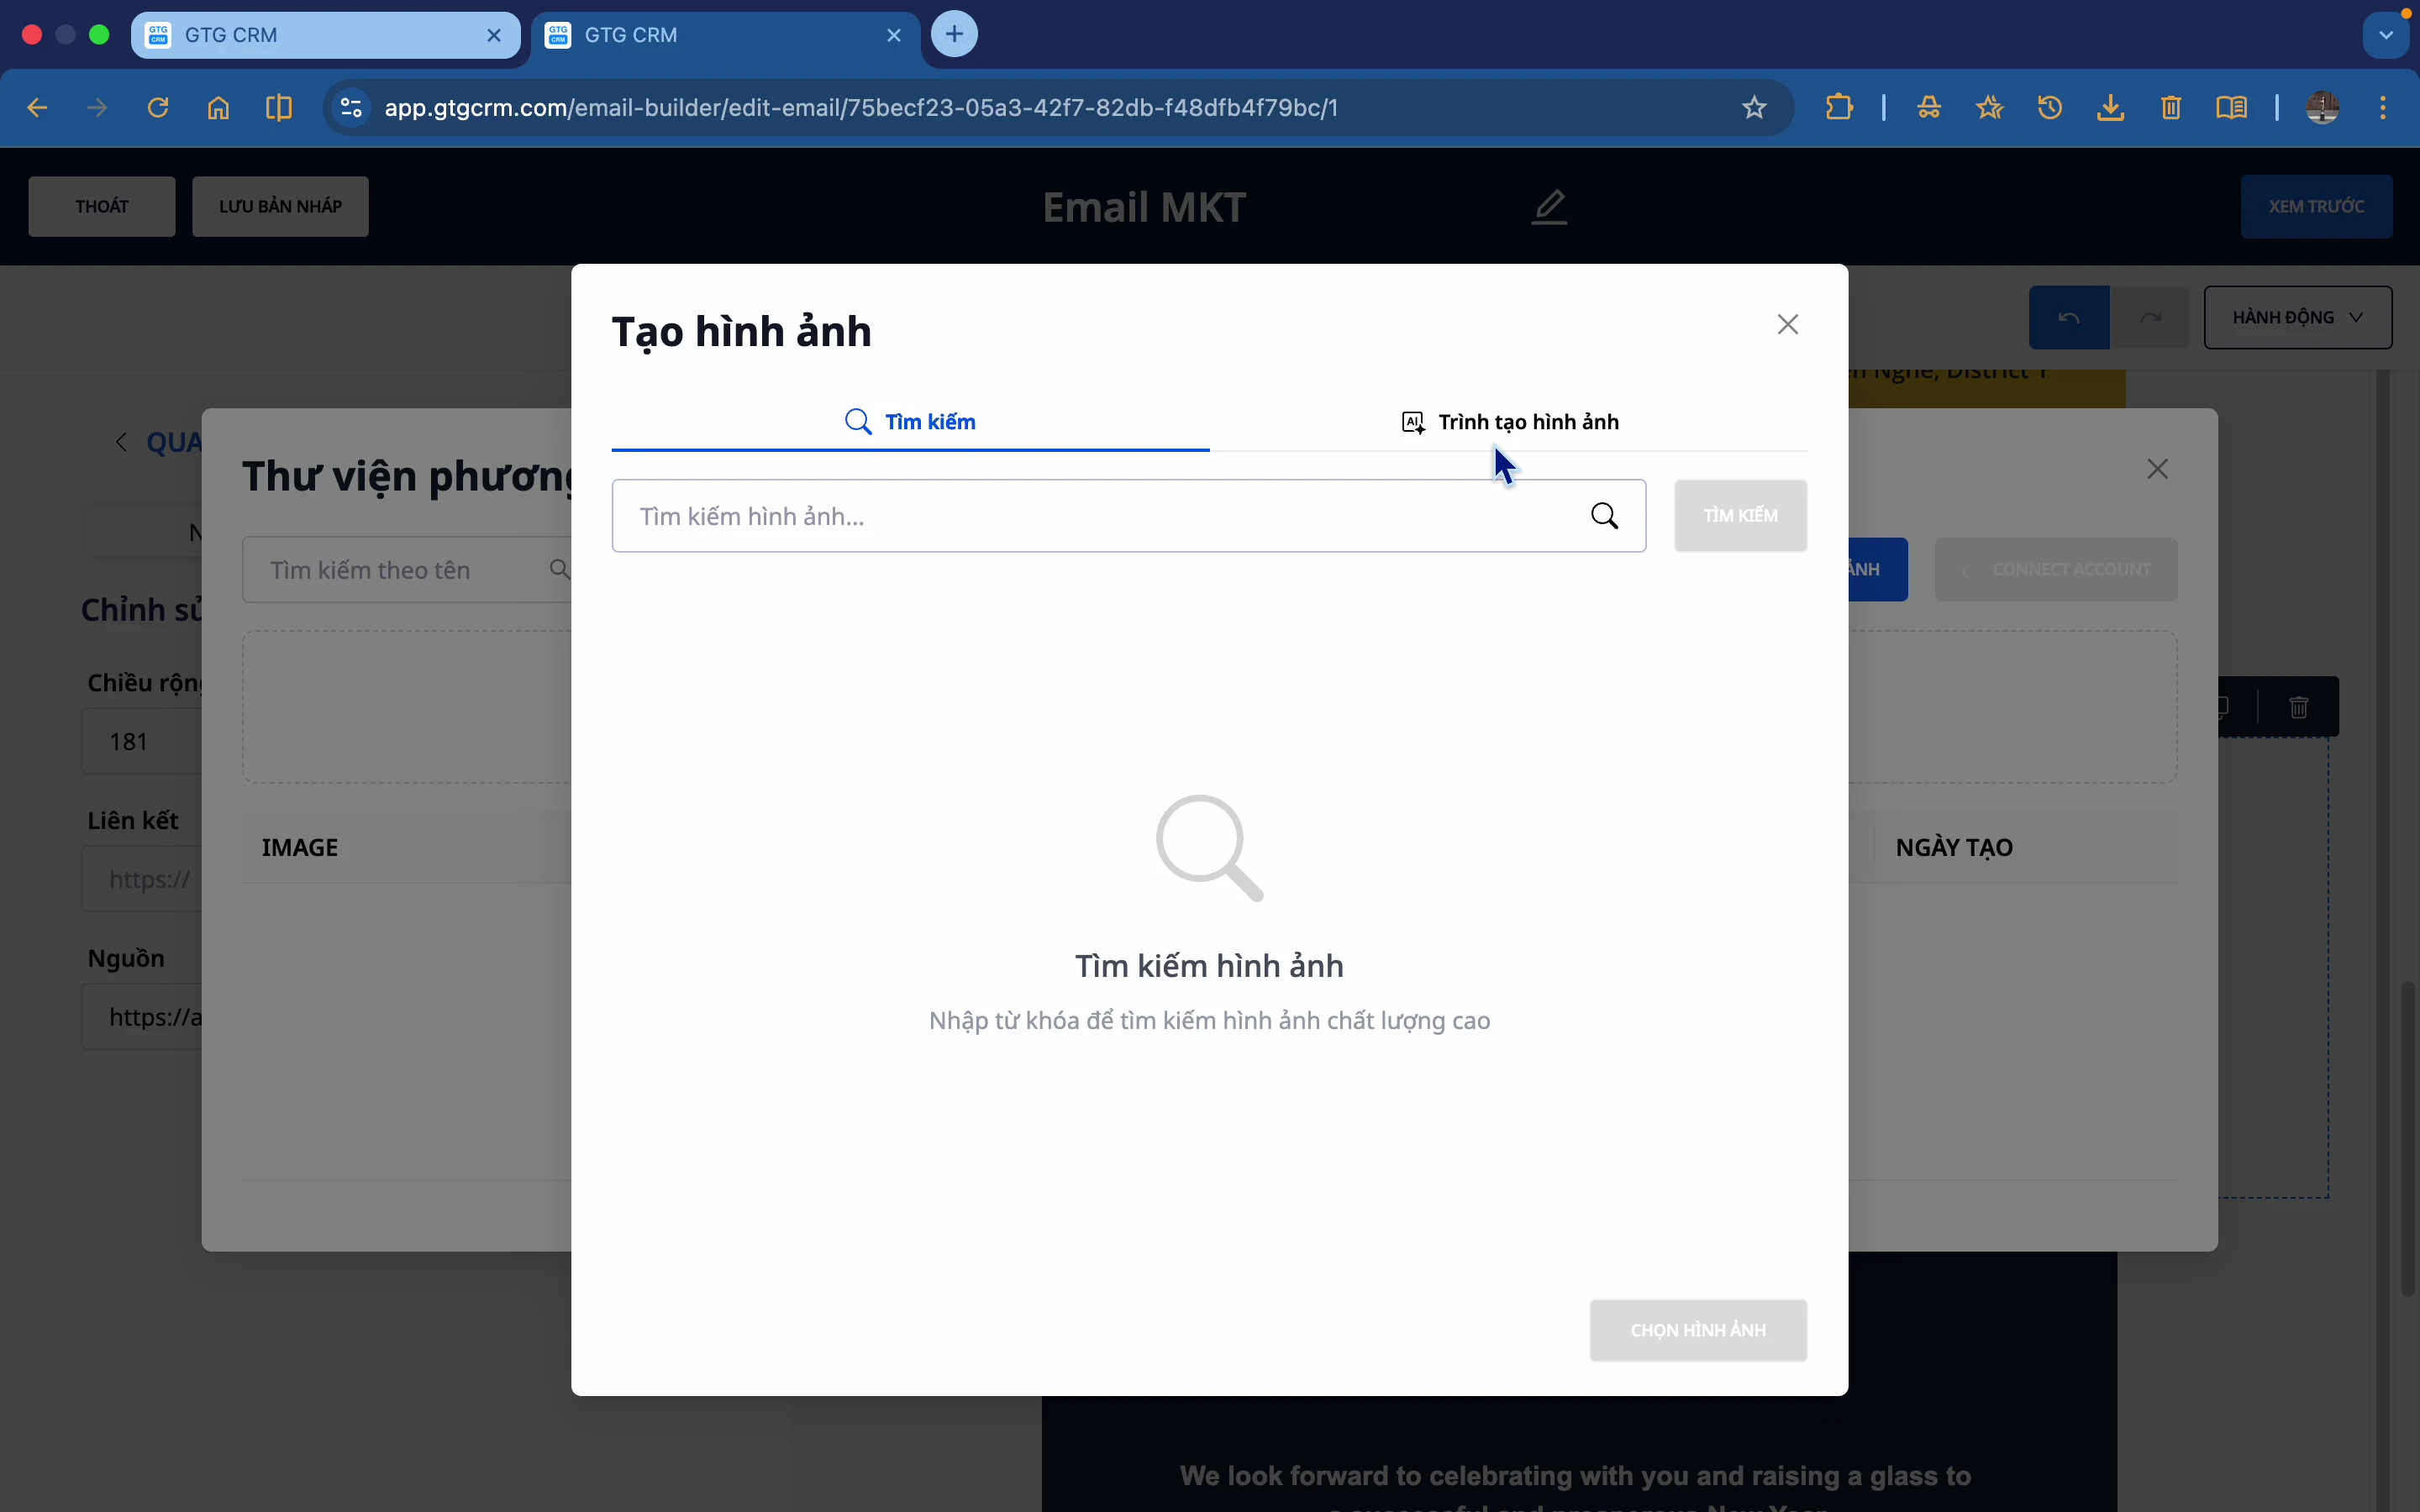
Step 3: Select "AI image creation"
There are 3 options:
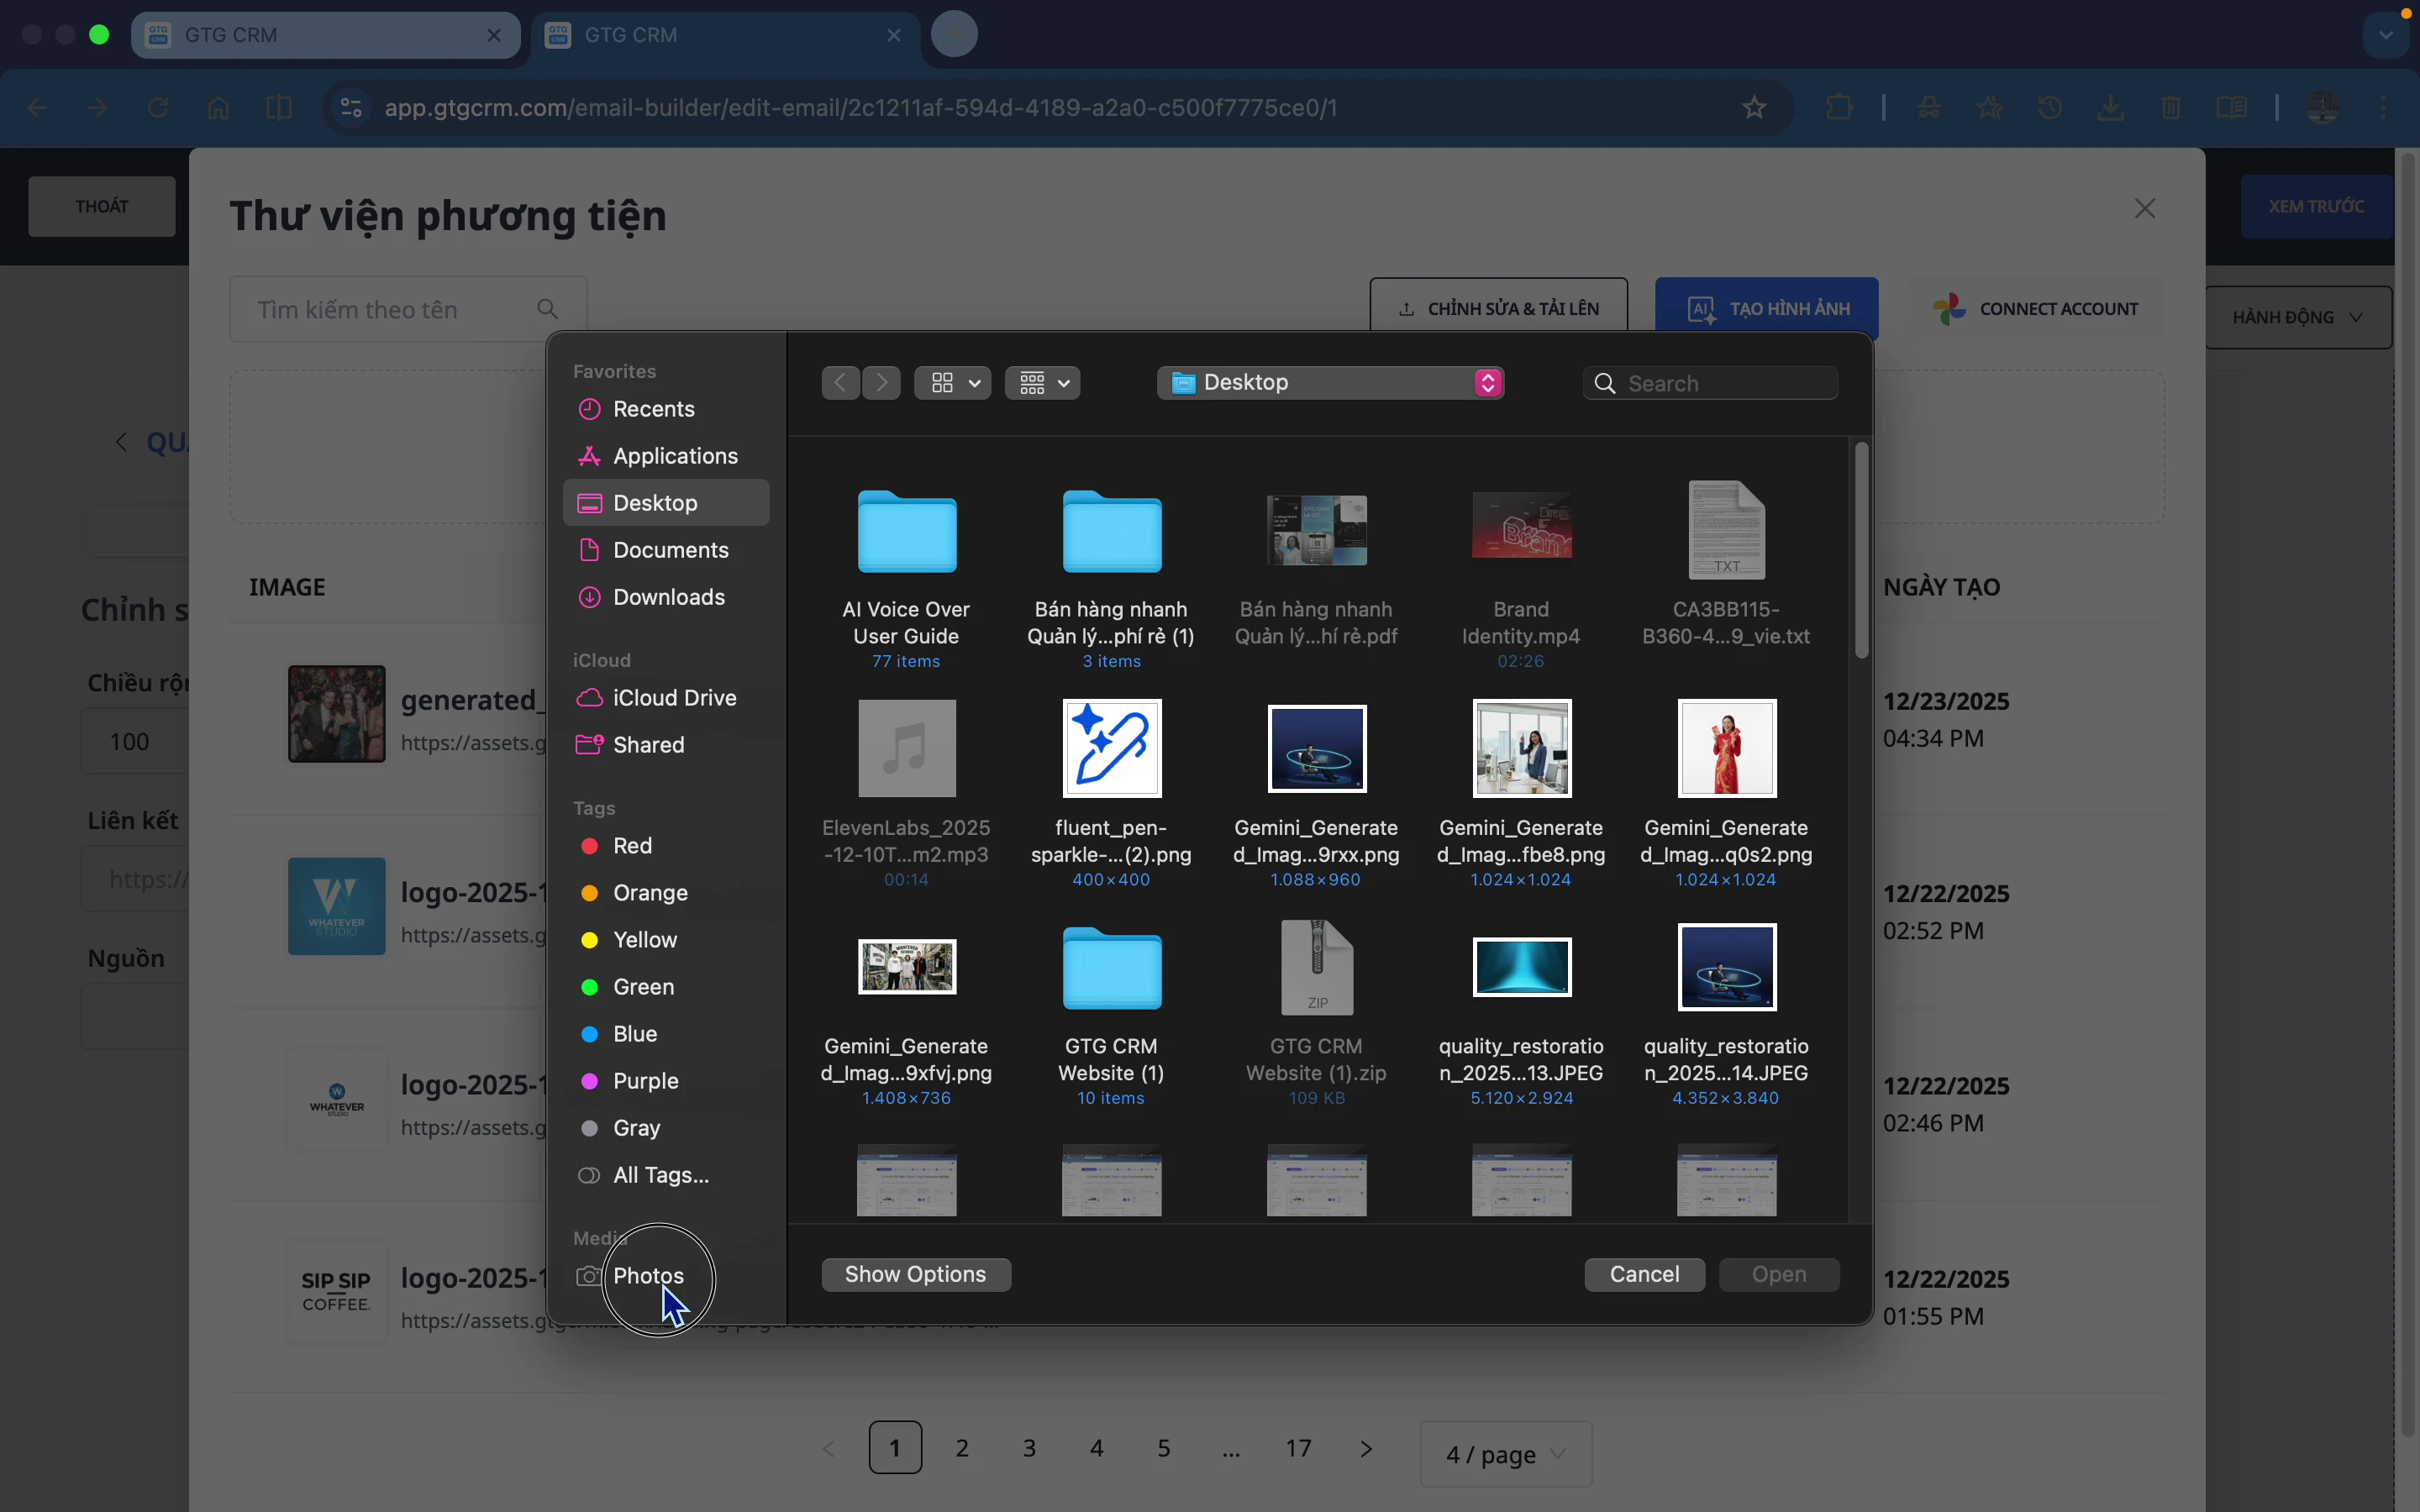
- Upload images : Upload from your computer
- Google Photos : Connect to Google Photos
- AI image generation : Let AI generate
Step 4: Describe the image
Enter a description of the image you want to create. For example: "A real party", "Professional business meeting"
Step 5: Create and select the image
- Click Create Image
- Wait for AI to generate
- If you're not satisfied, click Recreate.
- Choose the appropriate image.

7. Customize Components
7.1 Text Block
Edit content:
- Select text → Edit directly
- Use AI to create new content.
Format:
- Font
- Font size
- Text color
- Bold, italics
- Alignment (left, right, center)
Attach link:
- Highlight the text you want to link to.
- Click the link icon.
- Enter URL
- Confirm

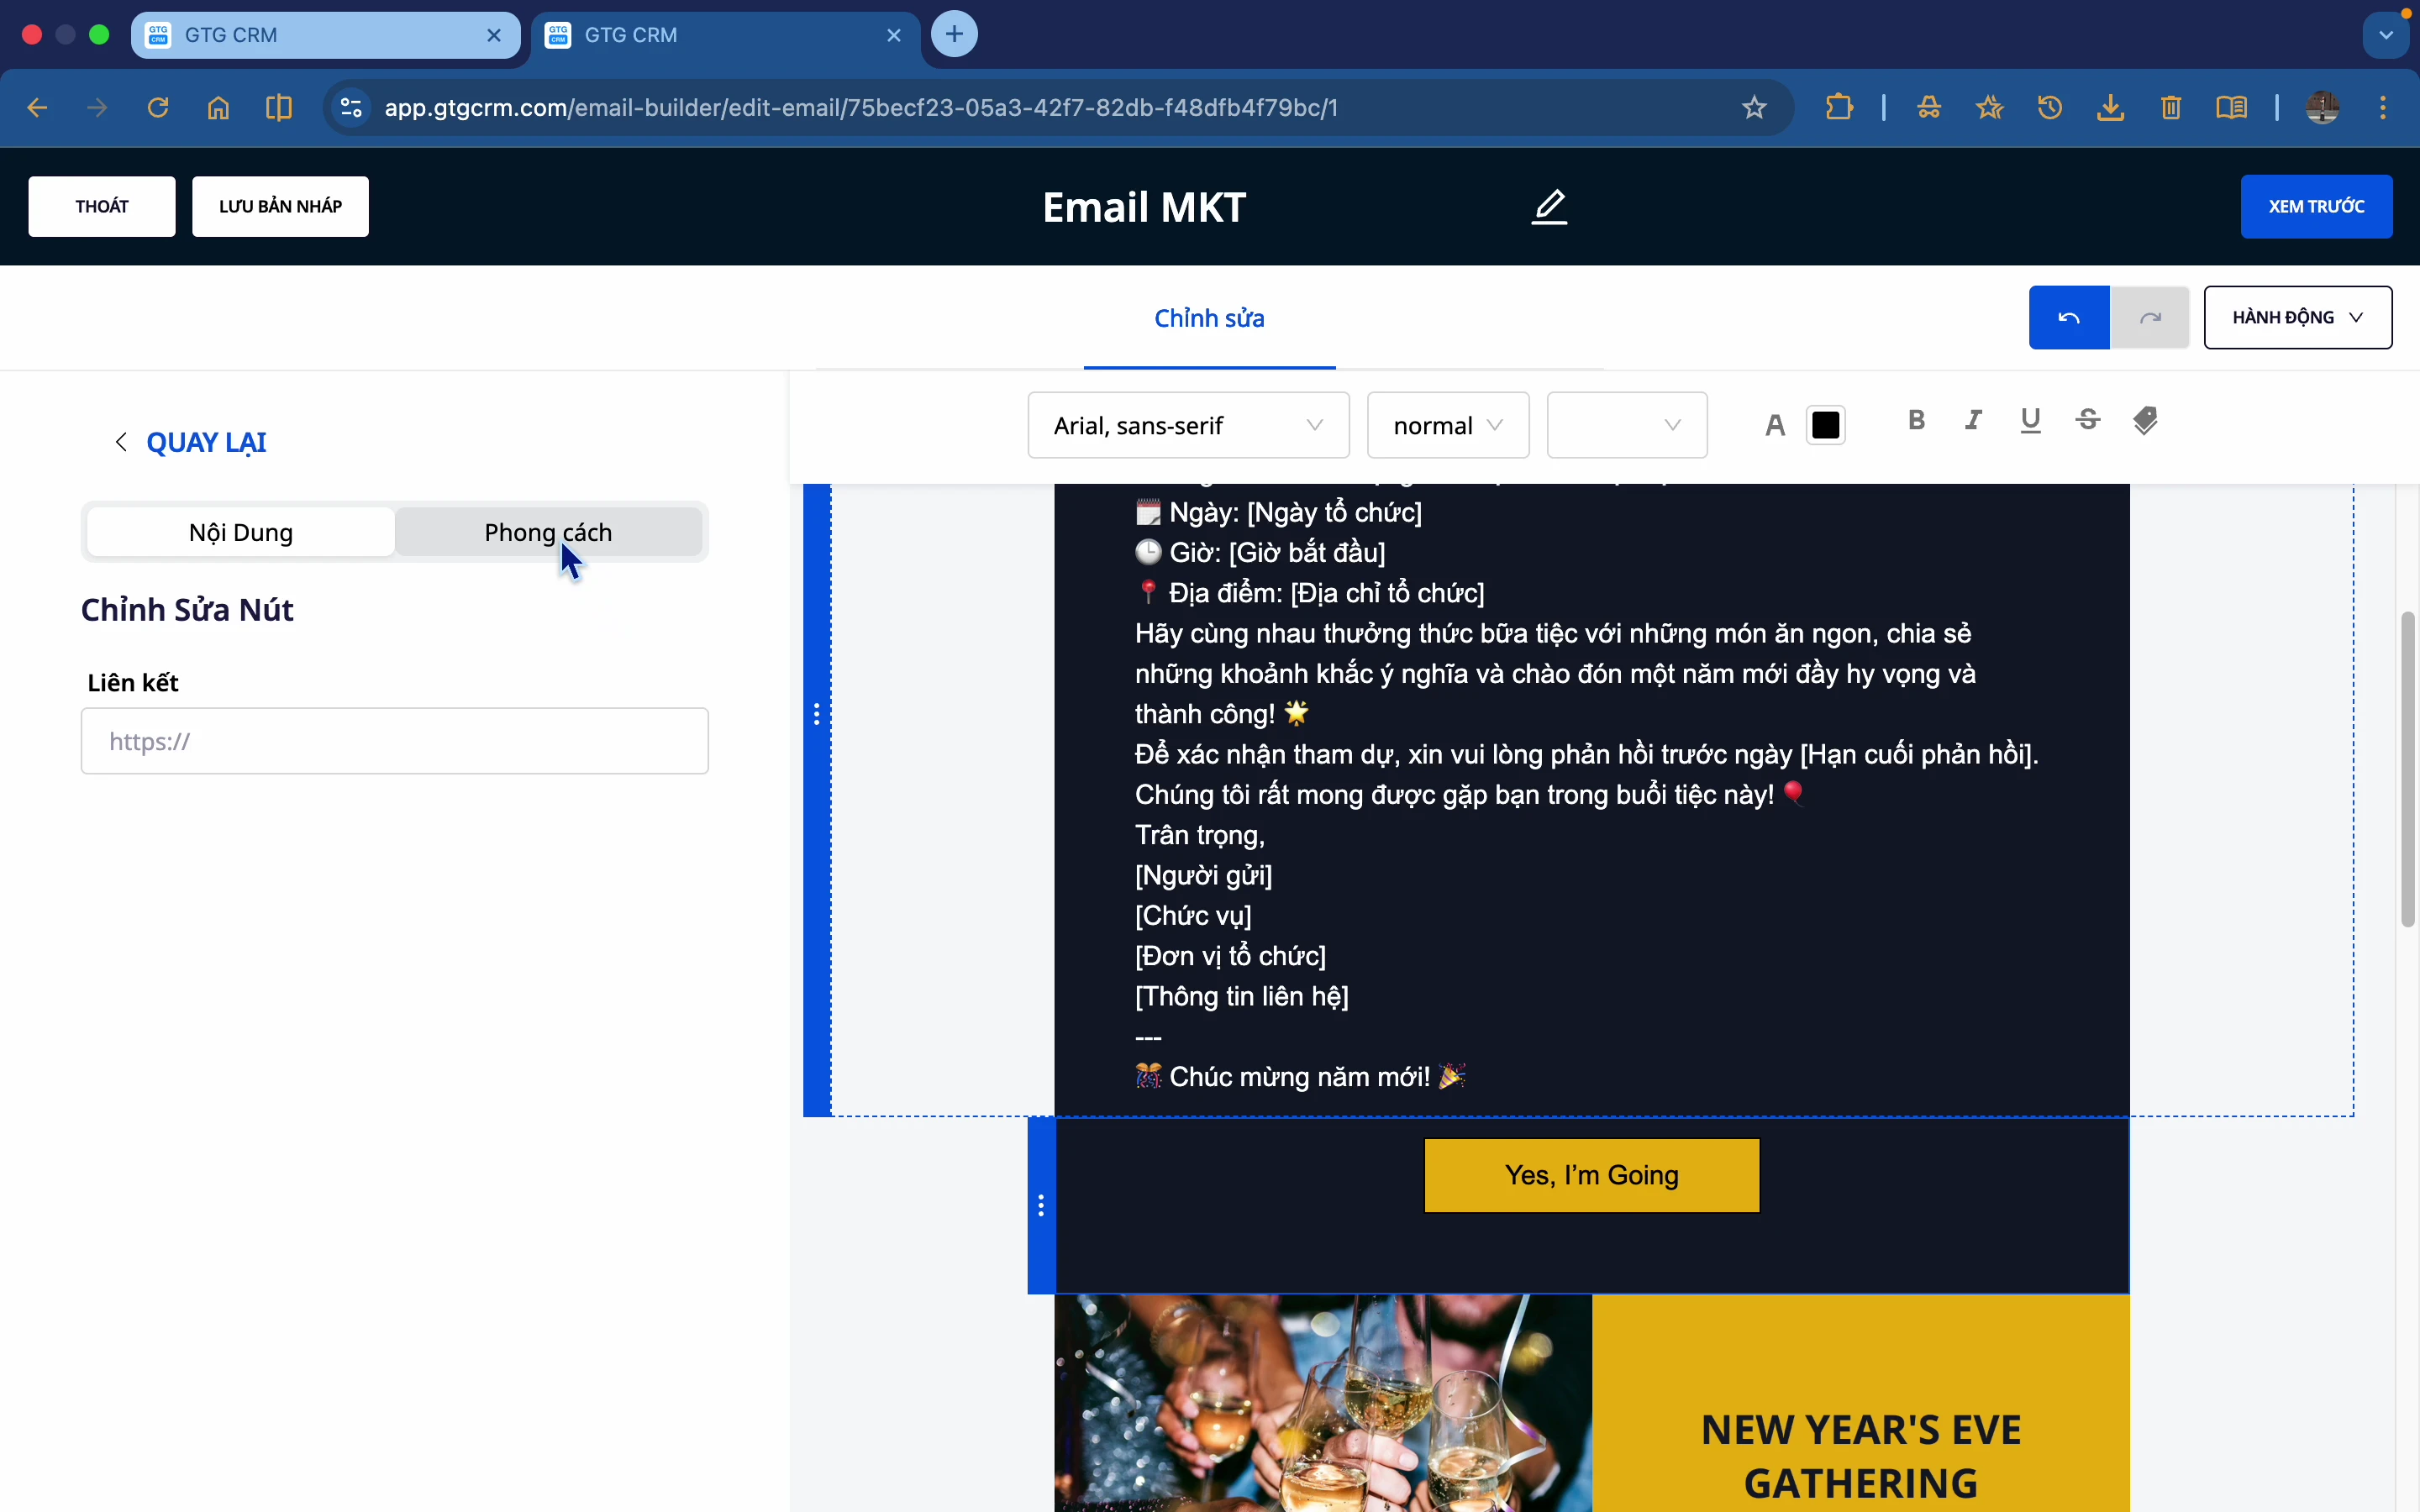
7.2 Button
Edit the button:
- Edit the text in the button.
- Change button background color
- Change text color
- Border radius
- Align (left, center, right)
Attach link:
- Go to Content → Links
- Enter the destination URL
- When the recipient clicks the button, they will be redirected to that URL.
7.3 Image
Change the image:
- Upload from computer
- Google Photos
- AI modeling
Adjust the size:
- Enter the number of pixels (e.g., 600)
- Or drag and drop to resize.
7.4 Divider
Customize:
- Color
- Length (width)
- Line style: Solid, Dashed
- Alignment
7.5 Social Icons
Add social media:
- TikTok
- YouTube
Attach link:
- Select the icon → Enter the social media page URL
- Clicking on it will take you to that page.
Customize the style:
- Many different types of symbols
- Custom colors
![]()
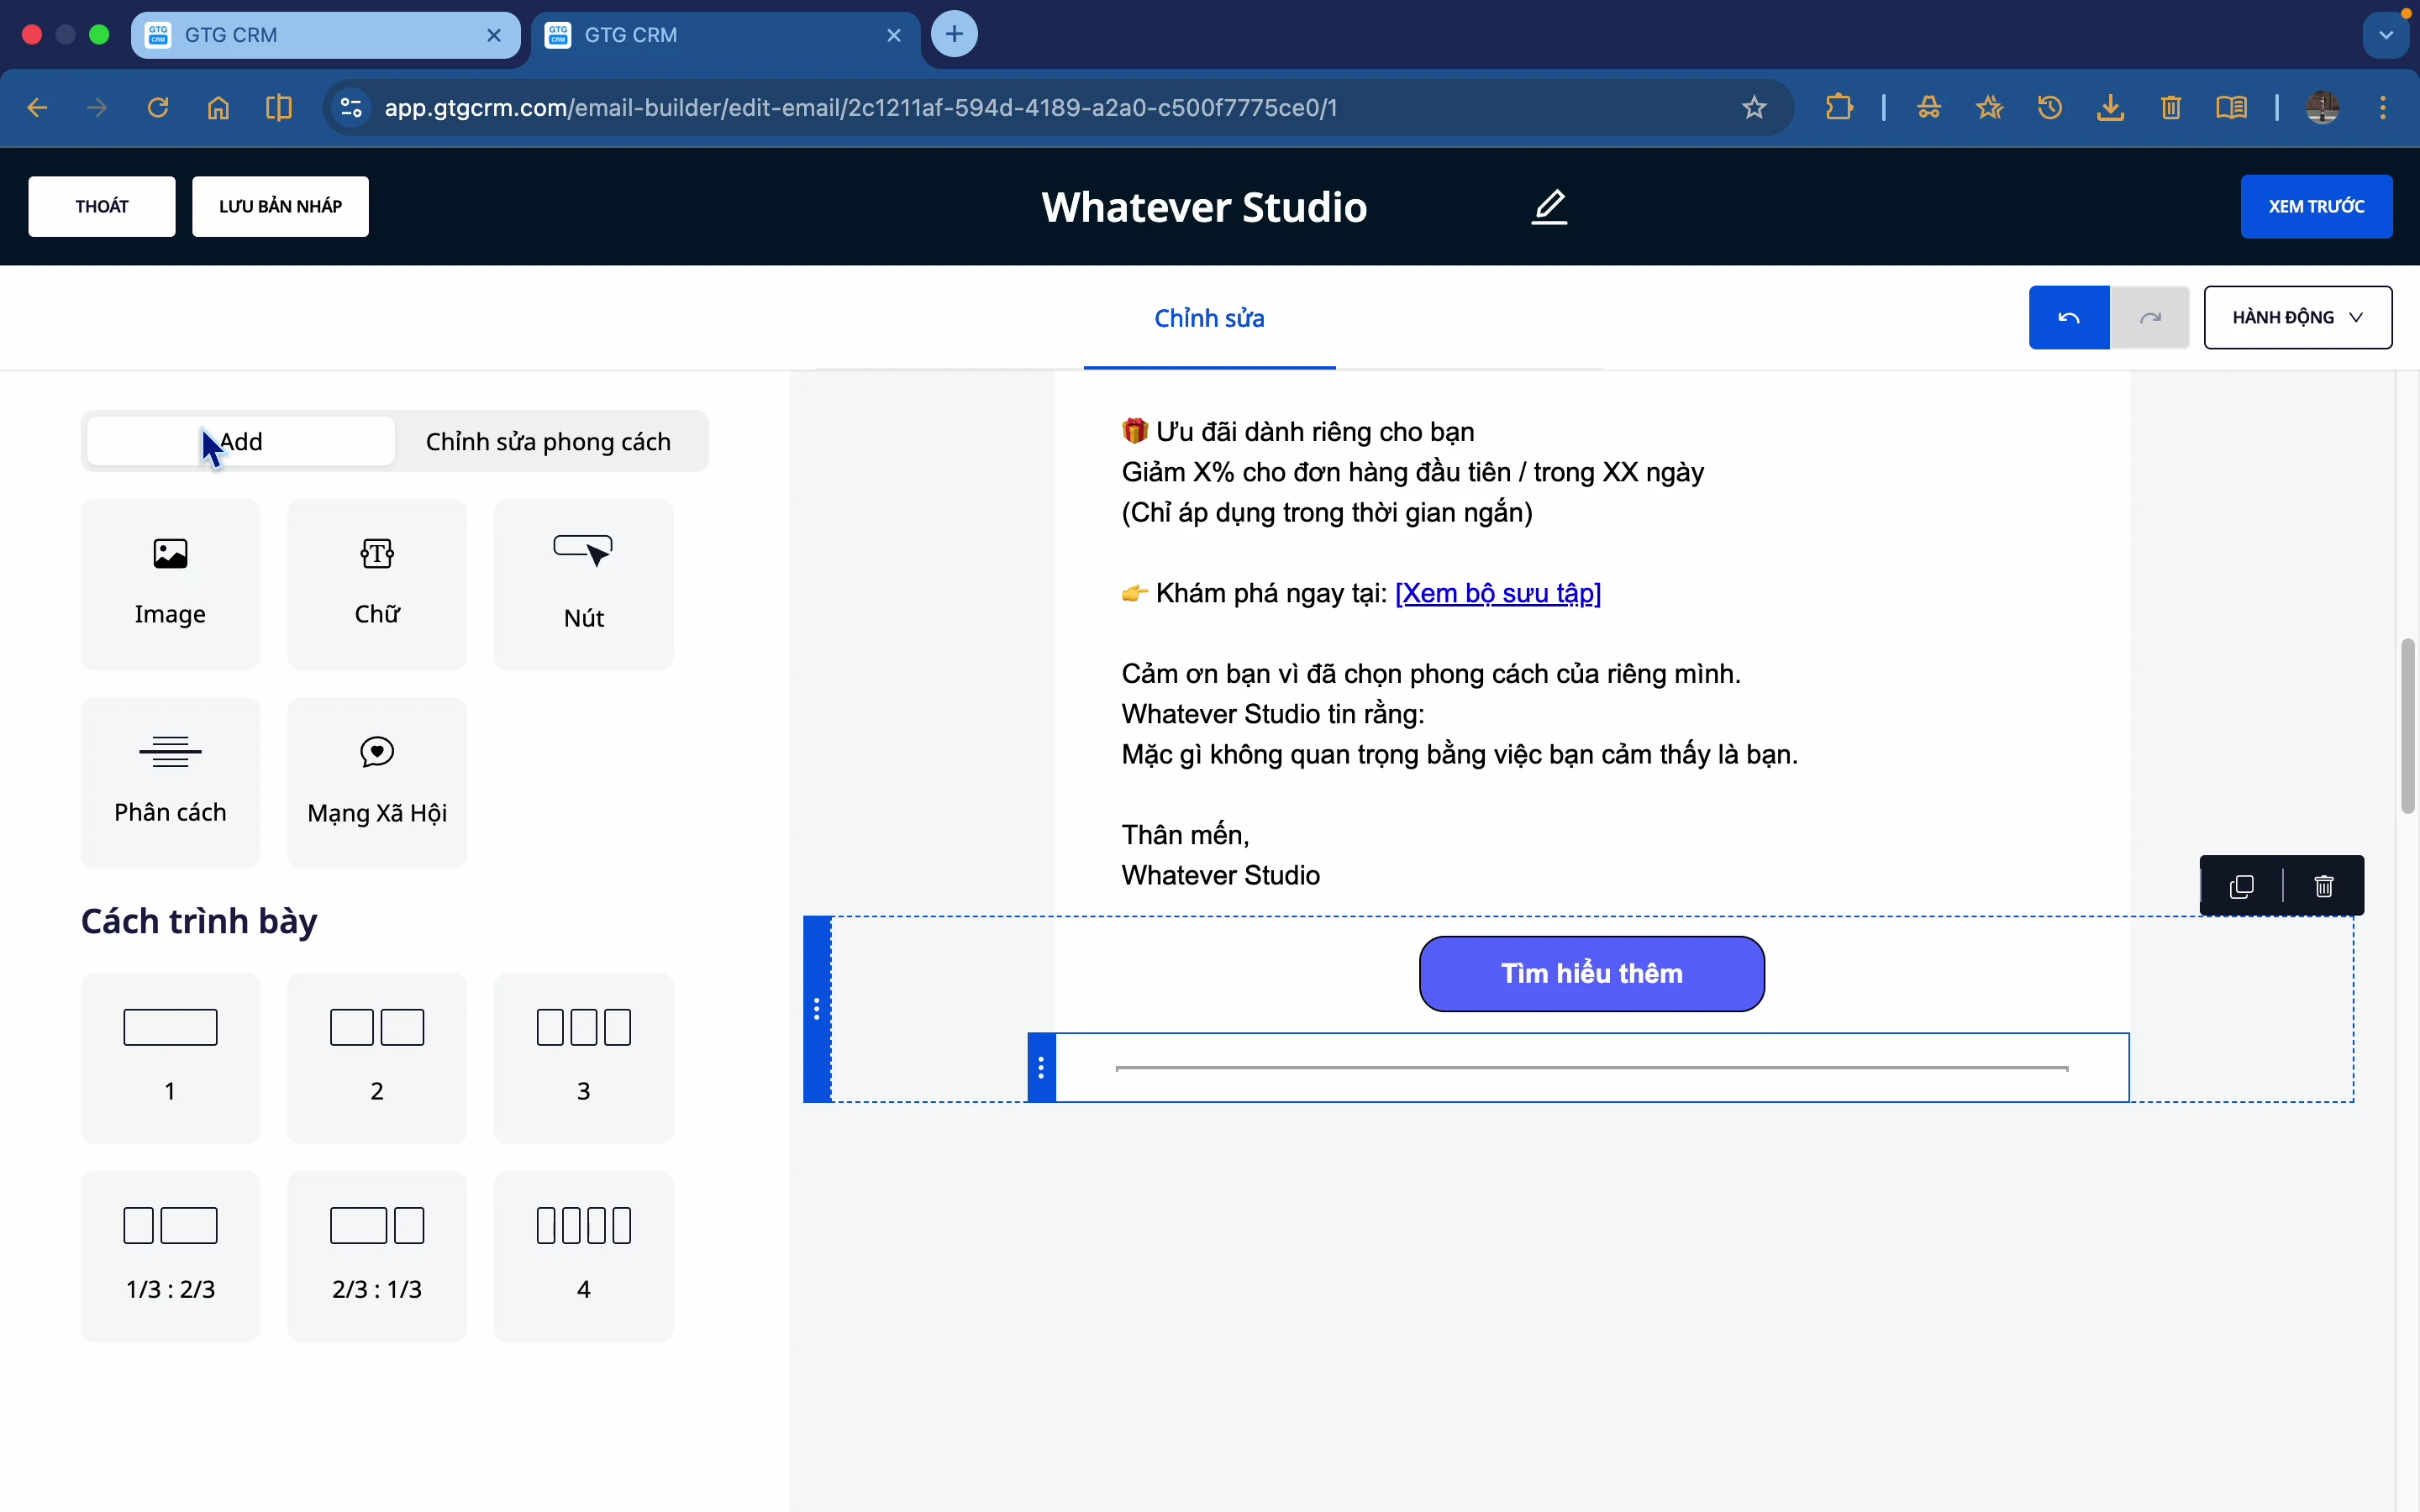
7.6 Layout
Choose a layout:
- 1 column
- 2 columns
- 3 columns
- Customize the scale
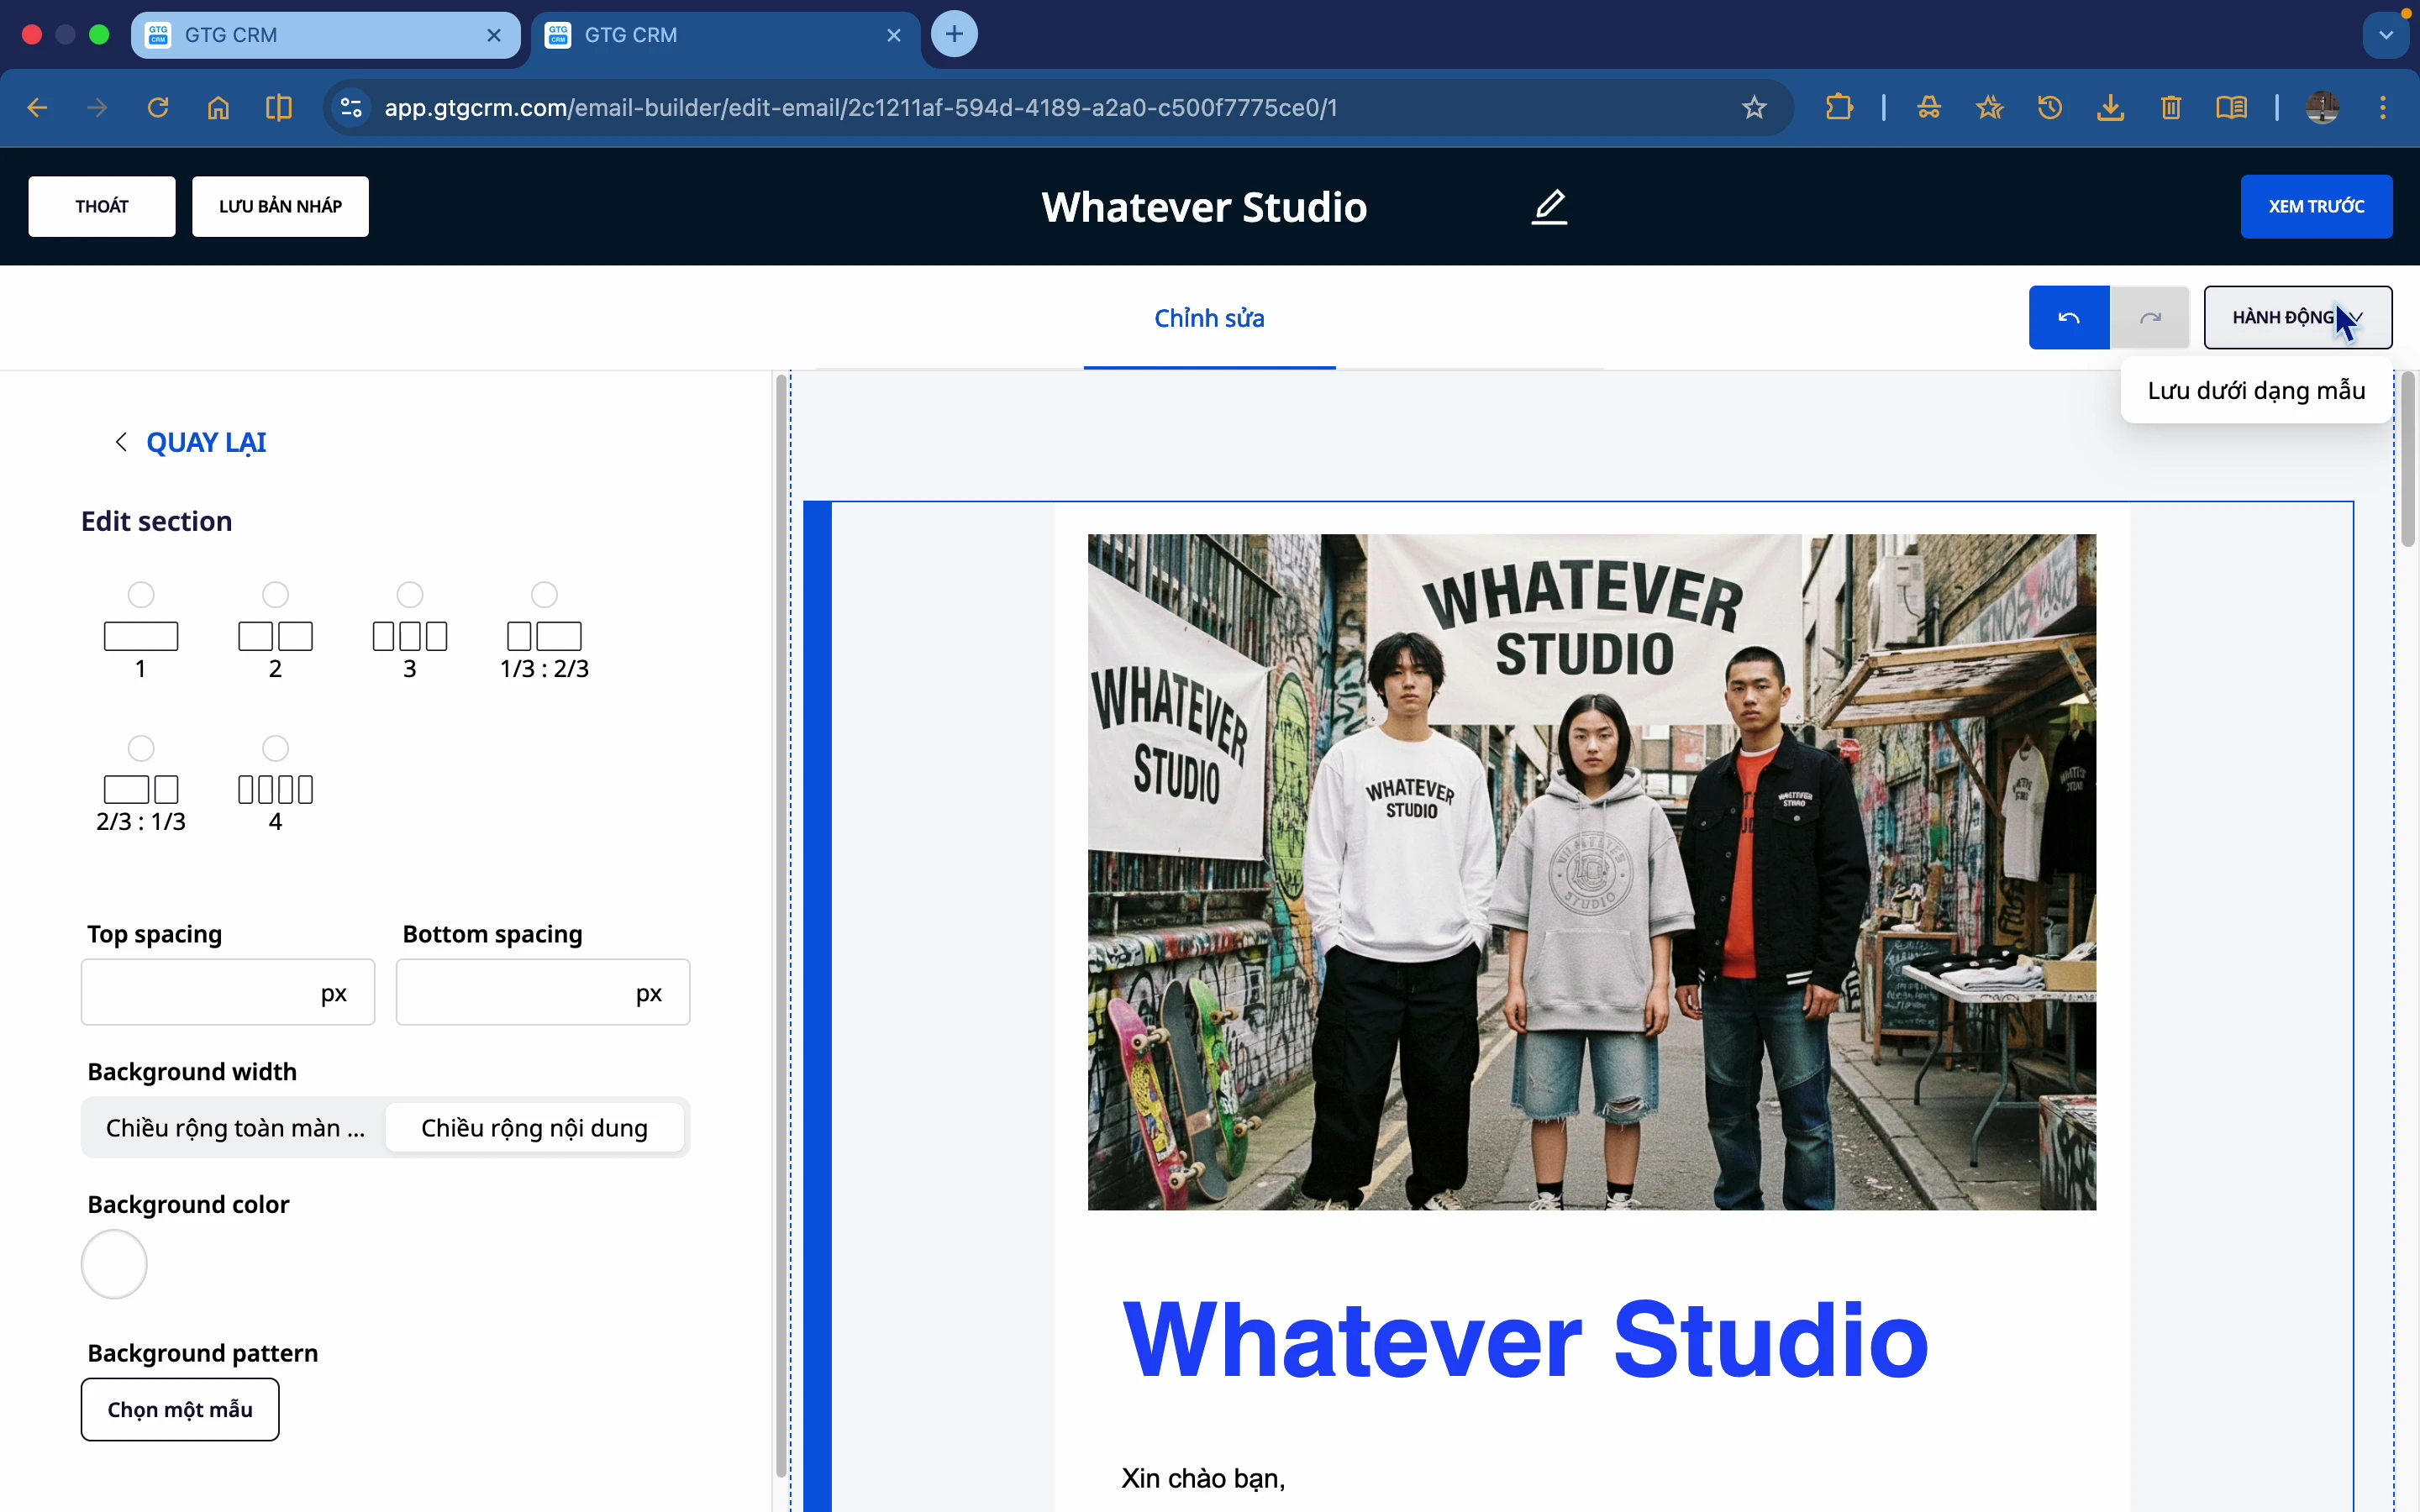
Customize:
- Background color
- Paddication (top, bottom, left, right)
- Border
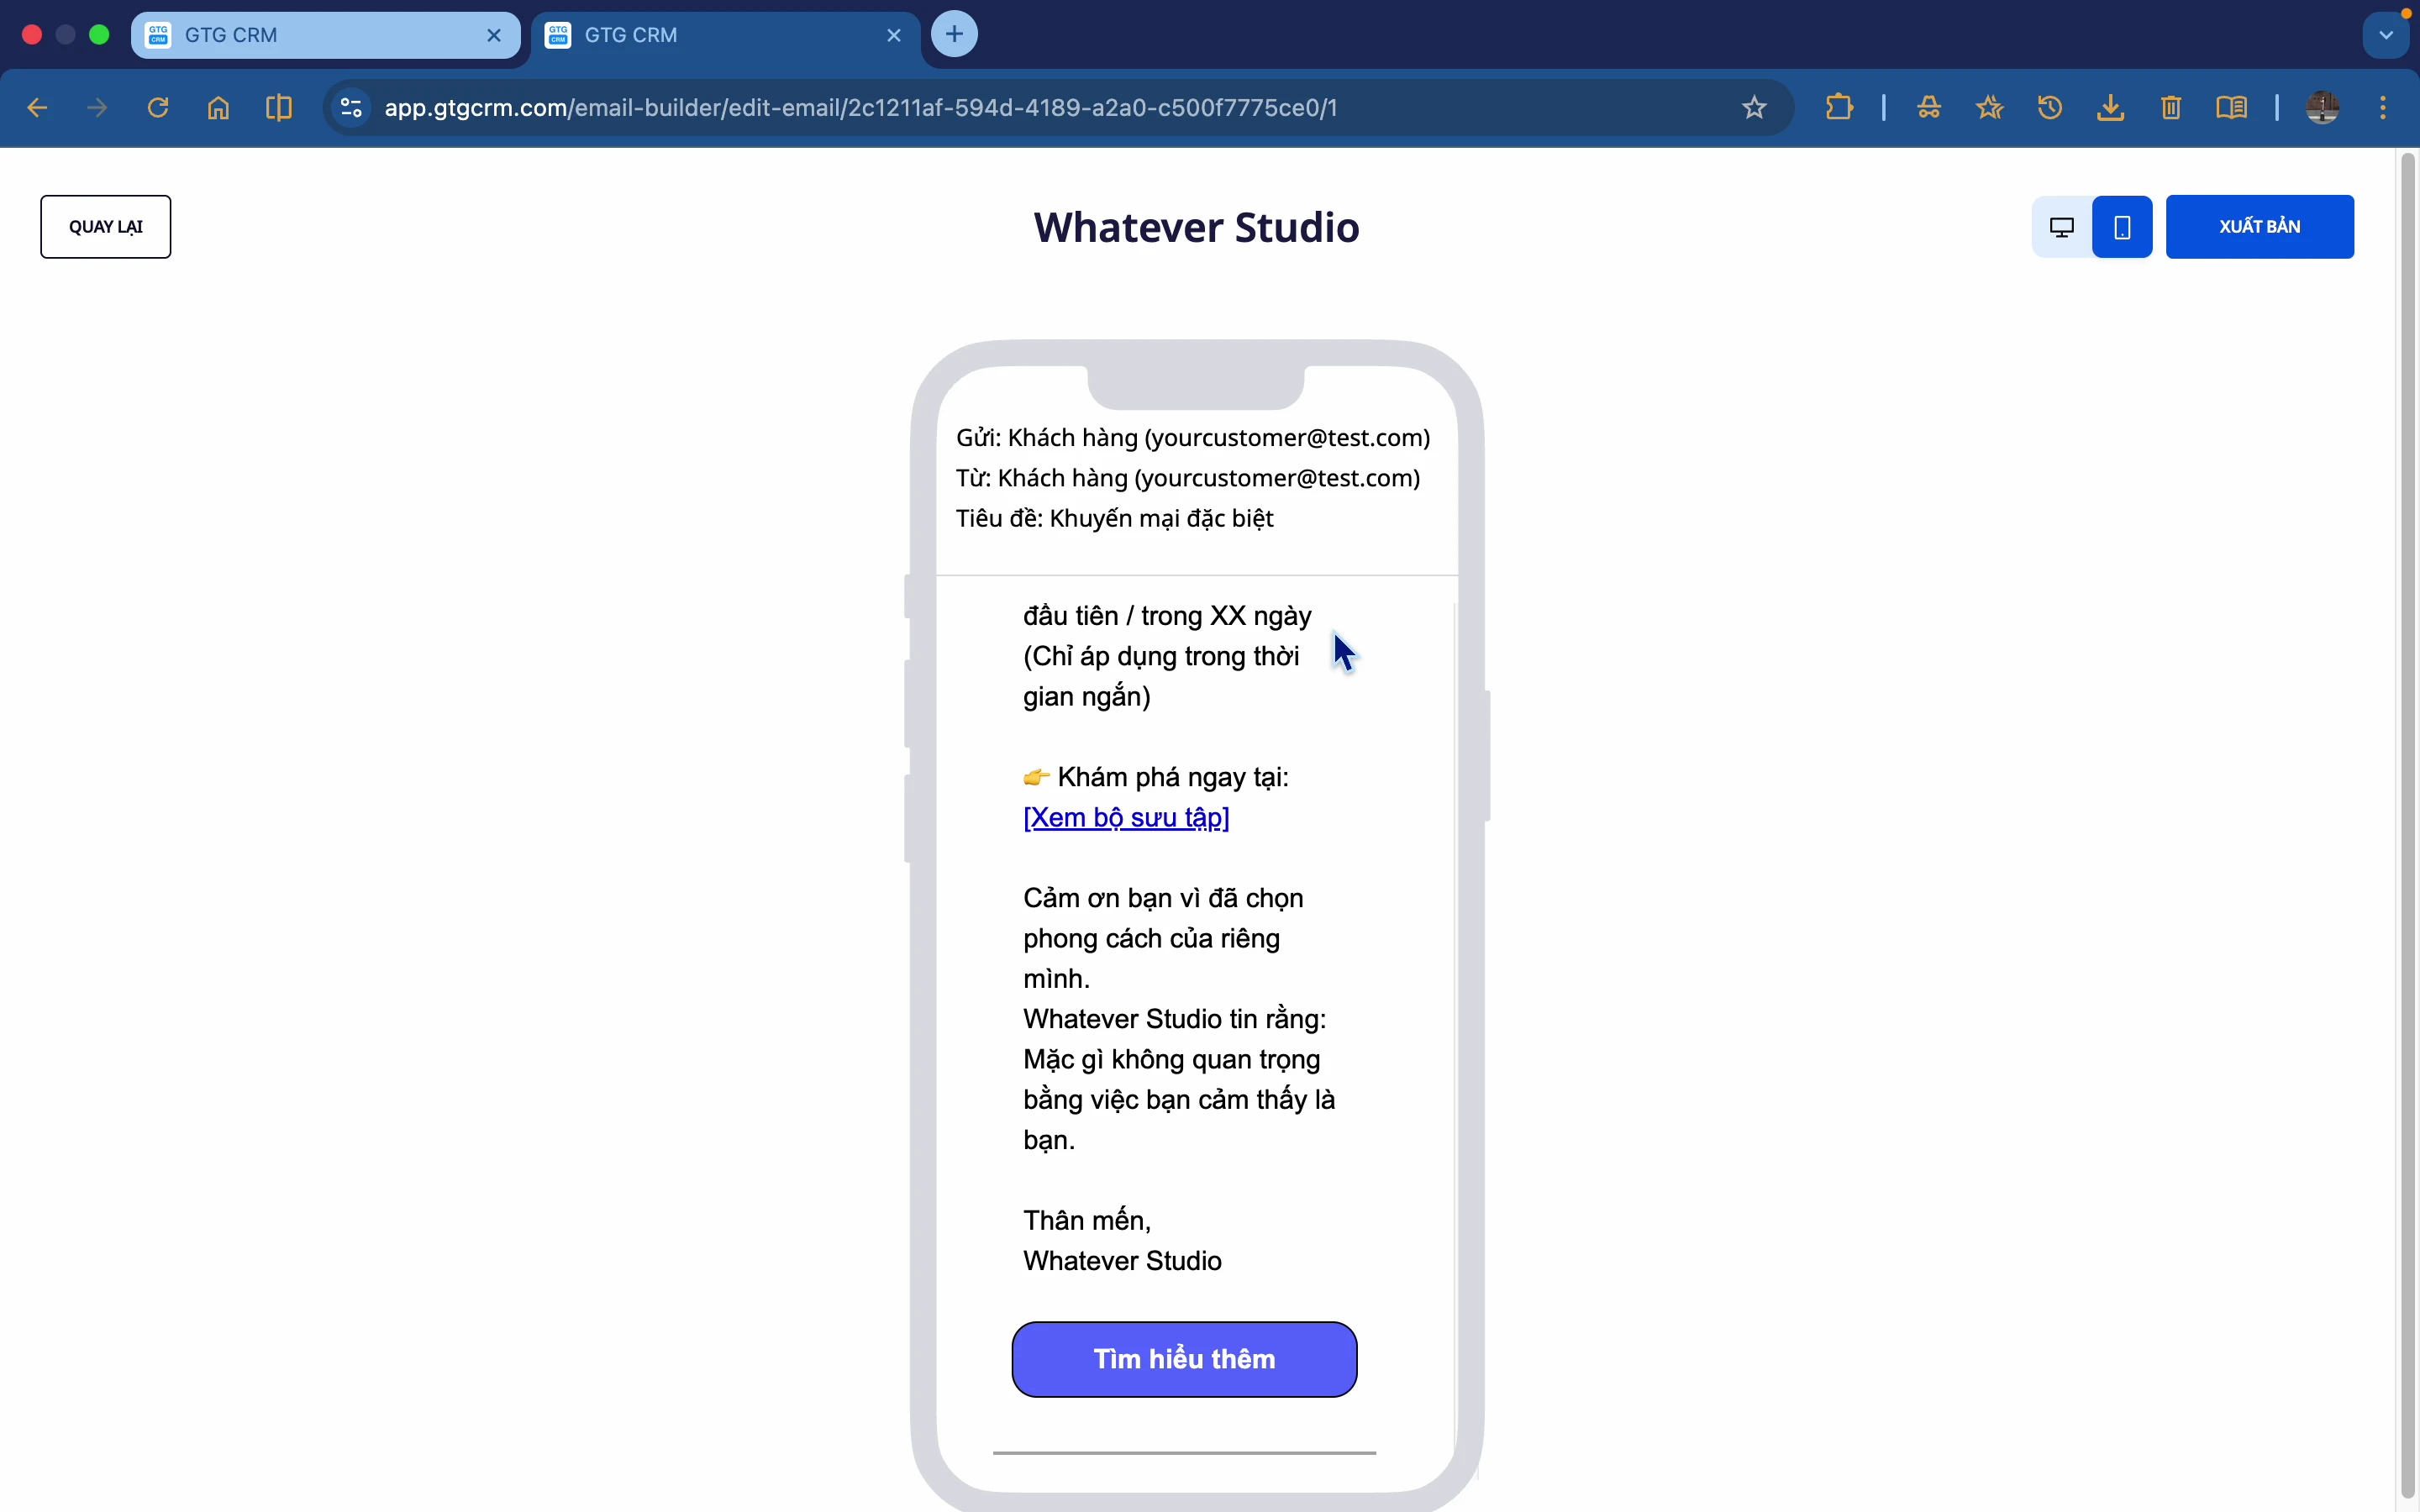
8. Preview and Publish
Step 1: Preview the Desktop
Click Preview to check your email on the desktop interface.
Step 2: Mobile Preview
Switch to Mobile view to ensure emails display nicely on your phone.
Step 3: Save the email
There are 3 save options:
- Save draft : Save for later editing
- Save as template : Reuse for other emails
- Published : Completed and ready to ship
Step 4: Publish
Click Publish to complete the email.
9. Send an Email
Step 1: View email details
After publishing, check the details of the email you created.
Step 2: Click "Submit"
Press the Send button to begin sending the email.
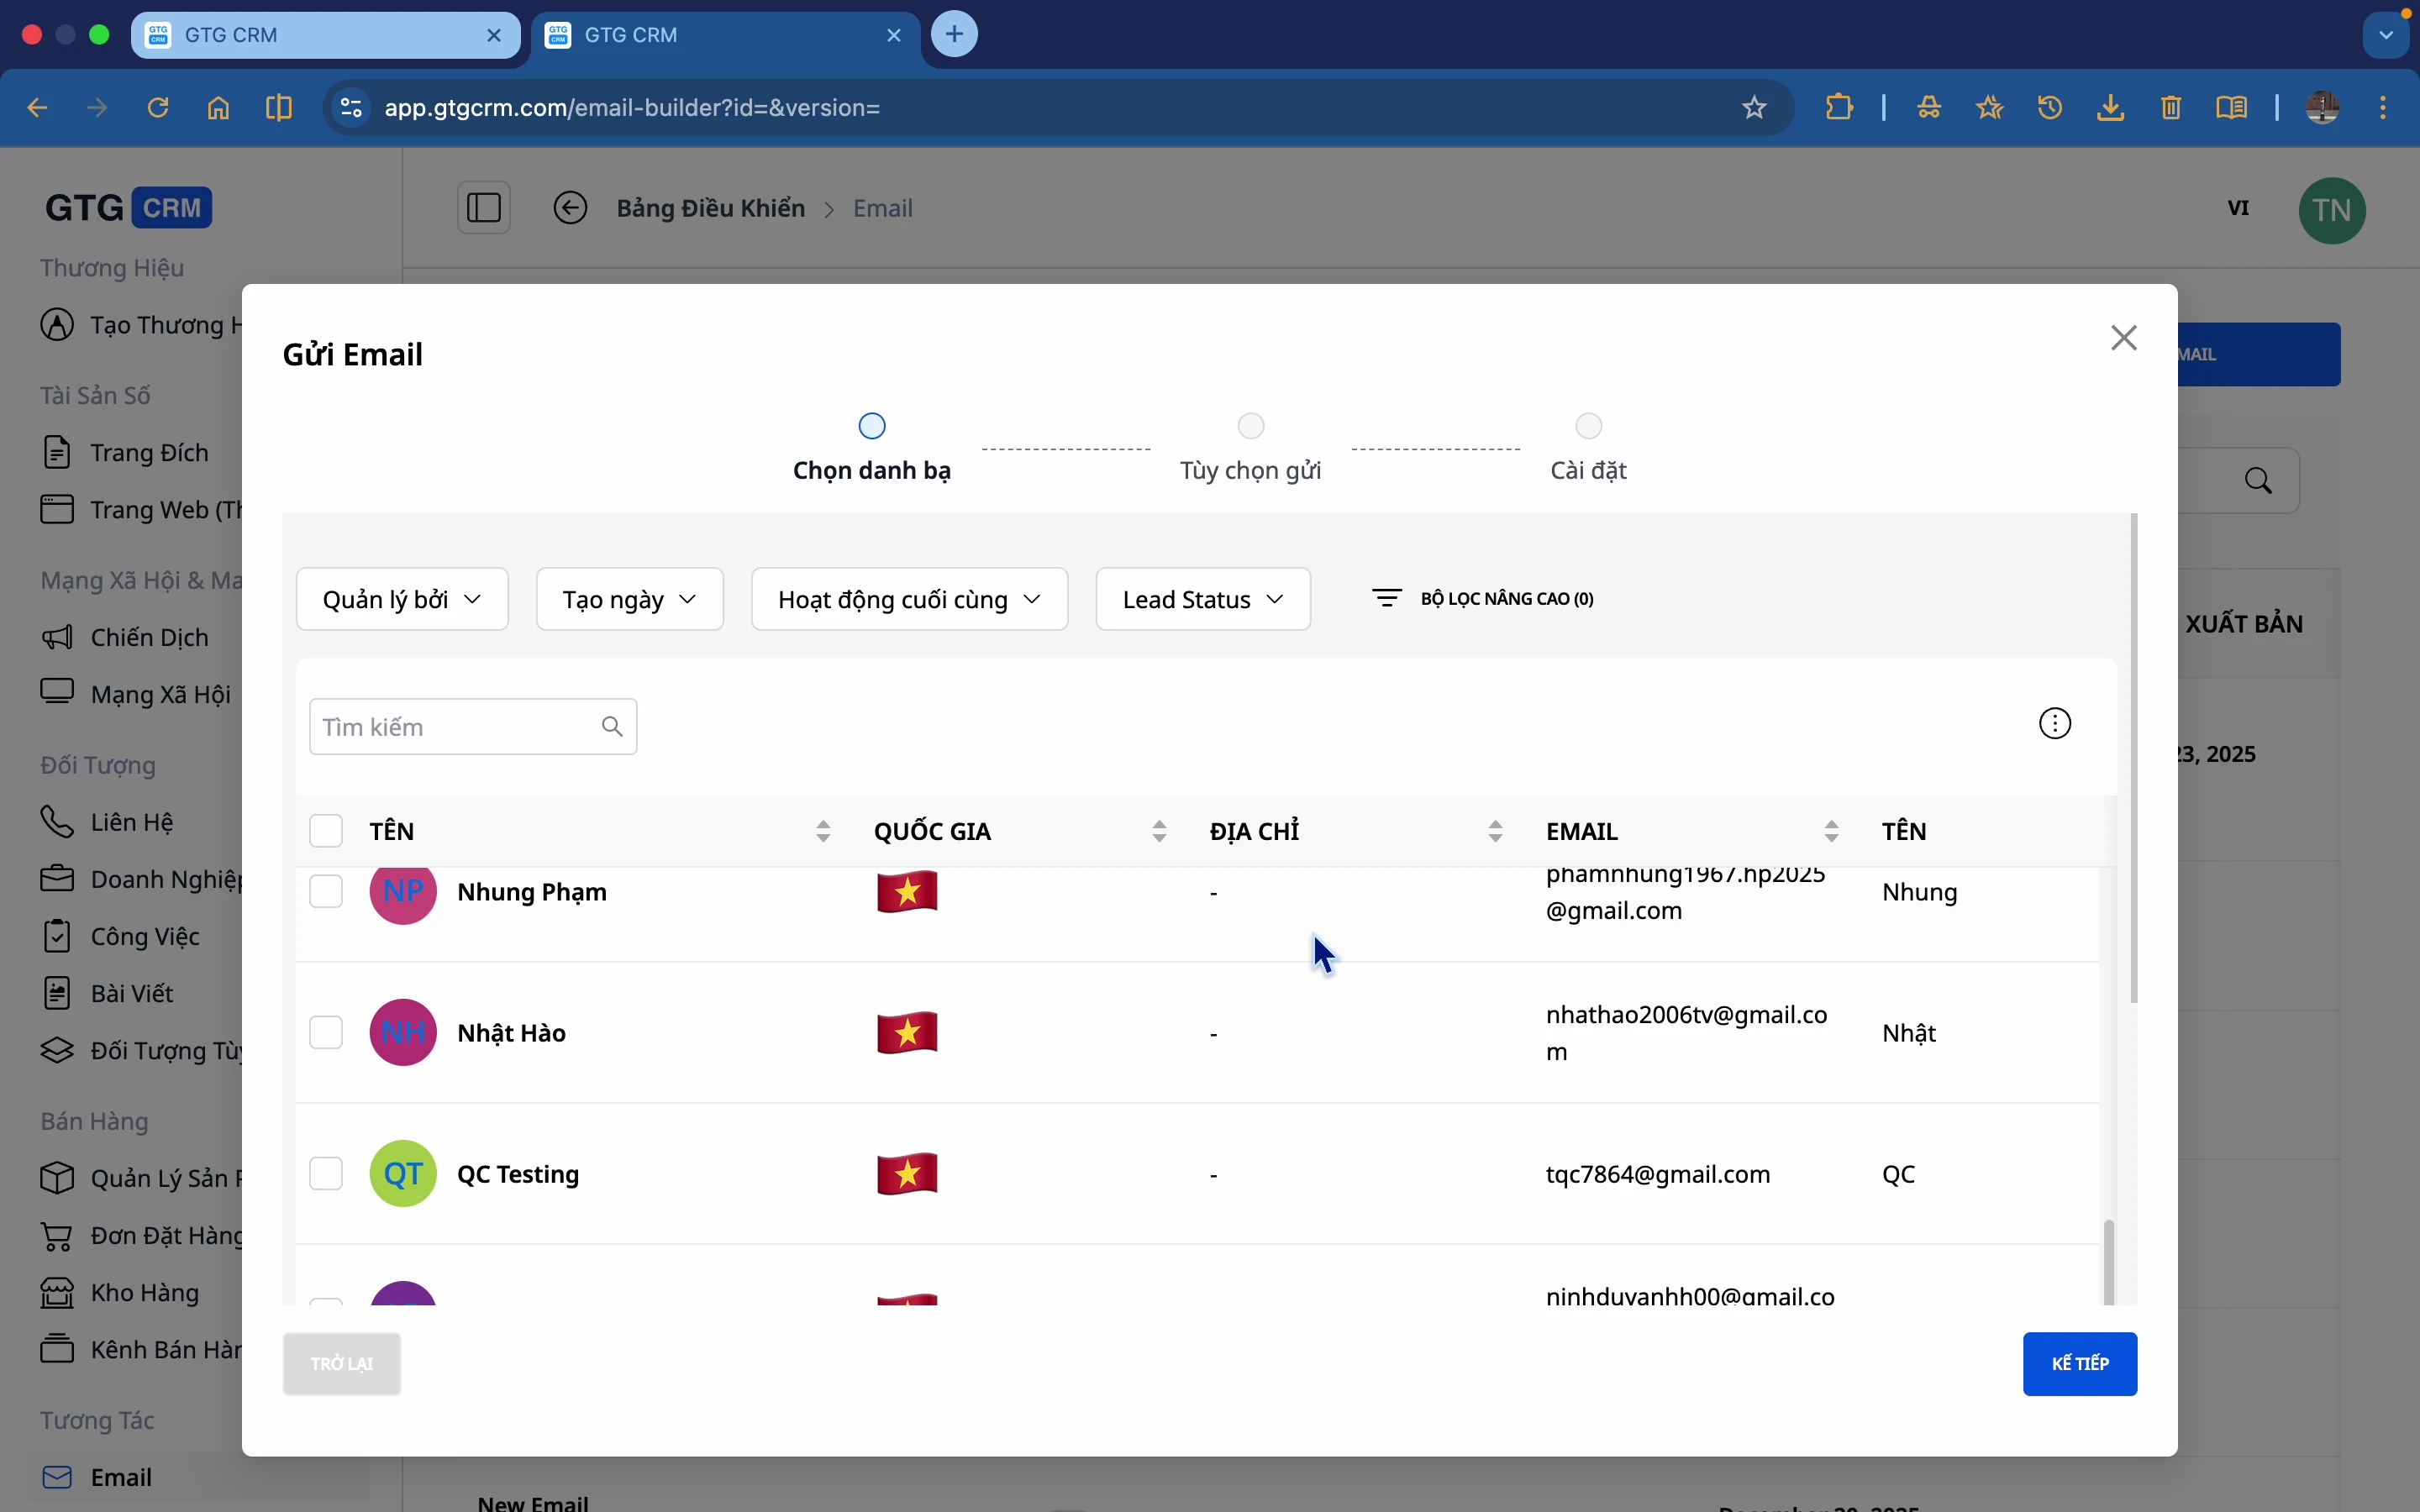
Step 3: Choose the recipient
- Select from your CRM contact list.
- Or select by segment/tag
Step 4: Choose the delivery time.
- Send Now : Emails are sent immediately.
- Schedule : Choose a specific date and time to send
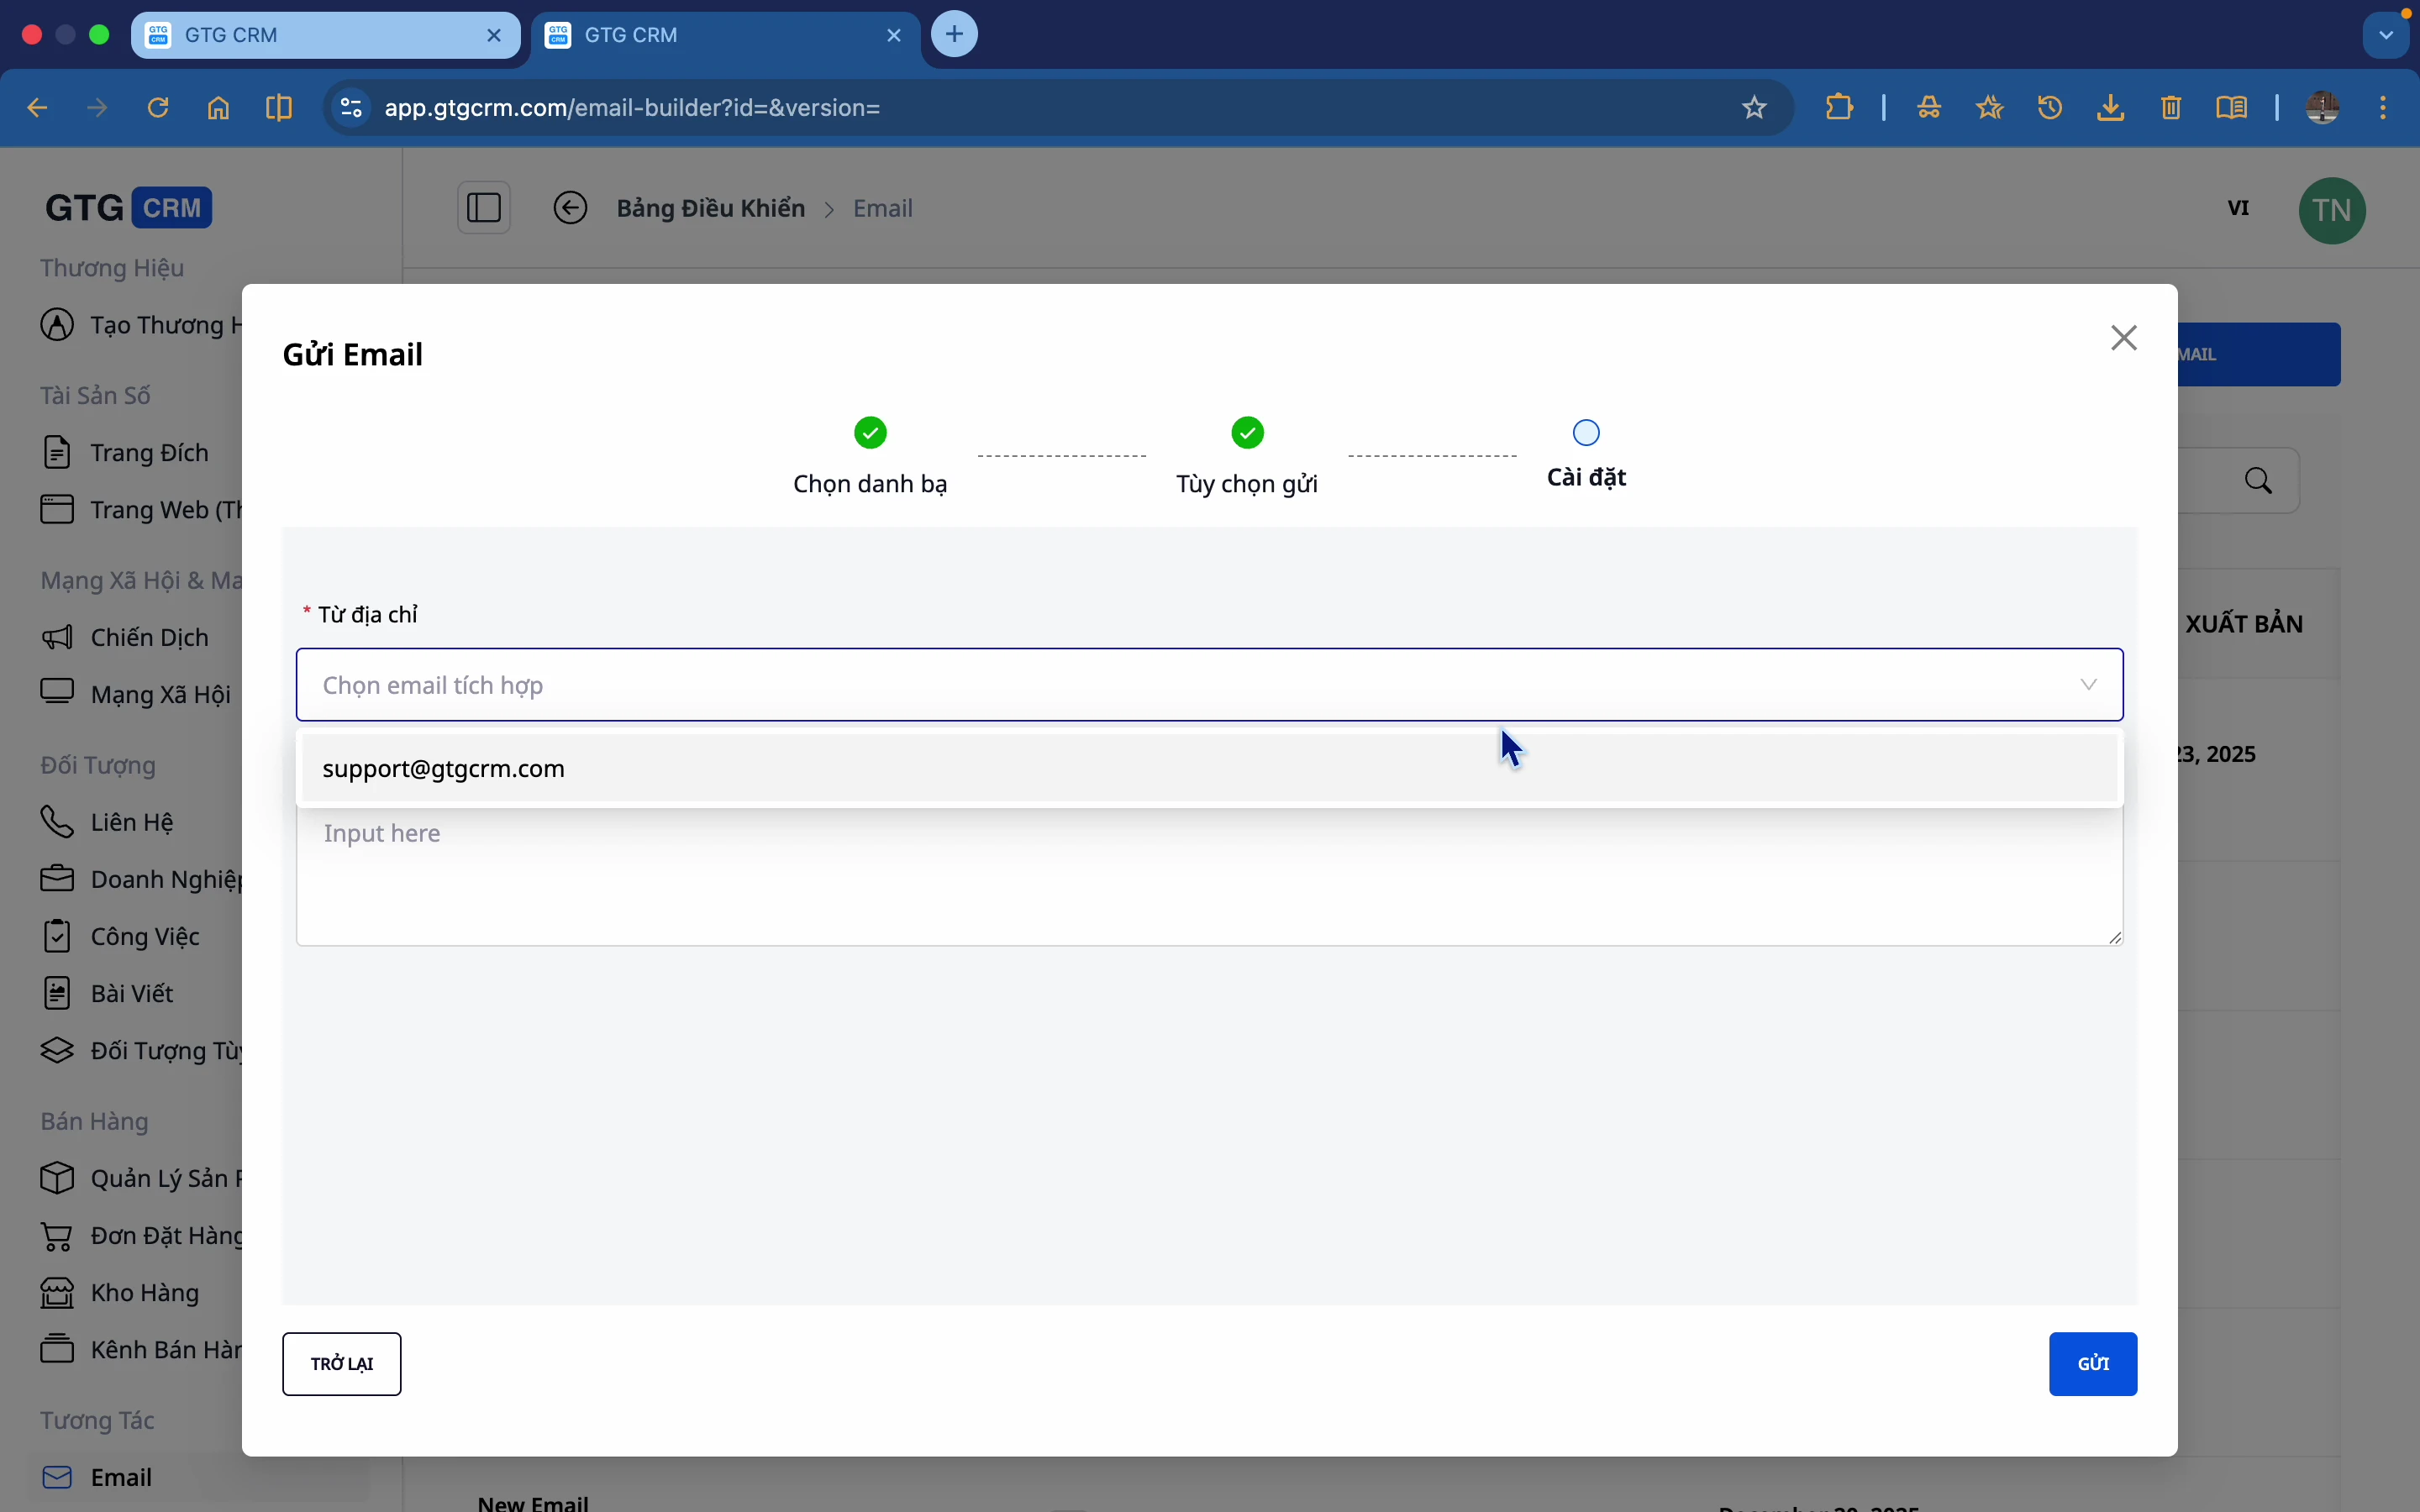
Step 5: Choose the email address to send to.
Select the email address that is already integrated into GTG CRM.
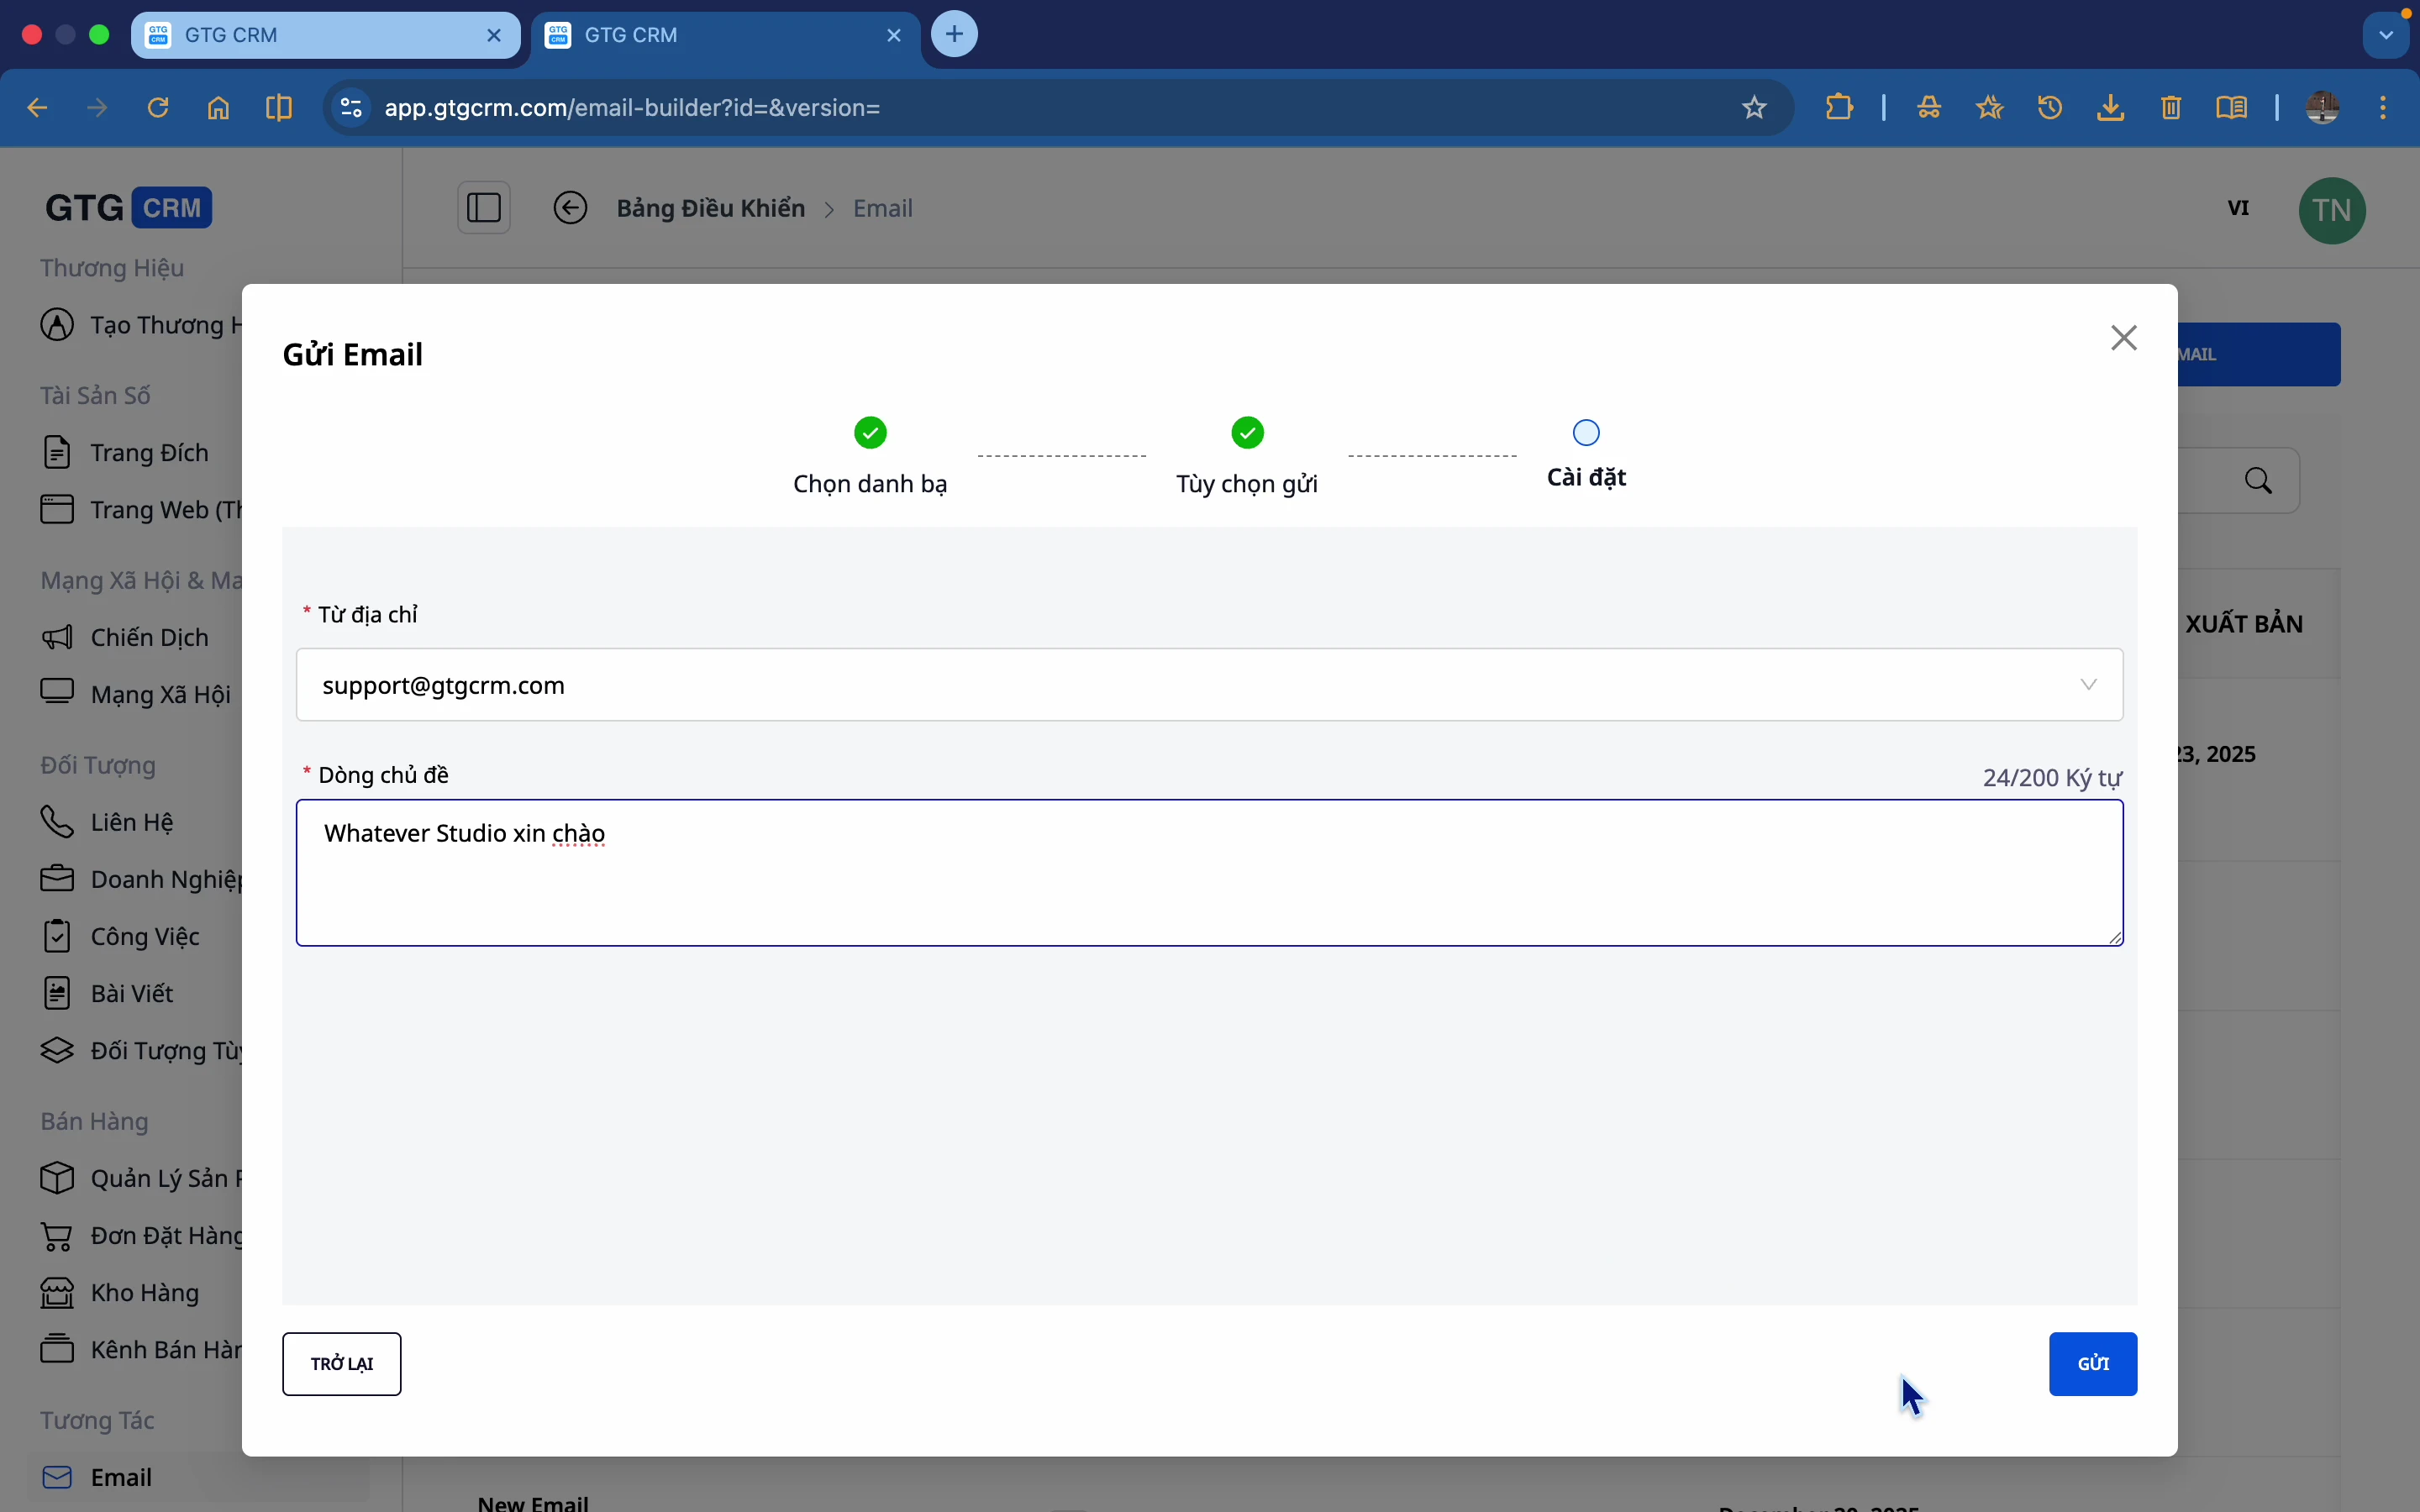
Step 6: Enter the Subject
Enter the email subject line.
Step 7: Confirm submission
Press Submit to complete.
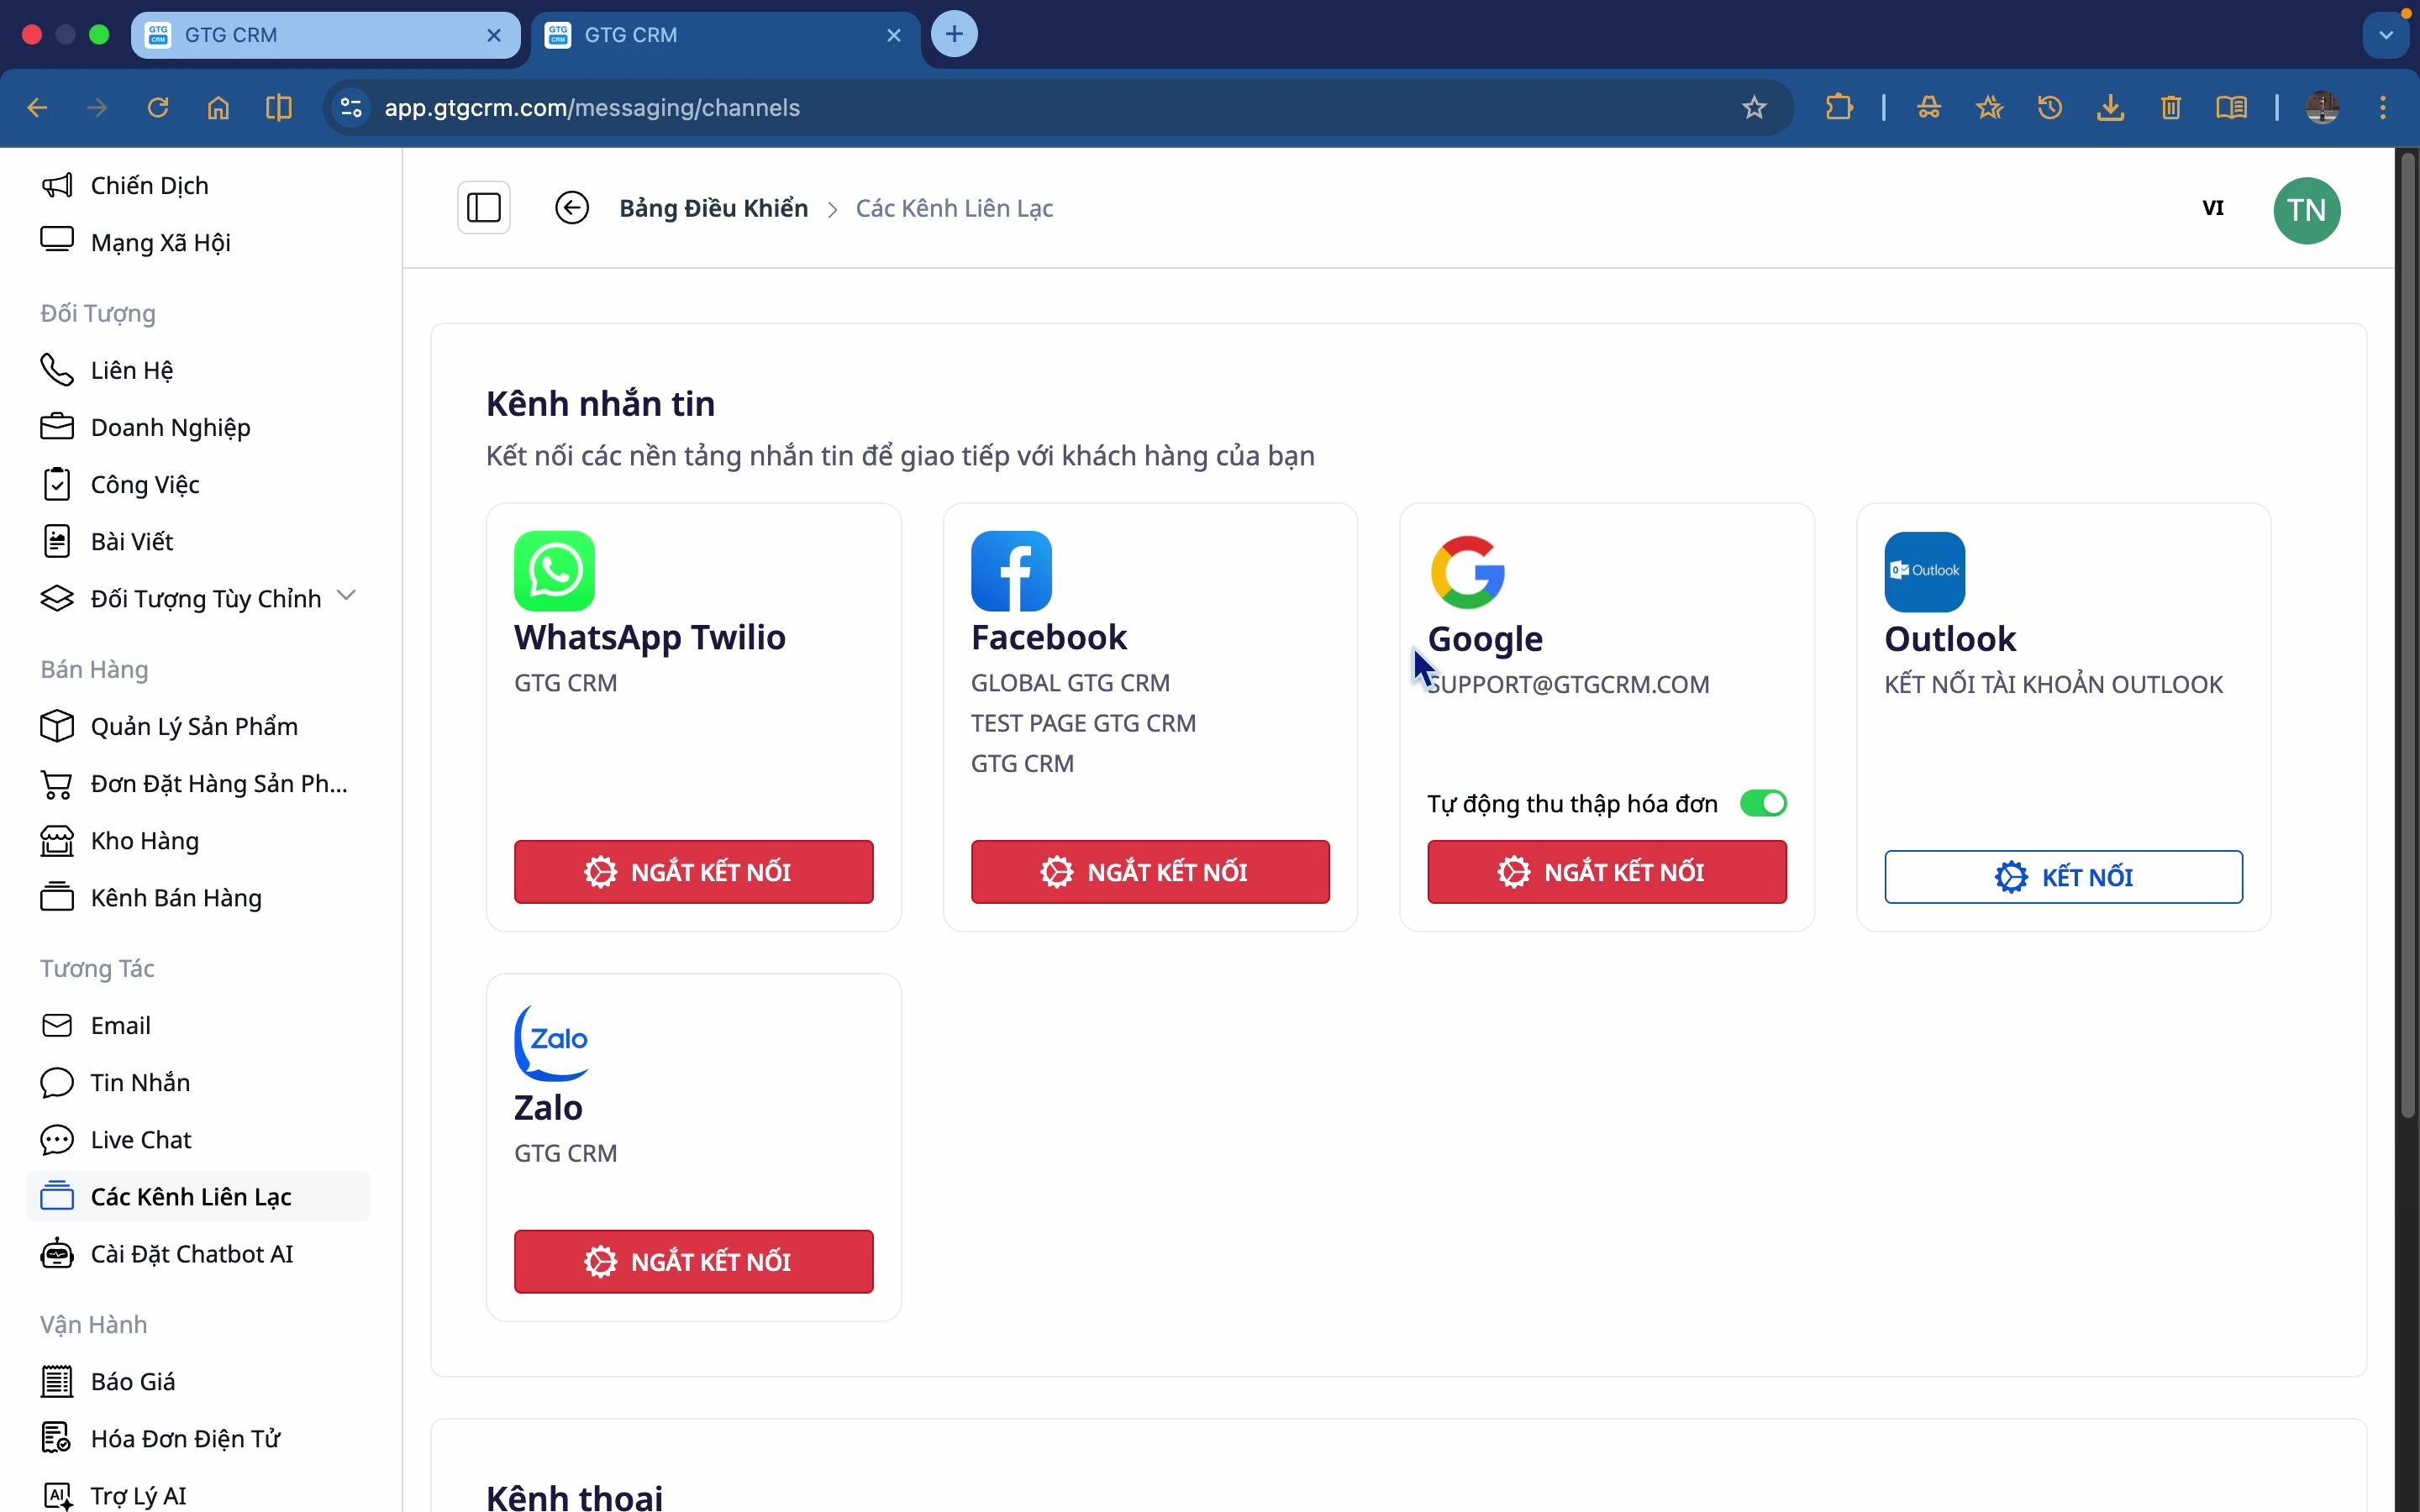
10. Integrate Outgoing Email Sending
Step 1: Go to settings
Scroll down to the Communication Channel Settings section.
Step 2: Integrate email
Add a business email address to send marketing emails.
Note:
- You should use a business email (@company.com)
- Configure SMTP correctly to prevent emails from going to spam.
- Multiple email addresses can be integrated.
Integration with Automation
Email Builder integrates with the Automation Workflow feature:
- Automatically send emails based on a script.
- No need to manually send it to each person.
- Example: When a lead registers → Automatically send a Welcome Email

💡 Tip : See the Automation Workflow guide for more information on setting up automation scenarios.
Tips for Effective Use
📝 Regarding the content
- Use AI to generate drafts, then edit them as needed.
- Keep the content short and concise.
- Always include a clear Call-to-Action (CTA).
🎨 Regarding design
- Avoid using too many colors (2-3 main colors).
- The image should be the appropriate size (600px width).
- Always preview on mobile
📧 Regarding sending emails
- The subject line should be under 50 characters.
- Avoid spamming words (FREE, SALE, $$$).
- Submit during business hours to increase open rate.
📊 Regarding tracking
- Monitor the opening rate to improve the subject line.
- Track click-through rates to improve content.
- A/B testing with multiple versions.
Maybe You Should Read These
AI Email Campaign

Email Builder

AI Article Generator

AI Website Builder
Build Landing Pages

24/7 AI Chatbot
AI Video Studio

Website in GTG CRM
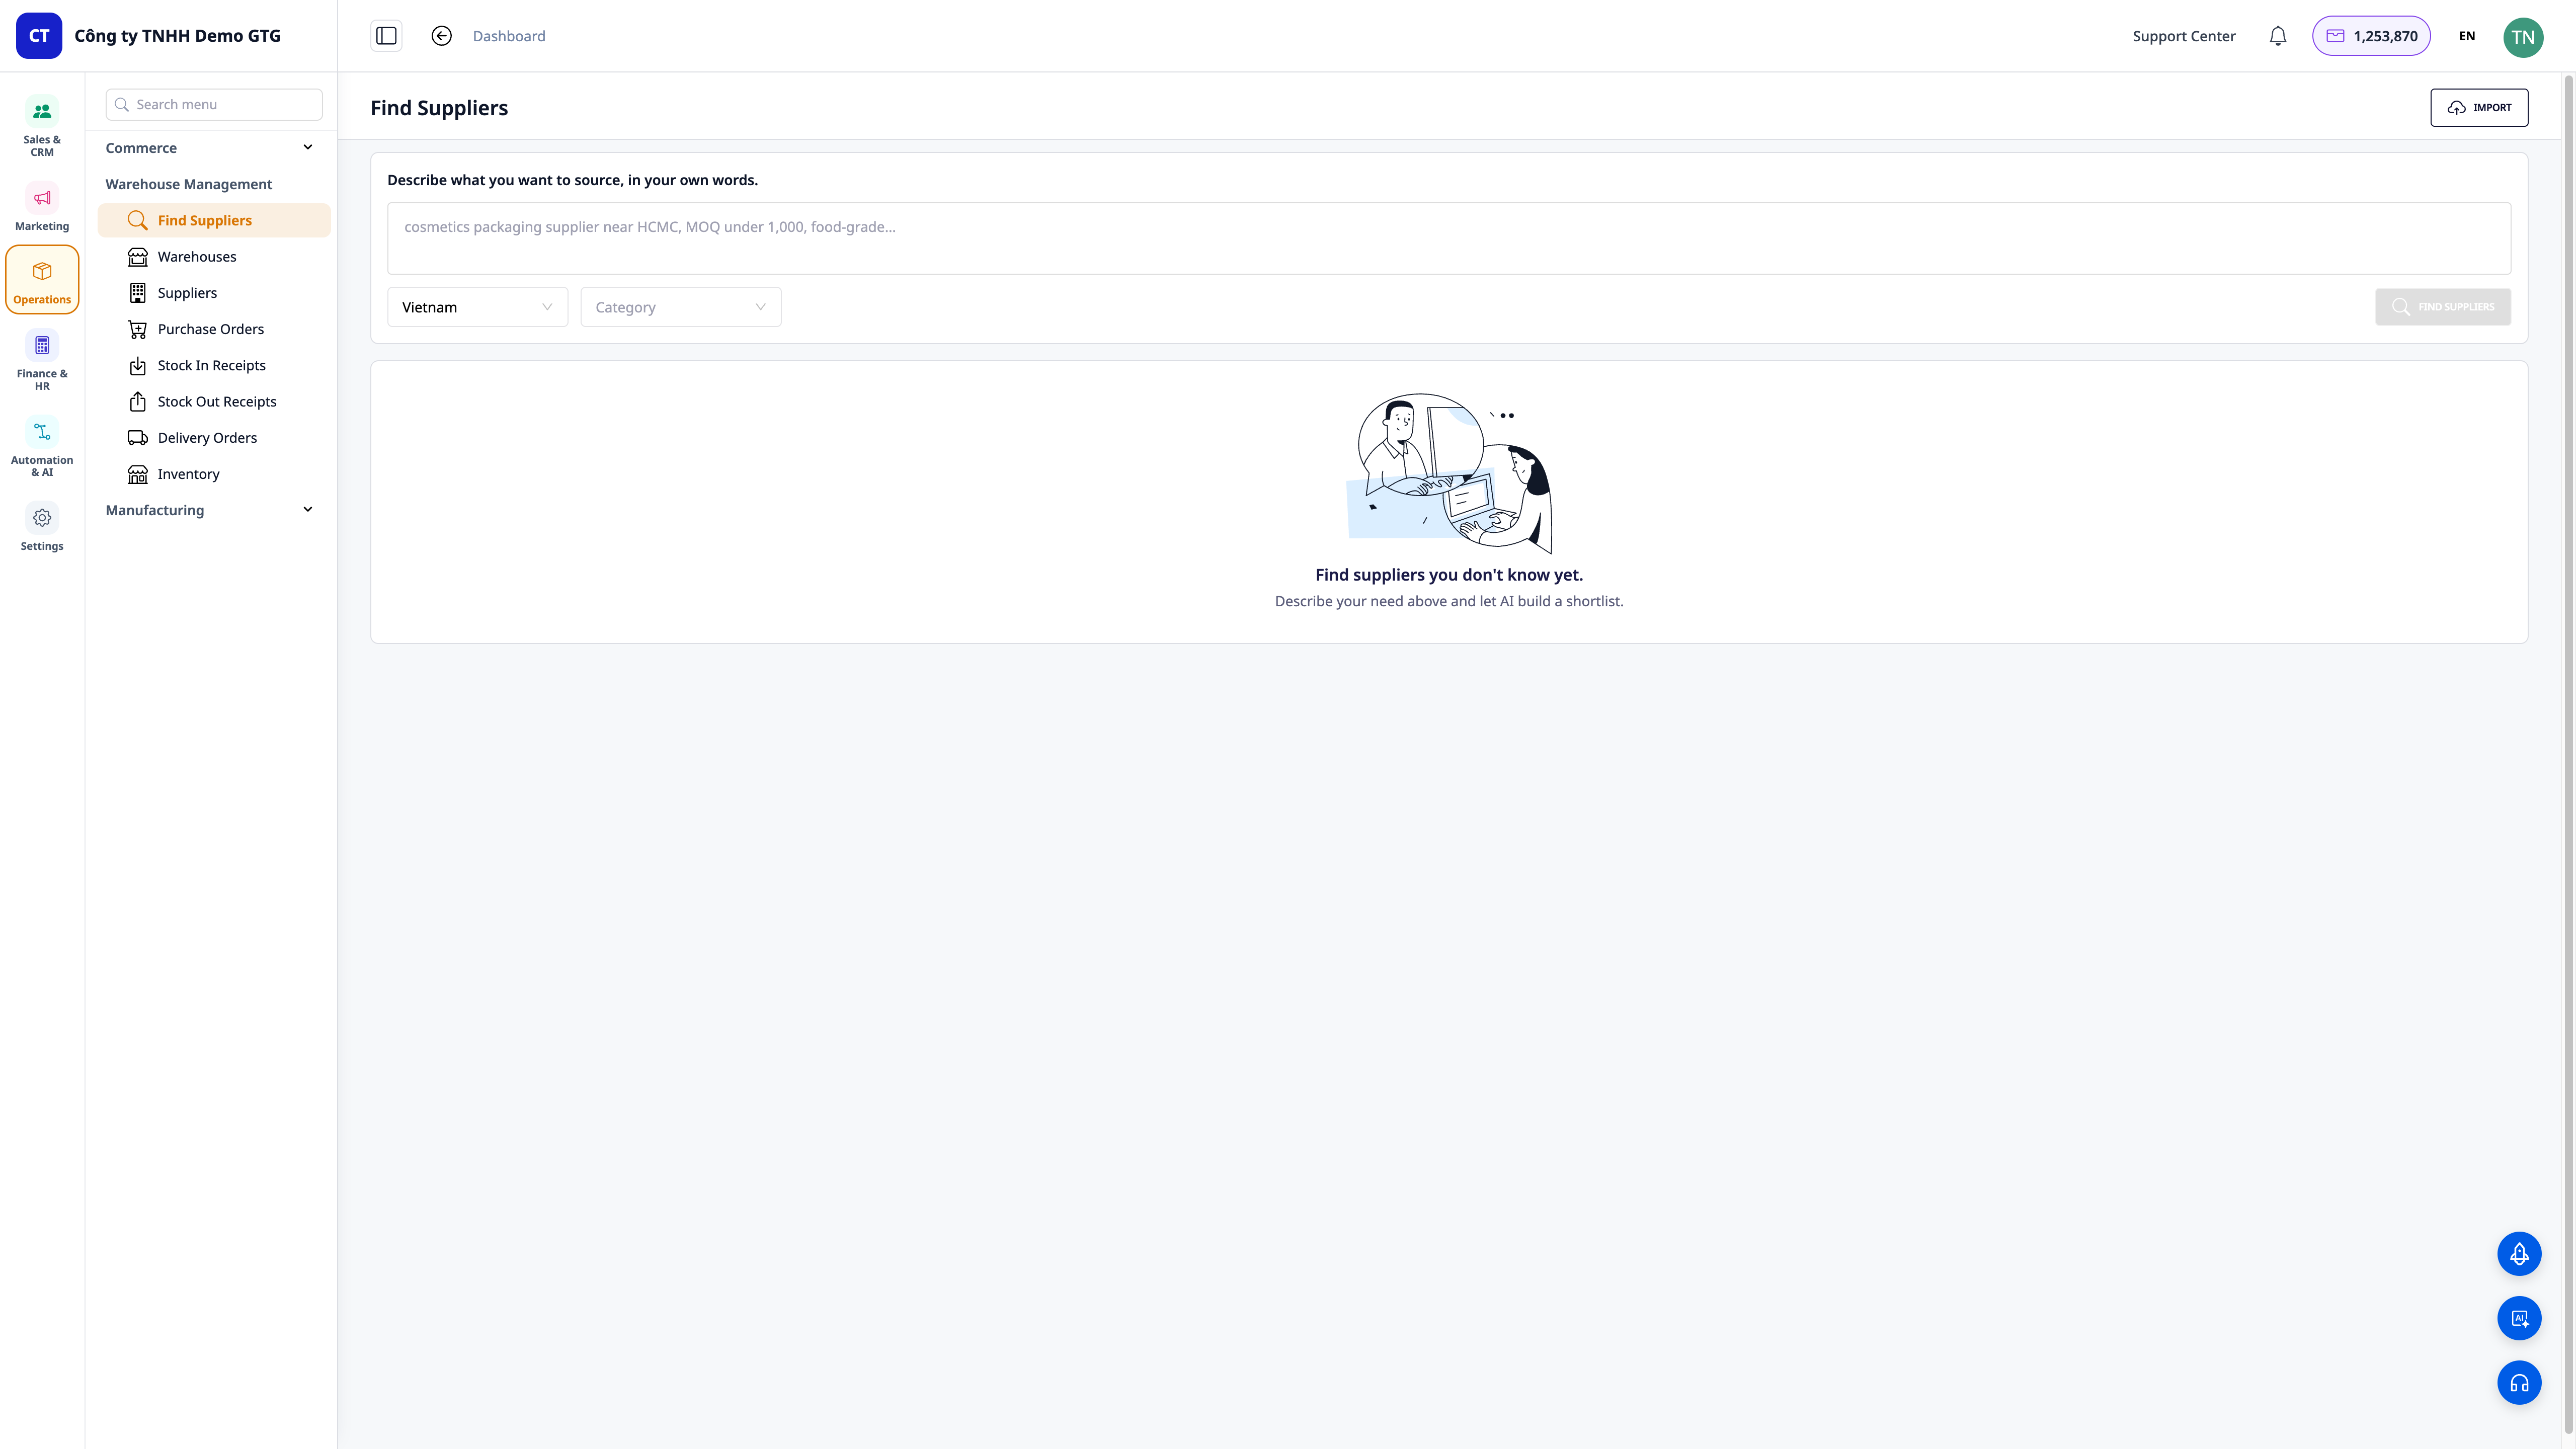
Find Suppliers with AI — Verbal Descriptions, Get Real Shortlists, Save to CRM & Send RFQs in Minutes

AI Website Section Generator
AI Chatbot
