Table of Contents
1. Access Automation
Step 1: From the home screen, click on the Automations menu in the left sidebar.

2. View the Automation list
After accessing the site, you will see a list of all the automations that have been created.

Information displayed:
- Car name
- Status (Active/Inactive)
- Creation date
- Last updated date
3. Create a New Automation
Step 1: Click the Create button
Click the "Create Now" button.

Step 2: Choose a Template (optional)
You can:
- Choose a pre-made template : Use popular workflow templates.
- Create from scratch : Build your own workflow.

Step 3: Go to Workflow Builder
The Workflow Builder interface will appear, allowing you to design the process.

4. Setting up the Trigger
Triggers are the starting point of automation – events that trigger a process.
Step 1: Add Trigger element
Drag and drop the Trigger element onto the canvas or click on an existing Trigger node.

Step 2: Select Object Type
Select the type of object that will trigger automation.

Step 3: Select Activity
Select the trigger activity:
- Create : When creating a new item
- Update : When updating
- Delete : When deleting
### Important Note
After adding a Condition to the workflow, the Trigger will be locked and cannot be edited. Make sure the Trigger is configured correctly before adding other elements.
5. Setting Conditions
Conditions help filter and check specific conditions before taking action.
Step 1: Add a Condition element
Drag and drop the Condition element onto the canvas and connect it to the Trigger.

Step 2: Select Field
Select the data fields to check:
- Status : Status
- Type : Type
- Priority : Priority level
- Owner : Person in charge
Step 3: Select the value
Select the values to compare:
- To Do
- Open
- In Progress
- Done
- Cancelled
Step 4: Select Operator
Choose a comparison operator:
- equals : Equal
- not equals : Not equal
- in : Included in the list
6. Setting up Actions
Actions are operations that are performed automatically.
Step 1: Add an Action element
Drag and drop the Action element onto the canvas and connect it to the Condition.

Step 2: Select Action Type
#### Send Email

Configuration:
- Select the recipient:
Related Contact
- specific team members

- Choose an email template:
Choose a pre-made email template from the Email Builder.

- Choose the sender:
Choose the email account to send it to.

7. Setting Wait/Delay
Wait/Delay allows you to pause a process for a period of time.
Step 1: Add the Wait element
Drag and drop the Wait element onto the canvas.

Step 2: Configure the timeout
Enter the quantity and select the unit of time:
- Minutes
- Hours
- Days

Example: Wait 10 minutes before taking the next action.
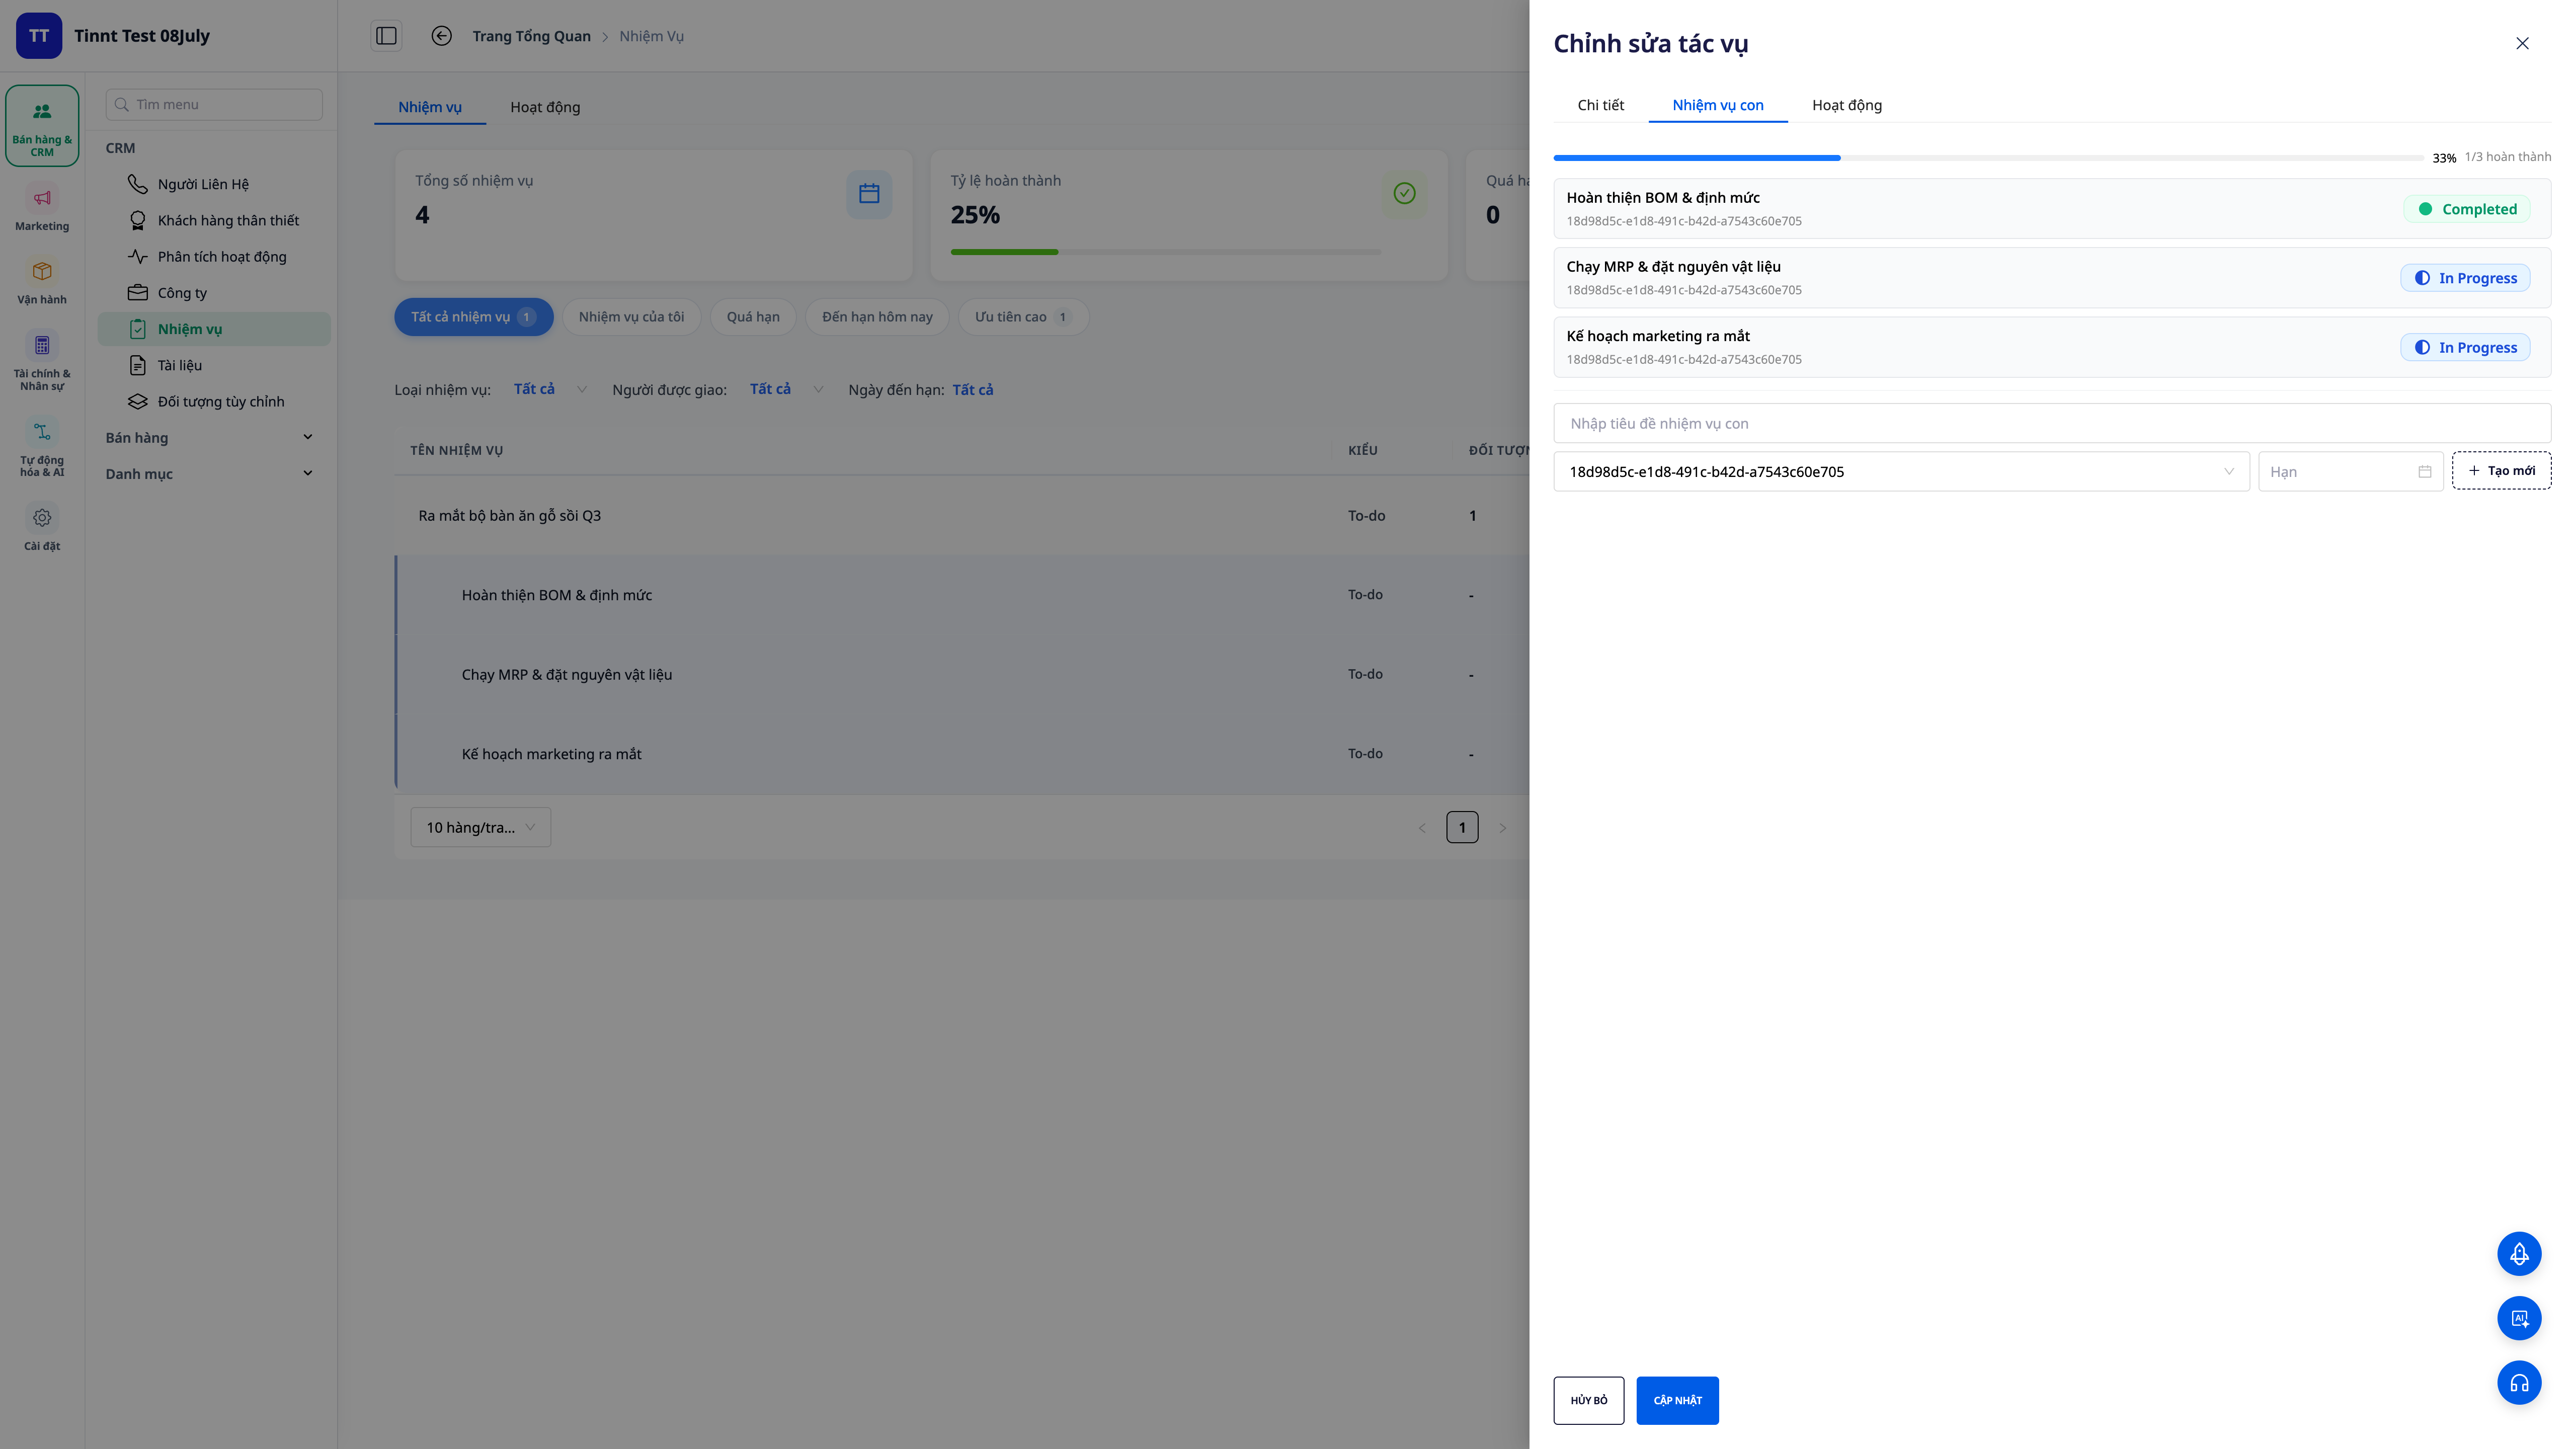
## 8. Setting up Human
The human element is used when human intervention is required in a process.
Step 1: Add Human element
Drag and drop the Human element onto the canvas.

Step 2: Configure the task

Fields to fill in:
- Title: A brief description of the job
- Note: Details of the tasks to be done
- Priority:
Low
- Medium
- High
- Assignee: Select the employee who will handle the task.
Step 3: Set the Deadline

Two ways to set a deadline:
- Relative: X days since the workflow reached this step
- Absolute: Select a specific date
9. Save and activate Automation
Step 1: Check the workflow
Review the entire established process.
Step 2: Save Automation
Click the Save button to save the automation.

Step 3: Confirmation
The system will display a "Saved successfully" message.

## Practical Example: Workflow Follow-up Task
Scenario: When a new task is created with the status "To Do", the system will:
- Send an email notification to the team.
- Wait 10 minutes
- Check if the task type is "Meeting"
If correct: Create a task for the manager to review.
- If incorrect: Send a reminder email.
Configure workflow:
[Trigger: Task Created] ↓ [Condition: Status = "To Do"] ↓ (True) [Action: Send Email to Team] ↓ [Wait: 10 minutes] ↓ [Condition: Type = "Meeting"] ↙ ↘ (True) (False) ↓ ↓ [Human] [Send Email]
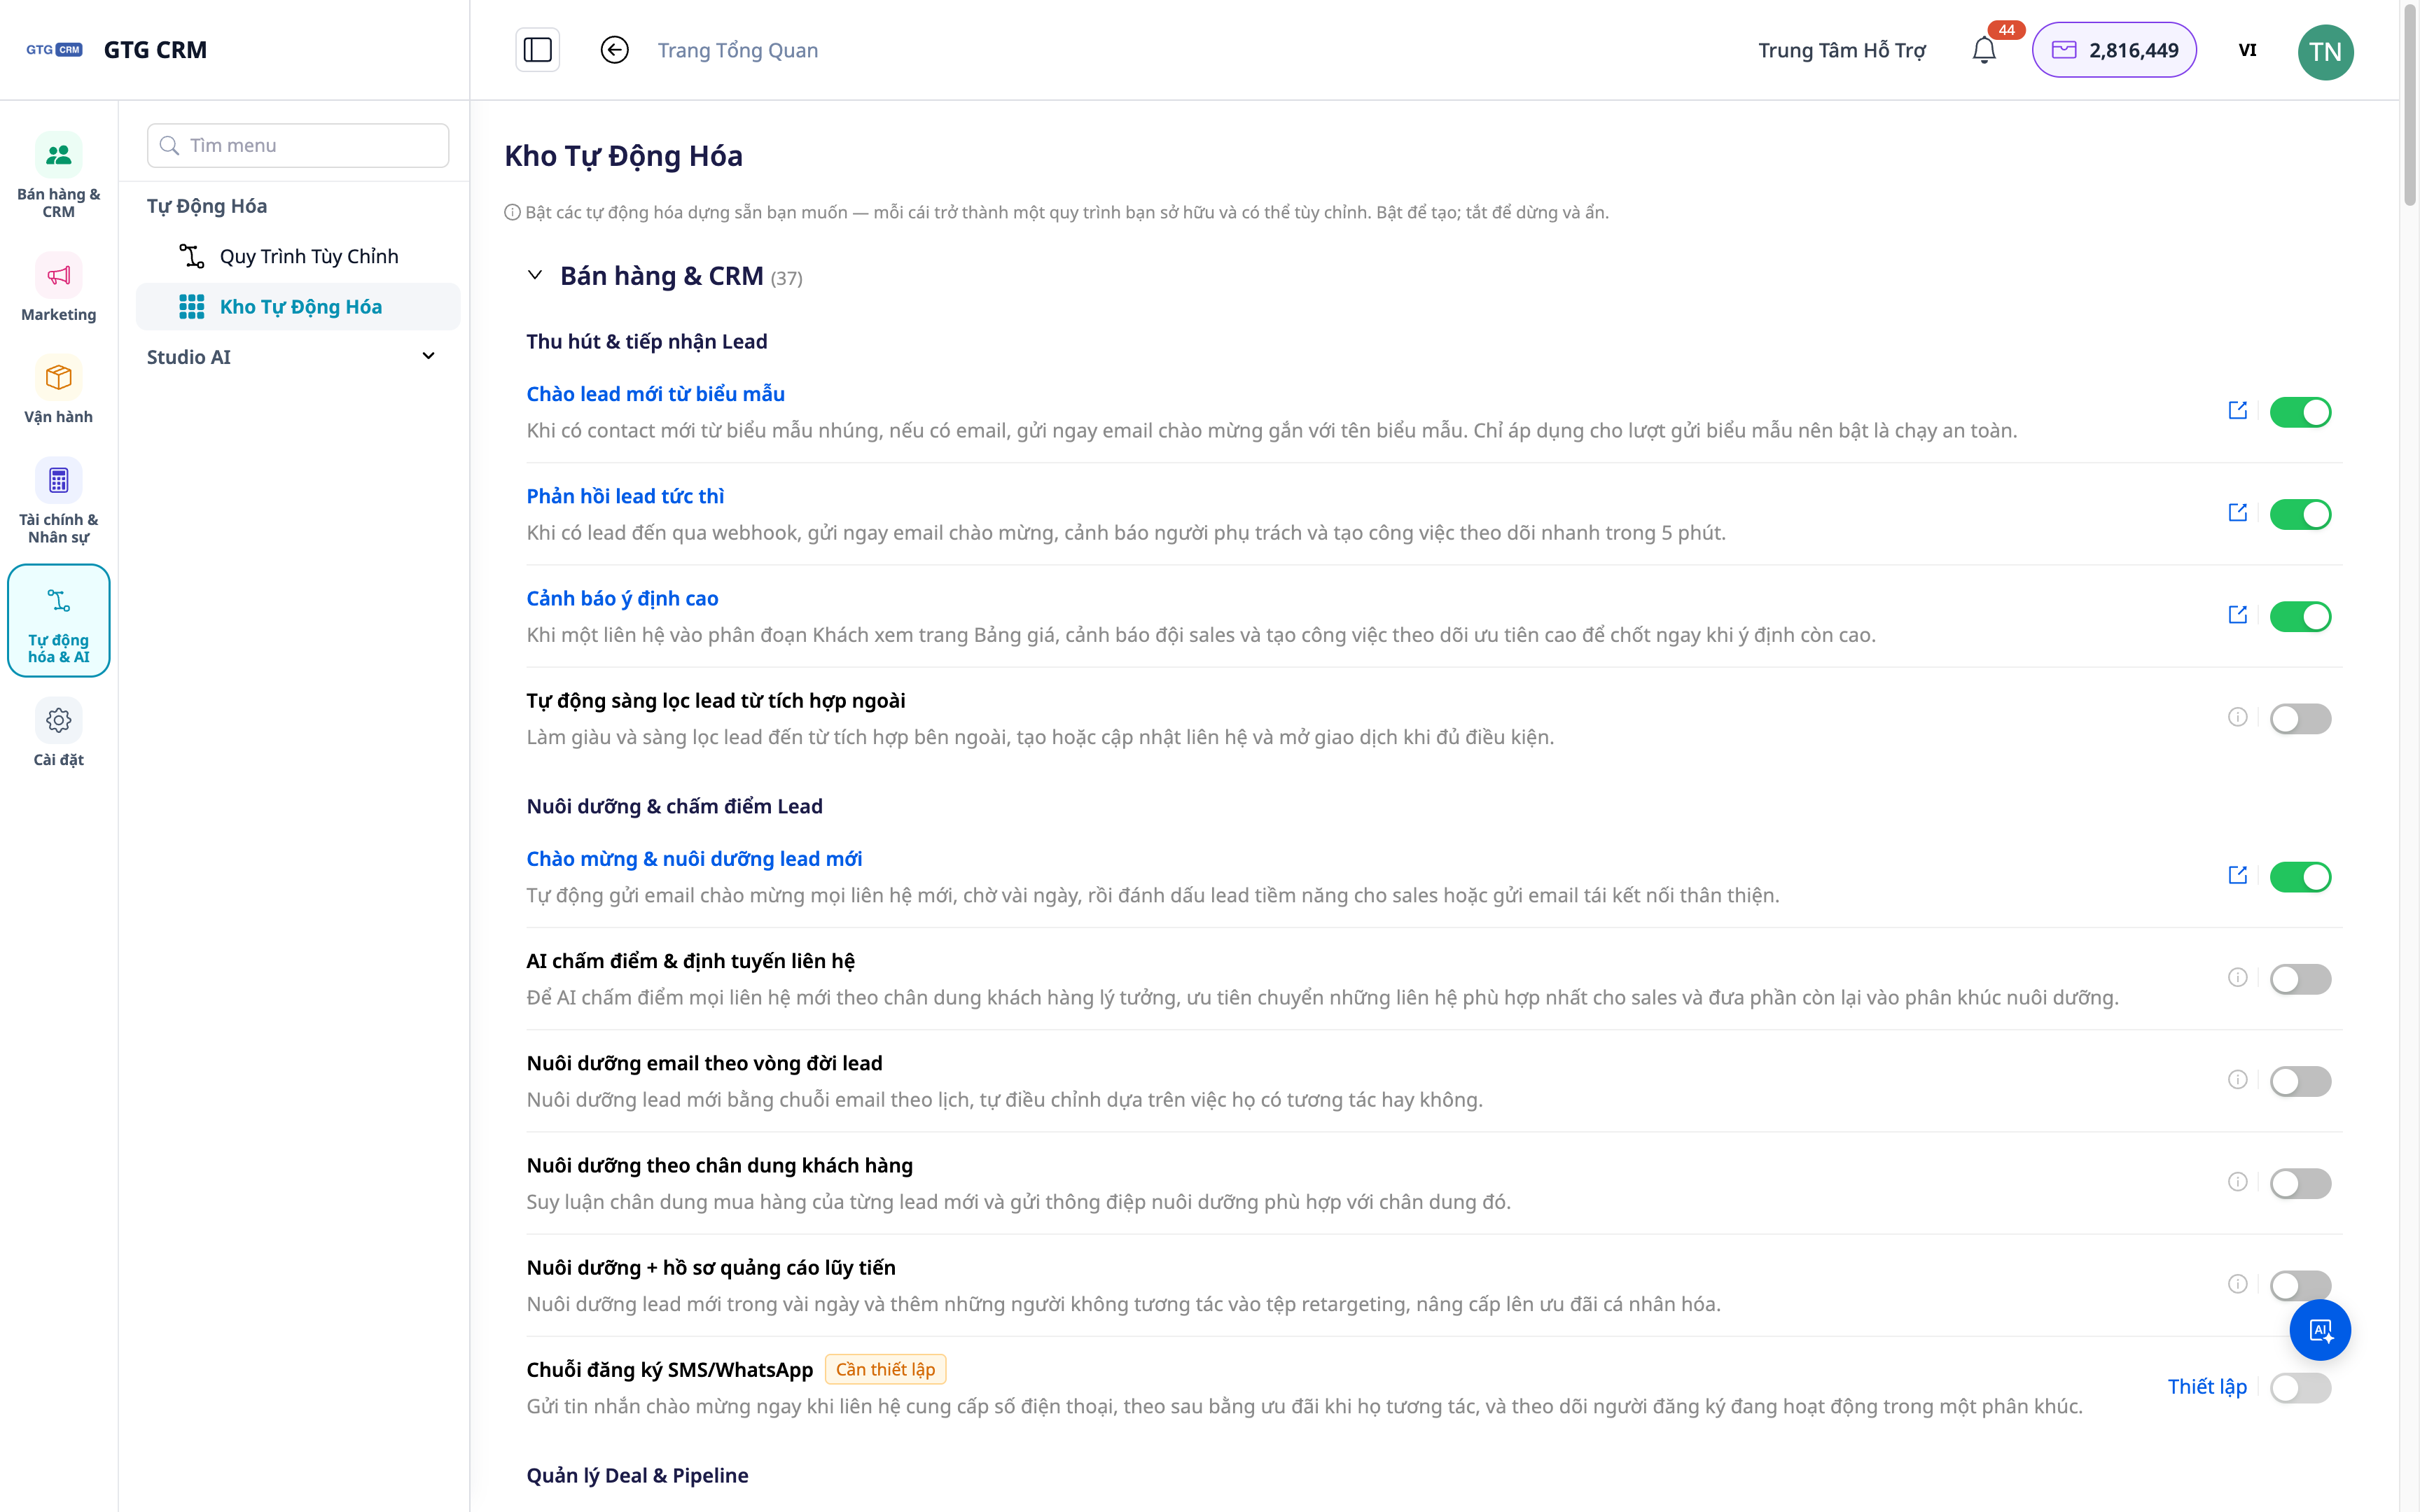
## 10. Automated two-tier warehouse browsing using pre-existing scripts
These automations are now grouped into a two-tiered Automation Library : select the functional cluster (CRM/customer, accounting, HR, task assignment, etc.) and then open the playbook inside.
Step 1: Open the Automated Warehouse
Go to Automations , open the Automation Catalog . Browse by function group; accounting and human resources are now displayed together in the same category.
Step 2: Use the Contact/Company or Find Potential Partners & Clients script.
- Contact/Company playbooks : Select a customer/company lifecycle care scenario (welcome, follow-up reminder, etc.), and start it to run.
- Partner Discovery playbooks : After importing contacts/companies from the Partner & Potential Customer Finder tool, attach an outreach script to begin your outreach series.
Unused scripts are hidden for simplicity; you can enable them when needed.
## Usage Tips
### 1. Start simple
Create simple automations first, then gradually expand.
2. Using Templates
Utilize pre-made templates to save time.
3. Test before activation
Always test the workflow with test data before implementing it in practice.
4. Give clear names.
Give your automation a descriptive name to make it easier to manage.
5. Check the email template
Make sure you have already created your email template in Email Builder before using it in automation.
Maybe You Should Read These
Automation

30+ One-Tap Revenue Growth Playbooks — Cart Recovery, Failed Payment Rescue, Win-Back, Lead Nurturing, Post-Purchase Service
Task Management 2.0 — Break Down Tasks, Auto Update Progress, Link to Deals & Orders
AI Email Campaign
CRM

Email Builder
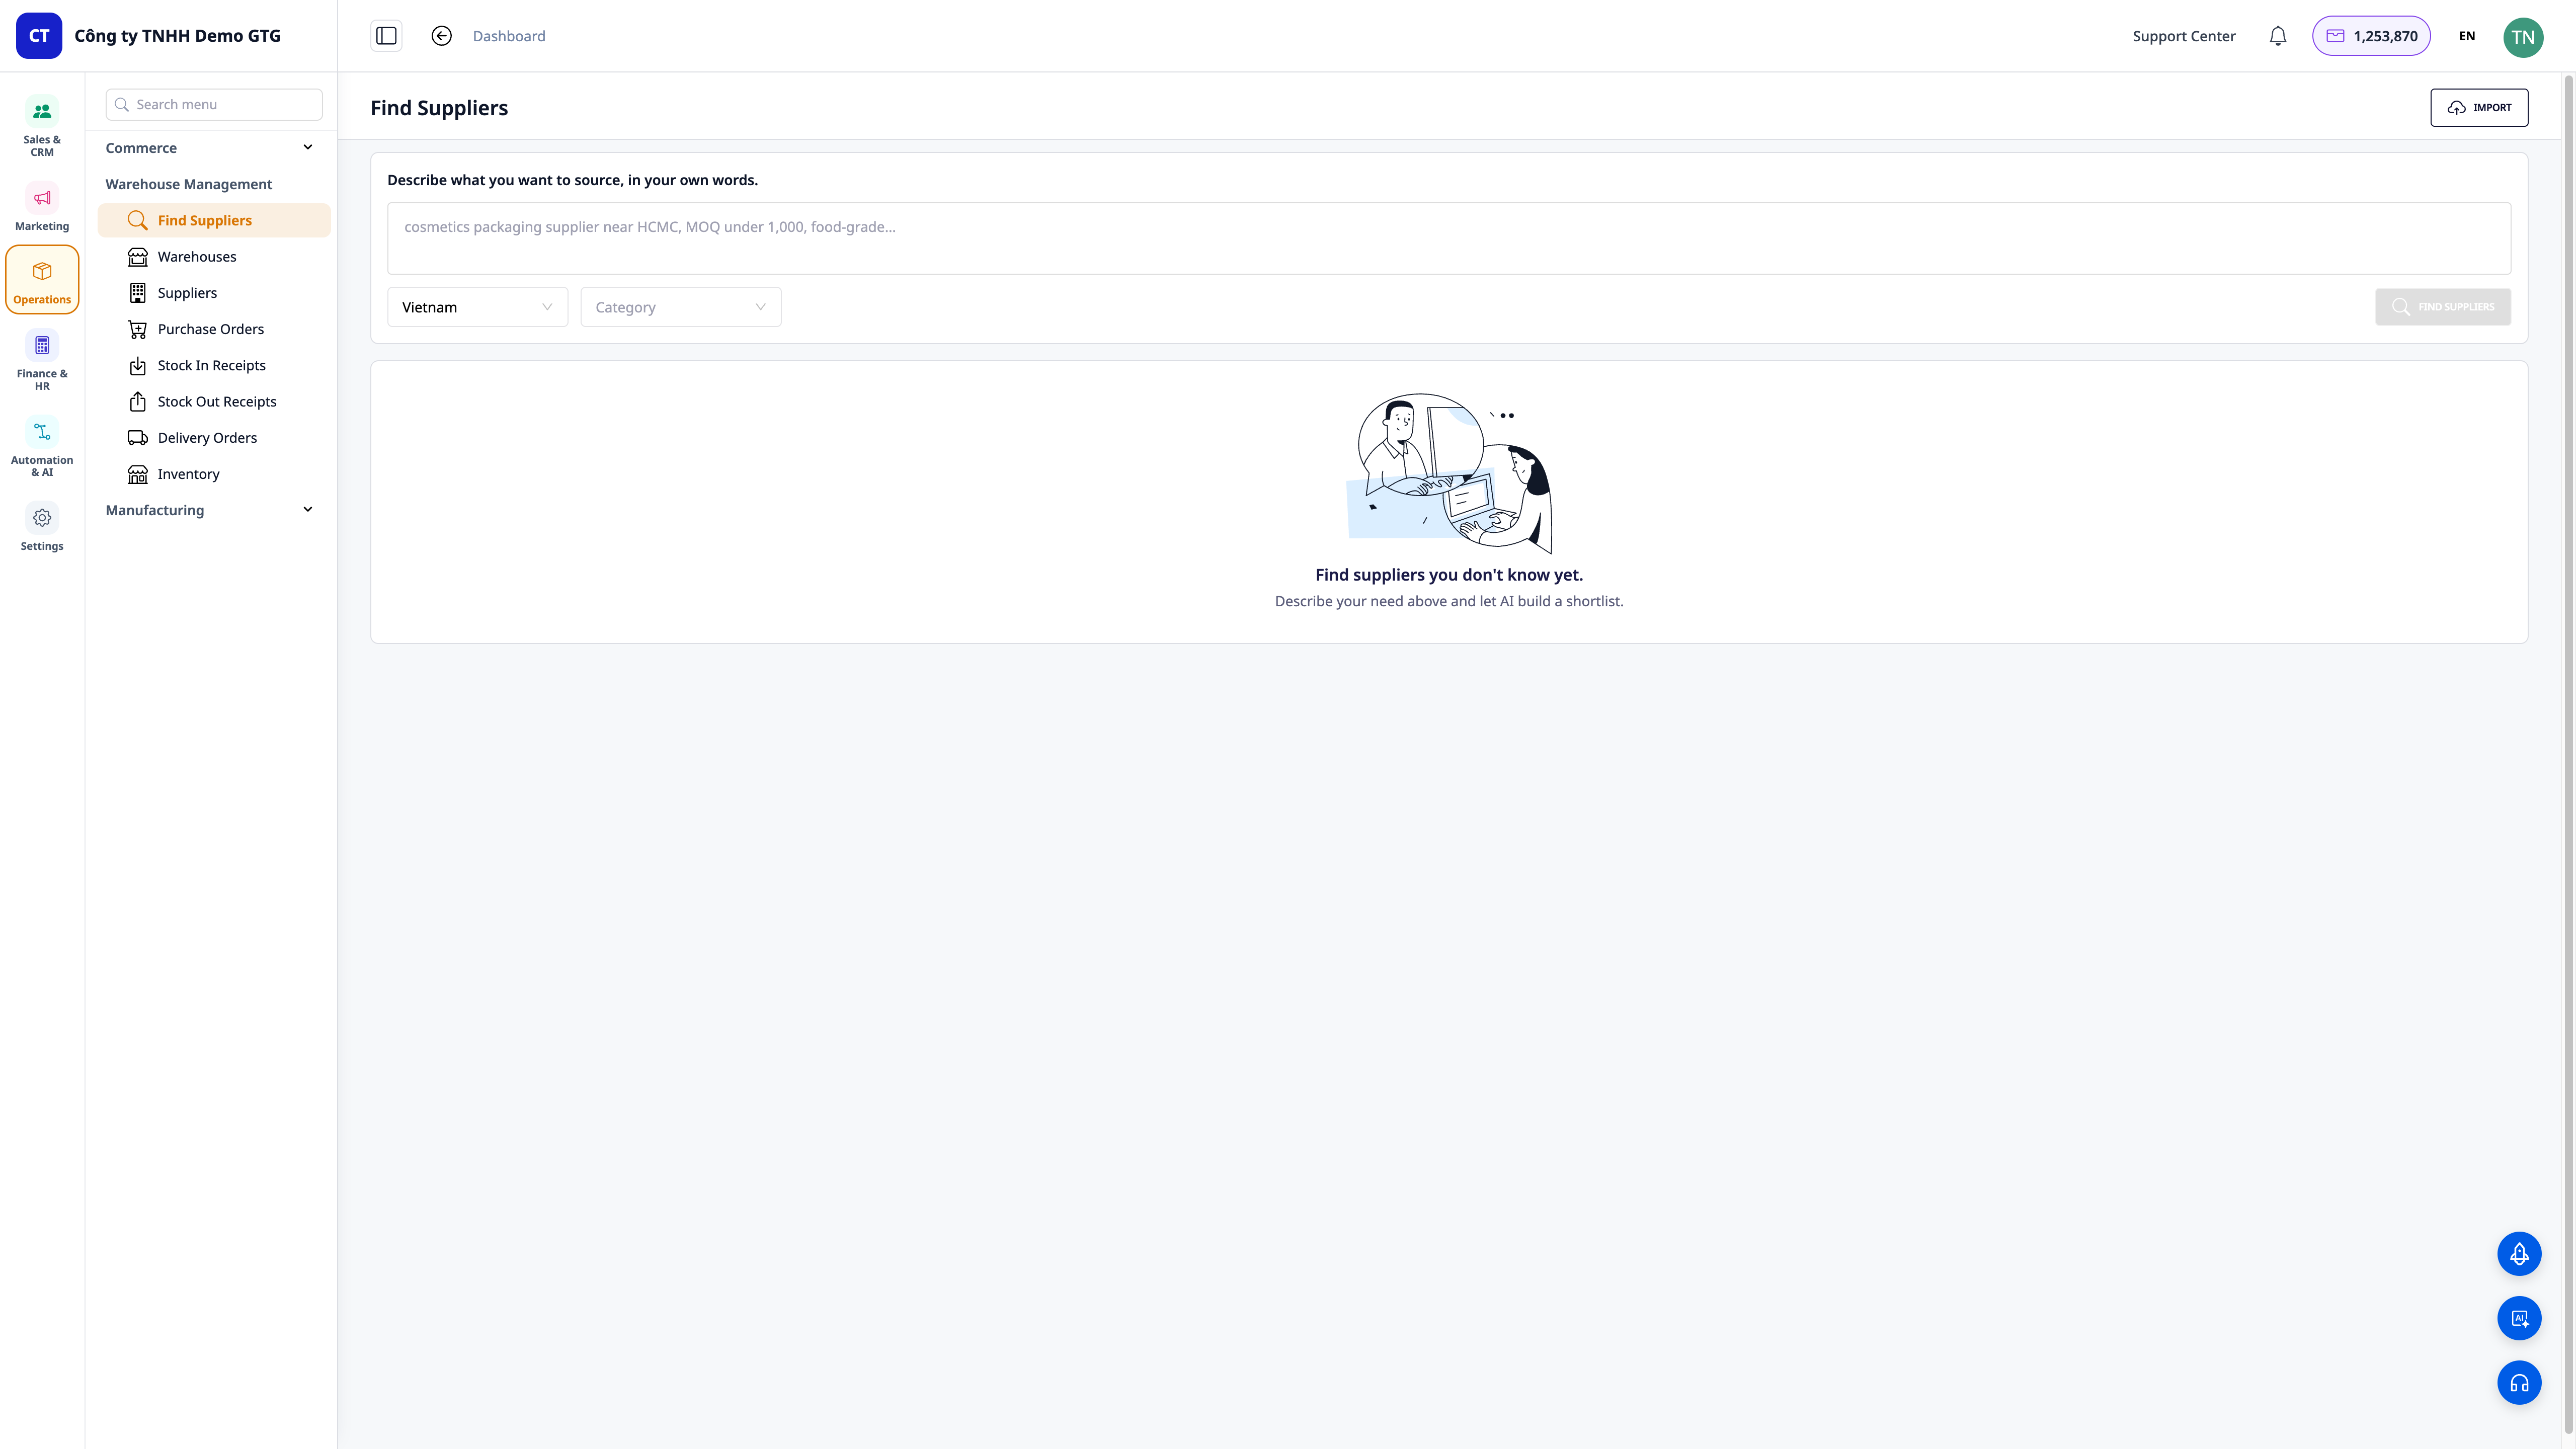
Find Suppliers with AI — Verbal Descriptions, Get Real Shortlists, Save to CRM & Send RFQs in Minutes
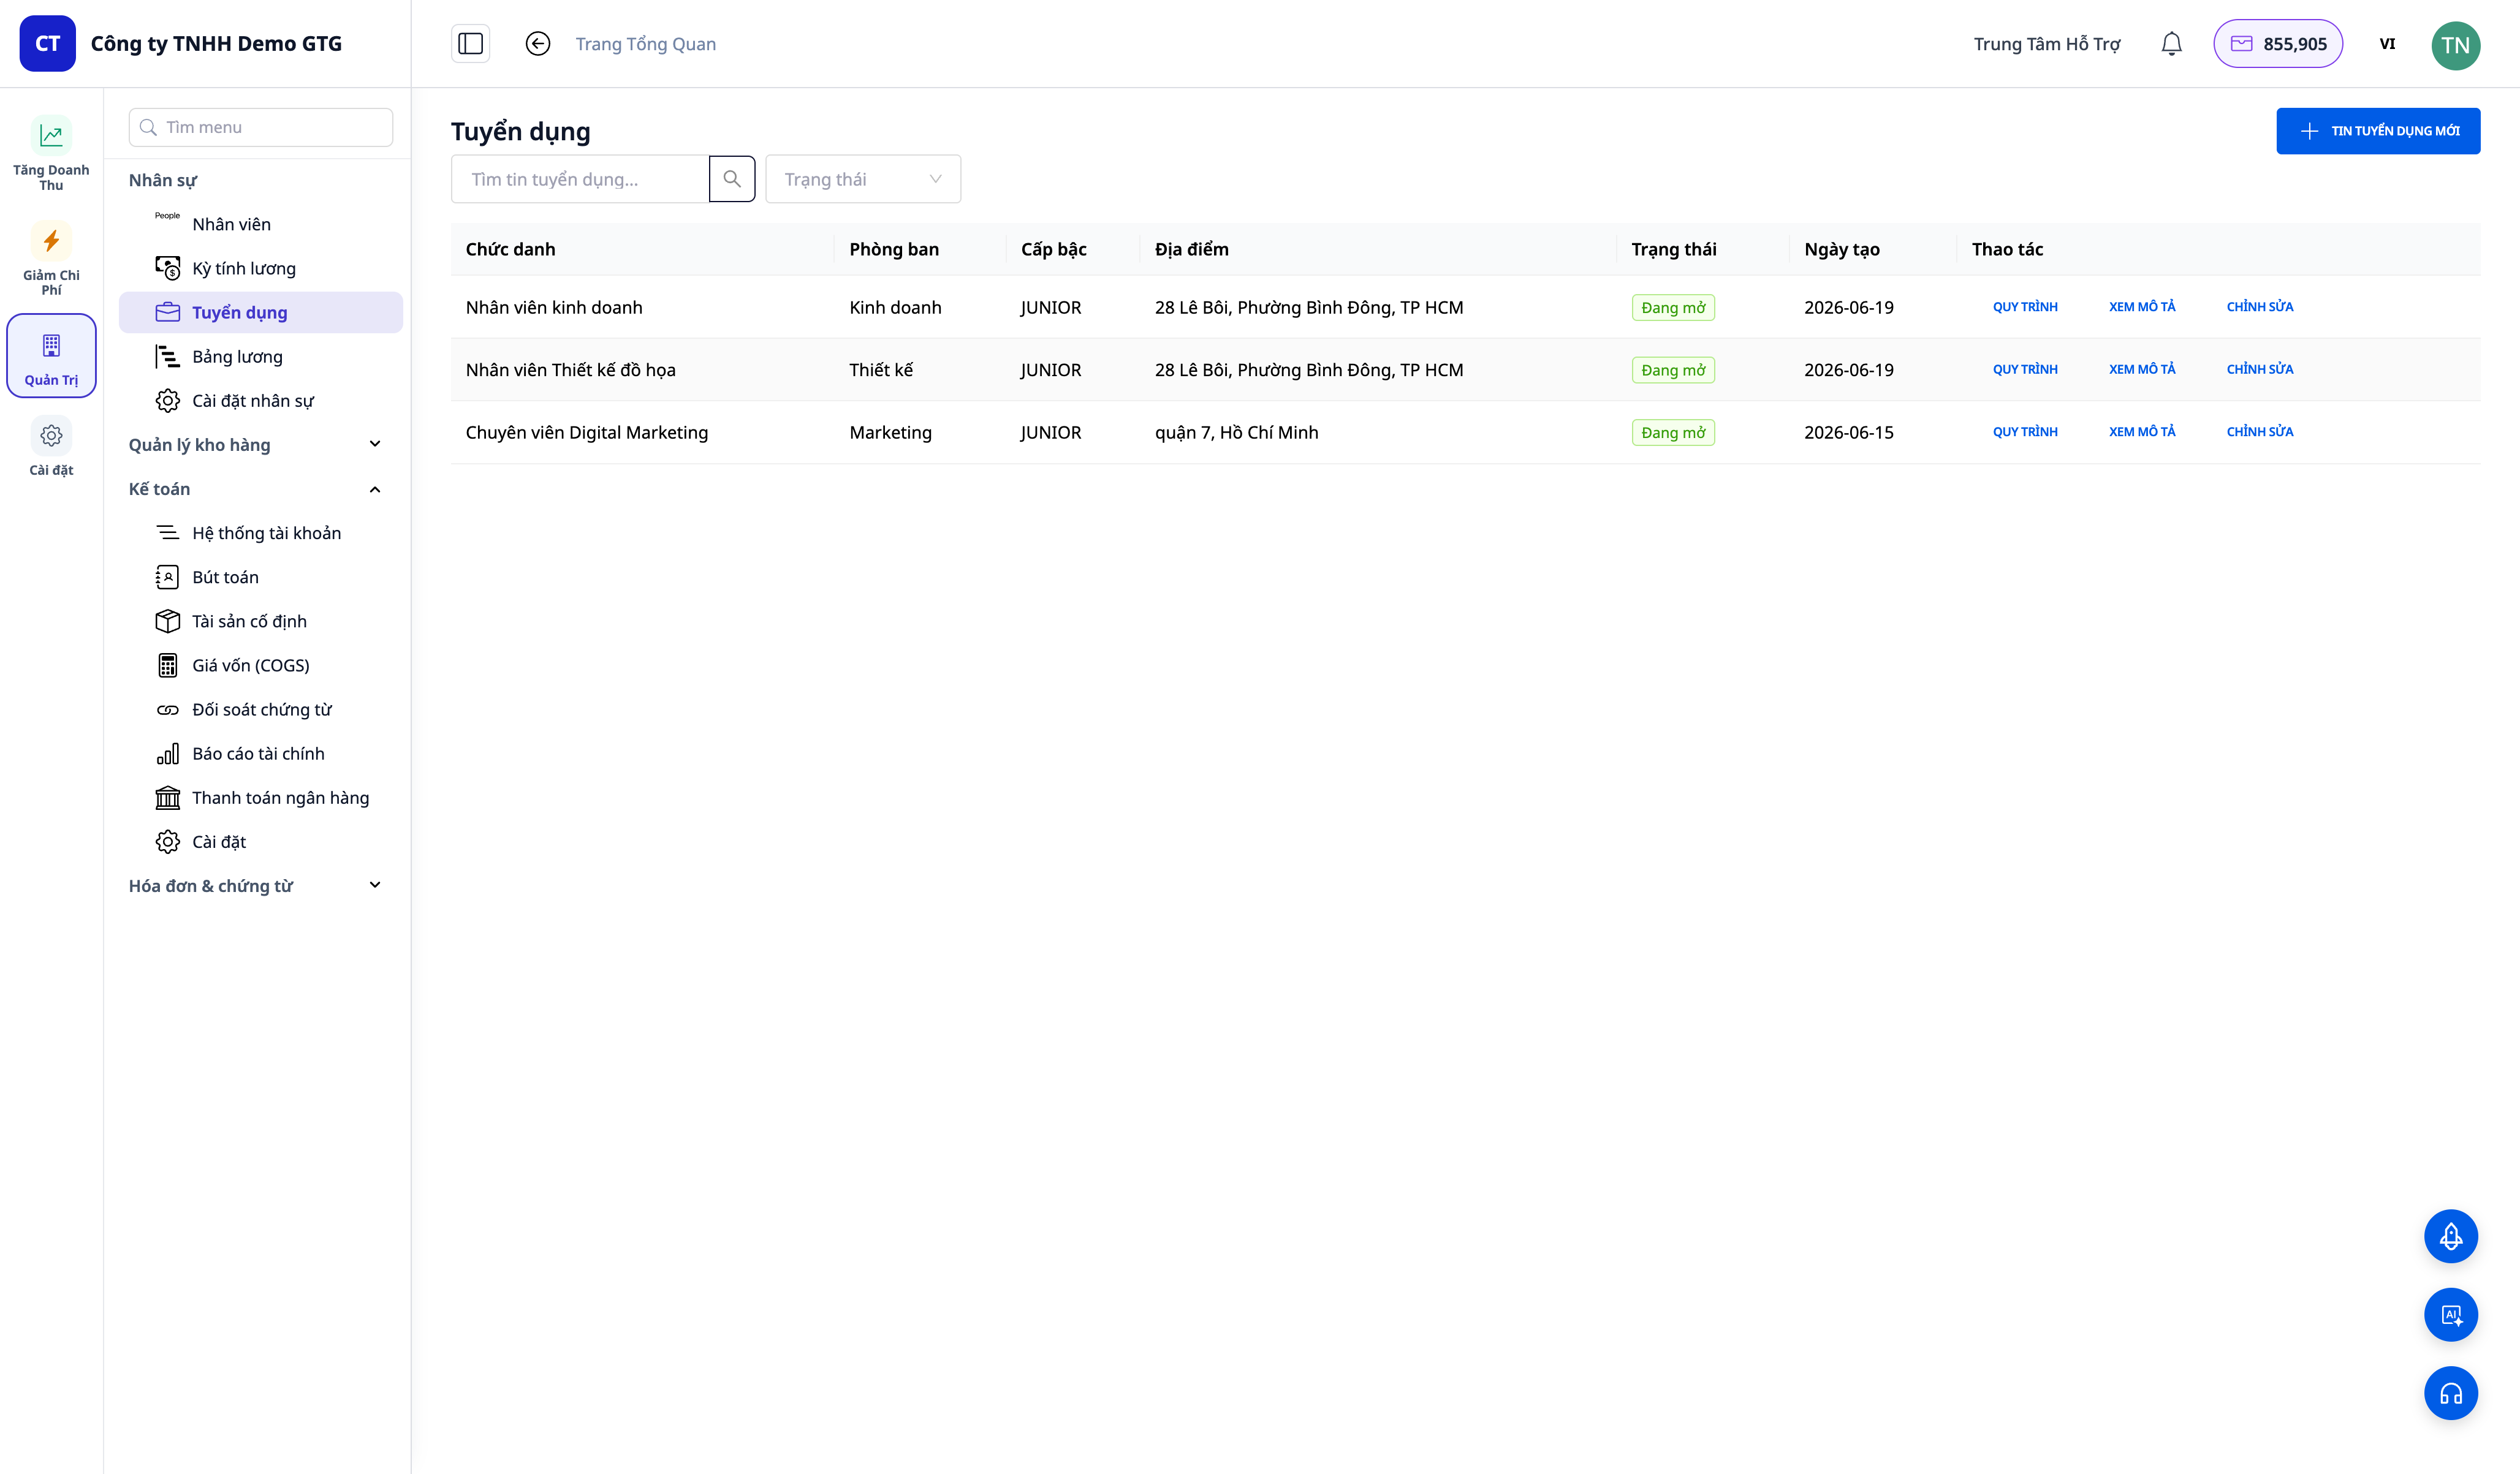
Recruitment From A to Z Right Within Your CRM — Post Jobs With AI, Find Candidates on LinkedIn, Read CVs & Score Automatically
Faster Registration, Immediate Start — Timely Trial Credits & DIY Brand Identity
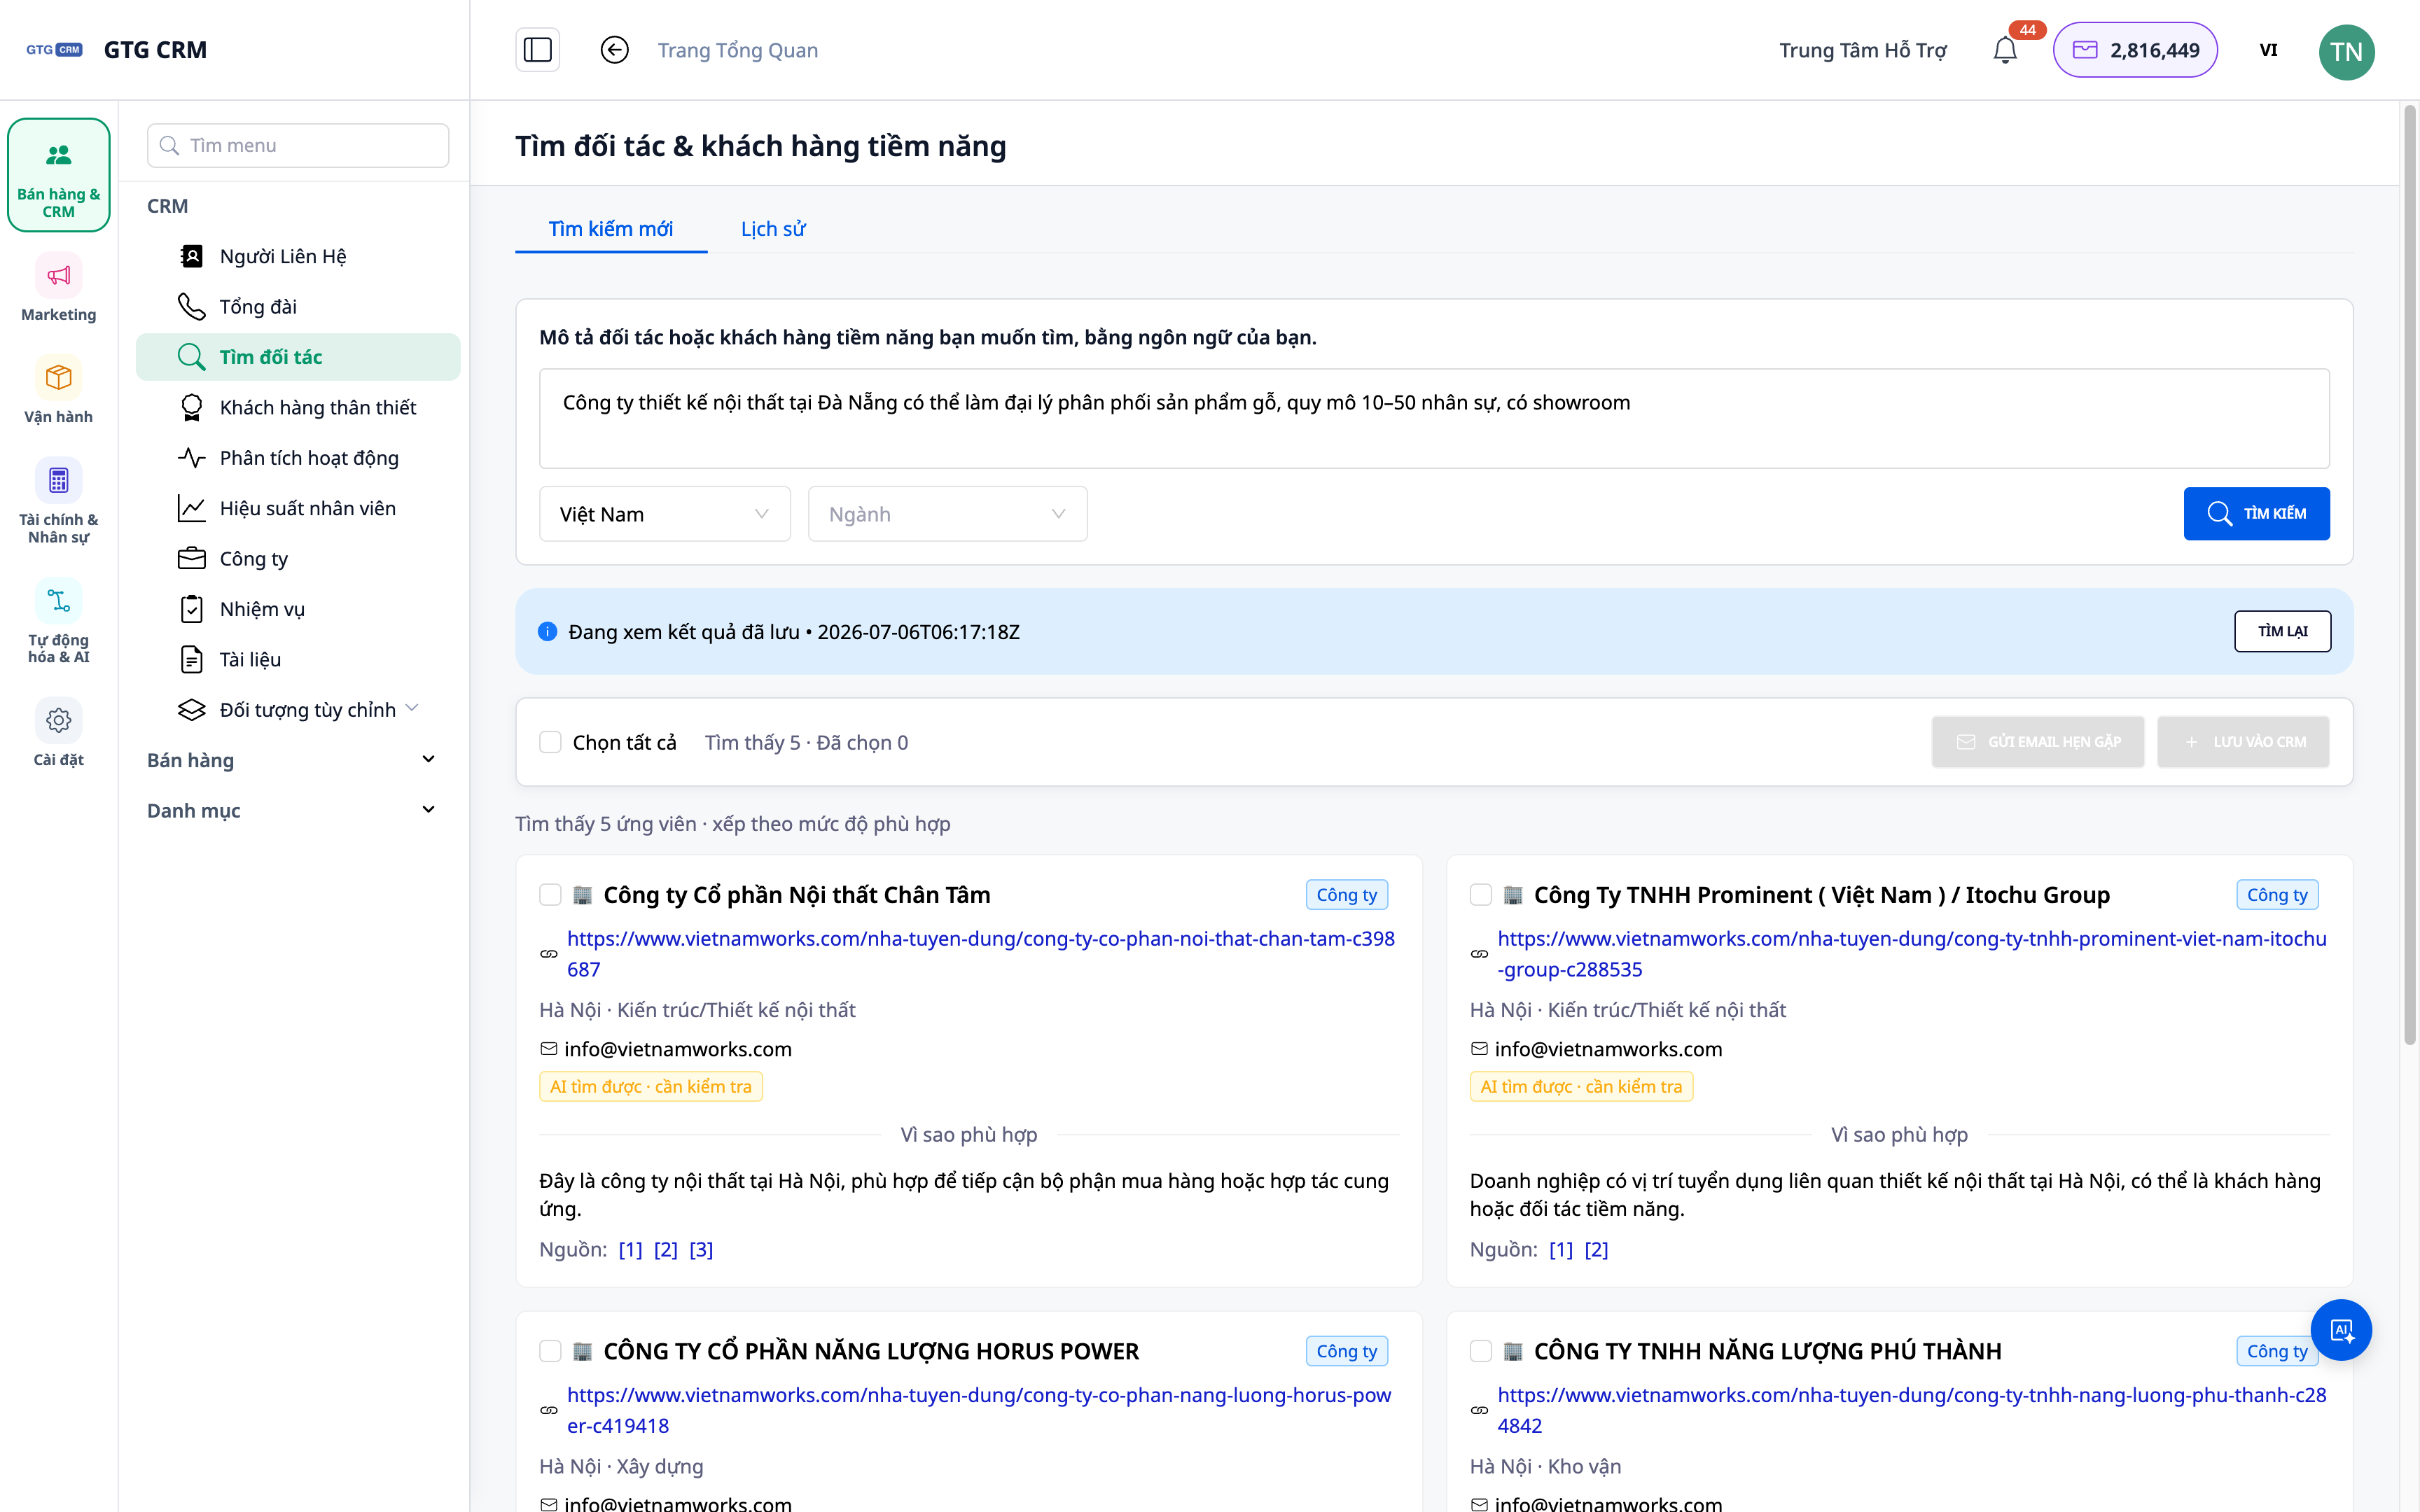
Find Potential Partners & Clients Using AI — Verbal Descriptions, Real Lists, Direct CRM Import

Authorization