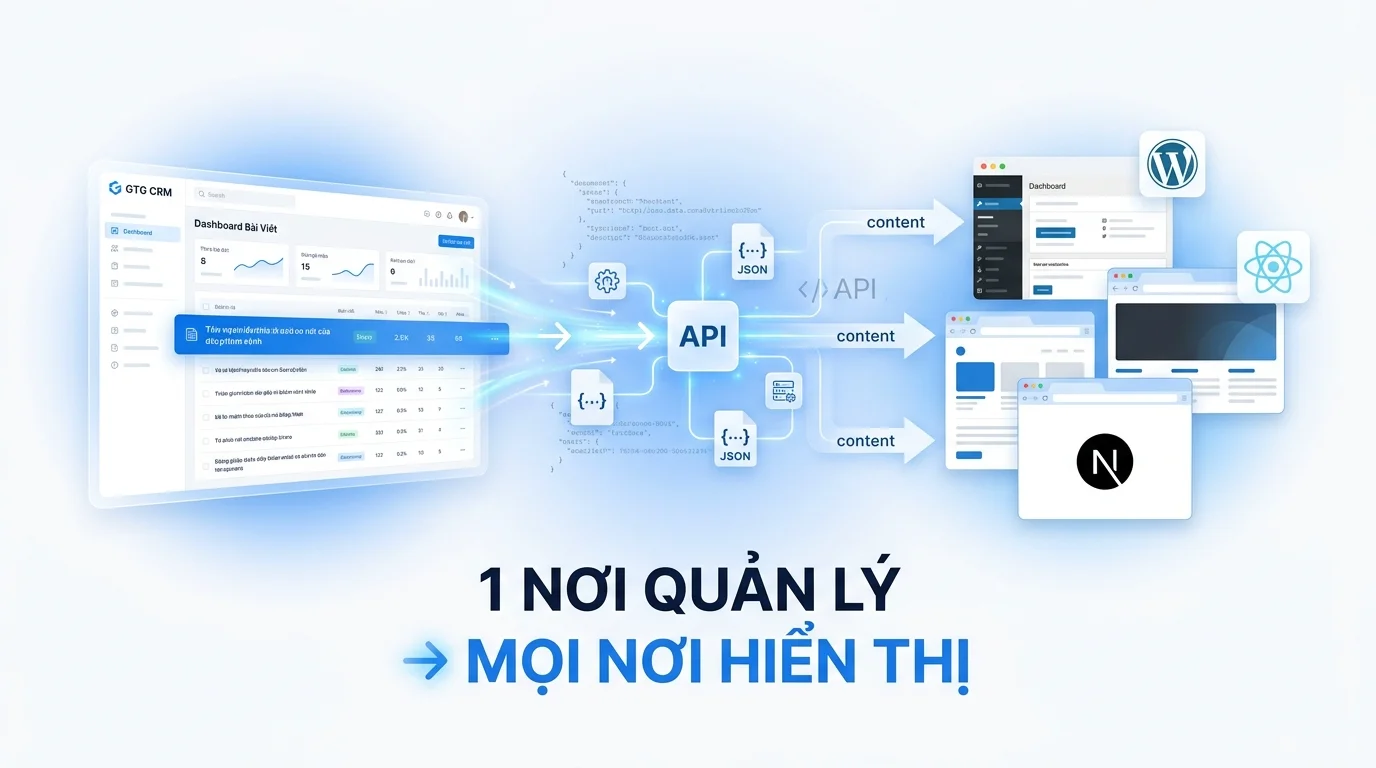
Guide to Creating a Website with AI
Website Builder
GTG CRM Team · GTG CRM
February 06, 2026

Table of Contents
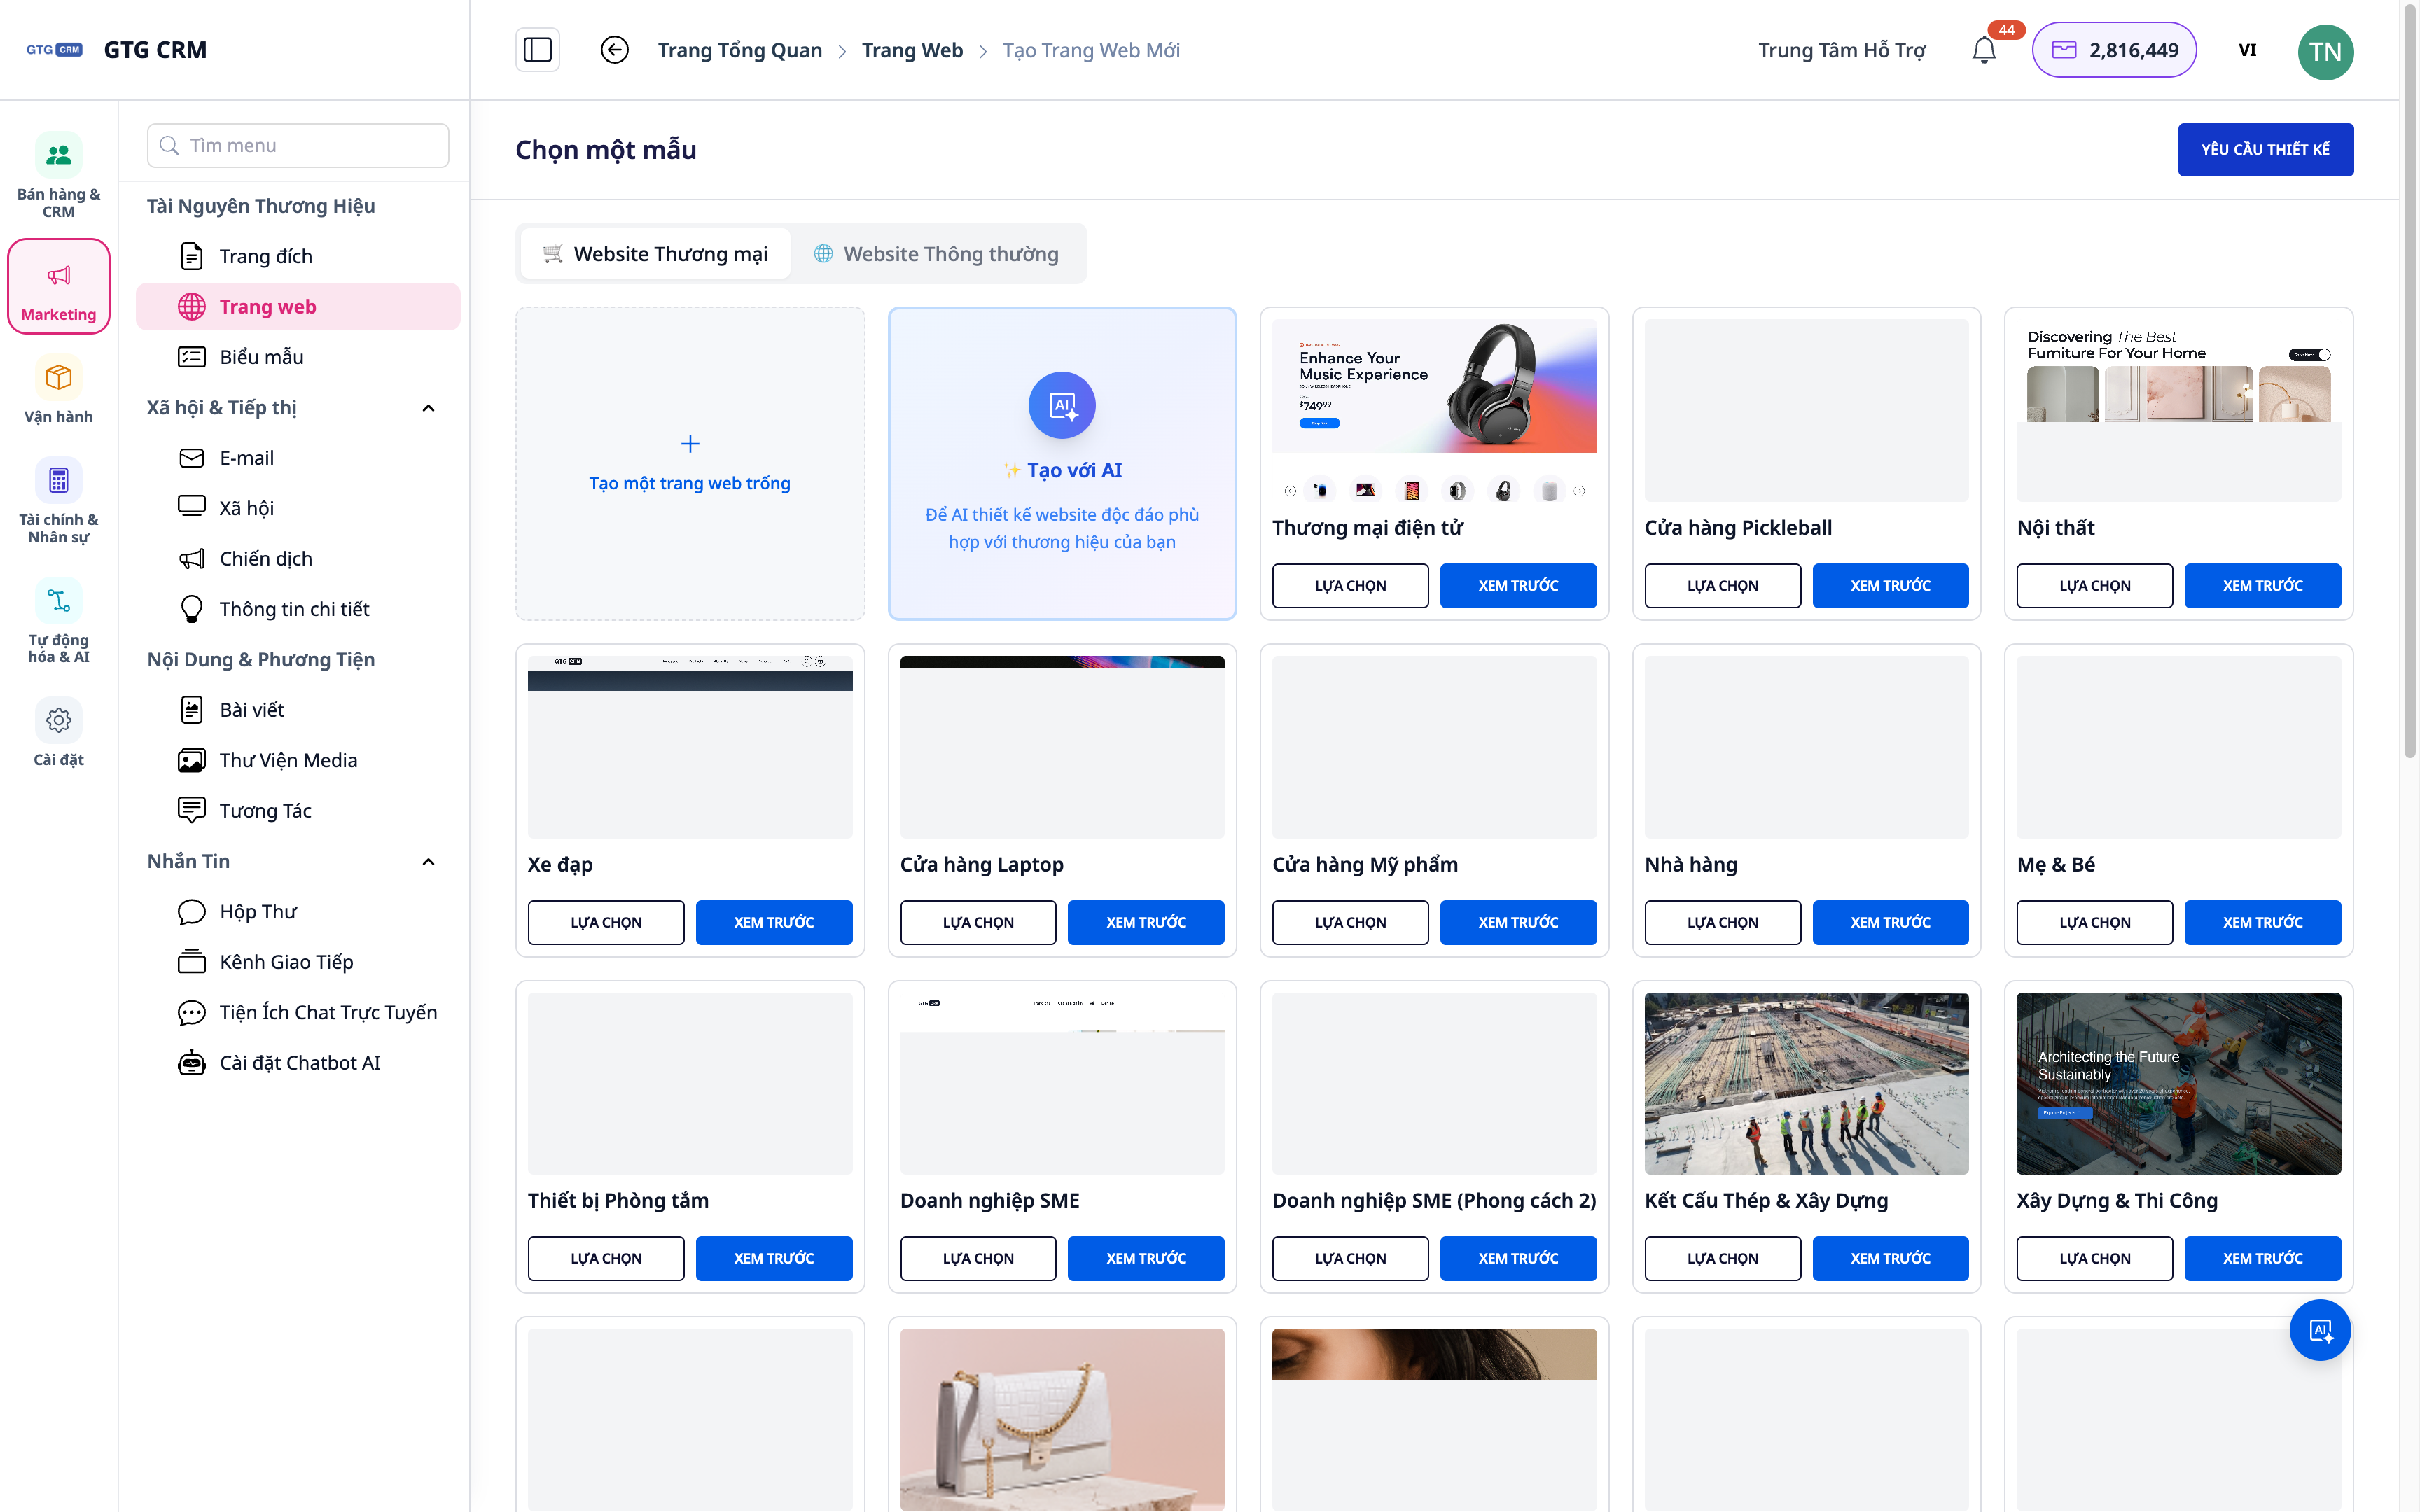
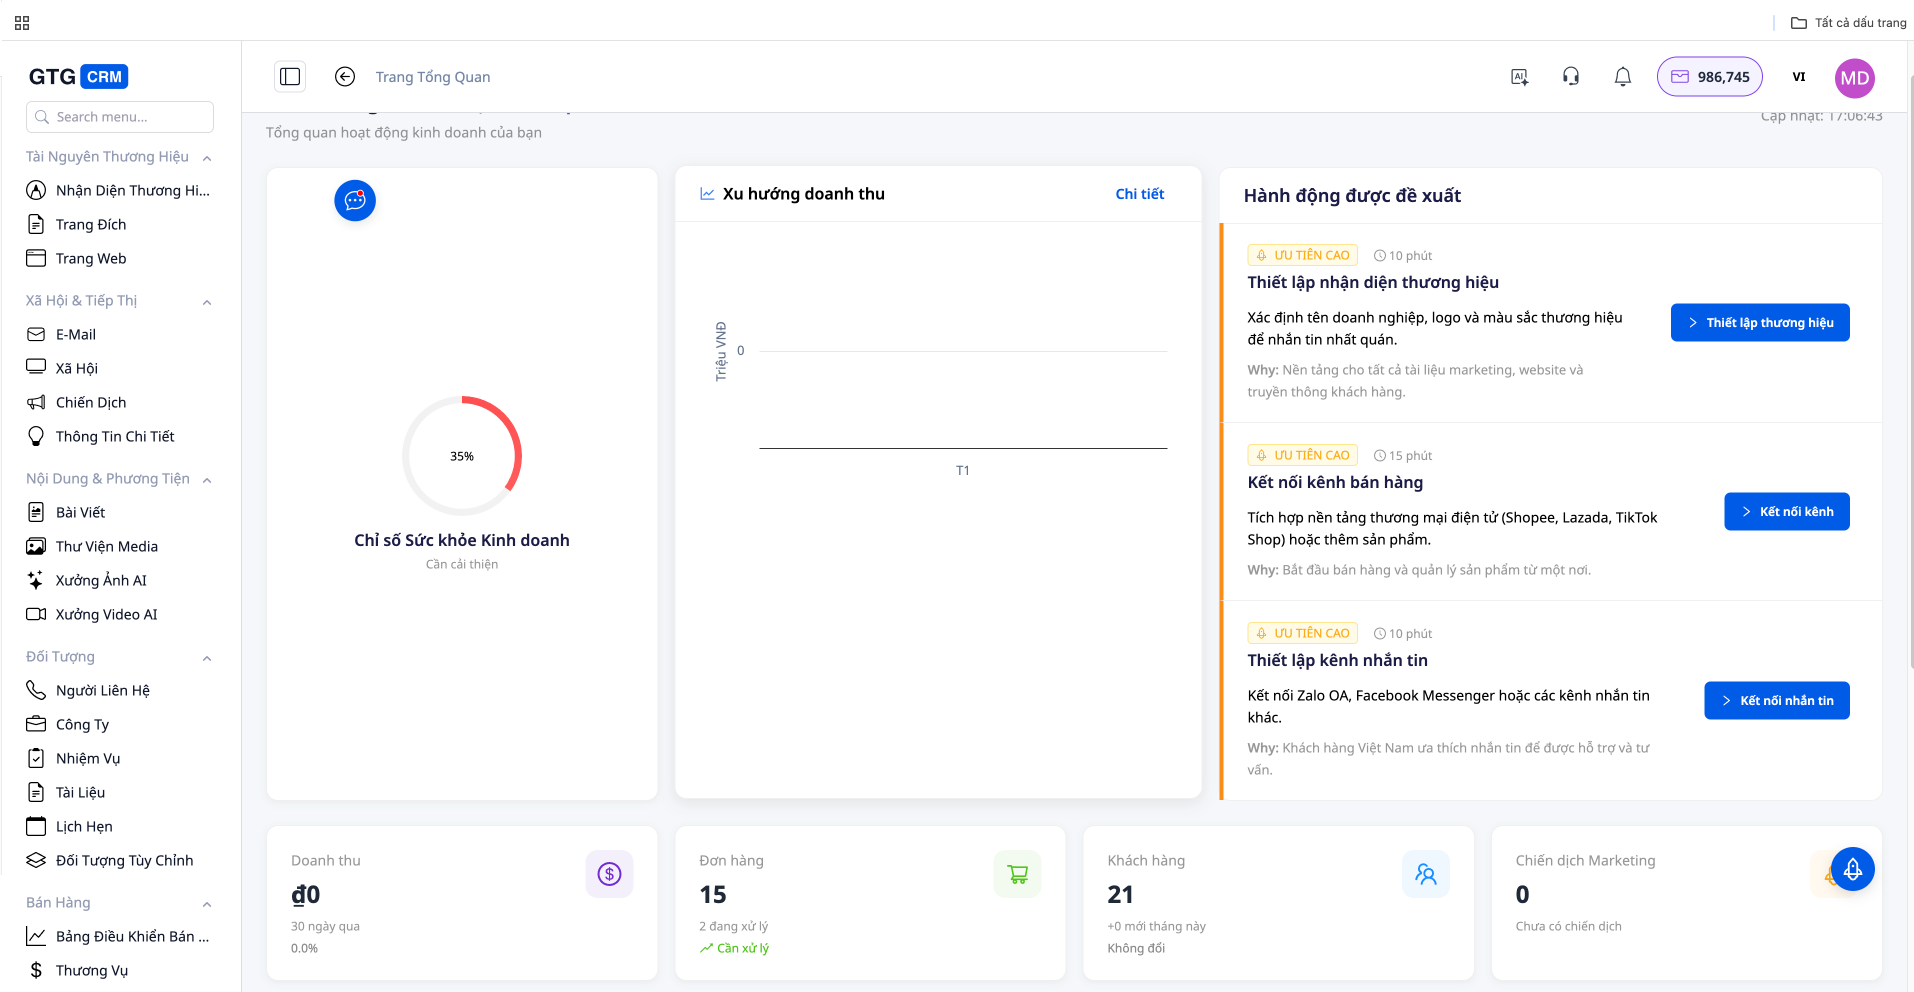
Accessing the Website Screen
From the GTG CRM main menu, select Website to access the website management screen.
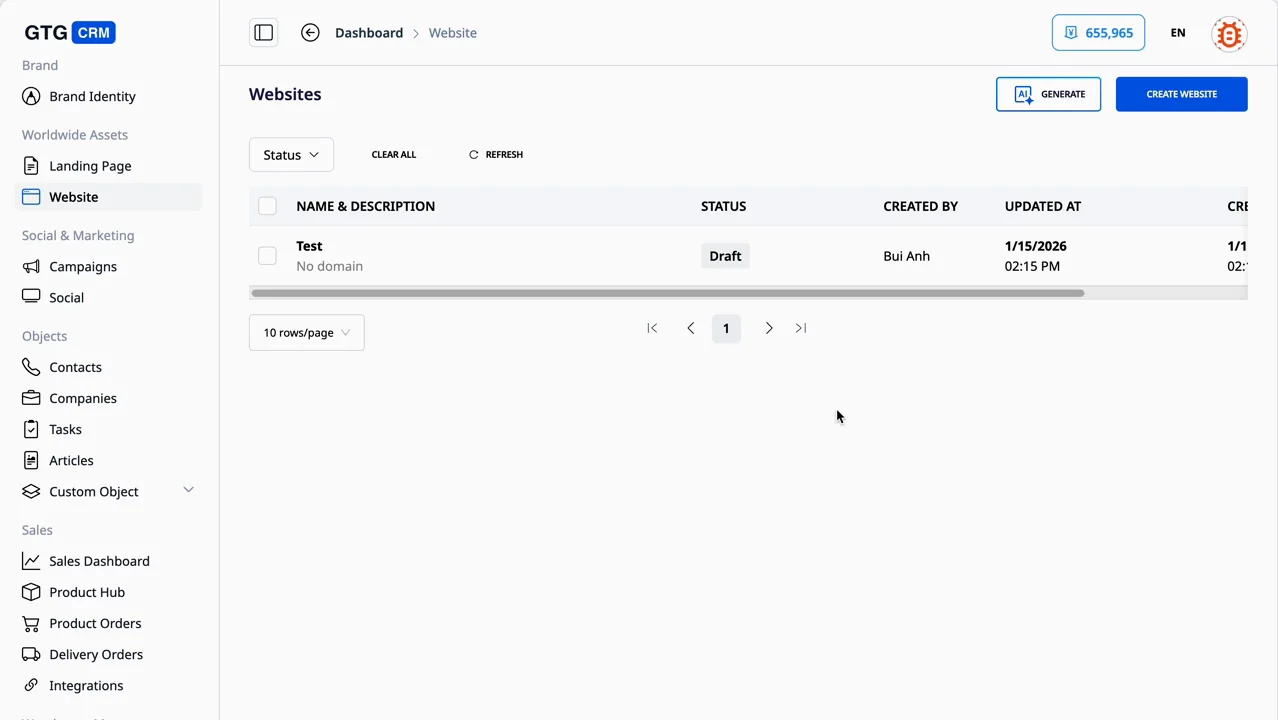
Here, you have two options:
- Generate with AI (recommended) - Automatically create a website
- Manual Creation - Design each page yourself
Step 1: Click the Generate Button
Click the "Generate" button on the Website screen to start the AI website creation process.
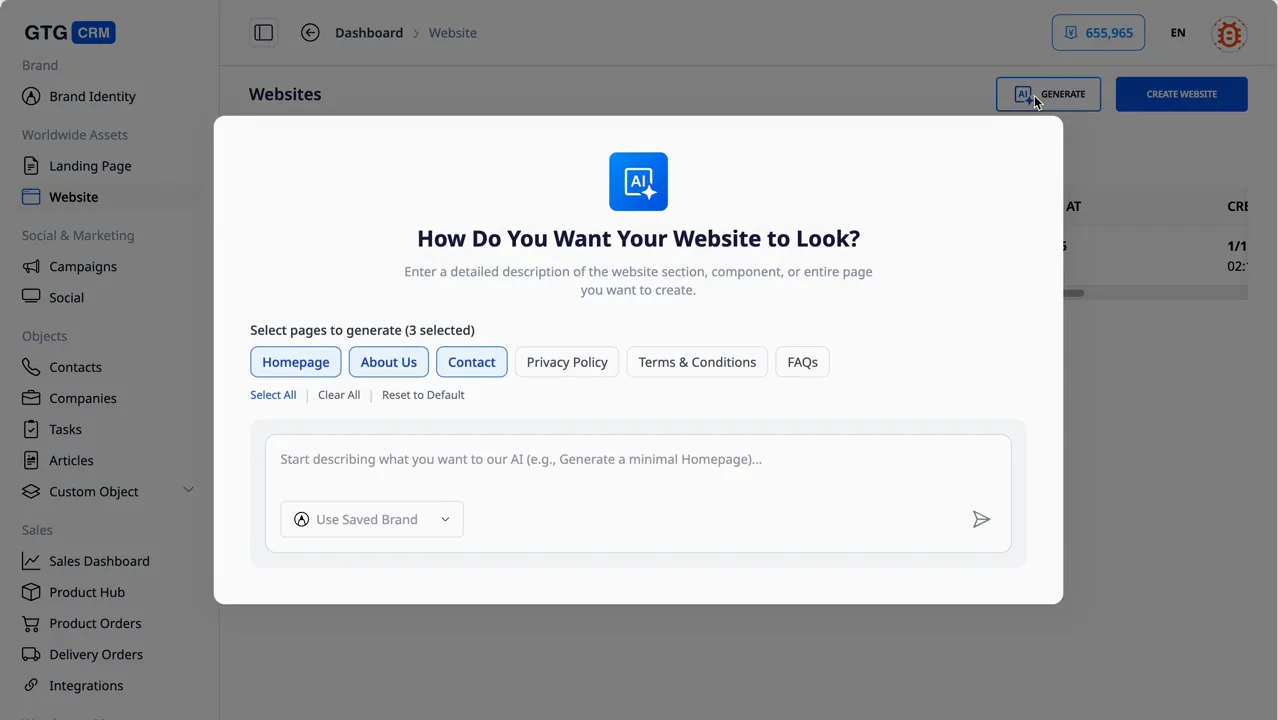
Step 2: Select Pages to Create
The system displays a modal to select common pages:
PageDescription
Home PageHomepage introducing the business About UsPage introducing the company ContactContact information page Privacy PolicyPrivacy policy Terms & ConditionsTerms of use FAQsFrequently asked questions
💡 Tip: Businesses can select one or multiple pages at once.
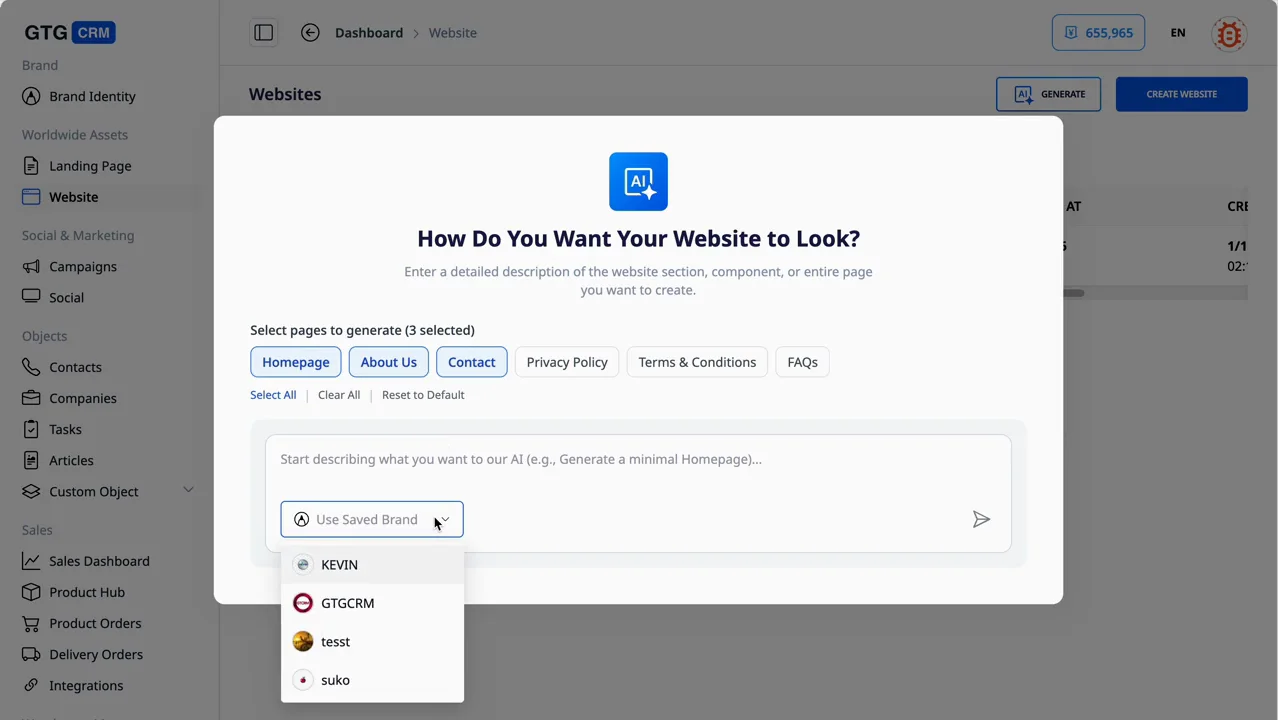
Step 3: Select Brand Identity (Optional)
If you have Brand Identity:
The AI will generate the website according to:
- 🎨 Brand colors
- ✏️ Defined fonts
- 🎯 Brand style
If you don't have Brand Identity:
The AI will still generate the website with:
- Default interface
- Clean and easy to edit later
⚠️ Note: Brand Identity is not mandatory - users can add it later.
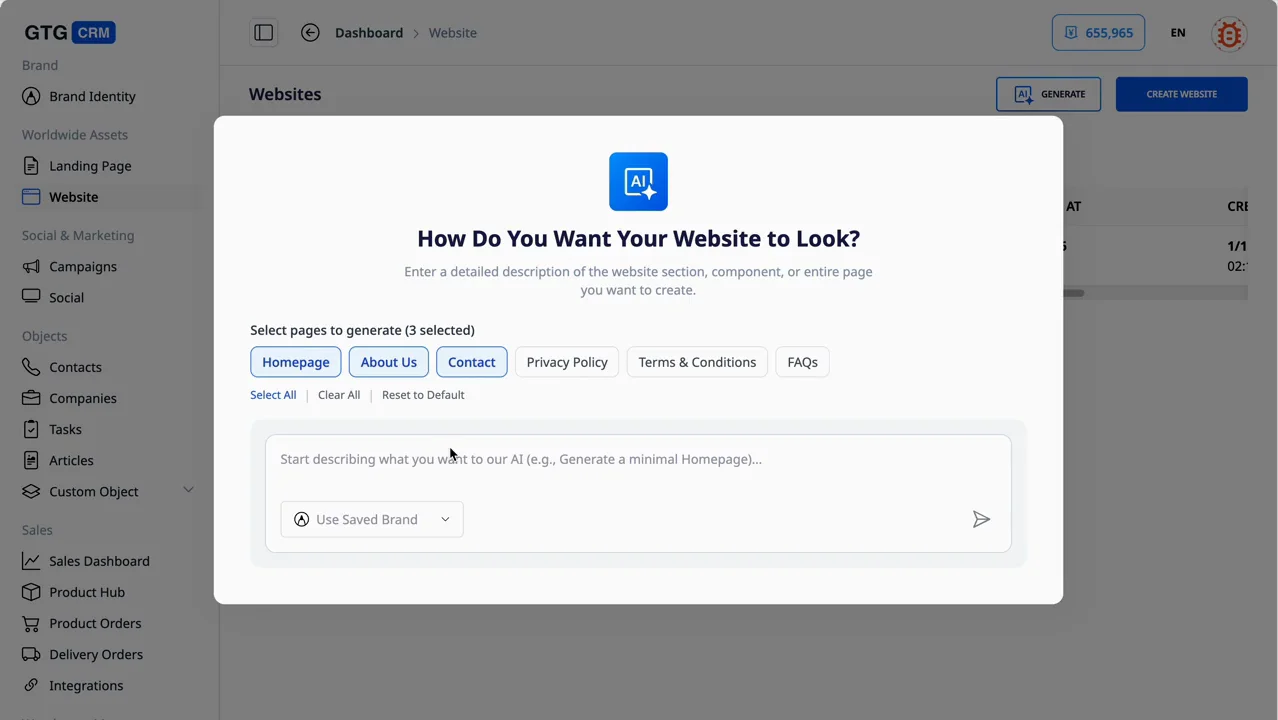
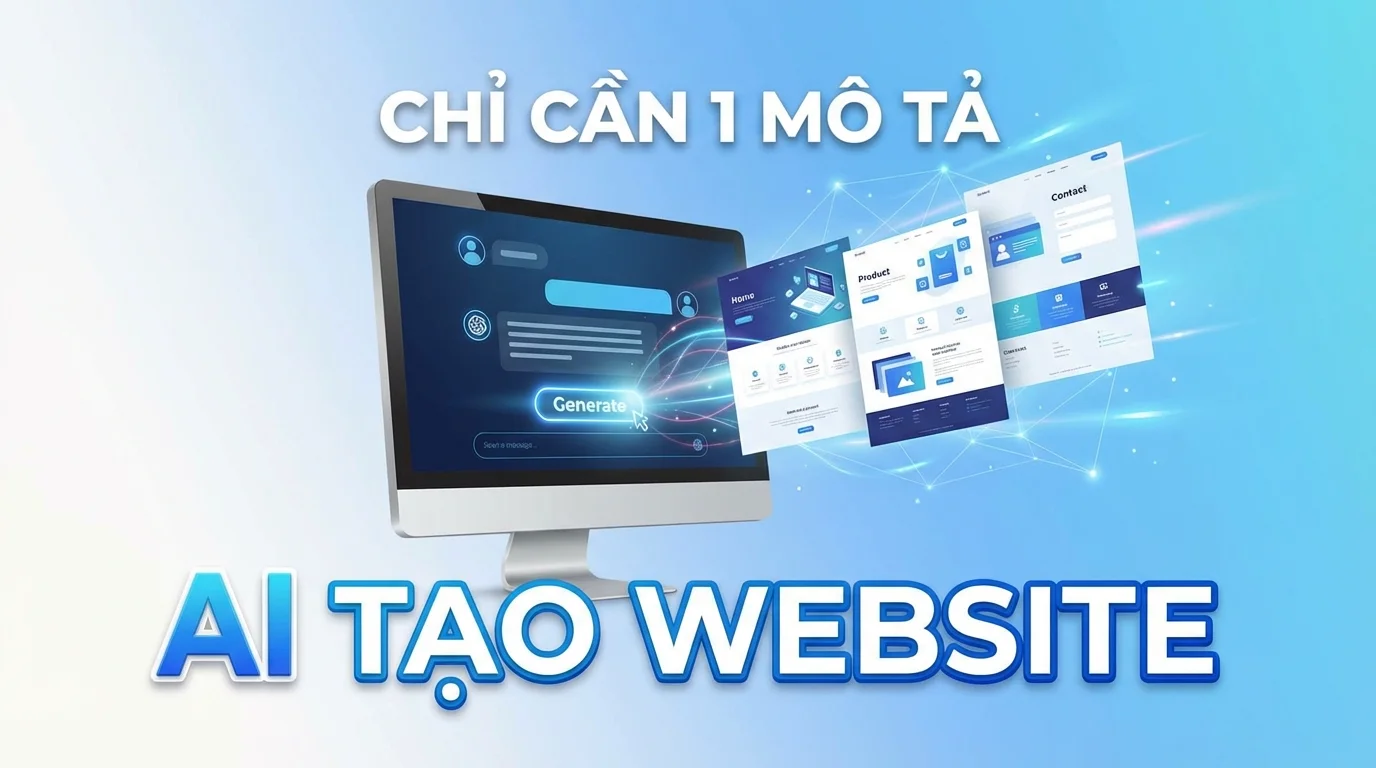
Step 4: Enter Desired Description
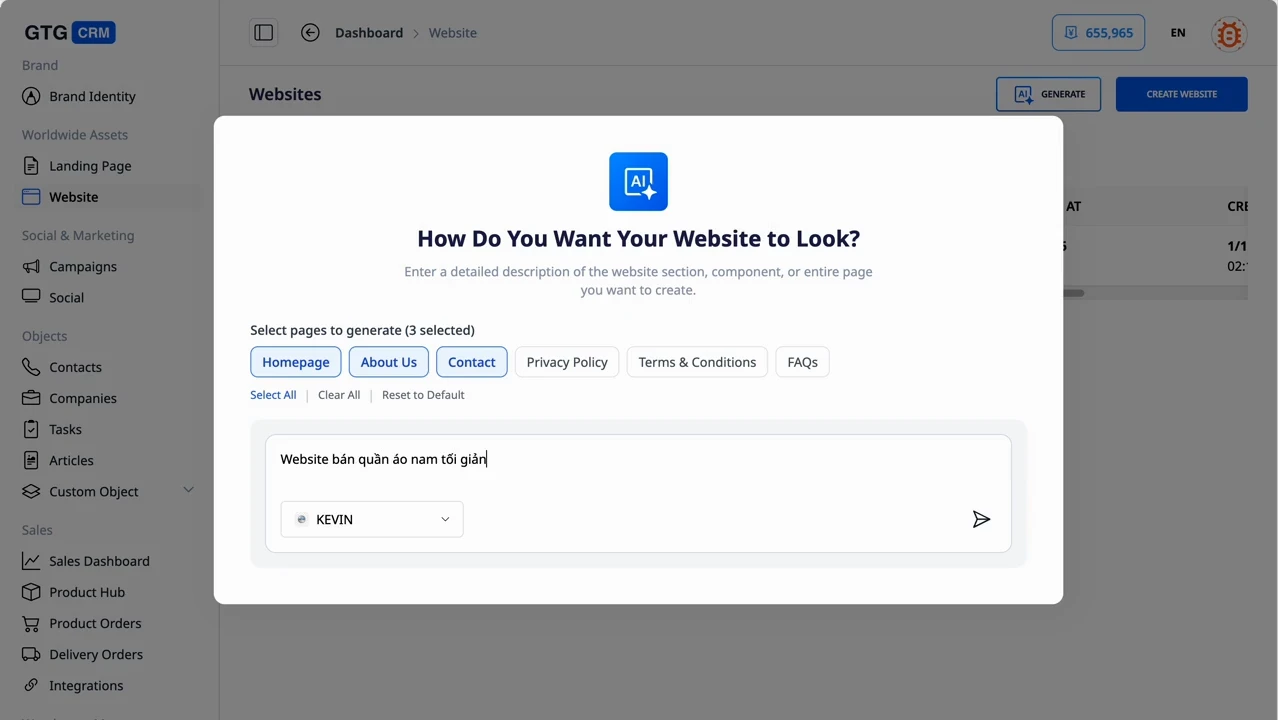
Users only need to provide a brief description:
Content to describe:
- What does your business do?
Industry
- Main products/services
- Desired style
Modern, traditional, minimalist...
- Website purpose
Sales
- Introduction
- Marketing
Description Example:
A company specializing in providing CRM software solutions for small and medium-sized businesses. Modern, professional style. The website will be used to introduce products and collect leads.
Confirm and Wait for AI Processing
Confirm Website Creation
After completing the above steps, click "Confirm" to start the generation process.
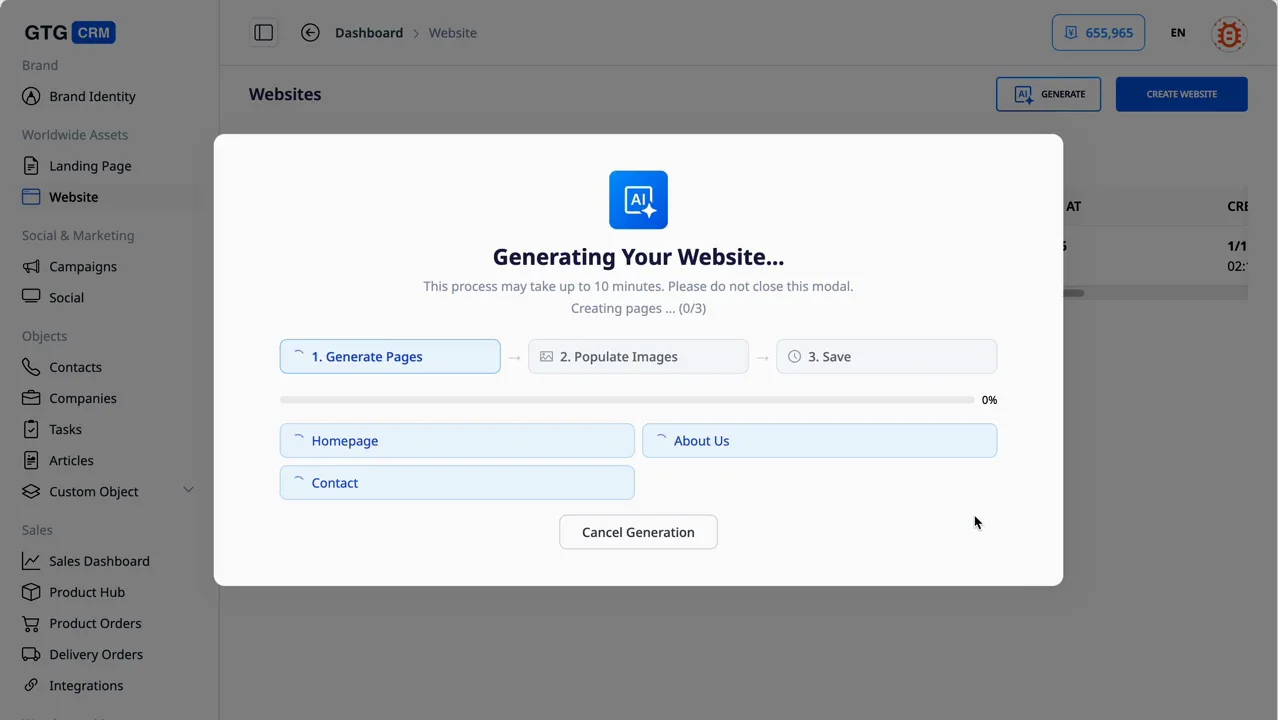
AI is Processing
The system will automatically generate the website. Processing time is approximately 10 minutes.
⚠️ Important: While the AI is processing, DO NOT close this modal.
Results
After the AI finishes processing, you will have a complete website with:
- ✅ All selected pages
- ✅ Content that matches the description
- ✅ Interface according to Brand Identity (if available)
- ✅ Integrated with the GTG CRM system
Part 2: Using the Website Builder
Once you have your website, you can edit it using the Website Builder.
Accessing the Website Builder
Click on the created website to open the Website Builder.
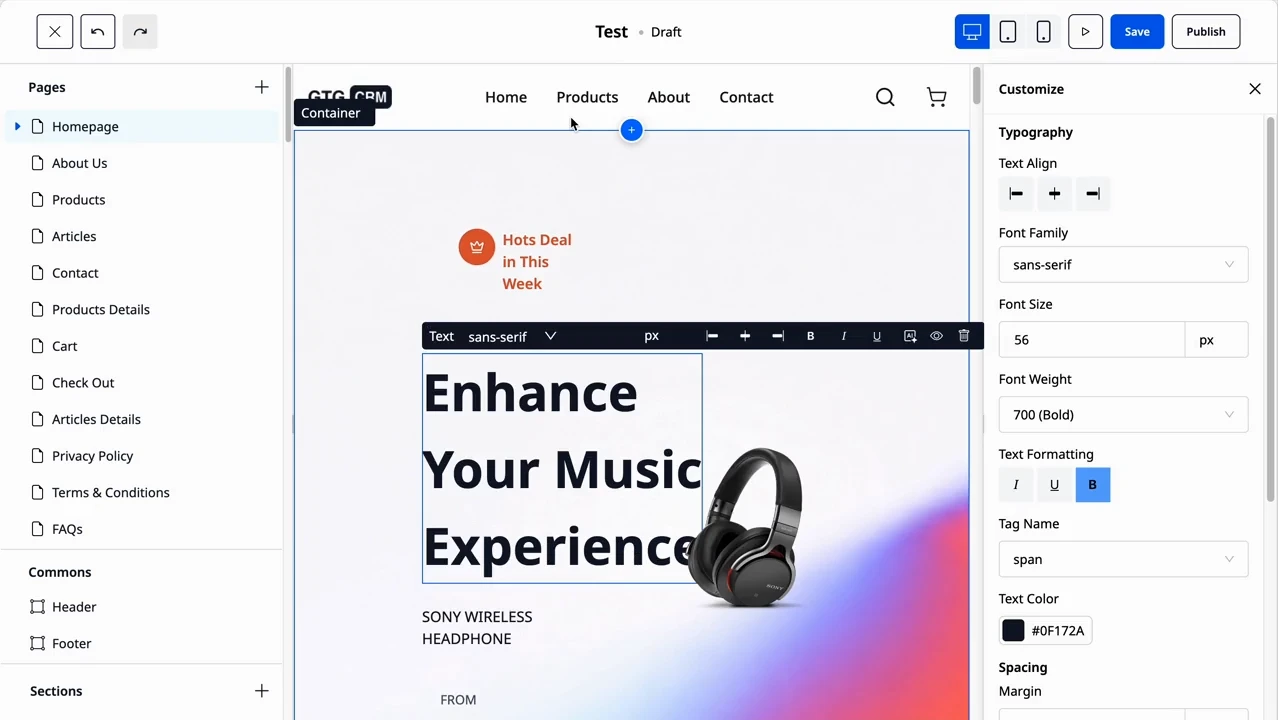
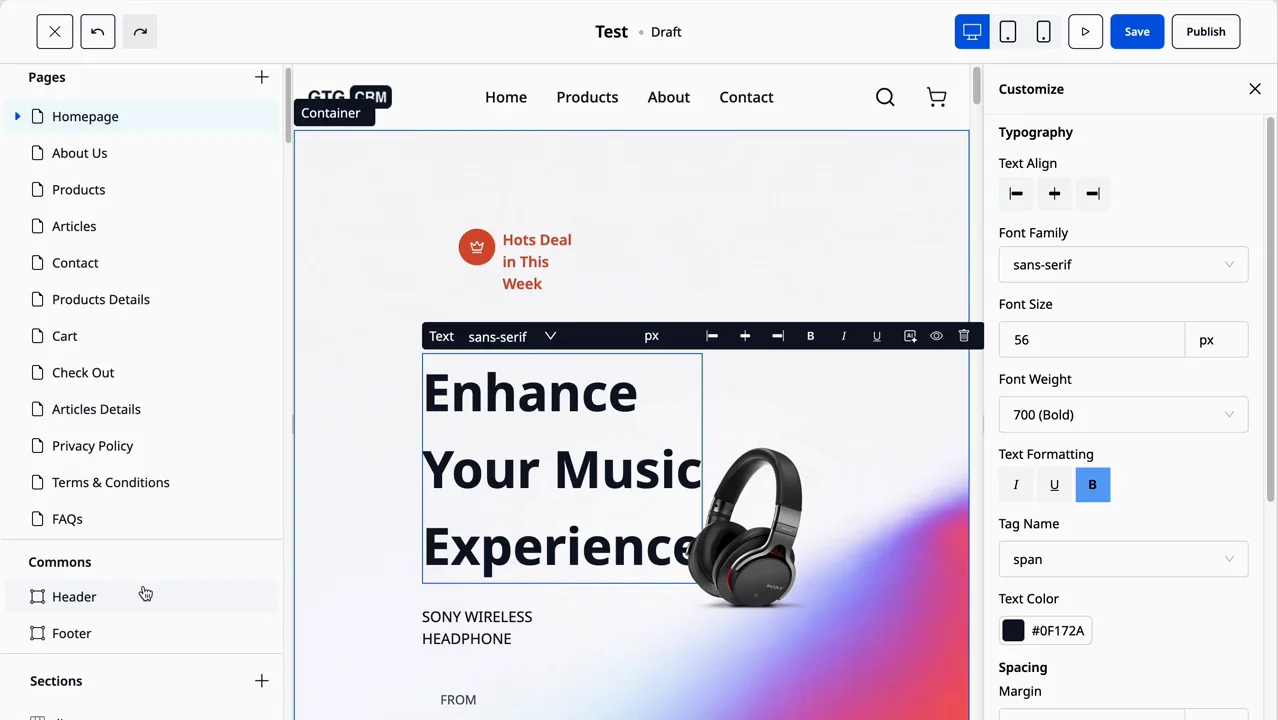
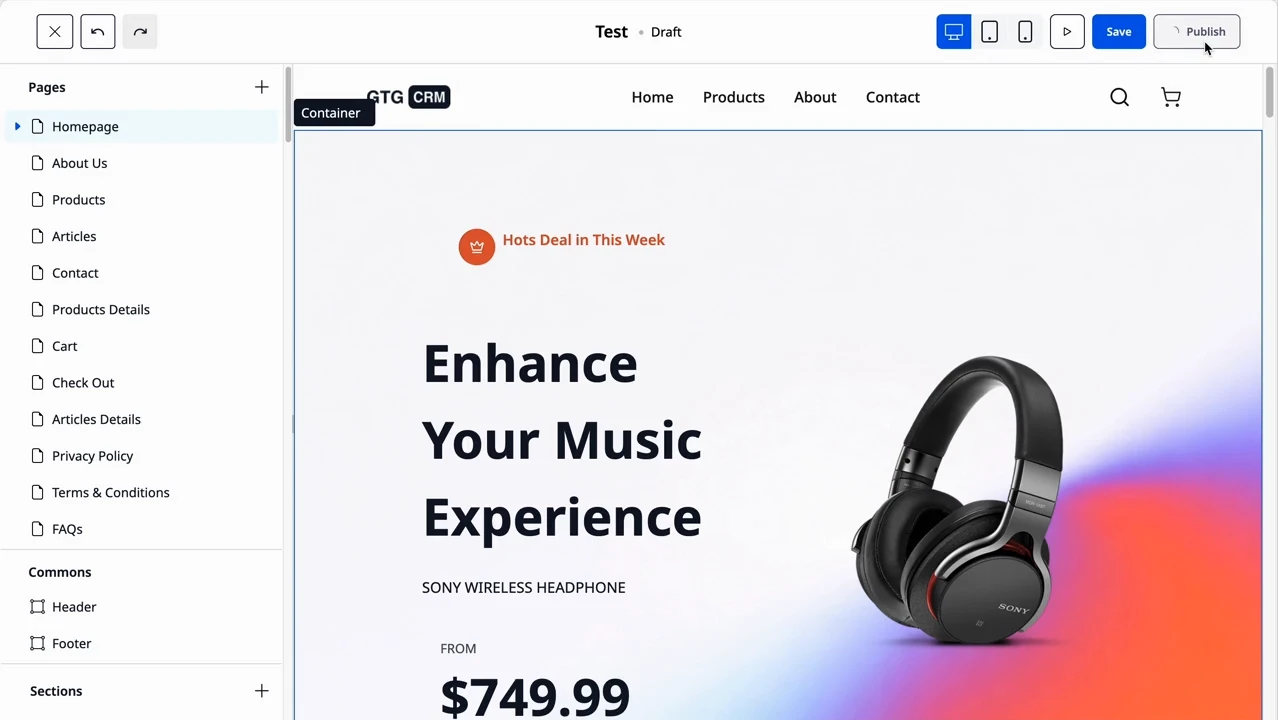
Website Builder Interface
The interface includes:
- Left Sidebar: List of draggable components
- Center Canvas: Visual editing area
- Right Panel: Properties of the selected component
Drag and Drop Components
- Select a component from the sidebar (Text, Image, Button, Form, etc.)
- Drag it to the desired position on the canvas
- Edit content and properties
Part 3: Managing Pages
Page List
View and manage all pages:
- Add new pages
- Delete unnecessary pages
- Set as homepage
- Arrange menu order
Editing Page Content
Click on a page to edit:
- Select the page to edit
- Use the editor to change content
- Add images
- Save when finished
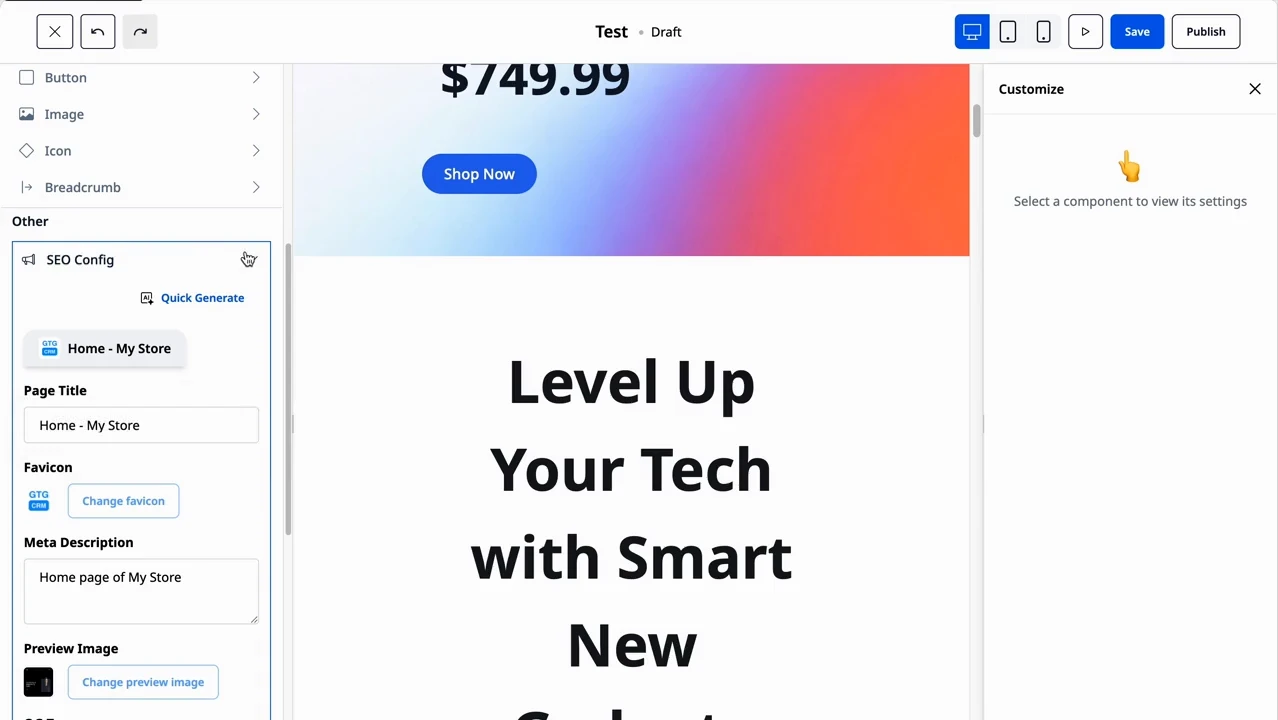
SEO for Each Page

Configure SEO for each page:
- Title: Title displayed on the browser tab
- Meta Description: Description for Google search
- URL Slug: Friendly URL
- OG Image: Image for social media sharing
Part 4: Website Configuration
Theme & Styling
Customize the appearance:
- Primary color
- Font
- Logo
- Favicon
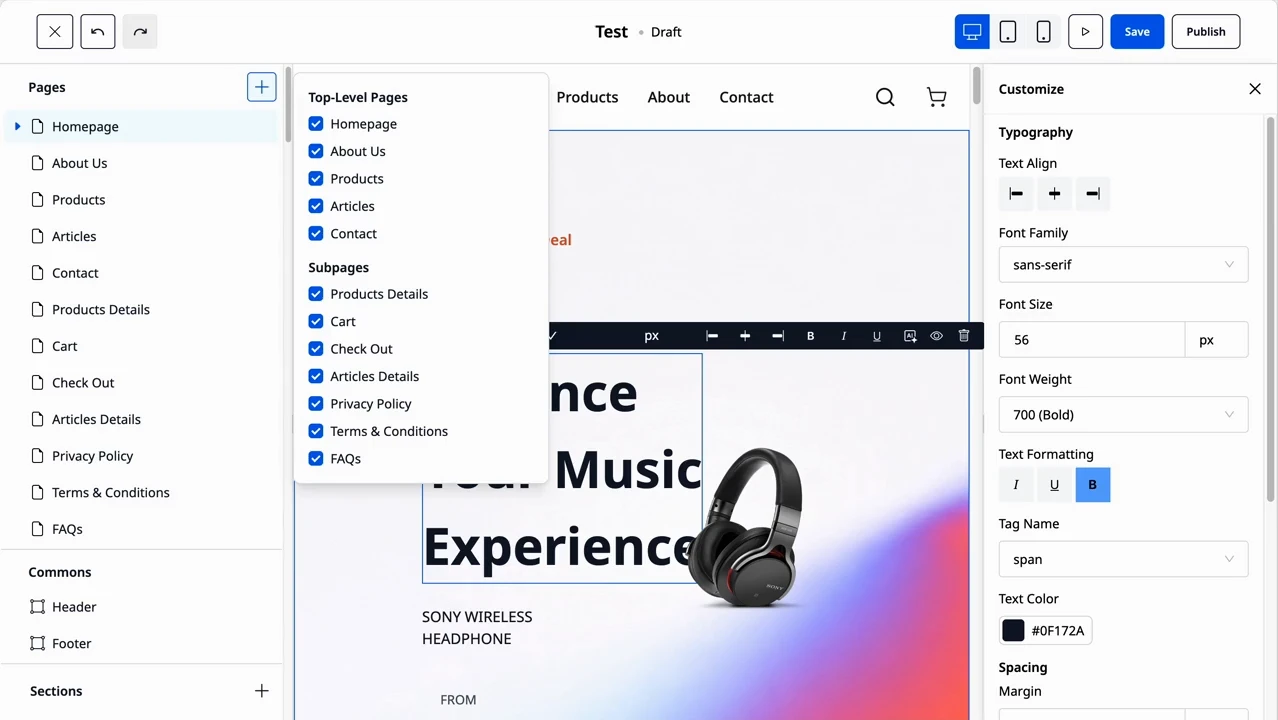
Menu Navigation
Set up the menu:
- Add/remove menu items
- Arrange order
- Create submenus (dropdowns)
- Link to pages or external URLs
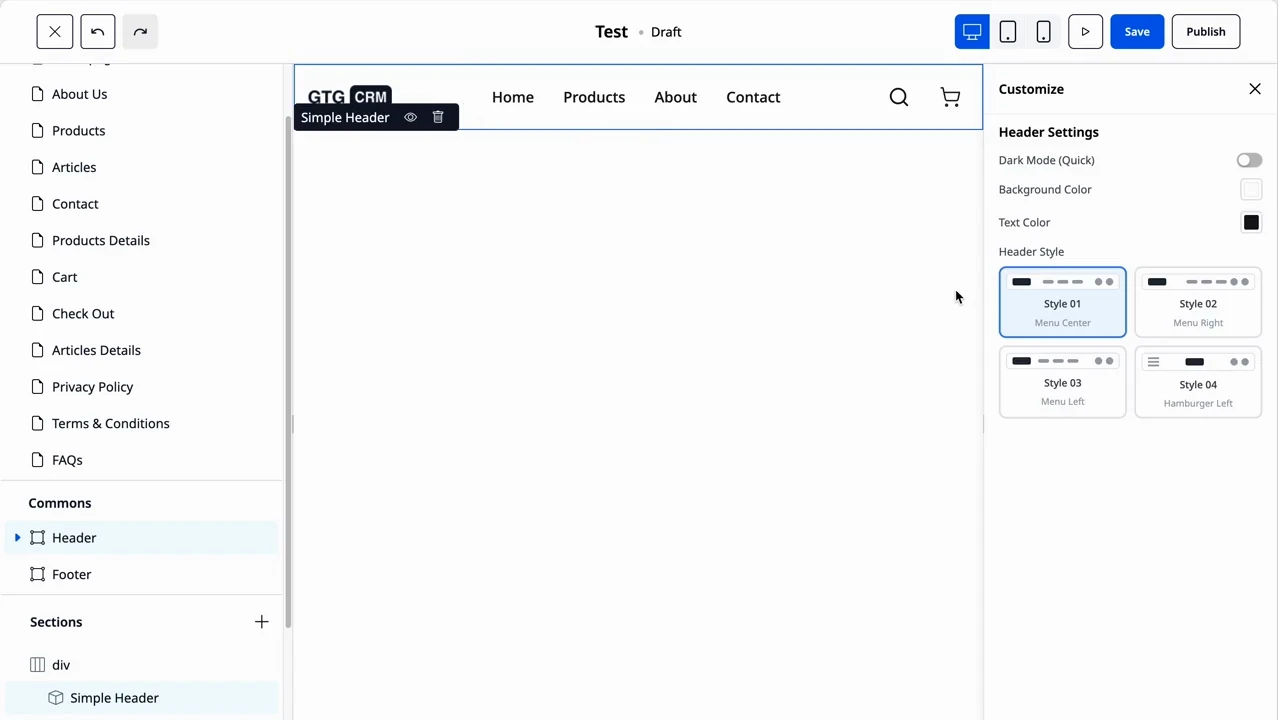
Header & Footer
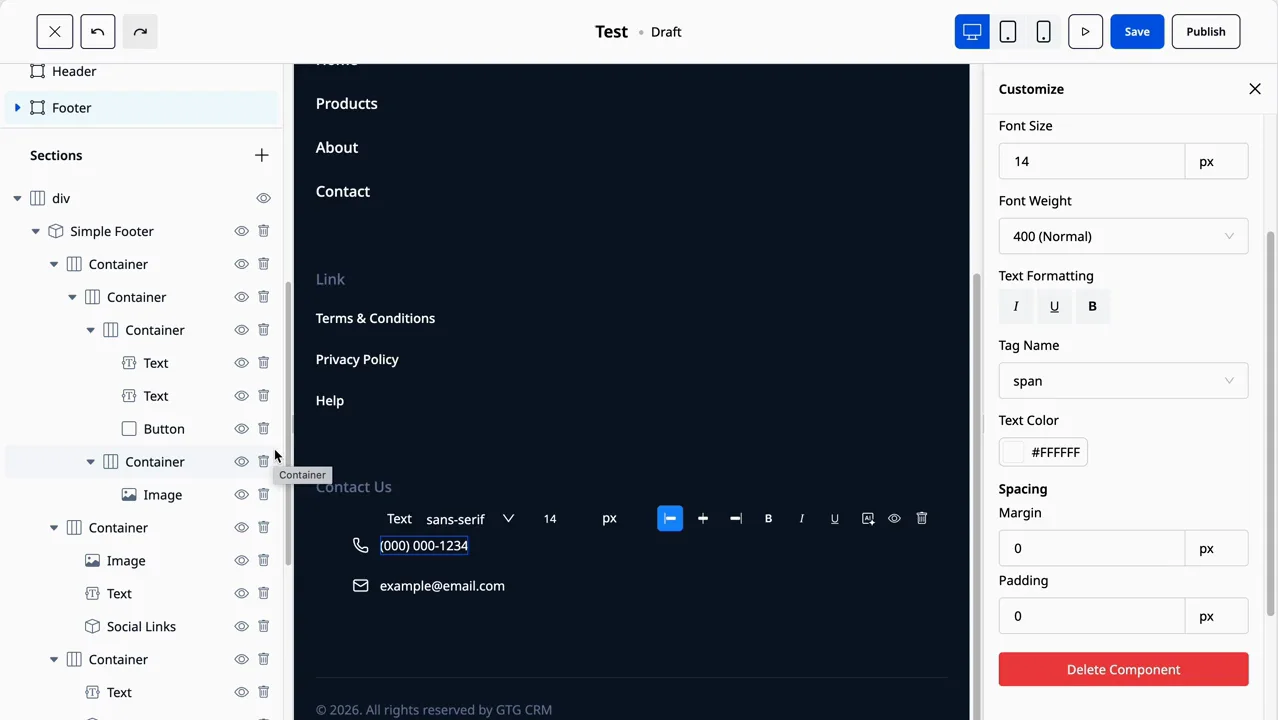
Edit:
- Header: Logo, menu, CTA button
- Footer: Contact information, social links, copyright
Part 5: SEO & Marketing
Site-wide SEO Configuration
- Go to Settings > SEO
- AI generated content:
Site title
- Site description
- Default OG image
Sitemap
The sitemap is automatically generated at: yoursite.com/sitemap.xml
Part 6: Publishing
Publishing the Website
- Review all content
- Click Preview to see a preview
- Click Publish to make it live
- The website will be live within approximately 10 minutes
Part 7: E-commerce Integration
Connecting to Product Hub
The website automatically connects to GTG CRM's Product Hub:
- Products are displayed automatically
- Prices are updated in real-time
- Inventory is synchronized
Adding a Product Page
- Create a new page of type Products
- Select product categories
- Configure display (grid/list, number of products)
Order Processing
Orders from the website:
- Are automatically created in Product Order
- Are notified via email/notification
- Customers are saved to CRM
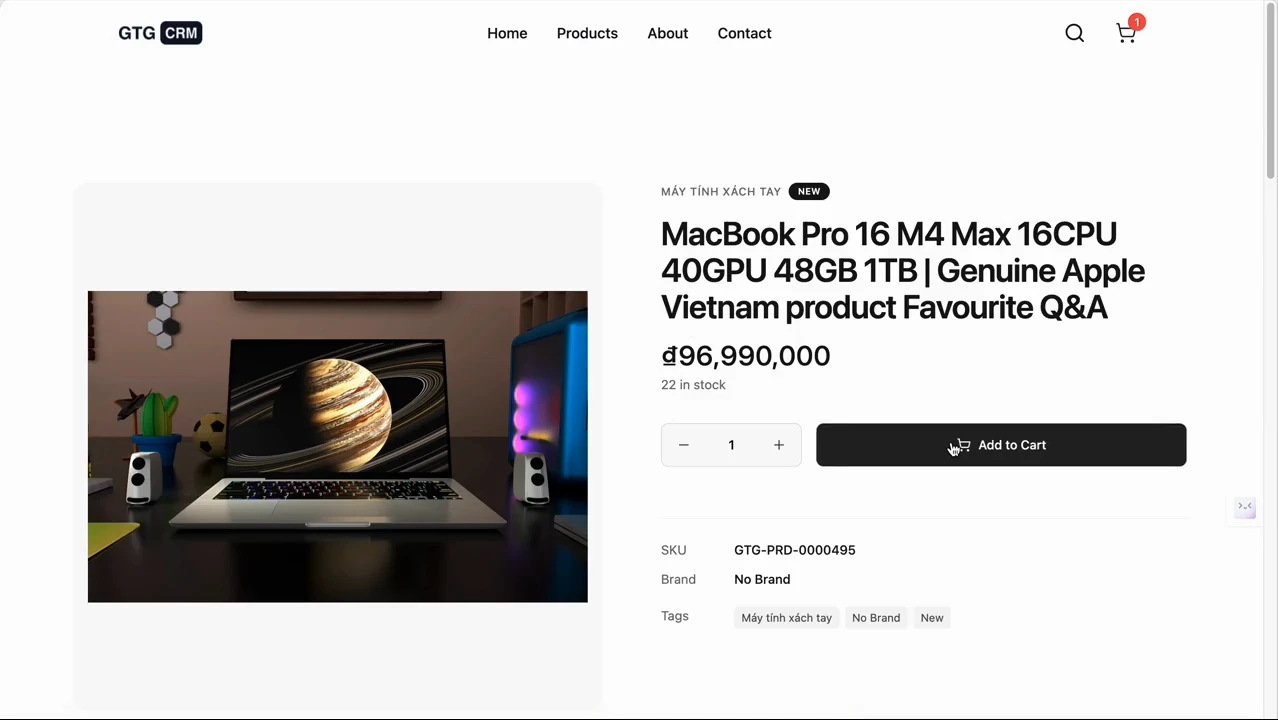
New E-commerce Store Templates & Smoother Checkout
In addition to introductory websites, you can build a sales storefront with 6 new template options recently added, suitable for various industries.
- When creating or switching to a sales storefront, choose one of the new storefront templates in the template selection step.
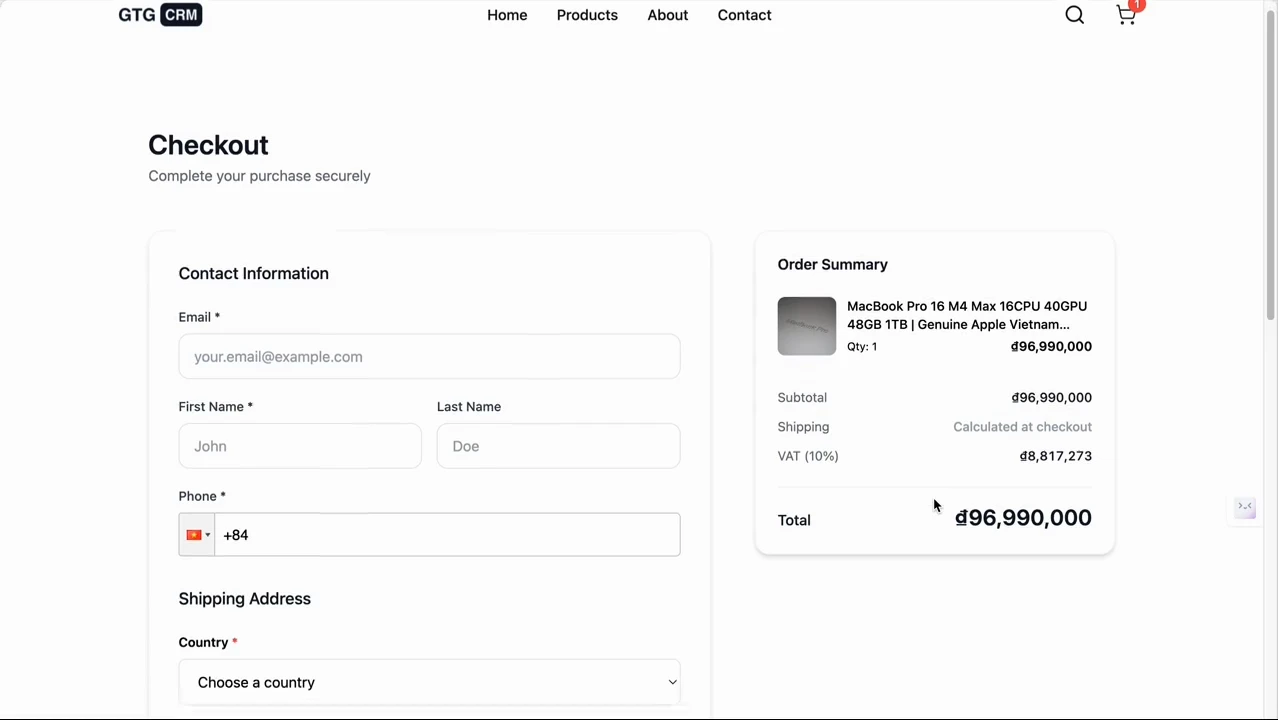
- Enable sales: products are displayed with stock notifications for each variation (size/color), and at the checkout step, customers see the shipping carrier logos, enter their international phone number, and view the "ship-from" information.
- Customers can register with name + quick verification; checkout/order/payment result pages have been localized.
✅ Expected Outcome: Storefronts using the new templates will display professionally; the checkout process will be clear (shipping carrier logos, variation-specific stock, local language) to help customers finalize orders more easily.
Next Steps
After creating your website, you can:
- Edit Content - Update text and images
- Add Products - Connect with GTG CRM inventory
- Configure Domain - Attach your custom domain
- SEO Optimization - Optimize for Google
- Run Ads - Create landing pages for campaigns
- Publish - Make your website live
Maybe You Should Read These

Website in GTG CRM
AI Website Builder

Build Landing Pages
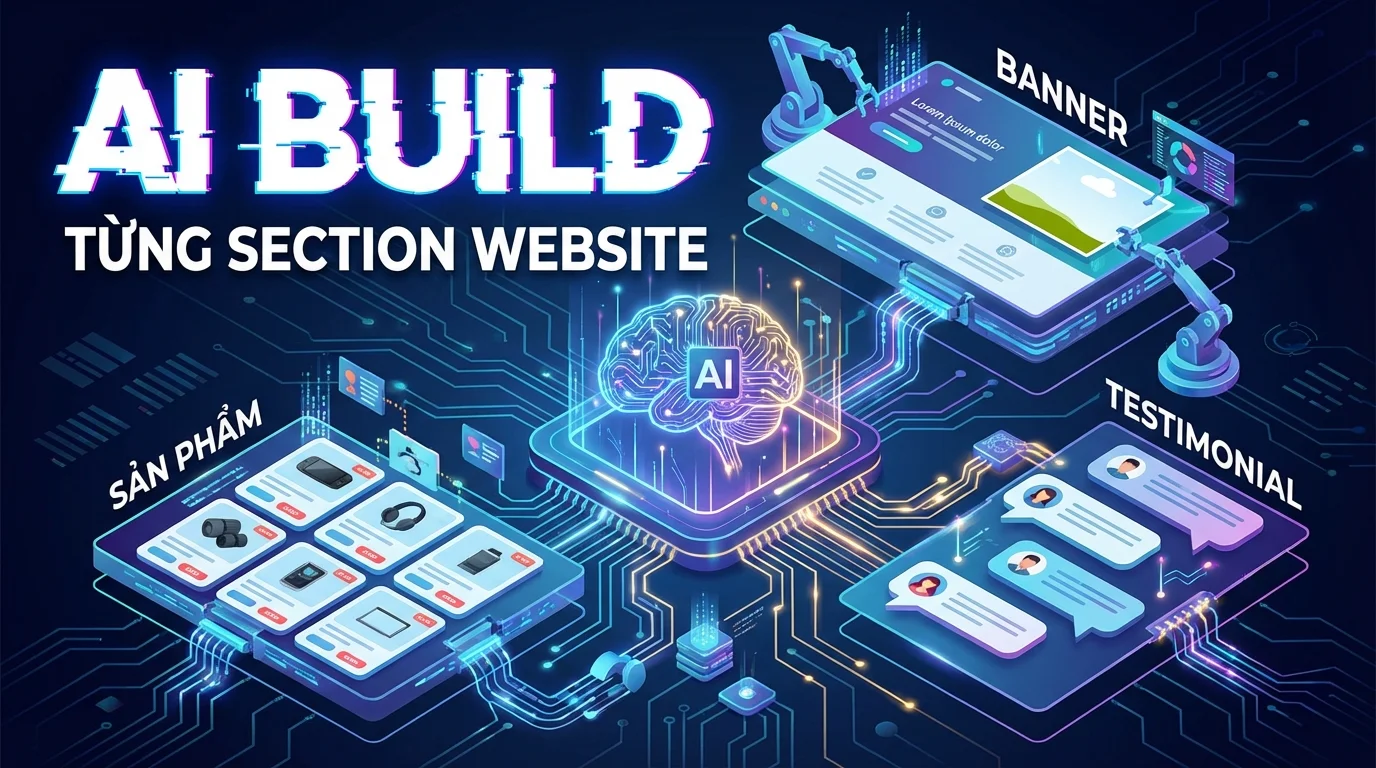
AI Website Section Generator

AI-Powered Product Creation
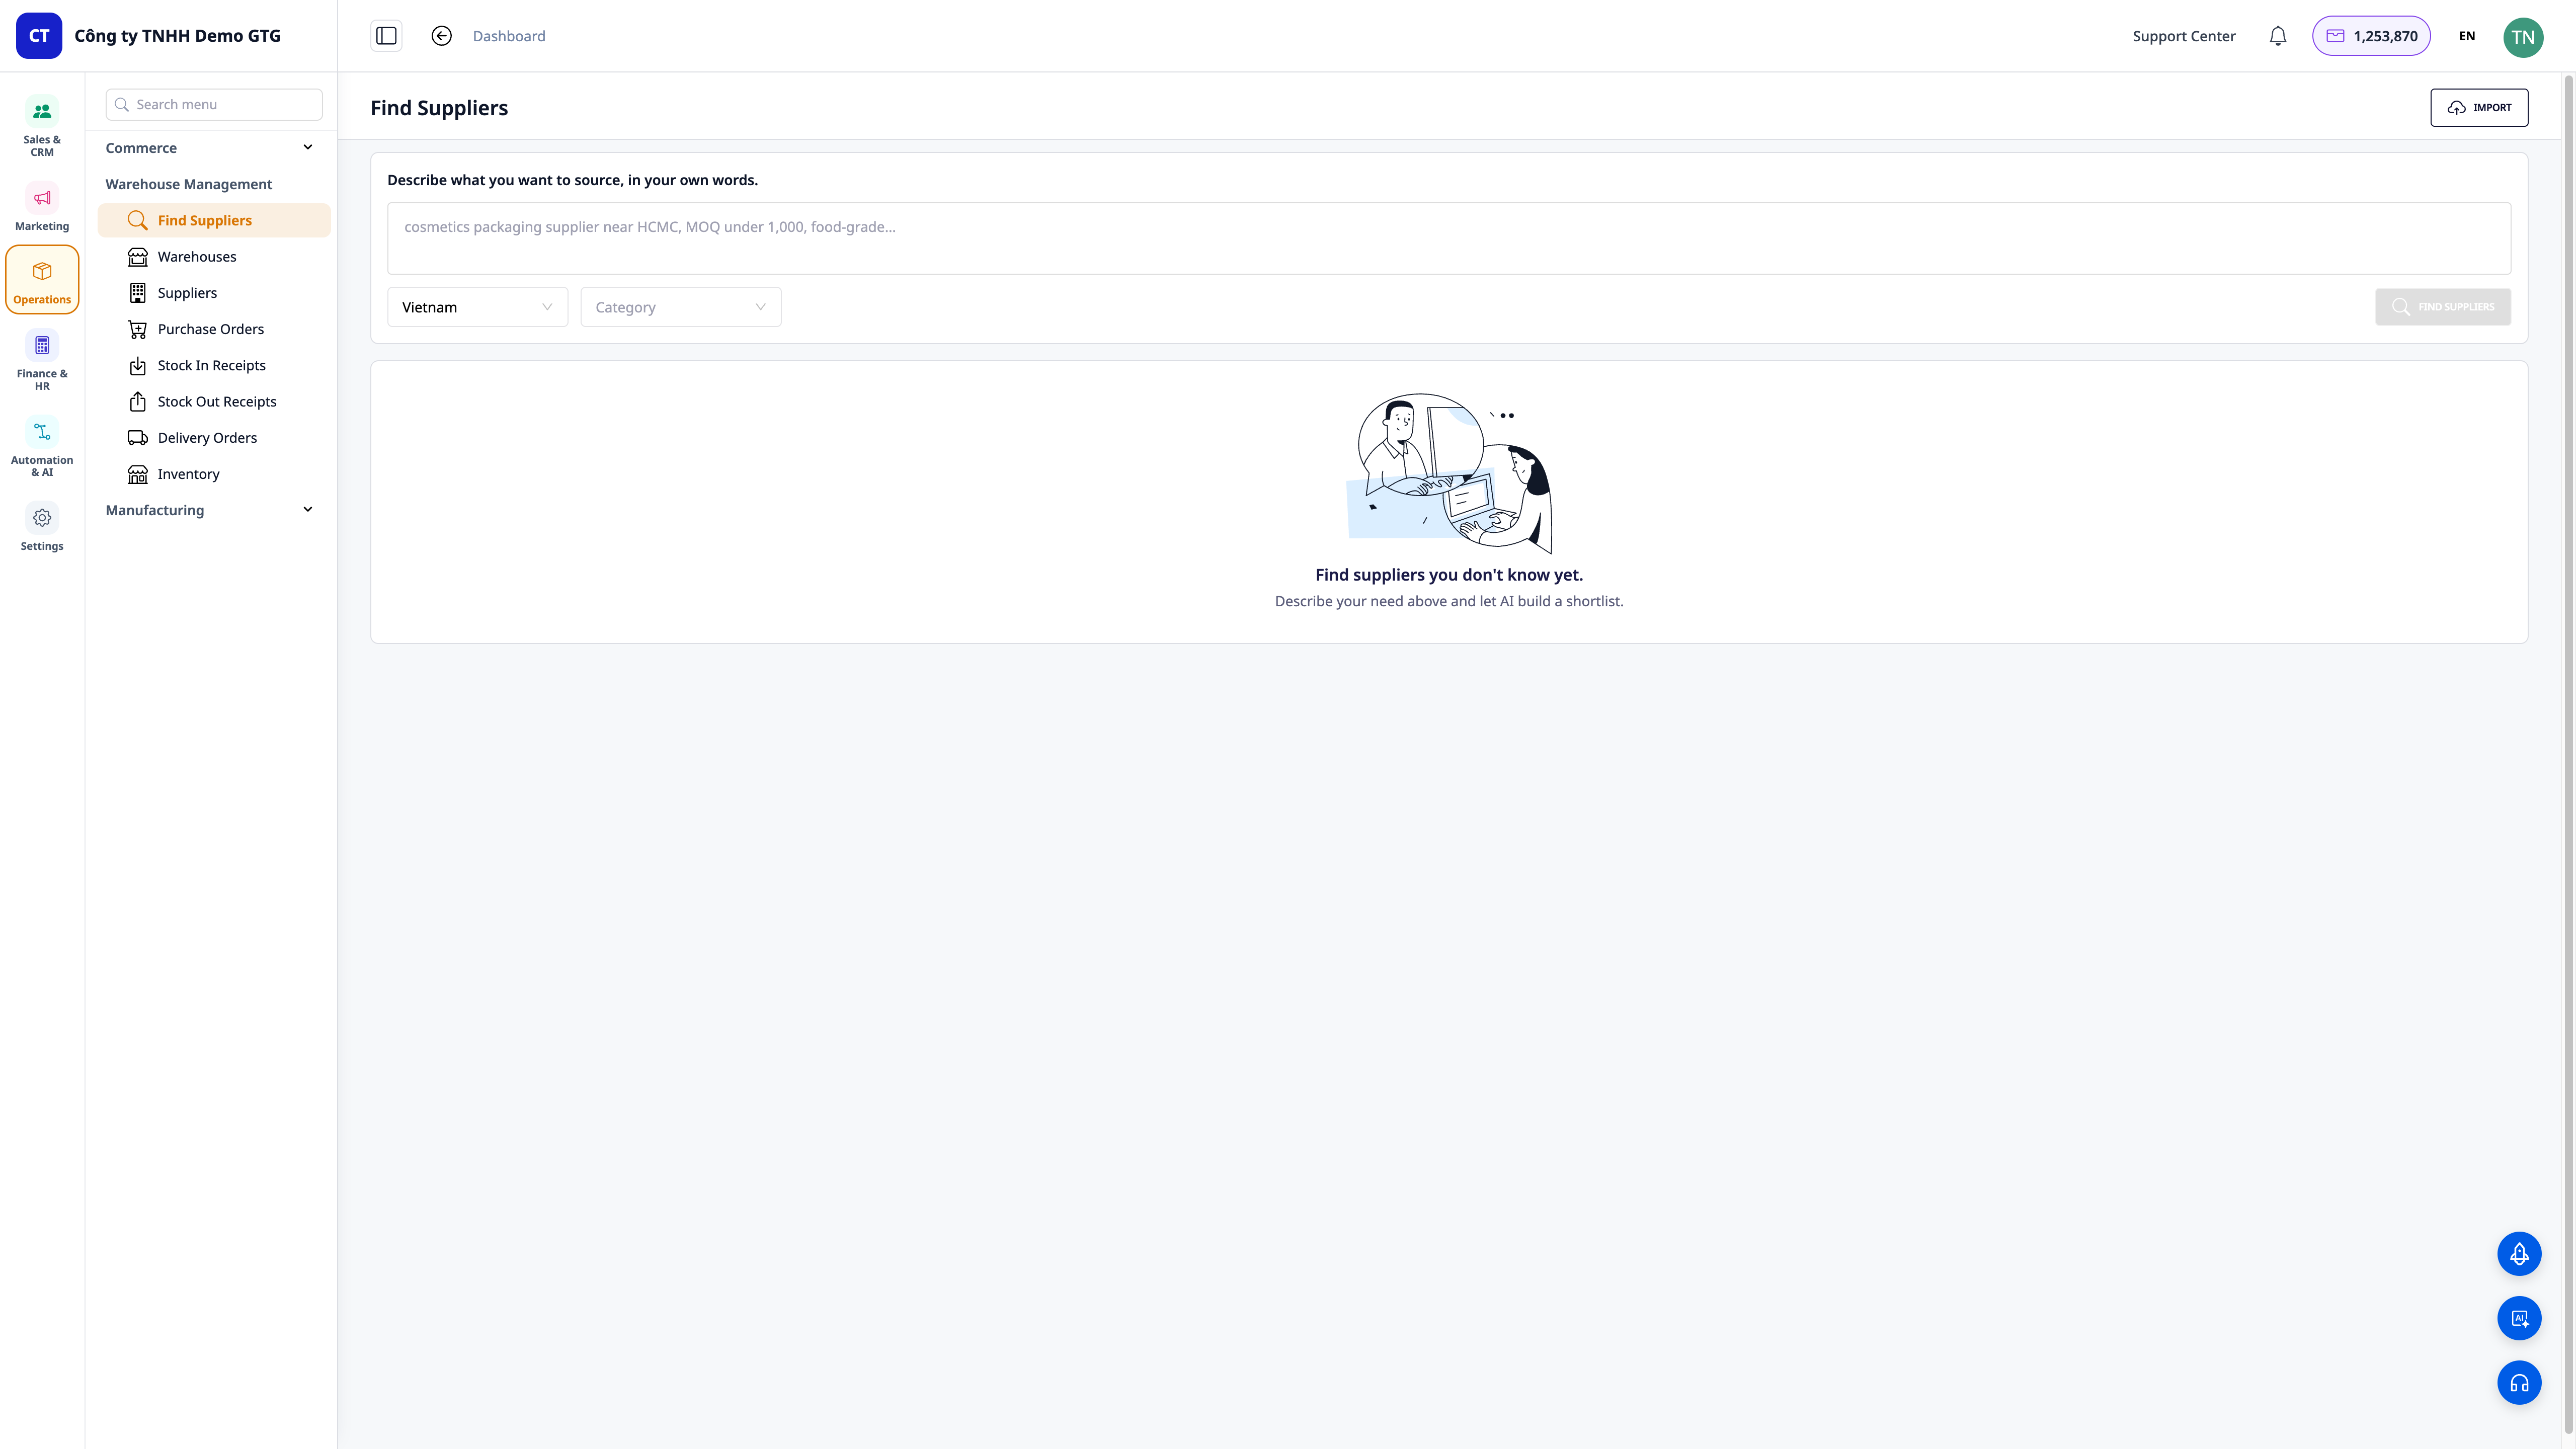
Find Suppliers with AI — Verbal Descriptions, Get Real Shortlists, Save to CRM & Send RFQs in Minutes

Create Brand Identity
24/7 AI Chatbot
Multi-Platform Sales Management
AI Chatbot

Email Builder