Landing Page Builder User Guide - GTG CRM
GTG CRM Team · GTG CRM
June 05, 2025
Table of Contents
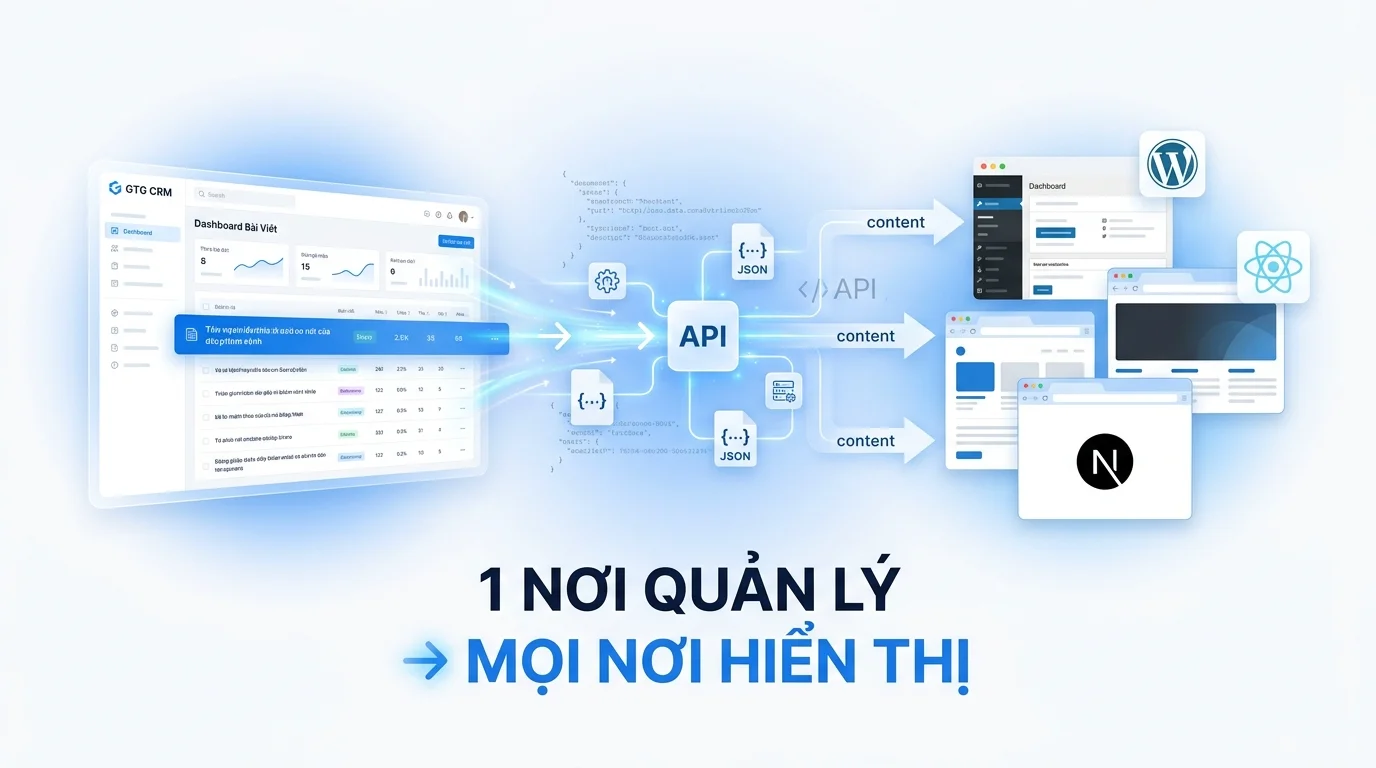
The Landing Page Builder in GTG CRM helps you create professional sales pages without needing to know code or hire a designer . Everything from the interface, content, data collection forms to checkout is supported by AI and integrated with the CRM system.
This article guides you through the entire process — from the first step to getting your landing page live and receiving actual orders.
1. Visit Landing Page Builder
From the GTG CRM main menu:
Website → Landing Pages
The screen displays a list of created landing pages. If there are no pages, you will see a blank interface with a "Create Landing Page" button.
Note : You need
CREATE_LANDING_PAGEpermission to create and edit landing pages.

2. Create a new landing page.
Click "+ Create Landing Page" → the system opens a new creation form:
| School | Describe |
|---|---|
| Landing Page Name | Internal names to distinguish pages (not visible to guests) |
| Purpose | Lead generation / Sales / Event registration / Service introduction |
| Language | Vietnamese, English, or other languages |
After filling in the information → Continue → proceed to the template selection step.
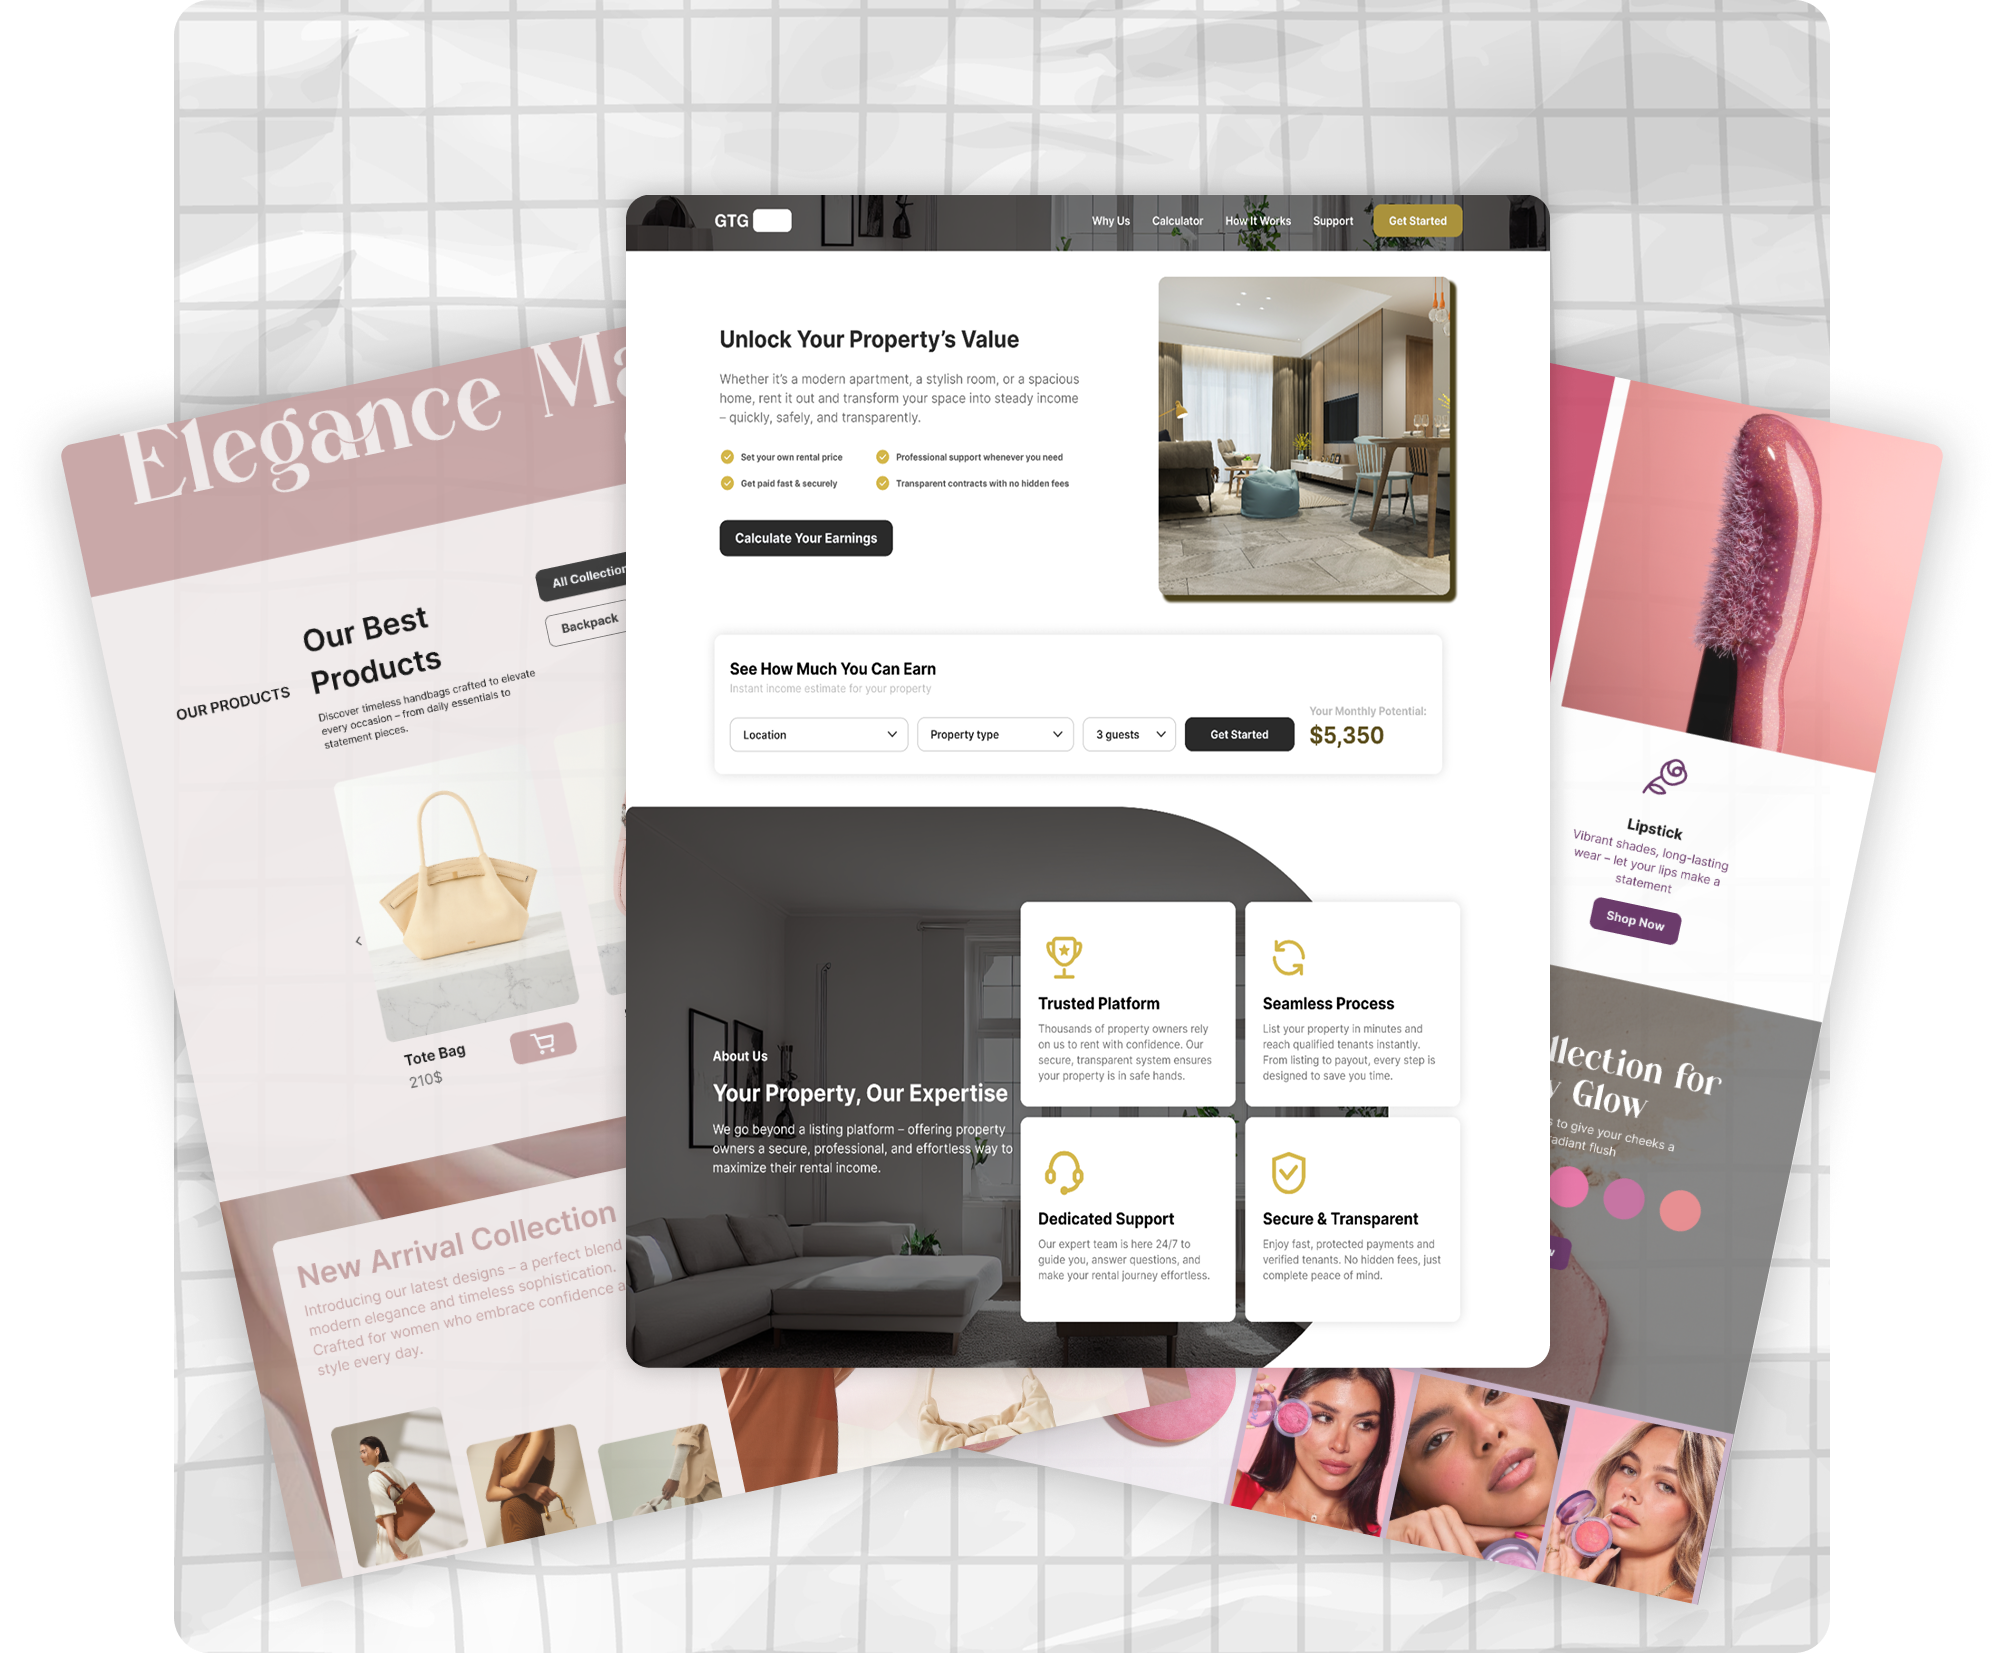
3. Choose a Template
Extensive template library
GTG CRM offers nearly 100 landing page templates organized by industry:
- E-commerce / Online selling
- Beauty services / Spa / Aesthetics
- F&B / Restaurants / Cafes
- Education / Online Courses
- Real estate
- Event / Workshop
- Fitness / Yoga / Sports
- Tech / SaaS / App
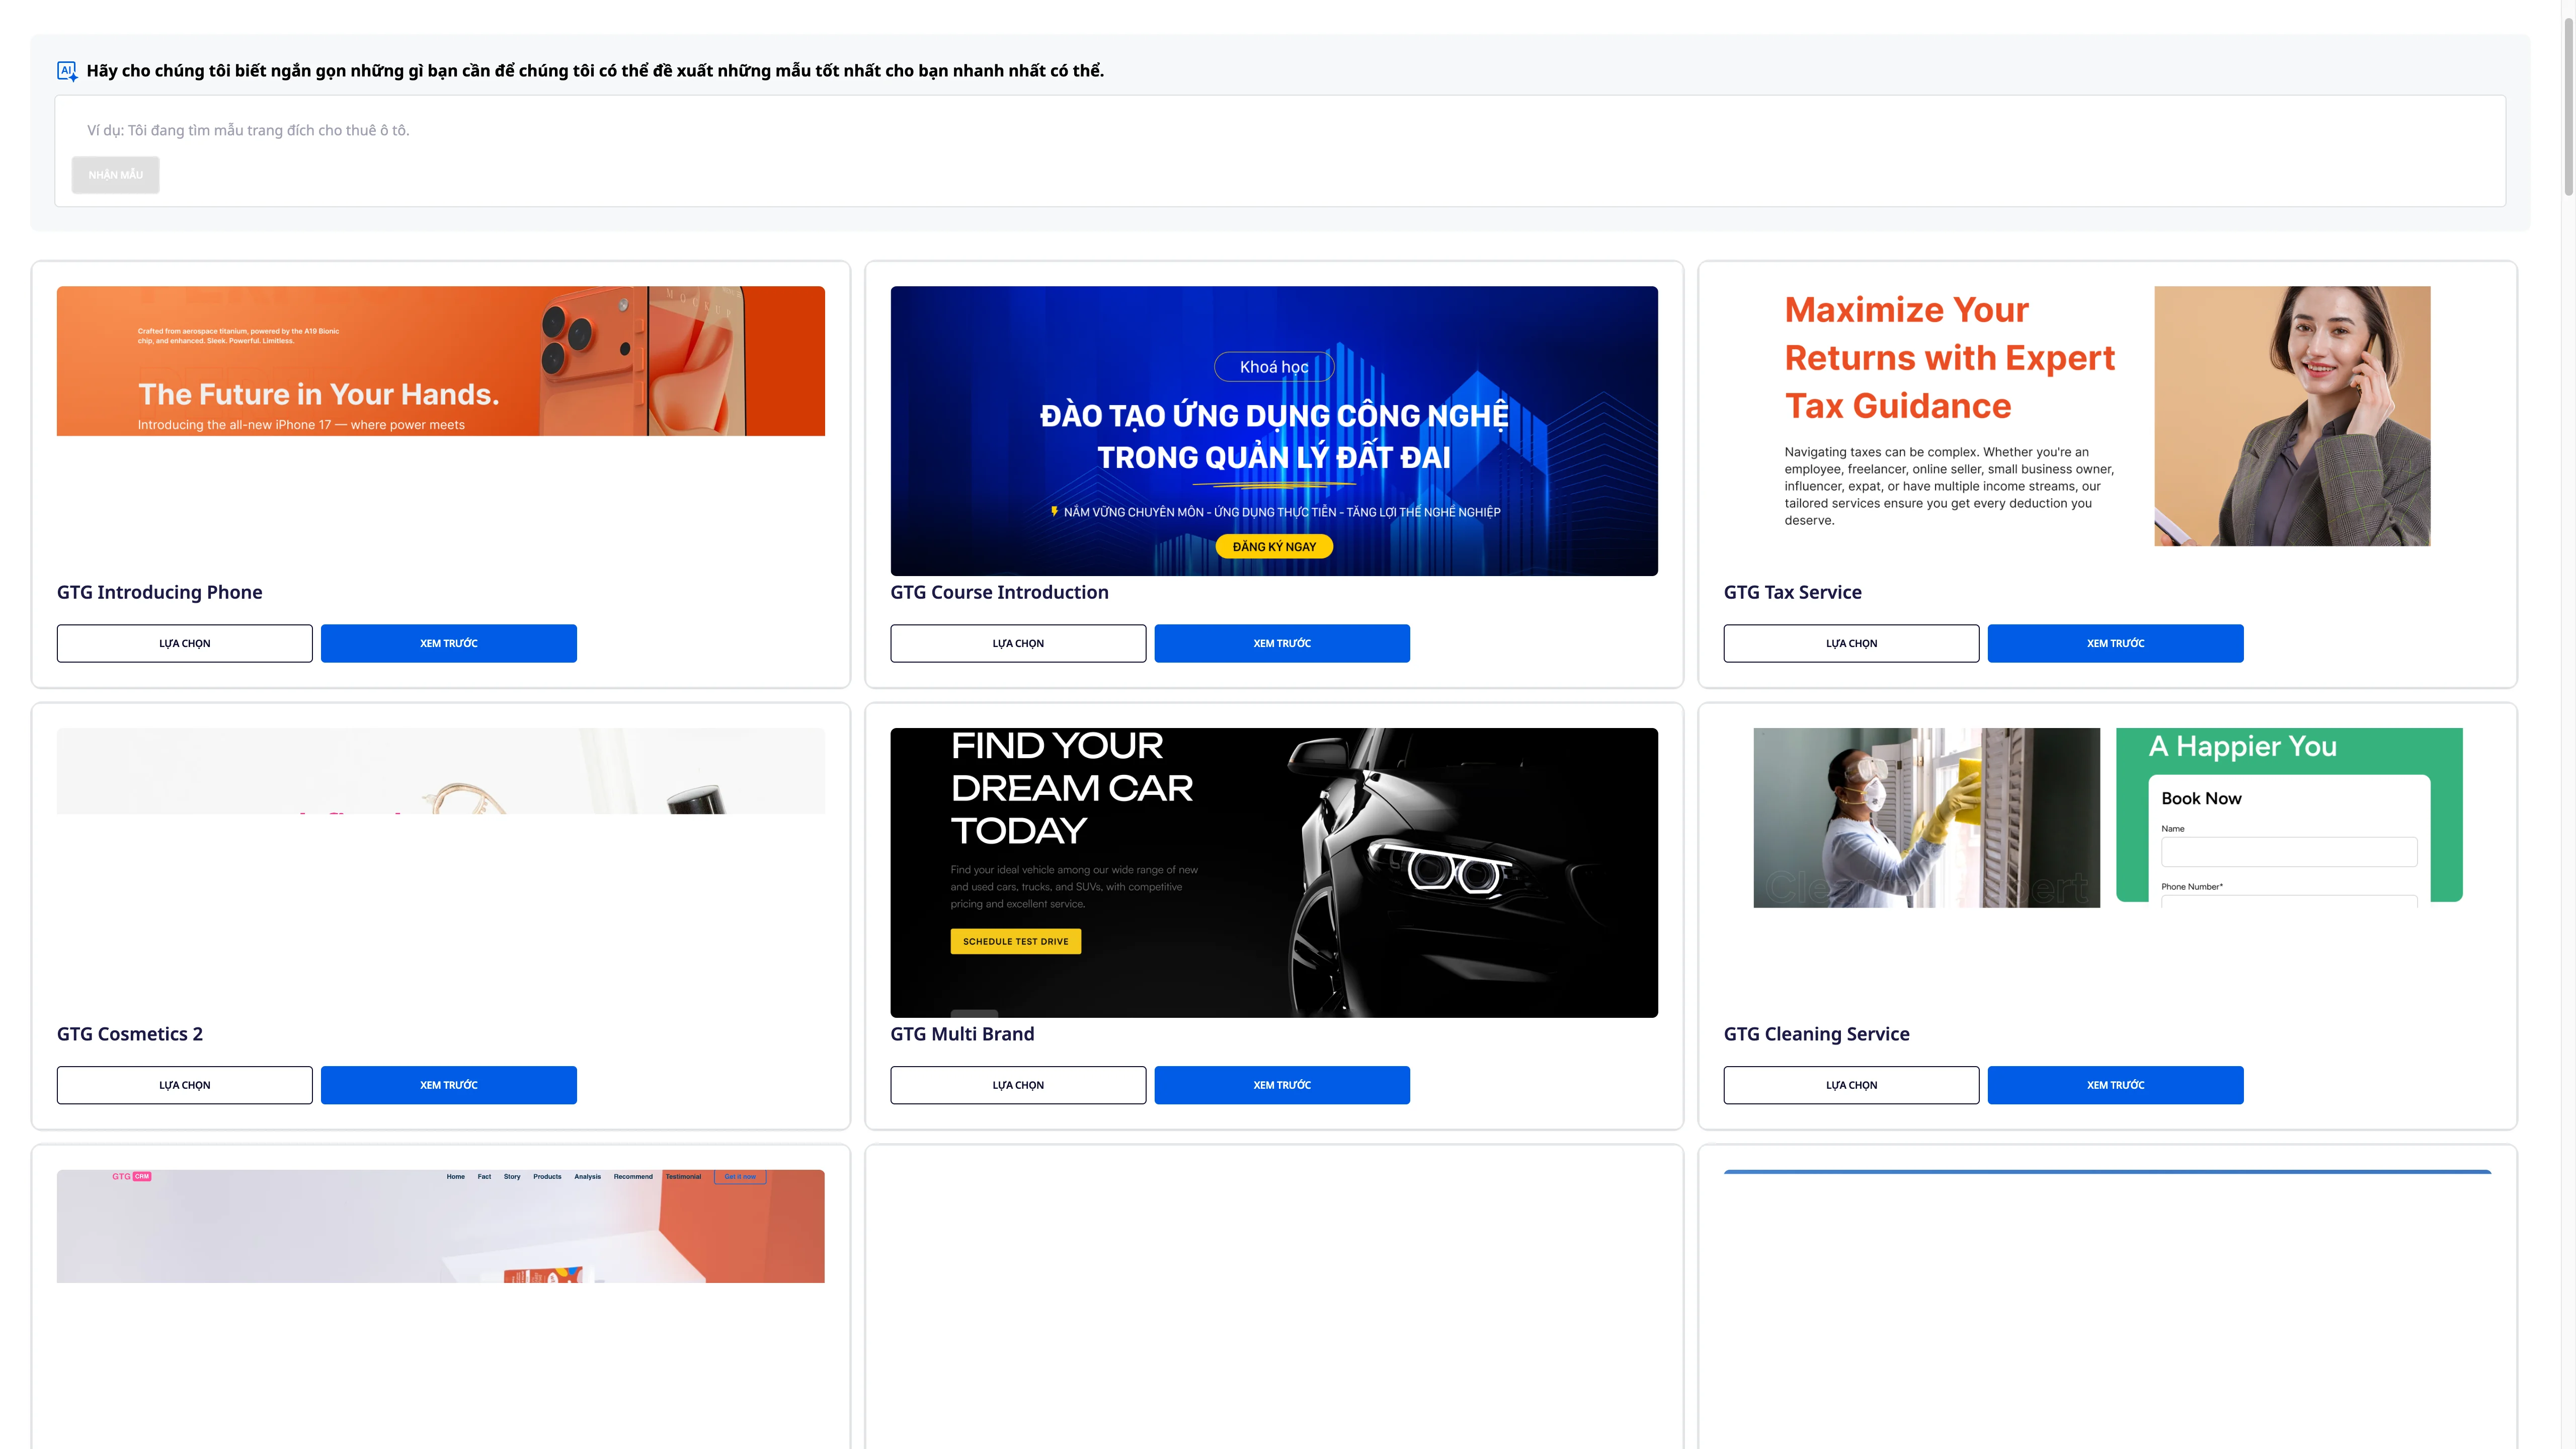
AI-powered template search
Instead of browsing through each template, you can describe what you want in words :
"Page selling unisex streetwear t-shirts for young people aged 20-30" "Landing page for registering for English communication courses, professional tone"
The AI will suggest templates that best match your description.
Preview before you choose
Click on any template to see a full preview on both desktop and mobile before making a decision.
4. Custom Design Requirements
If you can't find a template you like, you can ask AI to create a completely new design :
Step 1 : Choose "Create your own design" instead of selecting from the library.
Step 2 : Detailed description of requirements: - Business field - Design style (minimalist, vibrant, luxurious, etc.) - Main colors - Required sections (hero, product, testimonial, contact form, etc.) - Target customer audience
Step 3 : AI analyzes and creates a suitable layout — usually takes 1–3 minutes
Tip : The more detailed your description, the closer the AI will be to your expectations. You can still edit it after the AI has finished generating it.
5. Translate the entire page's language.
If you need a landing page that supports multiple markets, GTG CRM supports translating all content with just one click:
Settings → Language → Add language → Select target language → Automatic translation
The AI will translate all the text on the page into your chosen language. You can then edit individual sections if needed, adjusting the tone to suit your market.
Supported languages : English, Vietnamese, Chinese, Japanese, Korean, Thai, and many others.
6. Customize Style & Font
In the Design section of the editor:
Color
- Primary color - color of buttons, main headings, highlights
- Secondary color - background sections, border
- Text color - full-page font color
- Supports direct HEX code input or selection from a color picker.
Font
Choose a font pair for: - Heading - to make it stand out and be impressive - Body - to make it easy to read and clear
Over 50 curated Google Fonts are available for various styles.
7. Edit Header & Brand Identity
7.1 Header
The header appears at the top of each page. You can enable/disable the header and customize: - Show/hide the header - Background color, text color - Height and padding
7.2 Logo
Upload your brand logo to the header: - Supported formats: PNG, JPG, SVG, WebP - Recommendation: Transparent PNG, minimum size 200x60px - Logo will automatically resize to fit the header height
7.3 Automatic Brand Identity
If Brand Identity has already been set up in GTG CRM, the system will automatically suggest applying it:
| Brand Identity Information | Apply to the Landing Page |
|---|---|
| Logo | Header, favicon |
| Dominant colors | Buttons, headings, highlights |
| Secondary color | Backgrounds, section dividers |
| Font | The entire page |
| Favicon (New 4/2026) | Browser tabs, bookmarks |
New (April 2026) — Brand Kit now includes favicons (browser tab icons). After setting a favicon in Brand Identity, all landing pages automatically use that favicon when published.
7.4 AI Logo
No logo yet? Use the AI logo generator: 1. Enter your brand name and style description. 2. The AI will generate four different logo versions. 3. Choose your preferred logo → adjust colors if needed → Save.
7.5 Navigation Menu & CTAs
Configure menu in header: - Add/remove/arrange menu items - Link to section within the page (anchor link) or external URL - CTA button: text, color, destination link (form, checkout, contact)
7.6 Social Links
Display social media icons in the header or footer: - Facebook, Instagram, TikTok, YouTube, Zalo, LinkedIn, X (Twitter) - Automatically retrieved from Social Hub connection if already linked.
7.7 Header Style
- Sticky header - a header that remains fixed when scrolling the page.
- Transparent header - a transparent header on the hero section that changes color when scrolling.
- Compact - header shrinks when scrolled down
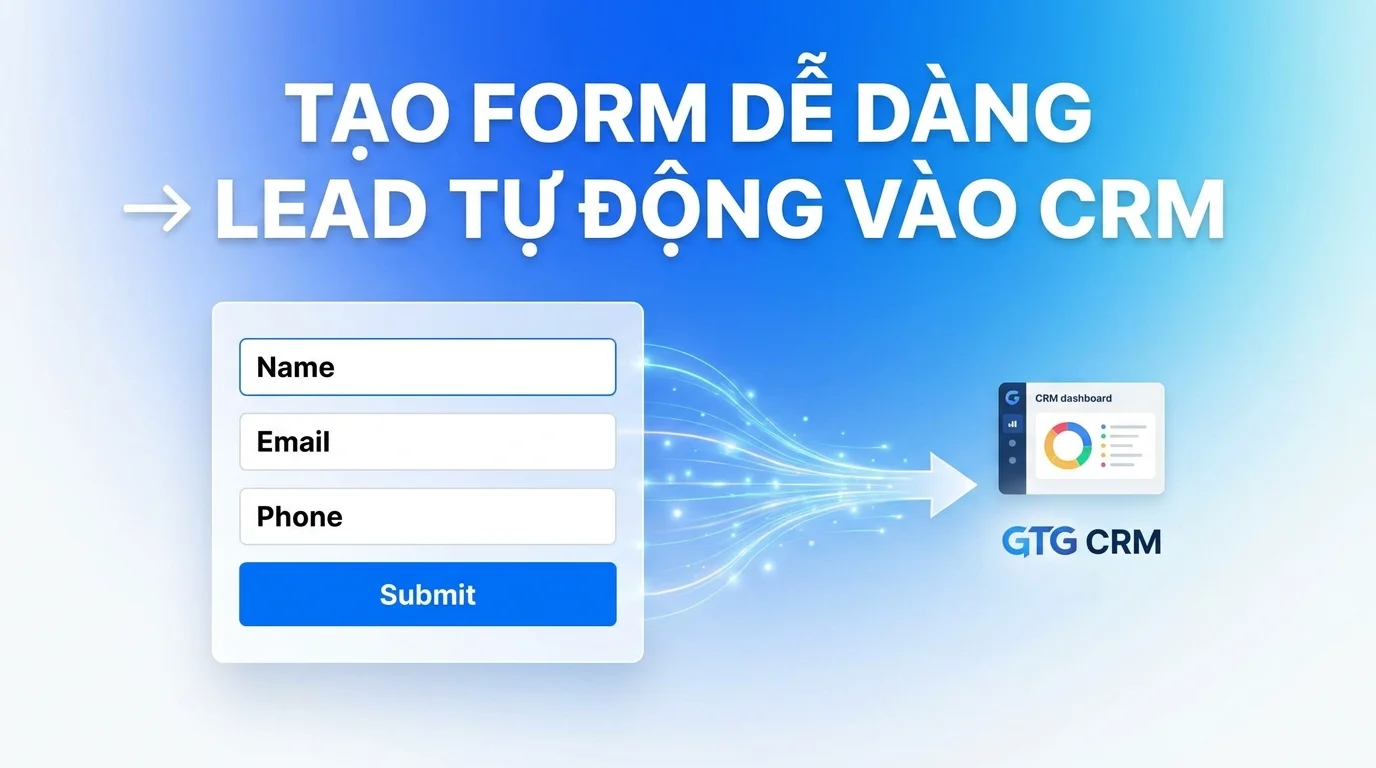
8. Setting up the Collection Form
The form is the heart of the landing page — where customers leave their information or place orders.
8.1 Setting up Basic Forms
In the Form Settings section: - Form title — text displayed above the form - Submit button — text, color, size - Success message — displayed after the user submits
8.2 AI creates Form content
Click "AI Suggestions" → AI suggests: - An attractive form title that matches the page's purpose - High-converting CTA button text (instead of the usual "Submit" text) - A user-friendly confirmation message
8.3 Data Fields
Add/remove/arrange fields in the form:
| Default school | Data type |
|---|---|
| Full name | Text |
| Phone number | Phone |
| Address | Text |
| Note | Textarea |
Add custom fields : Dropdown, Checkbox, Radio, Date picker, File upload...
When a customer enters their phone number, the system automatically standardizes the format according to the market: - Vietnam : +84 prefix (remove leading zeros if any) - Singapore : +65 prefix (8 digits)
Data stored in the CRM is always in a standard format and does not require manual cleaning.
8.4 Shipping Fees
If the sales landing page offers delivery, configure the following: - Fixed shipping fee - applies to all orders - Free shipping - when the order reaches a minimum value - Shipping fee varies by region - differs by province/city
9. Edit the Hero Section
The hero section is the first thing customers see — it needs to make a strong impression in the first 3 seconds.
Hero elements
- Headline - the main title, large font size, prominent.
- Subheadline - a short description to support the headline.
- Background - image, video, gradient, or solid color
- CTA Button - Main Action Button (Buy Now / Register / Get Offer)
- Social proof - a badge of trust, data, and ratings.
AI optimized Hero
Click "AI Improvement" in the Hero section → The AI analyzes the current content and suggests: - A stronger headline hook - A higher conversion rate for the CTA copy - A better visual hierarchy arrangement
Media Hero
- Images : Upload from your computer or select from the Media Library in GTG CRM
- Video background : Supports MP4, WebM — auto-mute, loop
- Overlay : Adds a translucent layer over the media to make the text easier to read.
10. Sales & Checkout
10.1 Activating the sales feature
In Landing Page Settings → Commerce : - Enable "Allow purchases" - Select products from Product Hub (GTG CRM) - Or create new products directly in the landing page
10.2 Product Display Configuration
For each product on the page: - Name, description, price - Product images (multiple images, drag and drop to arrange) - Variations: color, size, type... - Inventory quantity (automatically synchronized from GTG CRM warehouse)
10.3 Checkout Page
The landing page has a separate, integrated checkout page : - Shipping information (automatically filled in if the customer has purchased before) - Choose payment method: COD, bank transfer, payment gateway - Order summary + shipping fee - Order confirmation via email/SMS automatically
10.4 Upsell & Cross-sell
Add suggested products to the page: - Upsell : better product / higher-end version - Cross-sell : suitable complementary products - Display during checkout or after a successful order
11. Order Management & CRM
11.1 View orders from the Landing Page
All orders from the landing page automatically appear in CRM → Orders : - Filter by source: only view orders from a specific landing page - Order status: New → Processing → Delivered → Completed / Returned - Export CSV by time period
11.2 Order Details
Click on any order to view: - Full customer information - Ordered products + quantity + price - Delivery address + shipping fee - Order history and internal notes - Electronic invoice generation (connected to E-Invoice)
11.3 Automatically save contacts to CRM
Each customer who fills out a form or places an order → automatically saves to CRM Contacts : - No duplicates: the system merges if the email/phone number already exists - Automatic tagging: nguồn: landing-page , landing page name - Purchase history is linked to the contact profile
11.4 Custom Objects & Pipelines
Landing page orders can automatically generate deals within the pipeline: - Configure in Landing Page Settings → CRM Integration - Select the destination pipeline and initial stage - Assigned responsible staff members are automatically assigned according to rules
12. View Analytics
12.1 Overview of Data
In the Analytics tab of the landing page:
| Index | Meaning |
|---|---|
| View | Total number of times the page was accessed |
| Unique visitors | Individual customers (duplicate filtering) |
| Bounce rate | % leave page immediately |
| Average time | Time visitors spend on the page |
| Conversion rate | % of customers submit form / place order |
| Total revenue | If there is sales |
12.2 Device Analysis
Access rate by device: - Desktop / Mobile / Tablet - Supports optimal interface decision-making (prioritizes mobile if >60% of traffic comes from mobile devices)
12.3 Access Sources
Know where your customers are coming from: - Facebook Ads / Google Ads (via UTM) - Organic search - Direct (typing URL directly) - Referral (from other websites)
12.4 Conversion Funnel
See at which step the customer is dropping out:
Vào trang → Xem form → Điền form → Đặt hàng → Thanh toán [100%] [75%] [40%] [25%] [18%]Identify areas for optimization to increase conversion rates.Vào trang → Xem form → Điền form → Đặt hàng → Thanh toán [100%] [75%] [40%] [25%] [18%]
13. Managing & Editing Landing Pages
13.1 List of Landing Pages
The Website → Landing Pages screen displays all created pages with: - Page name, status (Draft / Published / Paused) - Direct URL - Quick metrics: views, conversions, revenue (last 7 days) - Buttons: Edit / View Live / Duplicate / Delete
13.2 Editing and Republishing
To update content: 1. Click "Edit" → The editor opens. 2. Make changes. 3. Click "Publish".
13.3 Handling publishing freezes
If the page remains stuck in "Publishing" mode for too long: - The system automatically detects that there is no progress after 30 minutes - Auto-recovery : the system automatically restarts the publishing process - If recovery fails → the status changes to "Failed" with a clear message - You can press "Retry" to republish immediately
No need to contact support — the system handles most cases automatically.
13.4 Change Domain
Default domain : <slug>.gtg.in (free)
Private Domain : Connecting your domain: 1. Settings → Domains → Add domain 2. Enter your domain (e.g., sale.thuonghieu.com ) 3. The system provides a CNAME record → update it to your DNS provider 4. Wait for DNS confirmation (usually 5–30 minutes) 5. SSL certificate is automatically issued and renewed
13.5 Landing Page Duplication
Reusing the design for a new campaign: - Click "Duplicate" → enter the new page name → Confirm - The copy includes the entire design, forms, and settings - Simply replace the content and publish separately
13.6 Pause & Delete
- Pause : The page still exists but is inaccessible (displays a 404 error). Data and configuration remain unchanged.
- Delete : permanently delete — cannot be recovered. Form/order data remains saved in CRM.
14. Embeddable Form Builder
Brand new feature - Create forms that can be embedded into any website outside of GTG CRM.
14.1 What is Form Builder?
In addition to full-fledged landing pages, GTG CRM now allows you to create standalone forms to embed into: - Your WordPress, Webflow, or Wix website - Your personal blog - Partner websites - Any HTML page
The form works seamlessly with GTG CRM — every submission is automatically saved to Contacts, deals are created, and automation is triggered.
14.2 Creating Embedded Forms
Website → Landing Pages → Embeddable Forms → + Create Form
The form creation interface is similar to Landing Page Builder: - Add data fields (text, email, phone, dropdown, checkbox, etc.) - Configure the width of each field - Set up a CTA button - Display a notification after submission - Connect with automated pipelines/deal systems
14.3 Two ways to embed forms
Method 1: JavaScript Widget (Recommended)
Optimized for UX and performance. Forms load asynchronously, without affecting homepage speed.
<!-- Đặt vào <head> của trang --> <script src="https://widget.gtgcrm.com/form.js" async></script> <!-- Đặt vào nơi muốn hiển thị form --> <div data-gtg-form="FORM_ID_CUA_BAN"></div>Automated widget: - Loads forms according to the configured design - Handles client-side validation - Submits to GTG CRM server - Displays success/error messages<!-- Đặt vào <head> của trang --> <script src="https://widget.gtgcrm.com/form.js" async></script> <!-- Đặt vào nơi muốn hiển thị form --> <div data-gtg-form="FORM_ID_CUA_BAN"></div>
Method 2: iFrame
Simply put, this is suitable when you don't want to add JavaScript:
<iframe src="https://form.gtgcrm.com/embed/FORM_ID_CUA_BAN" width="100%" height="600" frameborder="0" scrolling="no"> </iframe>14.4 Get the embed code<iframe src="https://form.gtgcrm.com/embed/FORM_ID_CUA_BAN" width="100%" height="600" frameborder="0" scrolling="no"> </iframe>
After creating the form: 1. Click "Embed" on the form you want to use. 2. Choose the method: Widget or iFrame. 3. Copy the code → paste it into your external website.
14.5 Tracking and Attribution
Embedded forms automatically track: - Traffic source (UTM parameters if available) - Website where the form is embedded (referrer) - Submission time
All data is linked to contact records in the CRM for campaign effectiveness analysis.
14.6 Spam Protection
The embedded form includes spam protection features: - CAPTCHA (enable/disable as desired) - Rate limiting: limit the number of submissions from the same IP address - Hidden honeypot field for automatic bot detection
Tips for Optimizing Landing Pages
Clear headline, specific benefits
Instead of: "High-quality product" Use: "Reduce operating costs by 30% in the first 30 days"
A good headline answers the question: "What do I get from this page?"
A standout and unique CTAs.
Each landing page should have one main call to action (CTA ). Multiple CTAs confuse customers and reduce conversion rates.
Use colors that contrast highly with the background, and ensure the size is large enough (at least 44px in height on mobile).
High-quality images/videos
- Actual photos > generic stock photos
- Short videos (15-30 seconds) increase page retention rates.
- Optimize file size for faster page loading (GTG CRM automatically compresses images).
Concise form
Each additional school reduces the form completion rate by approximately 10–15%. Only ask for information that is truly necessary. Gather additional information after you have made contact.
Page load speed
With V2 SSR, landing pages are rendered server-side — resulting in significantly faster loading speeds compared to traditional page builders. This directly impacts your Google Ads Quality Score and bounce rate.
A/B Testing
Create two versions of the landing page with one different element (headline, CTA color, hero image) → Divide the traffic evenly → Compare conversion rates after 1–2 weeks → Keep the winning version.
Frequently Asked Questions
How many credits does a landing page cost?
First publication: 500 credits . Subsequent revisions and republishings: free .
How many landing pages can I create?
No limit on the number of pages. Each initial publication costs 500 credits.
Does the landing page automatically optimize for mobile?
Yes. All templates and AI designs are automatically responsive. You can preview them on mobile directly within the editor.
Do embedded forms work with WordPress?
Yes. Paste the Widget or iFrame code into any WordPress page. No plugin installation required.
What should I do if my domain has an SSL error?
Go to Settings → Domain → Click "Reissue SSL" . The system will automatically renew the certificate. If the error persists, check the CNAME record with your DNS provider.
Is it possible to use a landing page to sell products without having a separate website?
Absolutely. GTG CRM landing pages are fully equipped: displaying products, shopping cart, checkout, payment, and invoicing — no separate website is needed.
Maybe You Should Read These
Build Landing Pages
Form Builder

Website in GTG CRM

30+ One-Tap Revenue Growth Playbooks — Cart Recovery, Failed Payment Rescue, Win-Back, Lead Nurturing, Post-Purchase Service

AI Website Section Generator
CRM

AI Website Builder

Email Builder
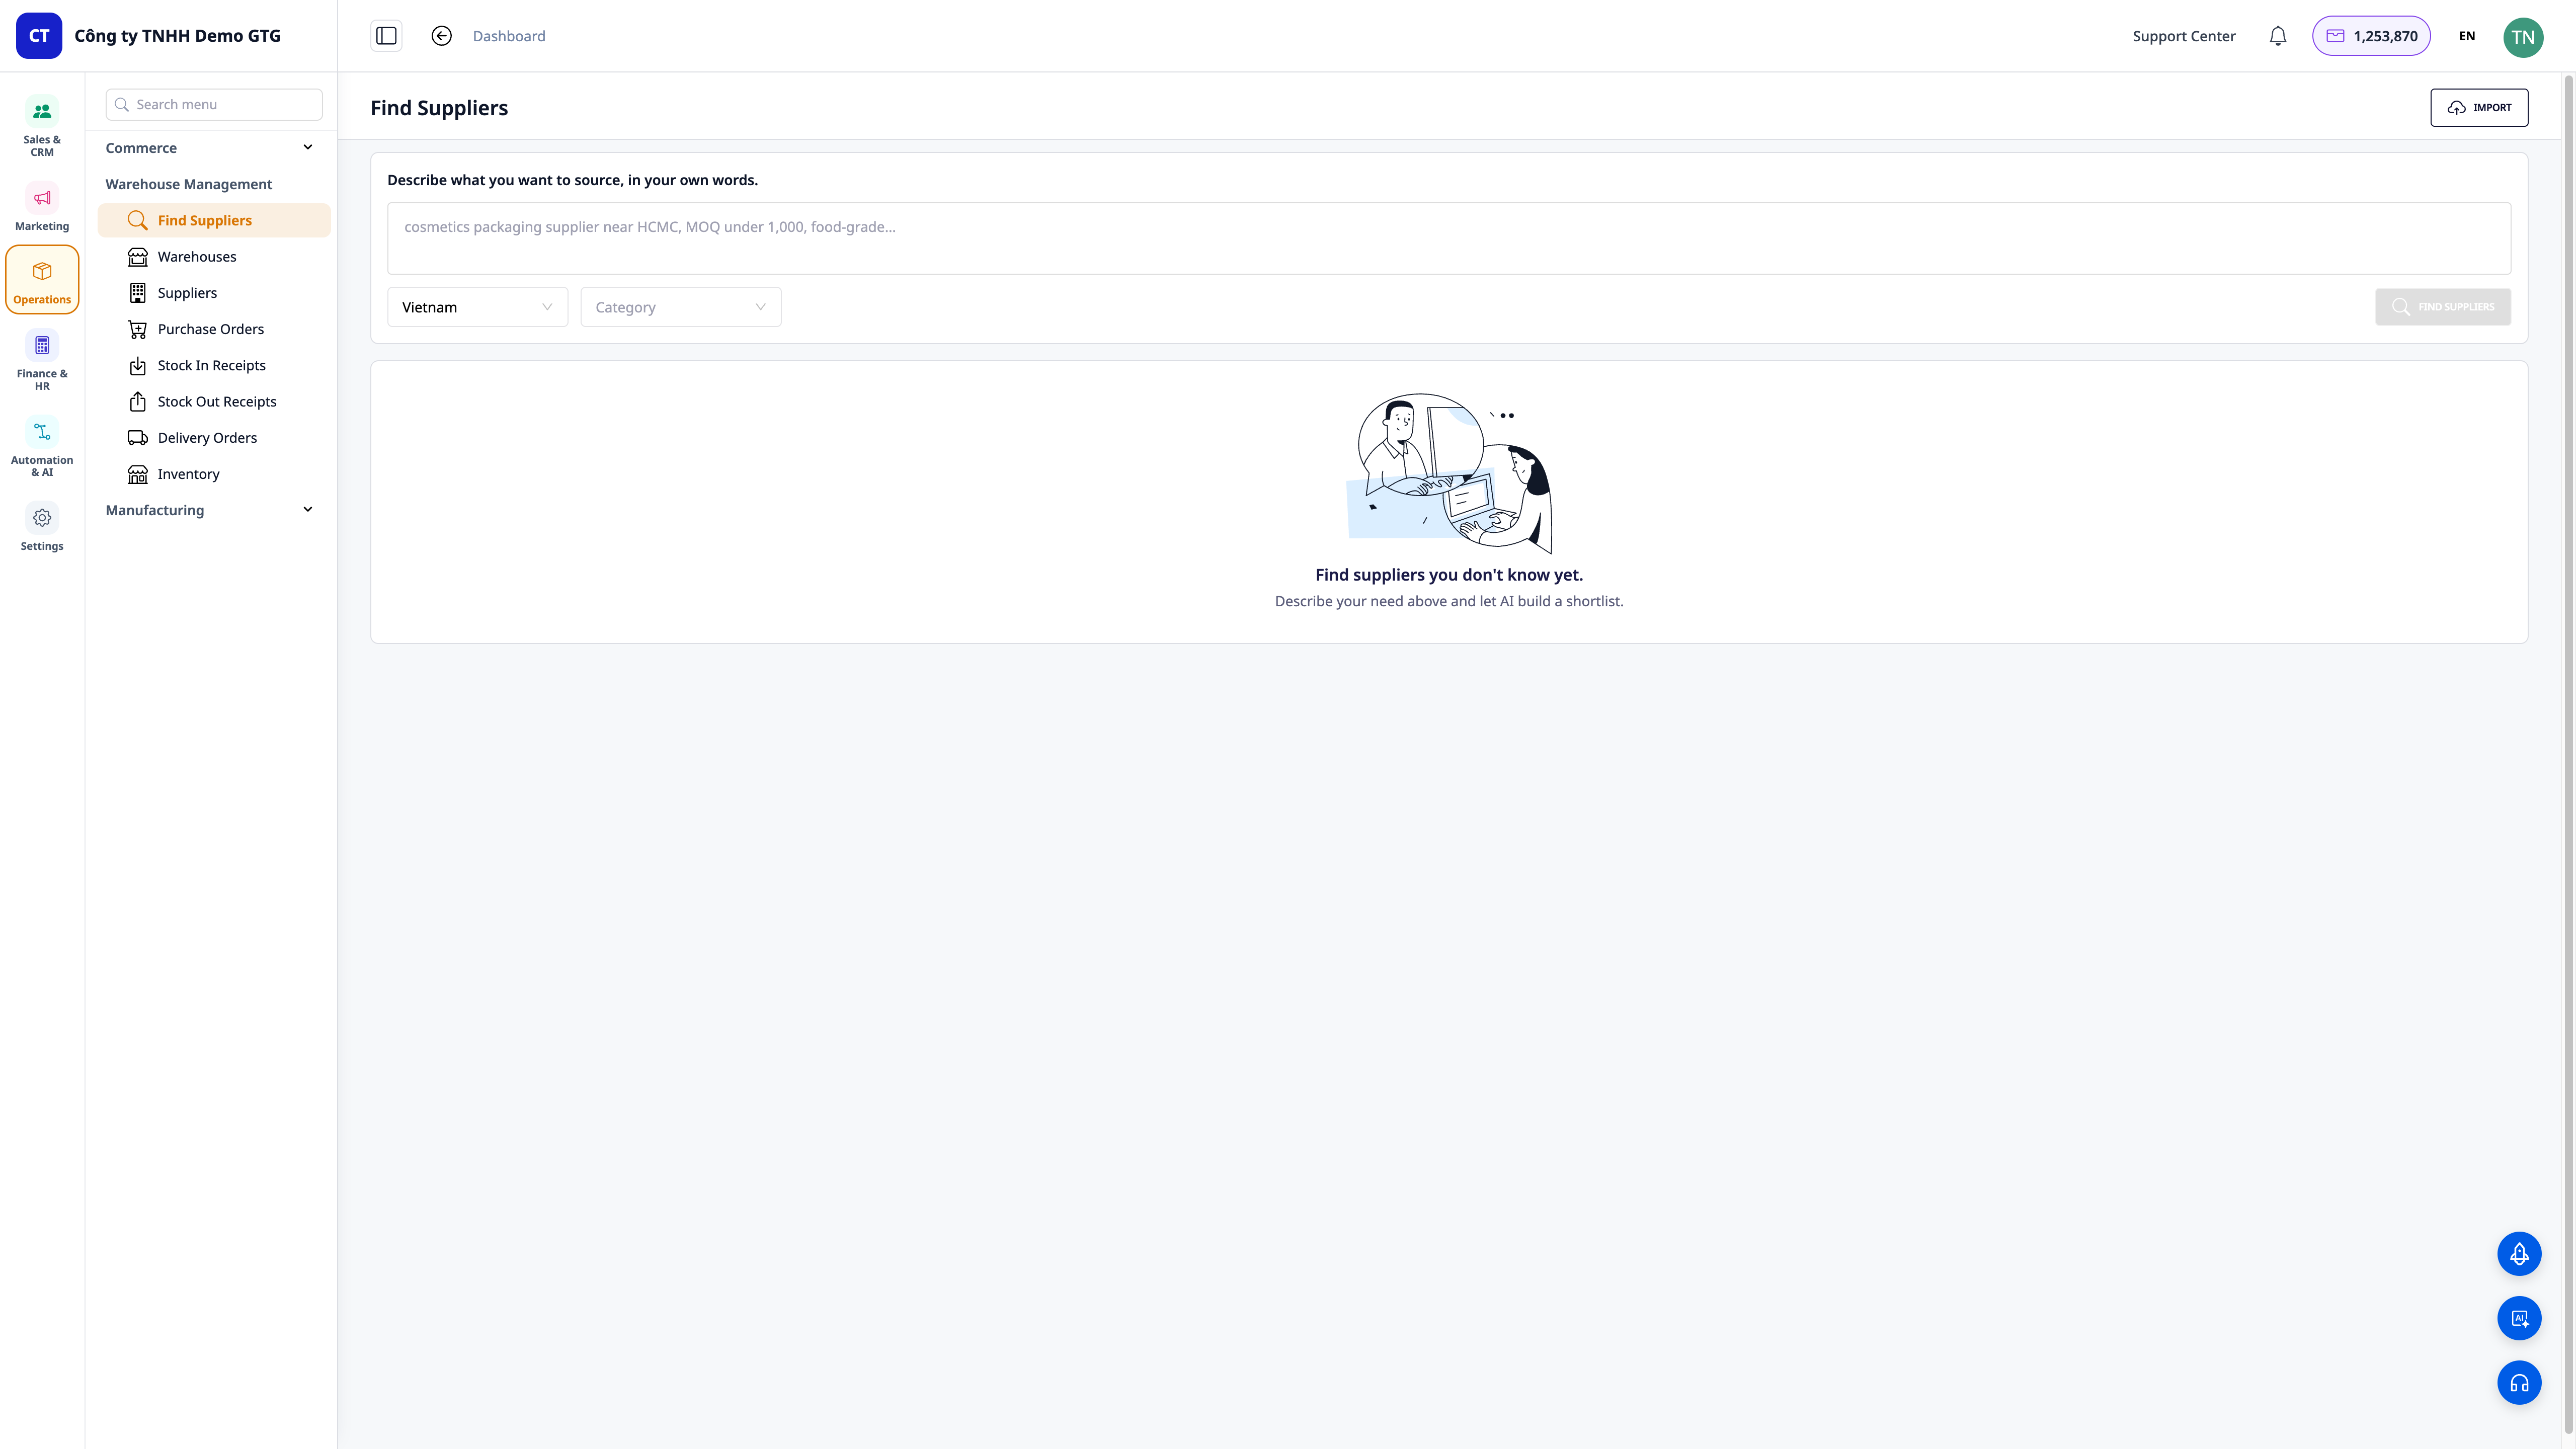
Find Suppliers with AI — Verbal Descriptions, Get Real Shortlists, Save to CRM & Send RFQs in Minutes
Multi-Platform Sales Management
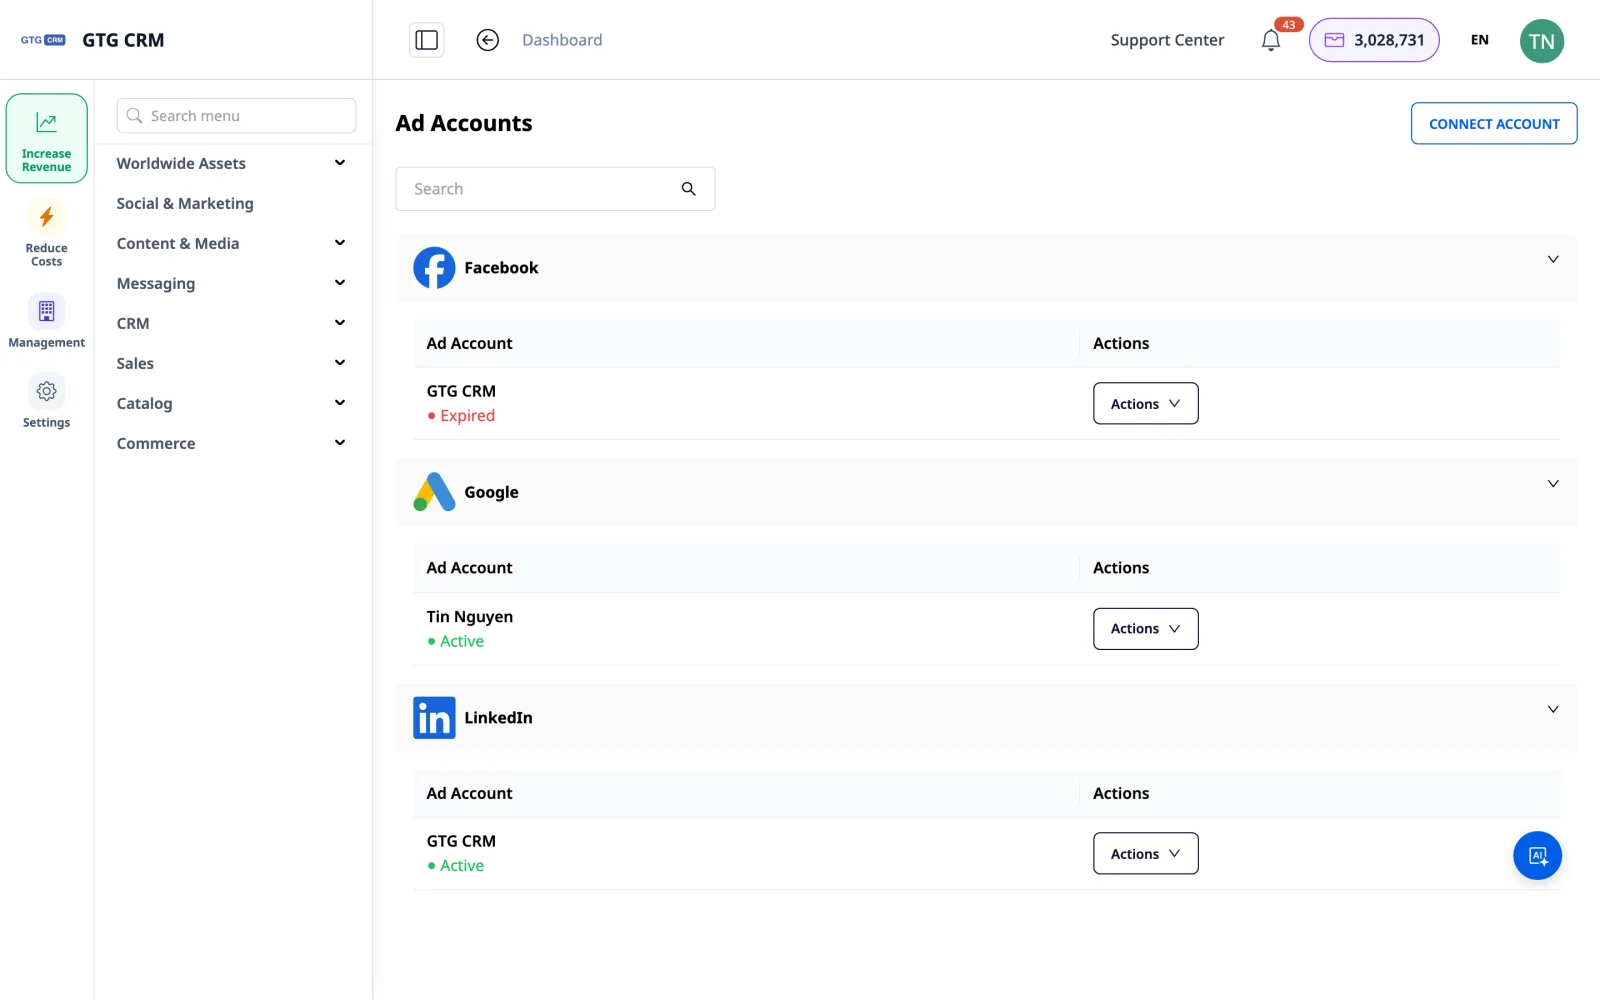
LinkedIn Ads — Run Ads & Automatically Sync Leads to CRM