
Table of Contents
1. Connect Twilio Voice Account
Step 1: Access Communication Channels
From the main menu, select Communication Channels.
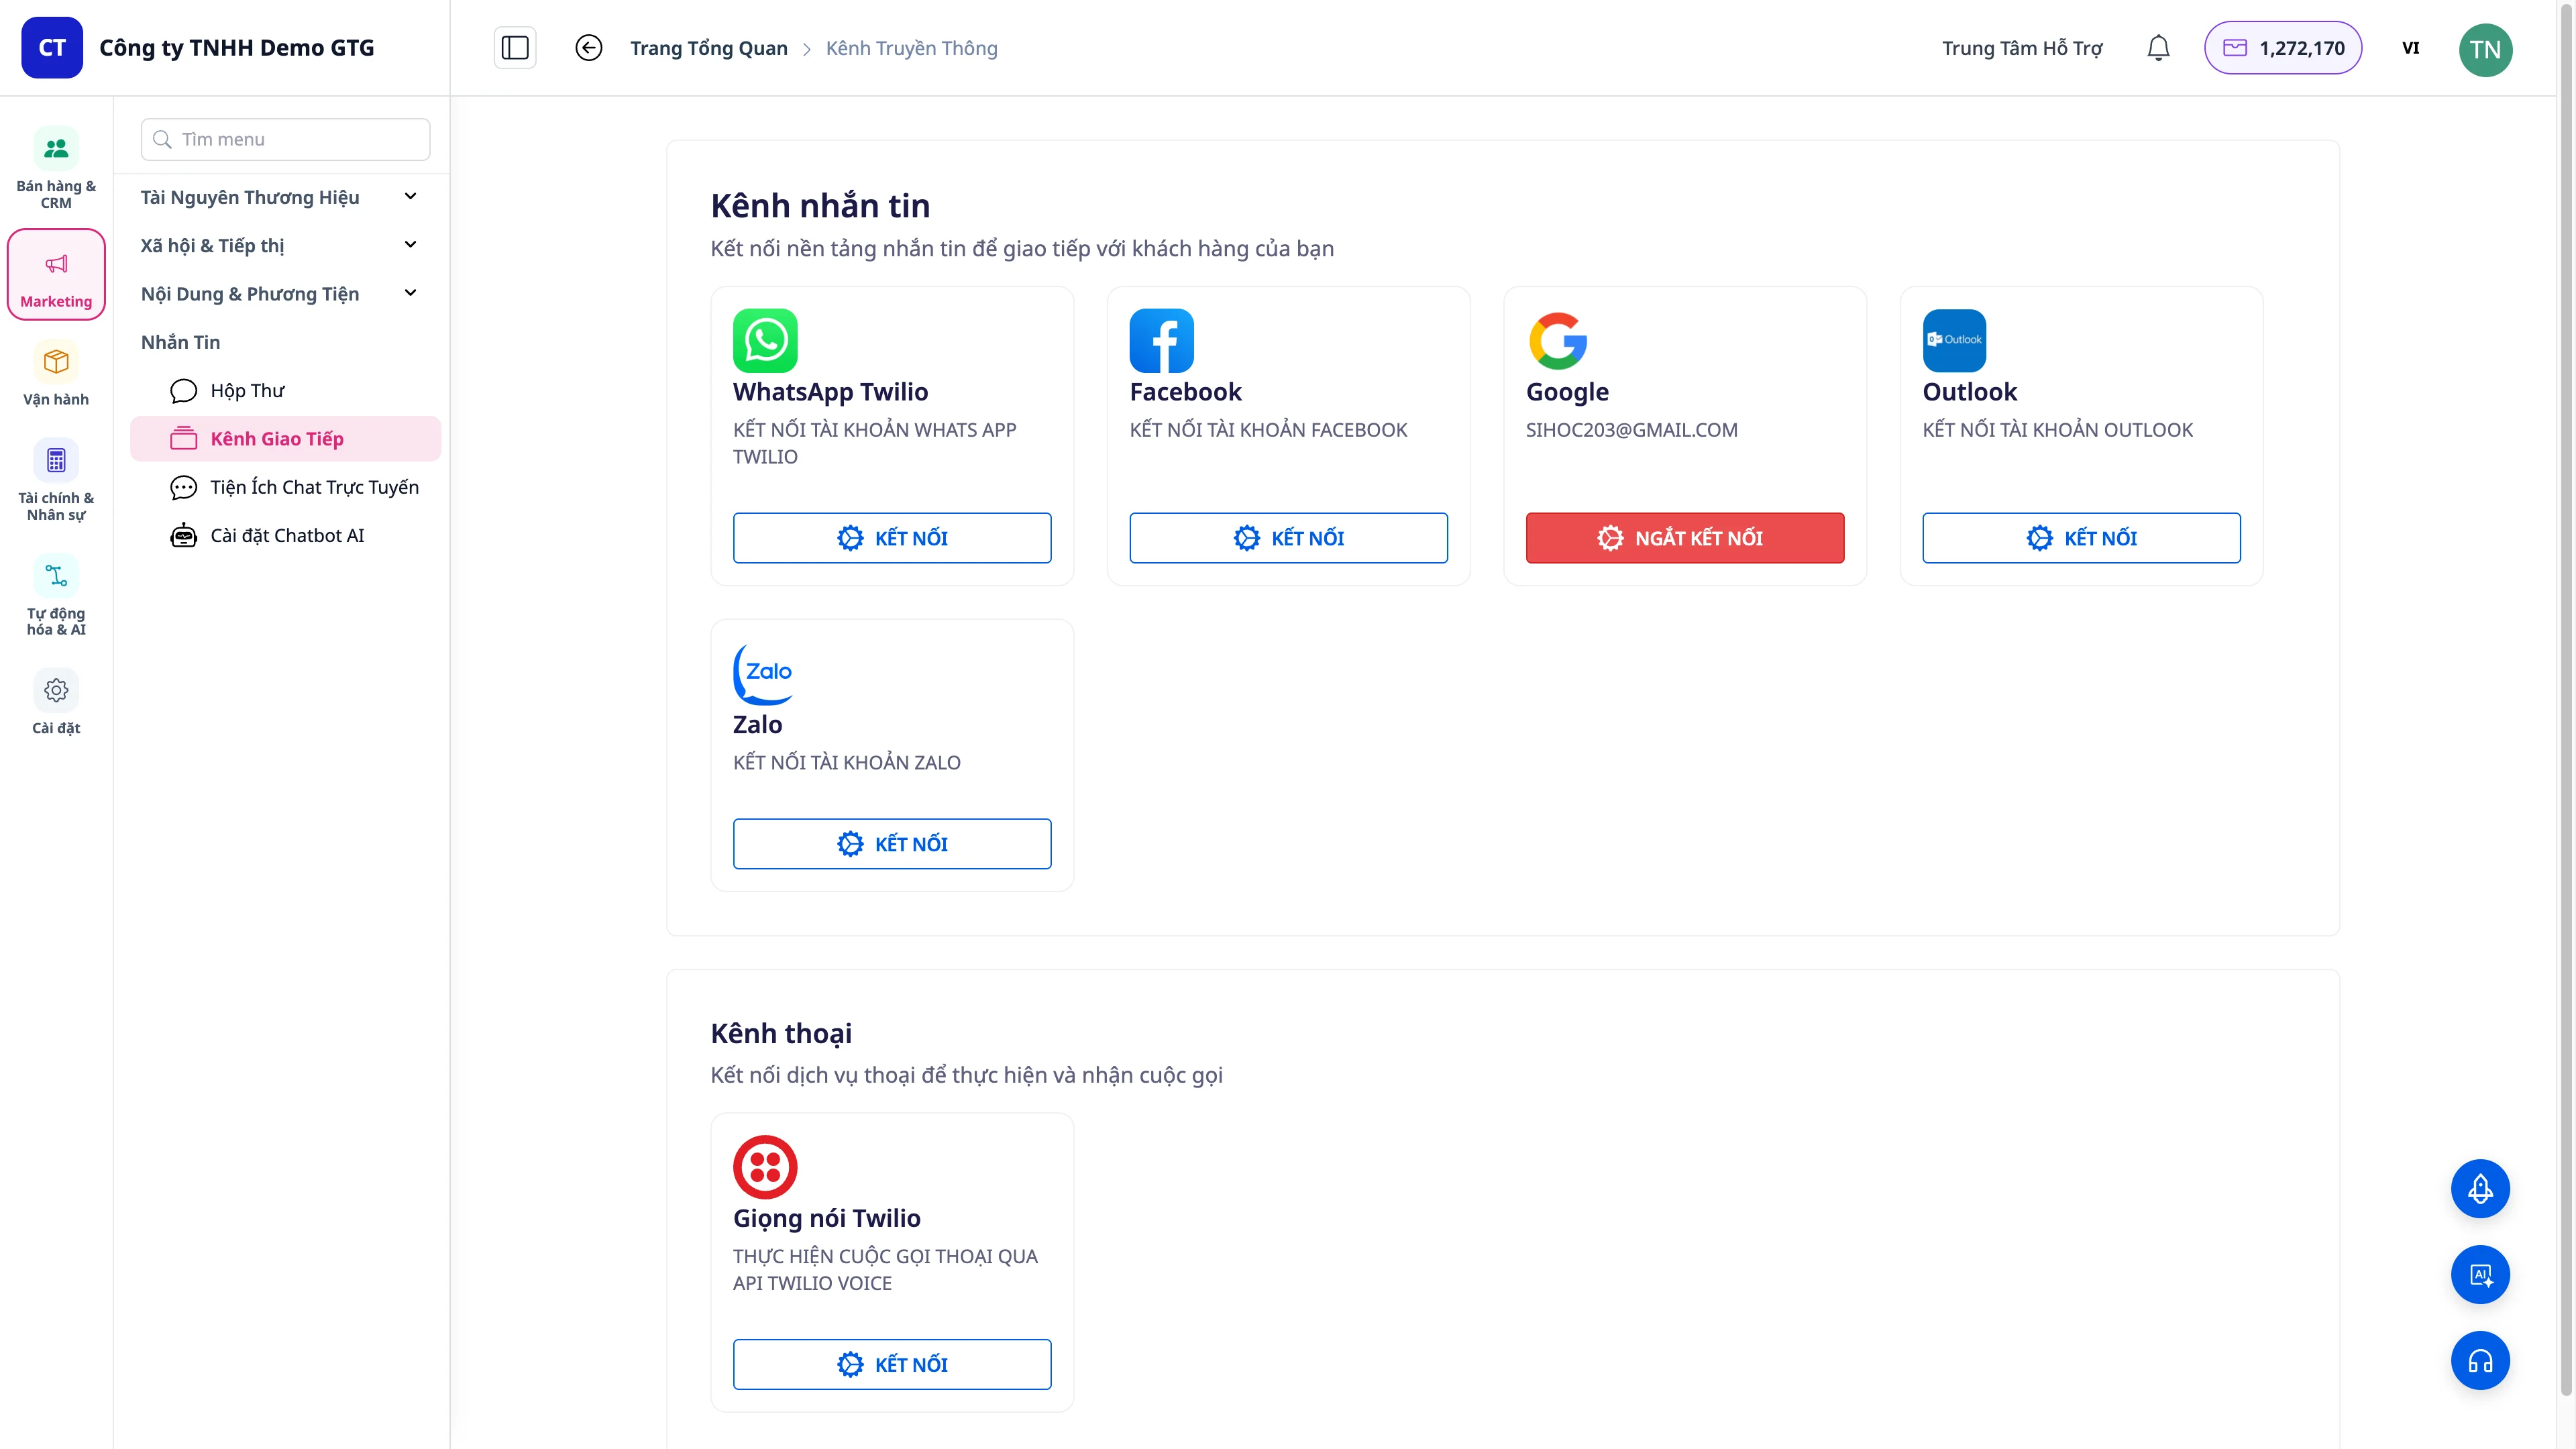
Step 2: Find Twilio Voice Section
Scroll down the page to find the Connect Twilio Voice Account section.
Step 3: Enter Account Information
| Field | Description | Where to find |
|---|---|---|
| Account SID | Account Identifier | Twilio Console → Account Info |
| Auth Token | Authentication Token | Twilio Console → Account Info |
Step 4: Select Phone Number
After entering the information, the system will display a list of registered phone numbers. Select the number you want to use as your hotline.
Step 5: Click Connect
Connection successful → status will display "Connected" in green.
Note: Your Twilio phone number must have been purchased and activated previously in your Twilio account.
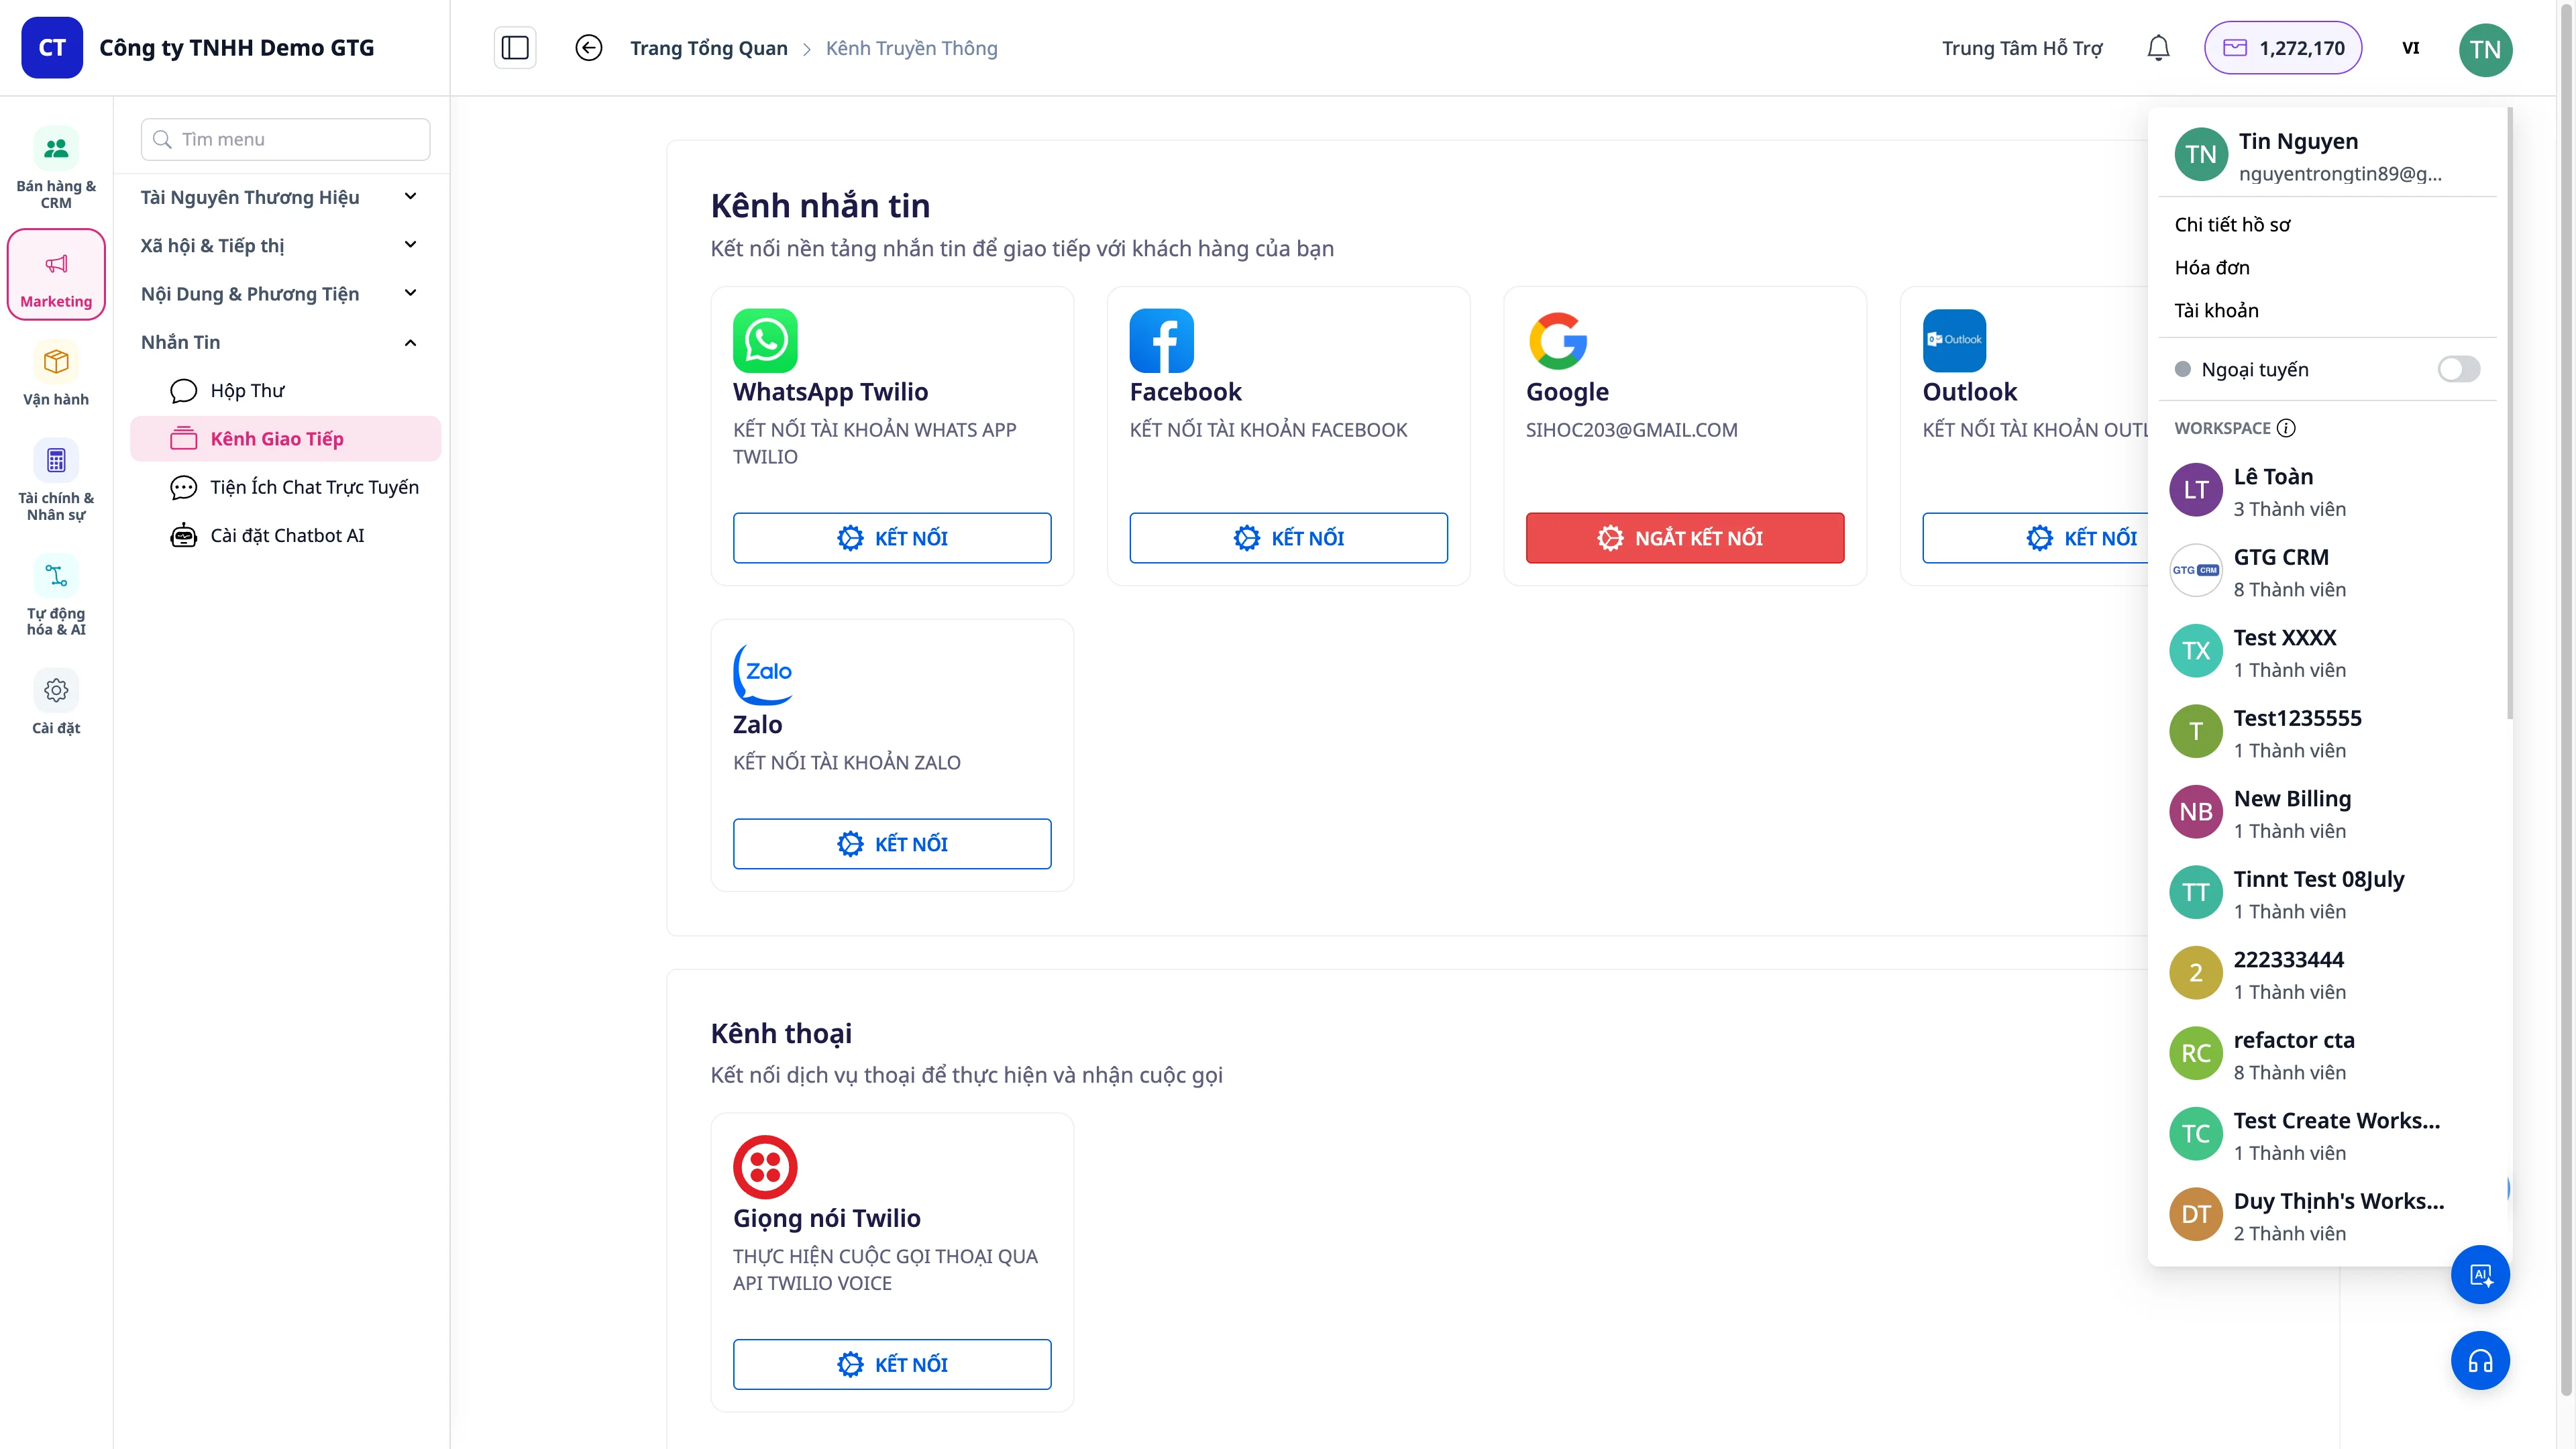
2. Set Agent Status
Step 1: Click on Avatar
Click on your avatar in the top-right corner of the screen.
Step 2: Select Status
| Status | Icon | Meaning |
|---|---|---|
| Online | 🟢 | Receive incoming calls, make outgoing calls |
| Offline | ⚫ | Do not receive/make any calls |
Important: Remember to switch to Online before your shift starts and to Offline when you are on break to avoid missing calls or being disturbed when busy.
3. Make Outgoing Calls
Step 1: Go to Contacts List
From the main menu, select Contacts.
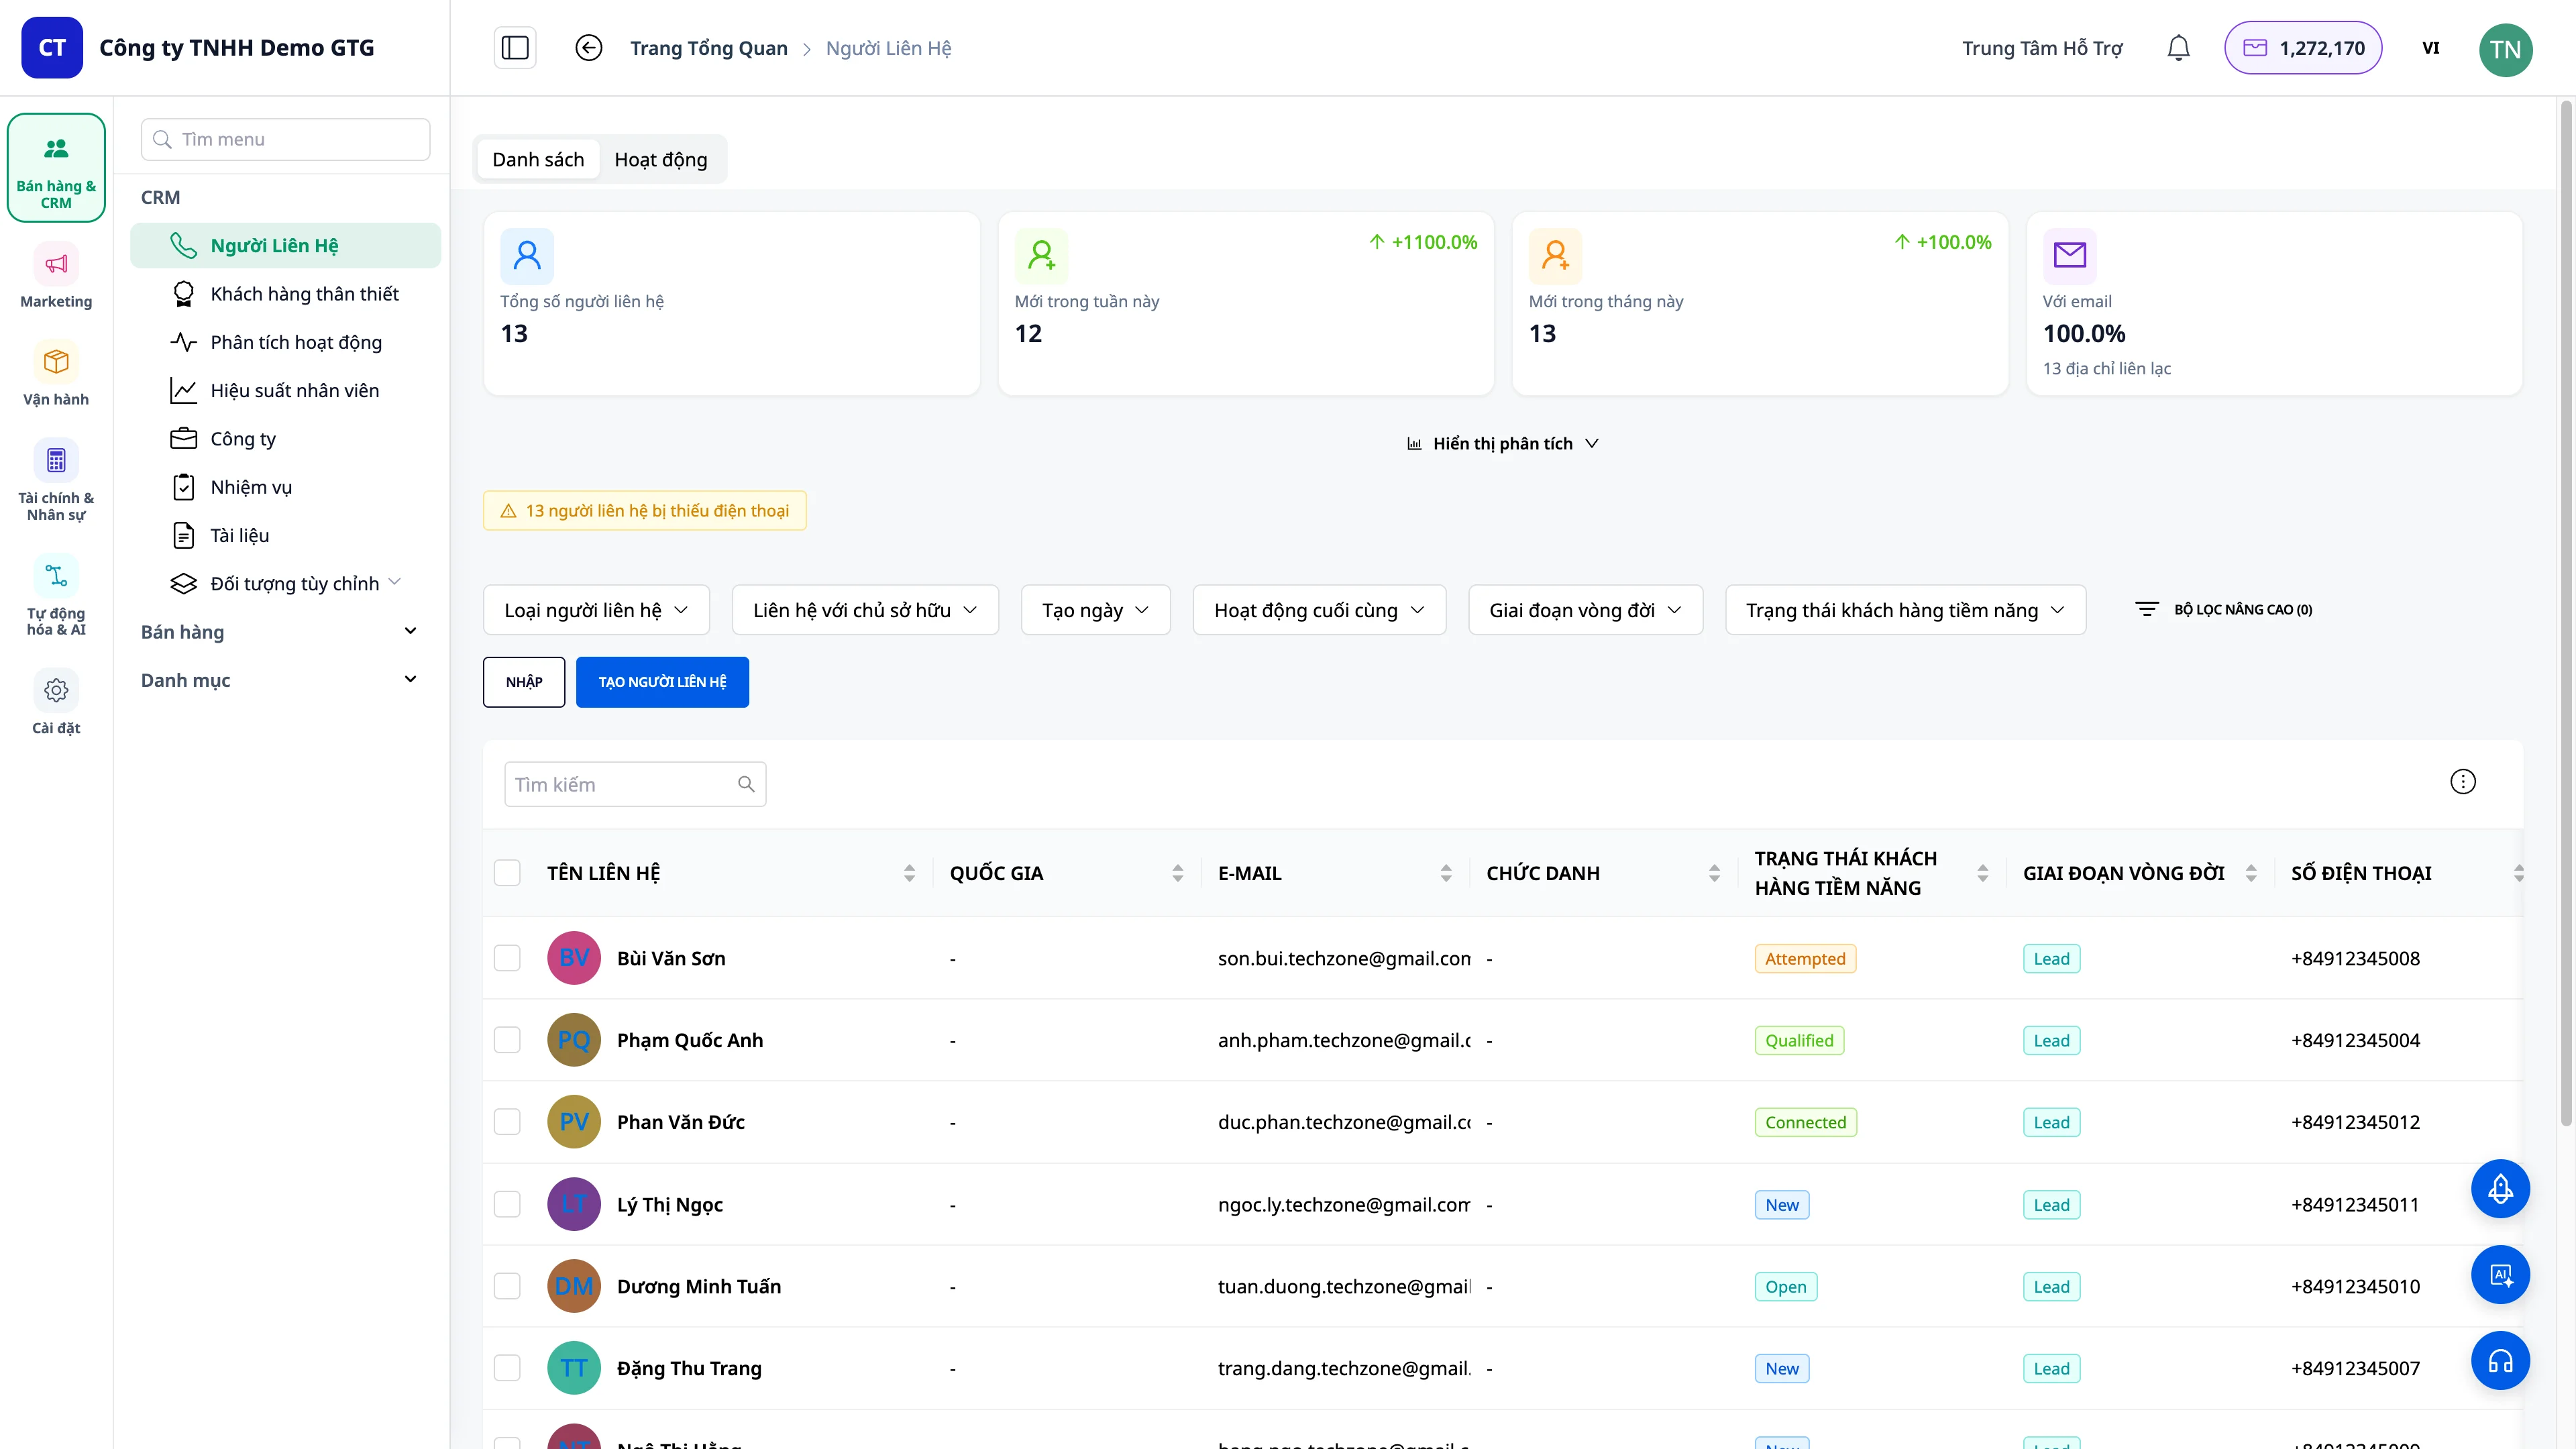
Step 2: Select Customer
Select the customer you want to call - they must have a phone number in the system.
Step 3: Click the Call Button
On the contact detail page, click the phone icon next to the phone number.
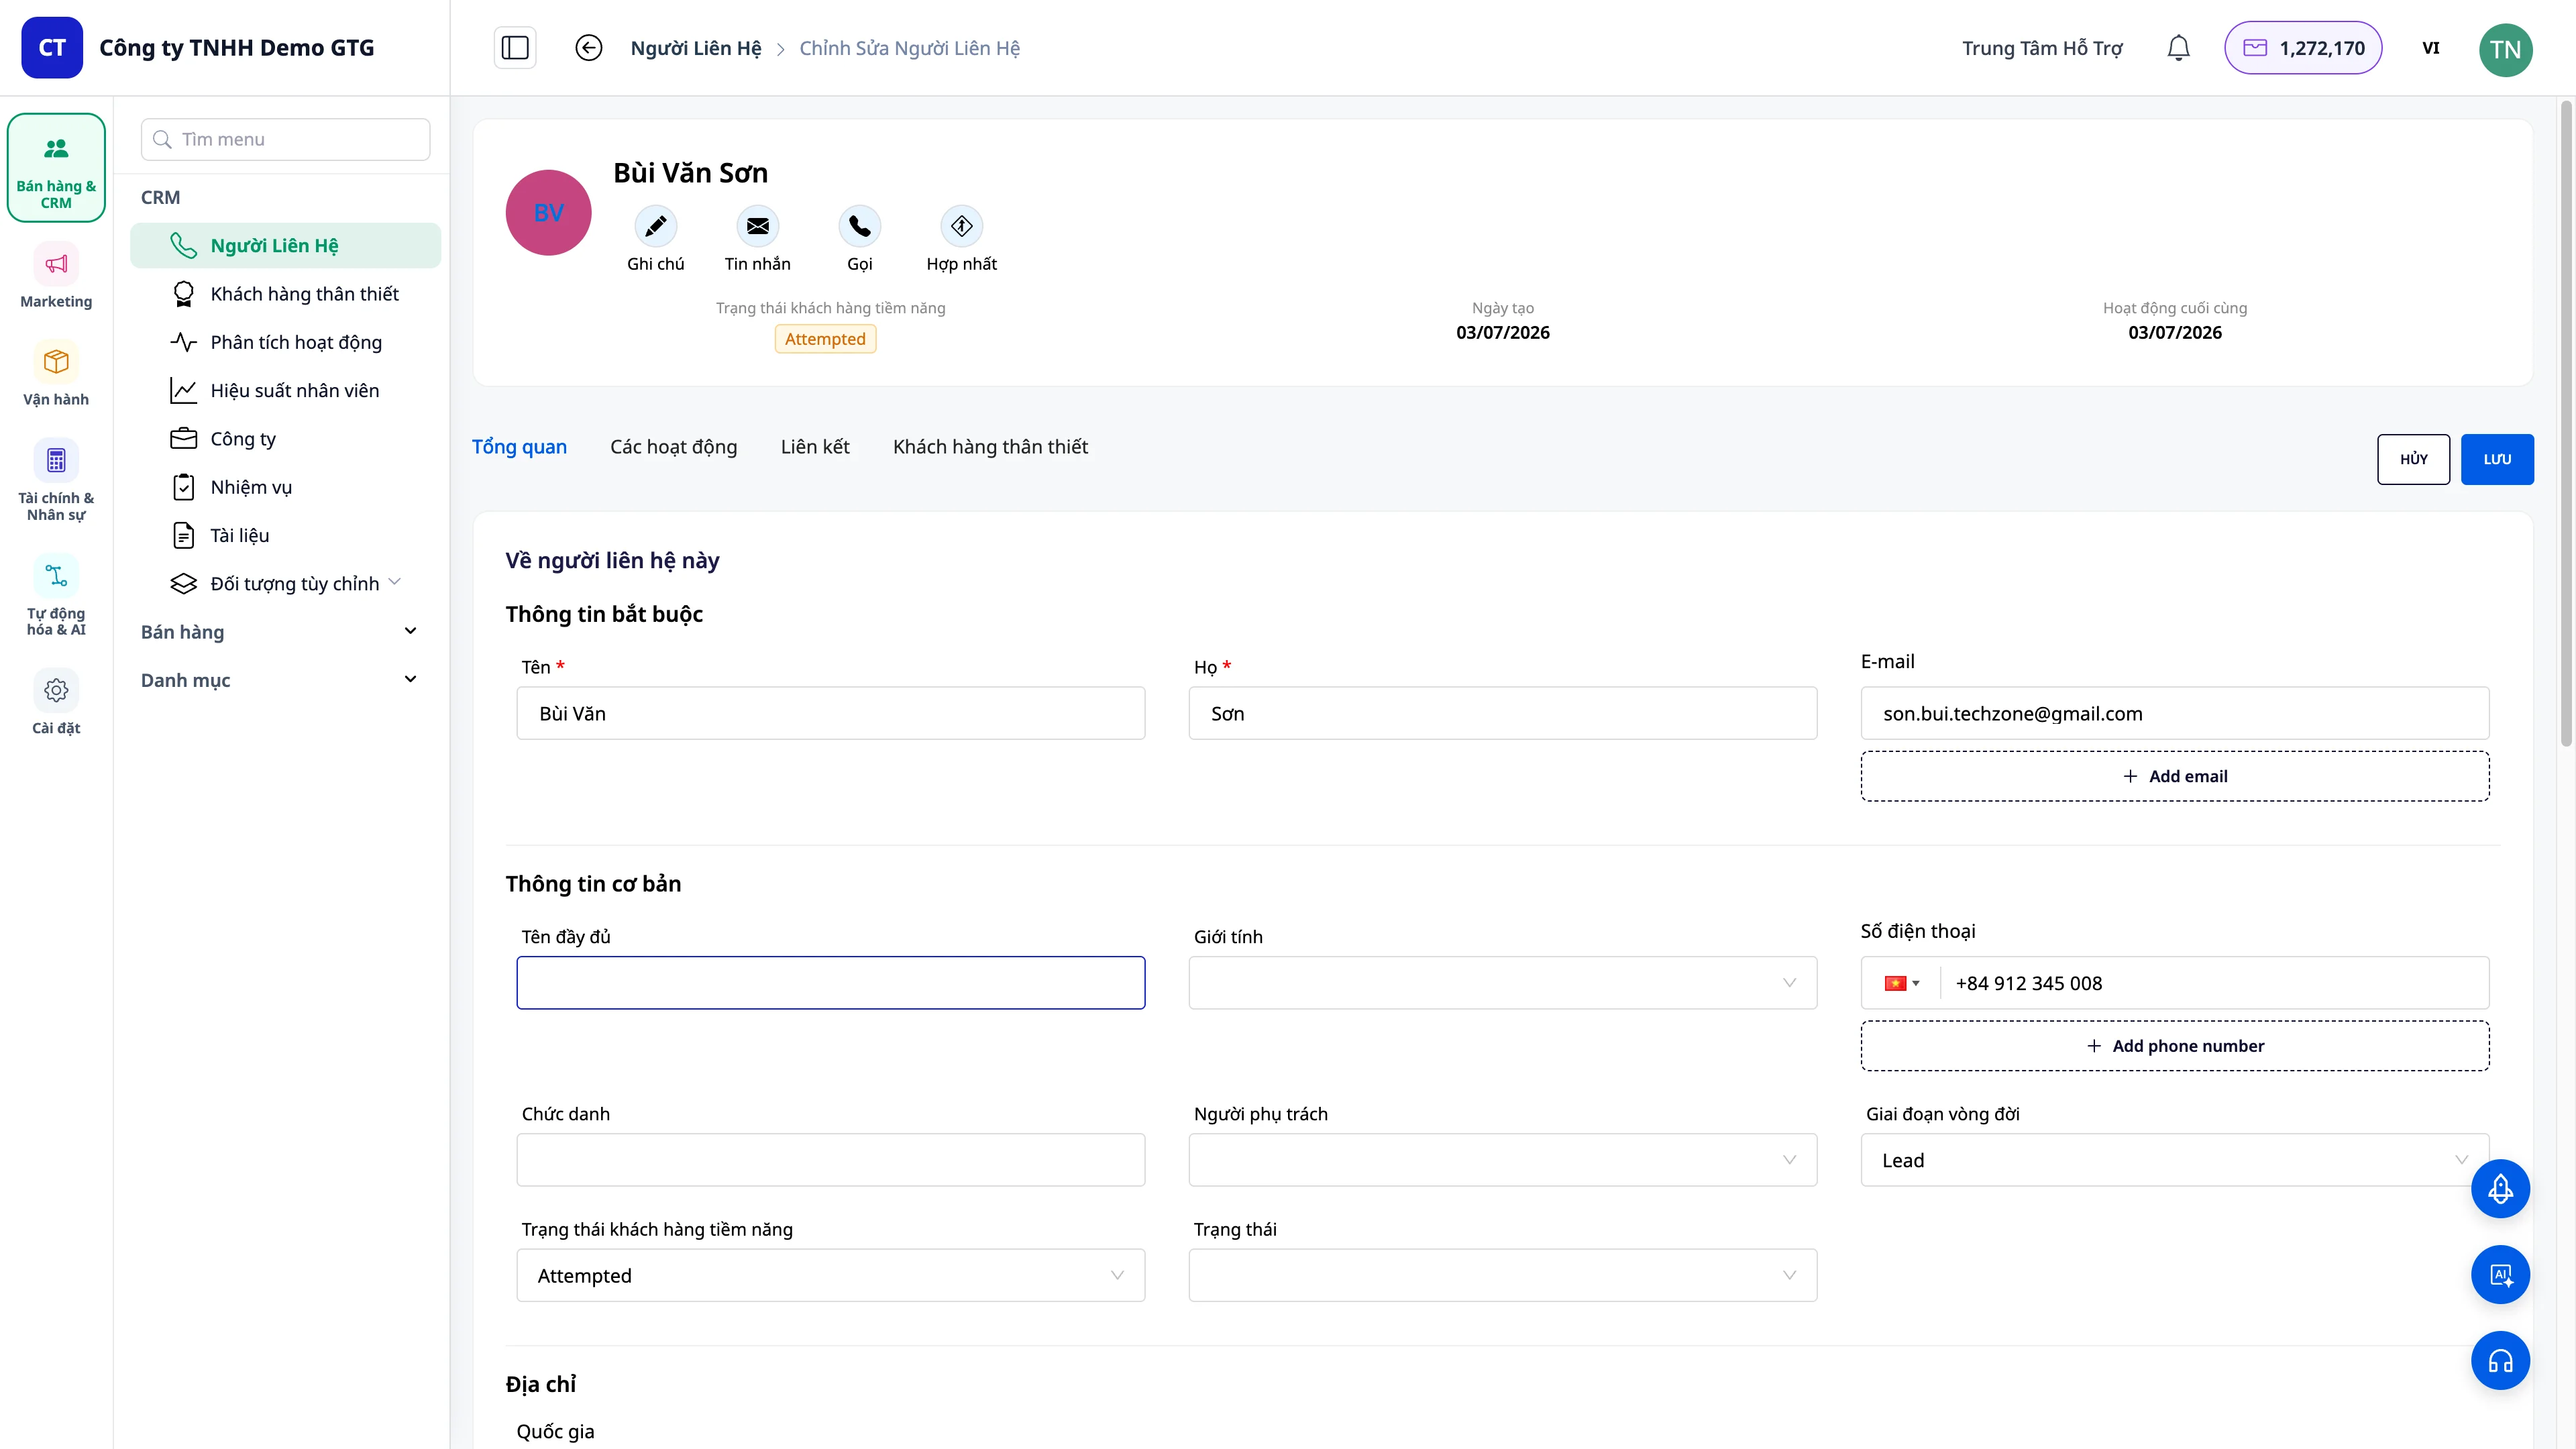
Step 4: During the Call
While waiting for the connection and during the call, you can: - View the customer's interaction history - Take notes of important information immediately - View related orders or deals - Create a follow-up Task
Step 5: End the Call
Click the End button (red). GTG CRM will automatically: - Record the call in the contact's timeline - Calculate credit based on actual seconds - Save entered notes to the CRM
4. Receive Incoming Calls
Step 1: Ensure You Are Online
Check the 🟢 icon in the top right corner.
Step 2: Receive Notification
When an incoming call arrives, a pop-up will appear in the corner of the screen with: - Customer information (if the number is already in the CRM) - Phone number (if it's a new customer)
Step 3: Answer or Decline
- Answer: Click the green button
- Decline: Click the red button
Tip: The system will play an audible alert for incoming calls. Make sure your speakers/headphones are not muted.
5. Handle New Customers
When receiving a call from a number not yet in the system:
Step 1: Answer the Call
Click Answer. The system will display the caller's phone number.
Step 2: Create New Contact During Call
Click "Add Contact" → the contact creation form will open on the side.
Step 3: Enter Information
Ask and enter information simultaneously during the call:
| Field | Required |
|---|---|
| ✅ | |
| Full Name | ✅ |
| Job Title | ❌ |
| Lead Status | ❌ |
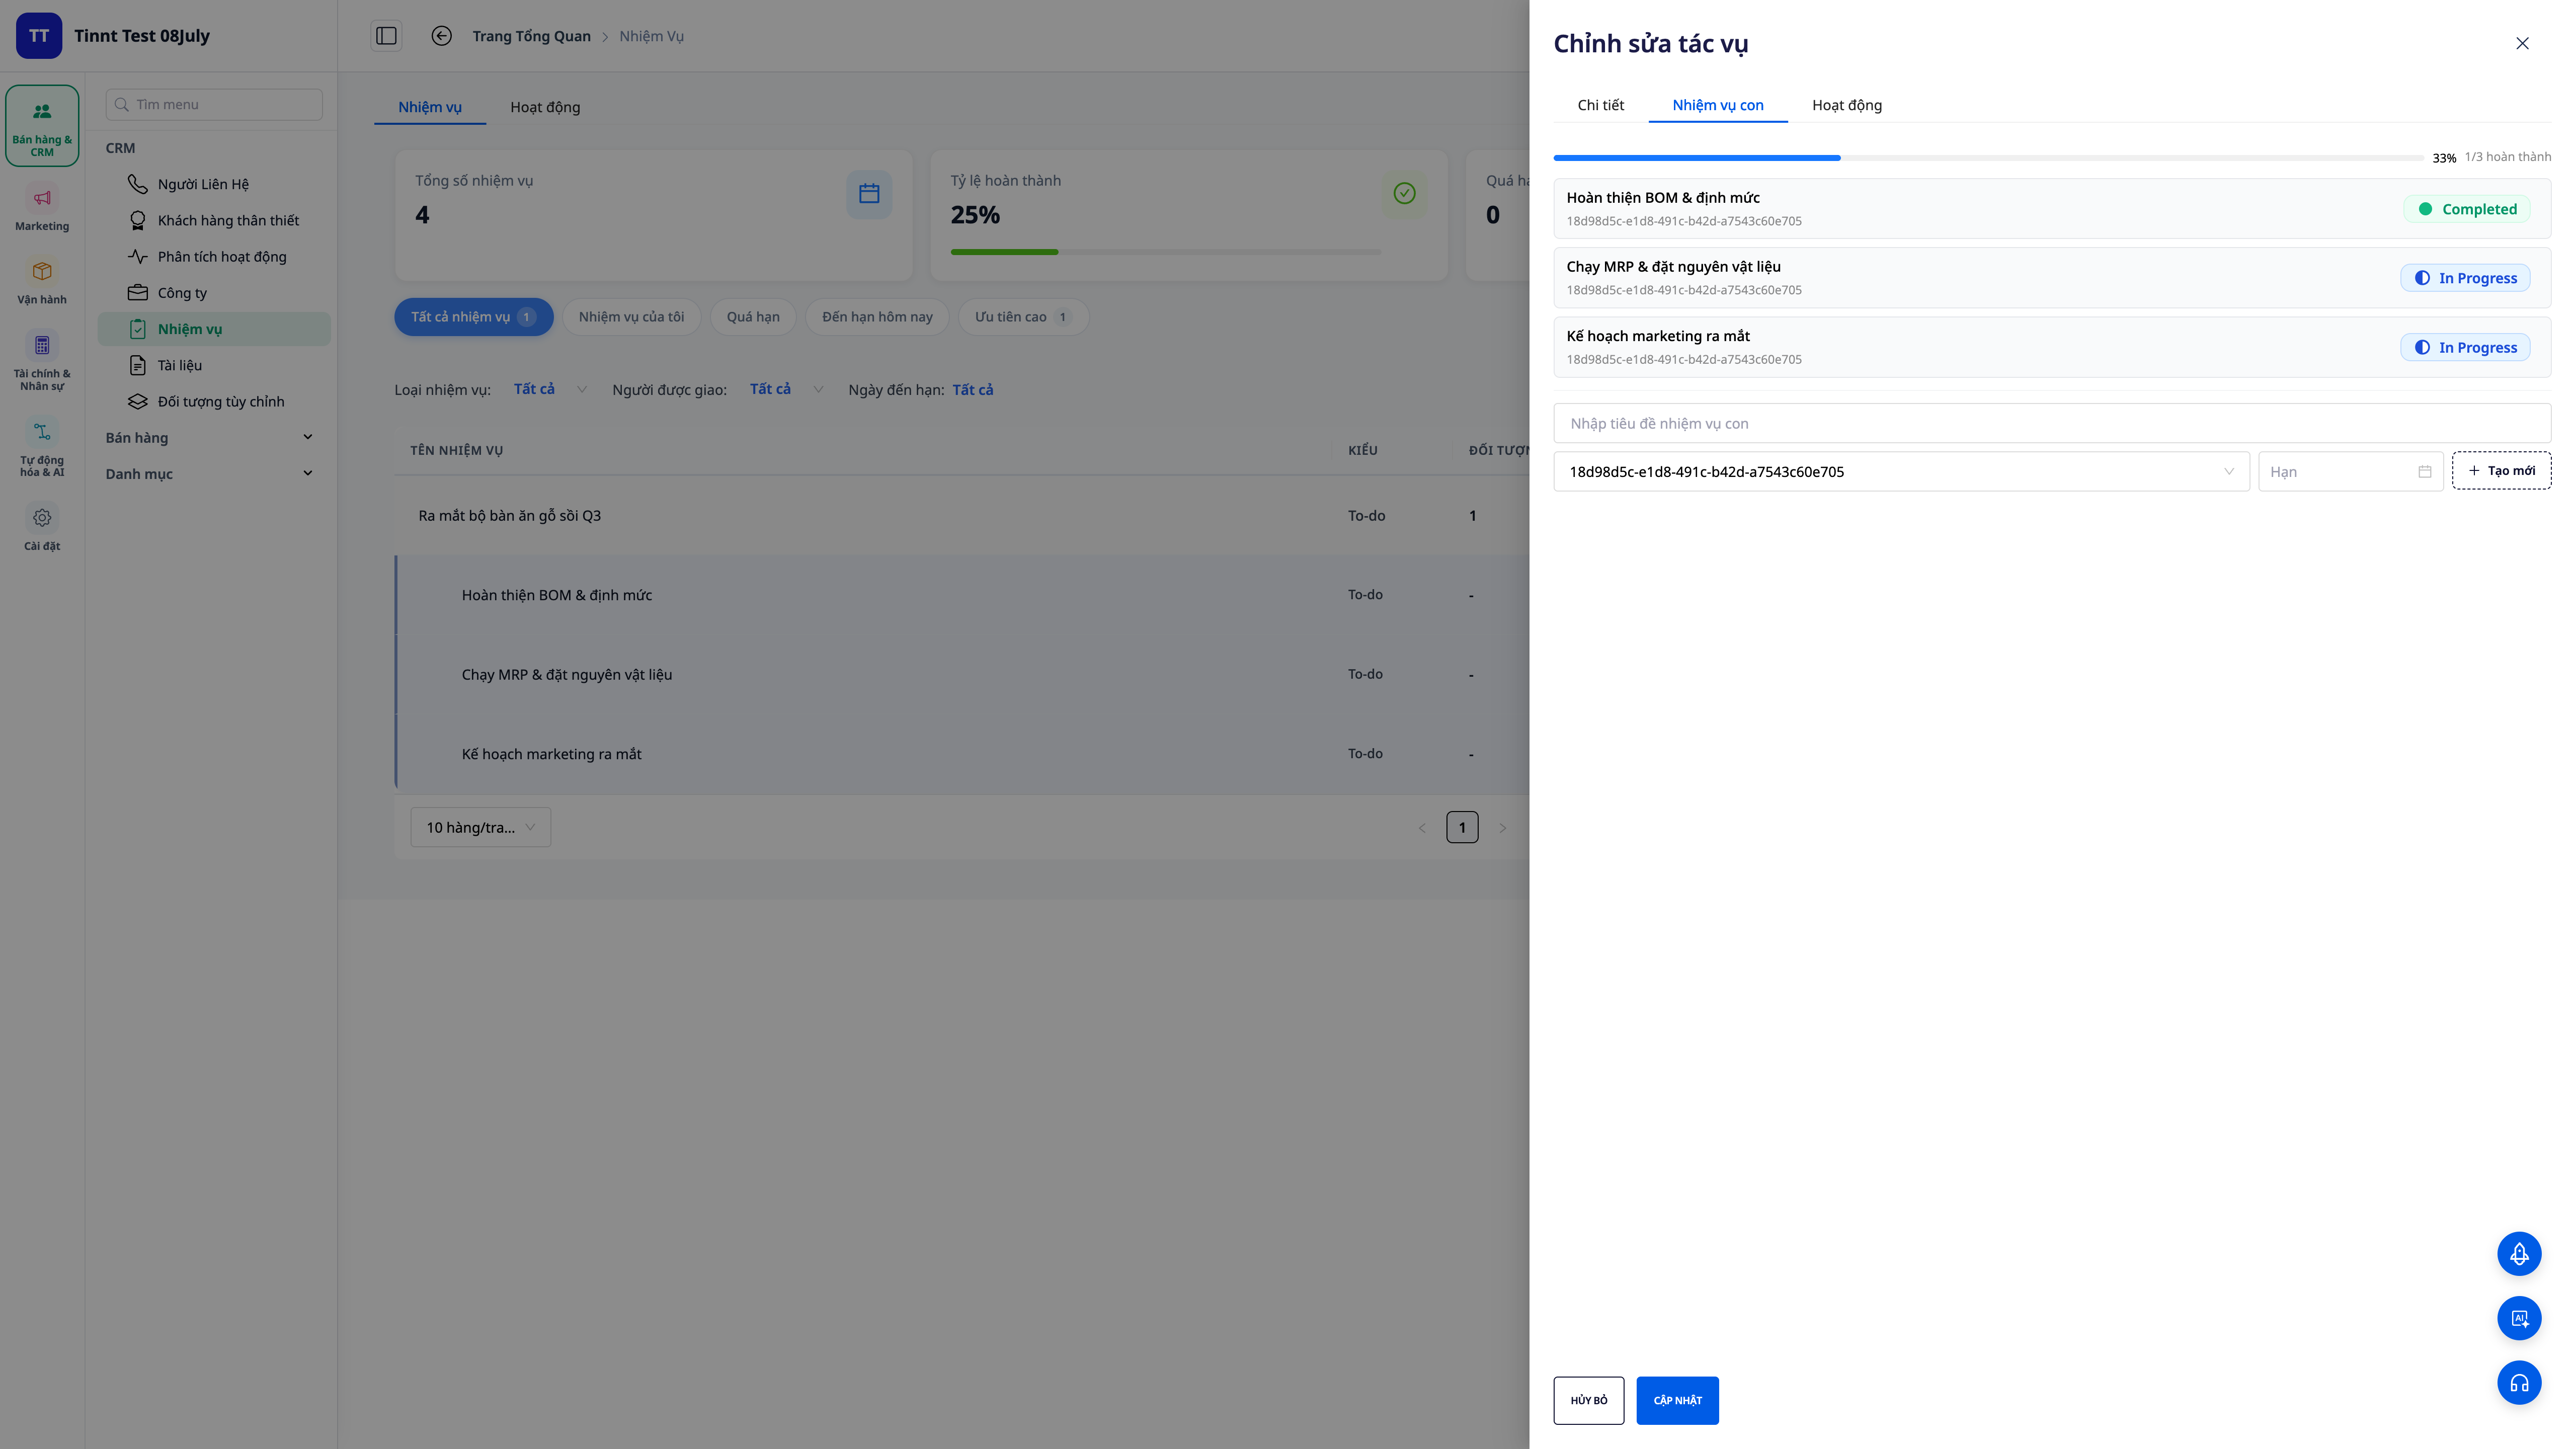
Step 4: Create Task (Optional)
Click "Create Task" to set a follow-up reminder during the call.
Step 5: End and Save
Call ends → the new contact is automatically saved to the CRM with the called number.
6. Handle Existing Customers
When a customer already in the CRM calls:
Step 1: Information Displays Automatically
The system will immediately display the customer's name, profile picture, and a summary of their information — no need to search.
Step 2: View Contact Details
During the call, click "View Contact" to see the full details: - Purchase history and orders - Previous calls and interactions - Notes from other staff members - Deals/pipelines being tracked
Step 3: Personalize the Conversation
Use the available information to provide better service: - Ask about specific orders - Refer to previous contact - Suggest products based on purchase history
7. Configure Automation Workflow
Call Center integrates with Automation Workflows to automate call assignments.
Step 1: Access Automation
From the main menu: Automation → Workflow.
Step 2: Find Voice Twilio Workflow
Find the workflow "Voice Twilio Initiated" - this is a pre-built template for handling calls created when Twilio is connected.
Step 3: Understand the Workflow
Incoming Call
    ↓ Check Type (Incoming/Outgoing)
    ↓ [If Incoming] Find Agent with Matching Skills
    ↓ Check if Agent is Online
    ↓ Route Call to Agent
Step 4: Customize if Needed
You can edit the workflow to add steps such as: - Play a welcome message before routing - Record the call - Send a confirmation SMS after the call
8. Set Agent Skills
Calls are routed to the agent with the most suitable skills.
Step 1: Access Workspace Settings
Go to Settings → Workspace → Skills.
Step 2: Create Skill Categories
Examples: - Sales - Support - Billing - Returns
Step 3: Assign Skills to Agents
Each agent can have multiple skills. Calls will be routed to agents with matching skills who are Online.
Step 4: Ensure Agent is Online
Agents must be in the Online status to receive calls, even if they have the matching skills.
Note: If no agents are Online with the appropriate skills, the call will be missed. Schedule shifts clearly.
9. Credit Billing - Call & SMS Payments
Voice Call - Billed Per Second
Voice calls are charged per actual second, not rounded up.
| Parameter | Value |
|---|---|
| Unit Price | 5 credits/second |
| Equivalent | 300 credits/minute |
| Starts From | When the call is successfully connected |
| Ends At | When either party hangs up |
Reserve & Finalize Mechanism
[Call Starts]
       ↓
Reserve: Temporarily hold estimated credits
(ensure enough credits for the call)
       ↓
[During Call]
Second counter runs...
       ↓
[Call Ends]
Finalize: Deduct exact actual seconds
Return any remaining credits to the account
Credit Calculation Example
| Call Duration | Credits Deducted |
|---|---|
| 30 seconds | 150 credits |
| 1 minute | 300 credits |
| 2 minutes 30 seconds | 750 credits |
| 5 minutes | 1,500 credits |
SMS - Billed Per Message
| Type | Credits |
|---|---|
| Outbound SMS | 150 credits/message |
Check Credits Before Calling
The system automatically checks before each call. If credits are insufficient: - A clear notification will be displayed - The call will not start (no credits lost by running out of funds mid-call)
Effective Usage Tips
Before Calling
- Review customer history to prepare your talking points
- Prepare key questions to ask
- Check if you have enough credits
During the Call
- Take notes immediately — don't forget information
- Update lead status if it changes
- Create a follow-up Task before hanging up
After the Call
- Complete detailed notes
- Update the pipeline/deal if the customer progresses
- Review credits used this month
Troubleshooting
| Problem | Cause | Solution |
|---|---|---|
| No sound heard | Microphone/speakers muted | Check microphone access permissions in your browser |
| Cannot receive calls | Offline status | Switch to Online |
| Call dropped | Connection lost | Check internet connection, try calling again |
| Cannot make outgoing calls | Insufficient credits | Add credits in Settings → Billing |
| Reserve credit failed | Credits below minimum threshold | A minimum of 300 credits (1 minute) is required to start a call |
Maybe You Should Read These

Customer Care Call Center Solution

30+ One-Tap Revenue Growth Playbooks — Cart Recovery, Failed Payment Rescue, Win-Back, Lead Nurturing, Post-Purchase Service

Multi-Platform Sales Management

CRM
AI Chatbot
Task Management 2.0 — Break Down Tasks, Auto Update Progress, Link to Deals & Orders

Automation
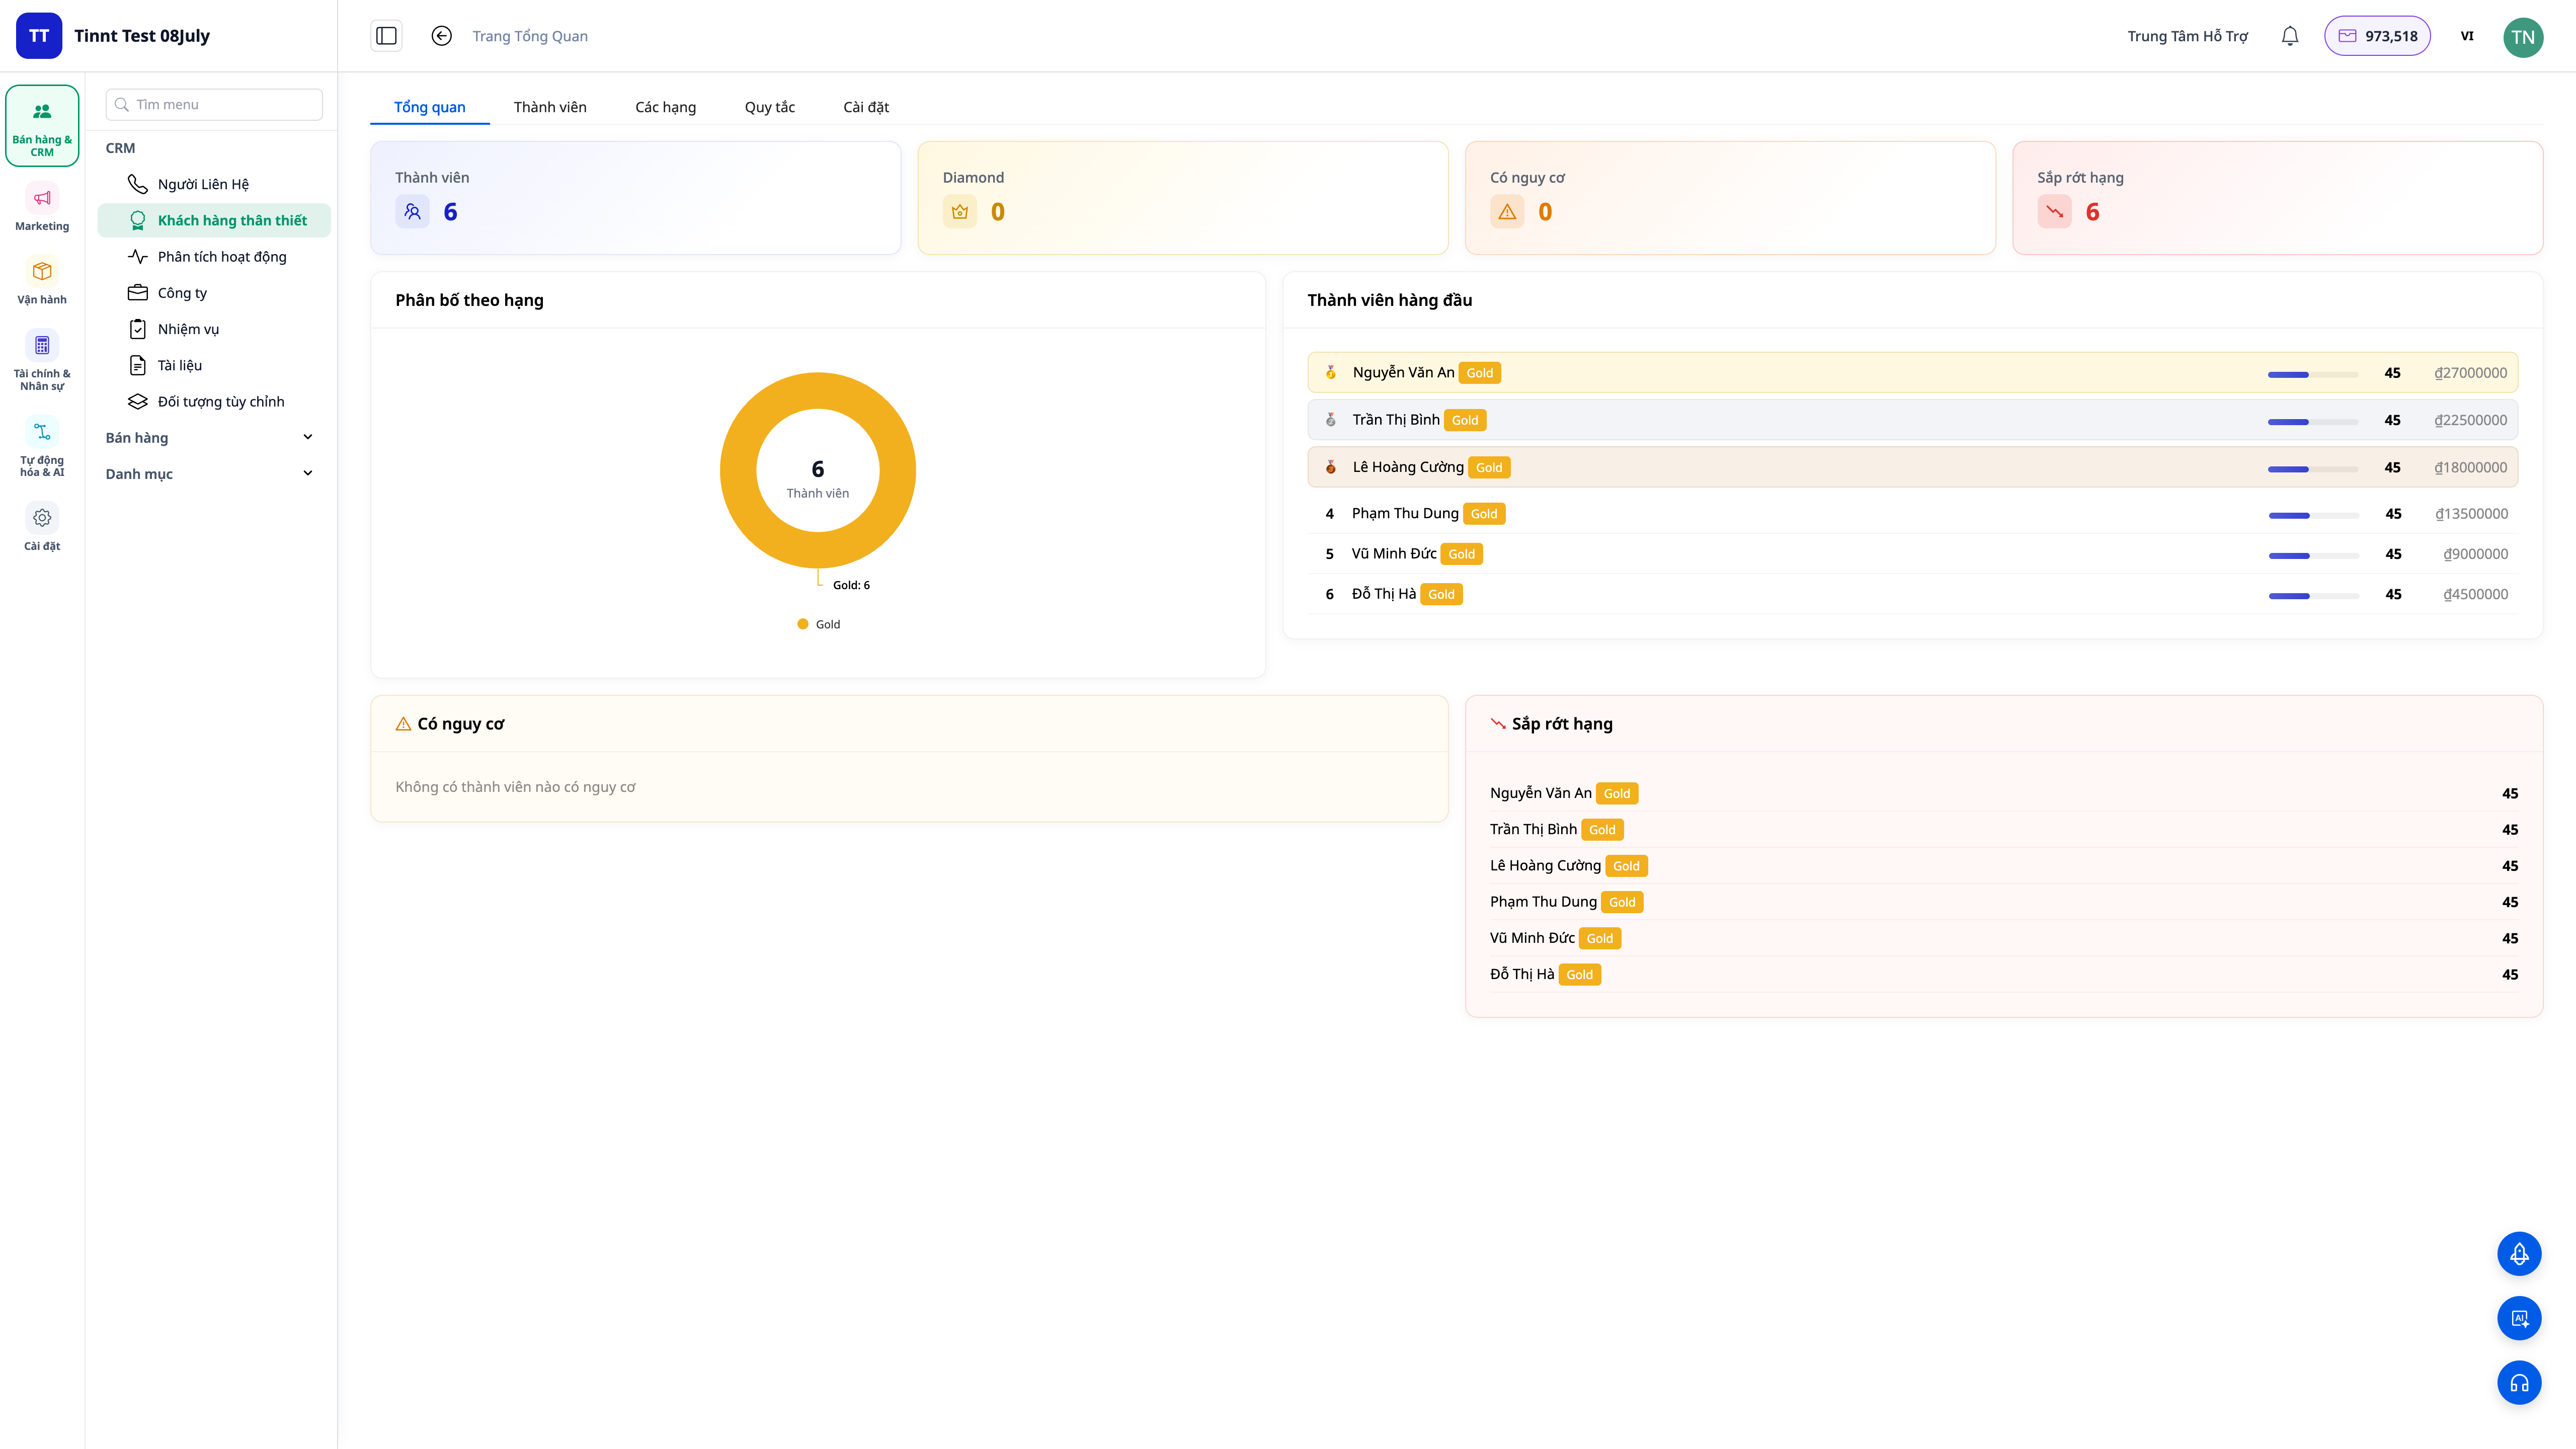
Loyalty Program — Automate Scoring, Tiering, and Right Person Engagement

24/7 AI Chatbot
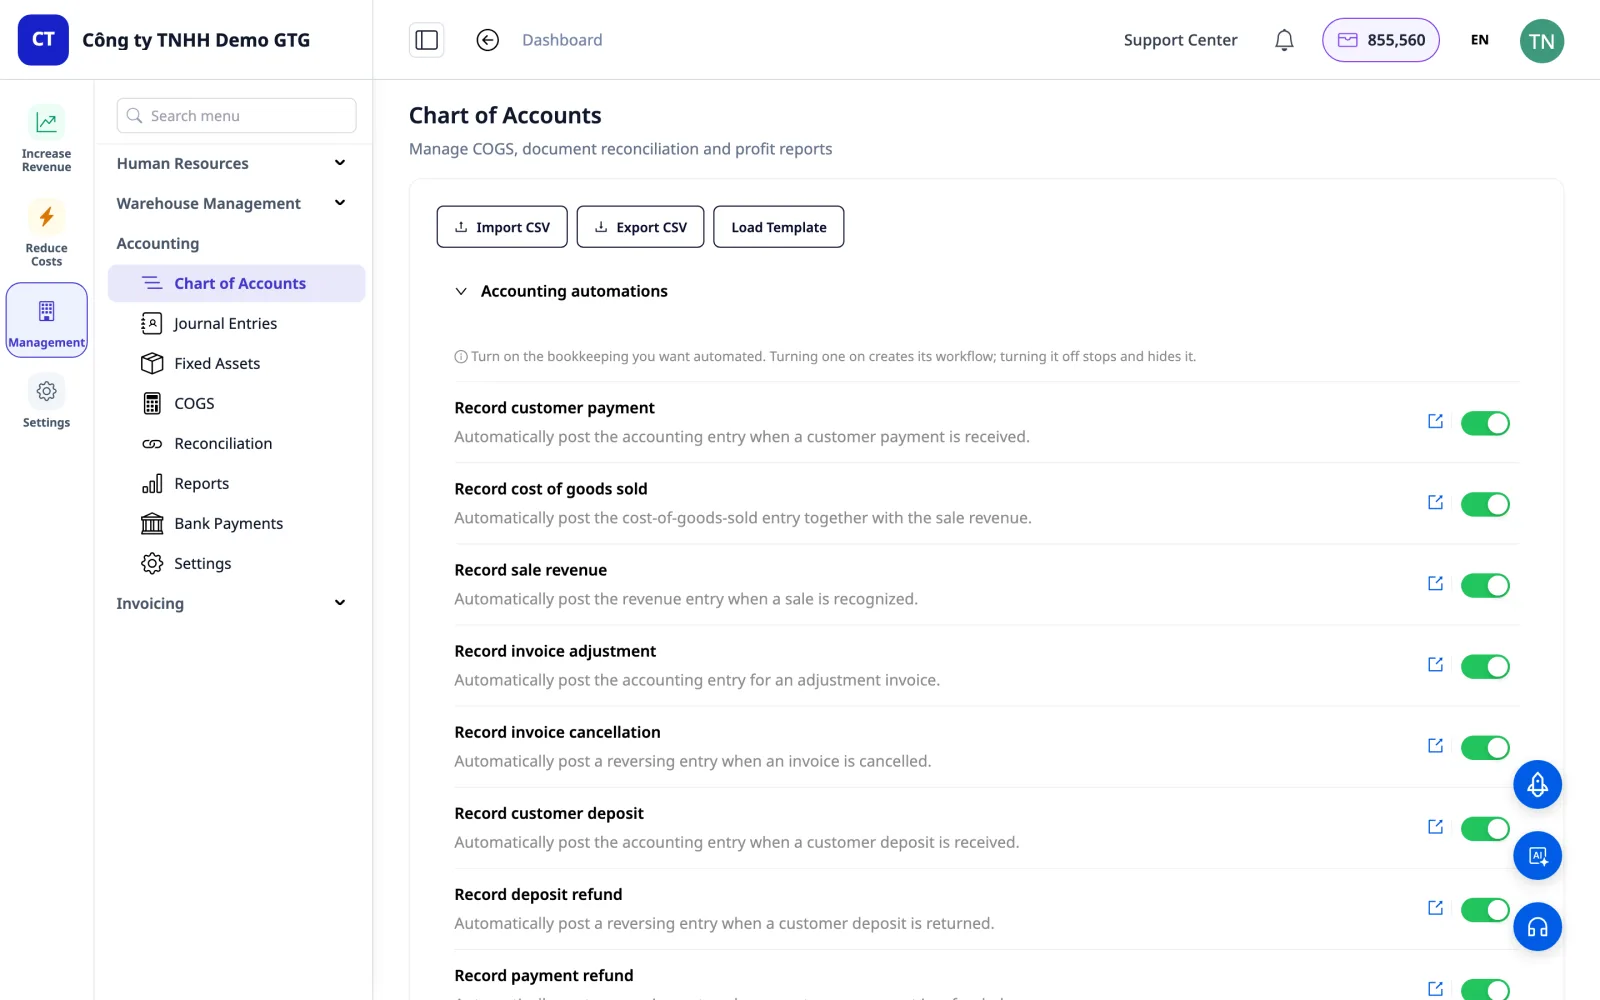
Double-Entry Accounting Right in Your CRM — General Ledger, P&L, Balance Sheet & VAT Filing Without Separate Accounting Software
Faster Registration, Immediate Start — Timely Trial Credits & DIY Brand Identity