Table of Contents
1. Warehouse Management
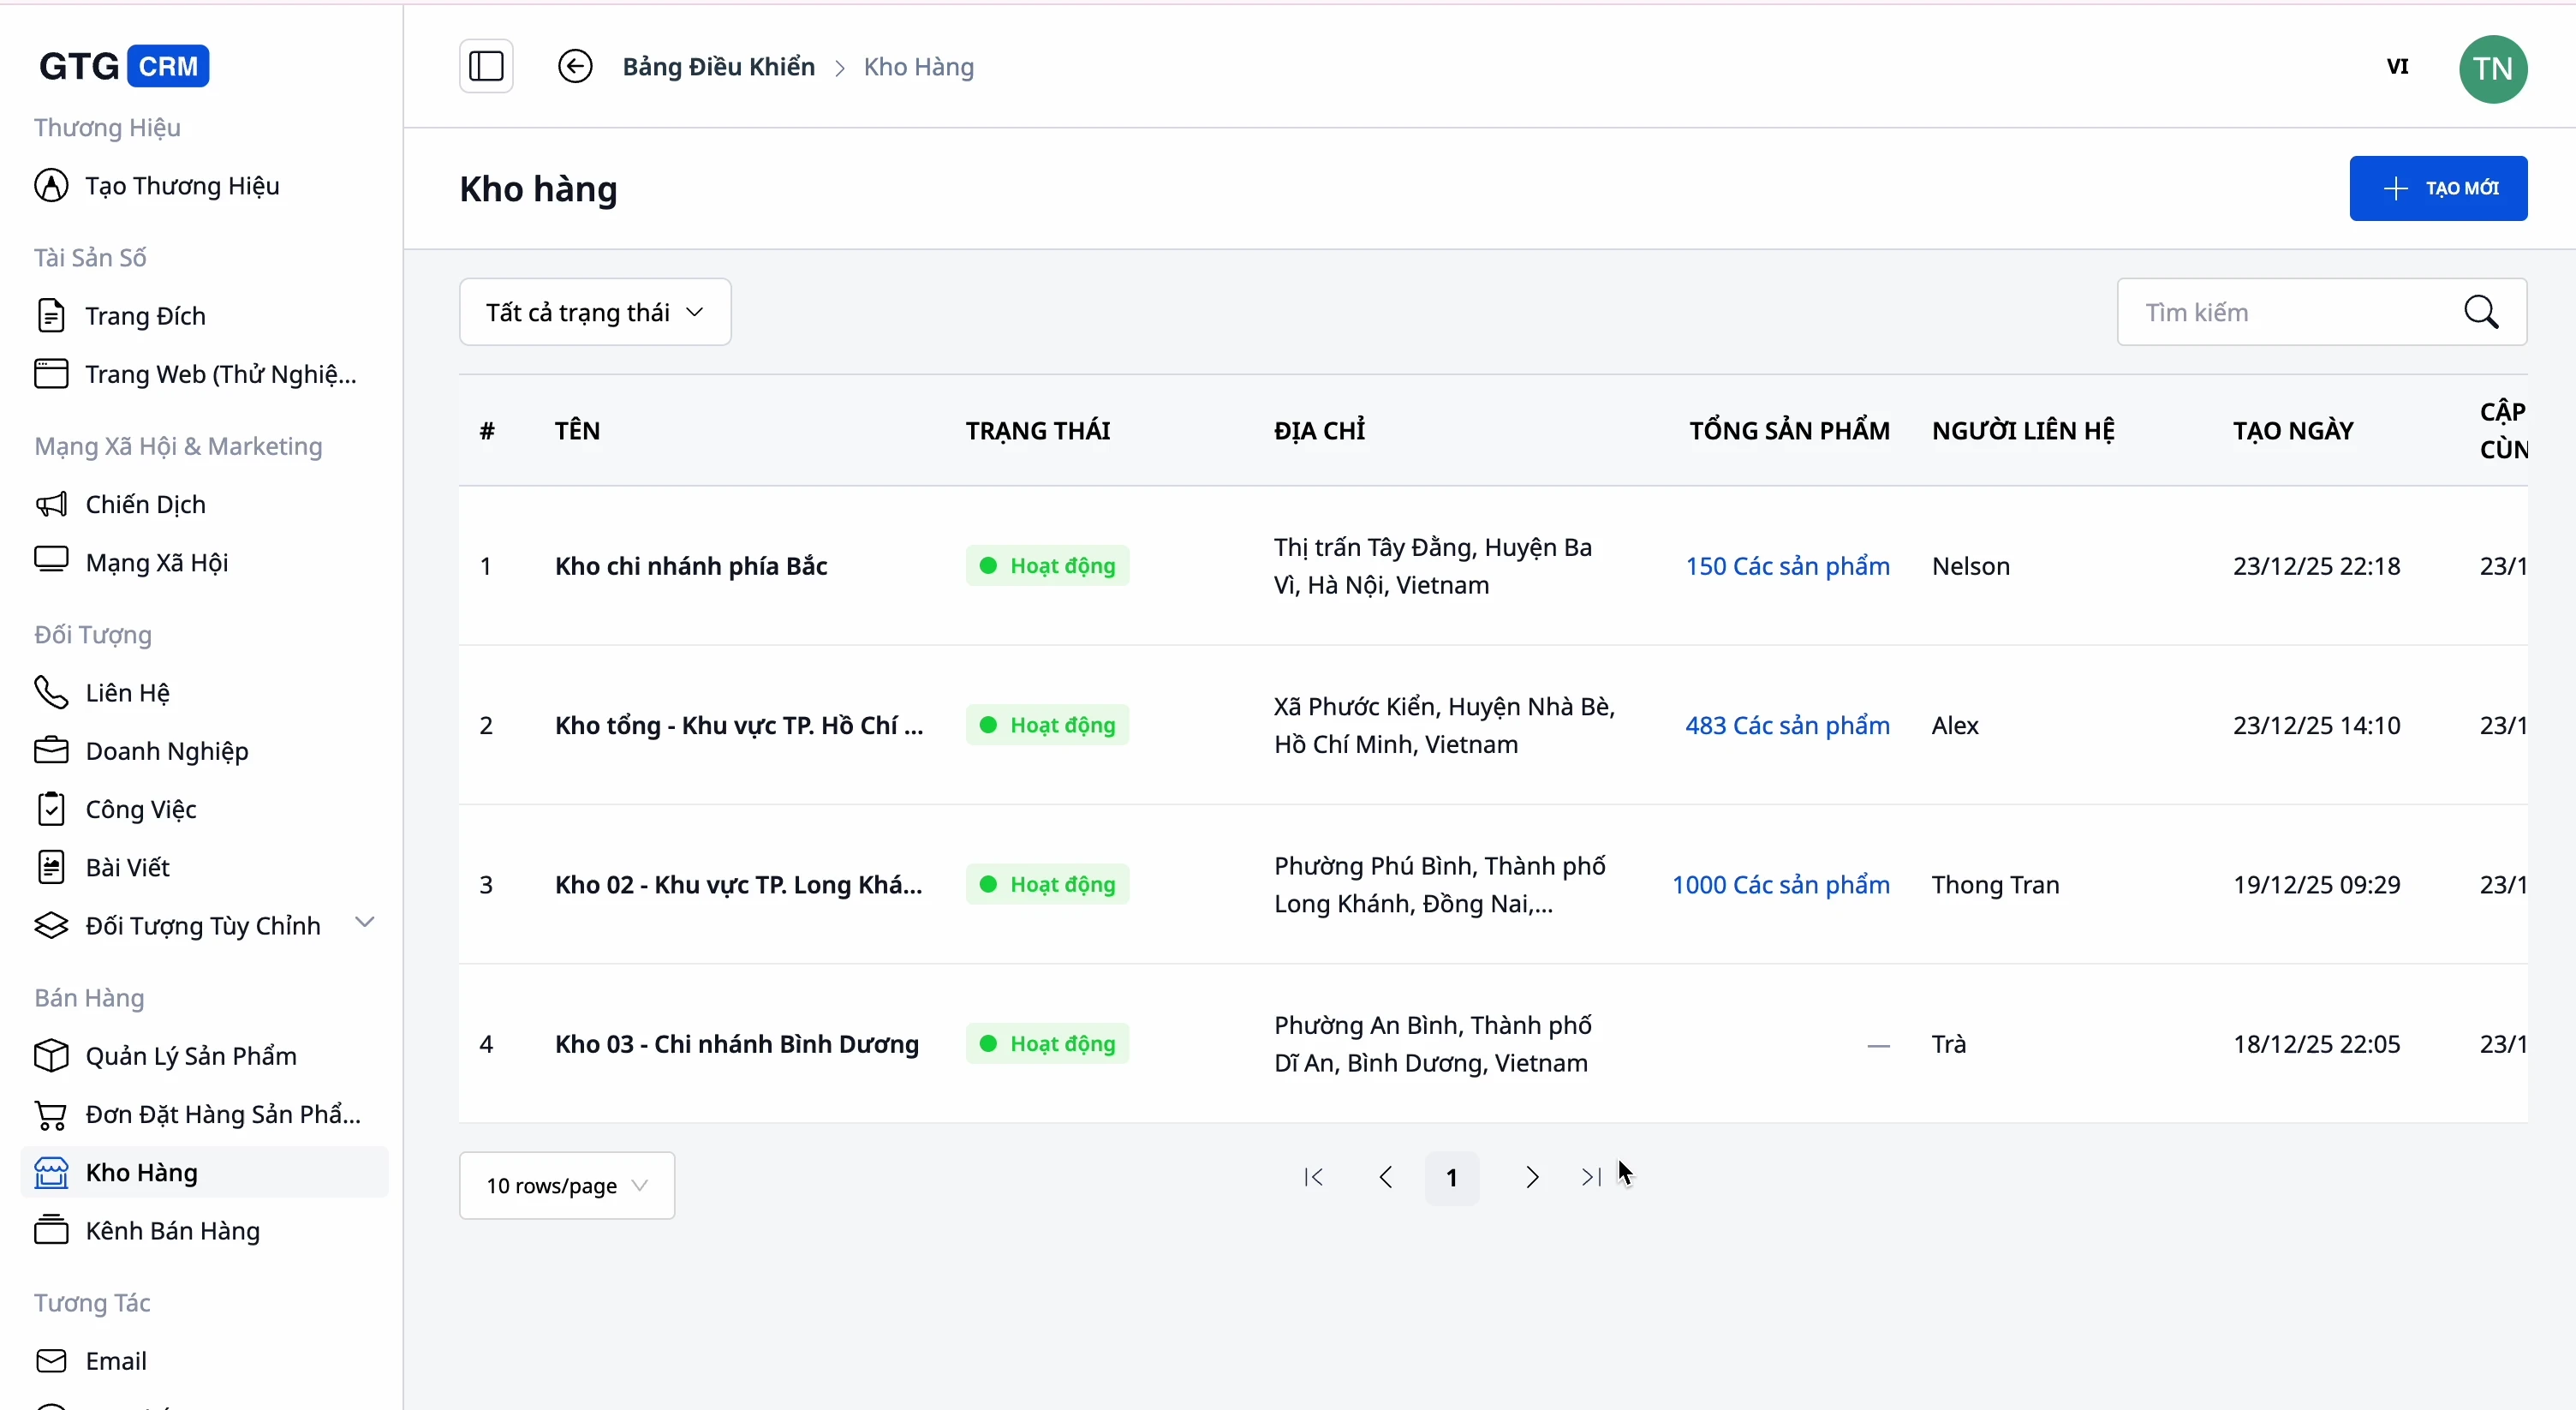
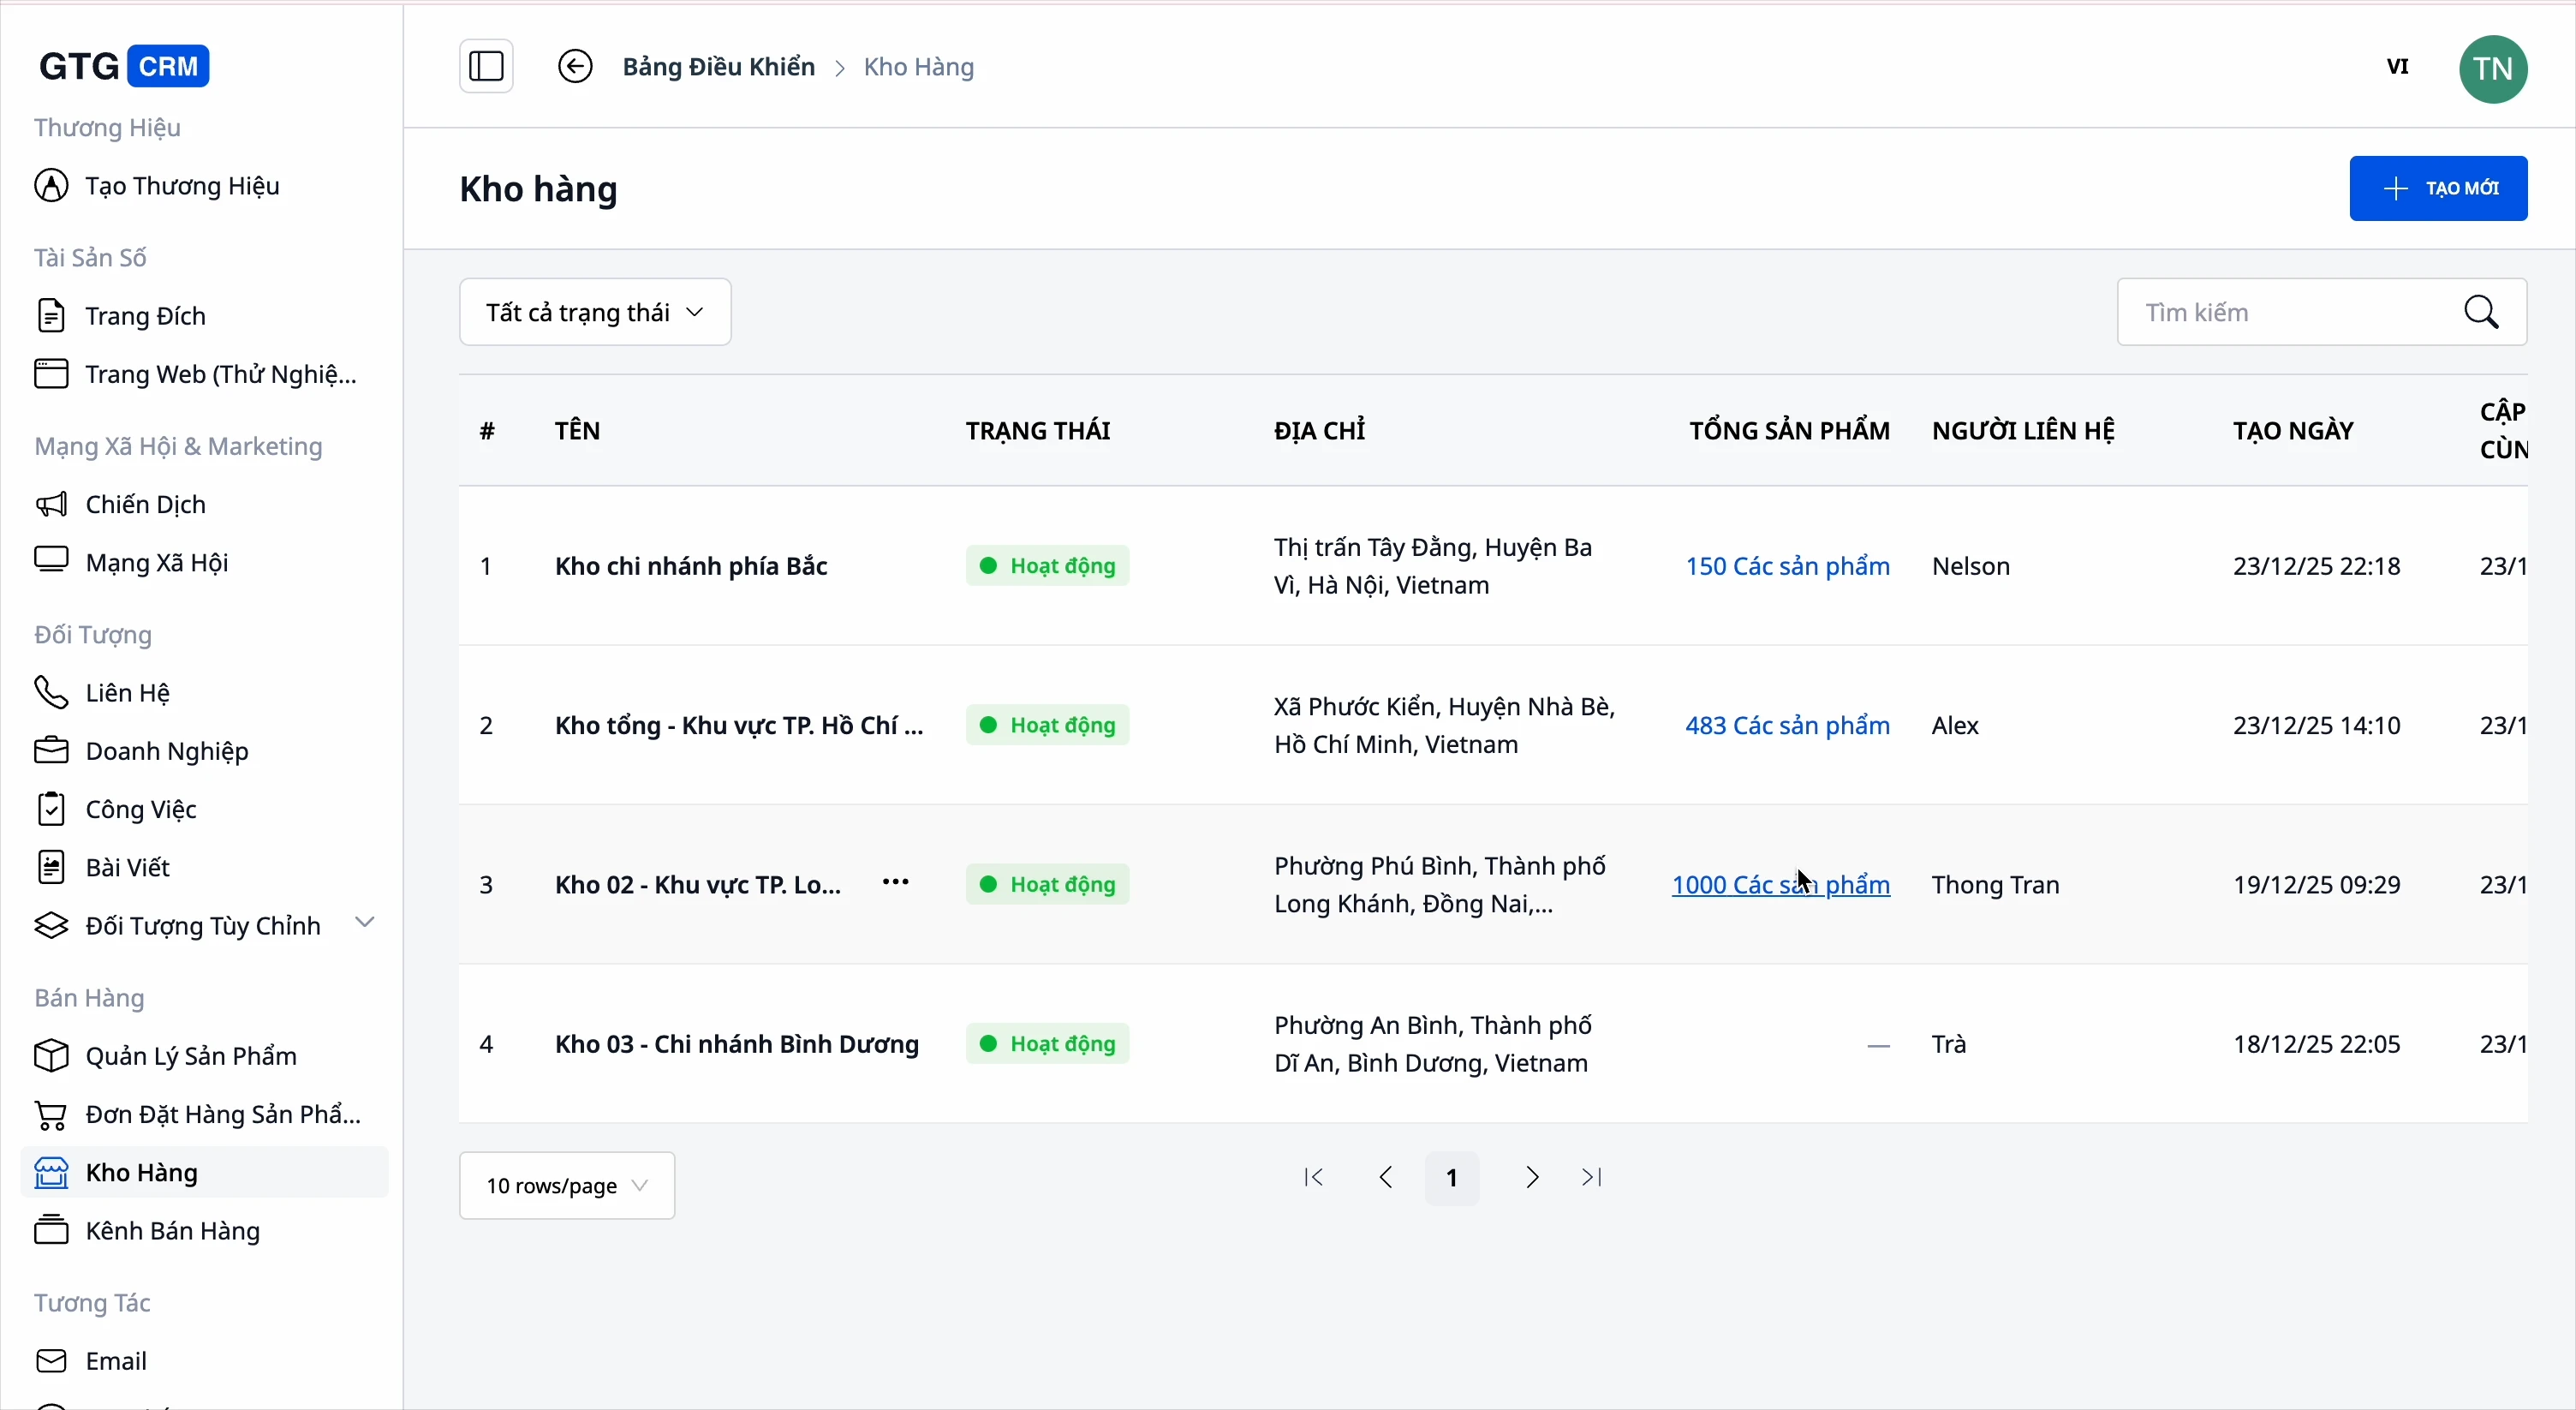
View Warehouse List
Go to the Product Hub menu → Warehouses to see the list of warehouses.
Create a new warehouse
Step 1: Click the "Create New" button
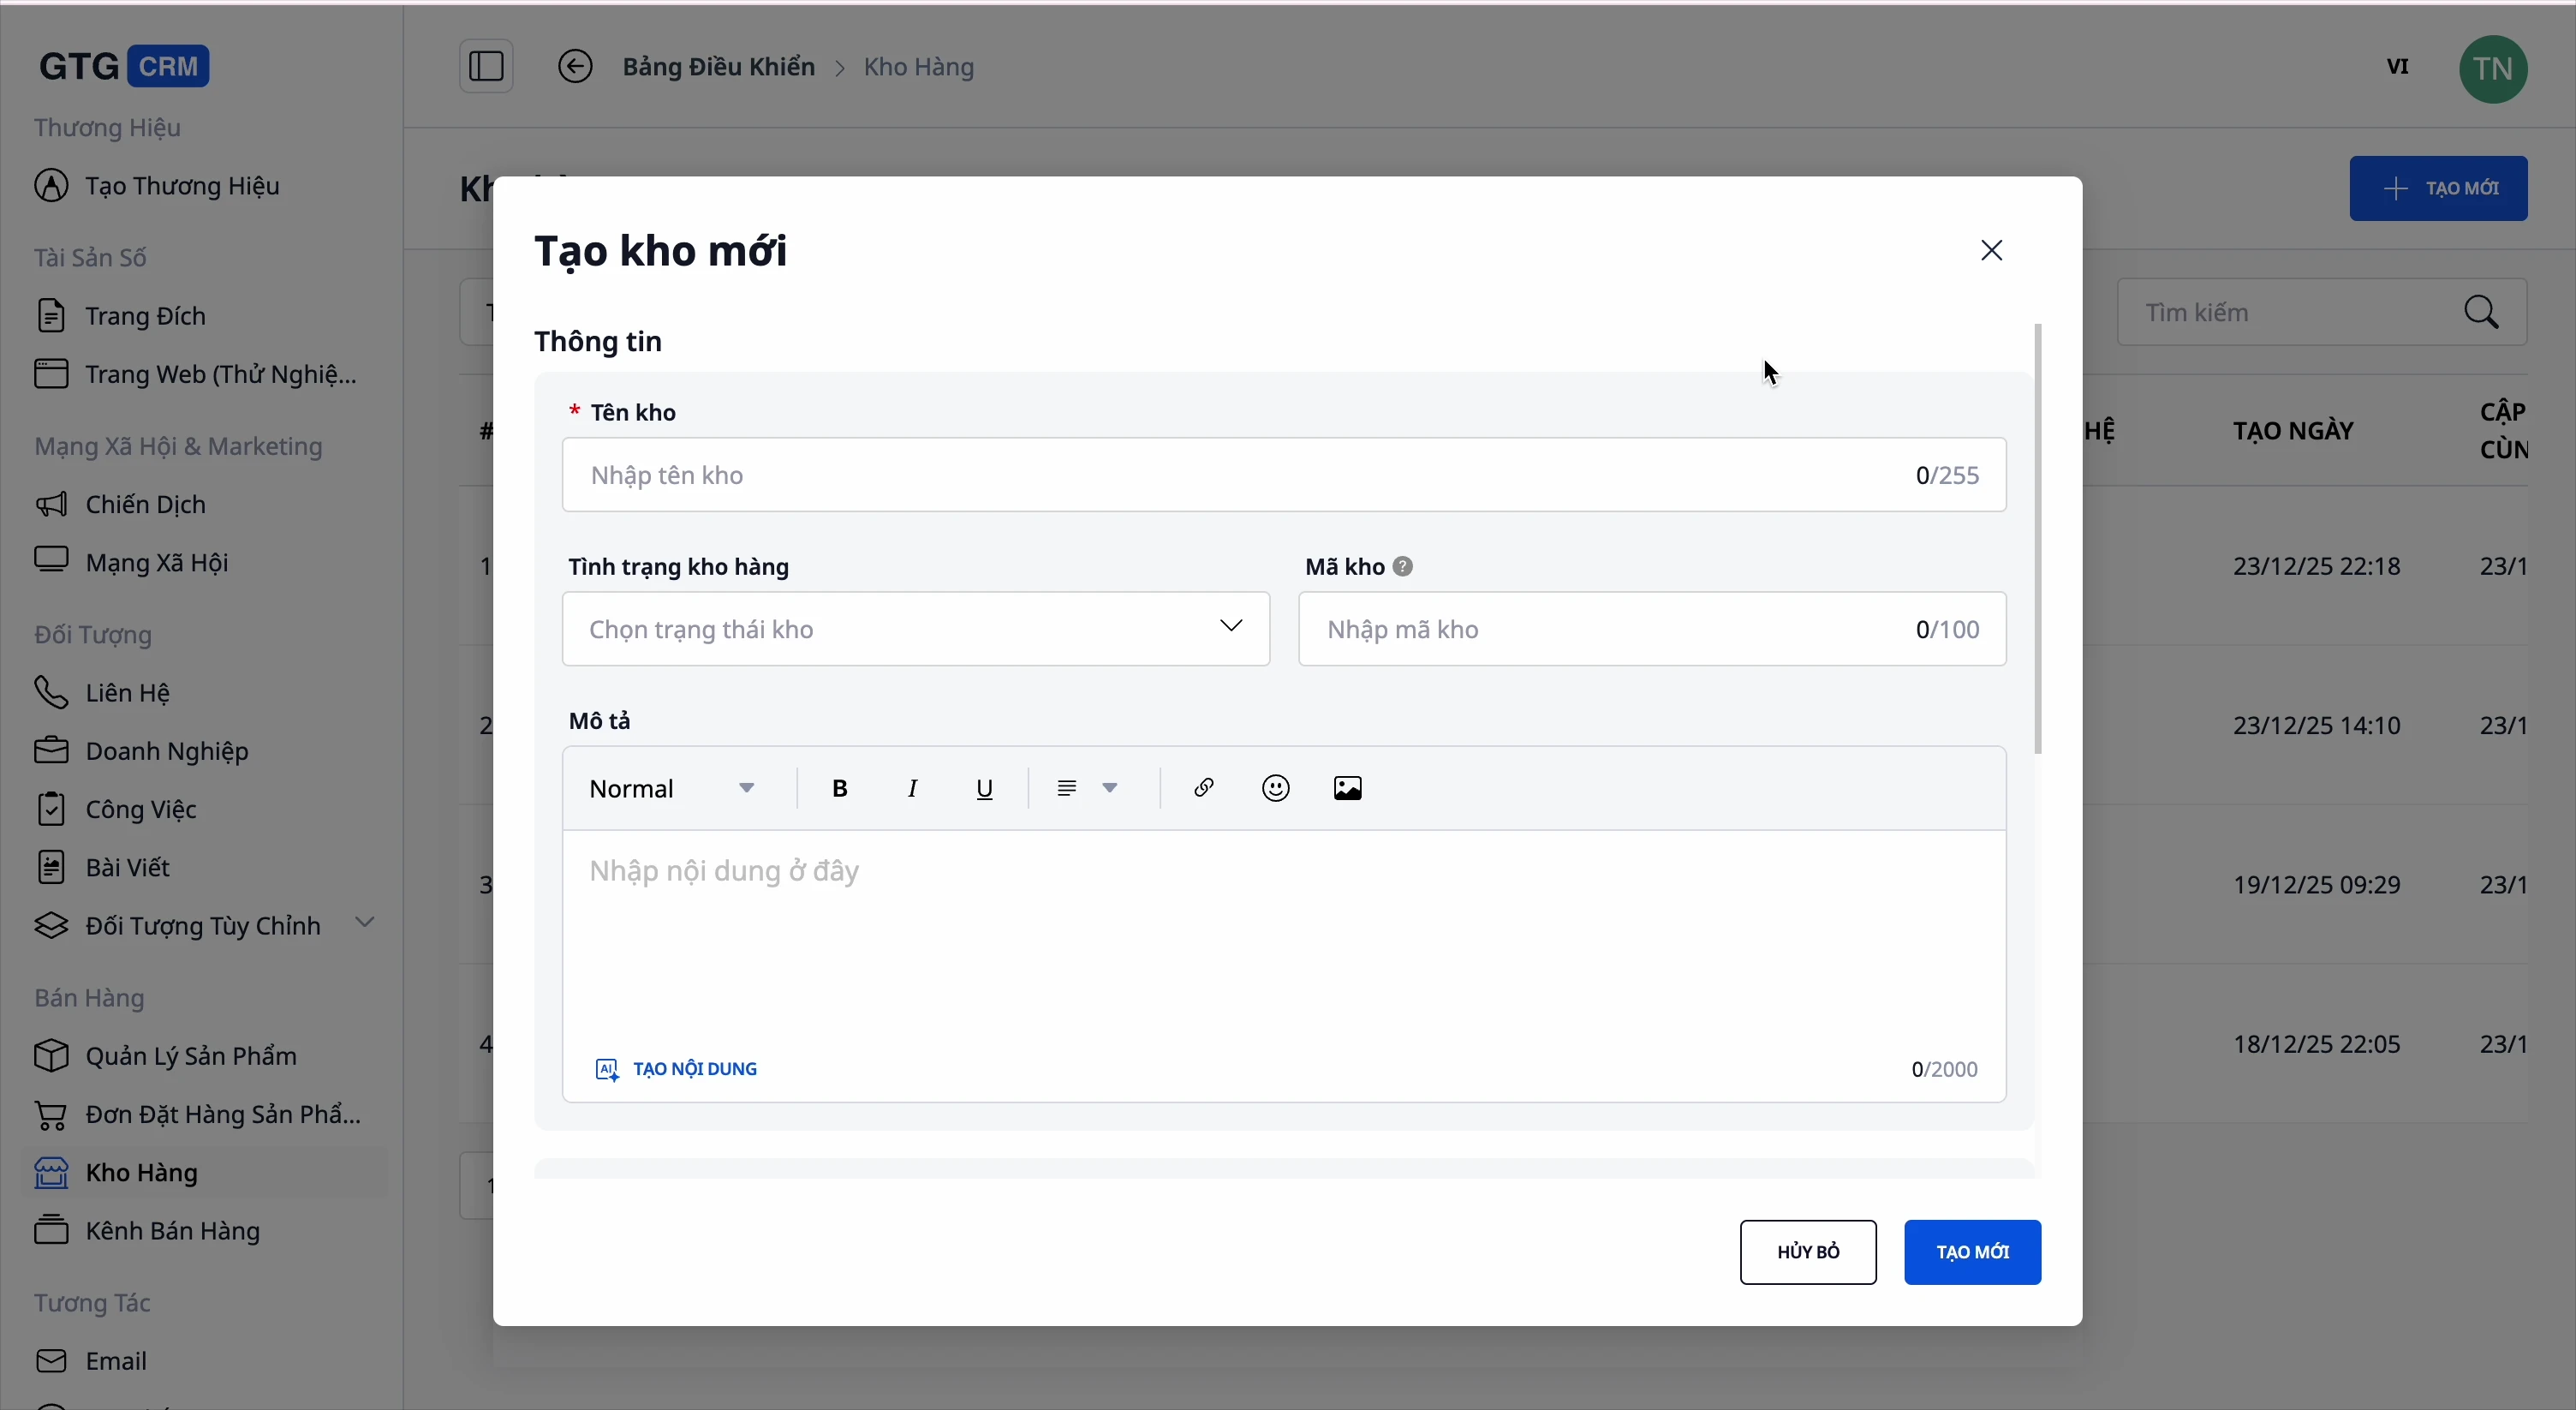
Step 2: Enter warehouse information
| School | Describe |
|---|---|
| Warehouse name | Name of the warehouse |
| Status | Active / Inactive |
| Warehouse code | Warehouse identification code |
| Describe | Warehouse description |
| Contact person's name | Warehouse Manager |
| Contact email | |
| Phone number | Contact phone number |
| Address | Warehouse address |
Step 3: Click "Create" to complete.
View Products in Stock
Click on "Total Products" to see the list of products in stock:
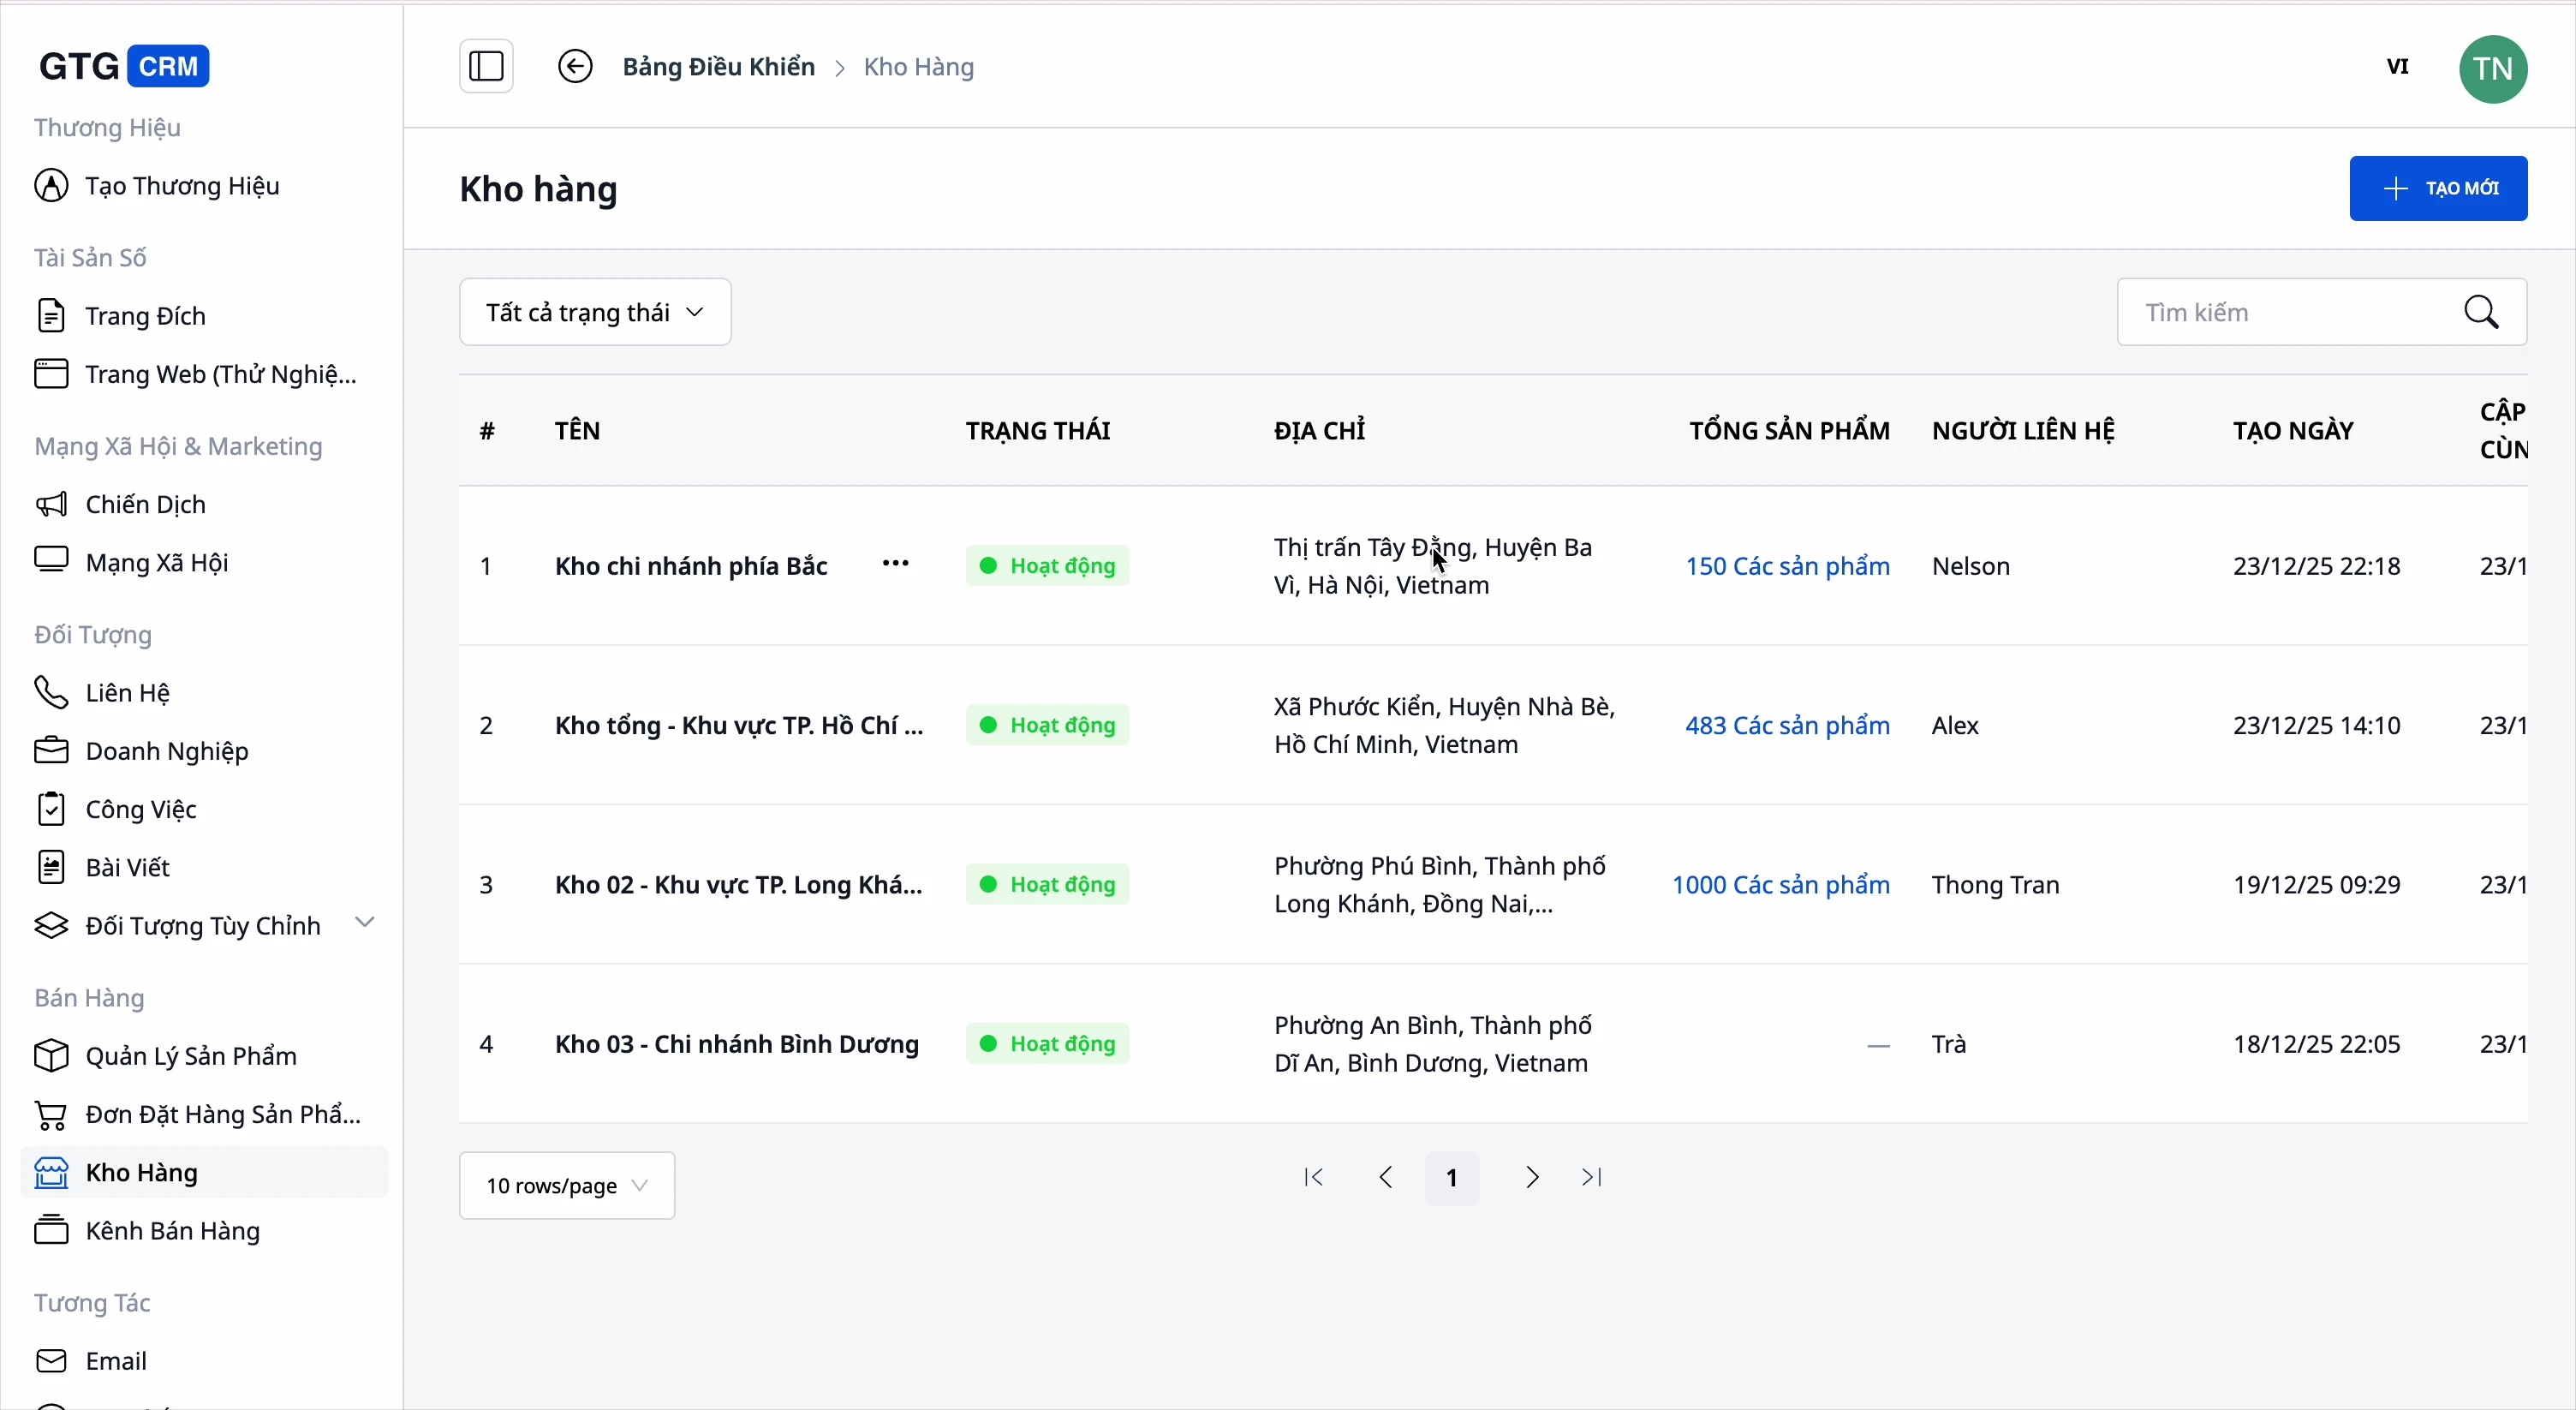
Warehouse Operations
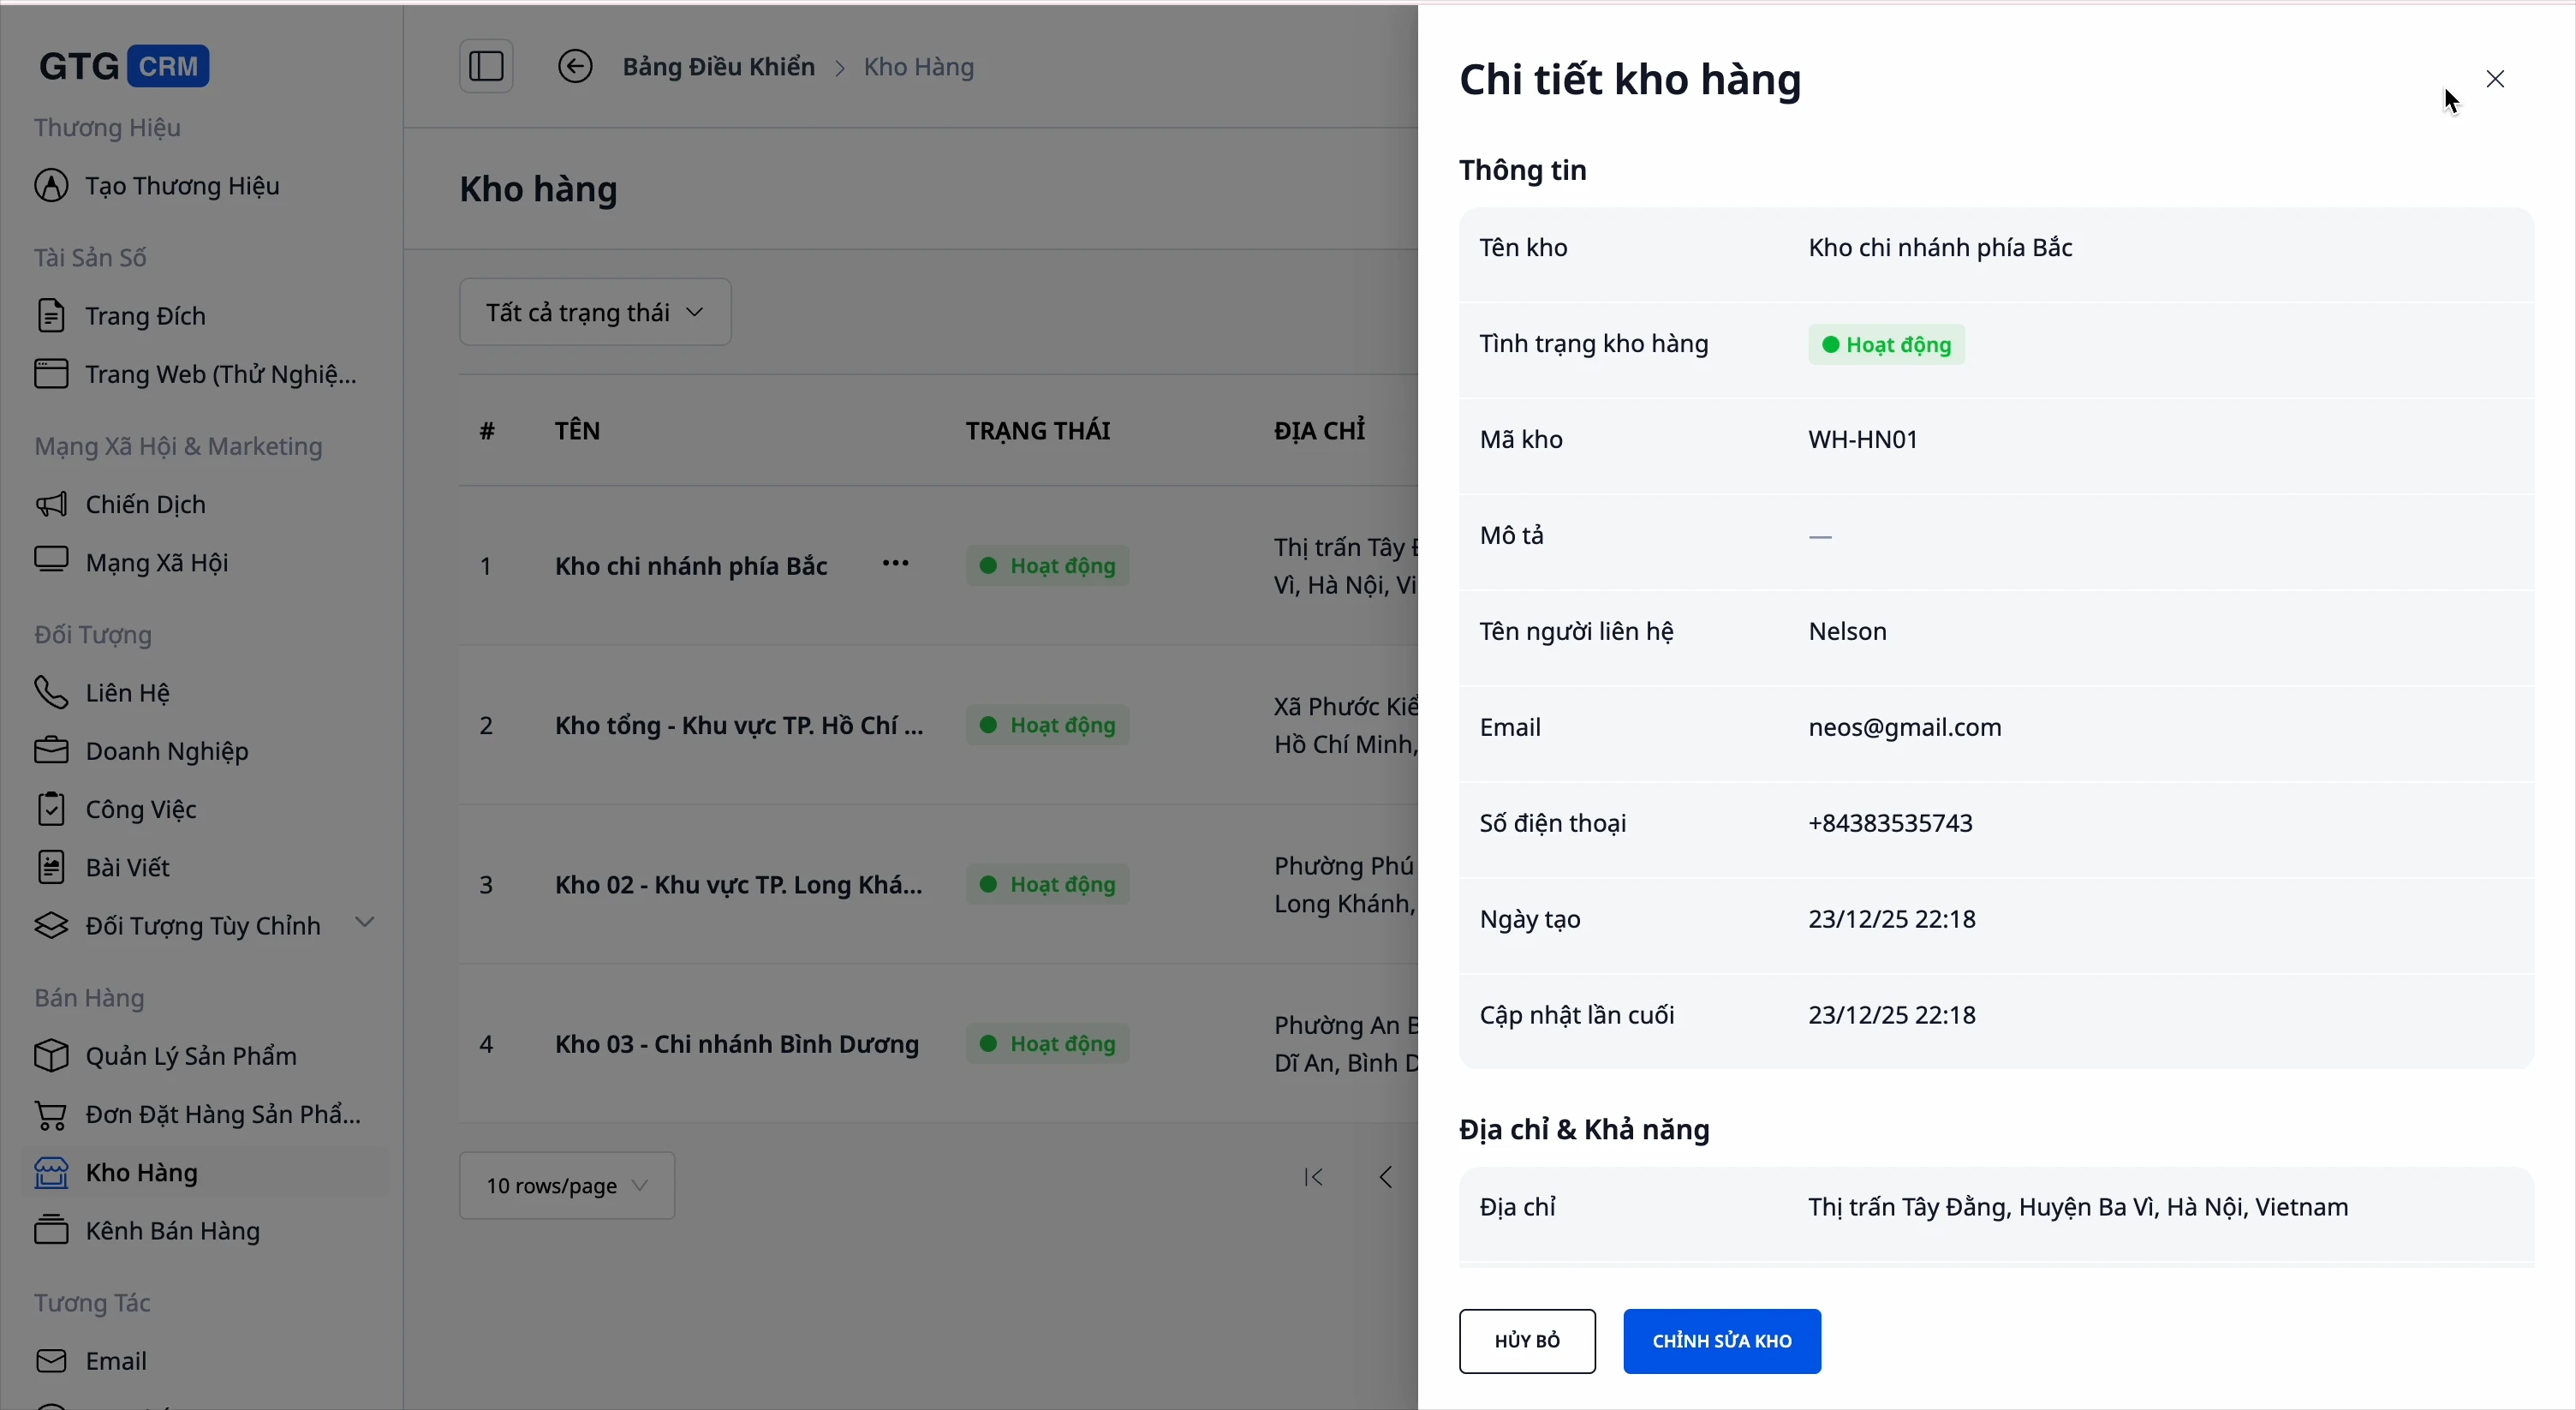
- View details - View warehouse information
- Edit - Modify warehouse information
- Delete - Remove from inventory (products in inventory will lose their quantity)
Note: When an inventory is cleared, the product's current stock quantity will also be lost.
2. Product Management
View the list of products.
Go to the Product Hub menu → Manage Products
Create New Product
Step 1: Click "Create new product"

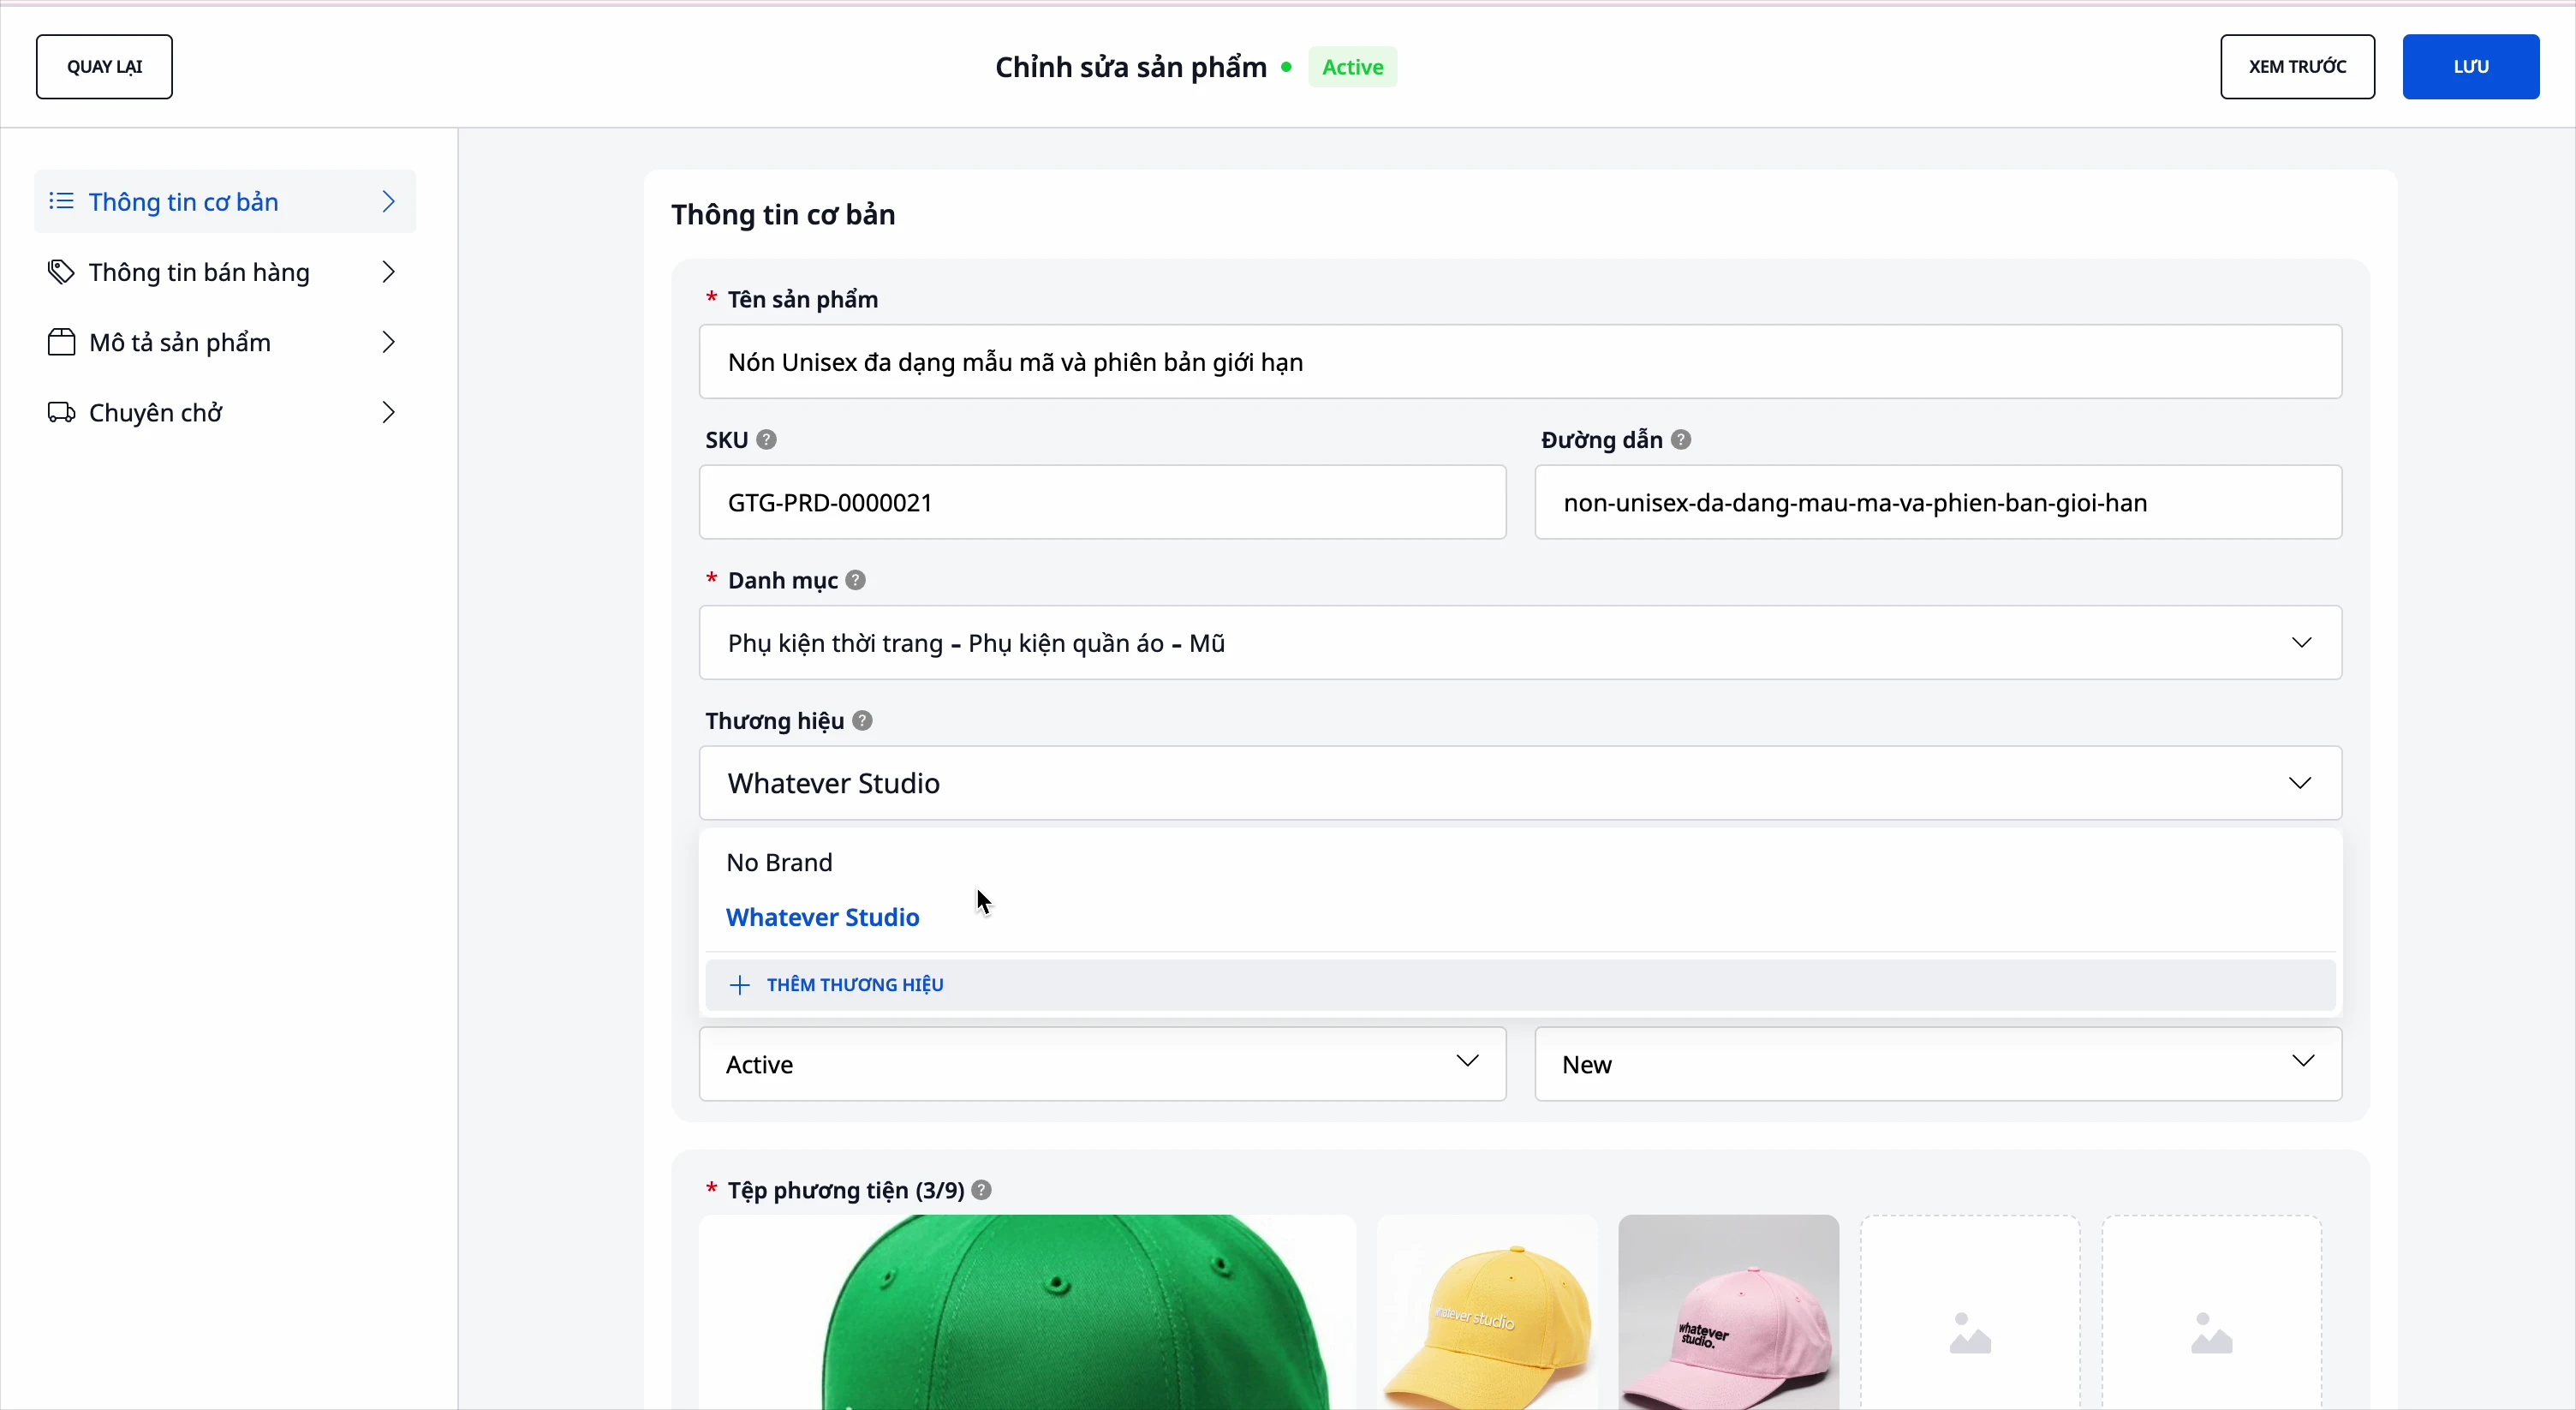
Step 2: Enter basic information
Product Name: The display name of the product.
SKU: A unique identifier in GTG CRM.
Slug: An SEO-friendly URL on a website.
Category: Choose a suitable category to make it easy for customers to find what they're looking for.
Trademark
Choose or create a new brand.
Product tags: Add tags such as: New Arrivals, Hot Items, Sale, Best Selling...
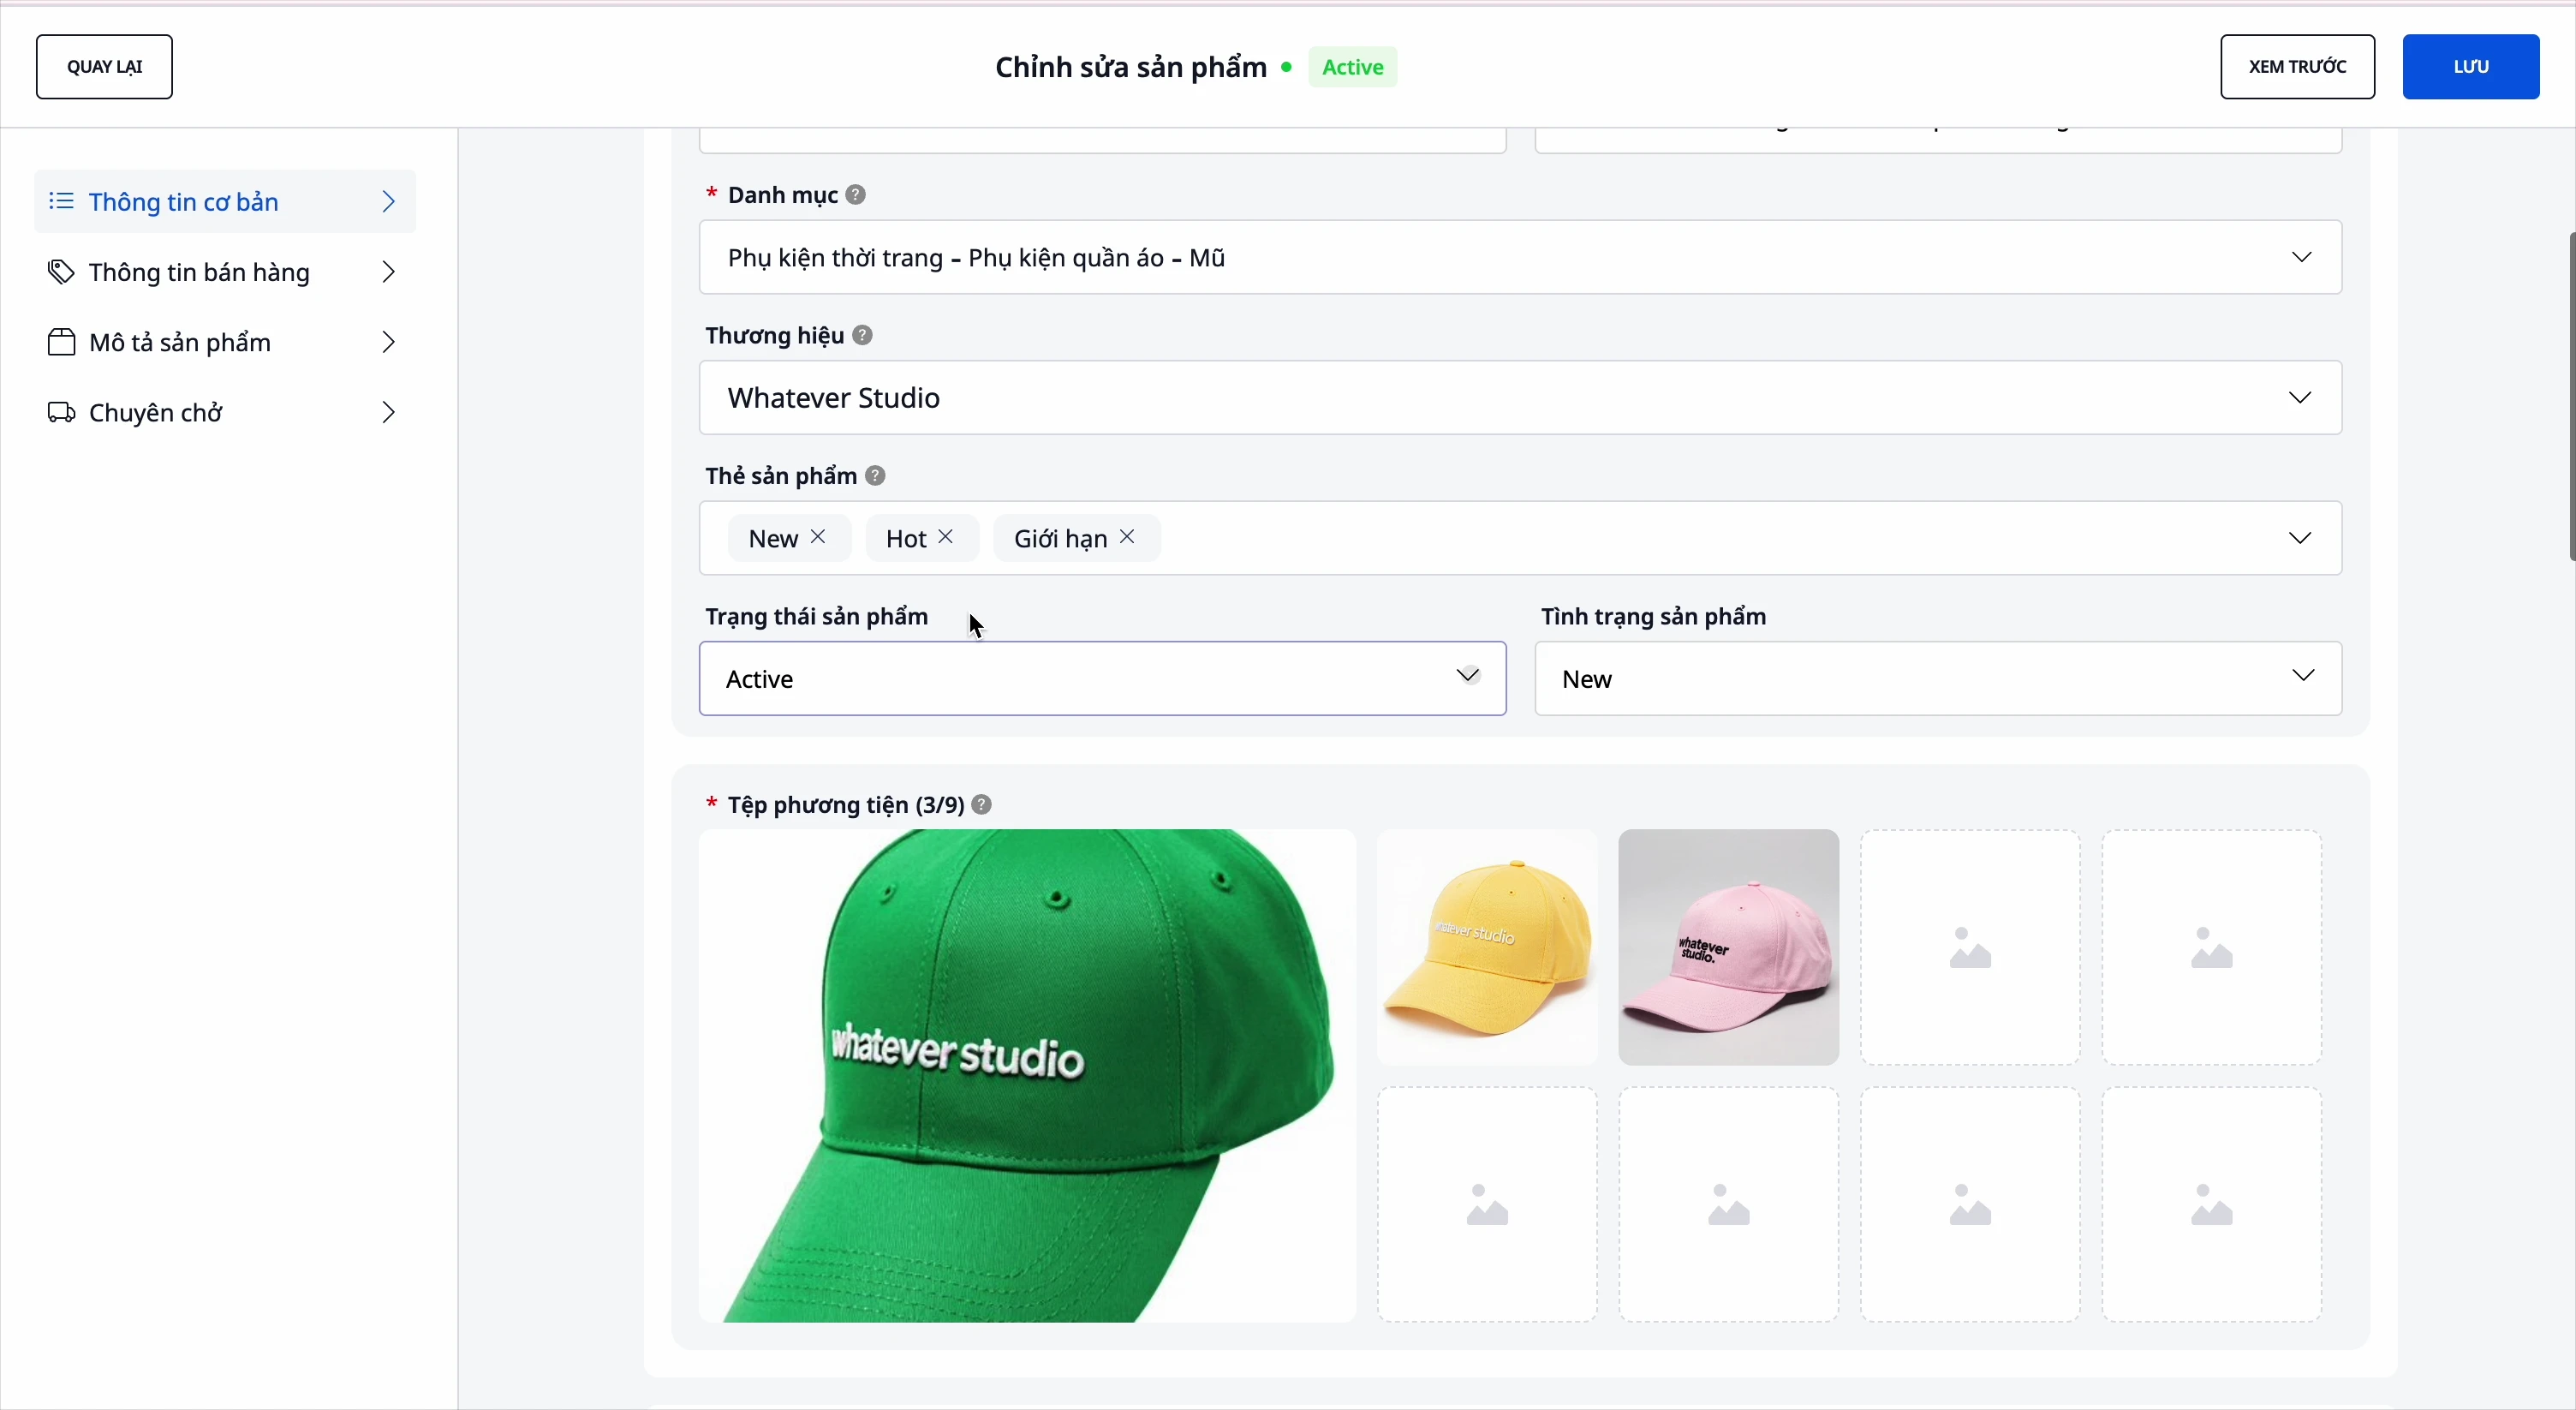
Product status
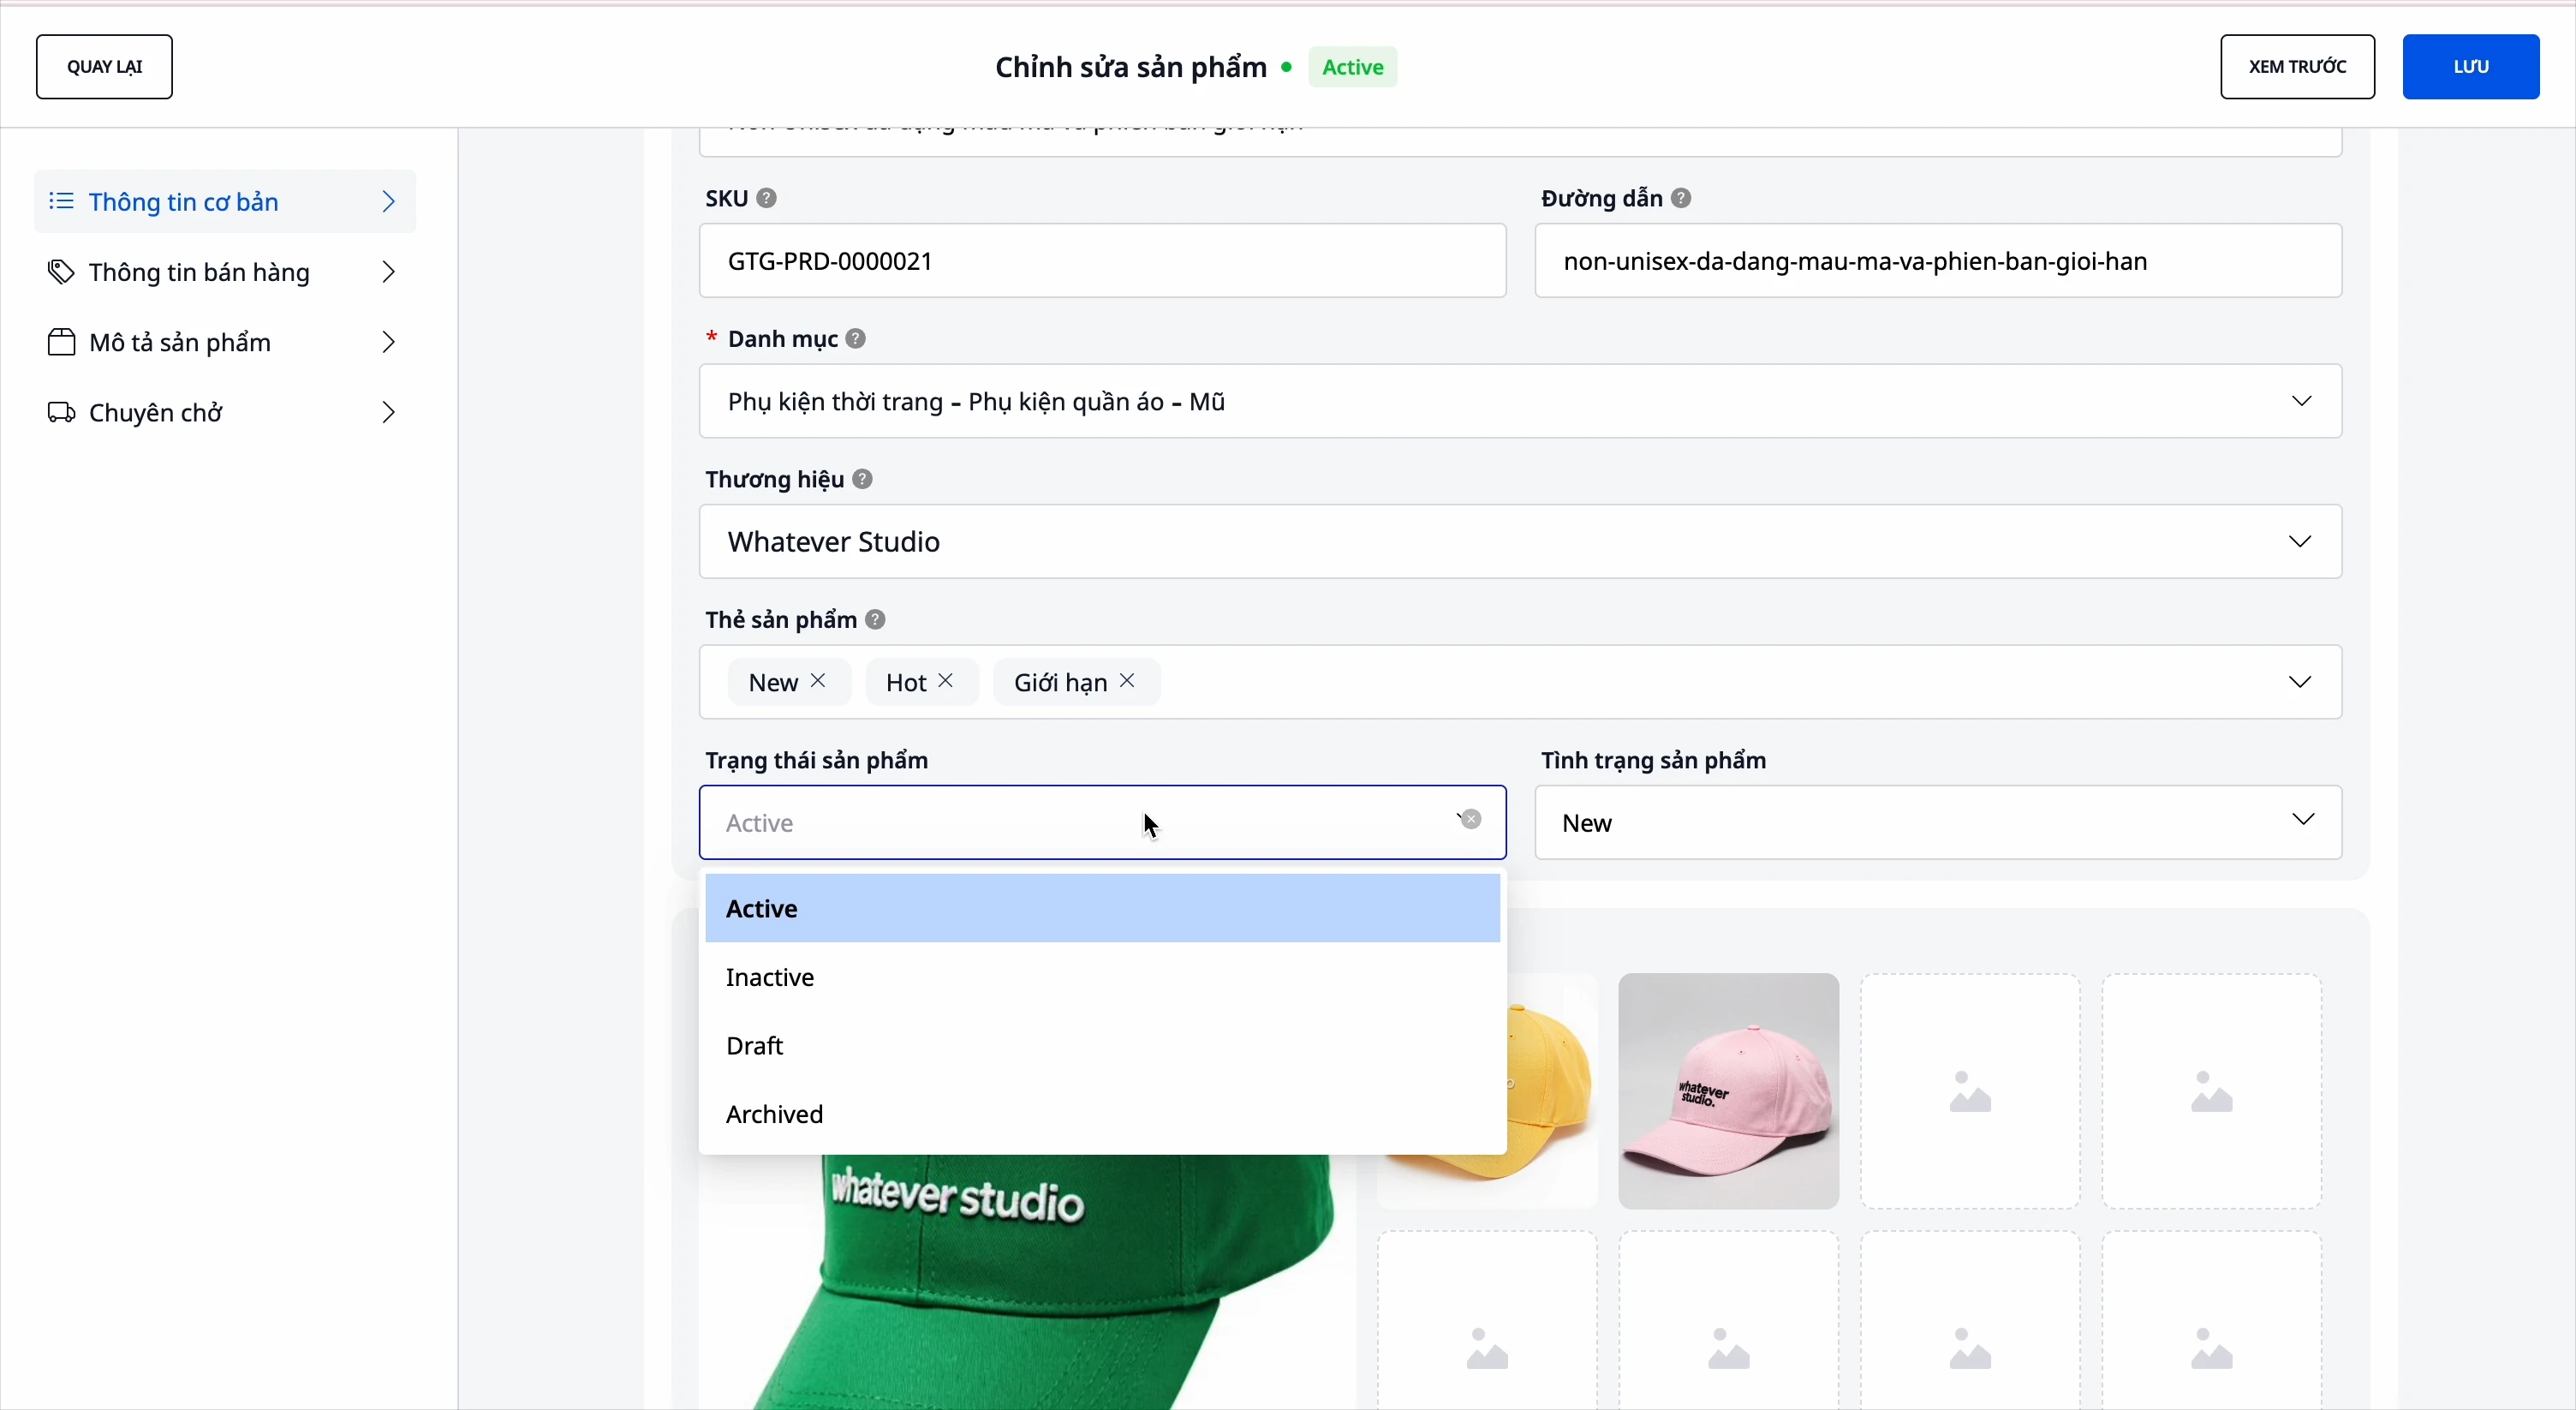
| Status | Describe |
|---|---|
| Normal | Products currently for sale |
| Smack | The product is not yet available on the website. |
| Out of stock | The product is out of stock. |
Status
- New product
- Used product
Step 3: Upload Media
Upload product images or videos.
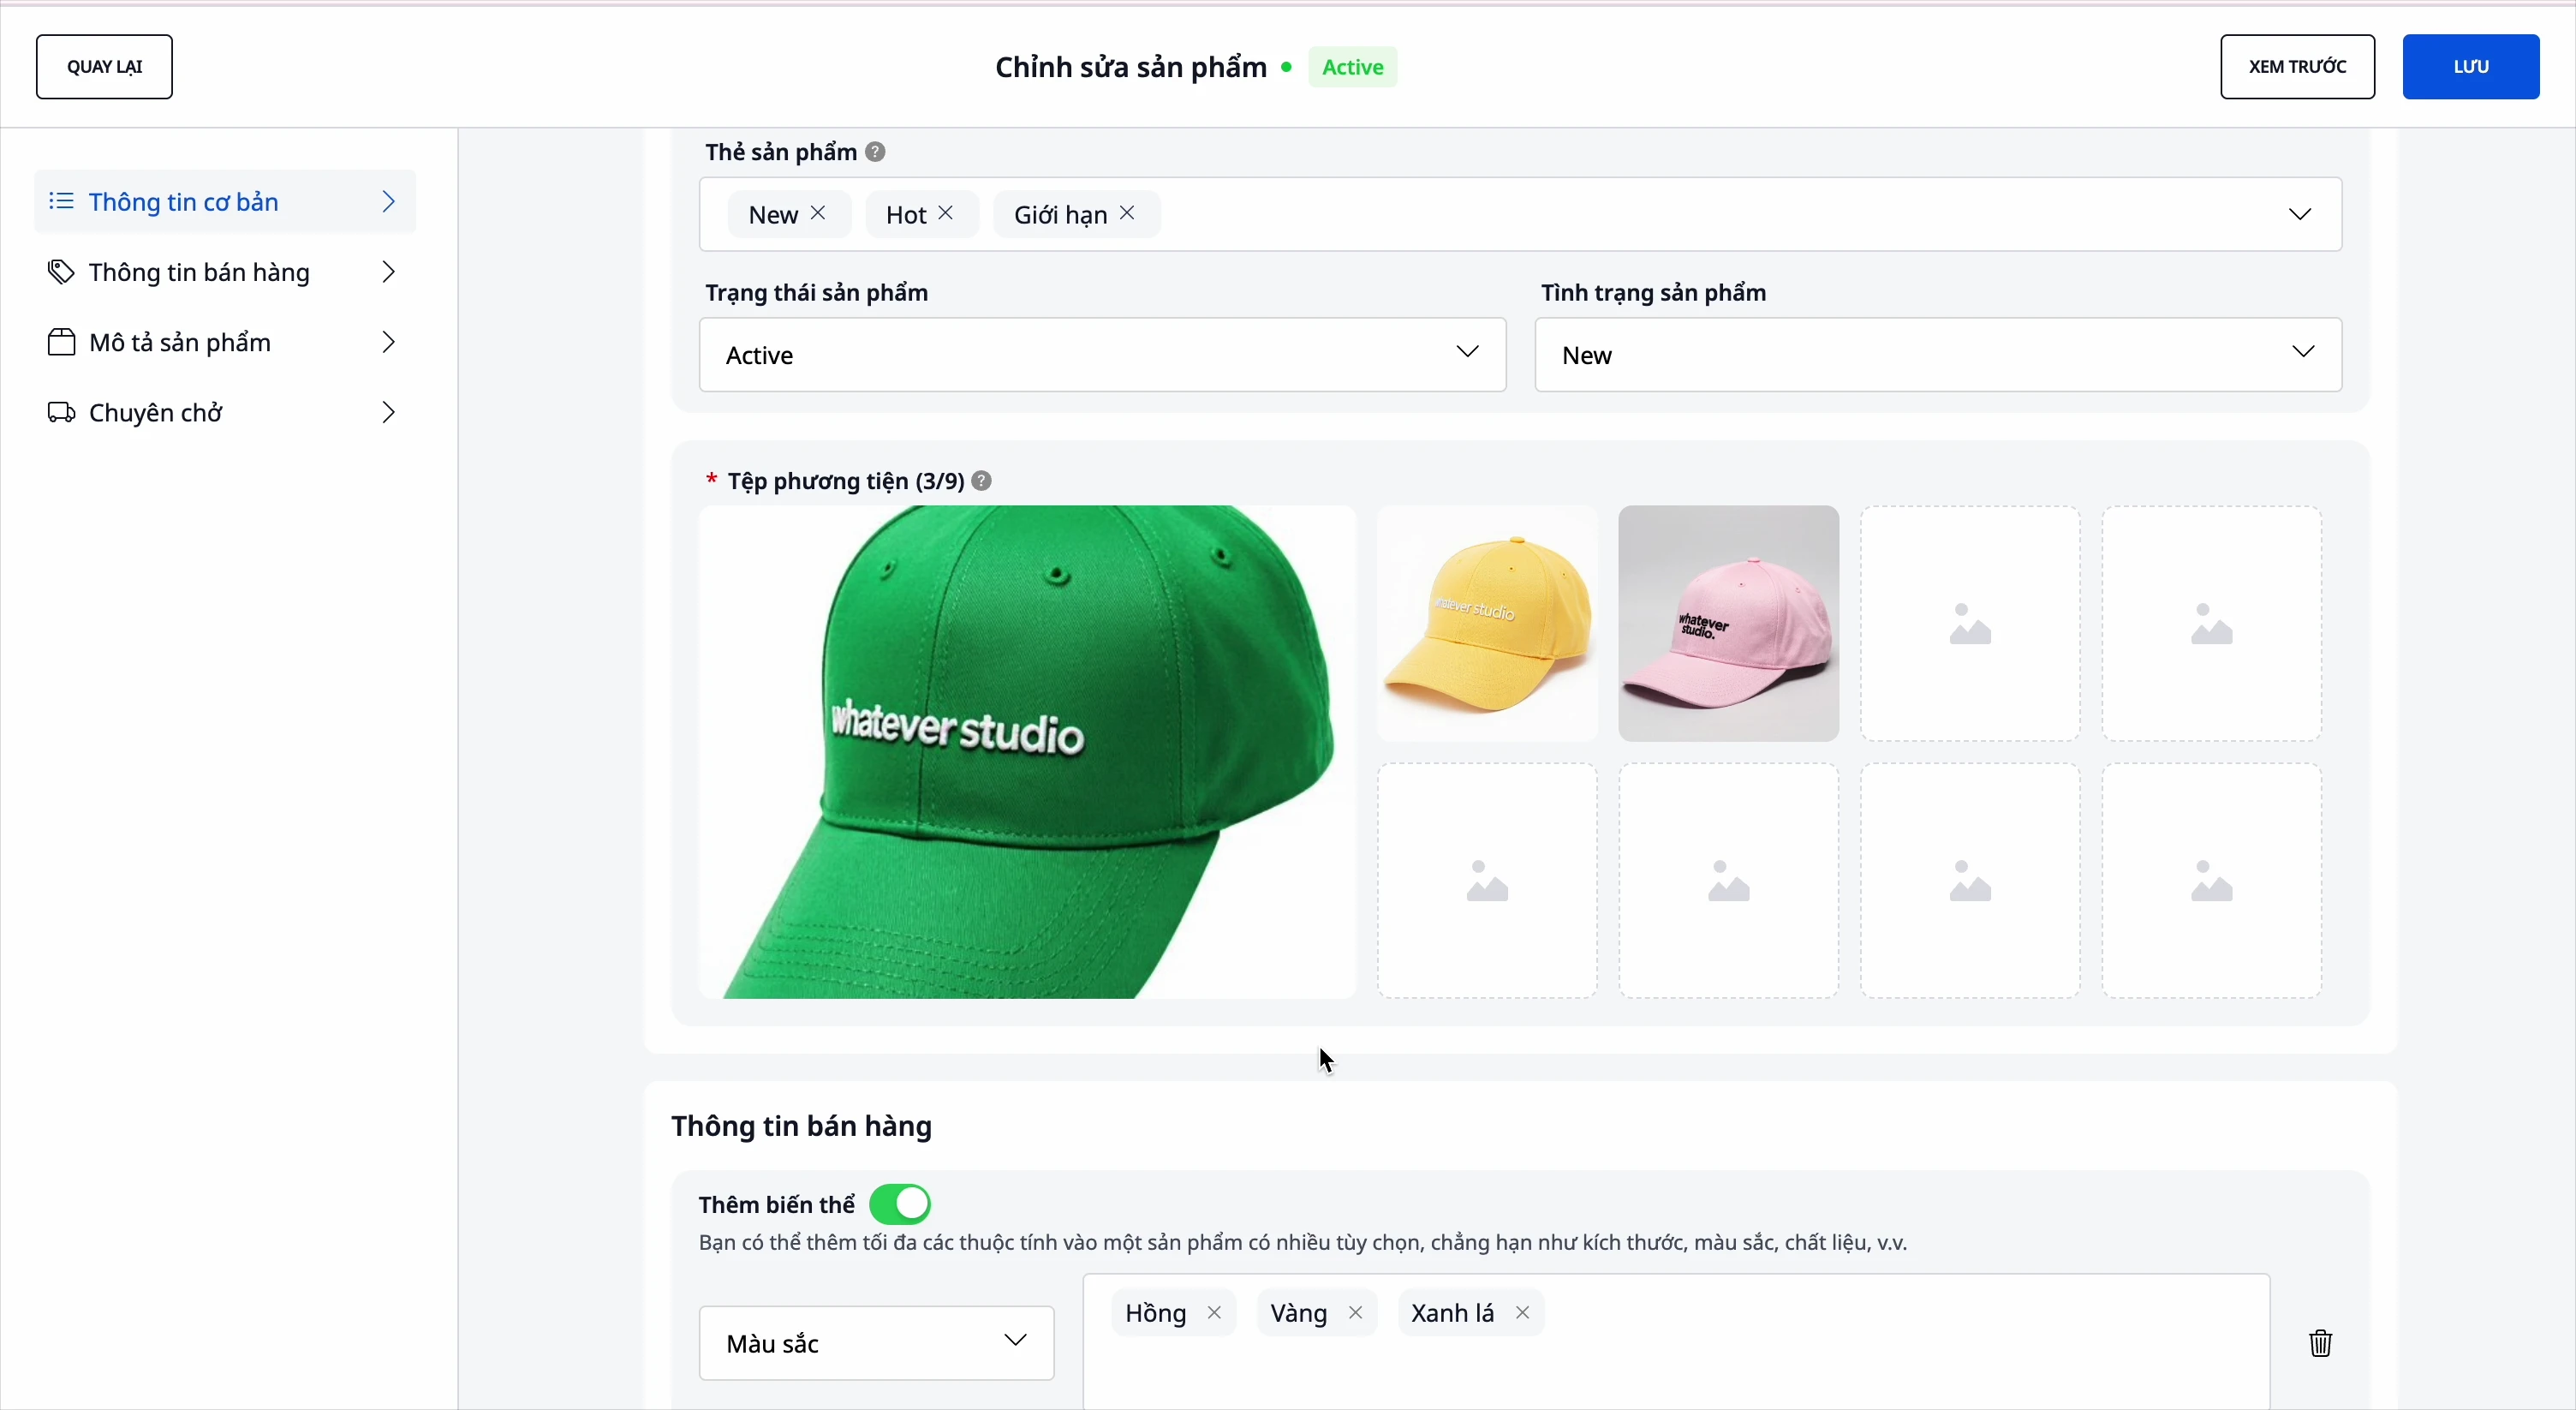
Step 4: Add Variants
Add variations by attribute (up to 3 attributes):

- Colors - Pink, Yellow, Green...
- Sizes - S, M, L, XL...
- Style - Classic, Modern...
- Materials - Cotton, Polyester...
Step 5: Configure Pricing for Each Variant
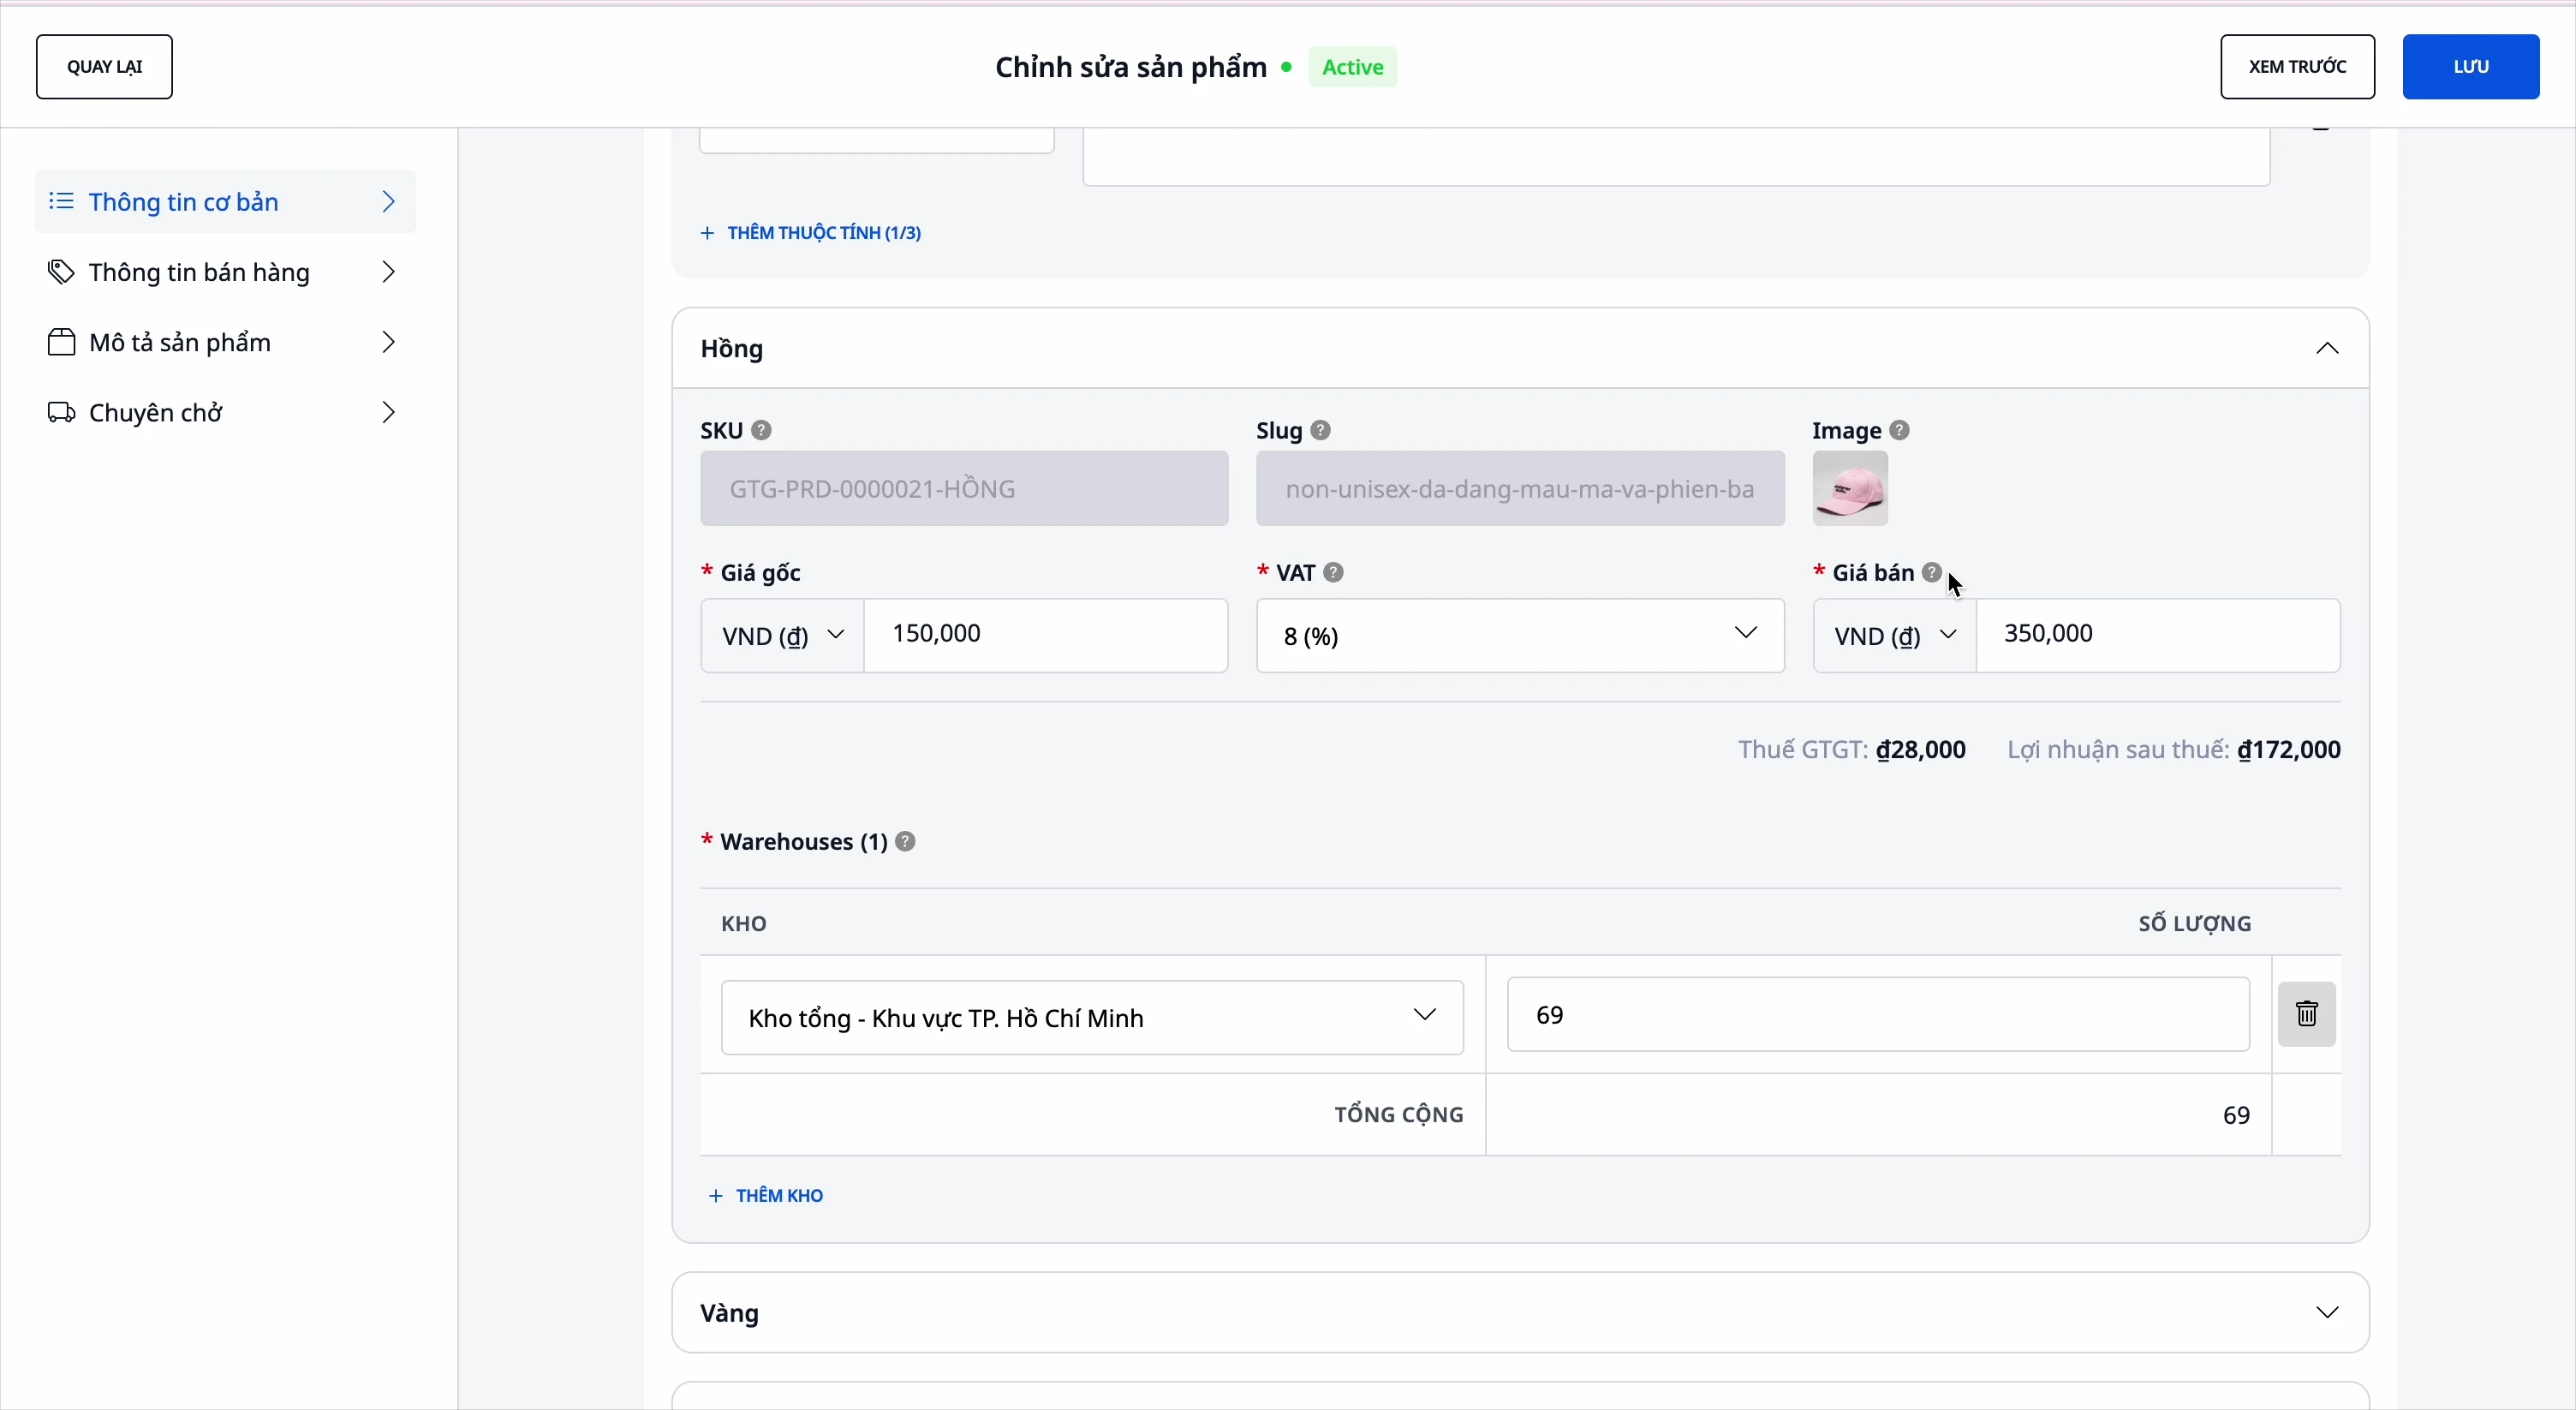
| School | Describe |
|---|---|
| Original price | The price of a product (cost) |
| VAT | Value Added Tax (%) |
| Selling price | Prices are listed on the website. |
| Profit | Automatic calculation = Selling price - Original price - VAT |
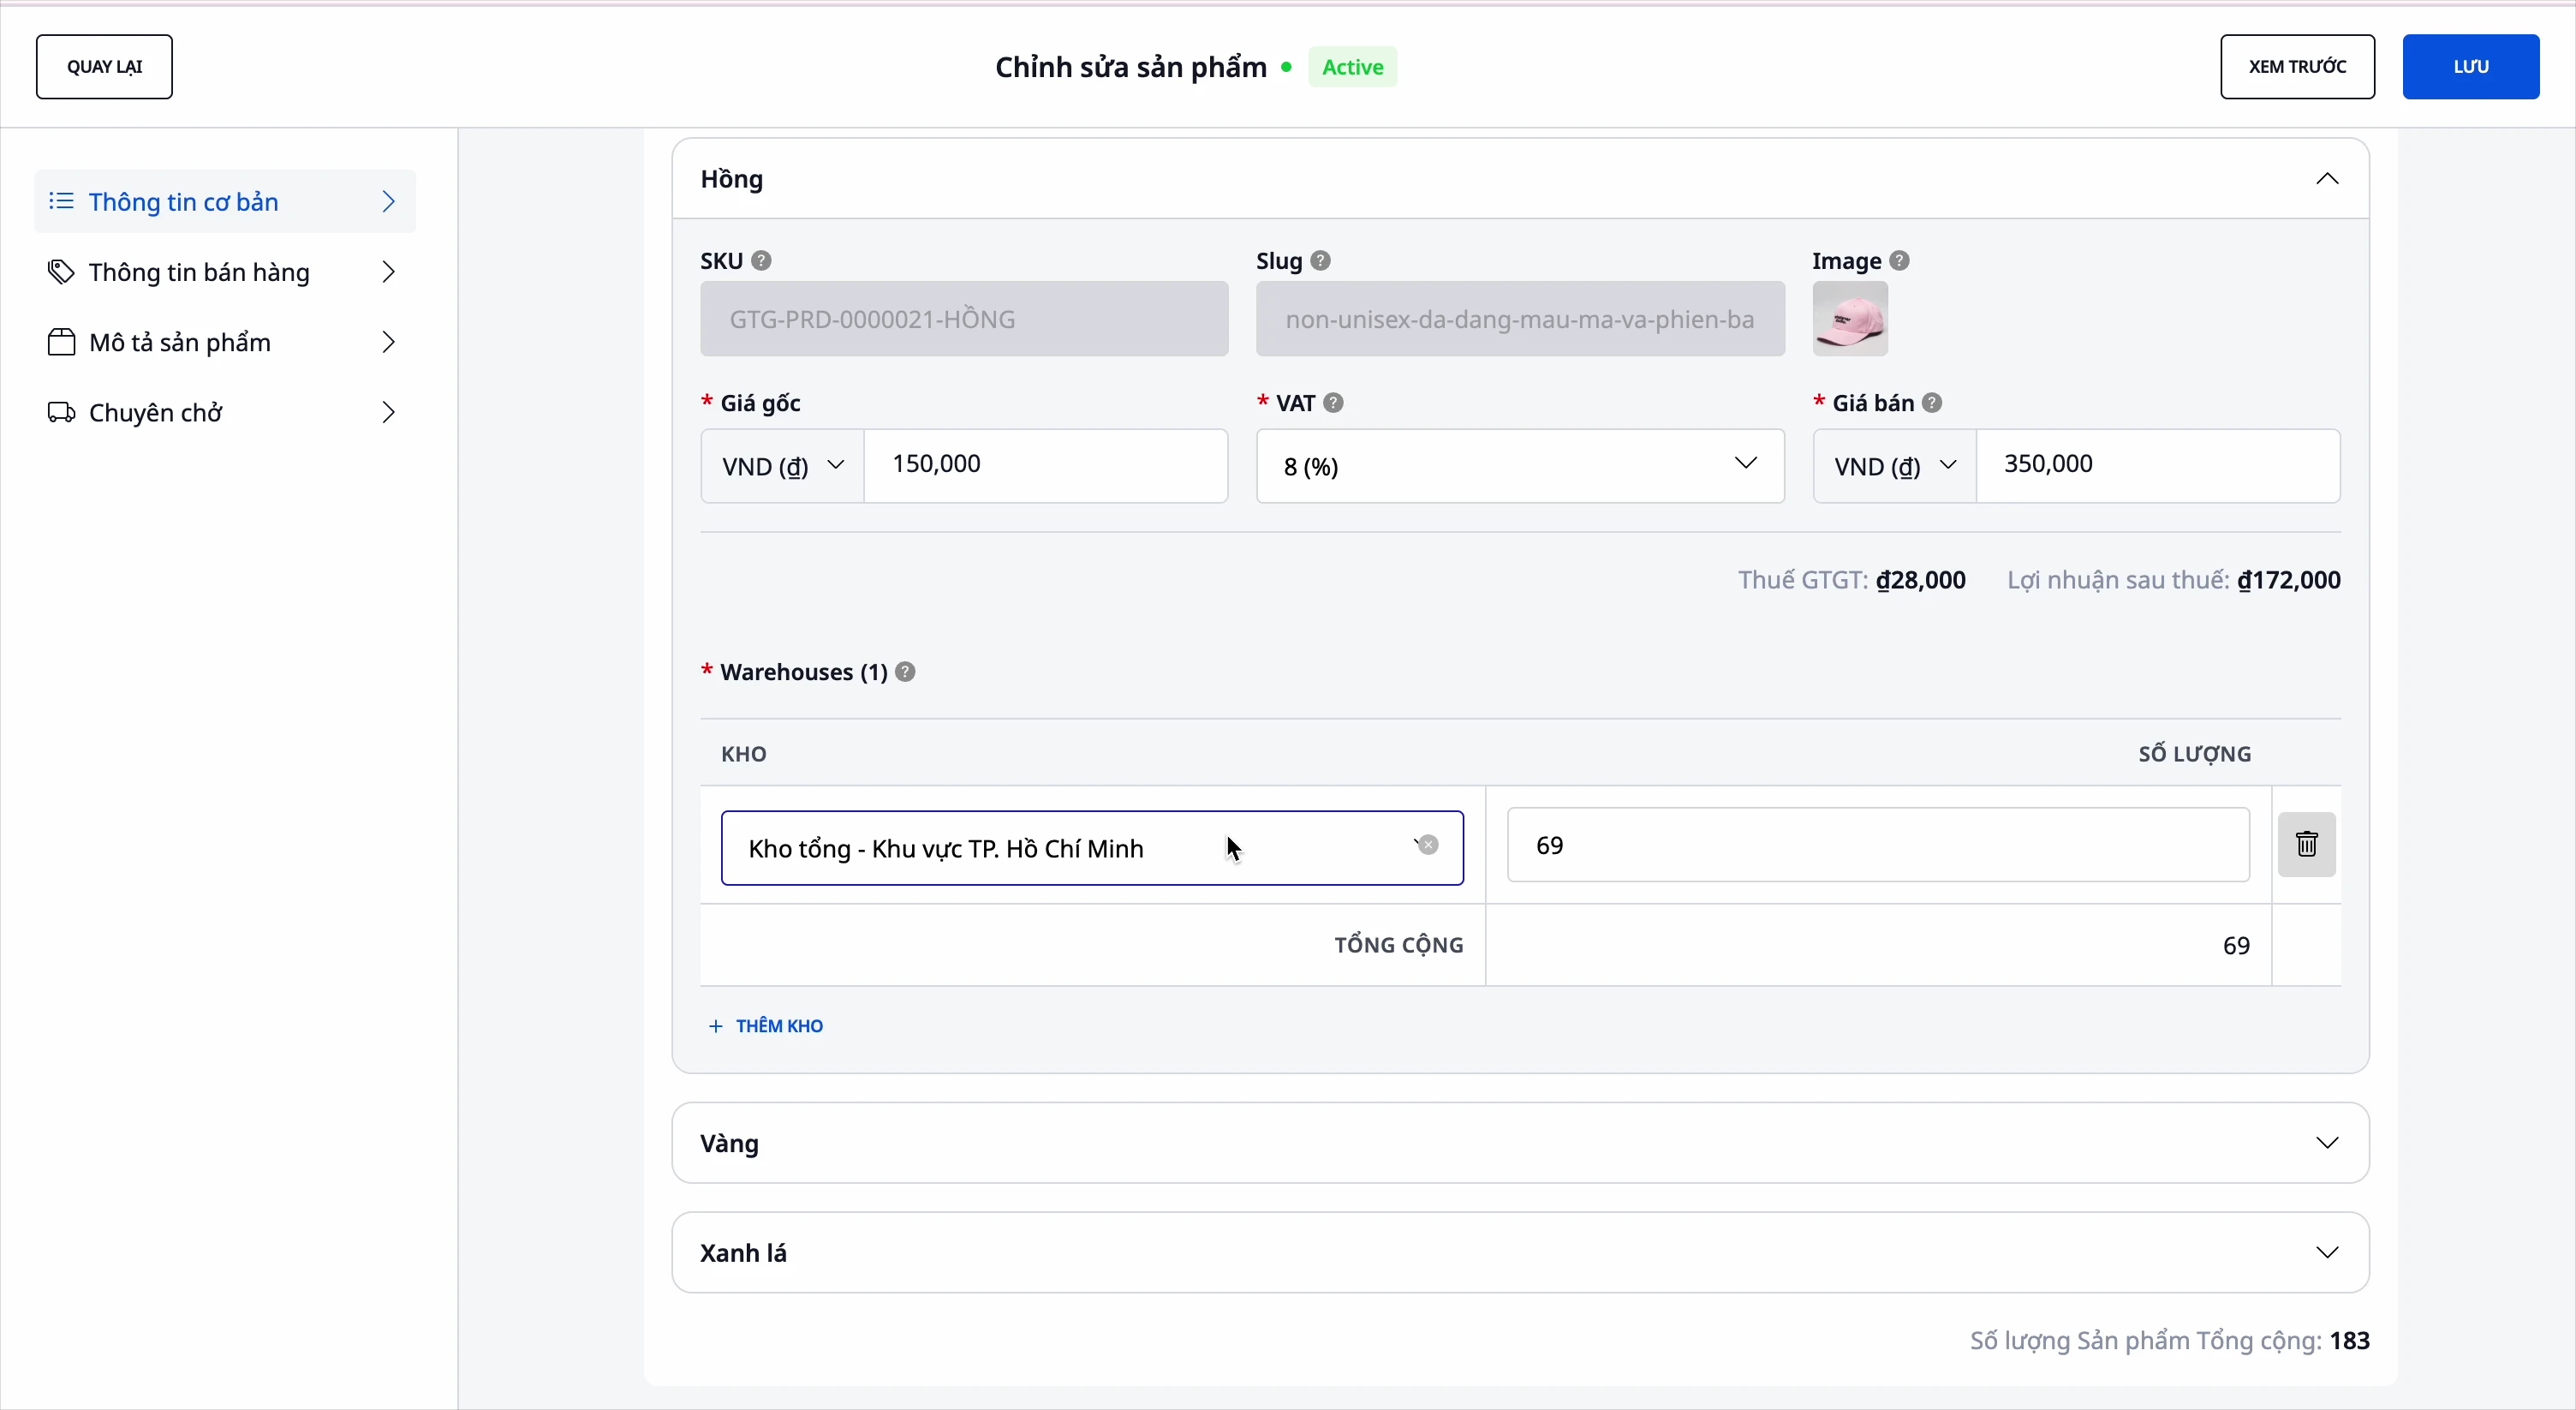
Step 6: Select Warehouse
Assign the product to the warehouse and enter the quantity:
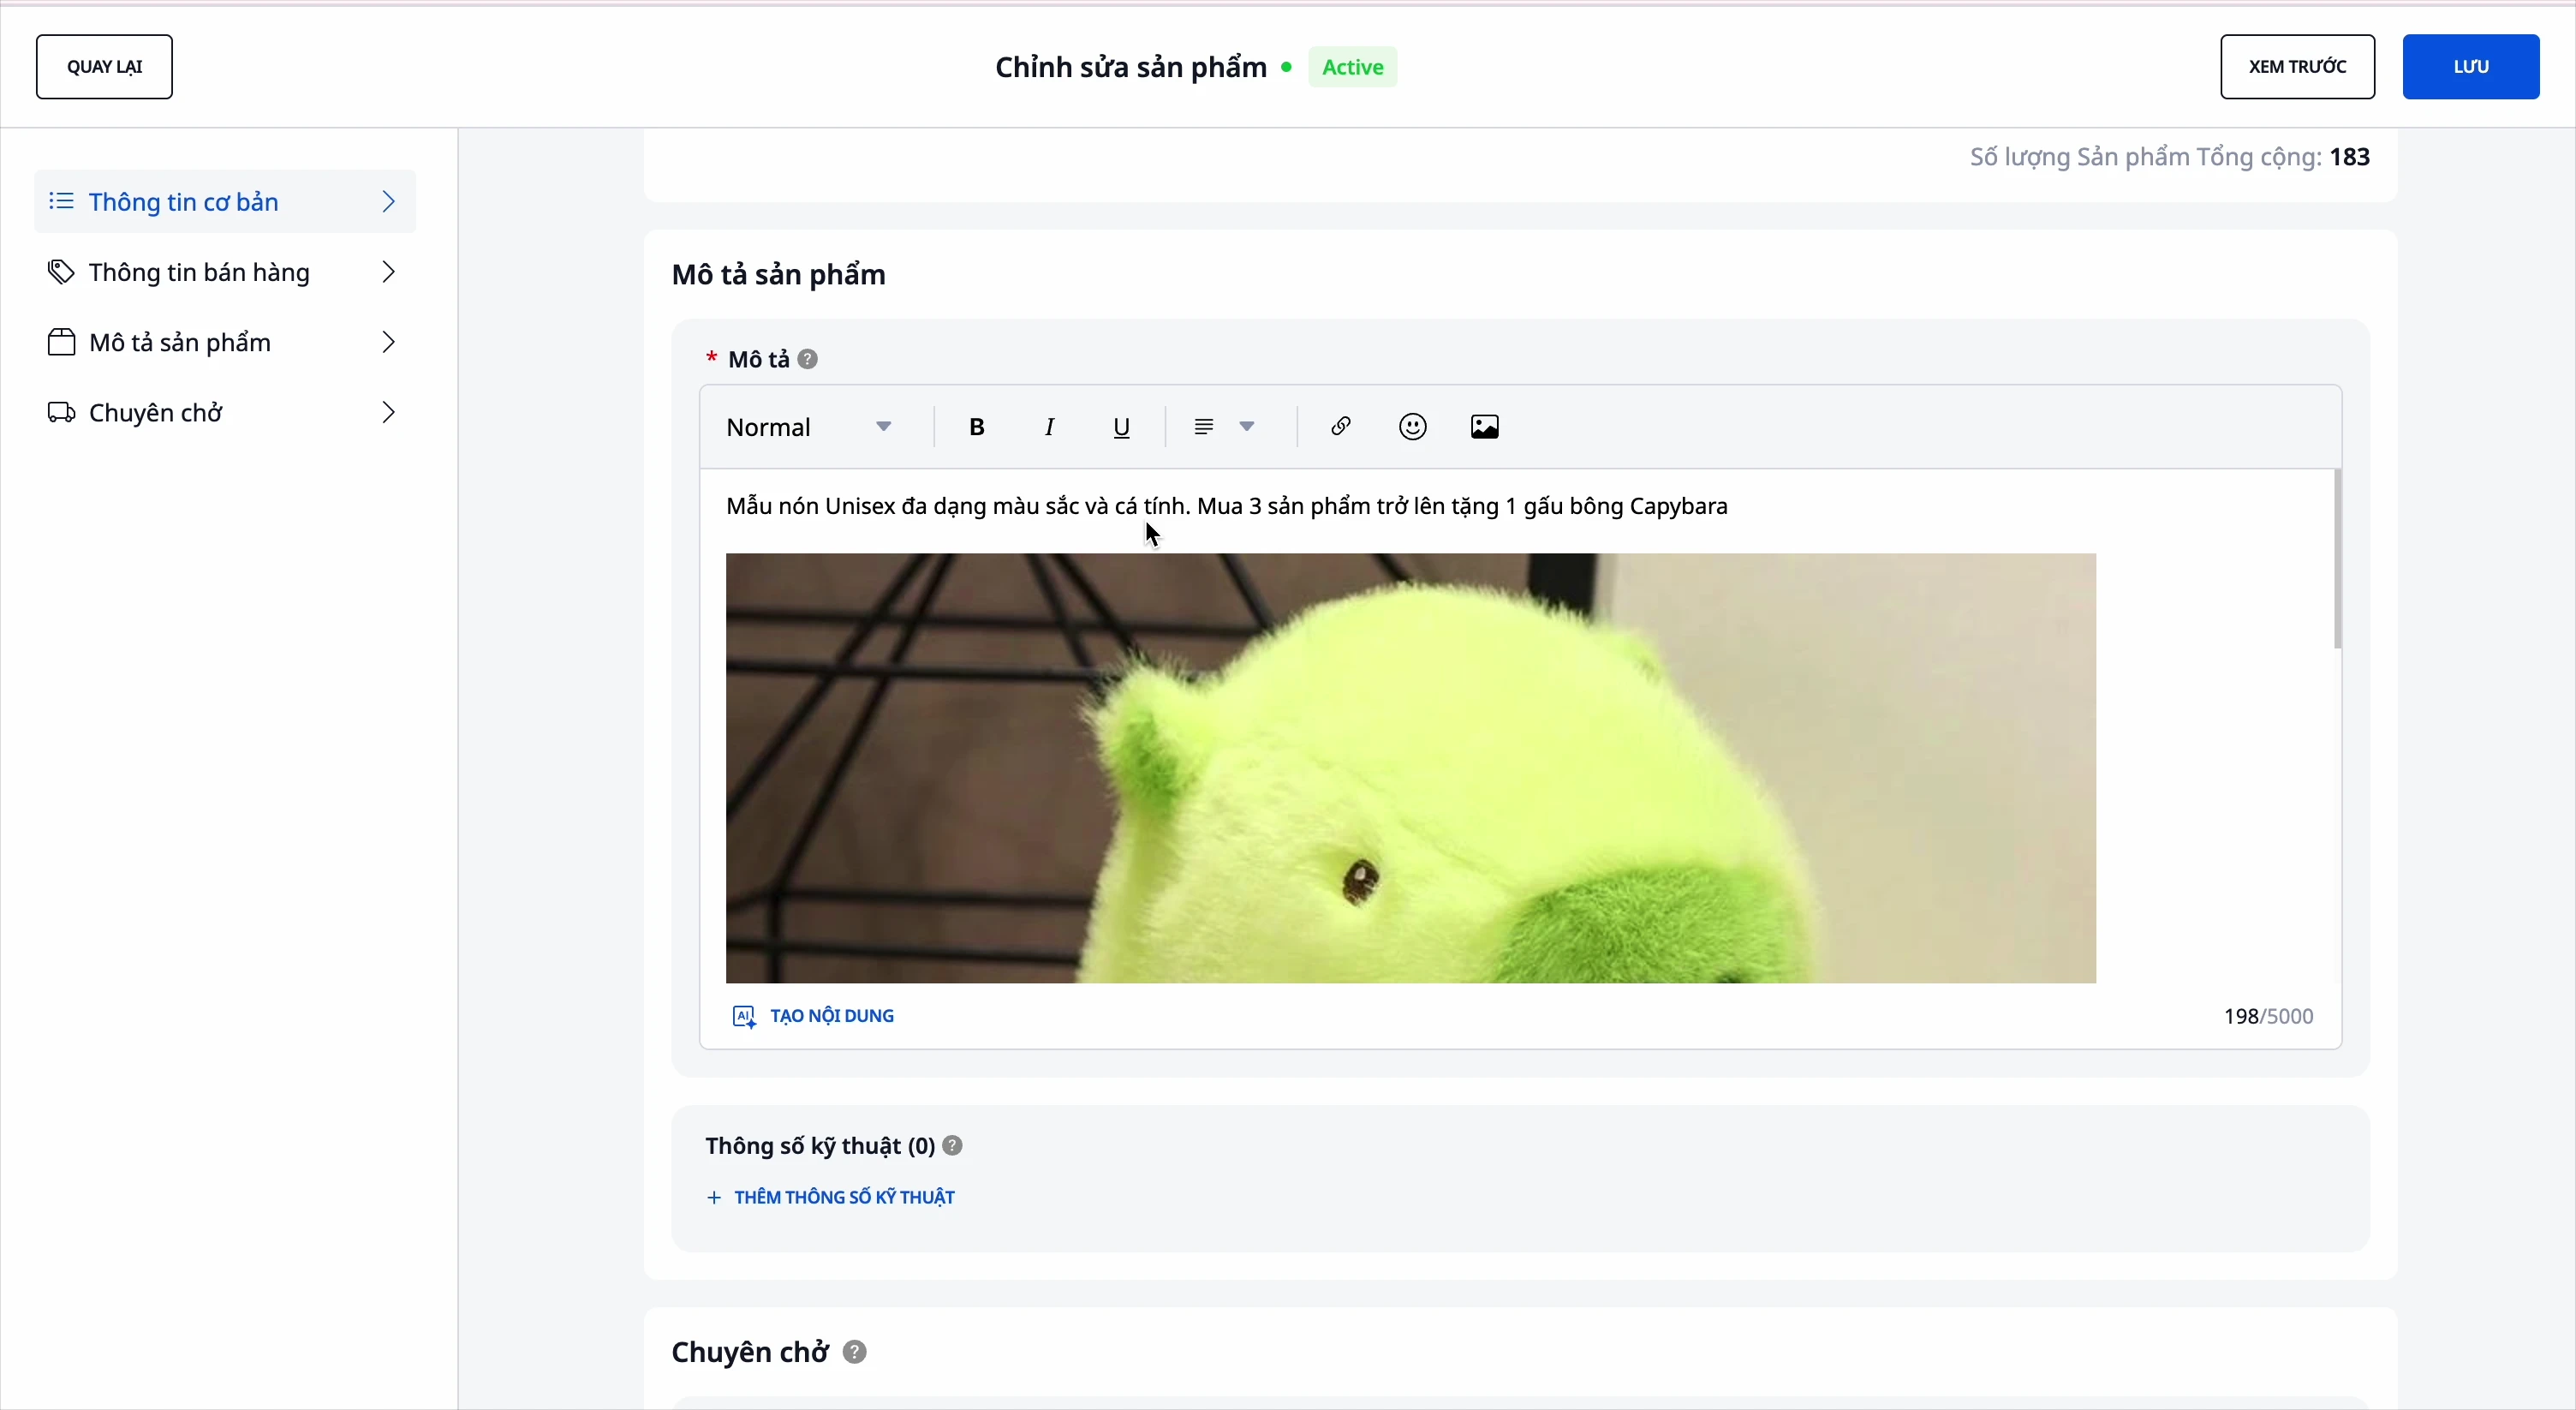
Step 7: Enter the product description
Detailed product description:
Step 8: Add Specifications (if needed)
For electronic products, laptops, phones, etc.:
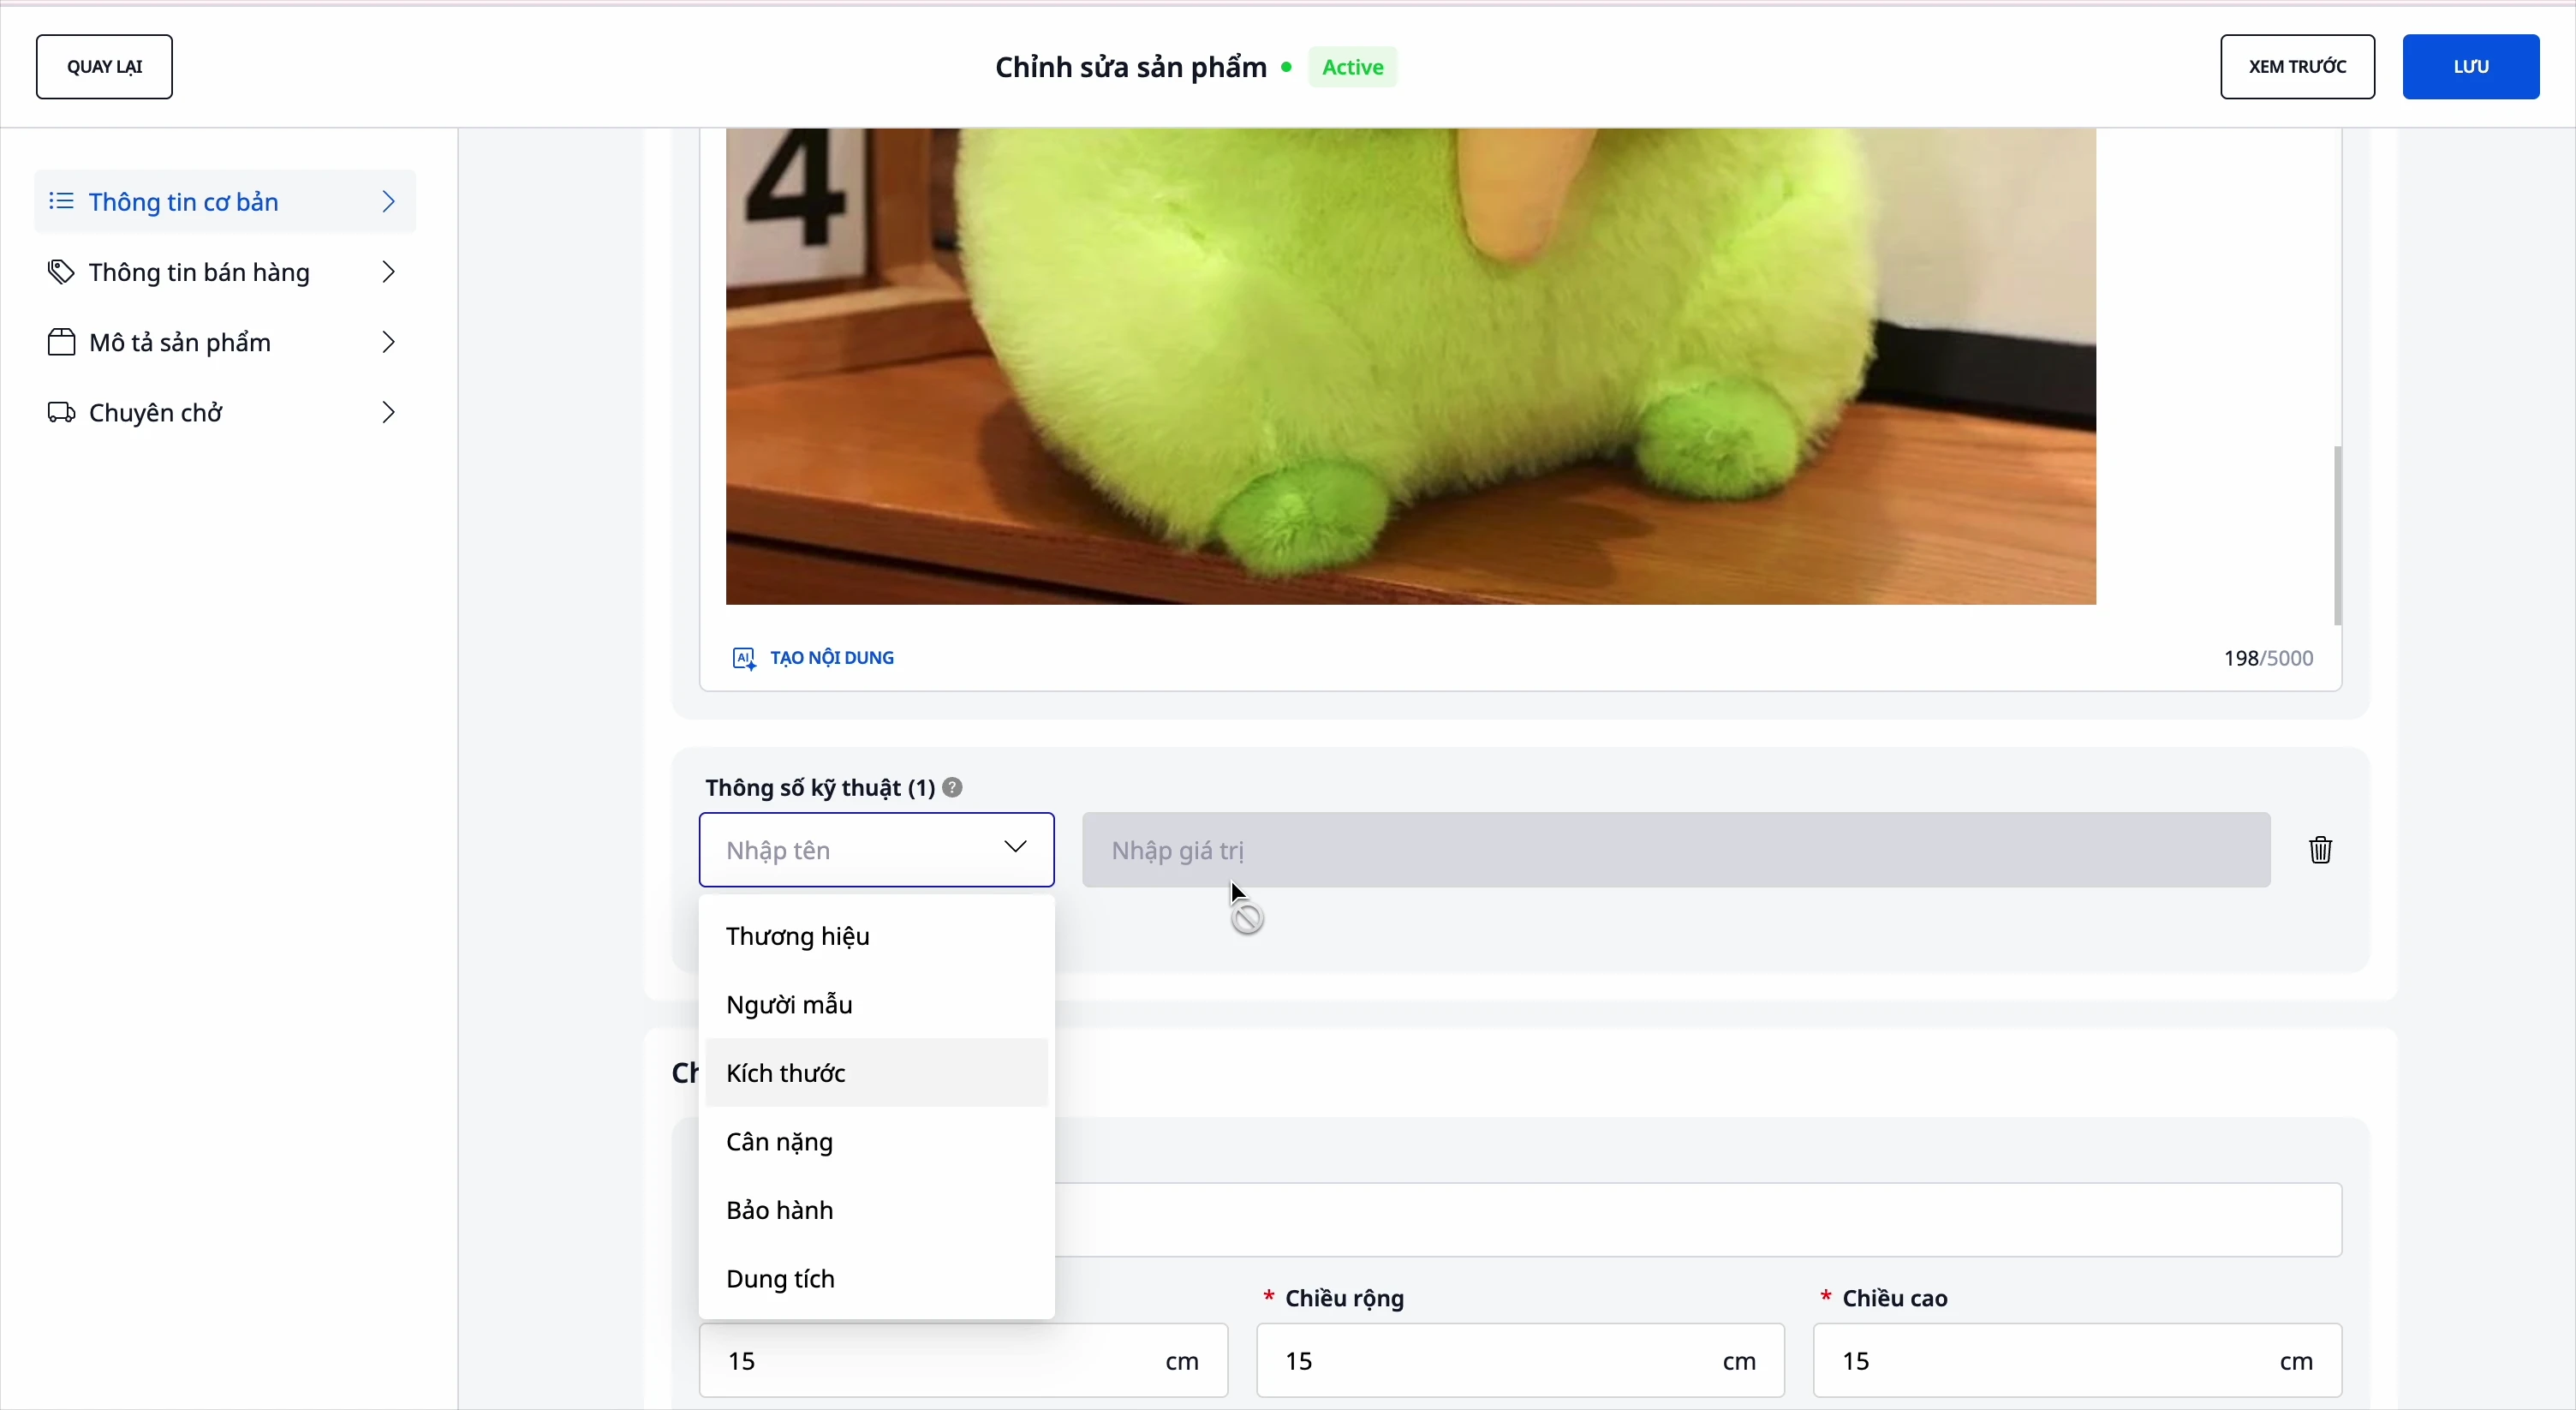
- Size
- Guarantee
- Capacity
- Package weight
- Length, width, height
Step 9: Create the product
Click "Save" to complete.
Preview the product
After creating the product, click "Preview" to view it on the website:
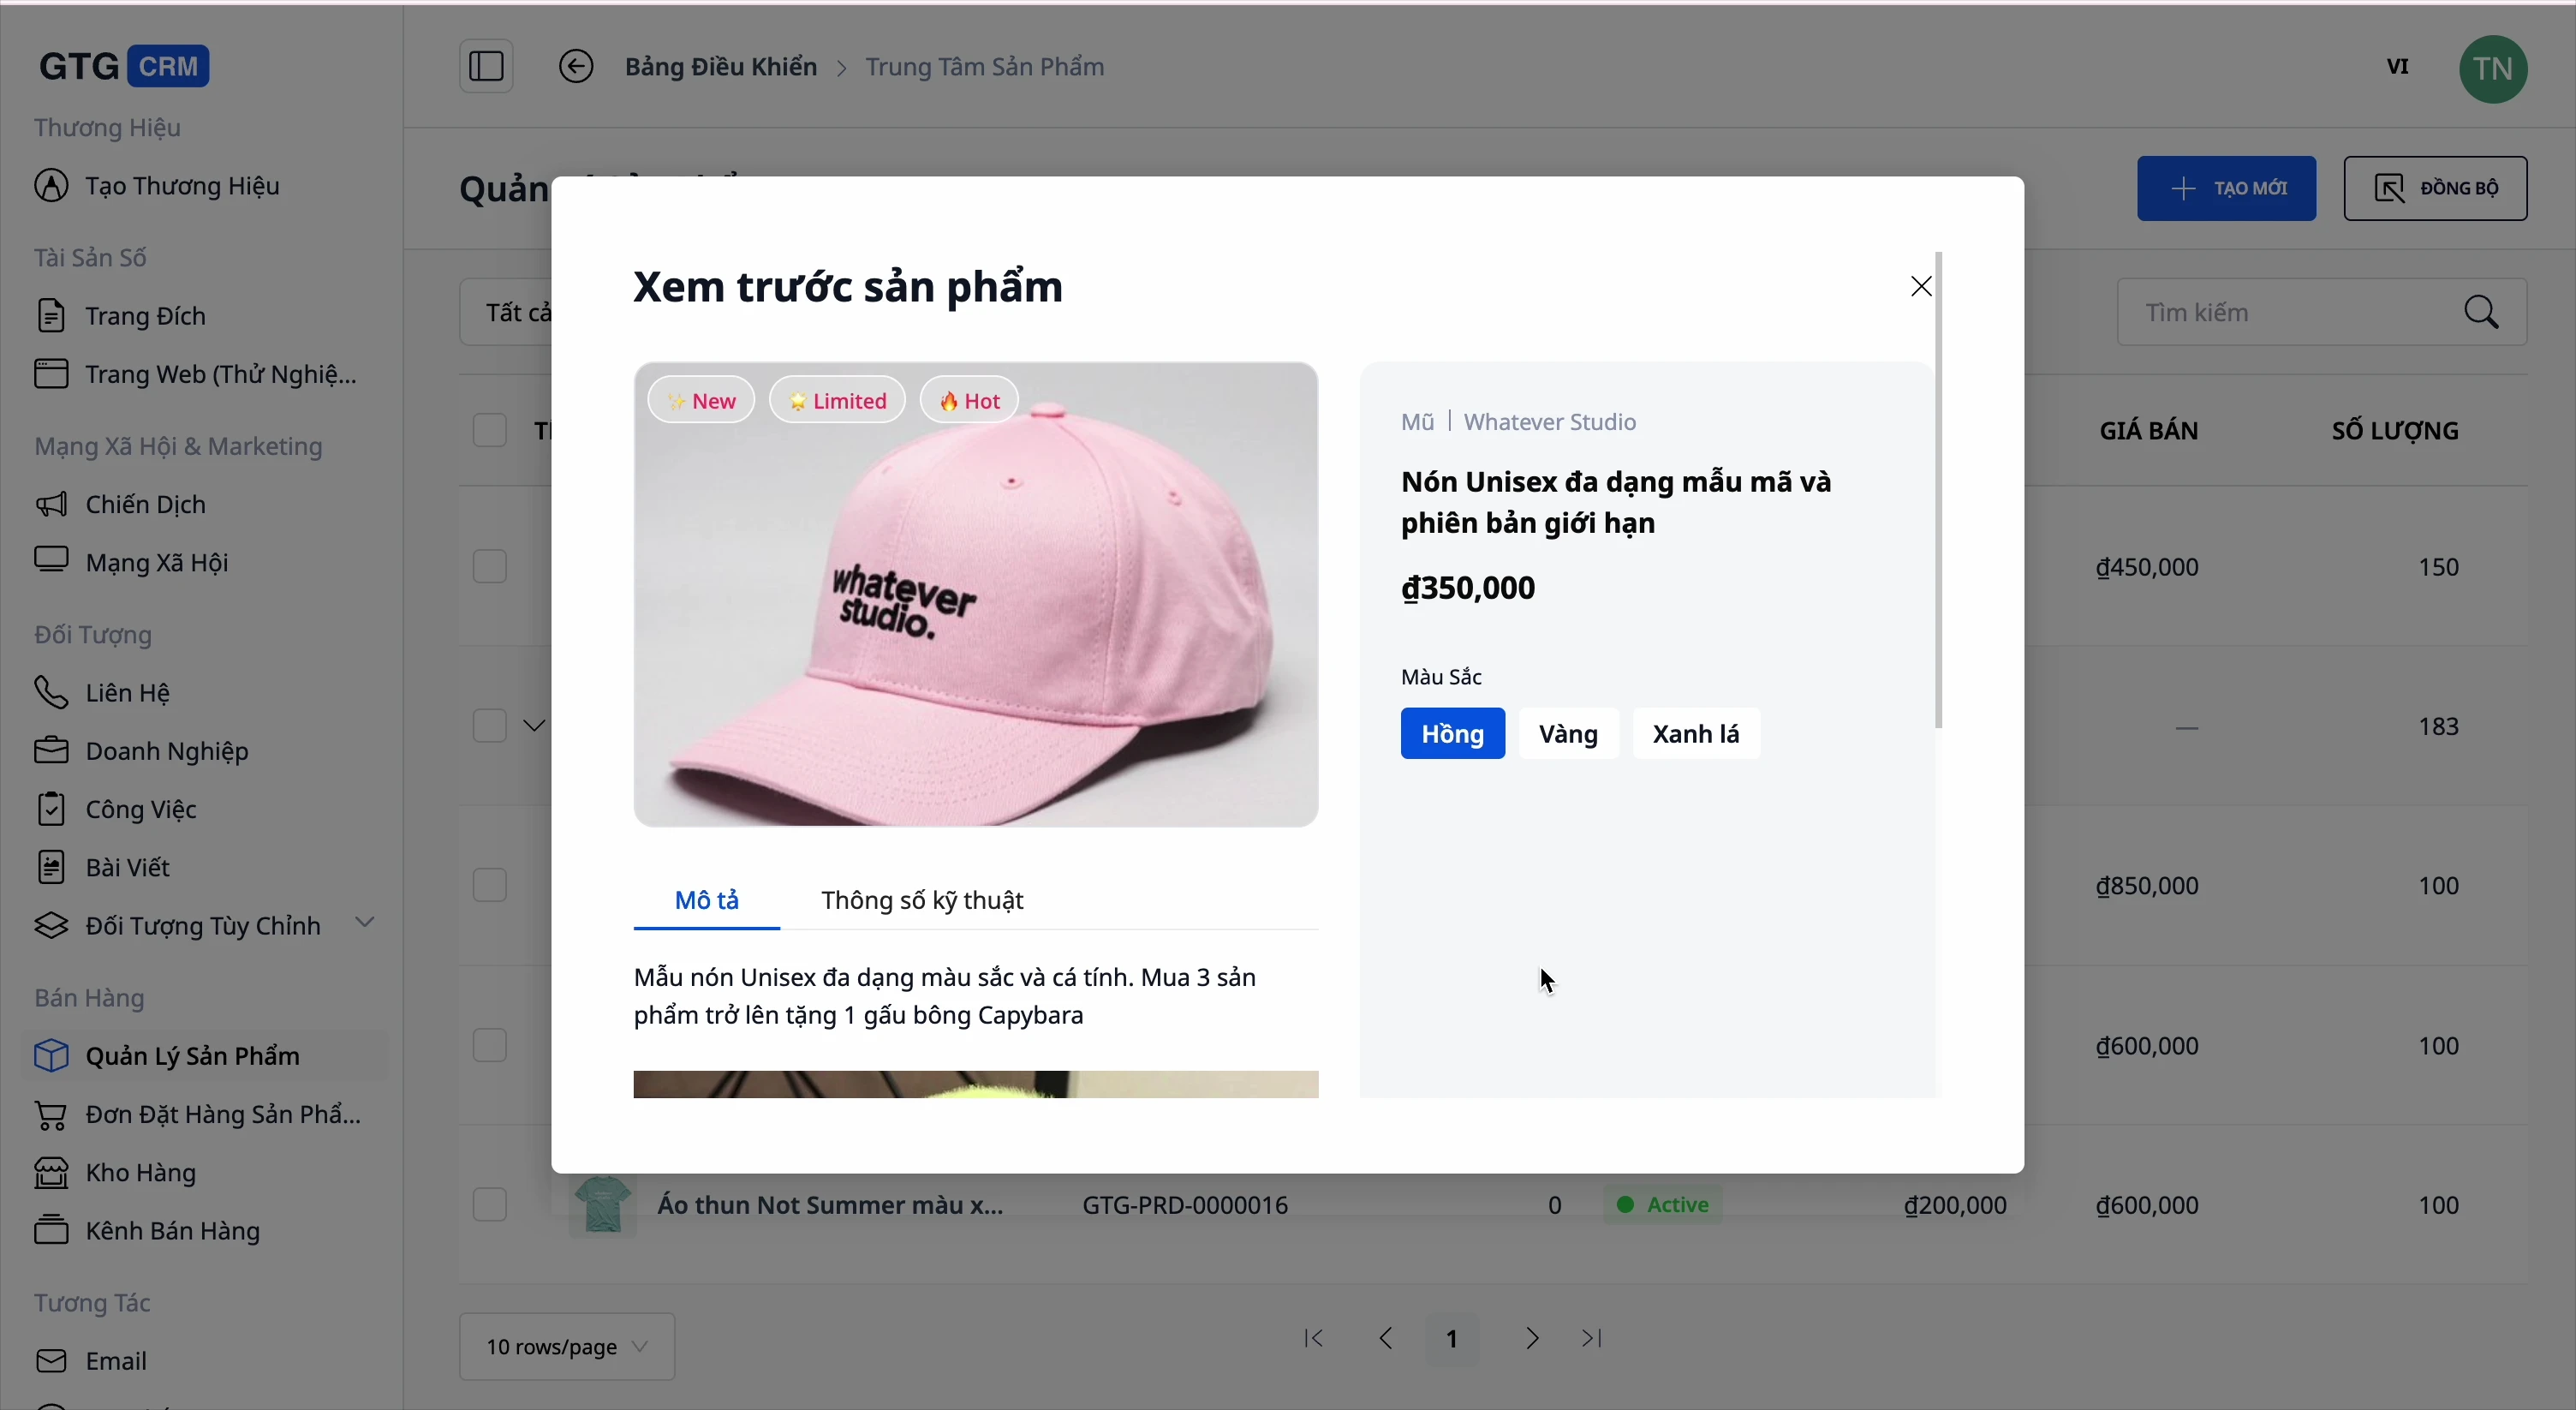
- Display tabs (New, Hot...)
- Product name
- Price
- Variations (color, size)
- Describe
Edit Product
Click on the product → "Edit" to change the information:
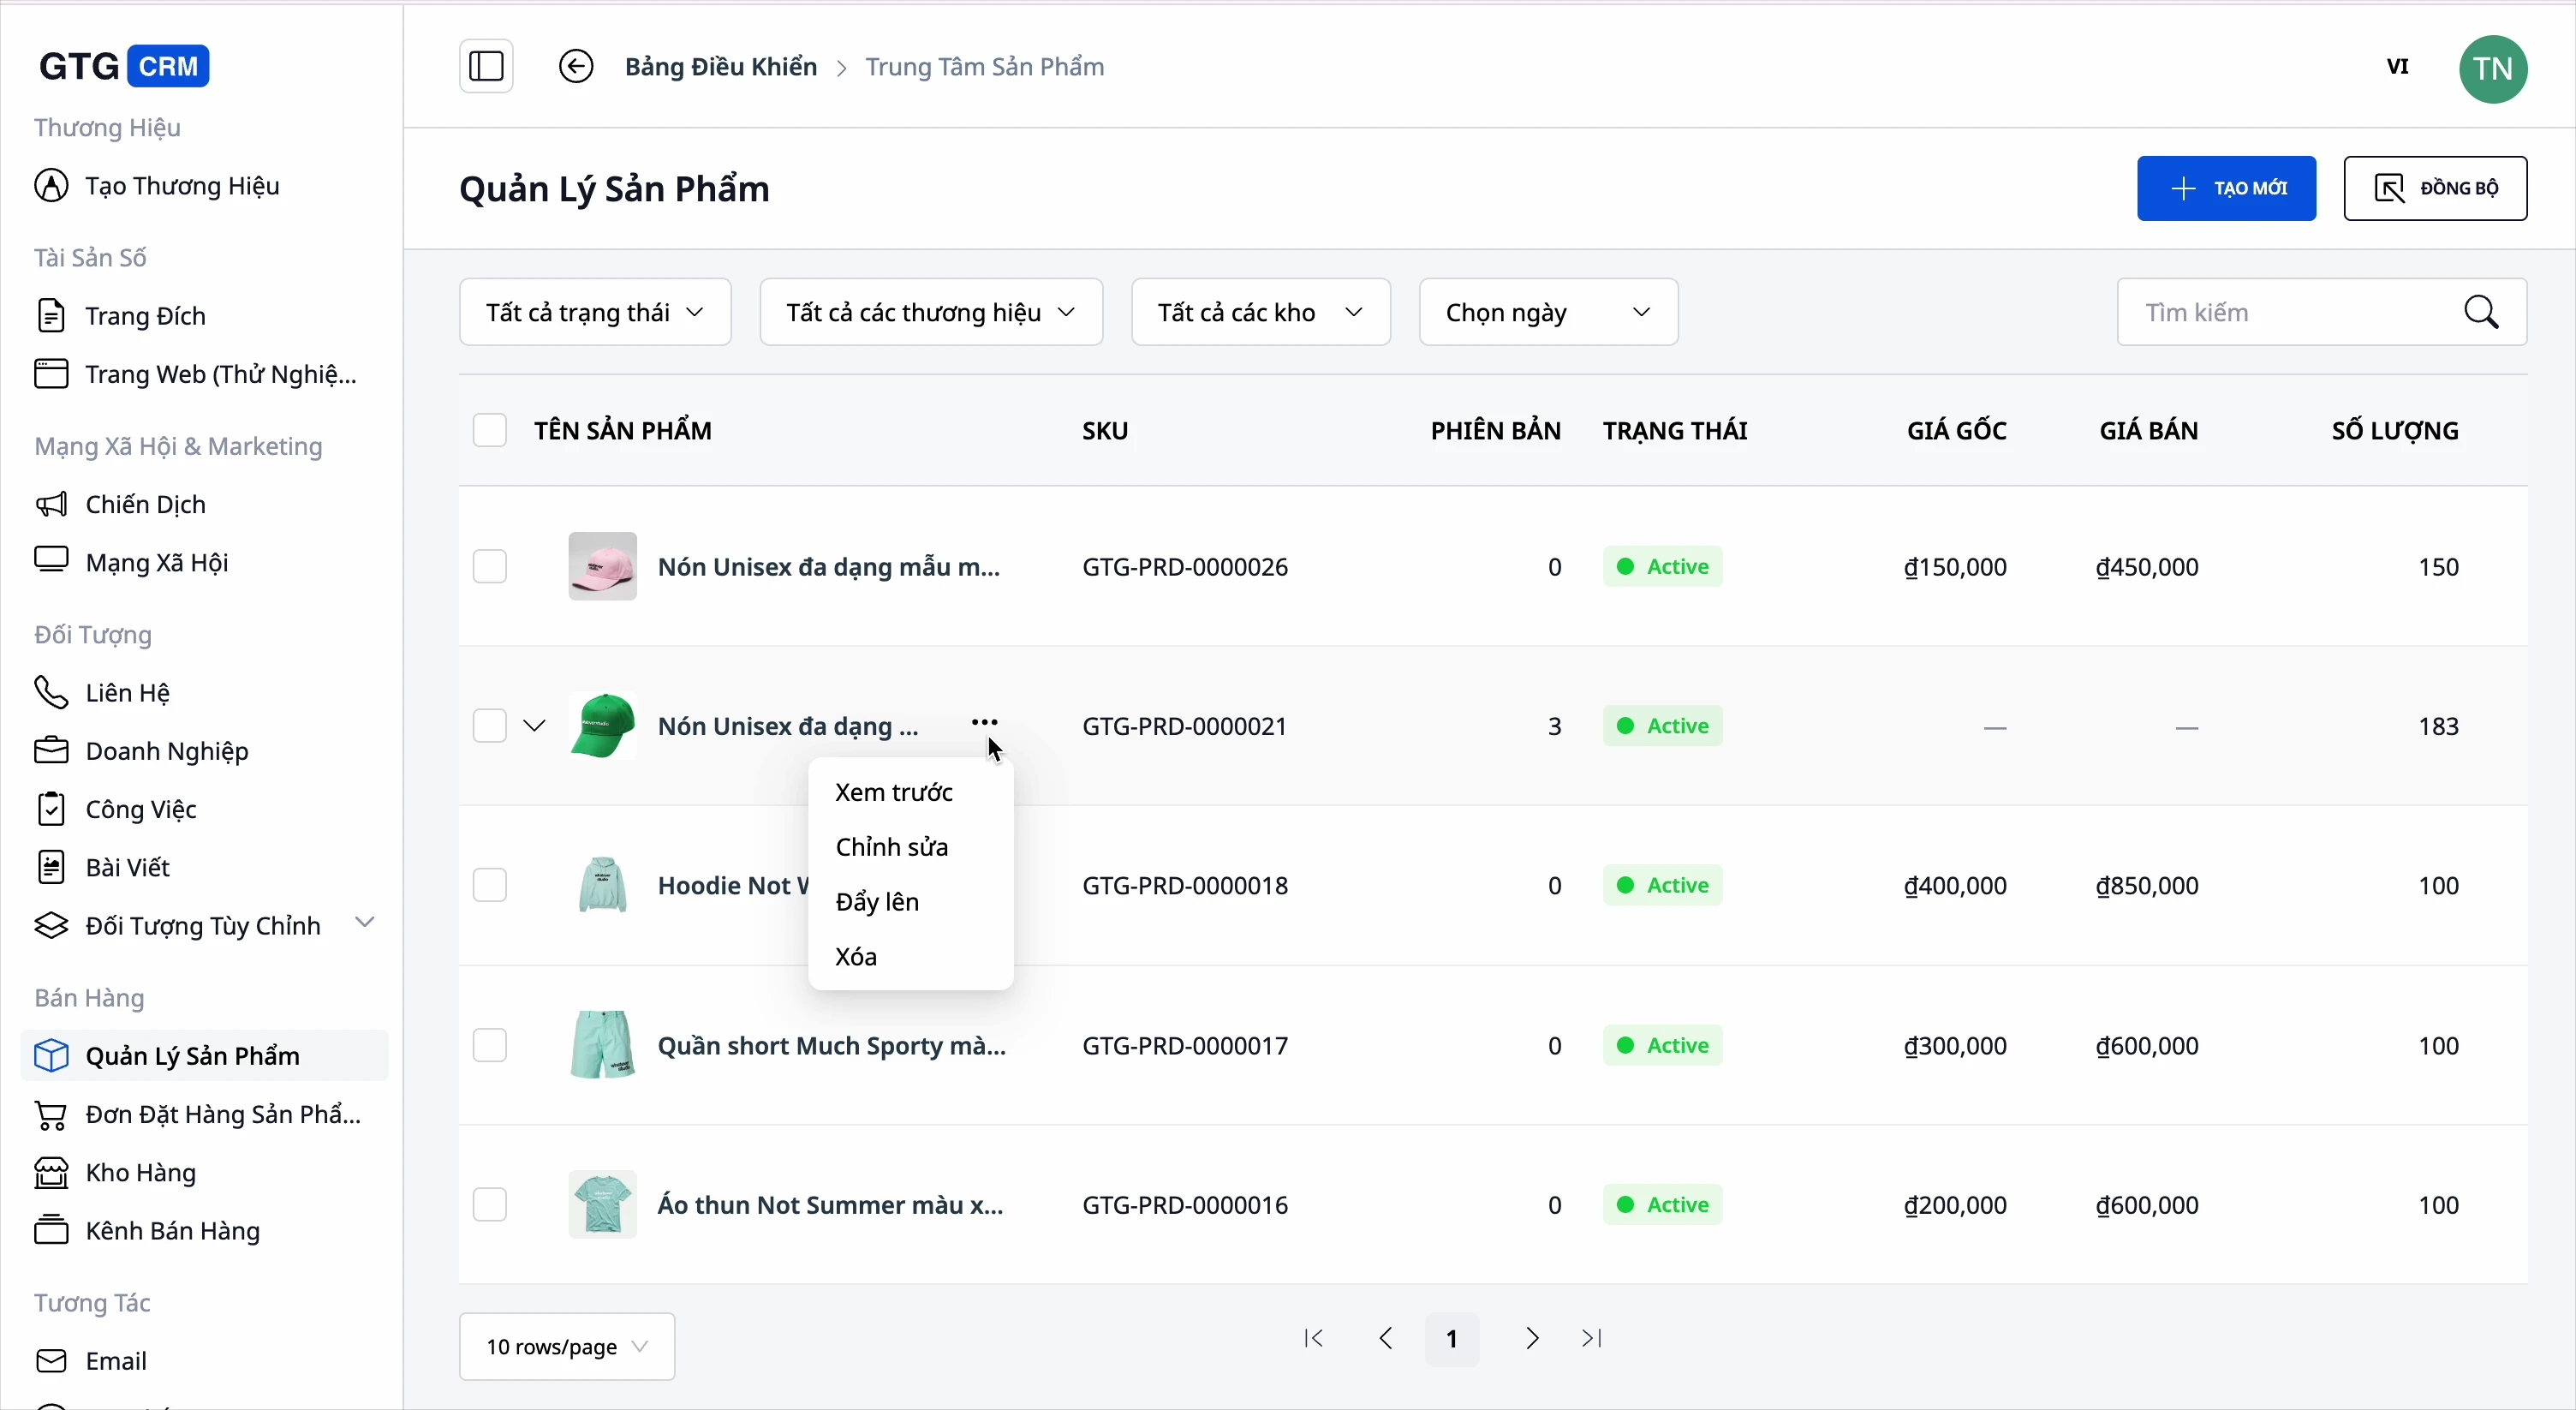
Delete Product
Click "Delete" to remove the product.
Note: When a product is removed, its inventory quantity will decrease accordingly.
3. Connecting Sales Channels
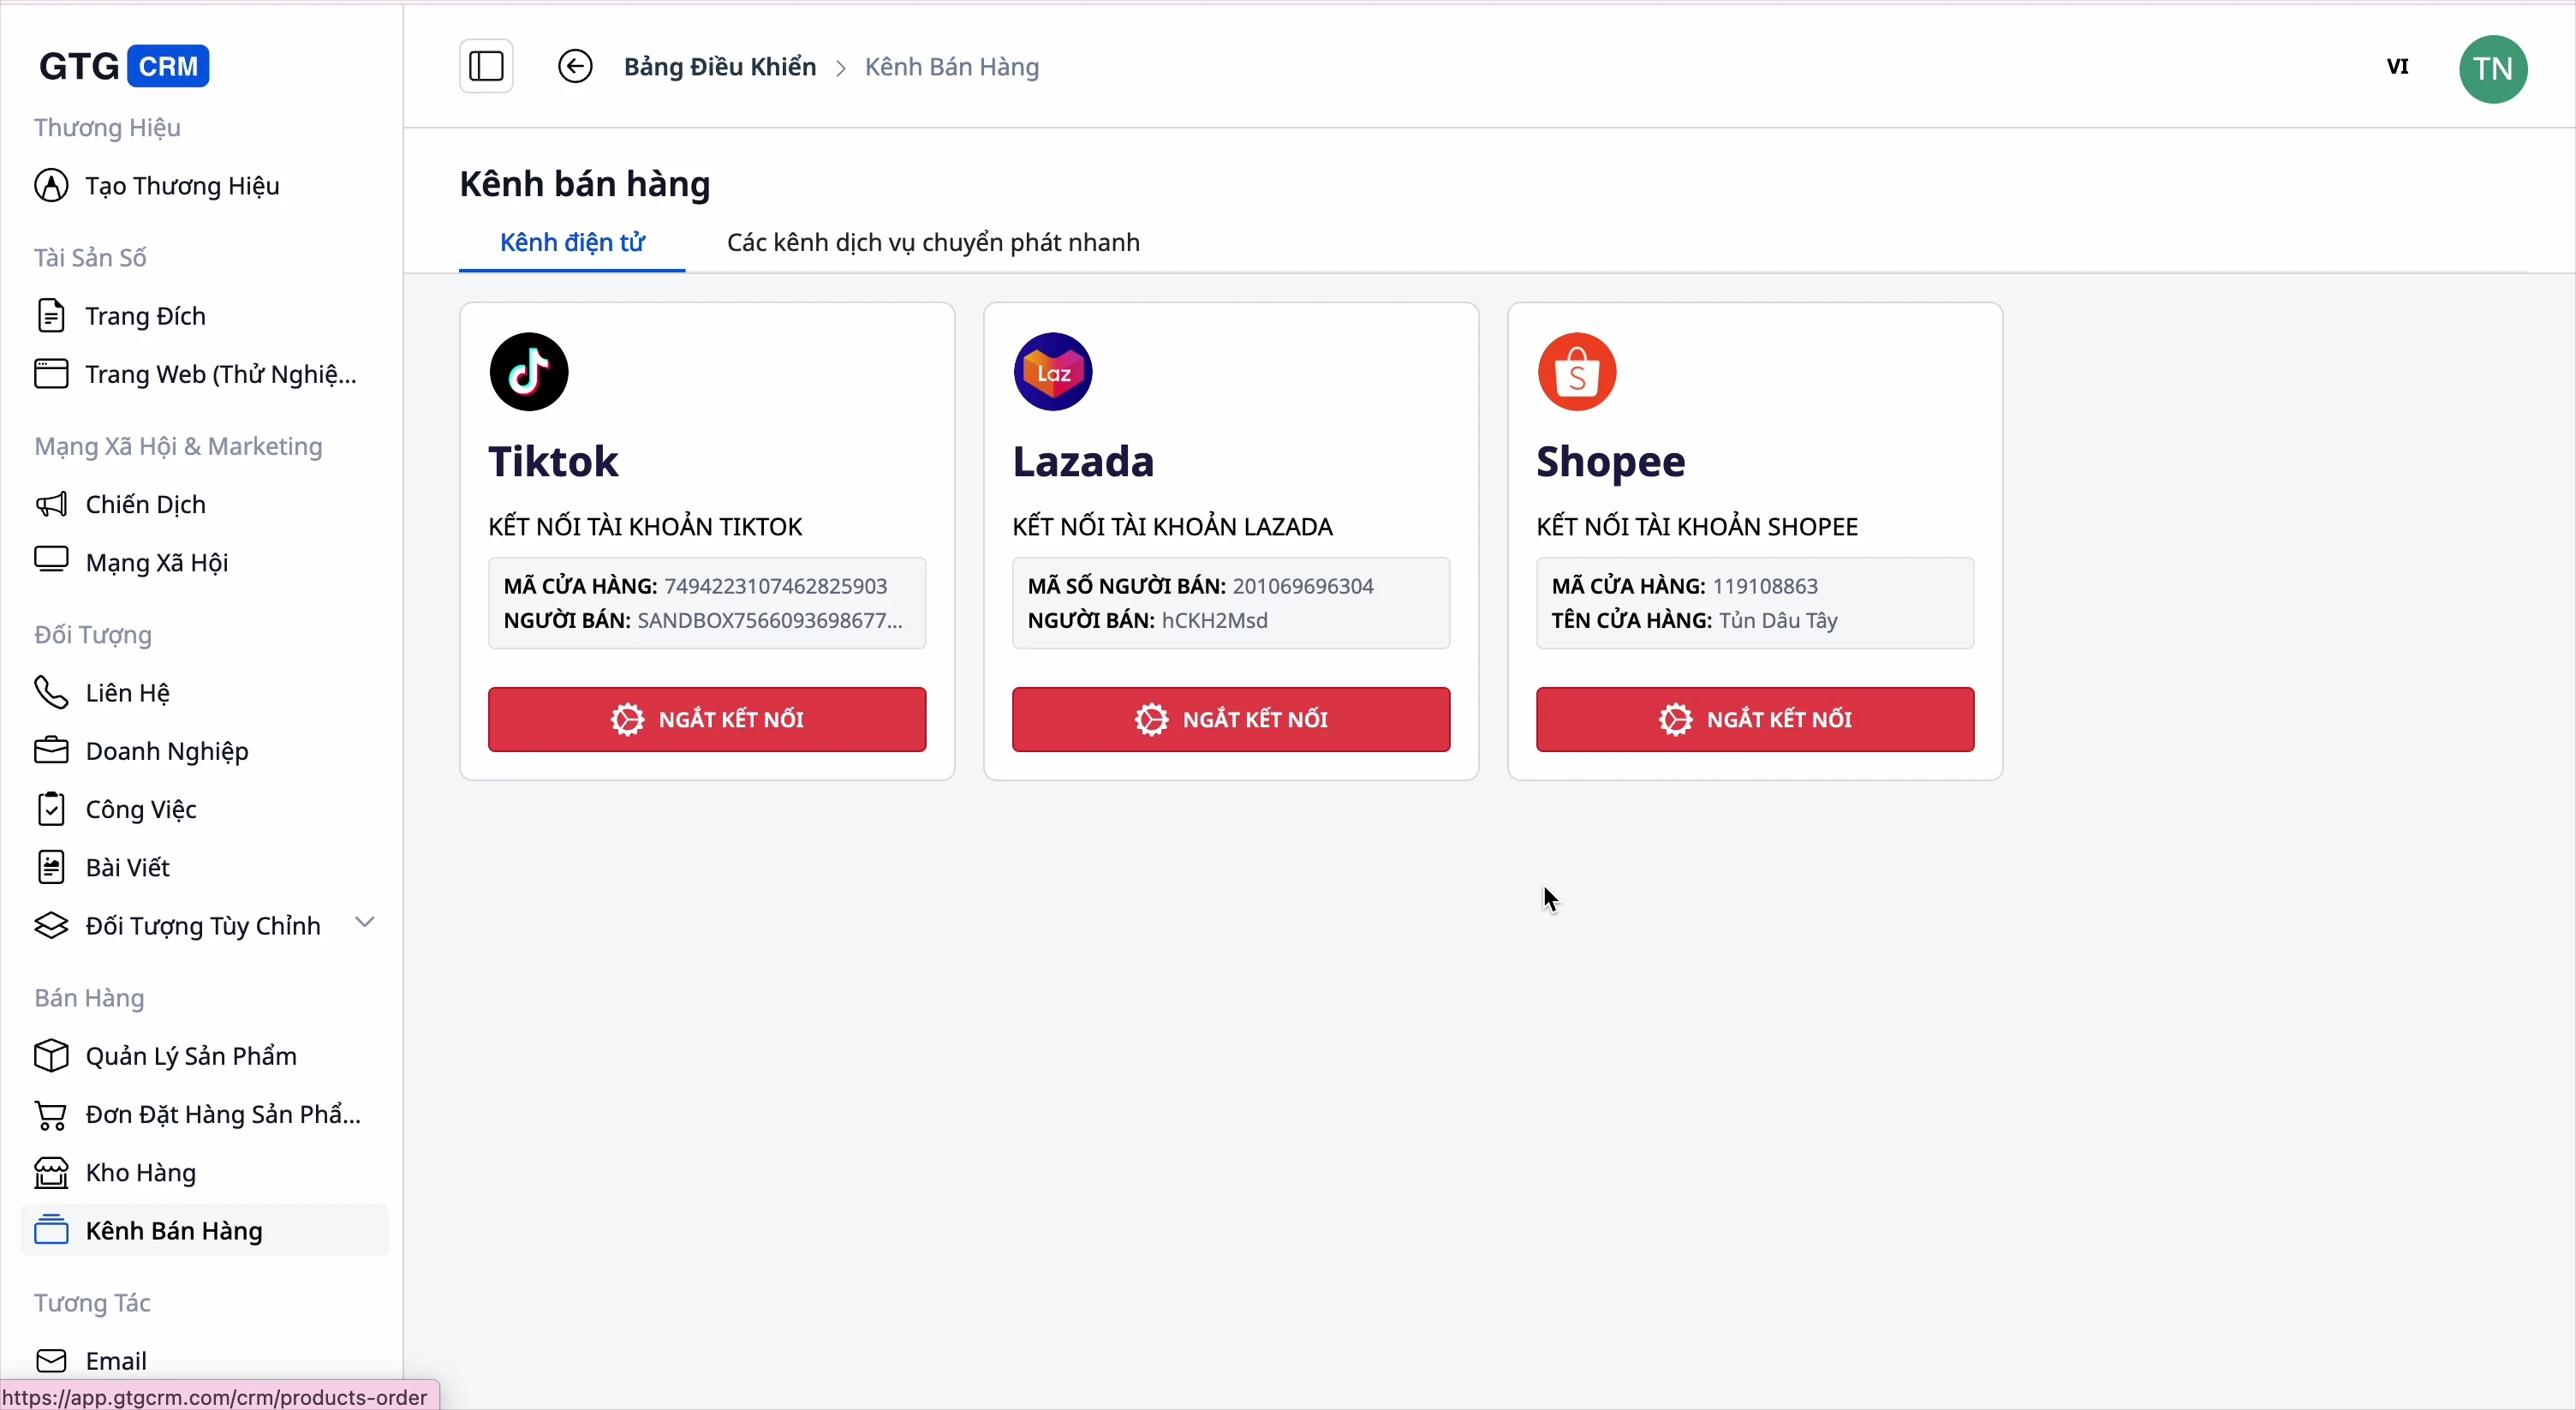
View Channel List
Go to Product Hub → Sales Channels
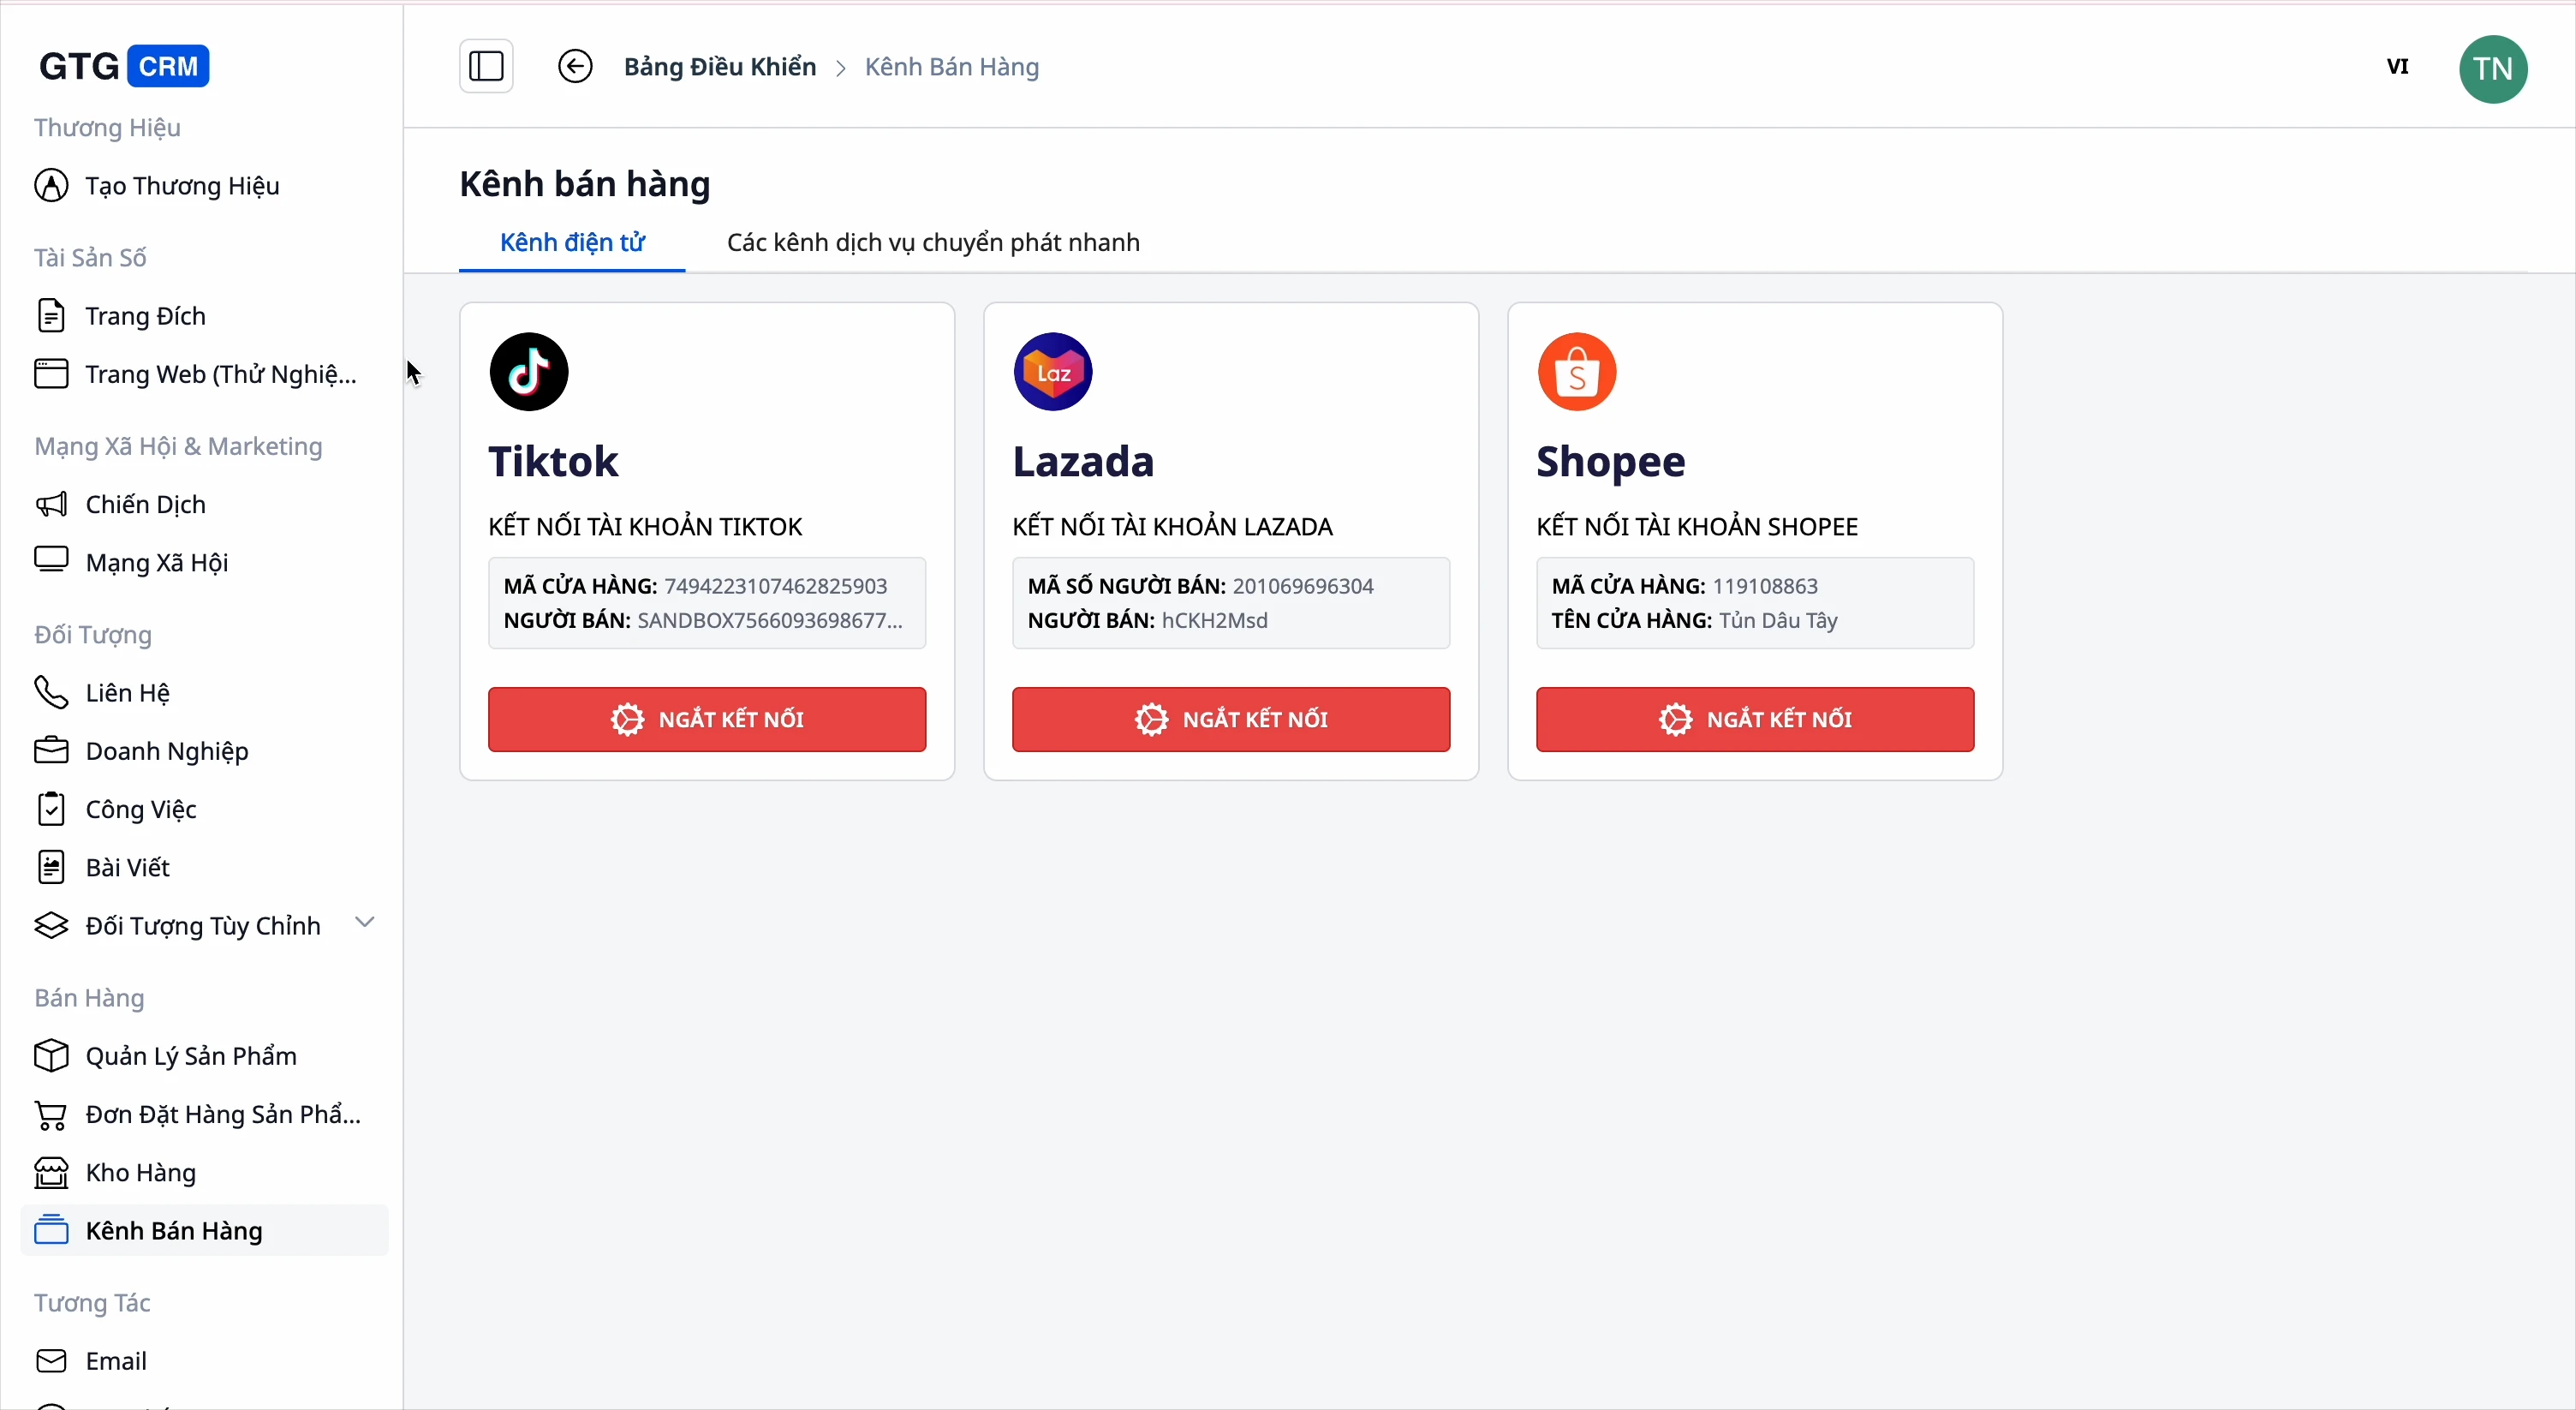
Connect Shop
Supported e-commerce platforms:
- Shopee
- London
- TikTok Shop
How to connect:
- Click on the exchange you want to connect to.
- Log in to your shop account.
- Grant permissions to GTG CRM
- Connection complete.
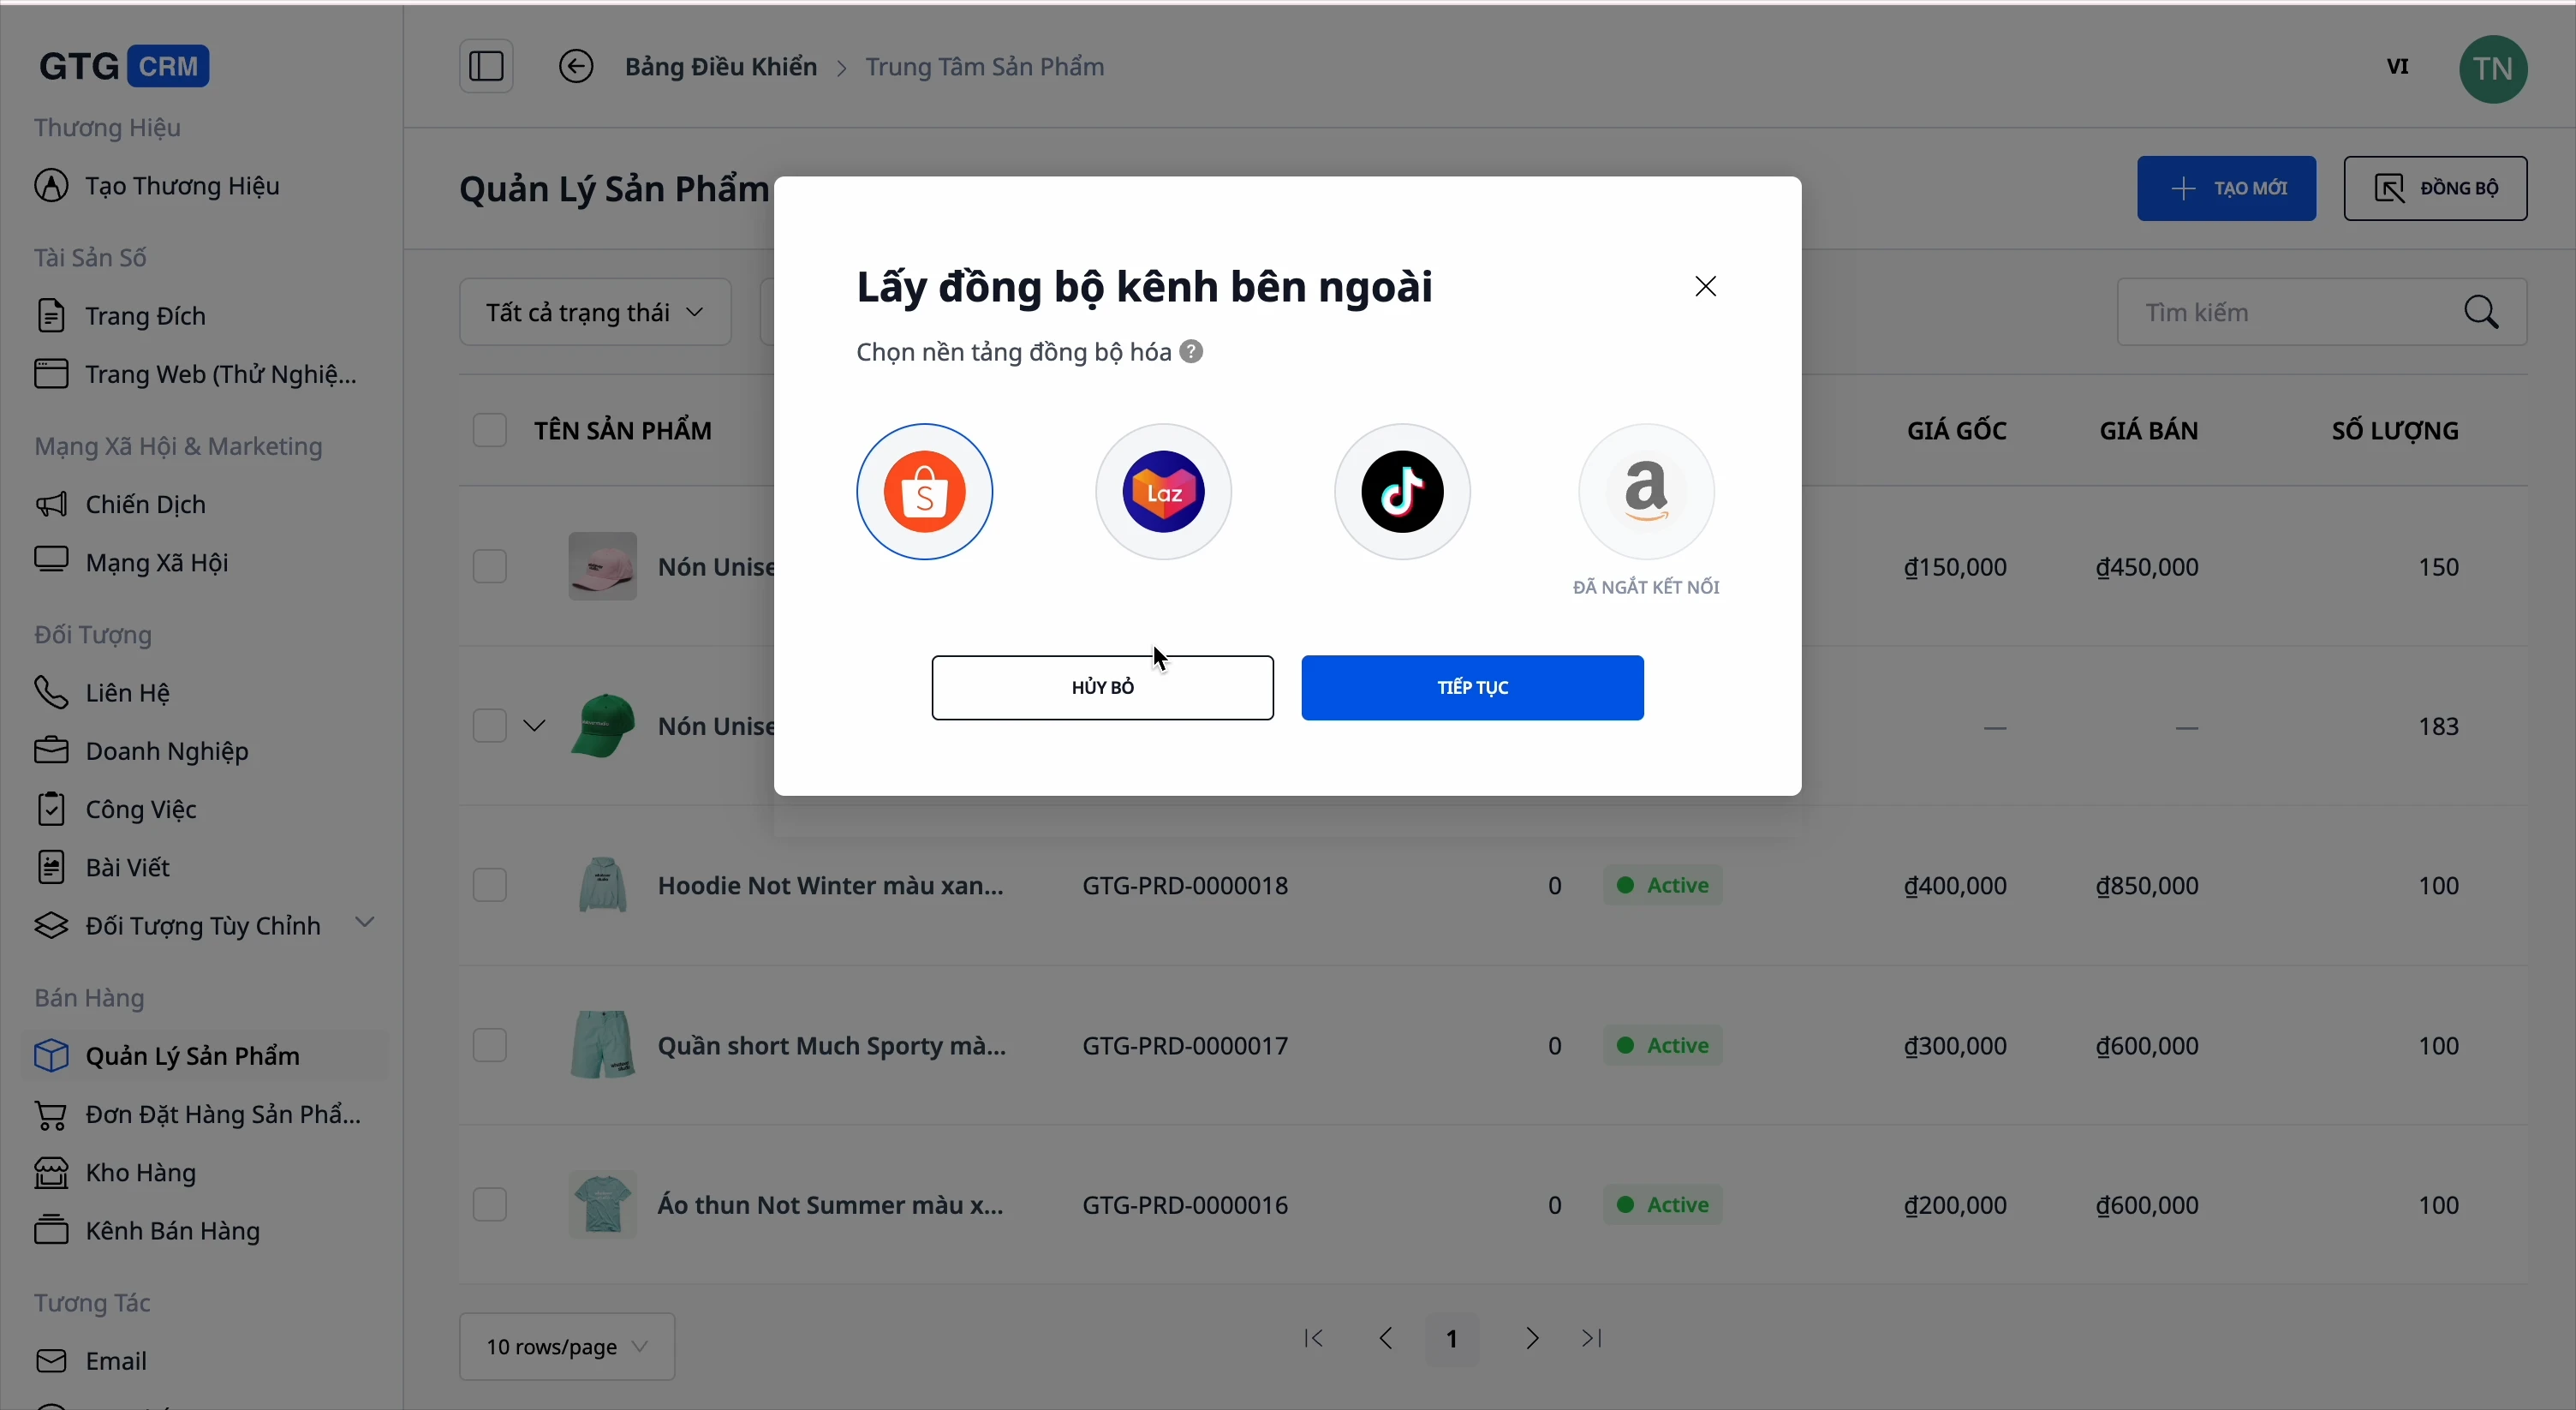
4. Product Synchronization
Drag products from the marketplace to GTG CRM
Step 1: Go to Product Management → Click "Synchronize"
Step 2: Choose a sync source (Shopee/Lazada/TikTok)
Step 3: Choose a synchronization method.
| Options | Describe |
|---|---|
| Take all products | Synchronize all products from the shop. |
| Select existing products | Select each product that needs to be synchronized. |
Step 4: Wait for the synchronization to complete.
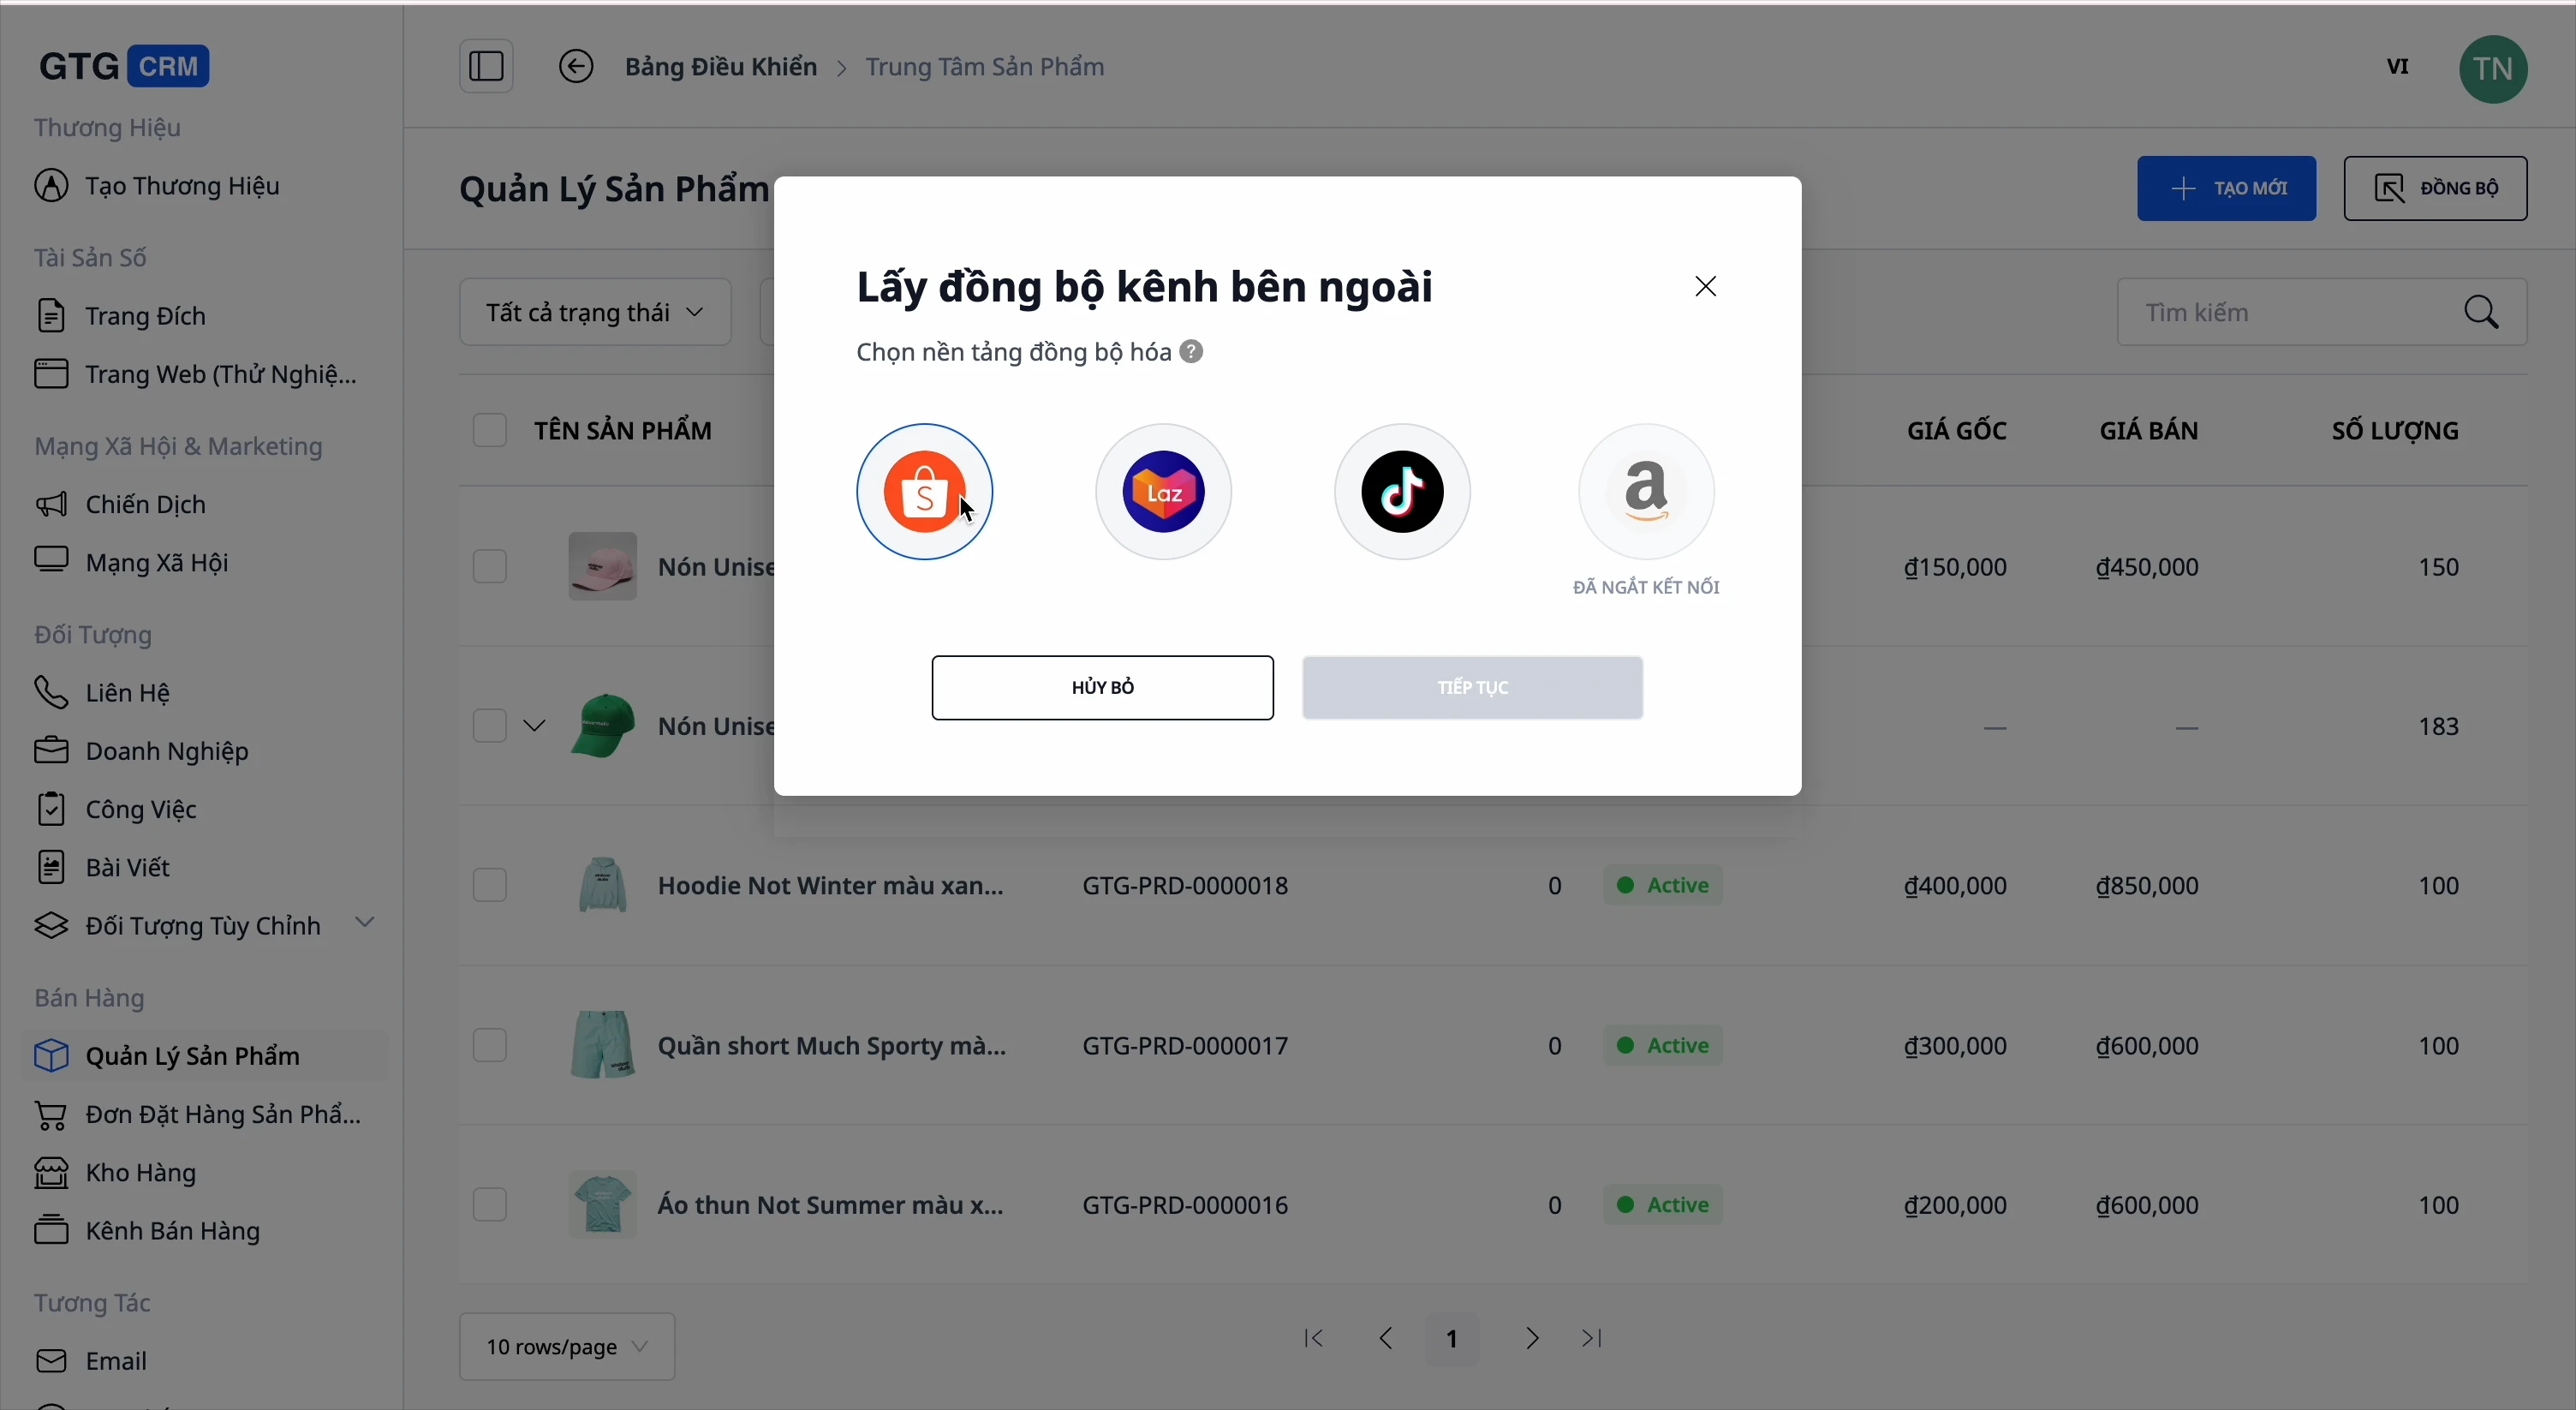
The product will appear in the list with all its variations and prices.
5. List Your Product on the Marketplace
Select the product you want to promote.
From the product list, select the products you want to list on the platform.
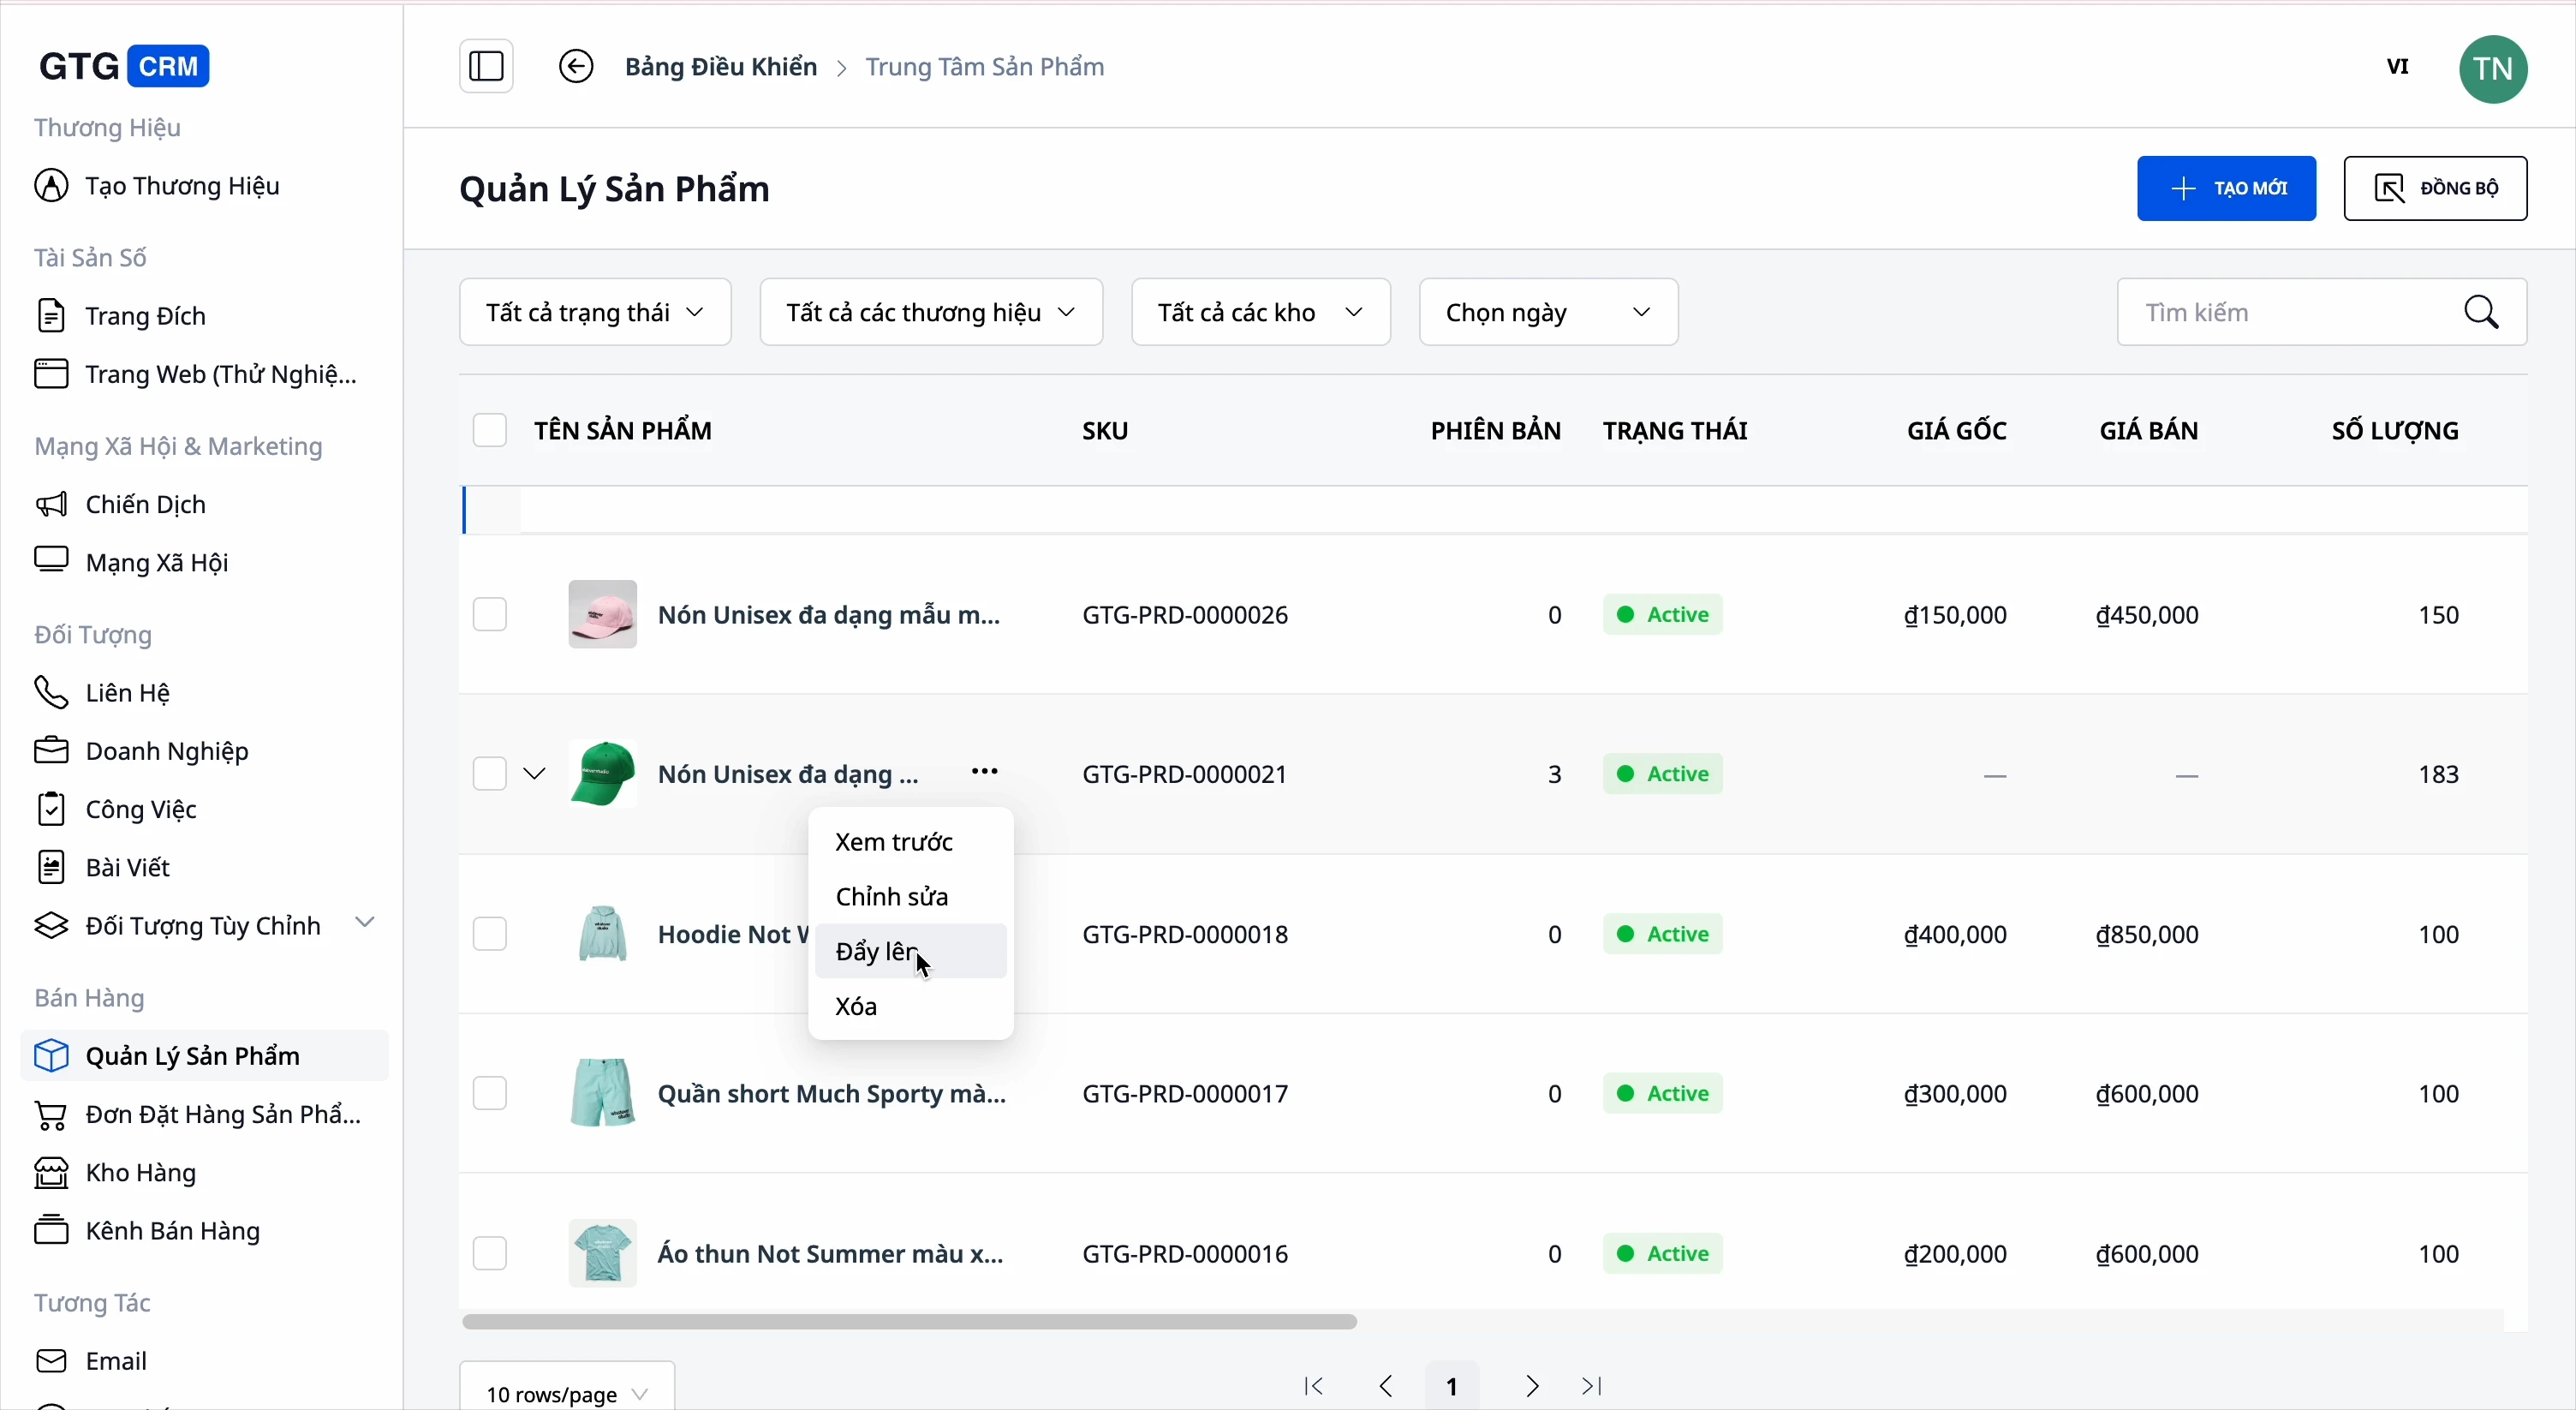
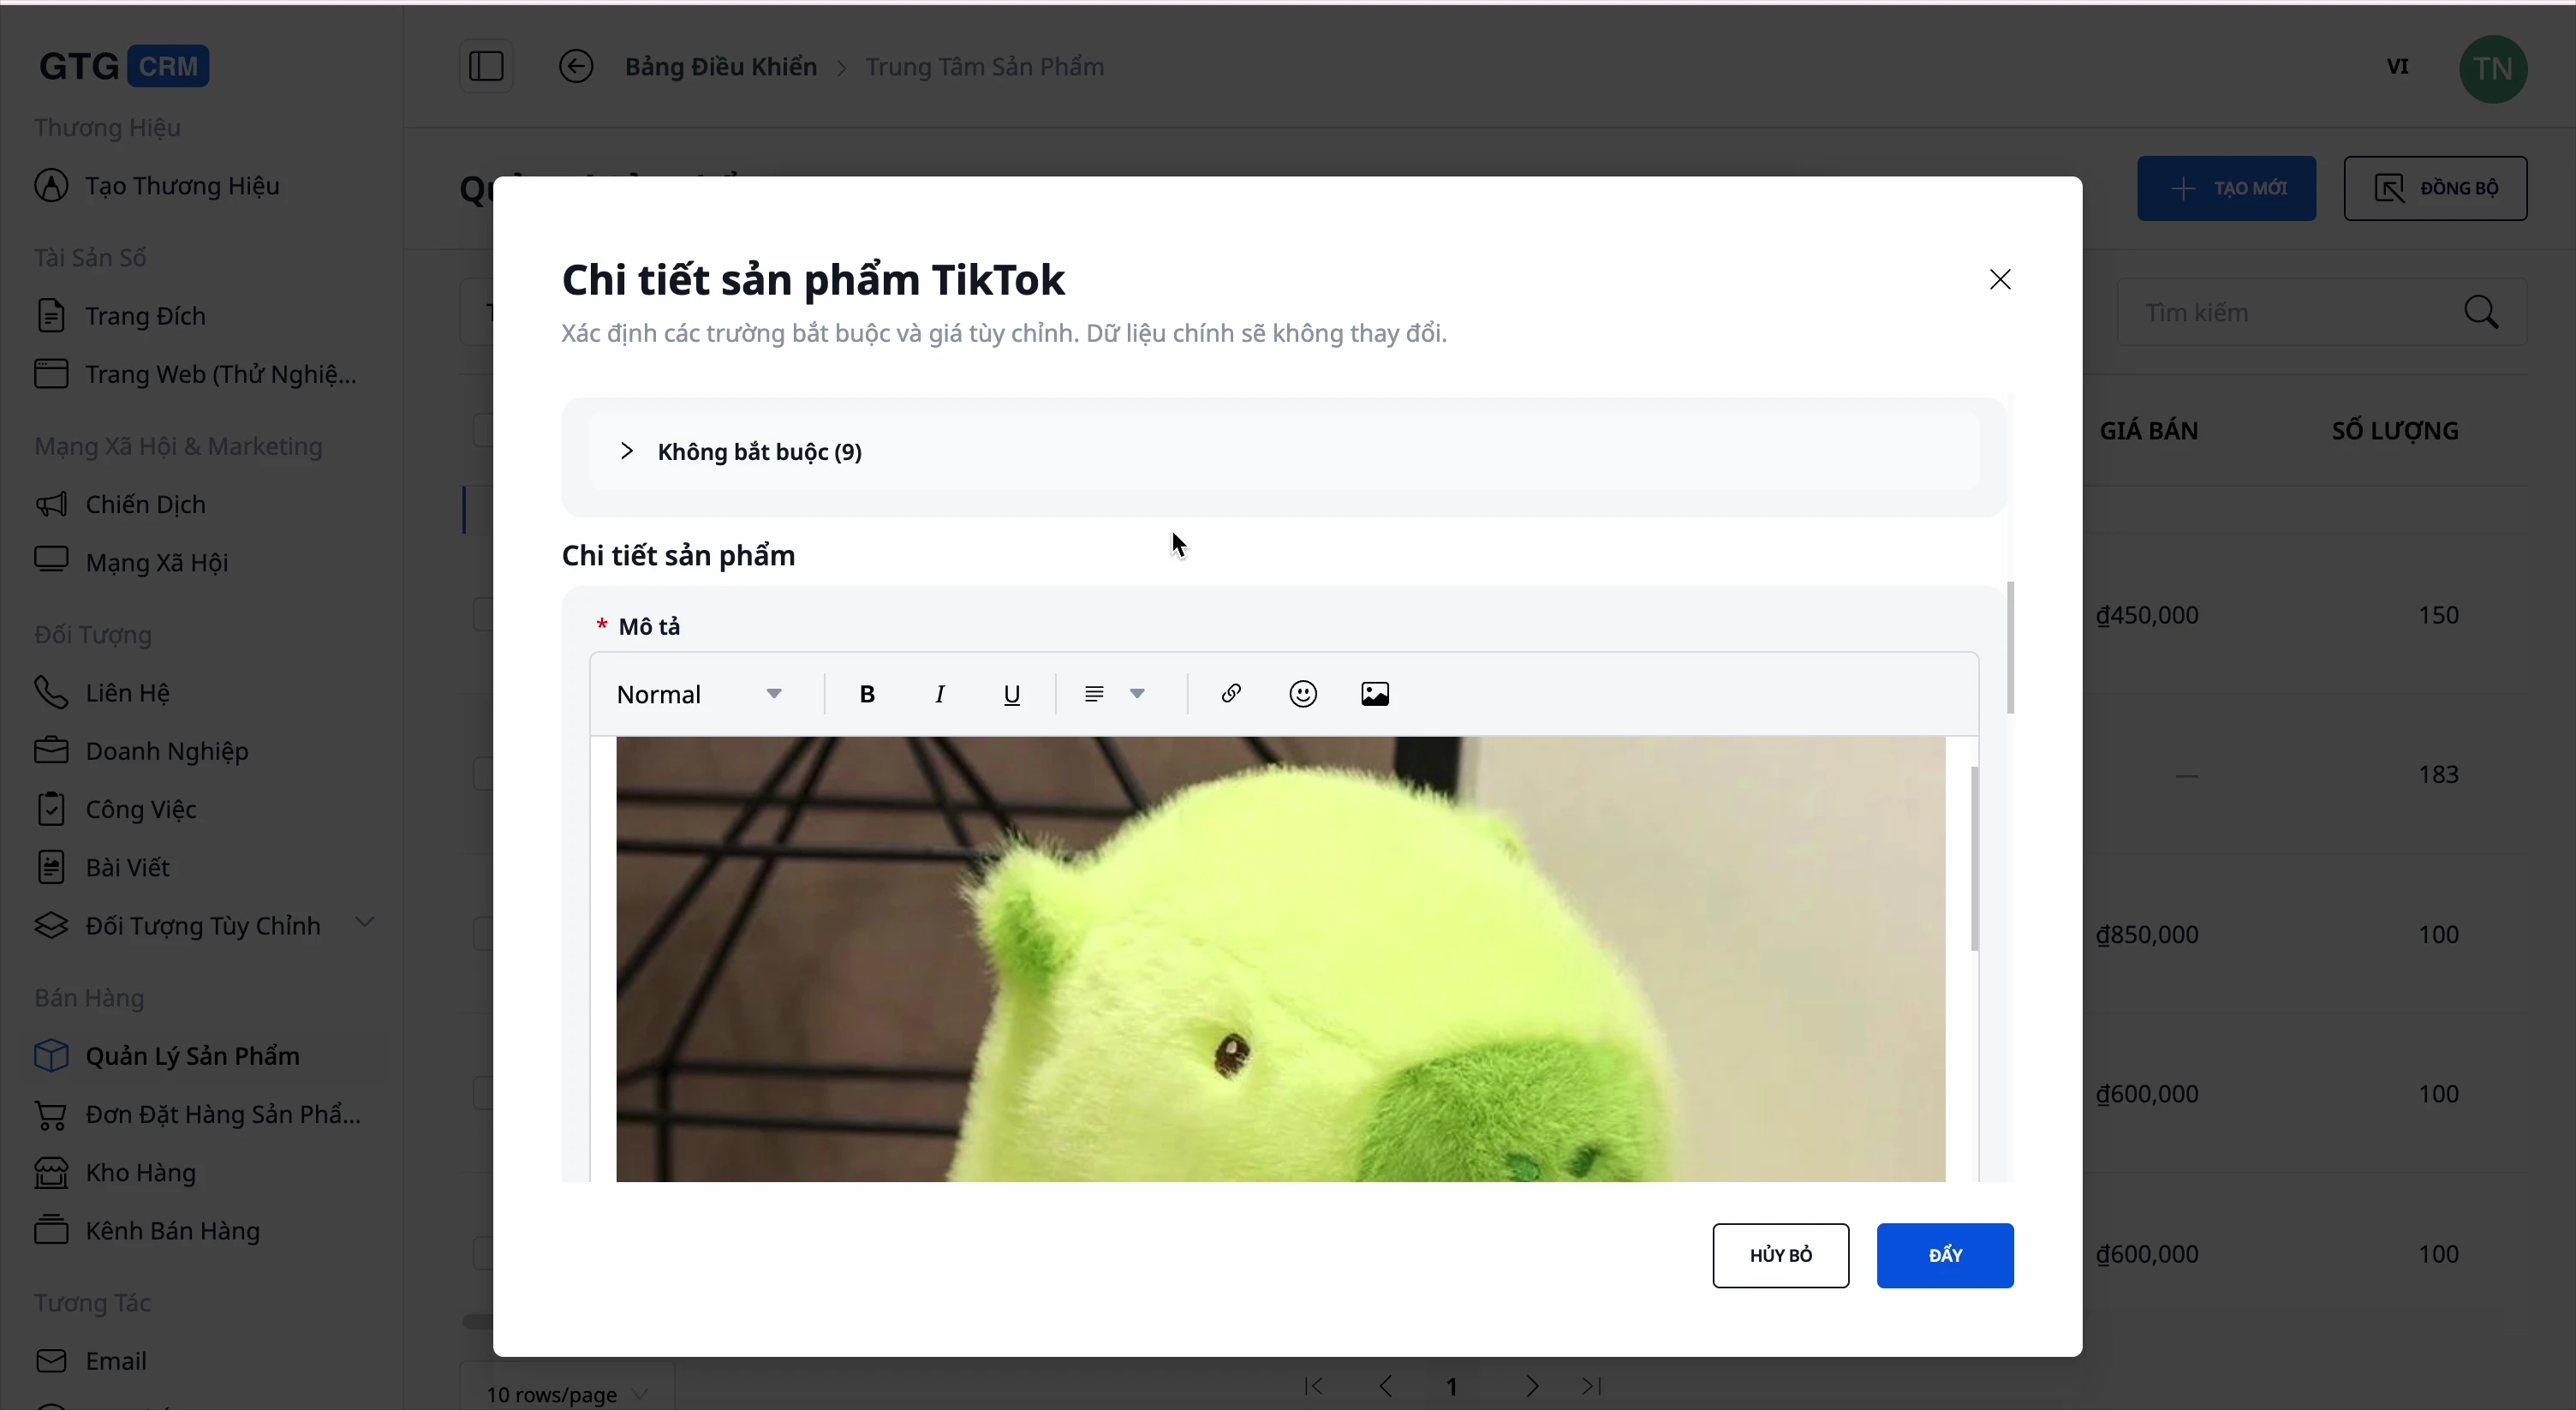
Configuration information
Fill in the product information on the marketplace:
- Select a category on the platform.
- Select a warehouse on the platform.
- Check product information
Push products
Click "Boost product" to complete.
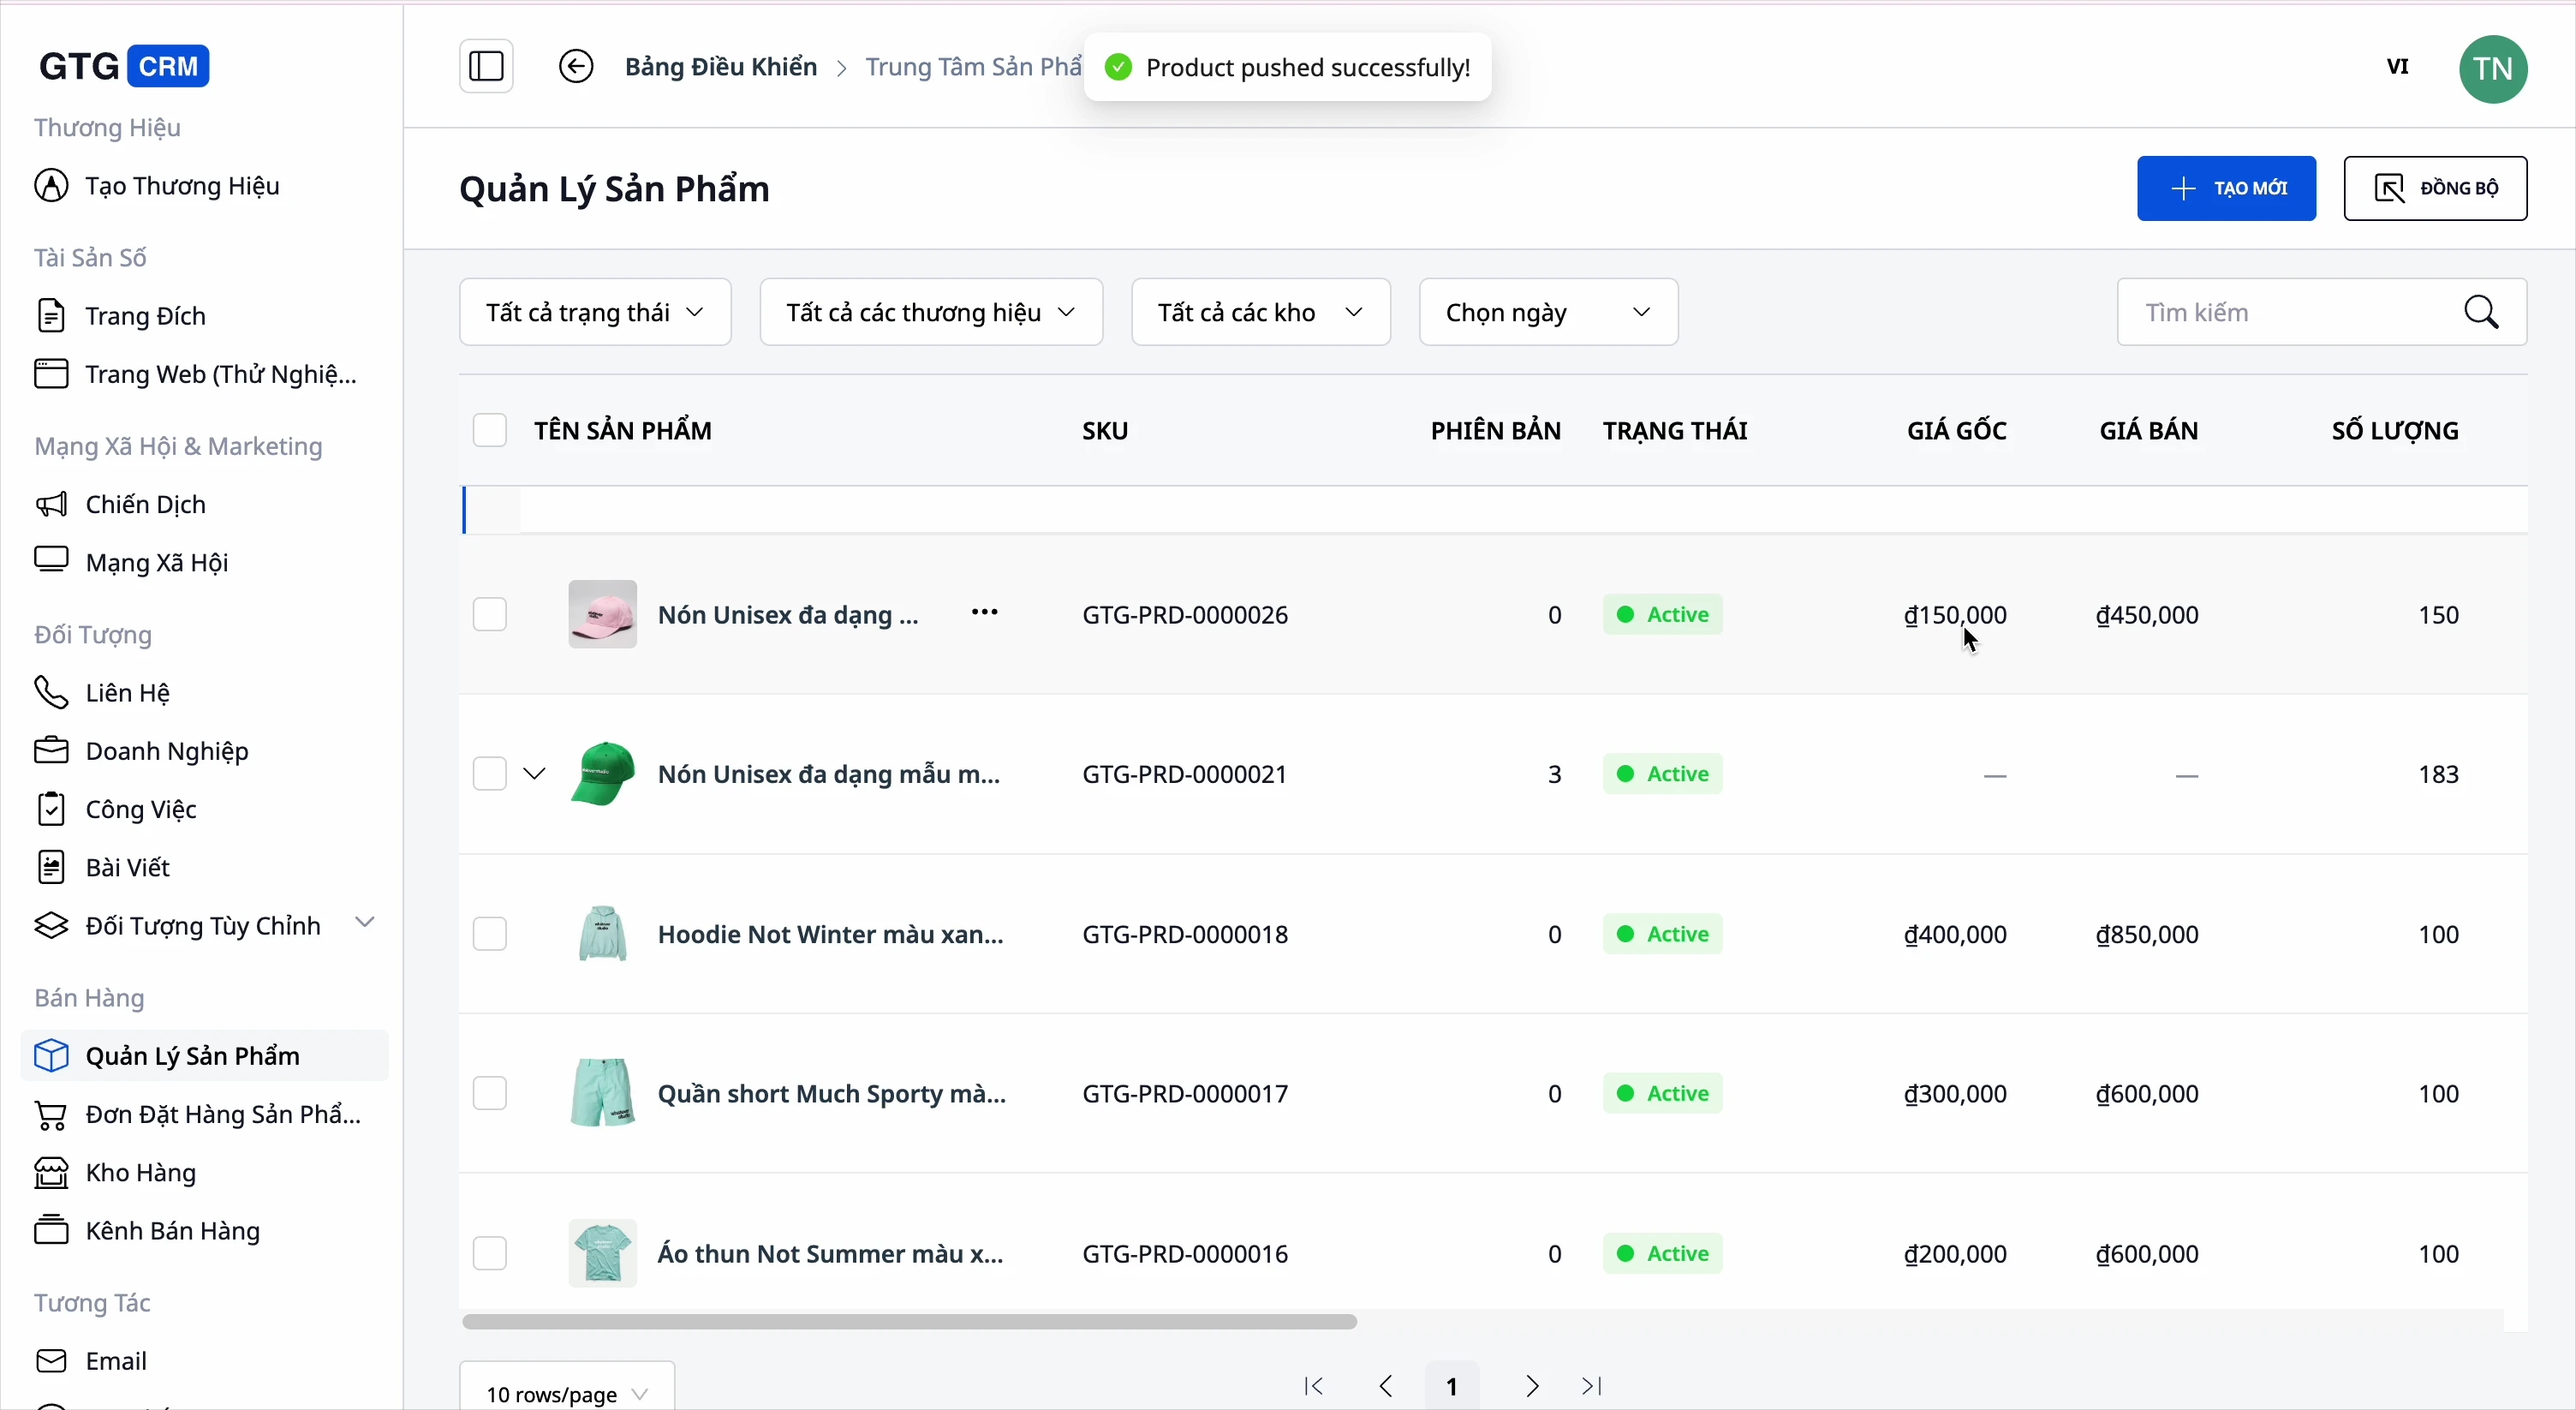
Success! The product has been uploaded to the shop.
Remove product from the marketplace.
It is possible to delete a product from GTG CRM and simultaneously delete it from the e-commerce platform.
Usage tips
✅ Should do
- Create the warehouse first - Only assign products after you have the warehouse.
- Unique SKU - Assign non-duplicate SKU codes
- High-quality images - Upload clear photos from multiple angles.
- Full description - Write a detailed description for SEO.
- Pre-launch testing - Preview the product before posting.
❌ Do not
- Deleting inventory containing products will result in a loss of stock quantity.
- Duplicate SKUs - Cause confusion in management.
- Price left blank - Product cannot be sold
- Asynchronous - Inventory across channels will be out of sync.
Summary
The Product Hub in GTG CRM helps you:
✅ Inventory management with complete information
✅ Create products with variations, pricing, and profit margins.
✅ Connect with Shopee, Lazada, and TikTok Shops
✅ Two-way product synchronization
✅ Preview the product before posting.
Note: Make sure your shop is connected to the e-commerce platforms in the Sales Channels section before syncing.
Maybe You Should Read These

Product Hub

Comprehensive sales solution for retailers
Order Hub

AI-Powered Product Creation
Delivery Hub

Multi-Platform Sales Management

Automated Electronic Invoice Generation
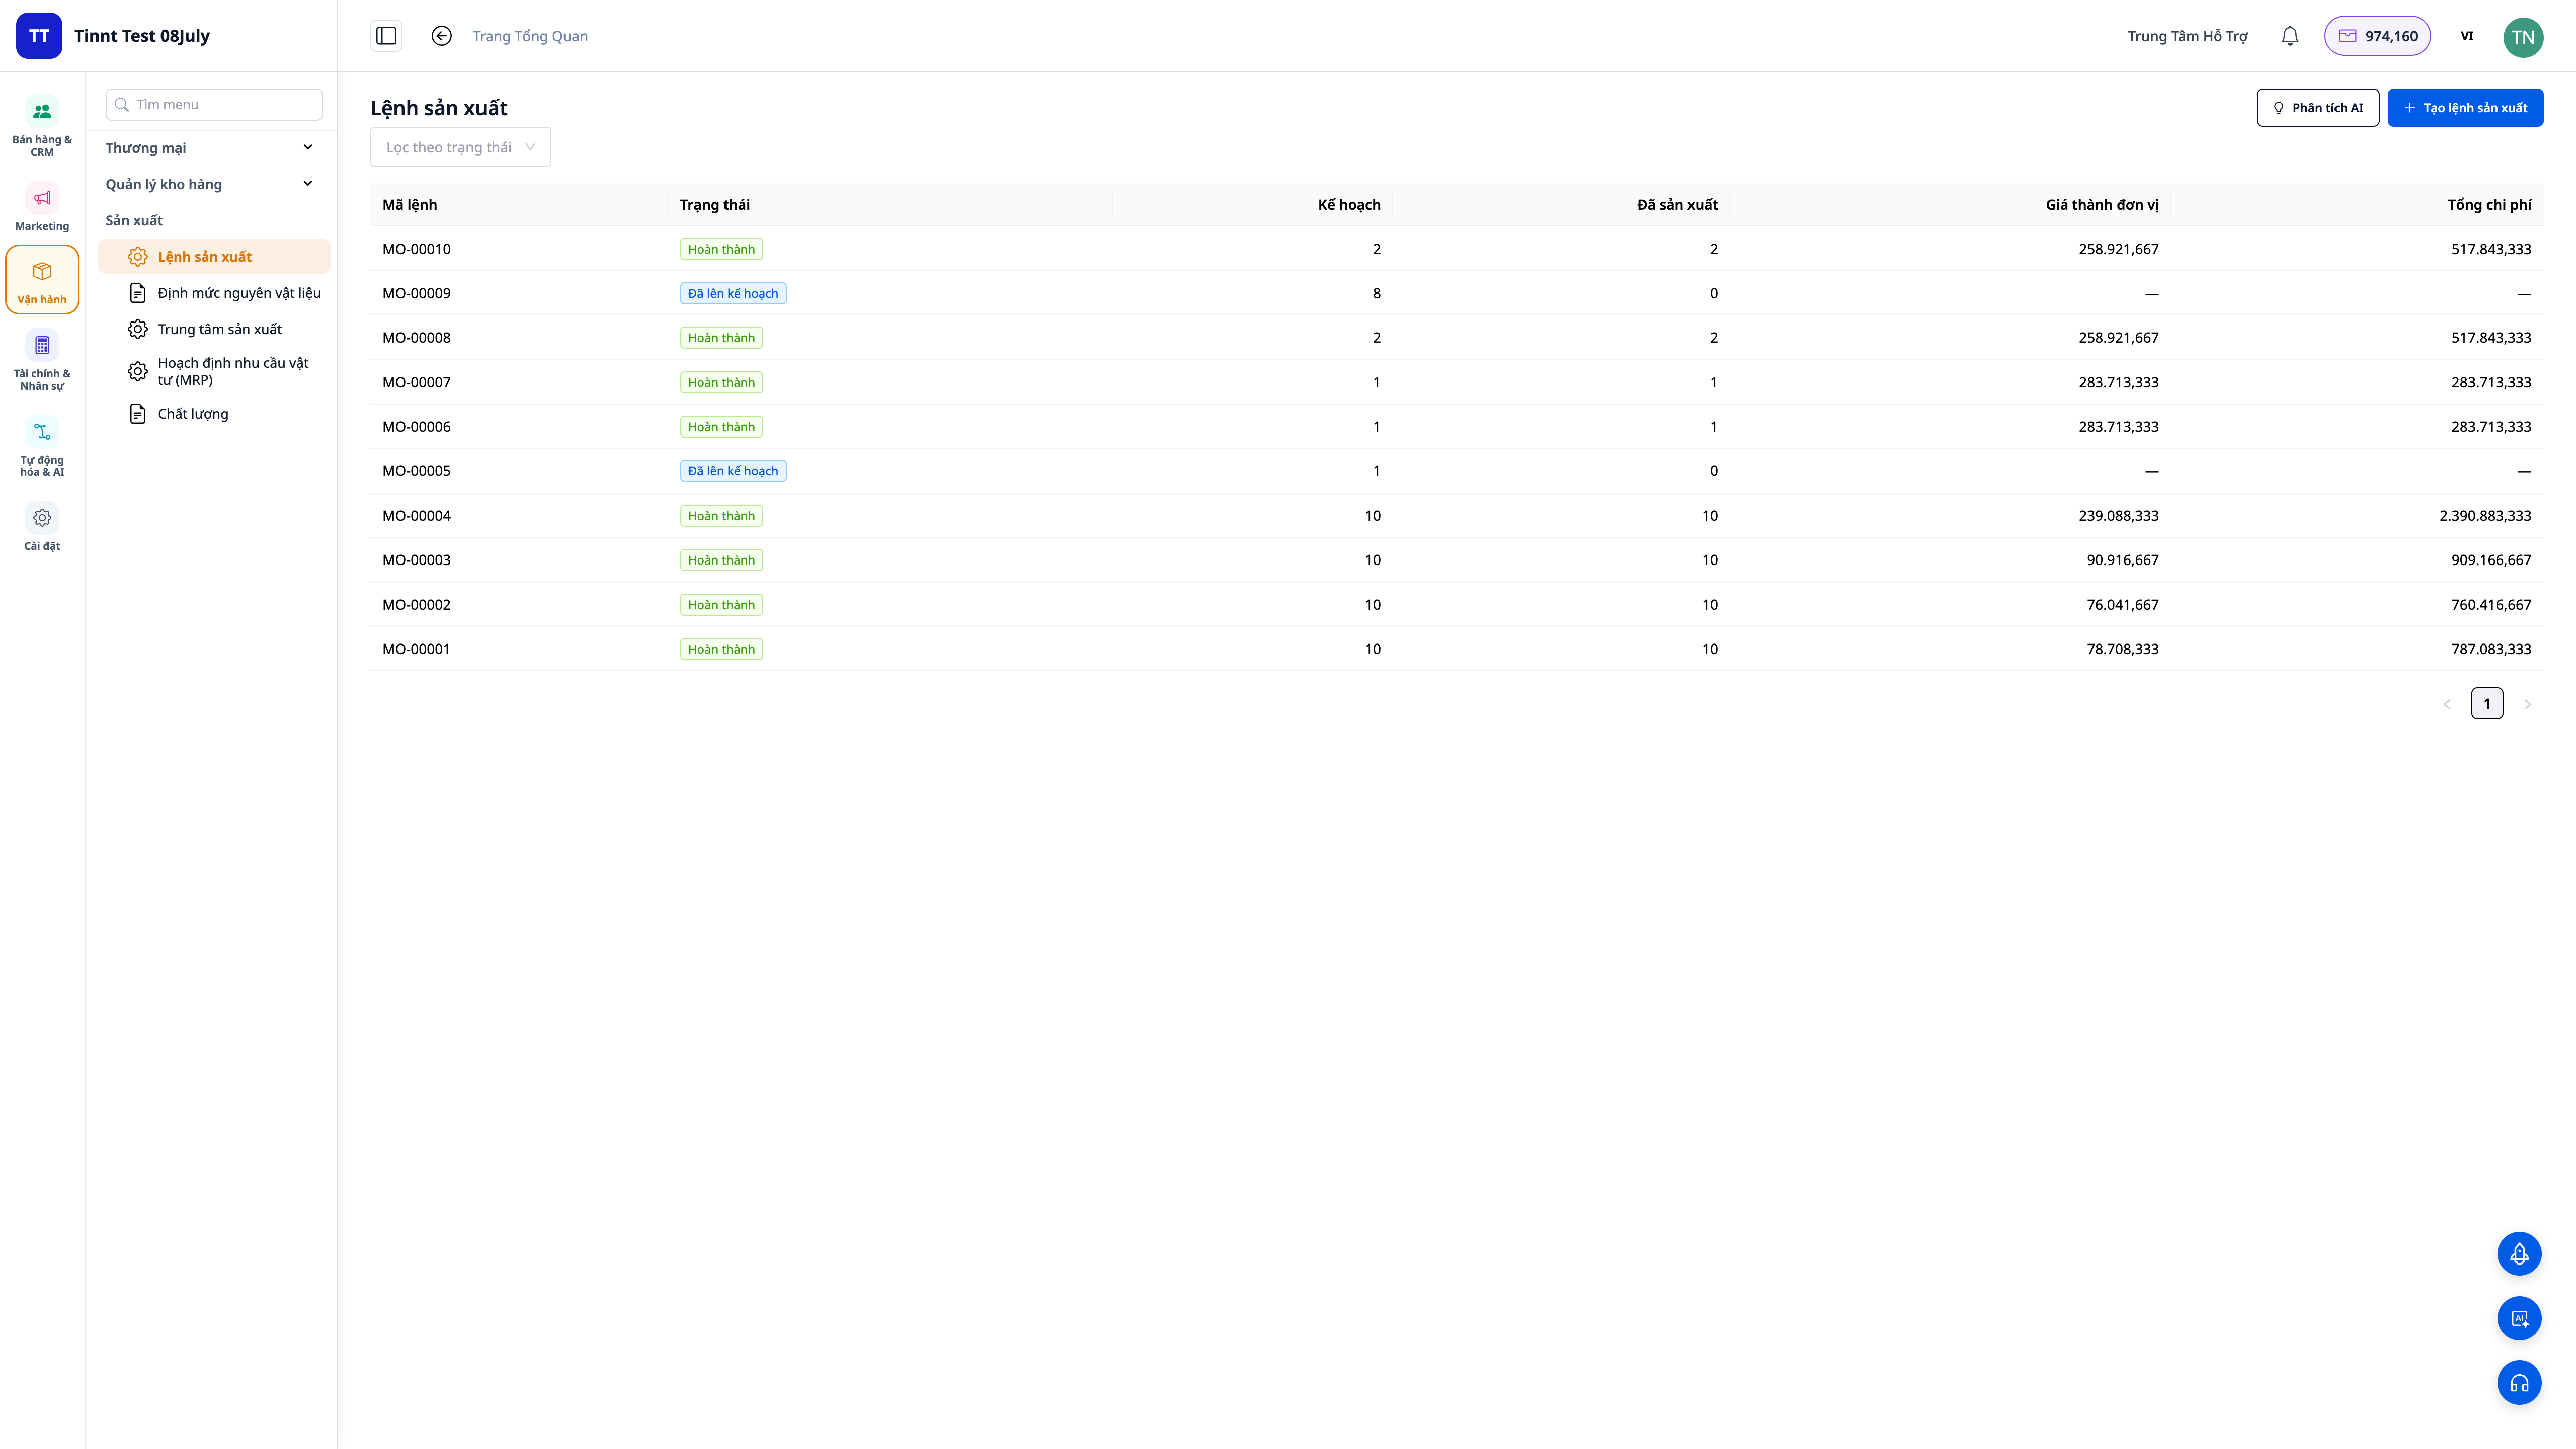
Production Management — From Raw Materials to Finished Goods, Know the Exact Cost of Each Product

Social Hub
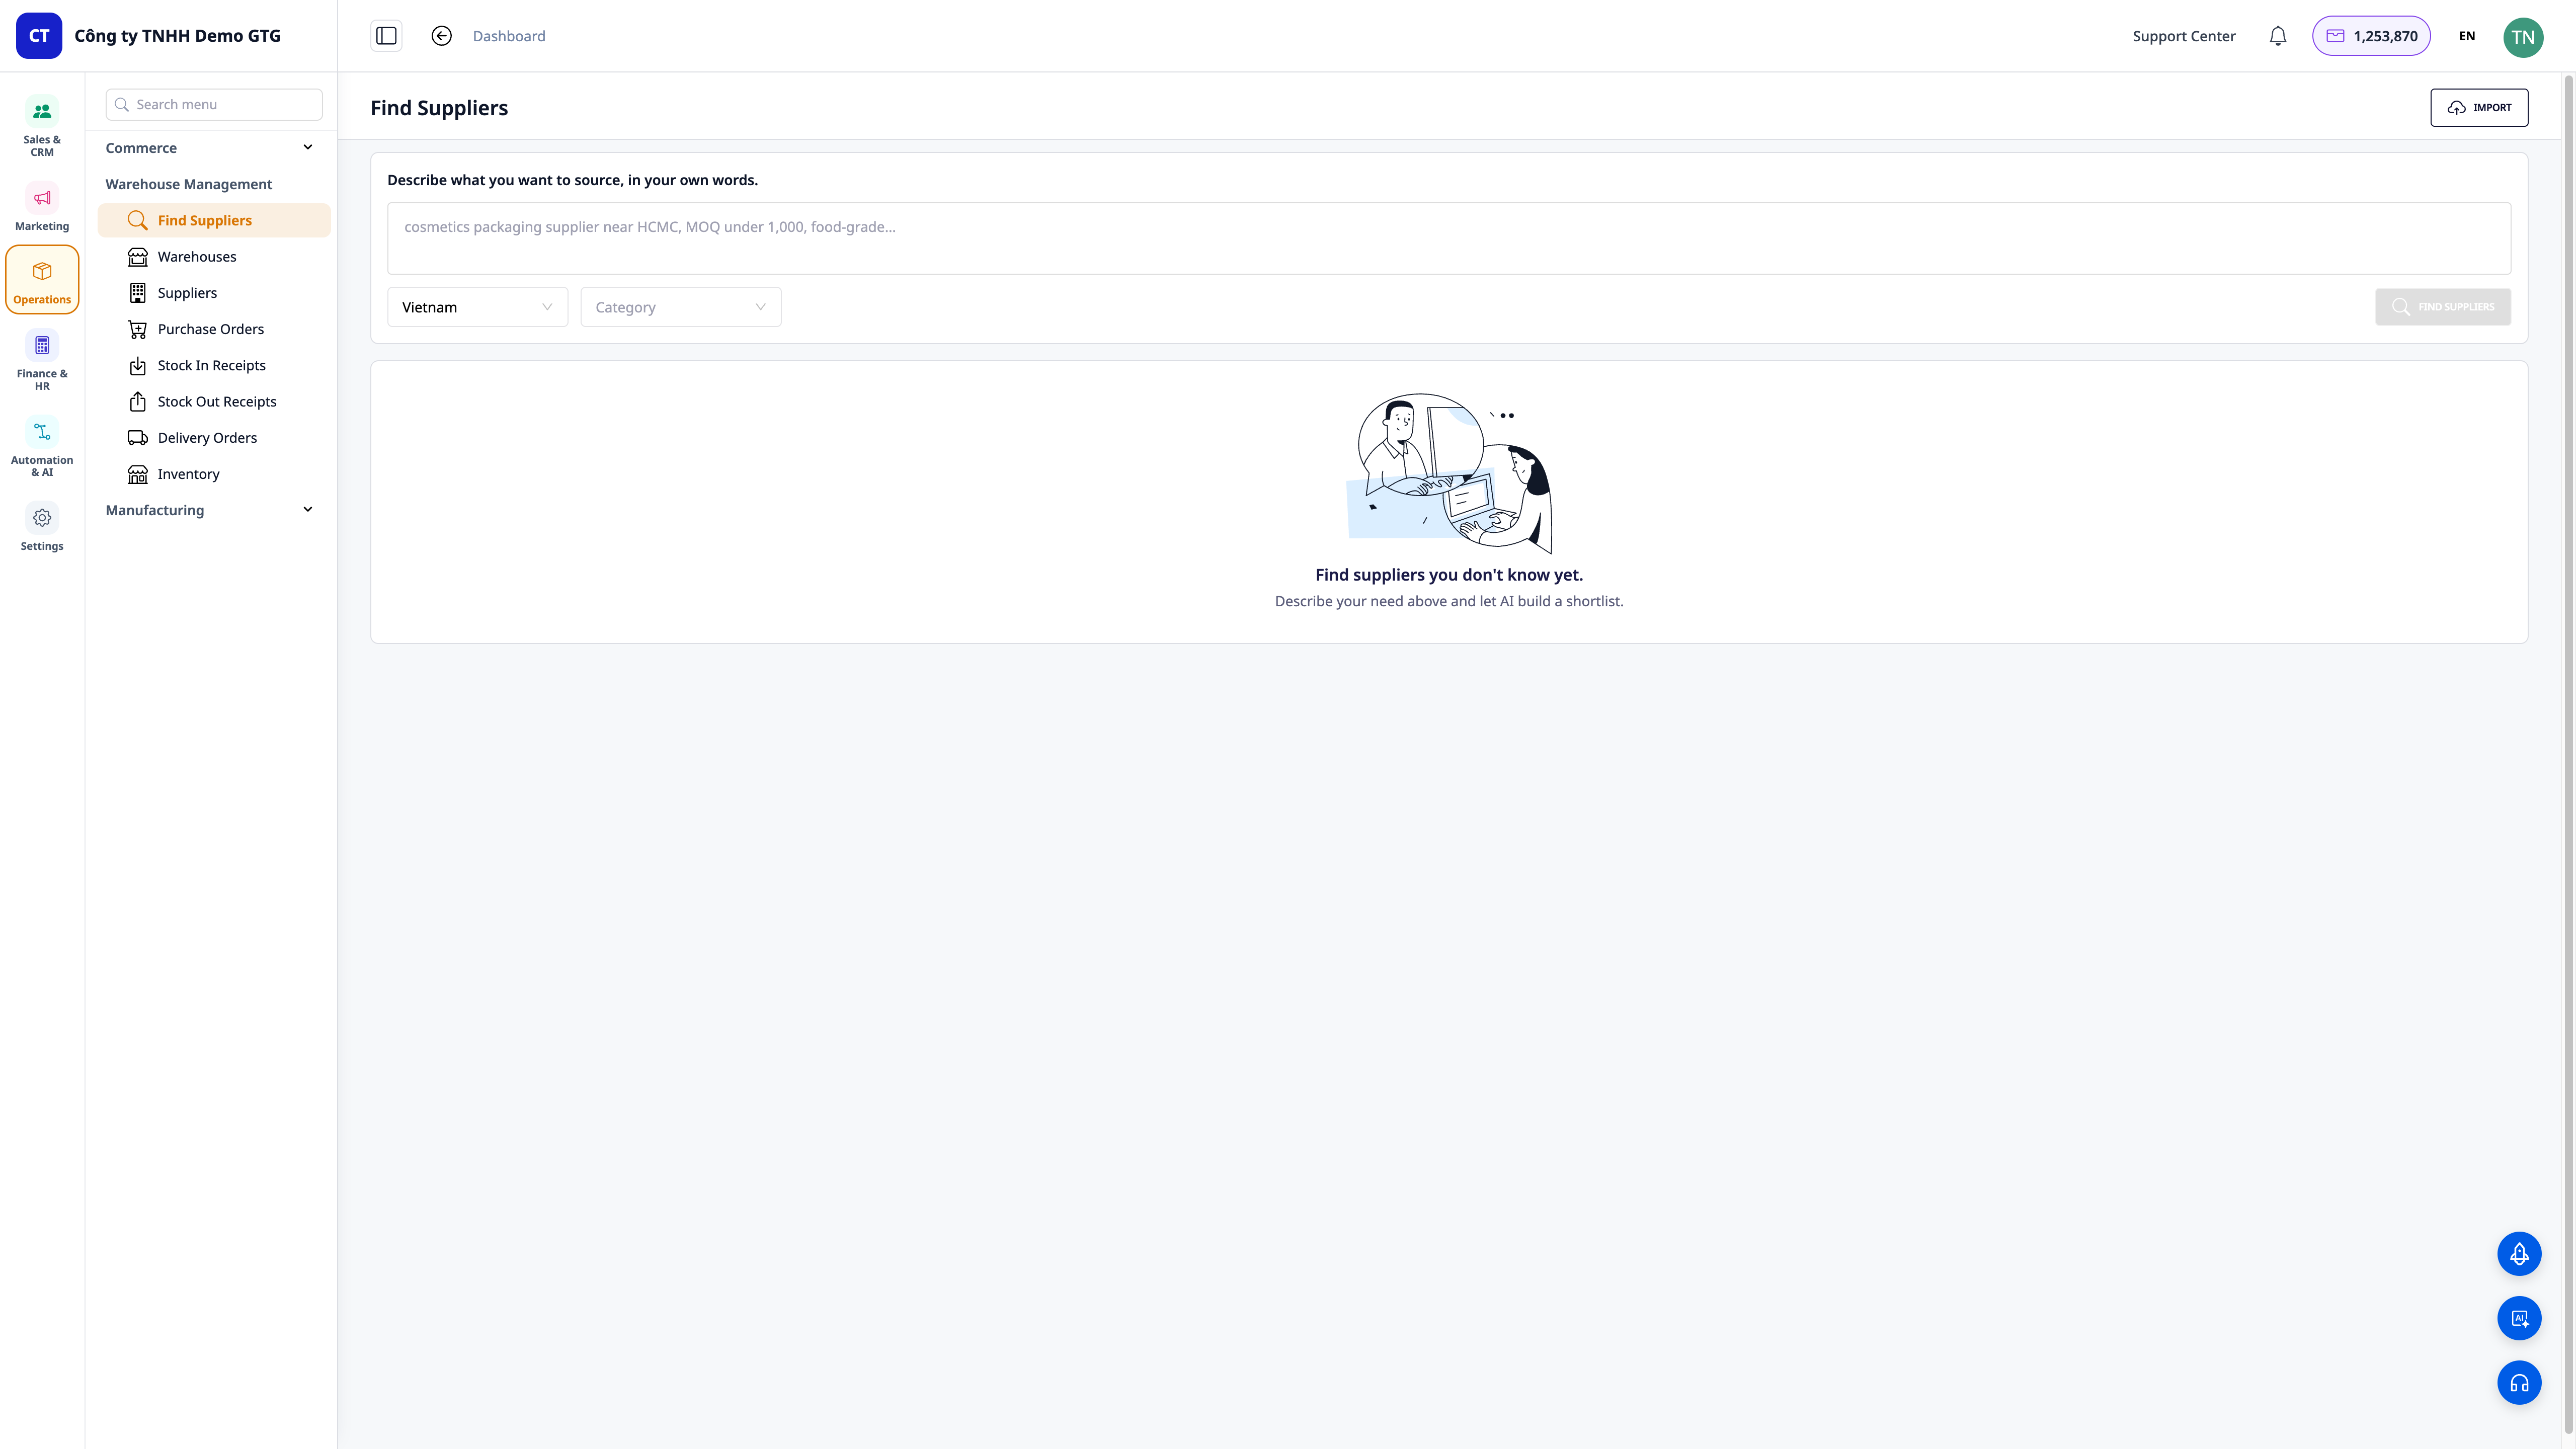
Find Suppliers with AI — Verbal Descriptions, Get Real Shortlists, Save to CRM & Send RFQs in Minutes
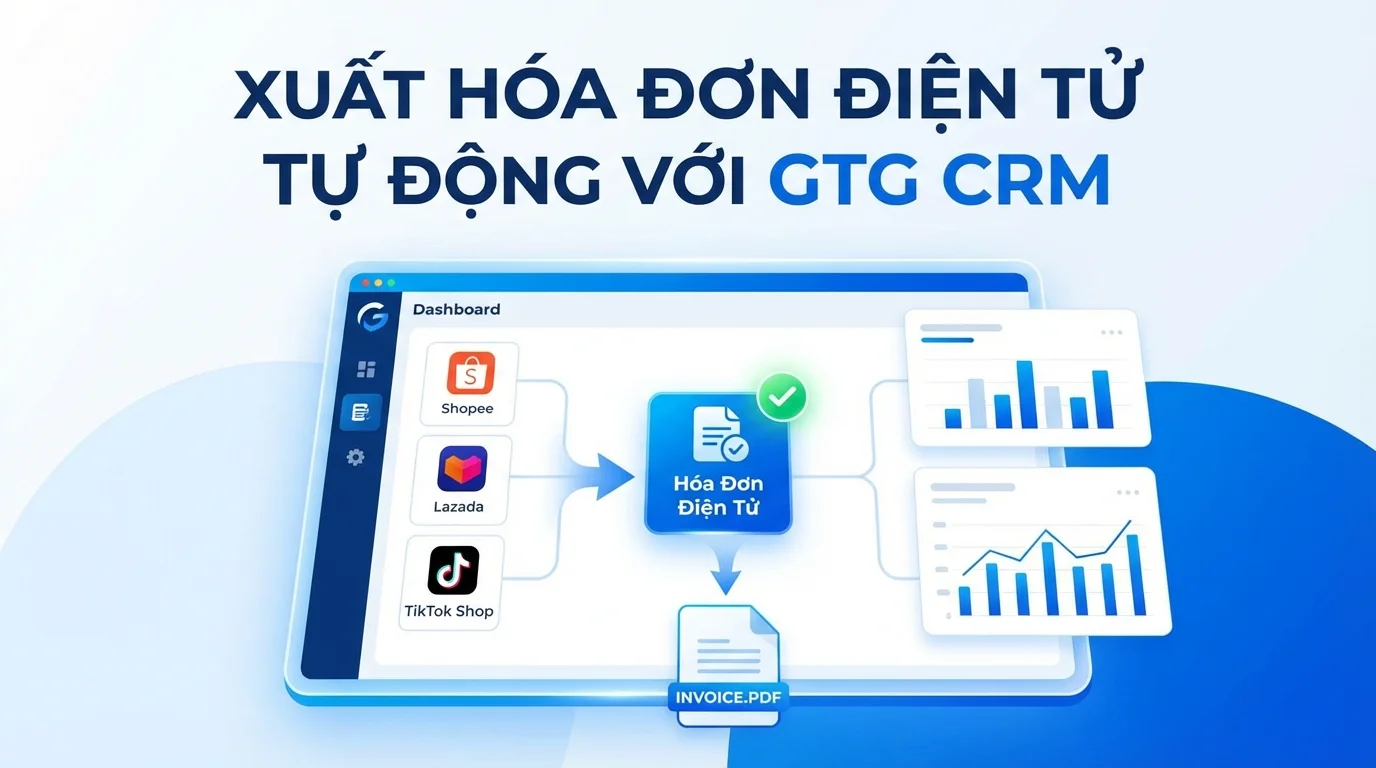
Automated E-invoice Issuance