Guide to Integrating GTG CRM Articles with Your Website
Detailed Step-by-Step Guide
GTG CRM Team · GTG CRM
April 16, 2026

Table of Contents
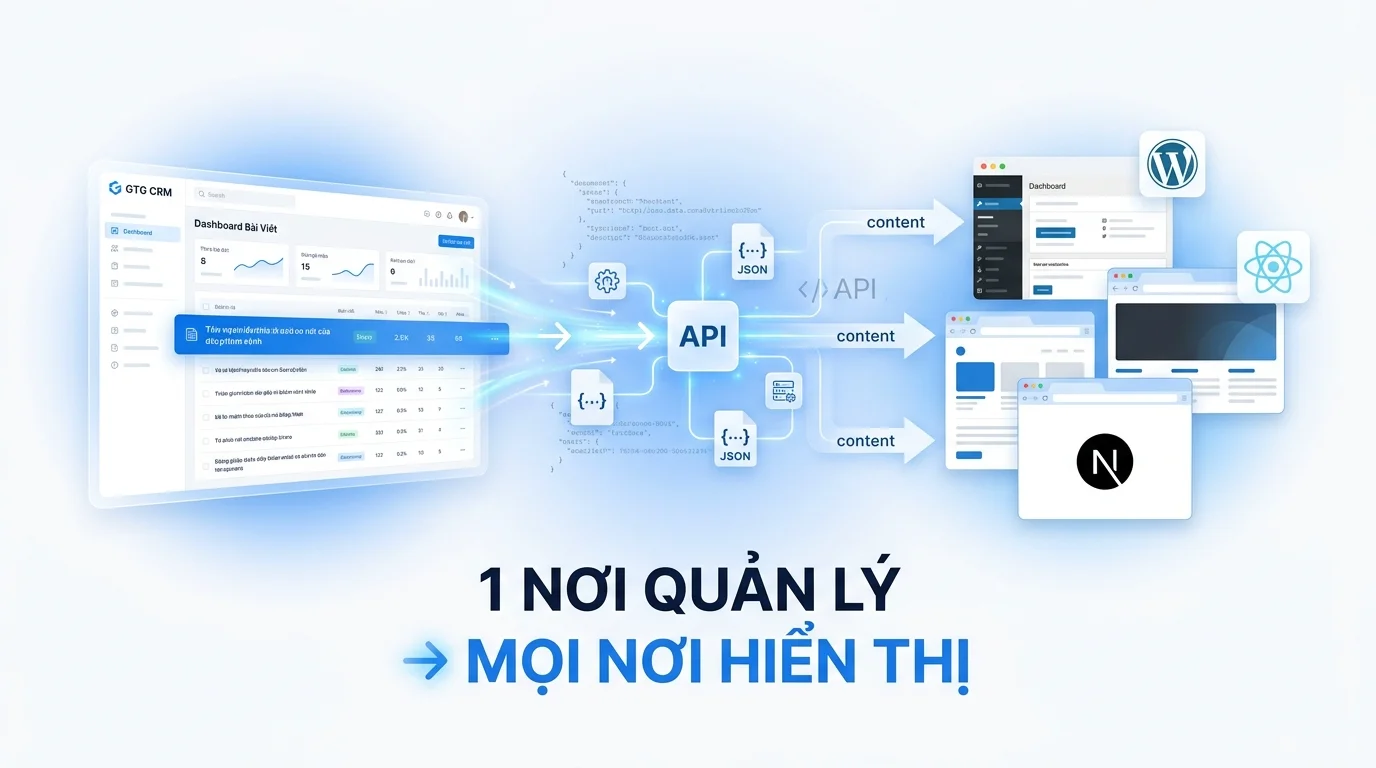
GTG CRM offers integrated article integration, allowing you to publish content from the system to your company's website. Instead of manually copying each article, you can use the API to automatically synchronize all your marketing content, user guides, or product descriptions to your website.
This feature is particularly useful when you want to maintain consistency between your GTG CRM content management system and your external website. Any updates or edits from GTG CRM can be immediately reflected on the website without complex technical intervention.
This article will guide you step-by-step on how to integrate GTG CRM posts with WordPress, one of the most popular website platforms today.
Main features
- Integrate content from GTG CRM to external websites via API.
- Supports displaying a list of articles and the detail page for each article.
- Automatically synchronize content without manual copying.
- Compatible with popular platforms such as WordPress, React, and Next.js.
- Manage access rights through a secure API Key.
- The interface will automatically display according to your website design.
User manual
Step 1: Prepare content in GTG CRM
First, you need to have articles already in GTG CRM. You can create new ones by clicking the "Create New" button in the article management section. Make sure the articles have been fully written before proceeding with the integration.
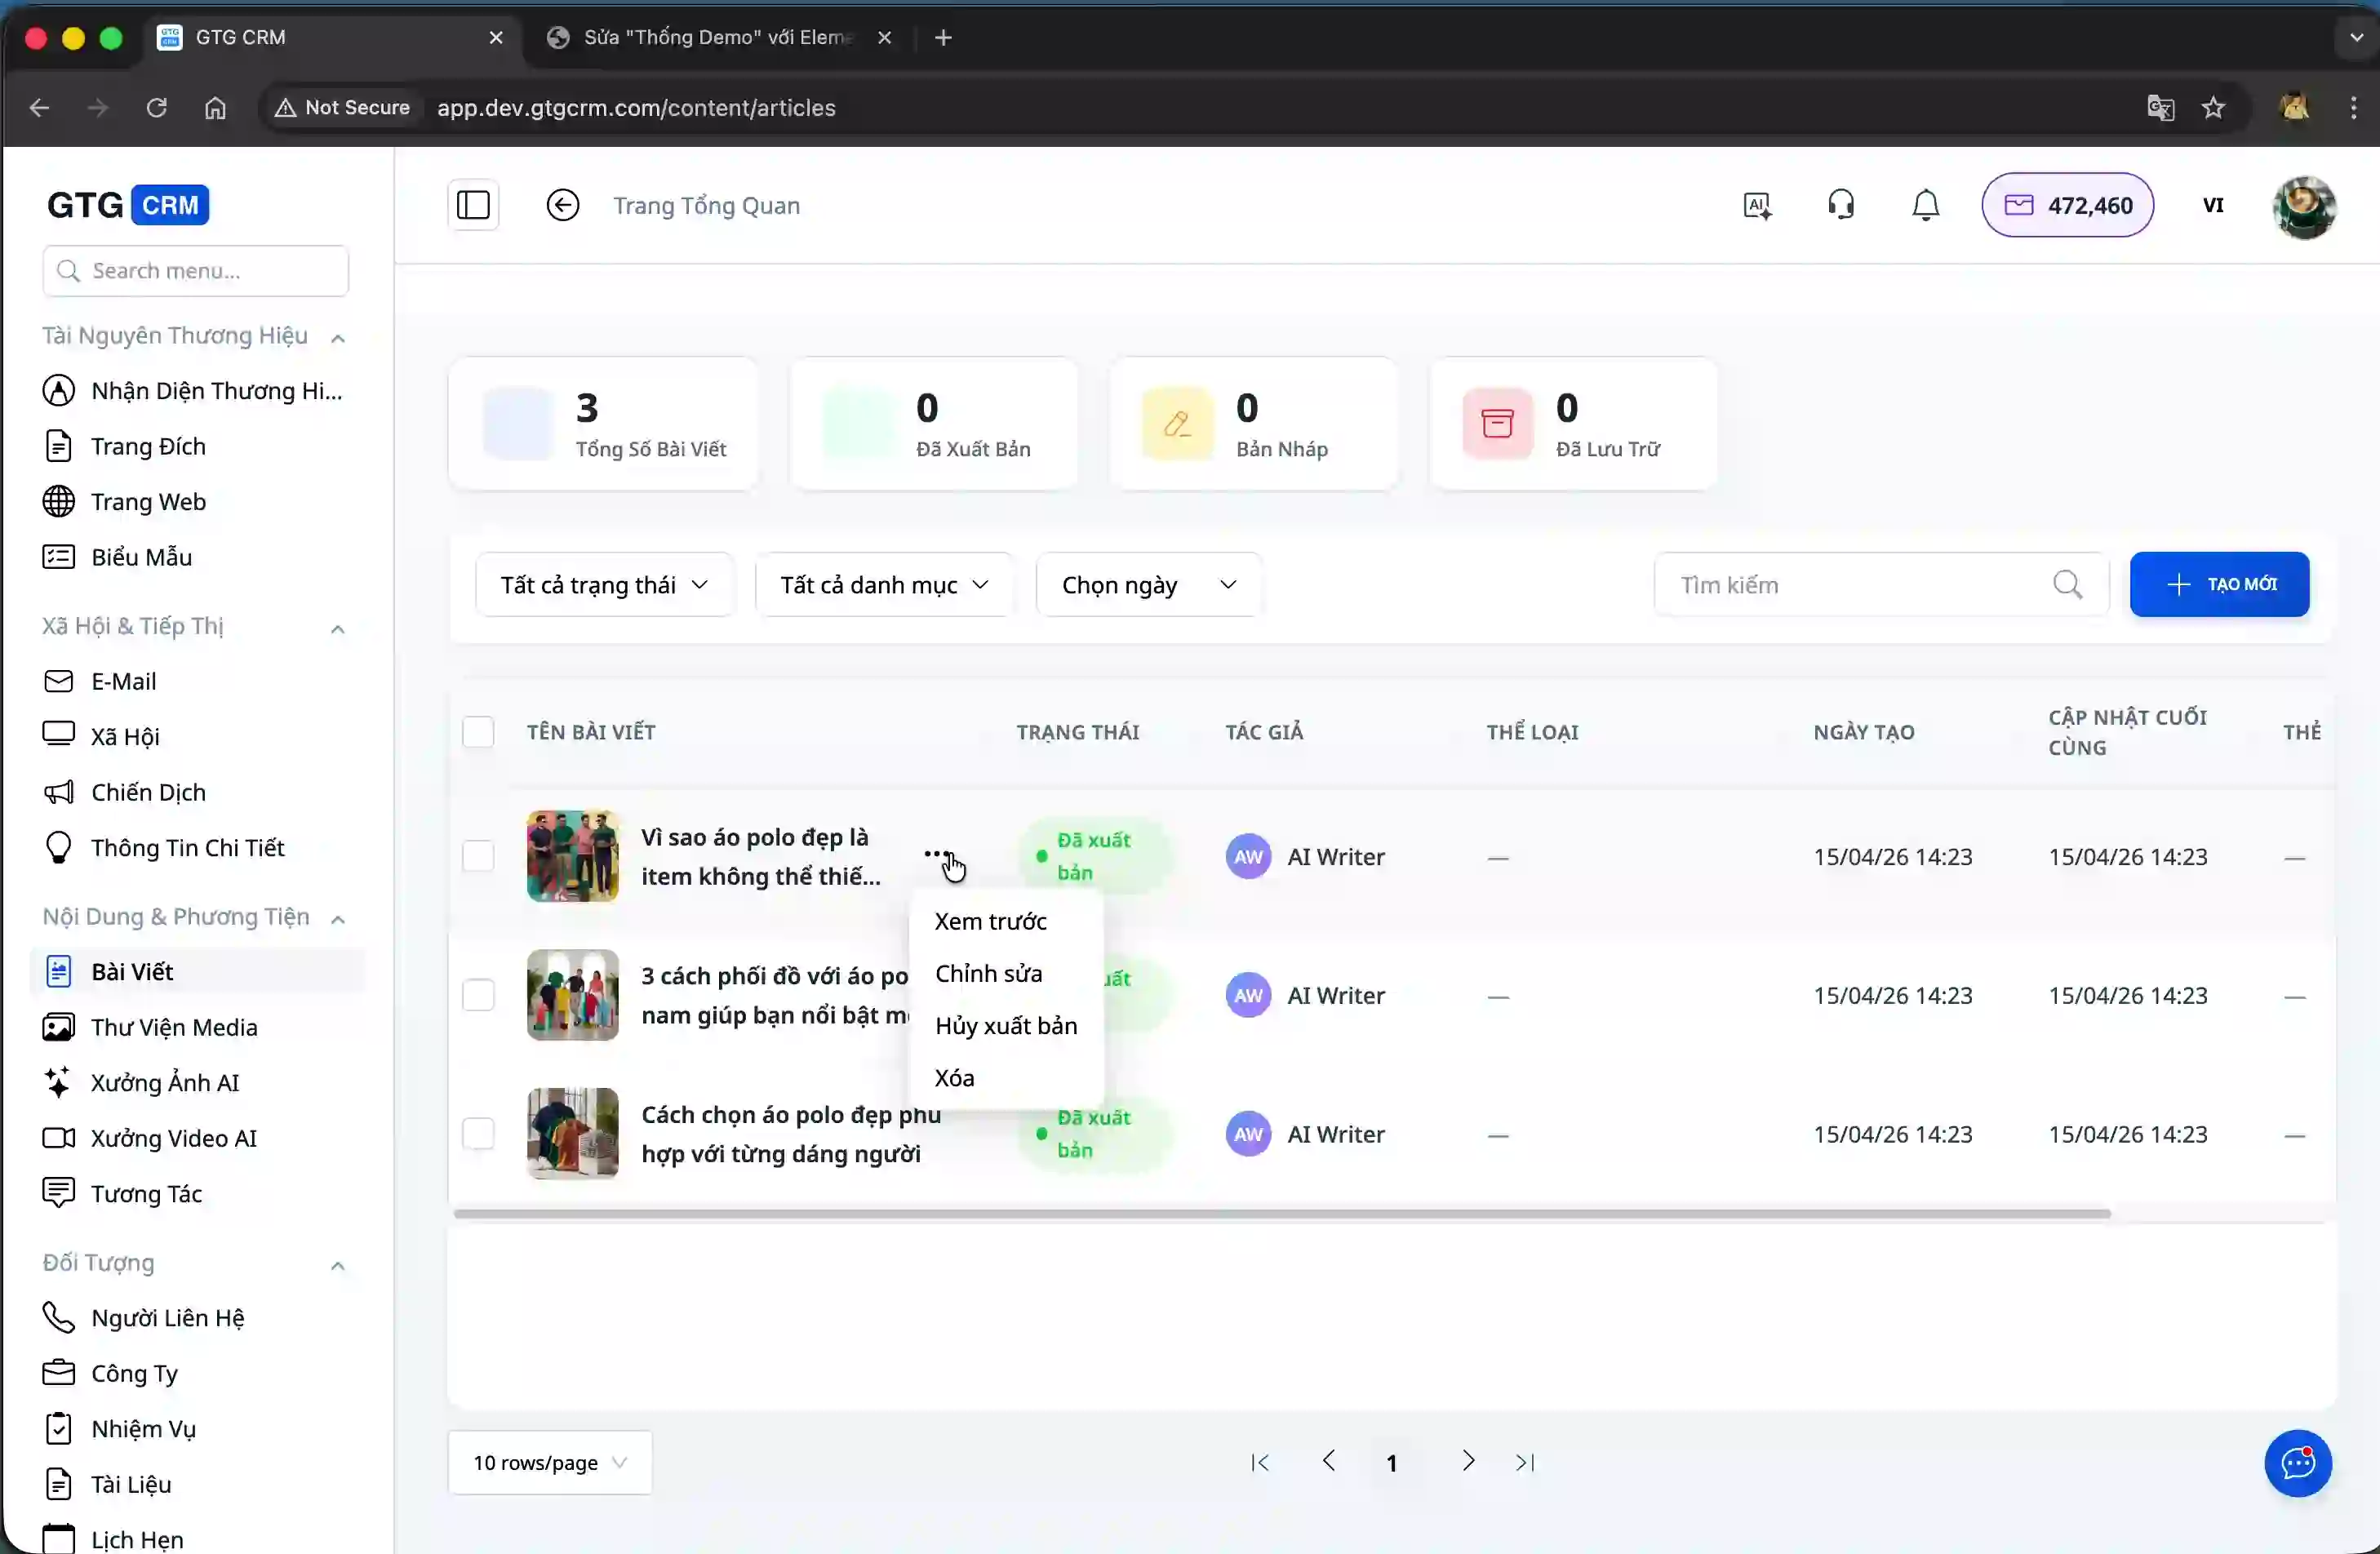
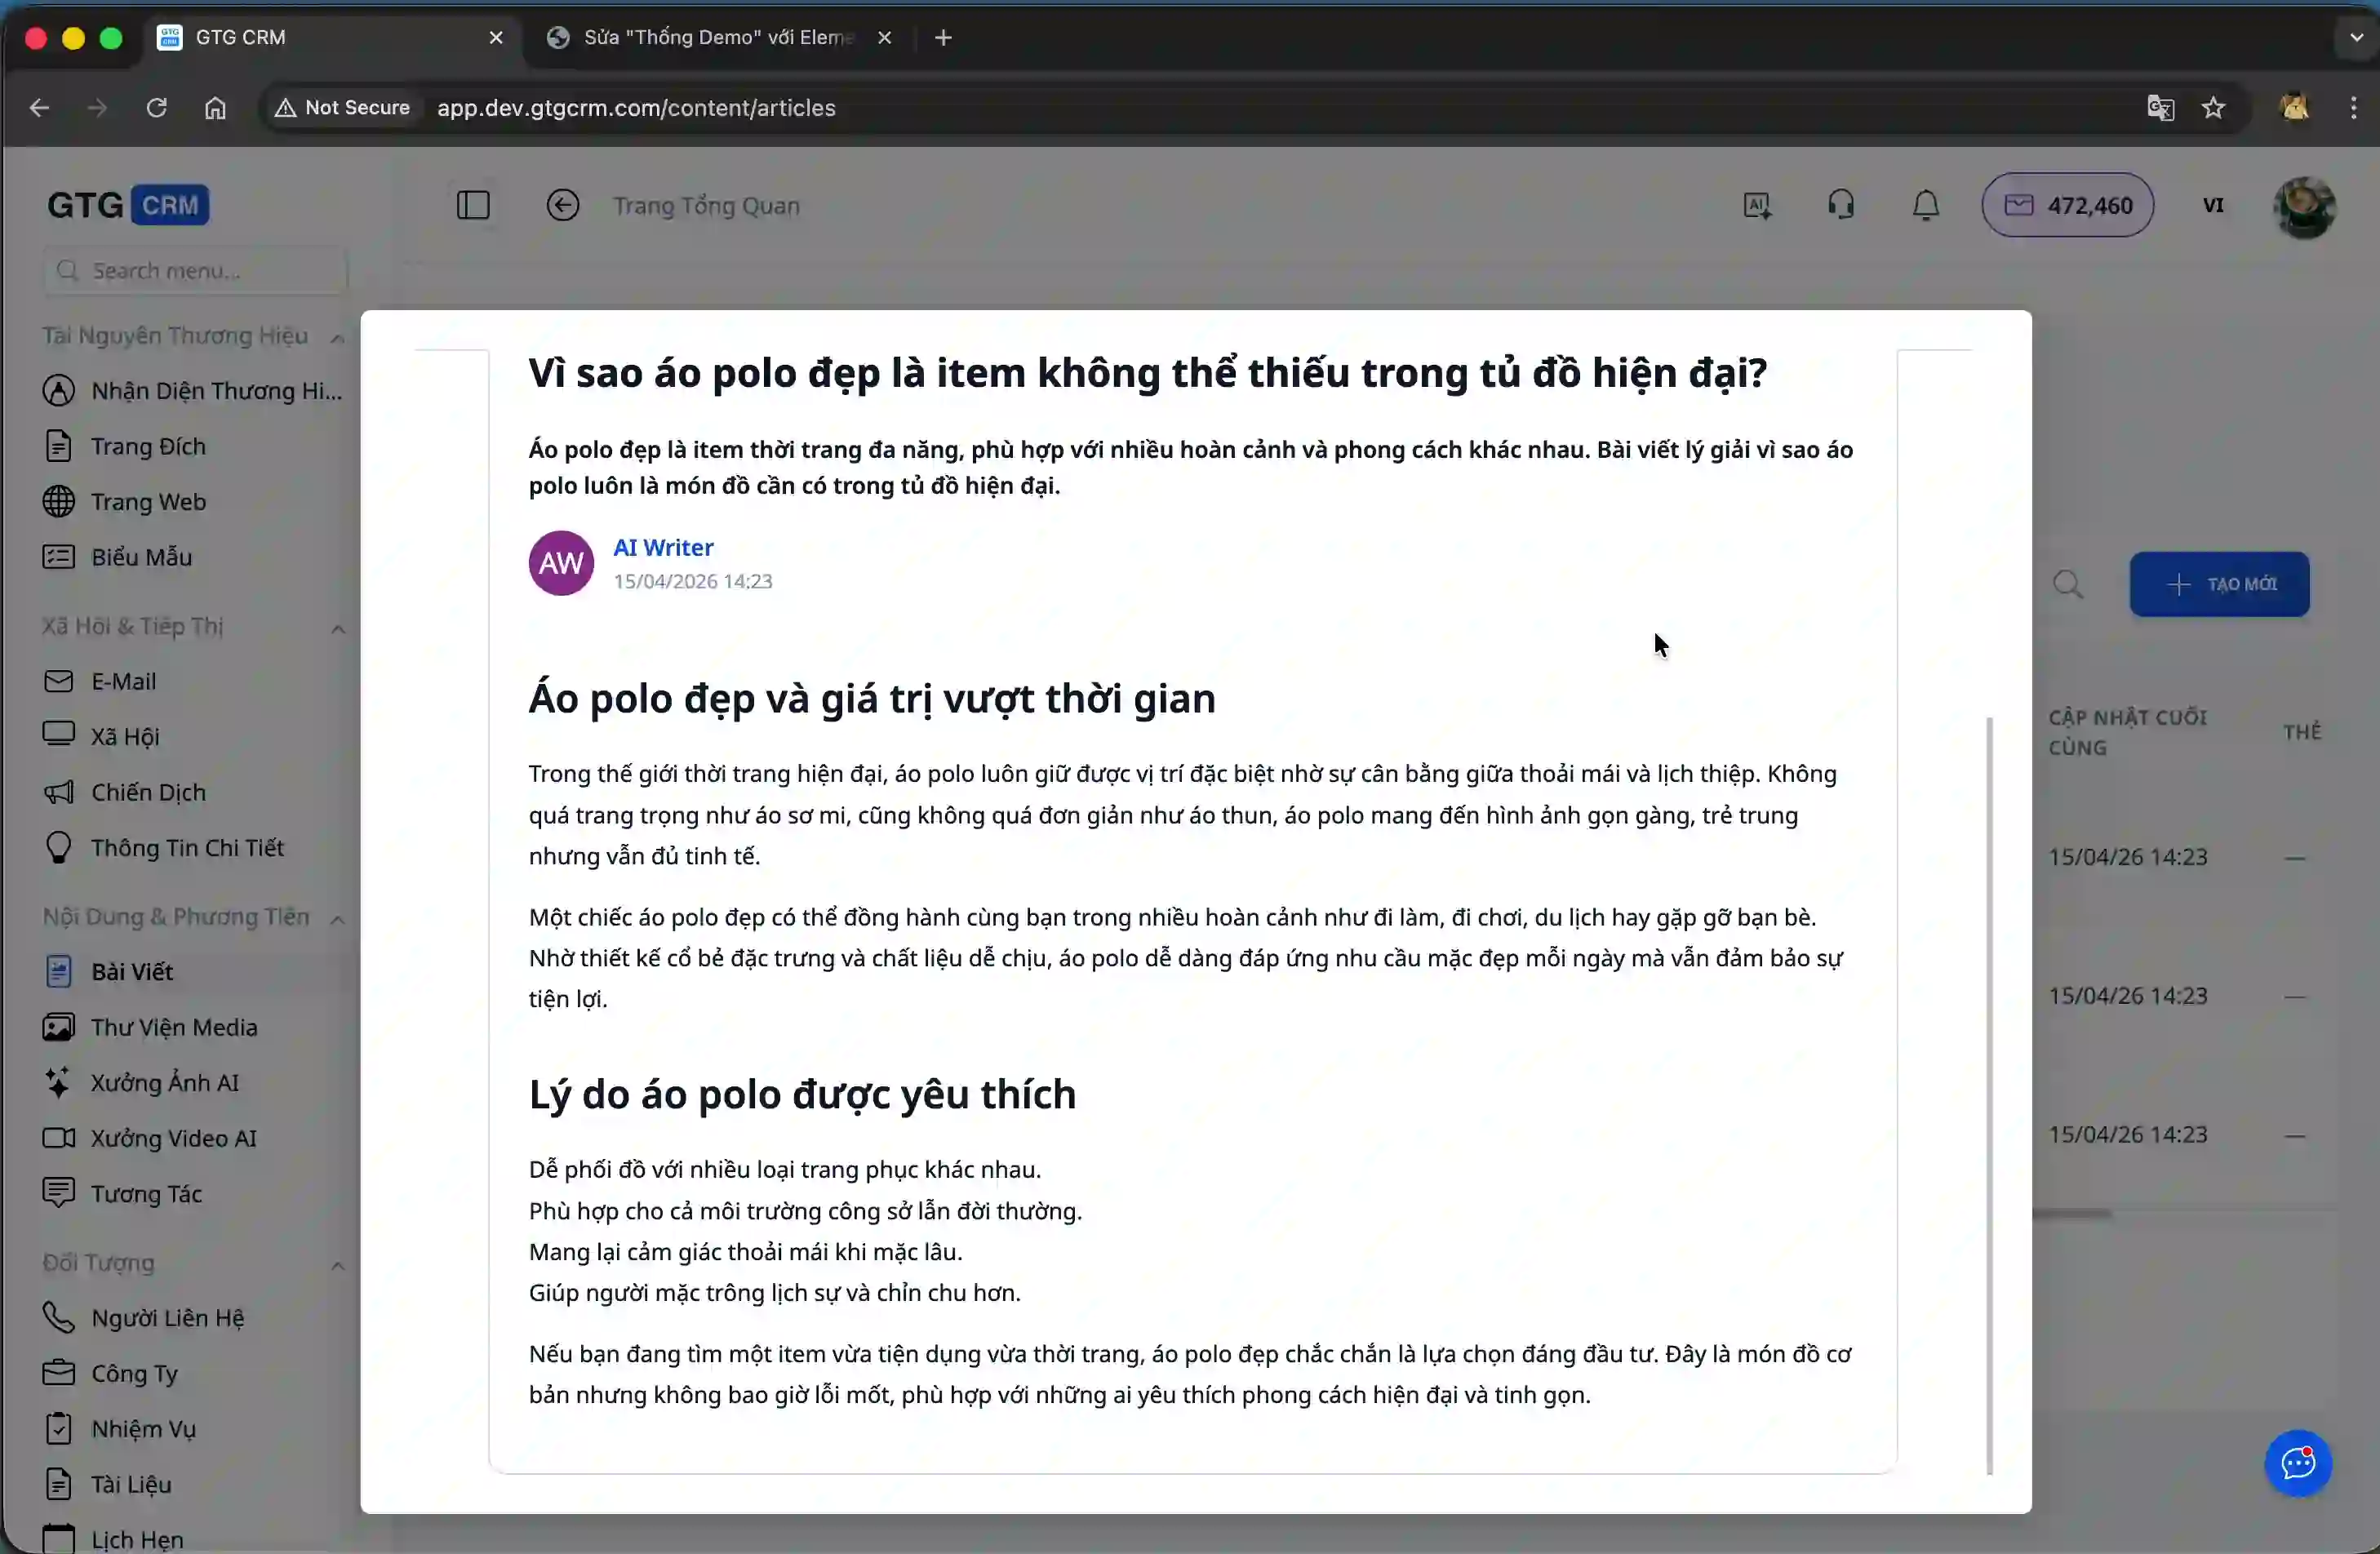
You can preview each article to check the content before publishing it to the website.
Step 2: Access the integrated function
From the left-hand menu of GTG CRM, scroll to the bottom and click on "Settings".
In the Settings page, select "Integration" to access tools that integrate with external websites.
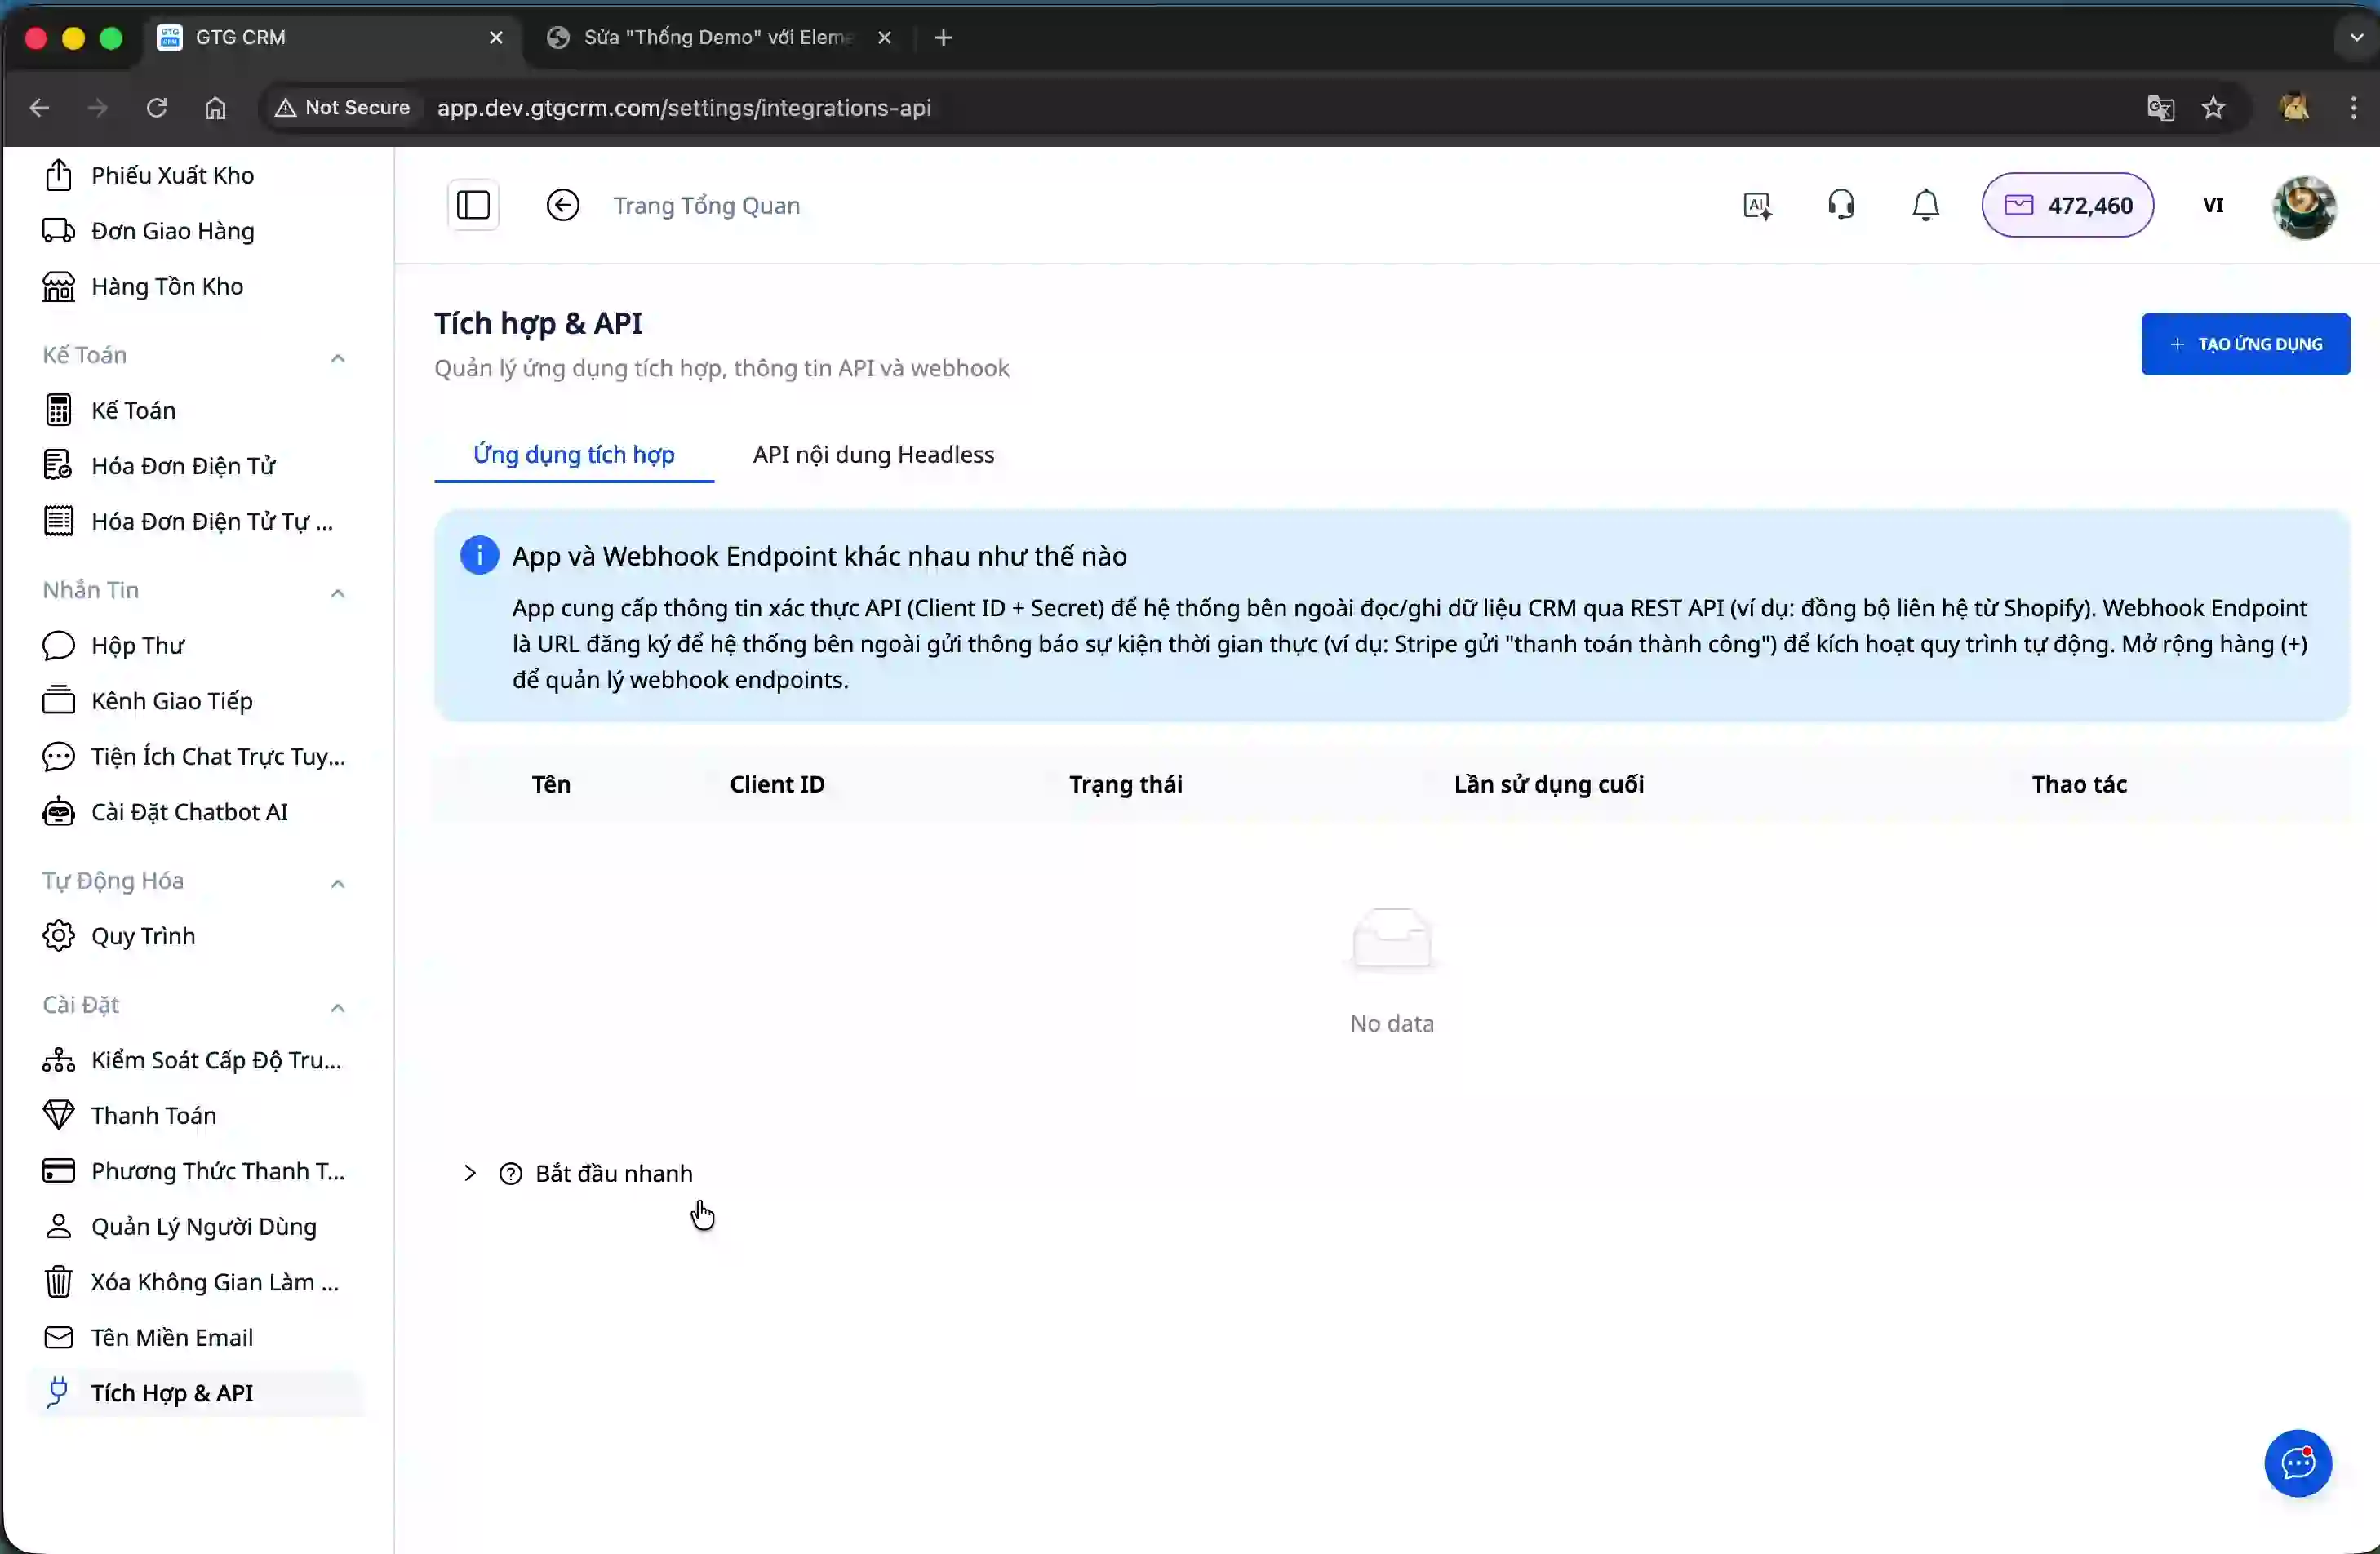
Here, the system provides a Headless CMS API that allows you to retrieve content from GTG CRM and display it on any website. You will find detailed instructions for WordPress, React, and Next.js.
Step 3: Integrate the list of posts with WordPress
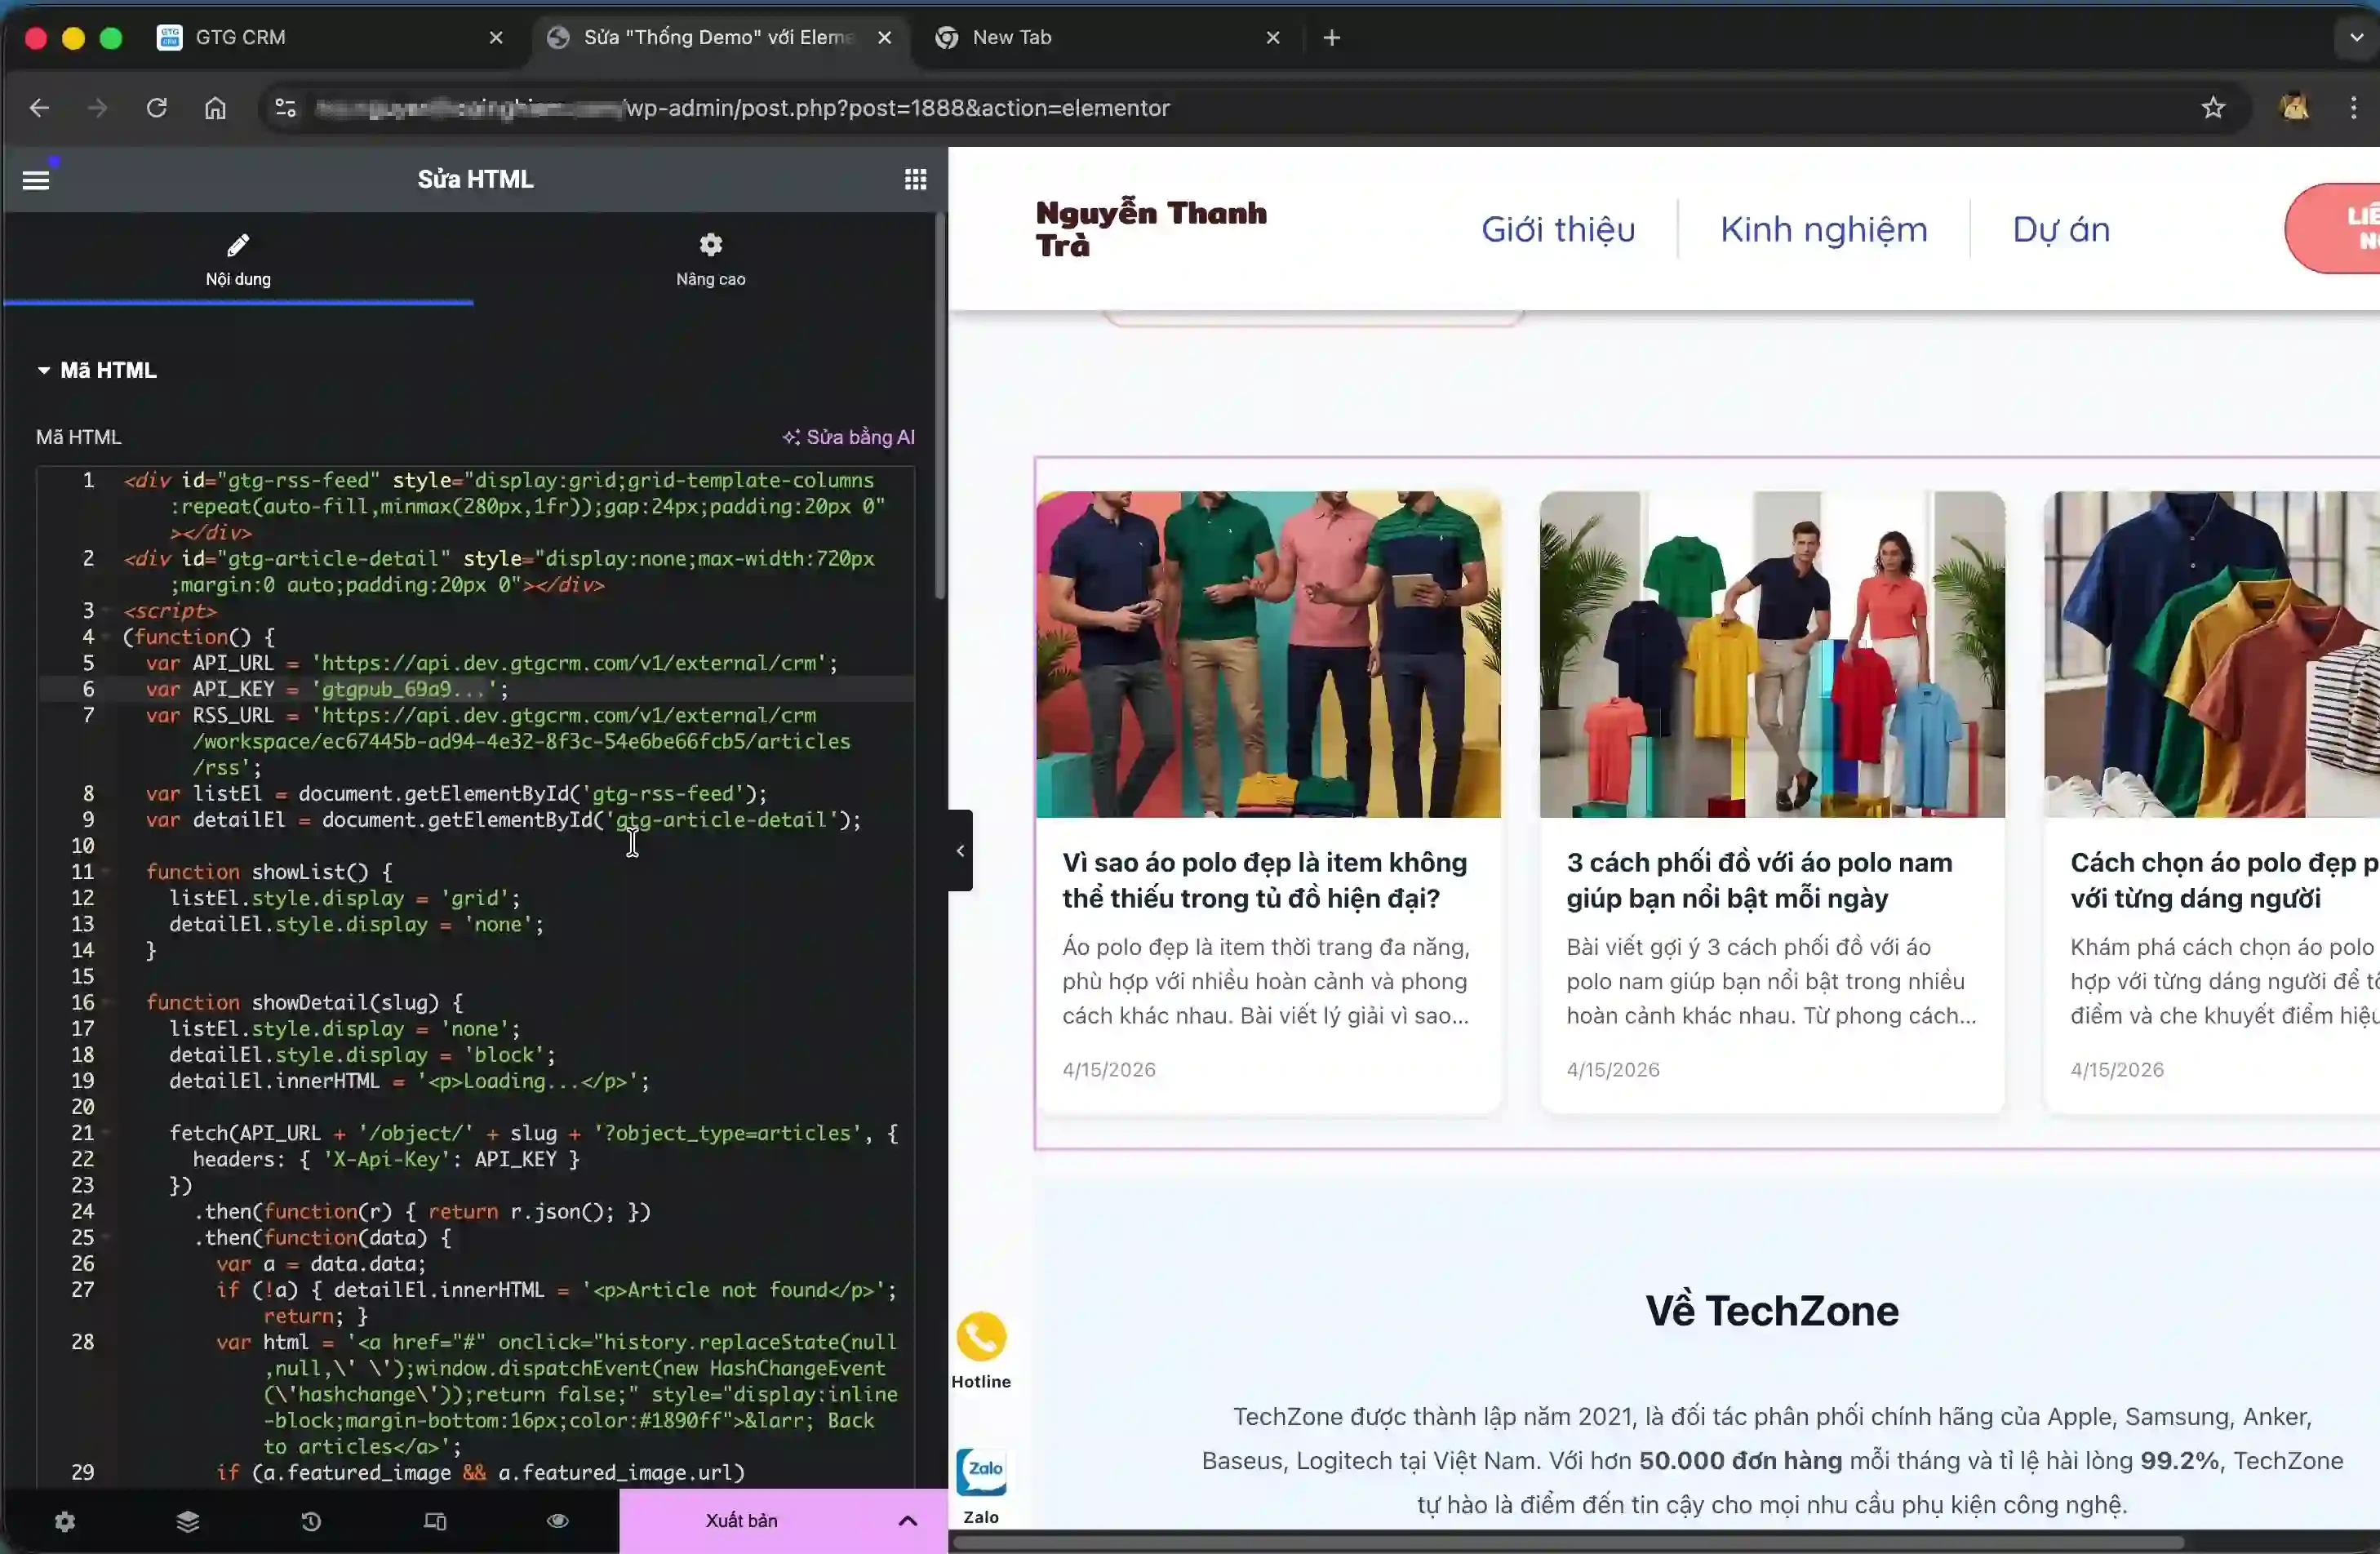
In the WordPress tutorial, the system will provide an HTML code snippet for you to embed into your website. Copy the entire code.
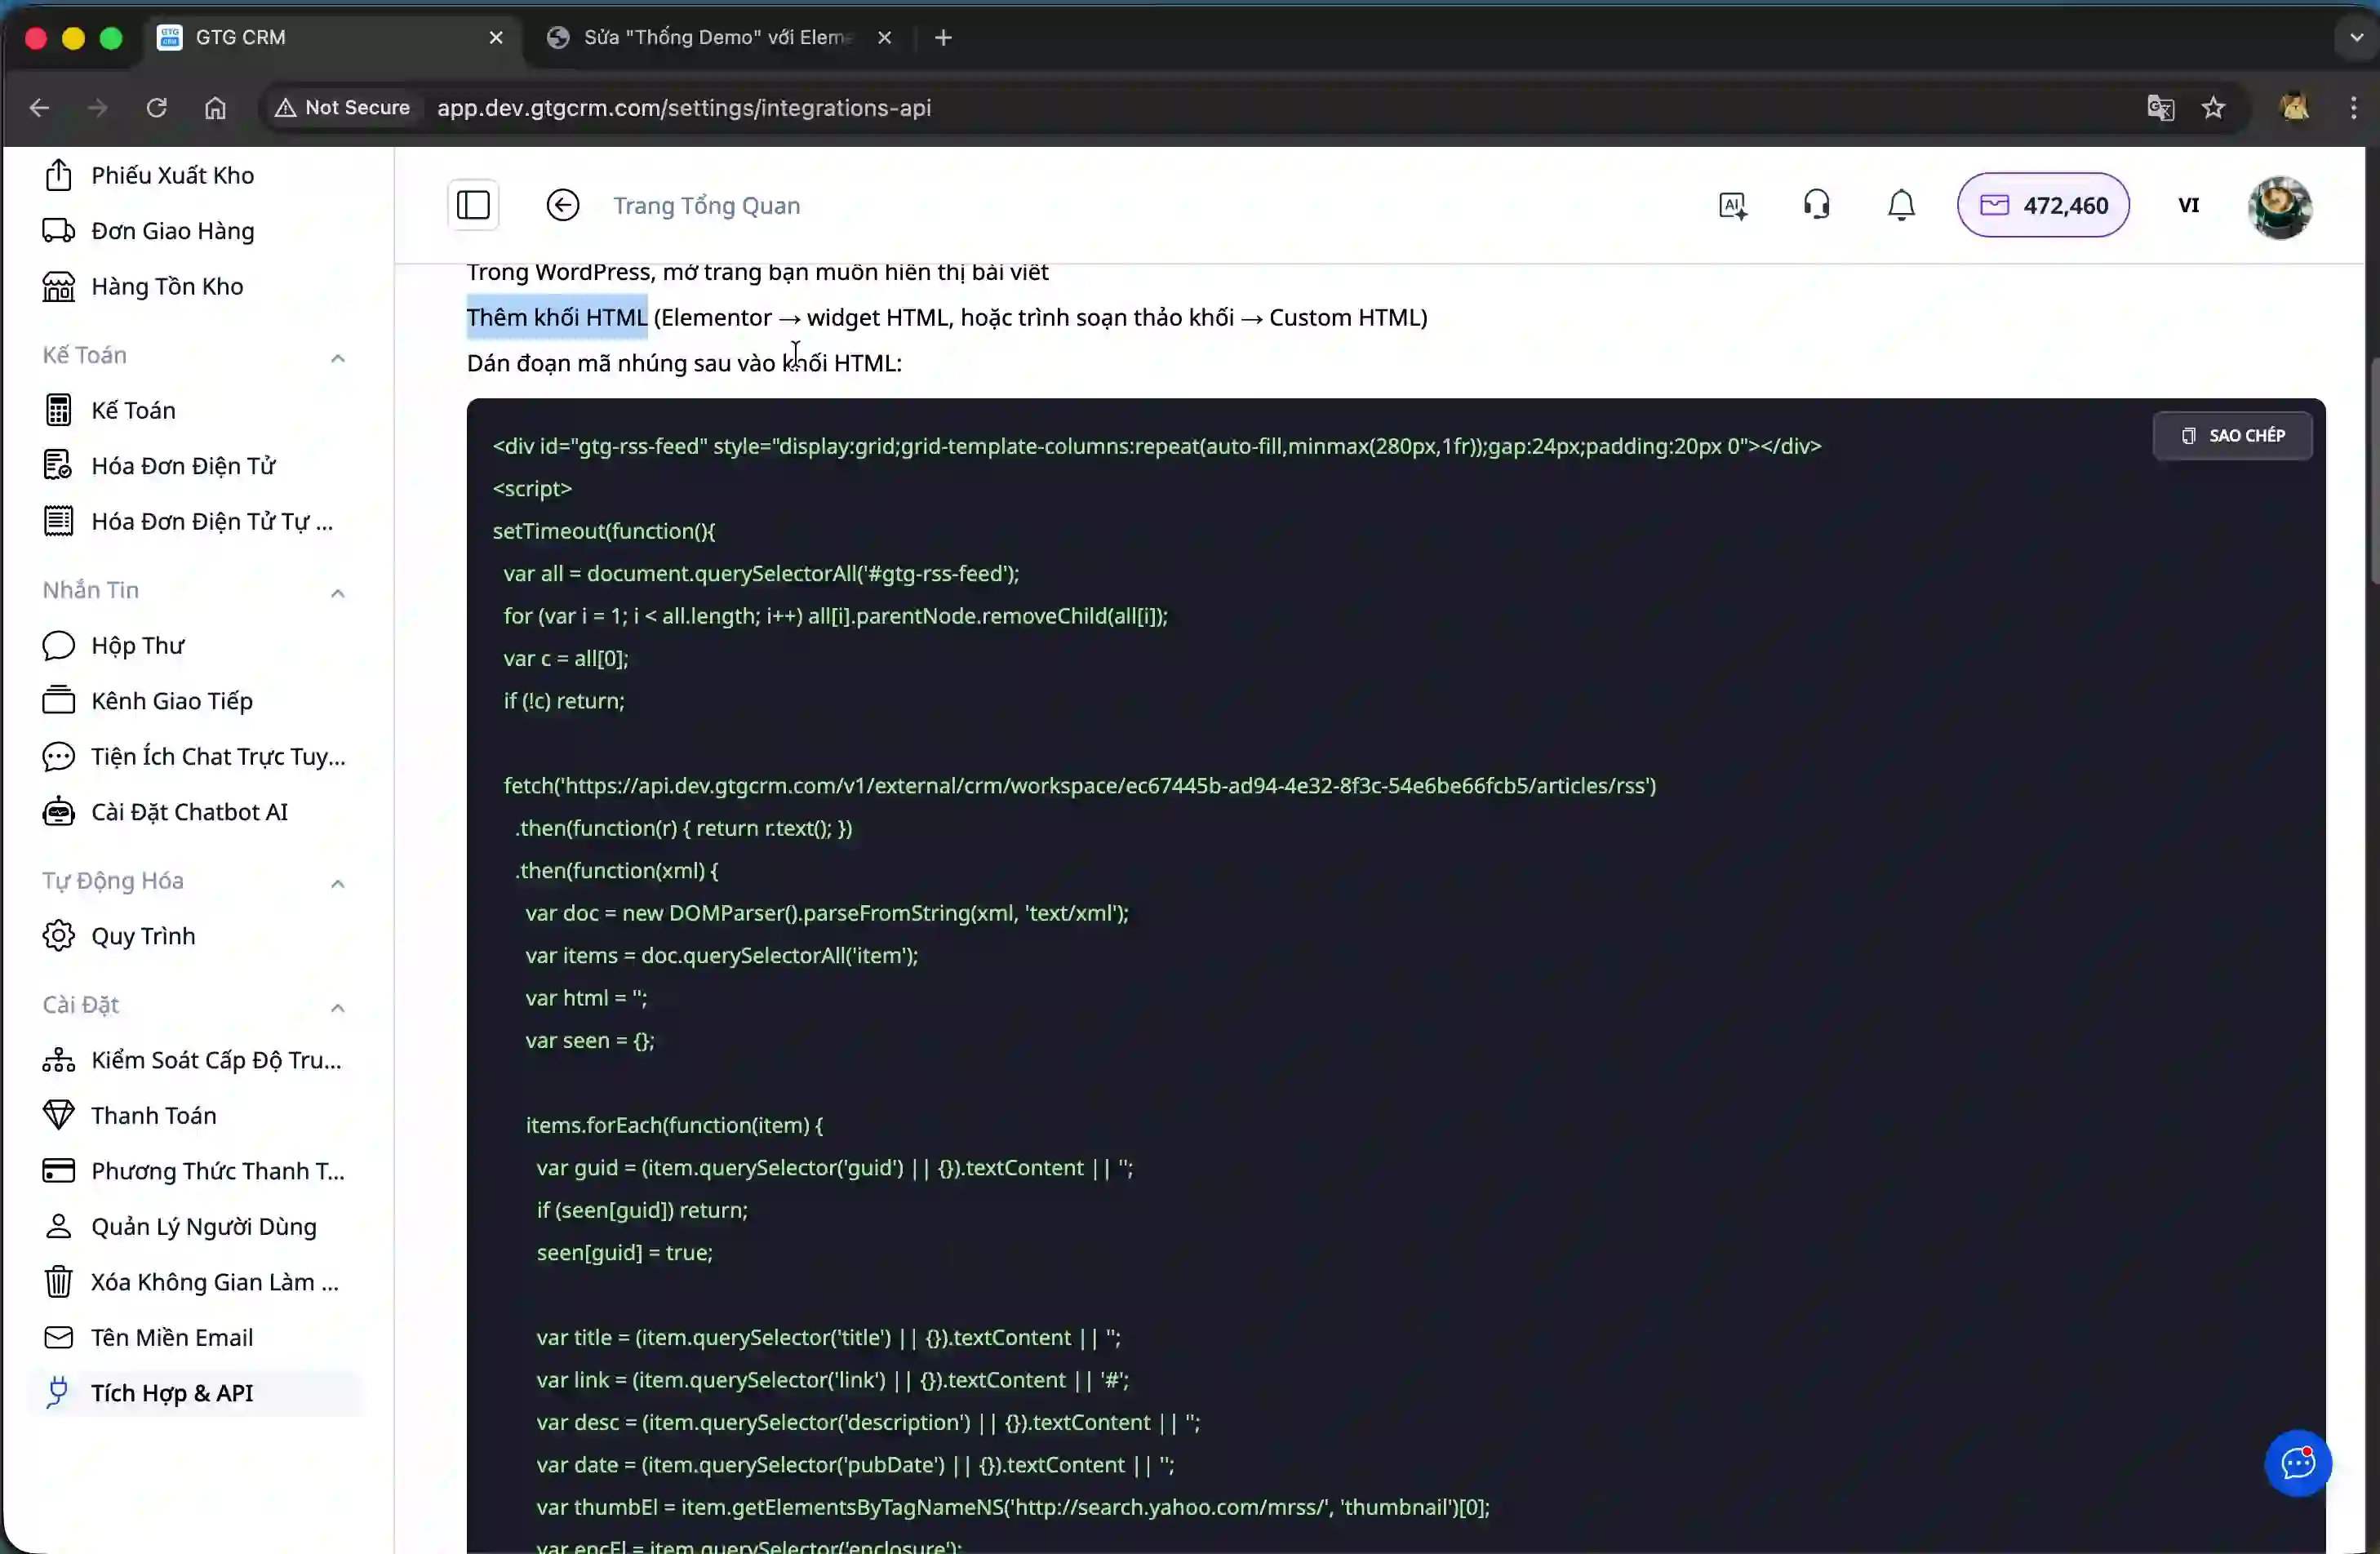
Open the WordPress page where you want to display the list of posts. In the editor, add a new block and select the block type "Custom HTML".
Paste the copied code into this HTML block, then save the page.
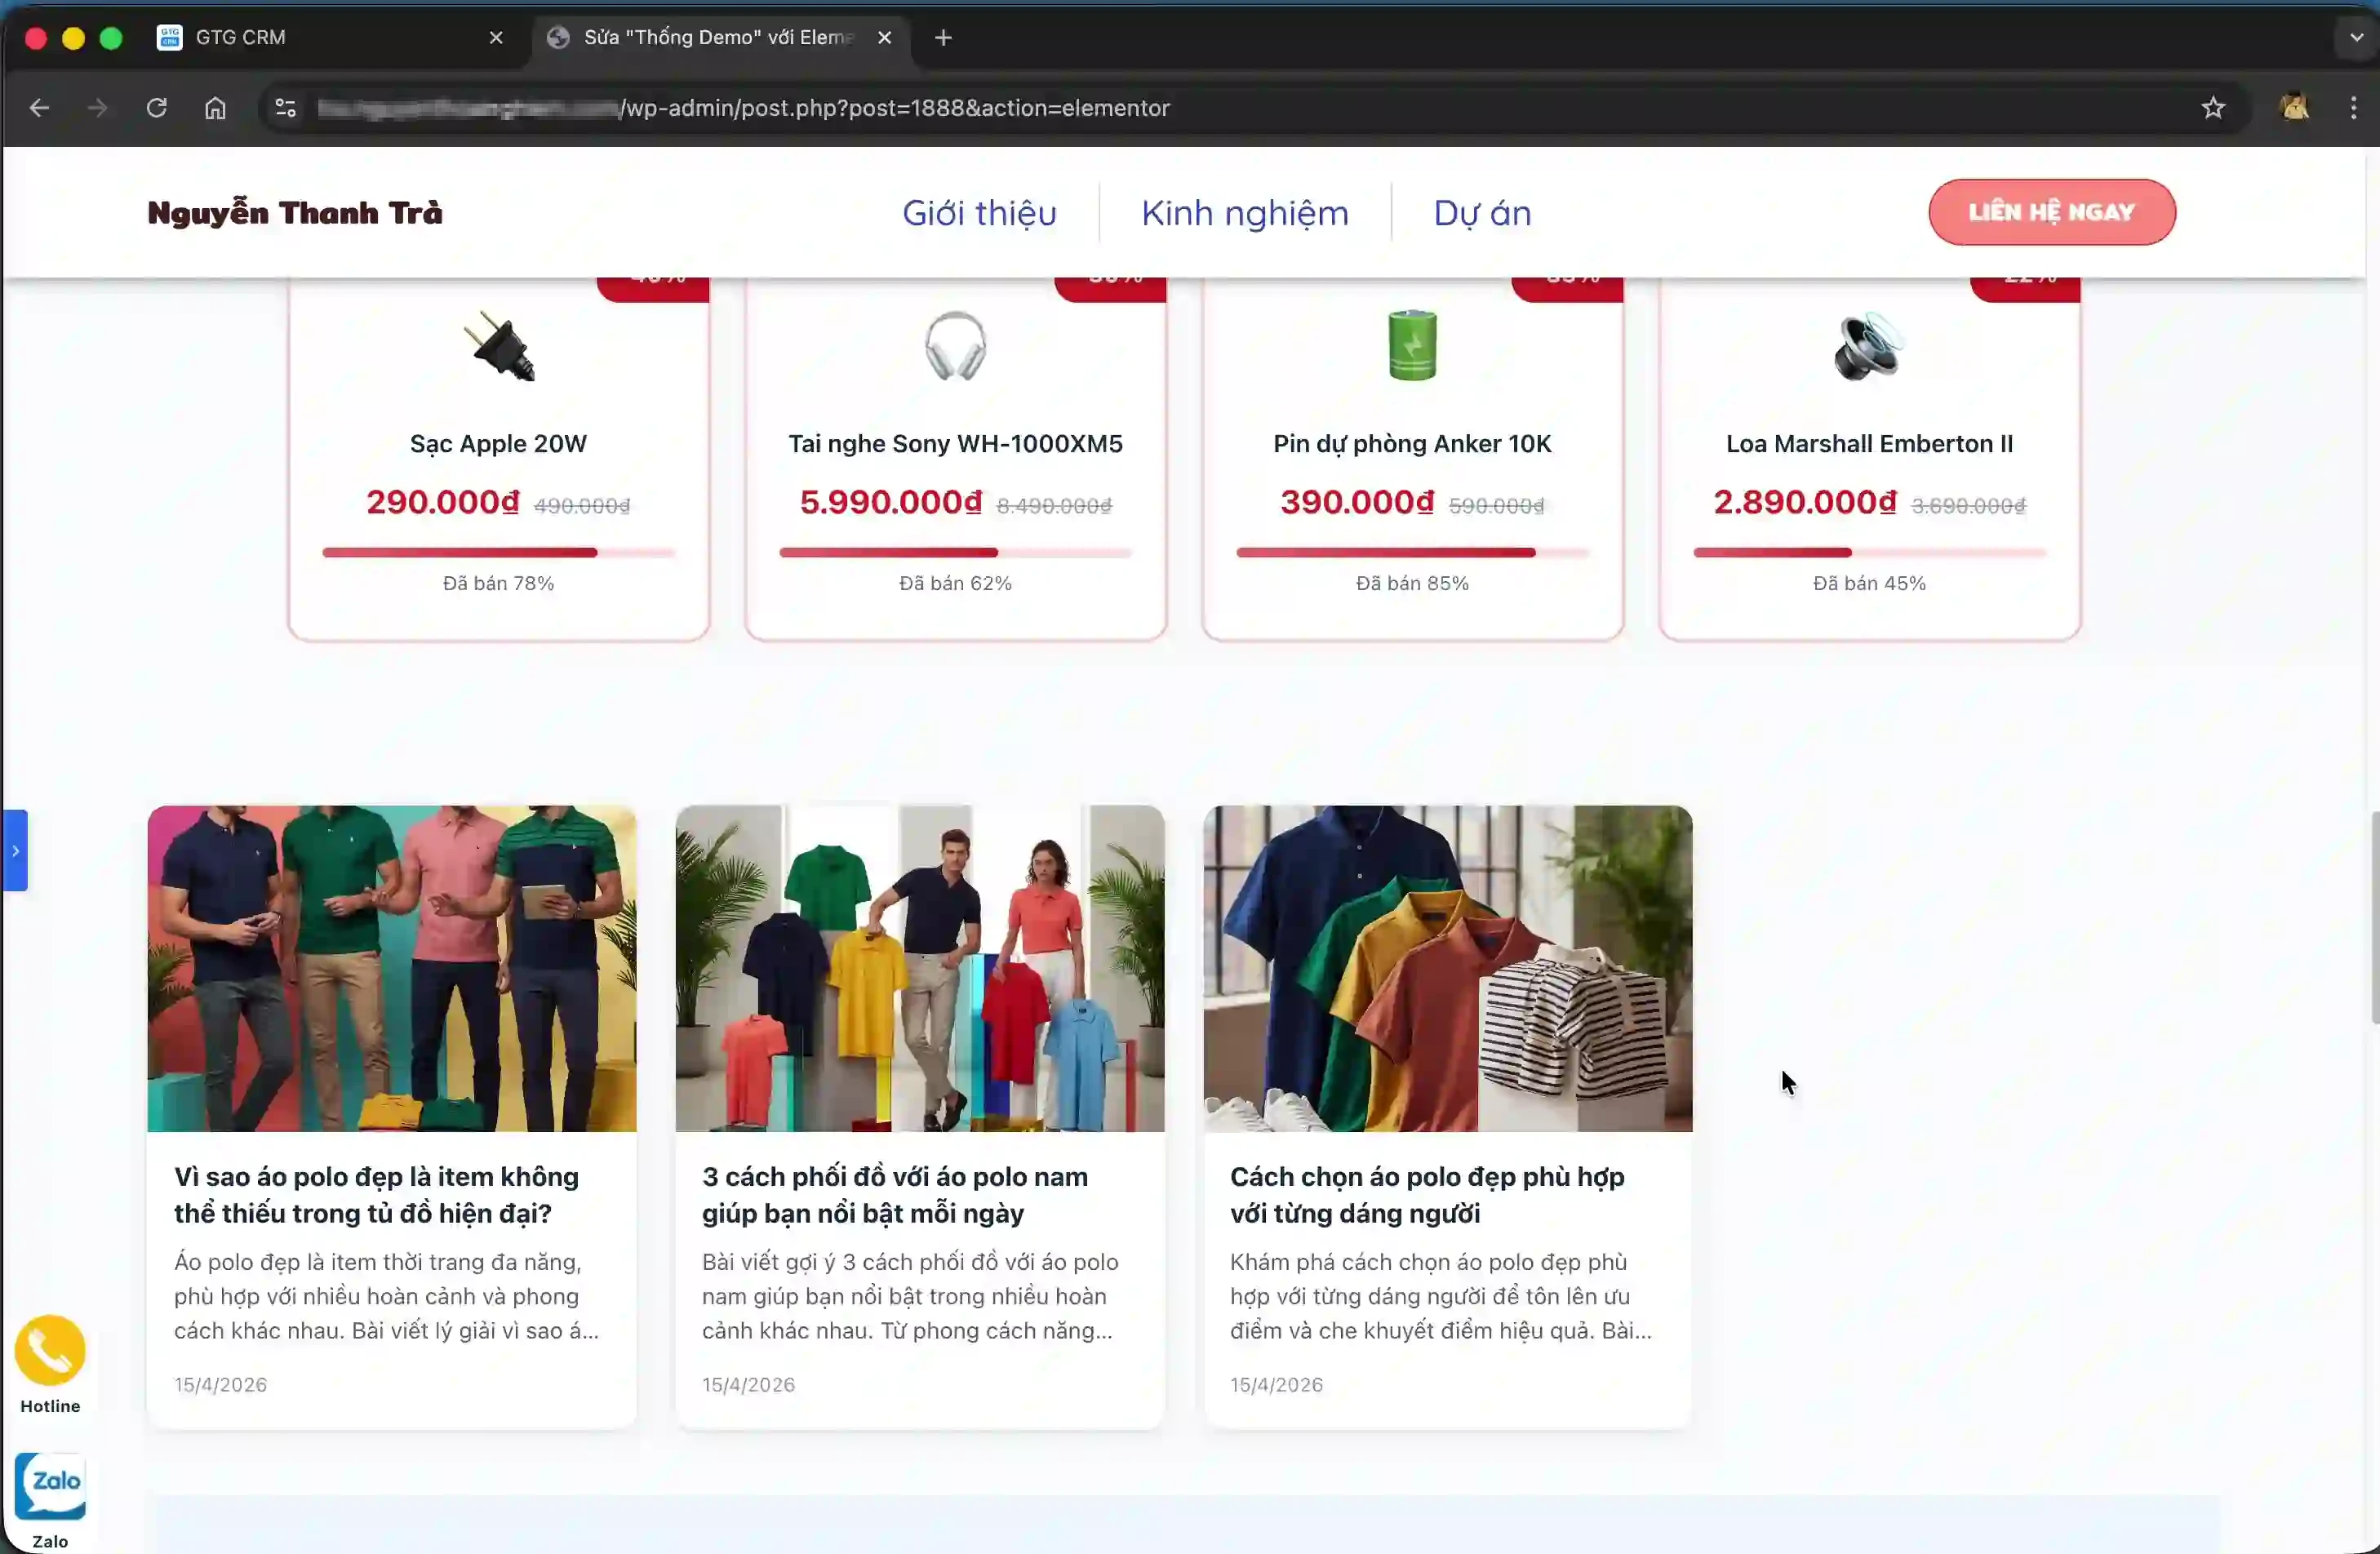
When you view the page on the website, a list of articles from GTG CRM will be displayed with an automatically integrated interface.
Step 4: Create an API Key to view article details.
To allow users to click on and view the details of each post, you need to create an API Key. Go back to the Integrations page in GTG CRM and click the "Create API Key" button.
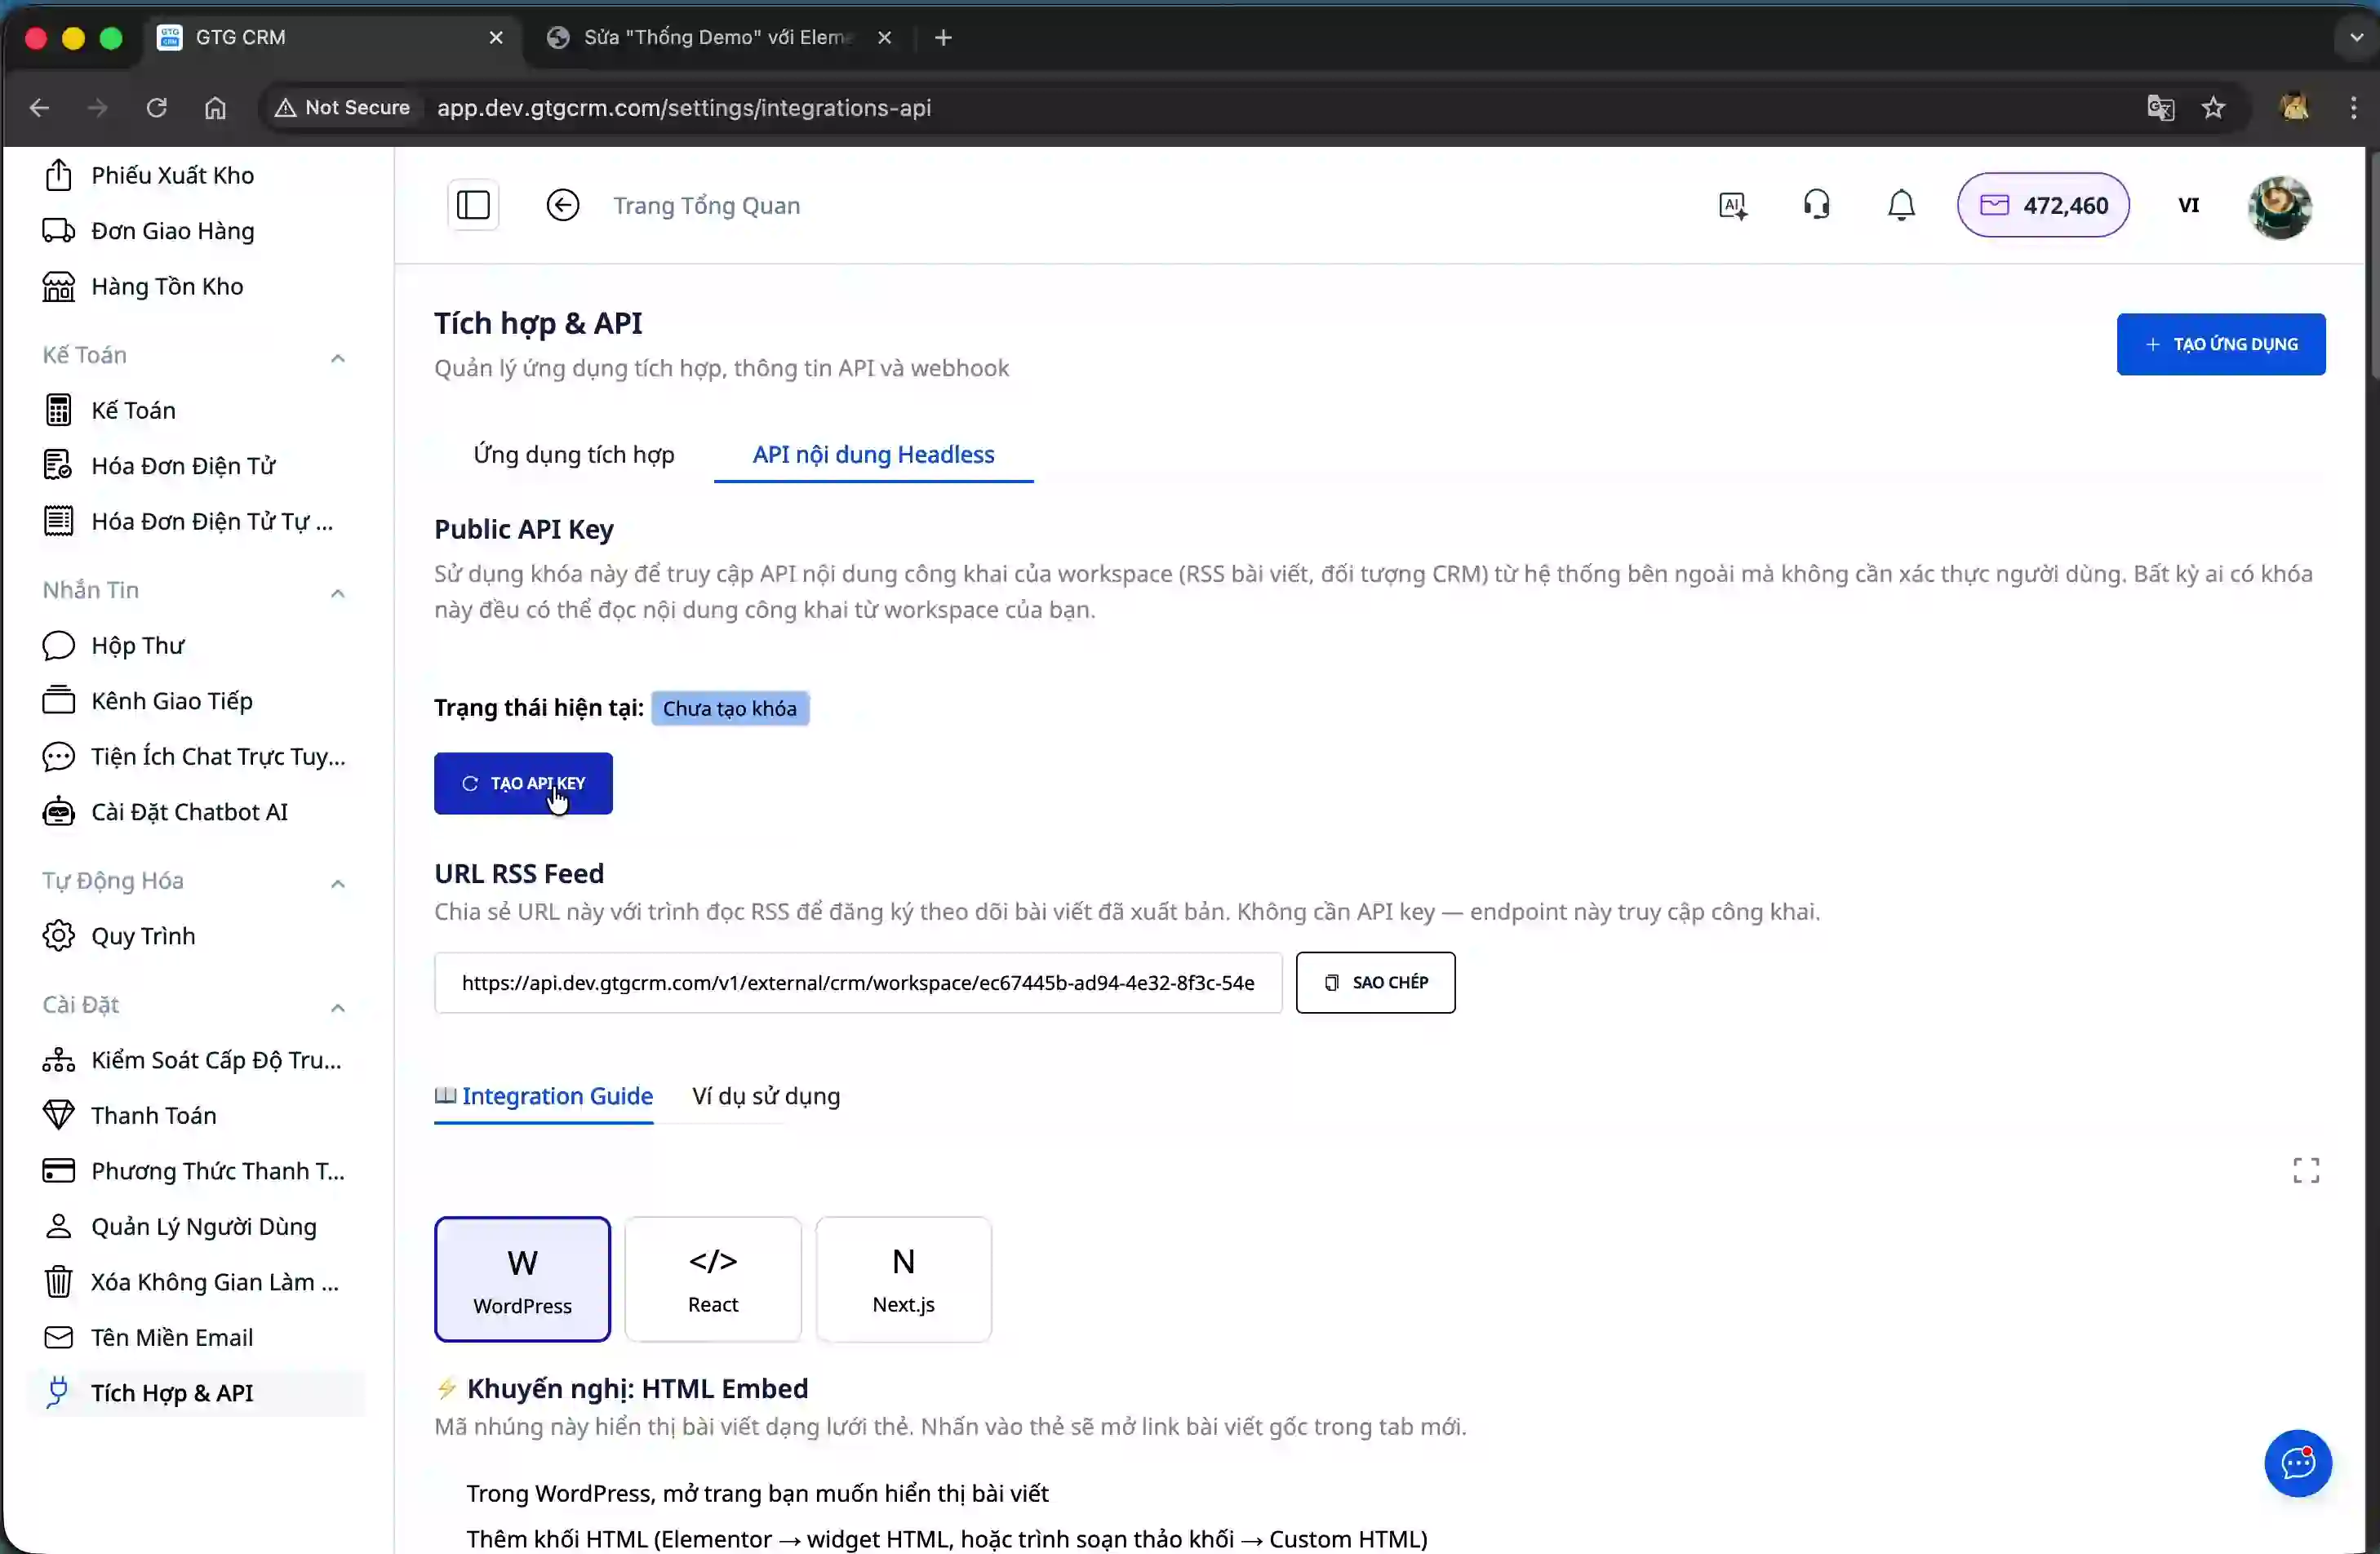
The system will generate a unique API Key. Copy this API Key and save it safely, as you will need it in the next step.
Step 5: Integrate the post details page
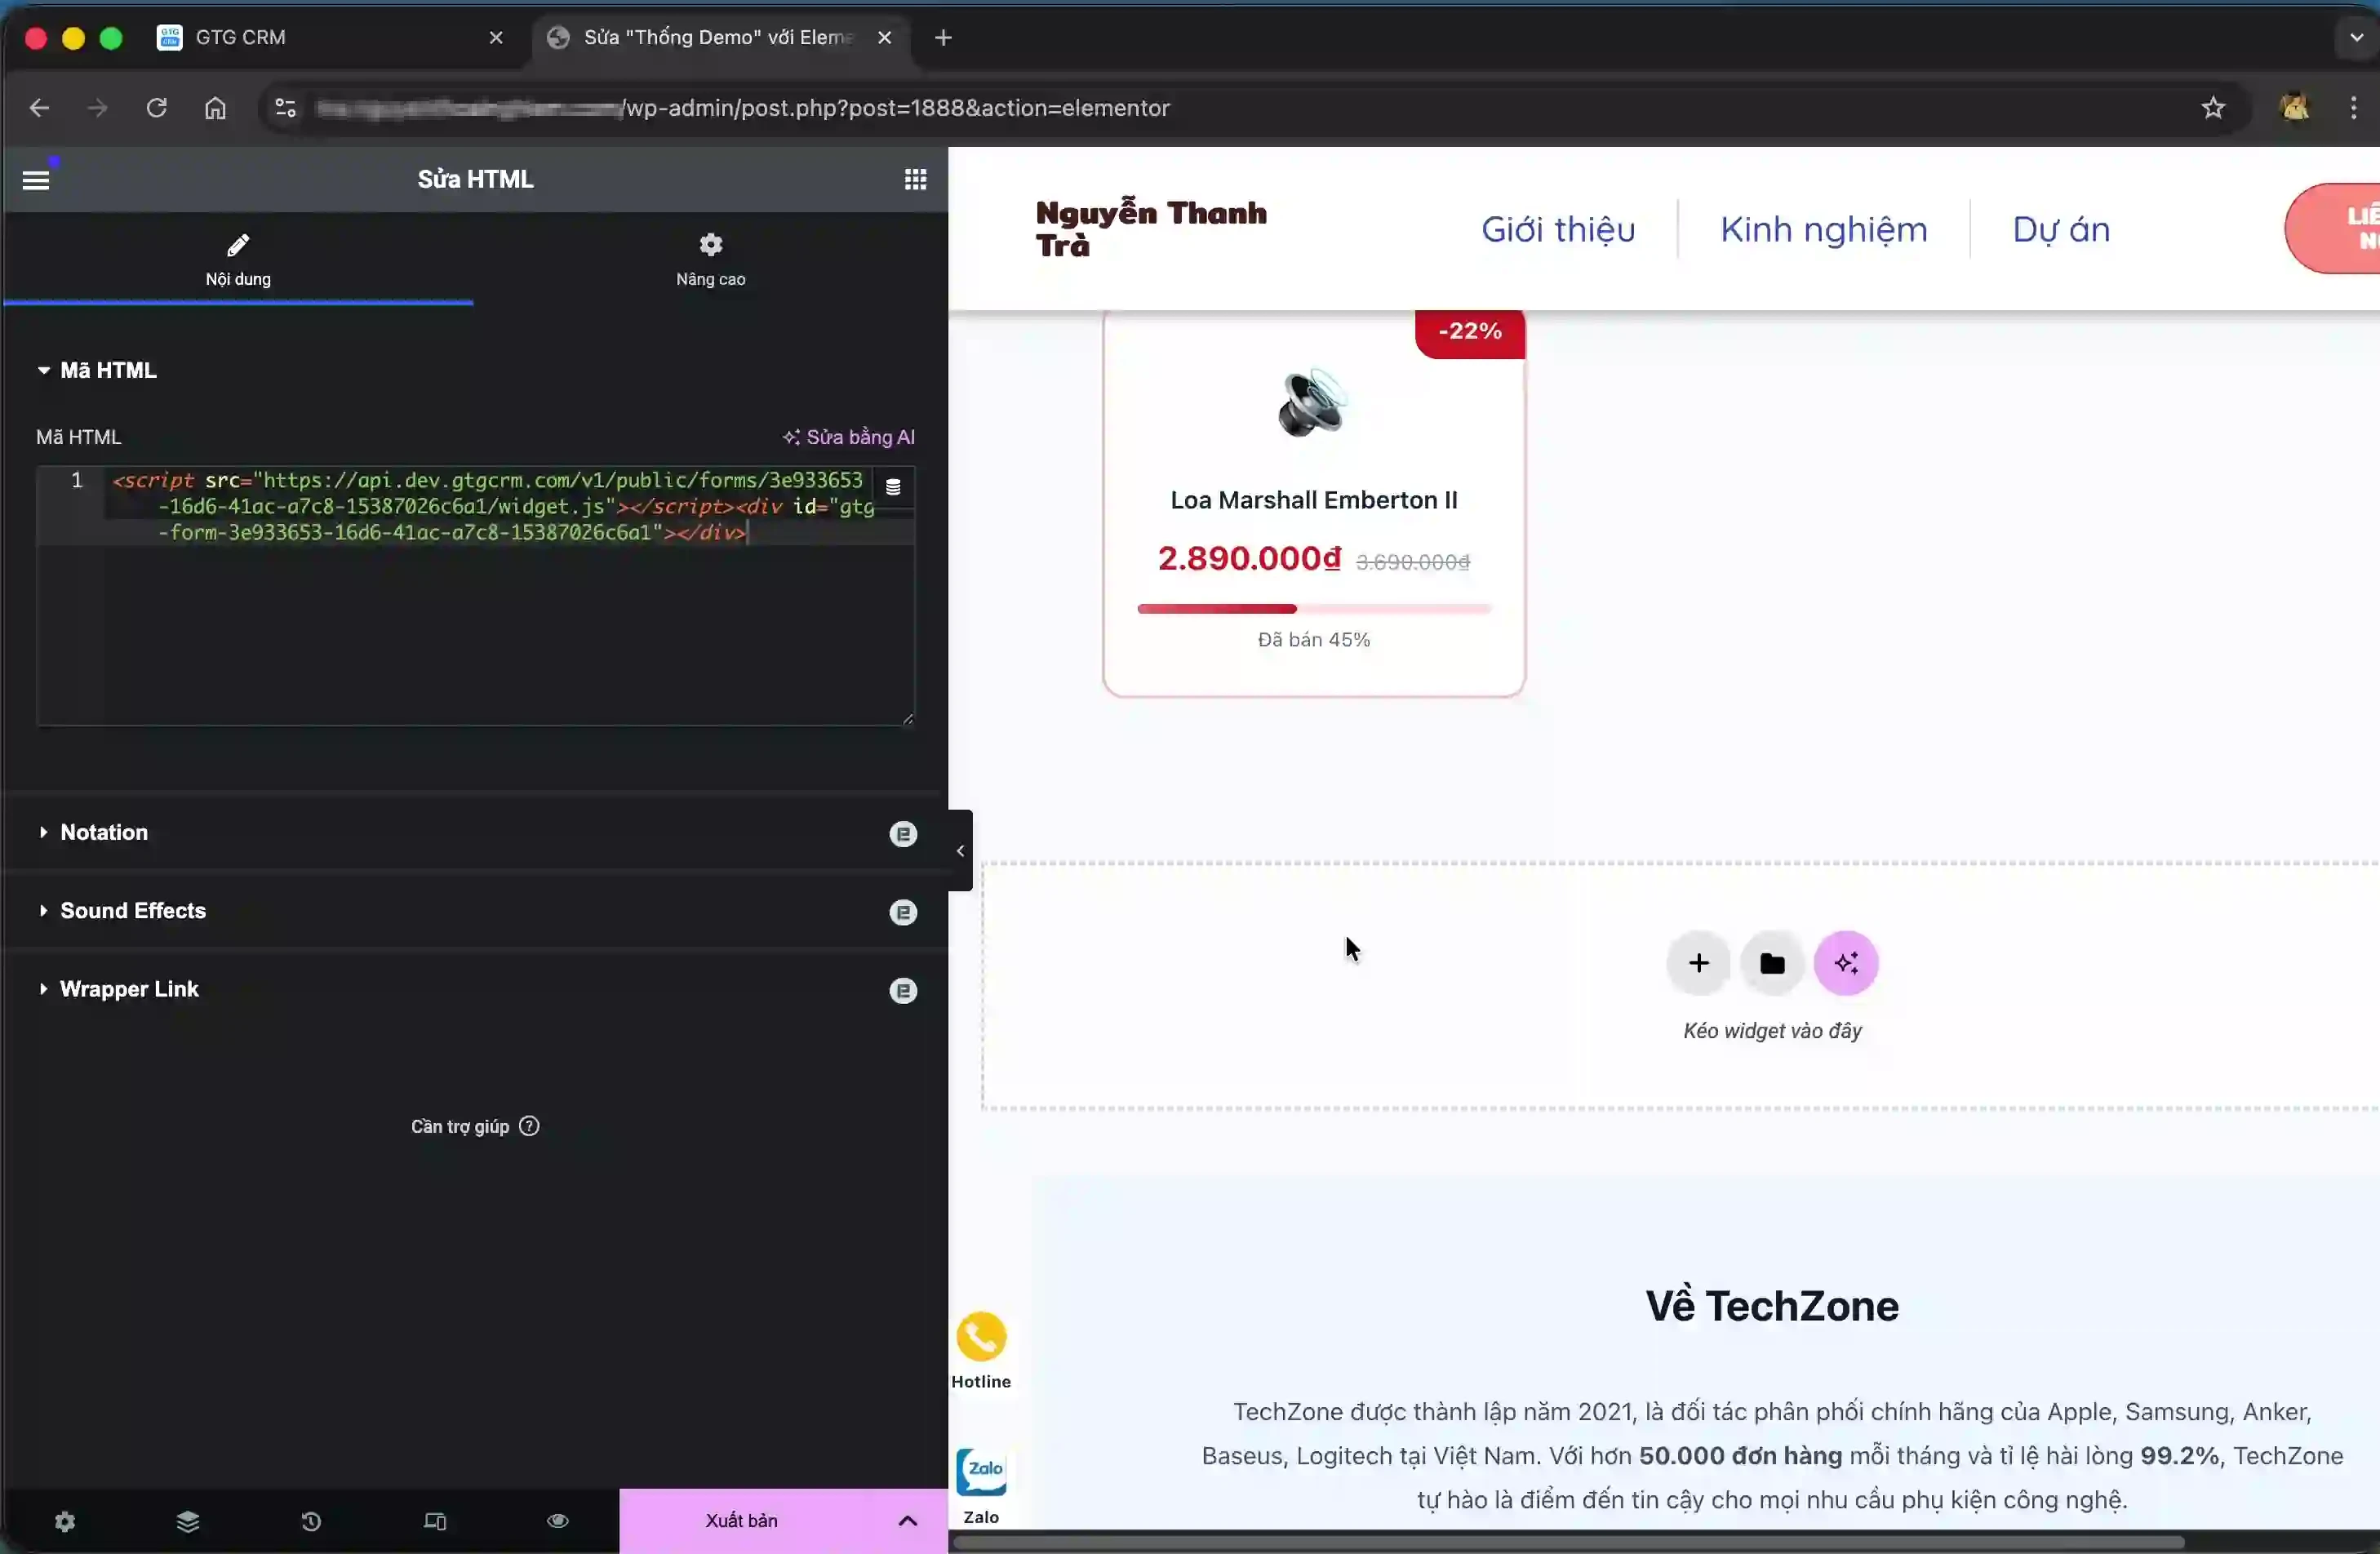
Scroll down to the second section of instructions on "Post List + Post Details". Copy the corresponding HTML code.

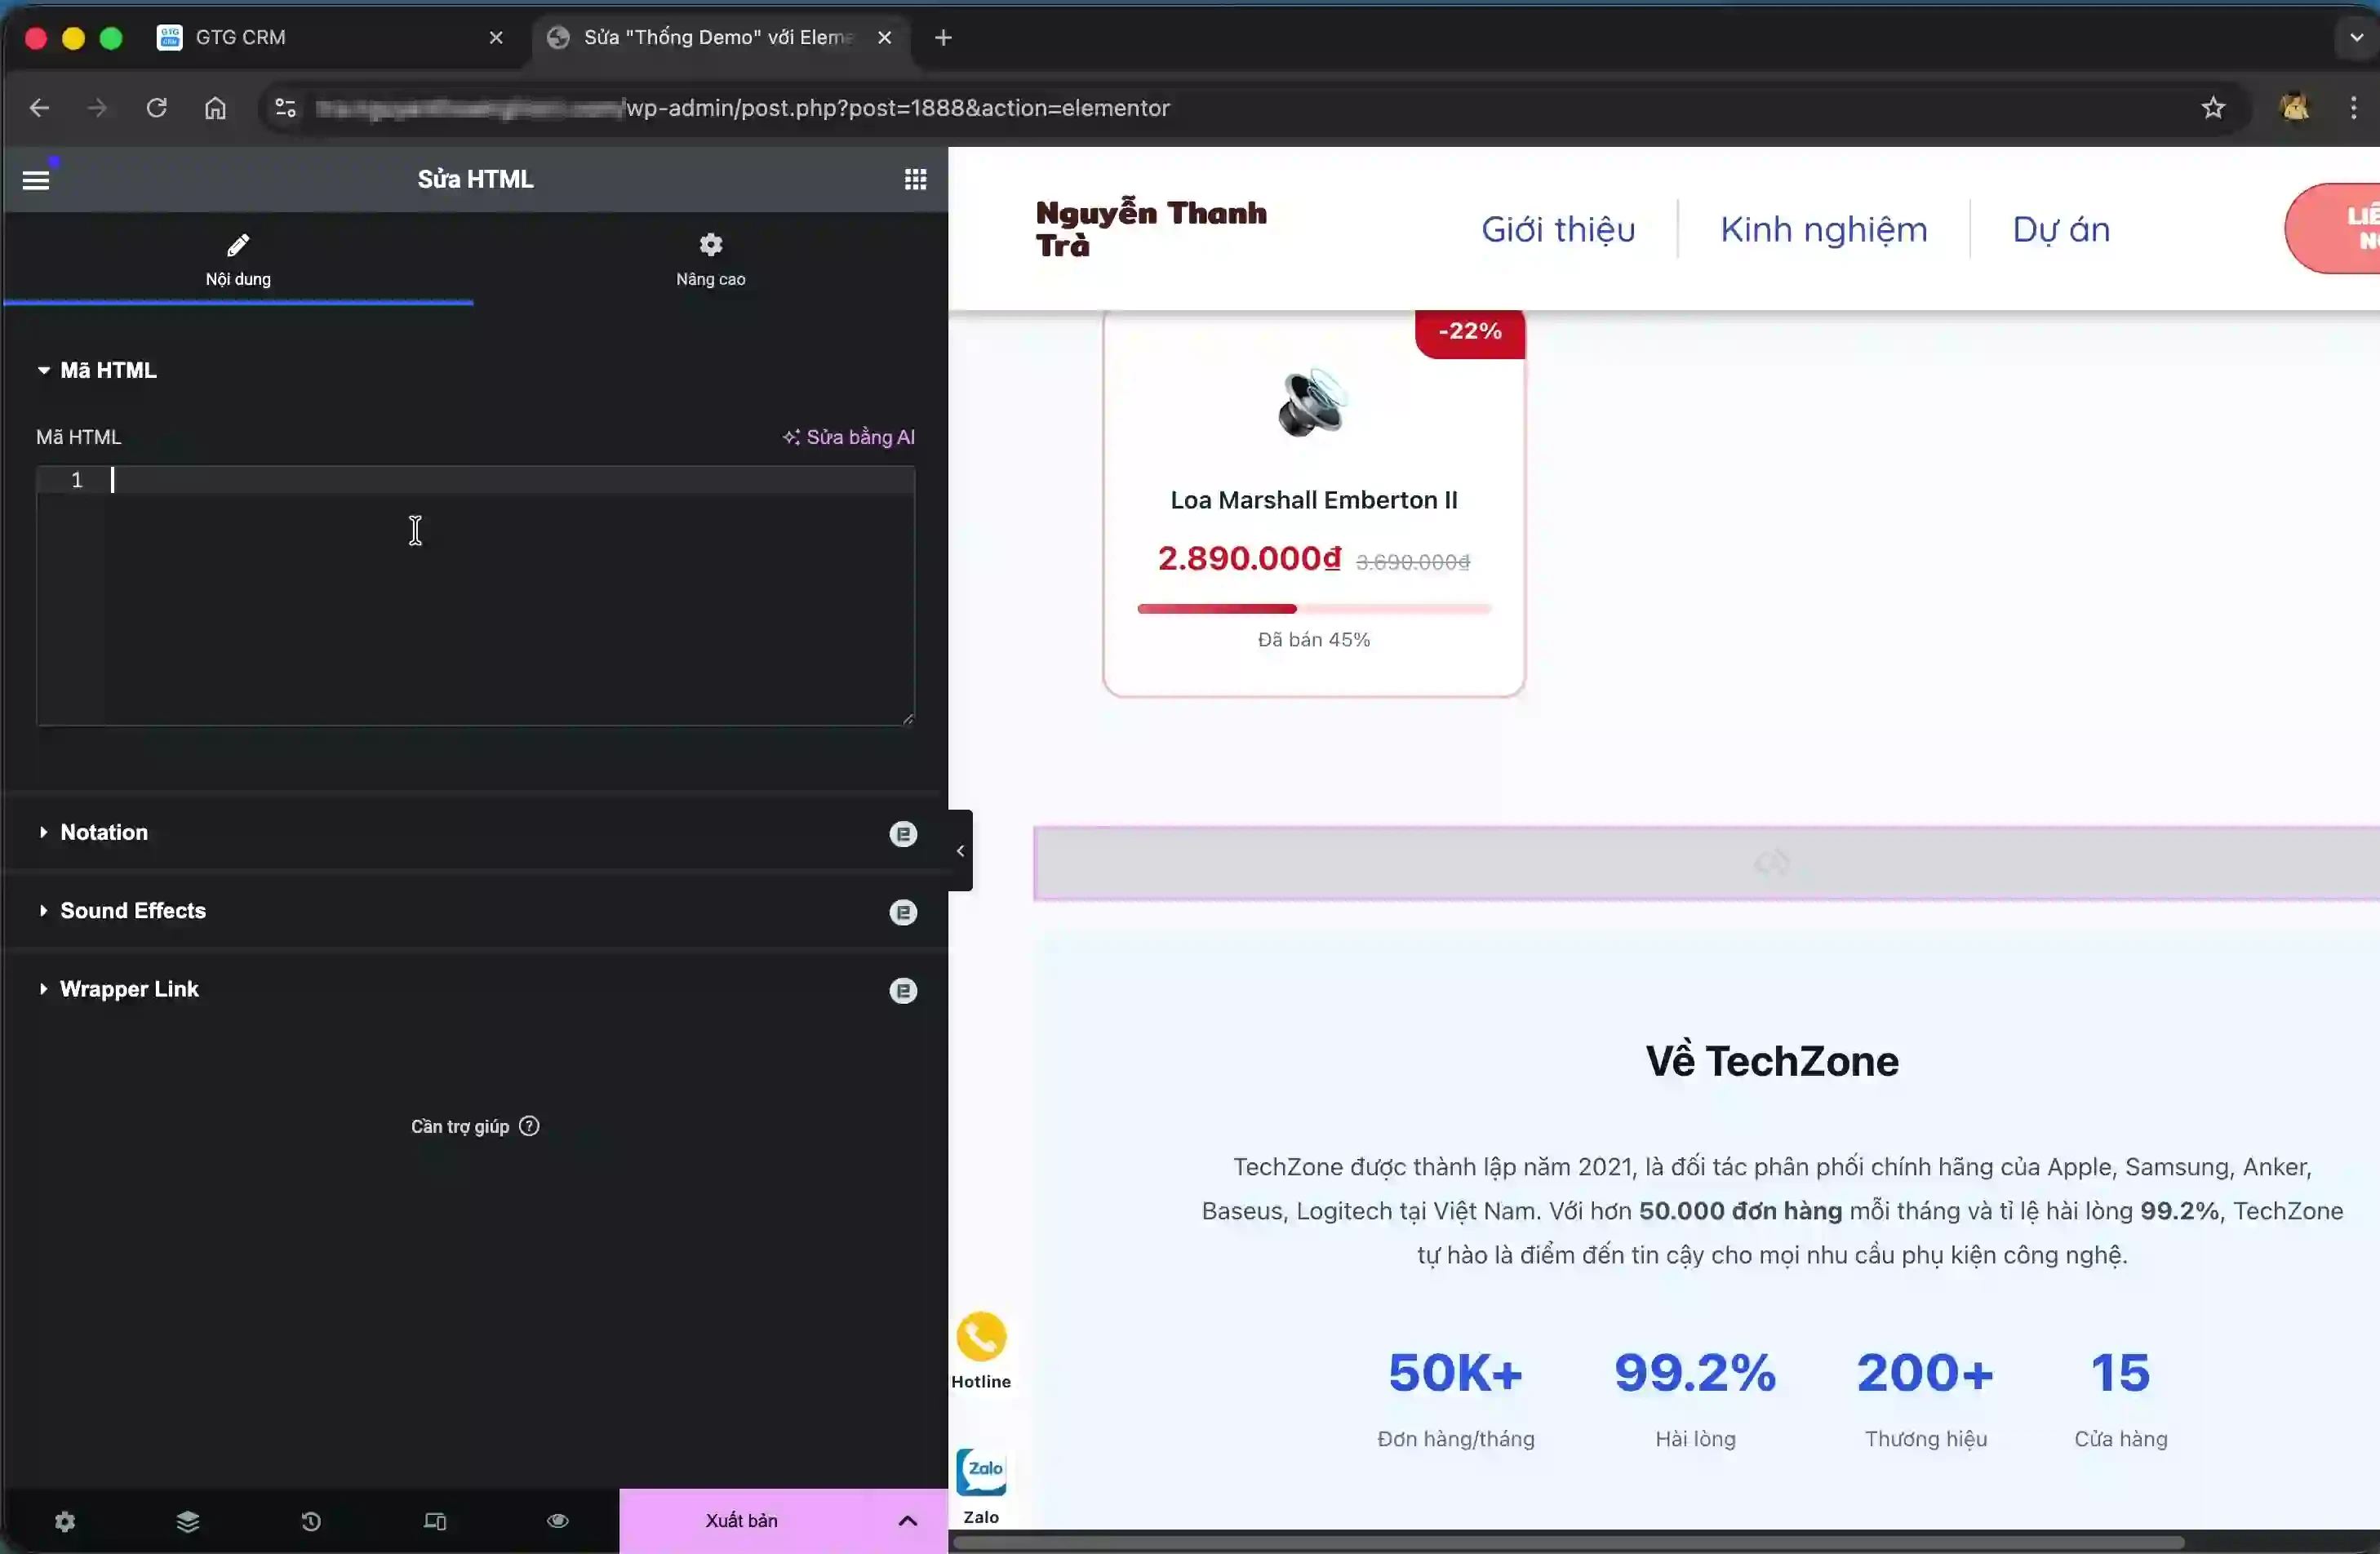
Similar to step 3, add a new Custom HTML block to WordPress and paste the code into it.
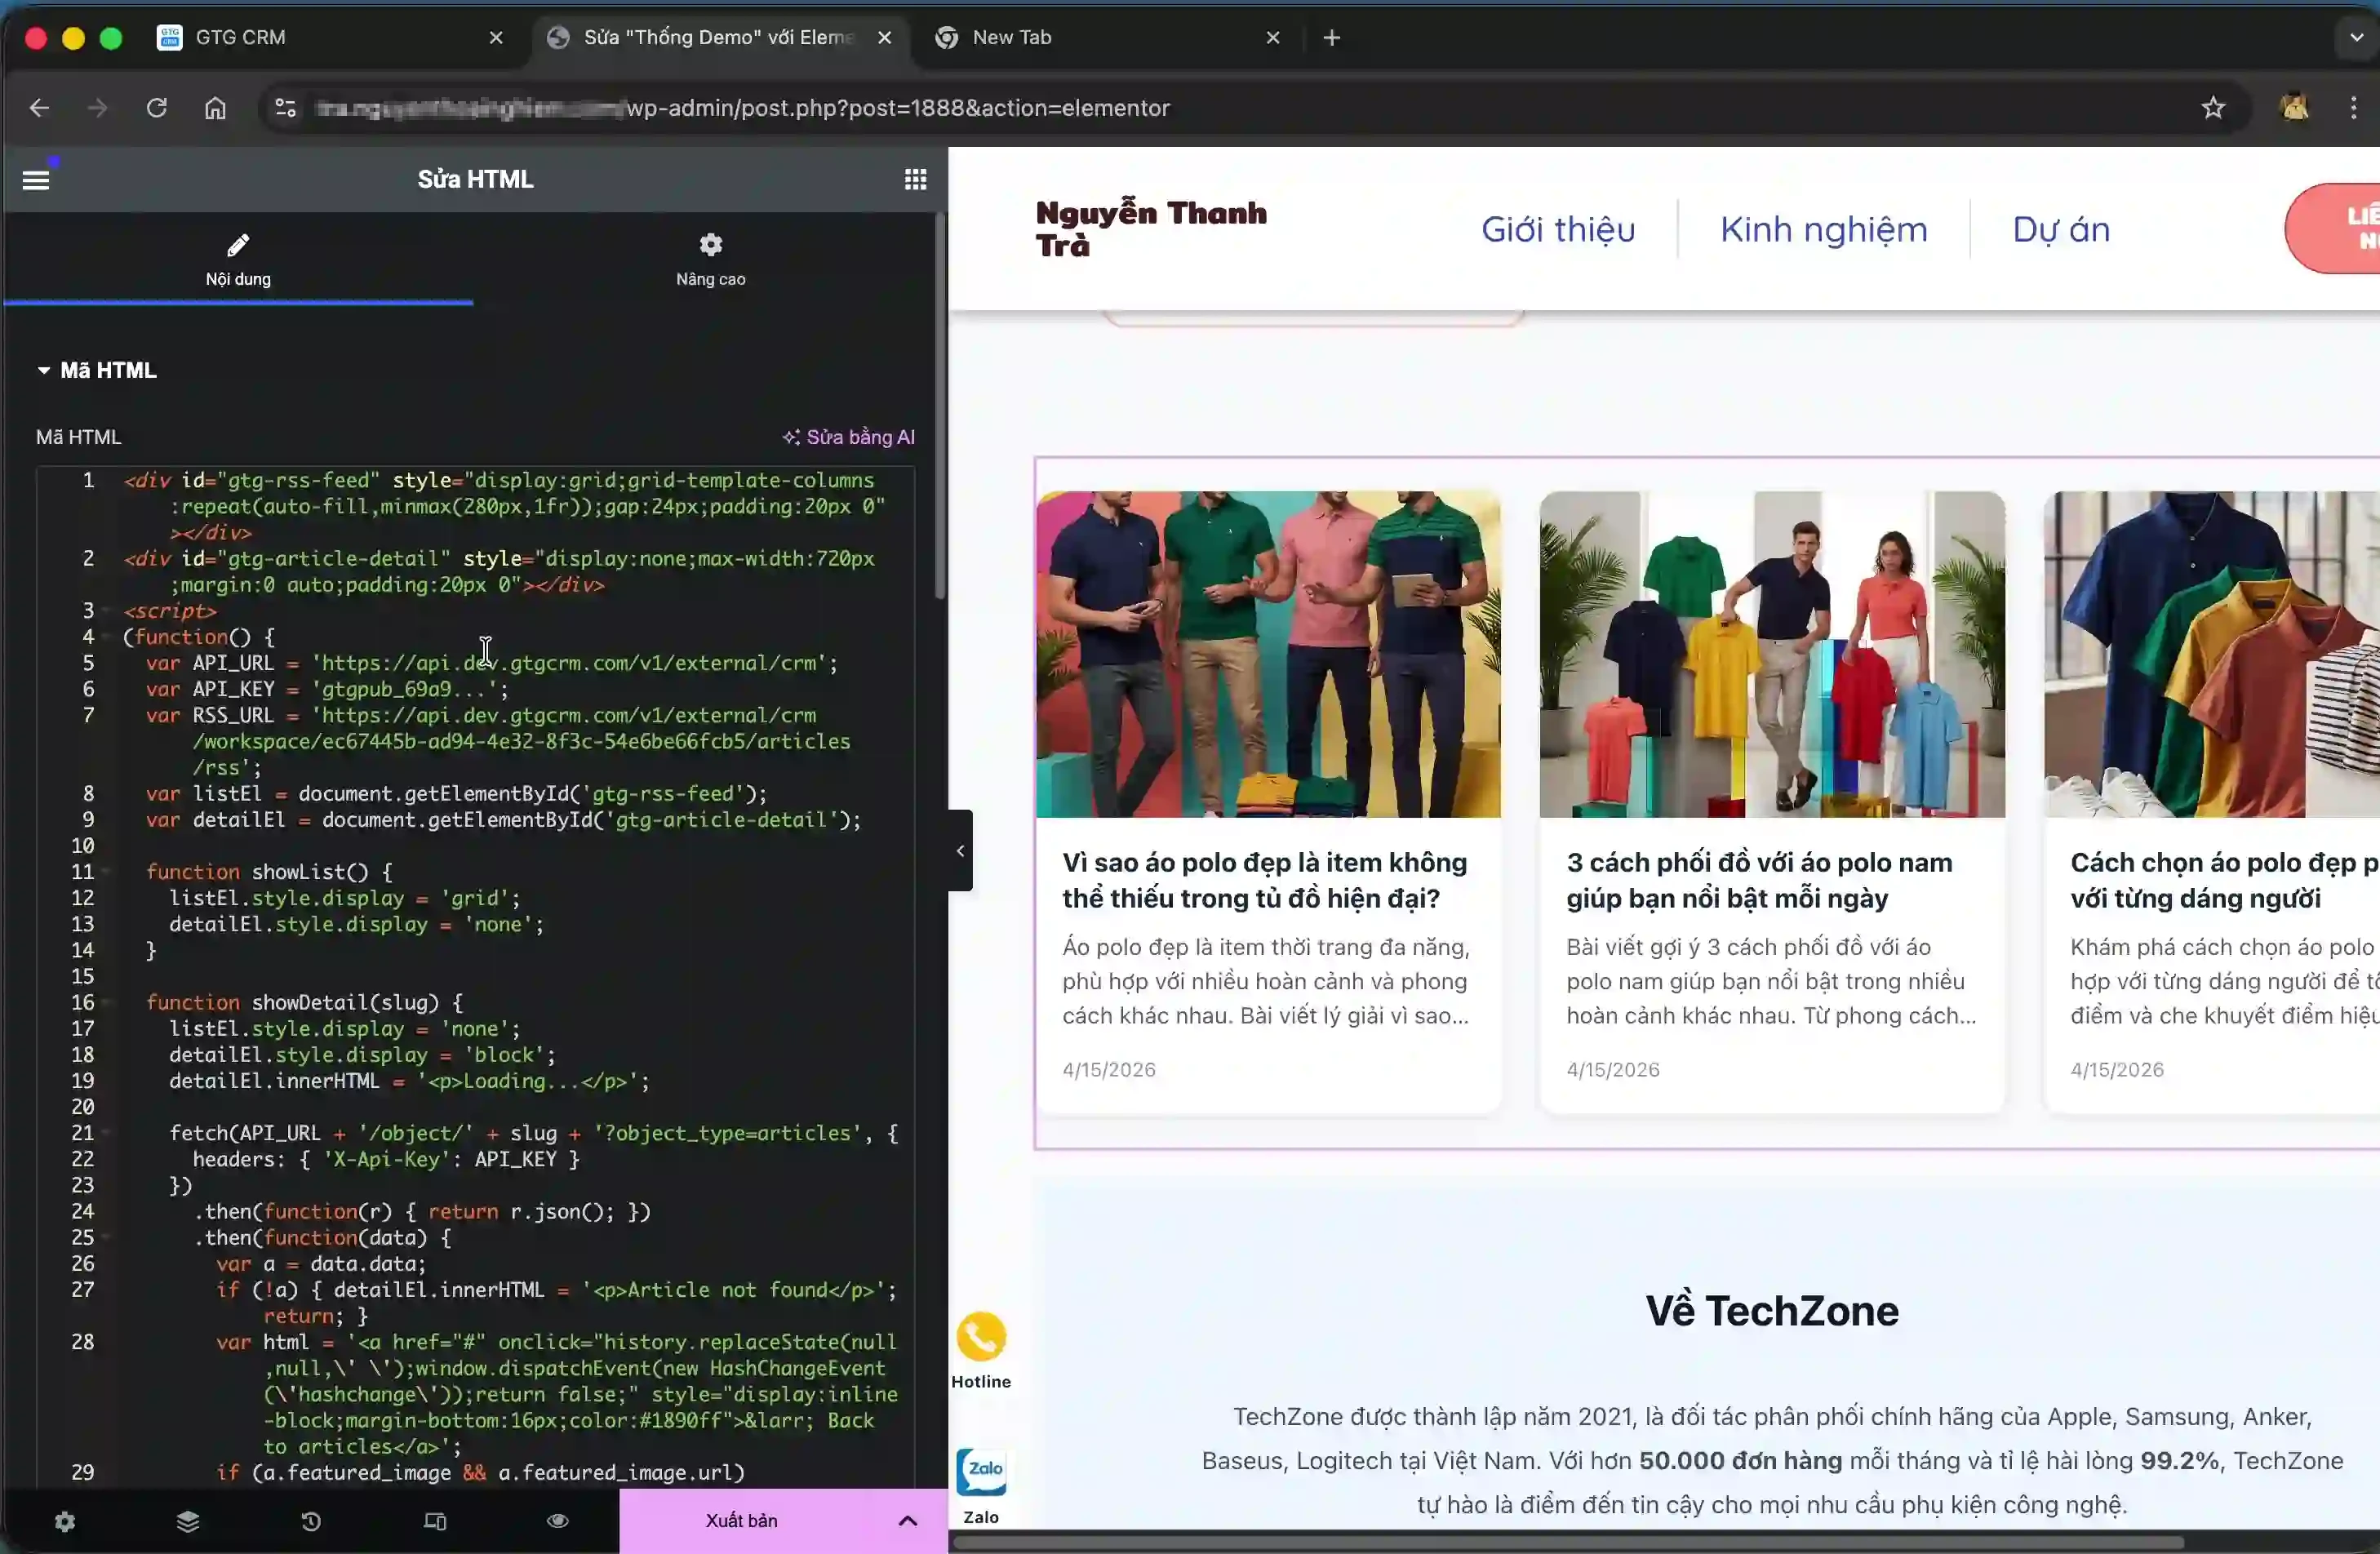
Key point: In this code snippet, you need to replace the part between the two parentheses with the API Key you created in step 4. Find the location with the format `'YOUR_API_KEY'` and replace it with your actual API Key.
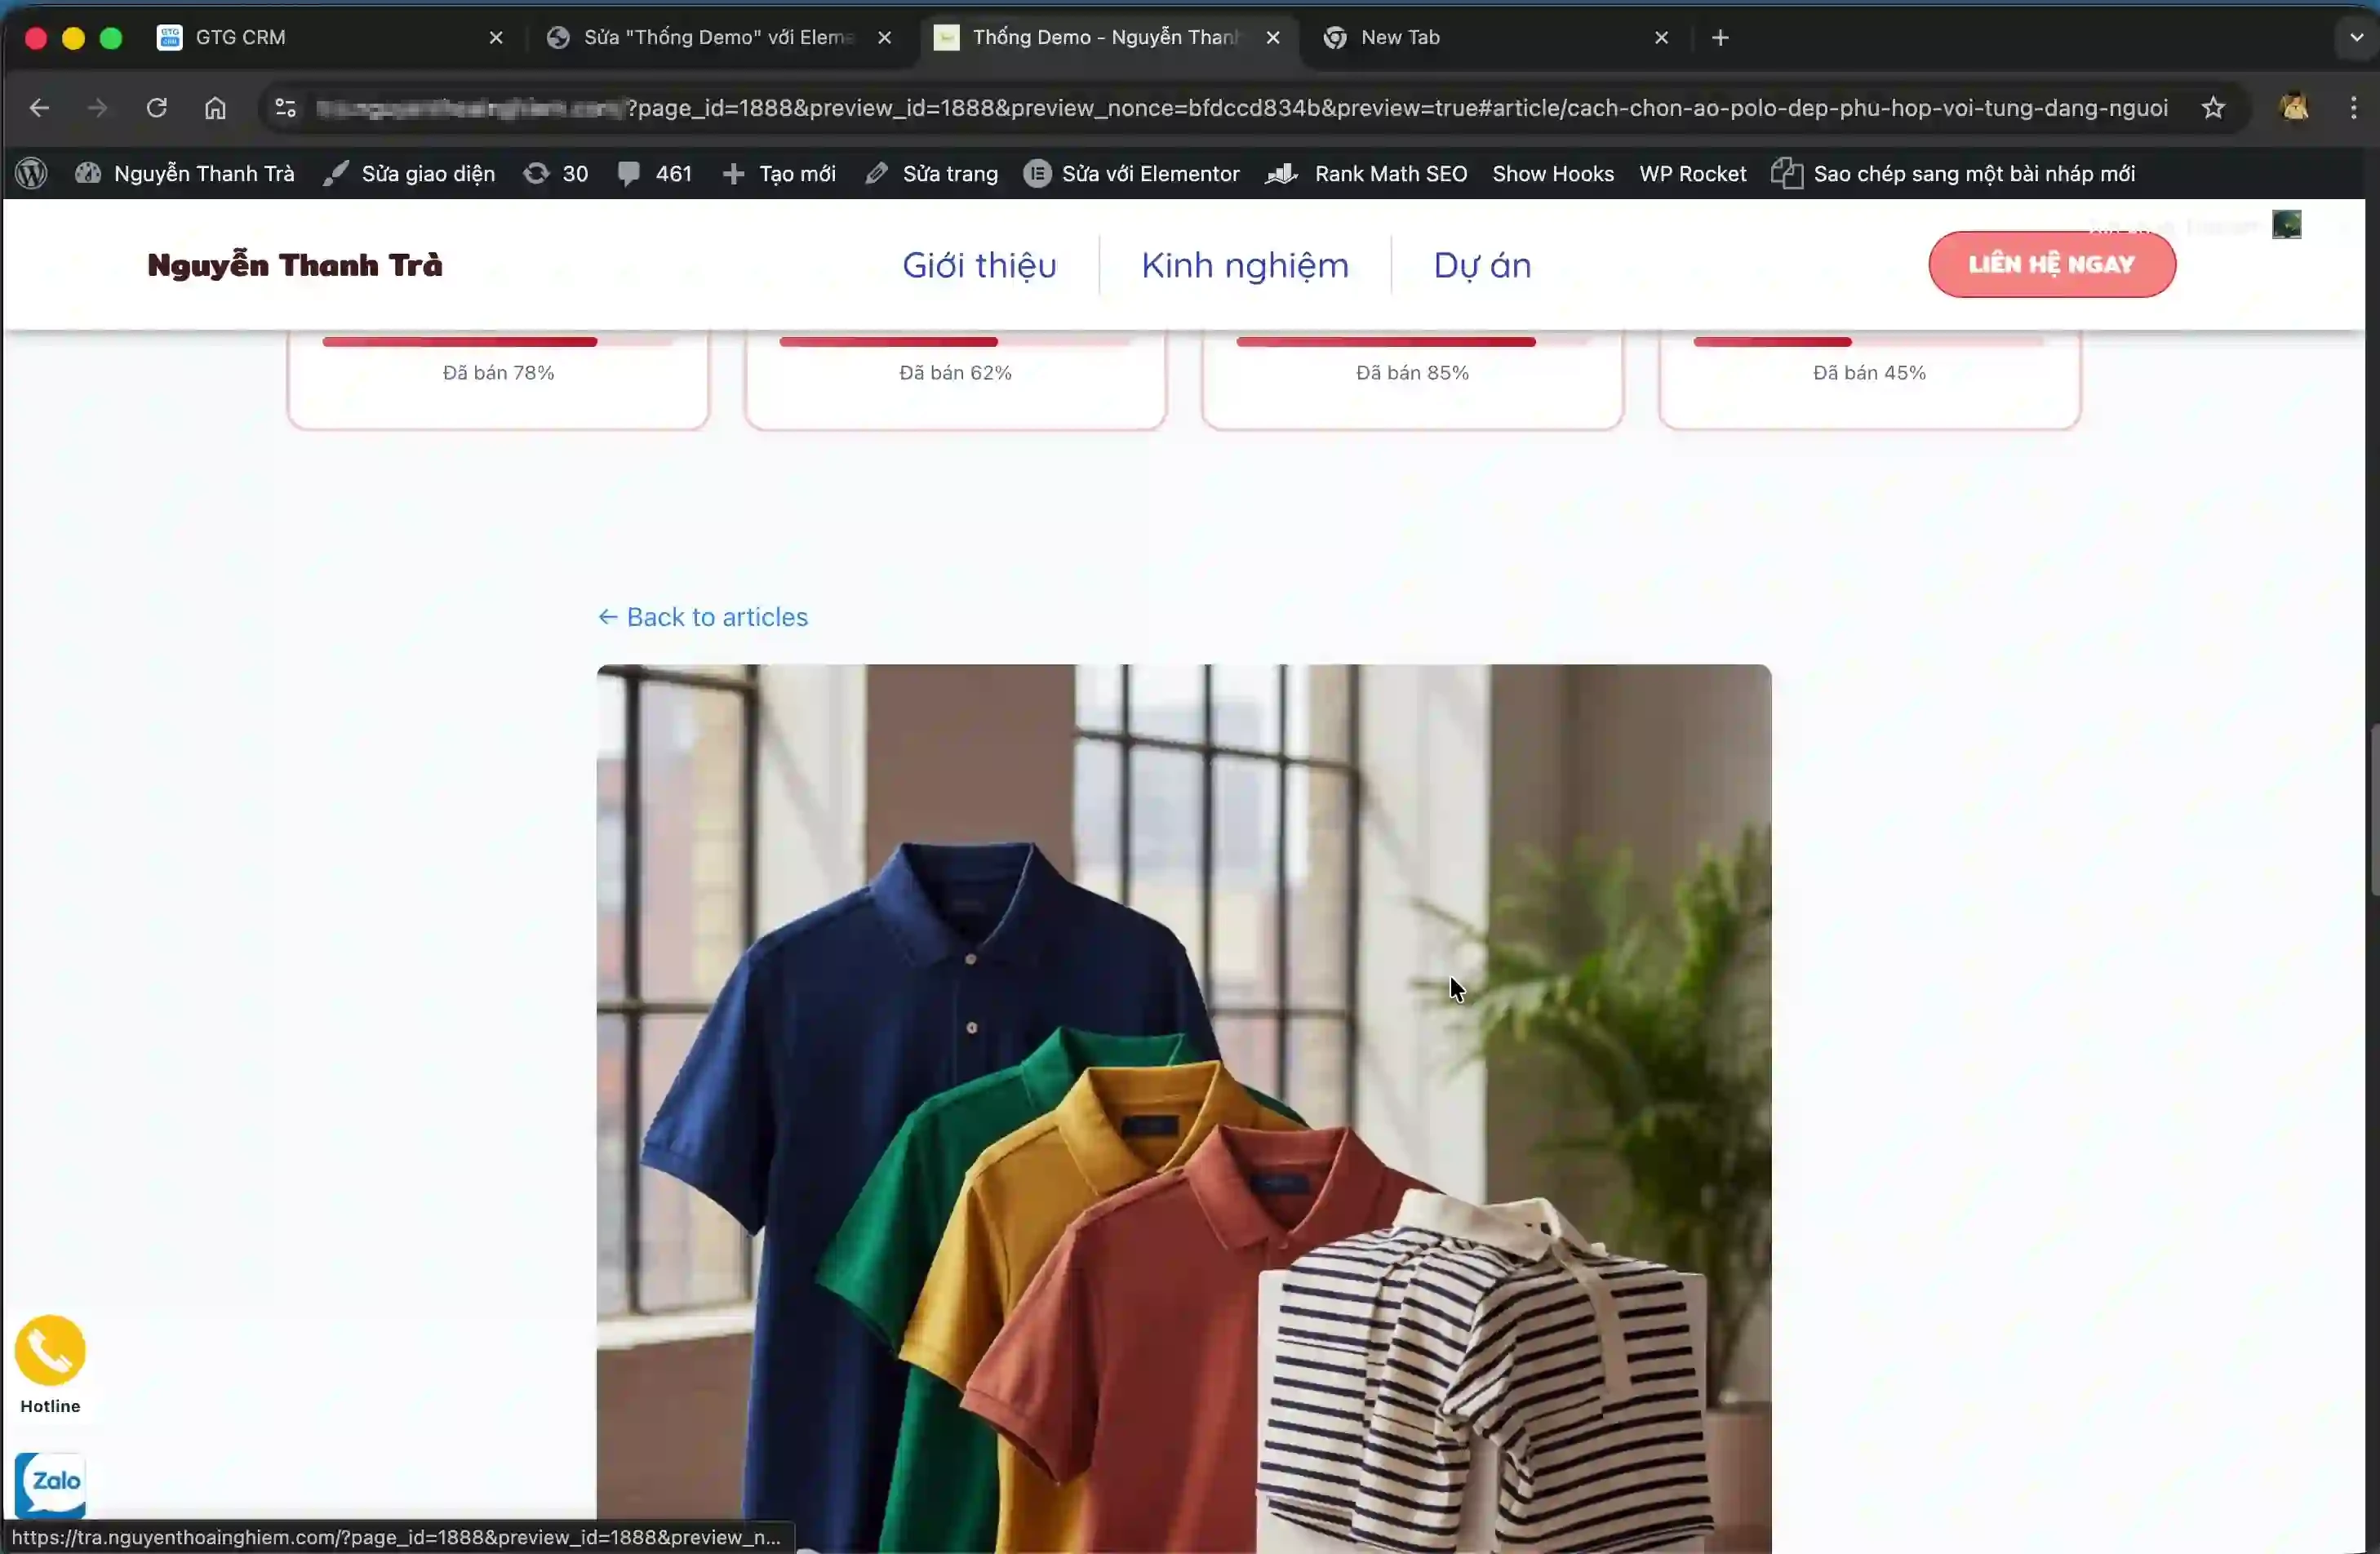
After replacing the API Key, save the WordPress page. Now, when a user clicks on any post in the list, they will be taken to the details page with the full content.
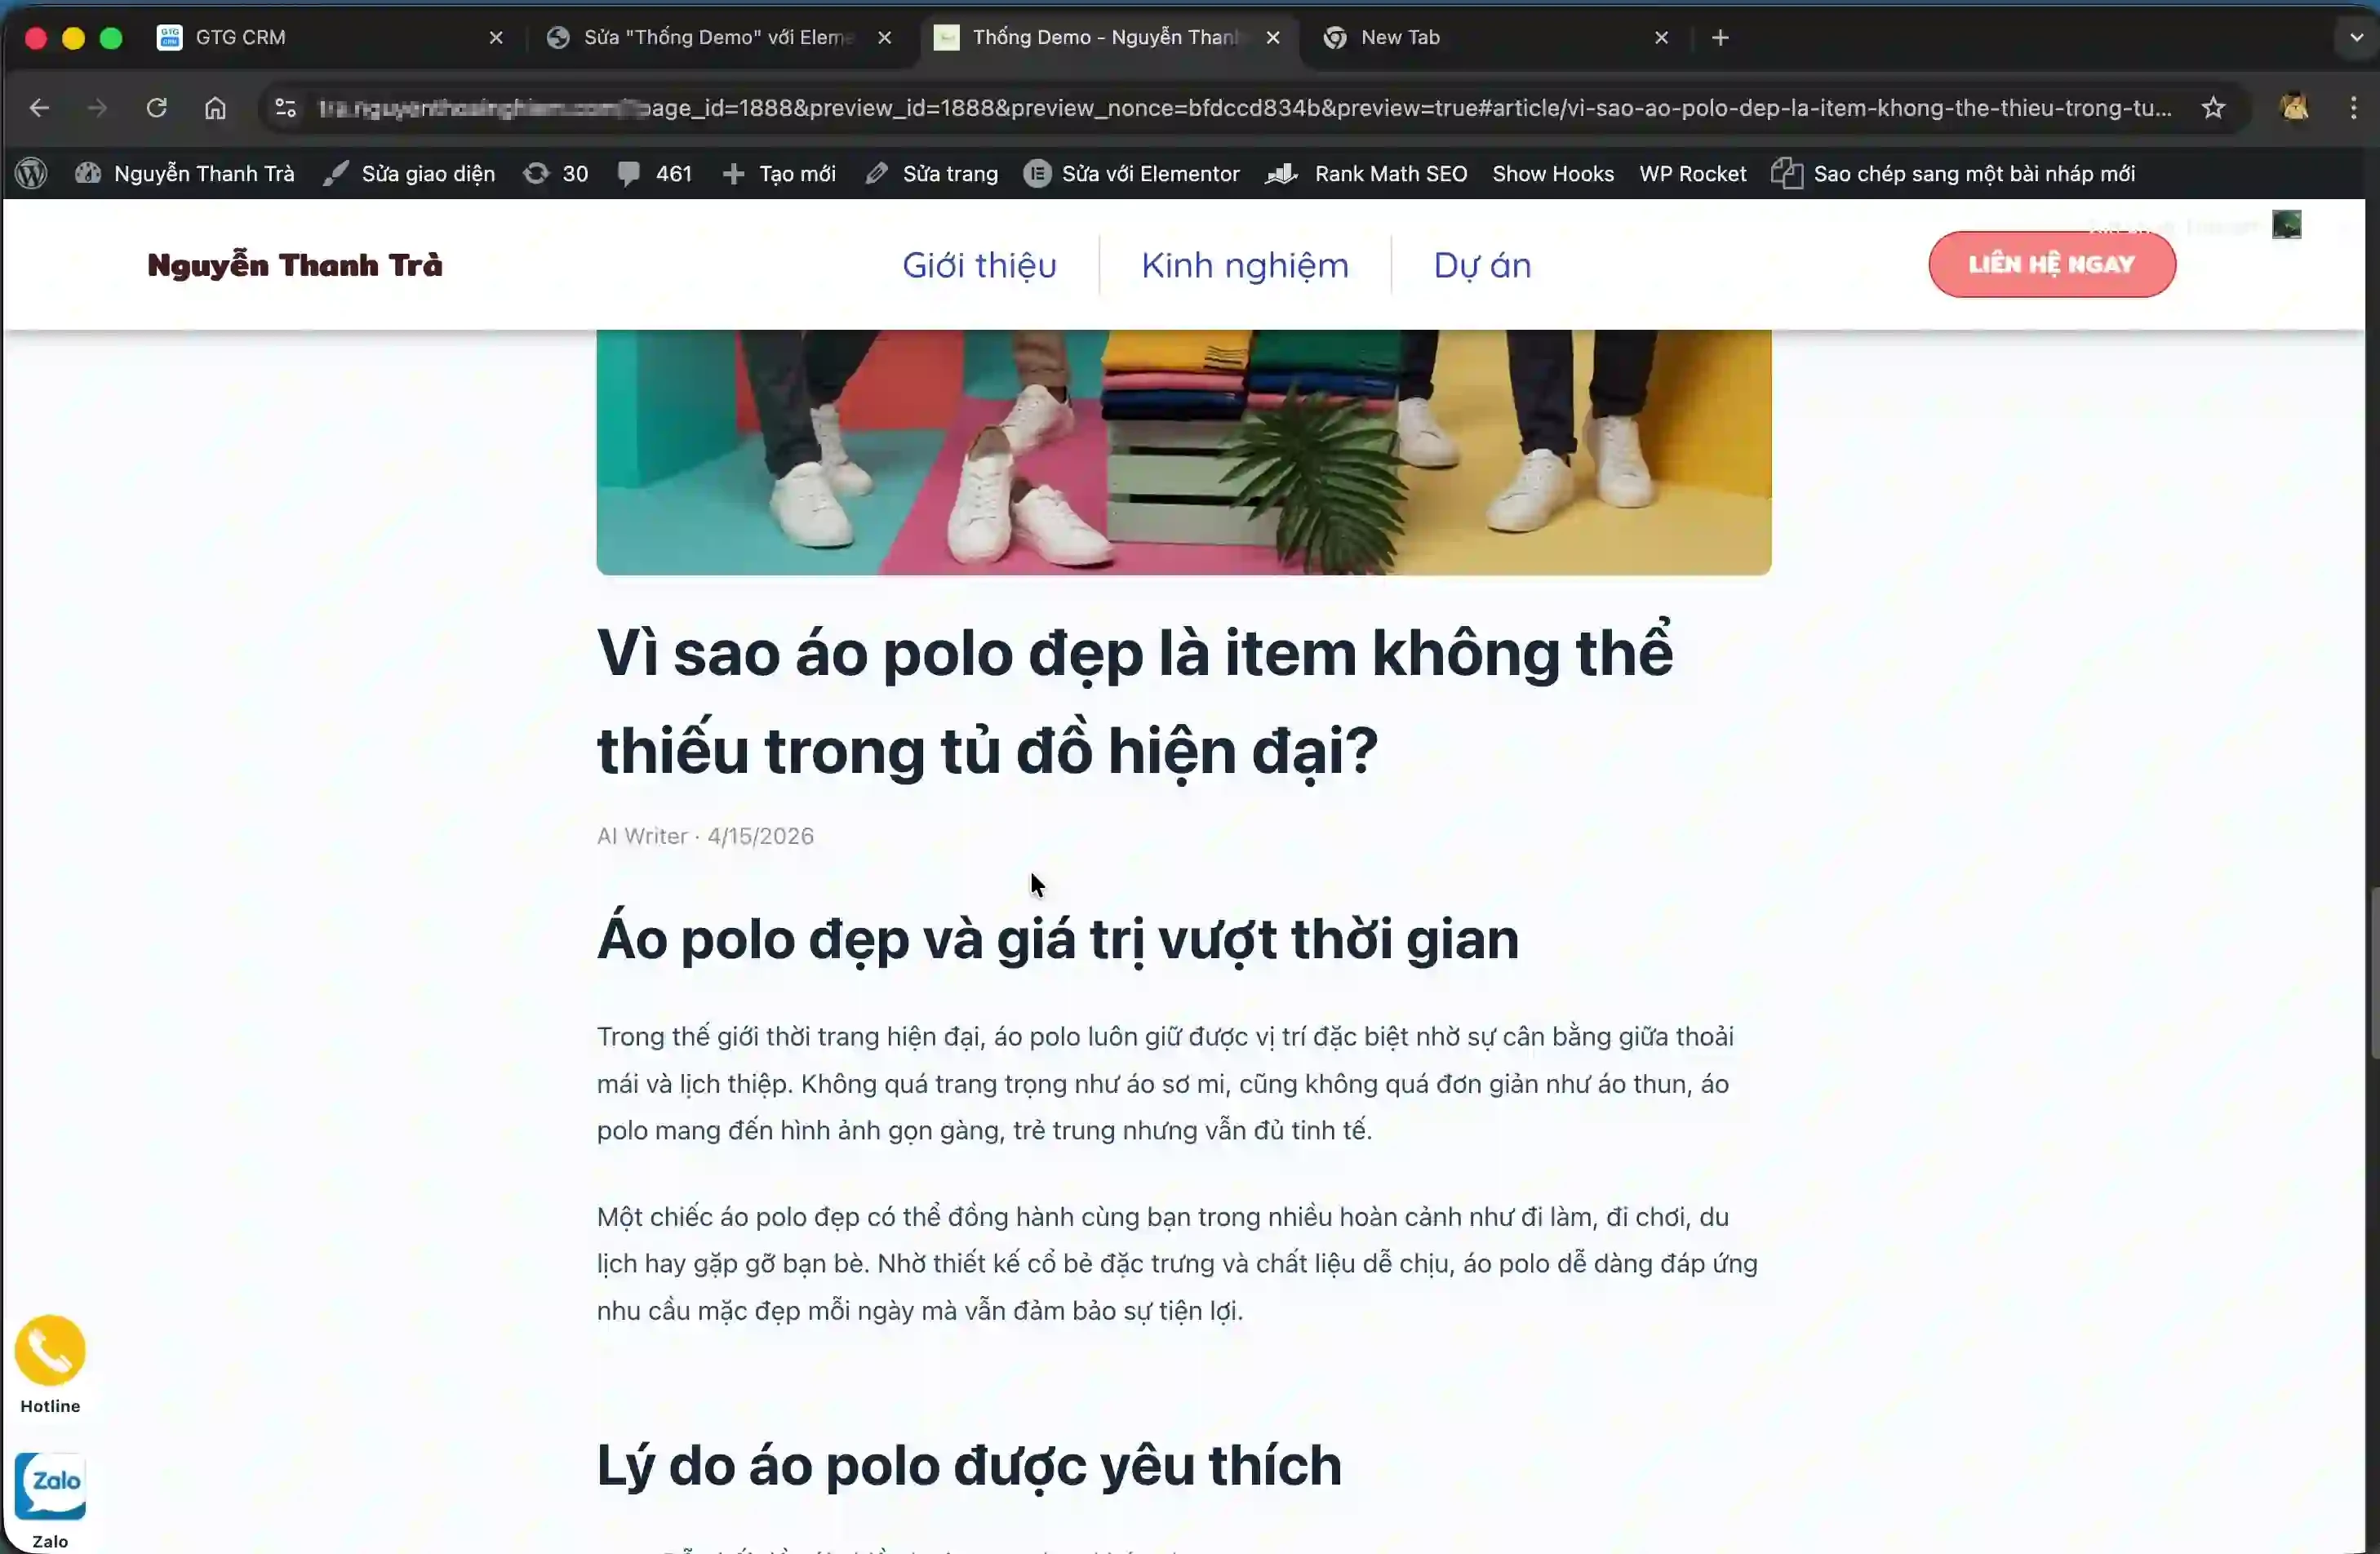
Users can easily go back to the list and view other articles.
Benefits of the feature
- Save time by automatically syncing content instead of manually copying it.
- Ensure consistency between content in the CRM system and the external website.
- Easily update content from a single source without needing to edit across multiple platforms.
- Improve marketing effectiveness and customer support through rapid information sharing.
- Flexible integration with various website platforms.
Important note
When using the integrated post feature, please note the following points to ensure stable operation:
- API keys are sensitive security information and should not be shared publicly or exposed in easily accessible source code.
- If the API Key is not replaced correctly in the article details code, the details viewing function will fail.
- Make sure to paste the code snippet into the correct type of Custom HTML block in WordPress, not a regular text block.
- If you change the content of an article in GTG CRM, the website will automatically update without requiring any further action.
- In WordPress edit mode, posts may not display fully; use the "Preview Changes" feature to check the actual appearance.
Maybe You Should Read These
Article Integration
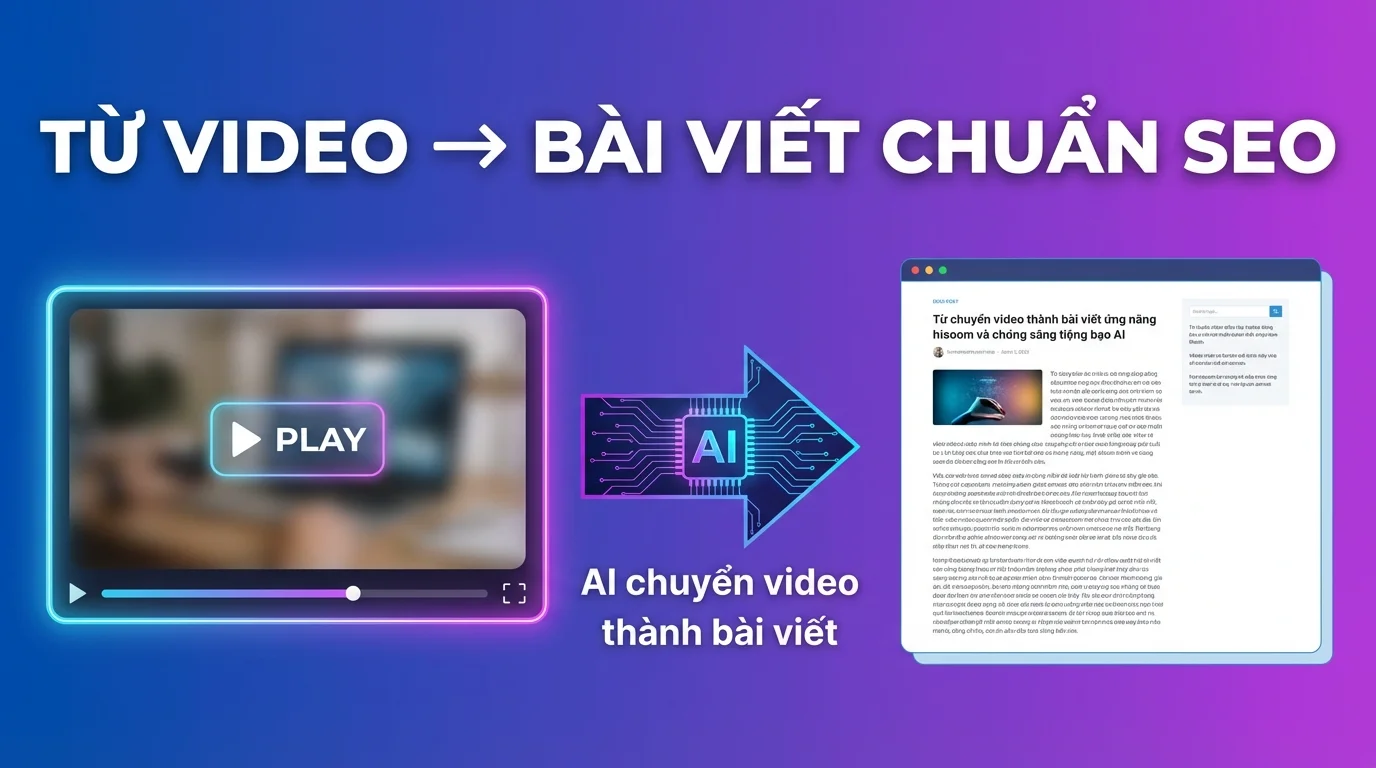
AI Article Generator
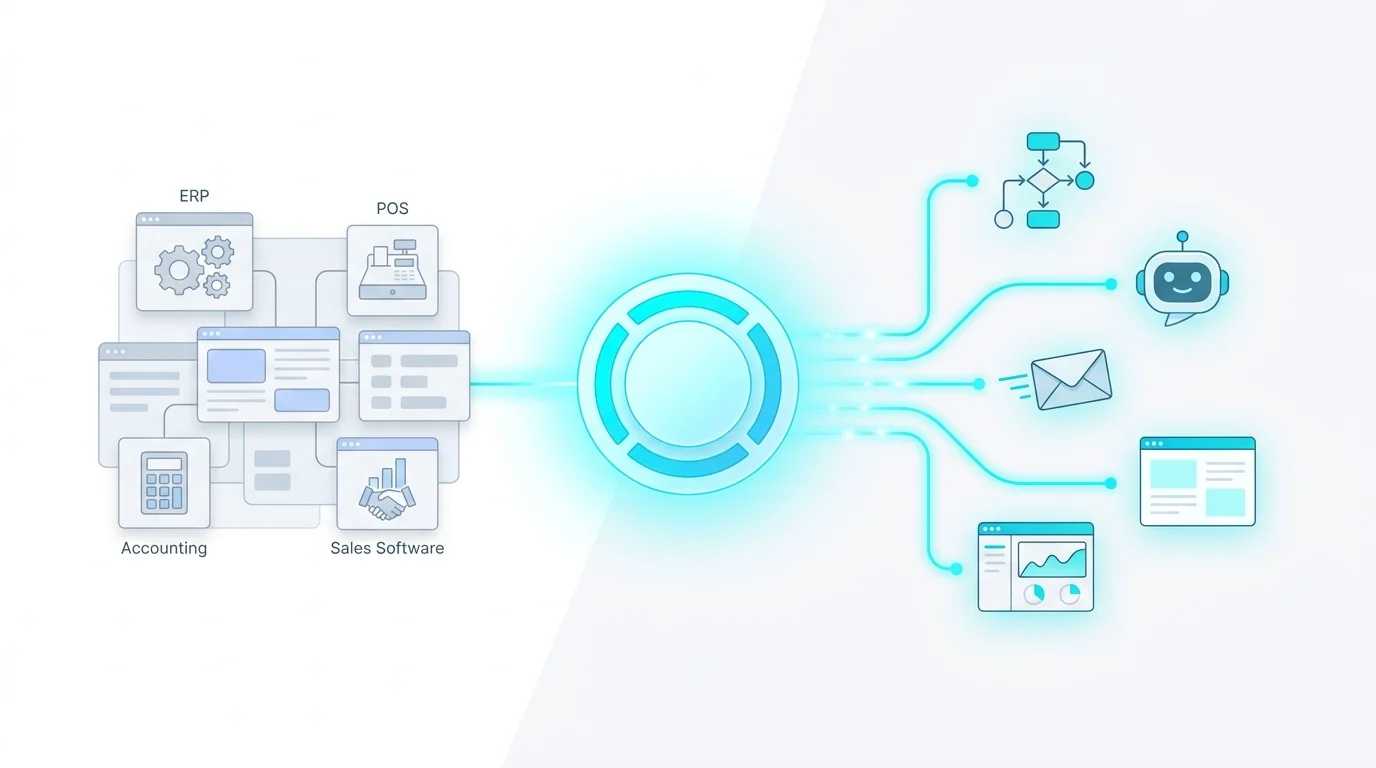
Integration Hub
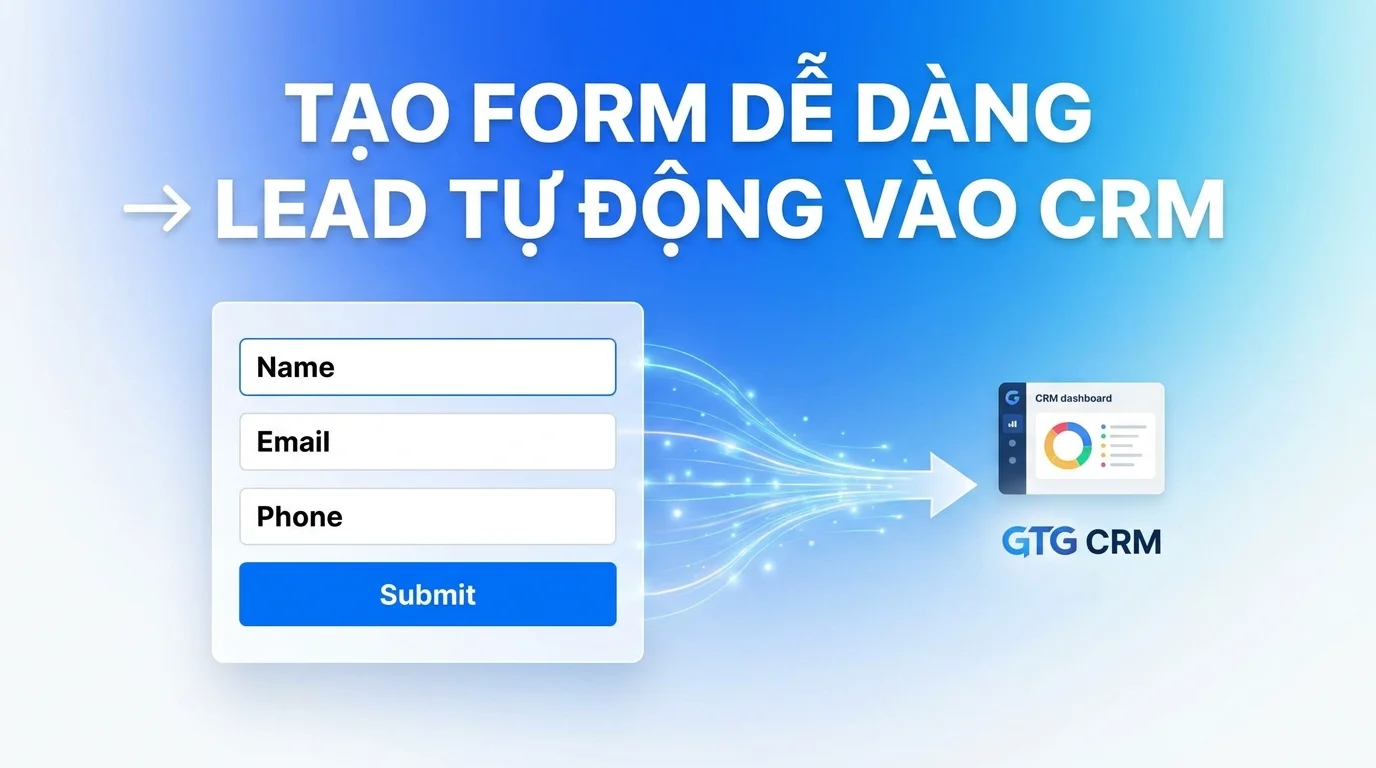
Form Builder

Website in GTG CRM
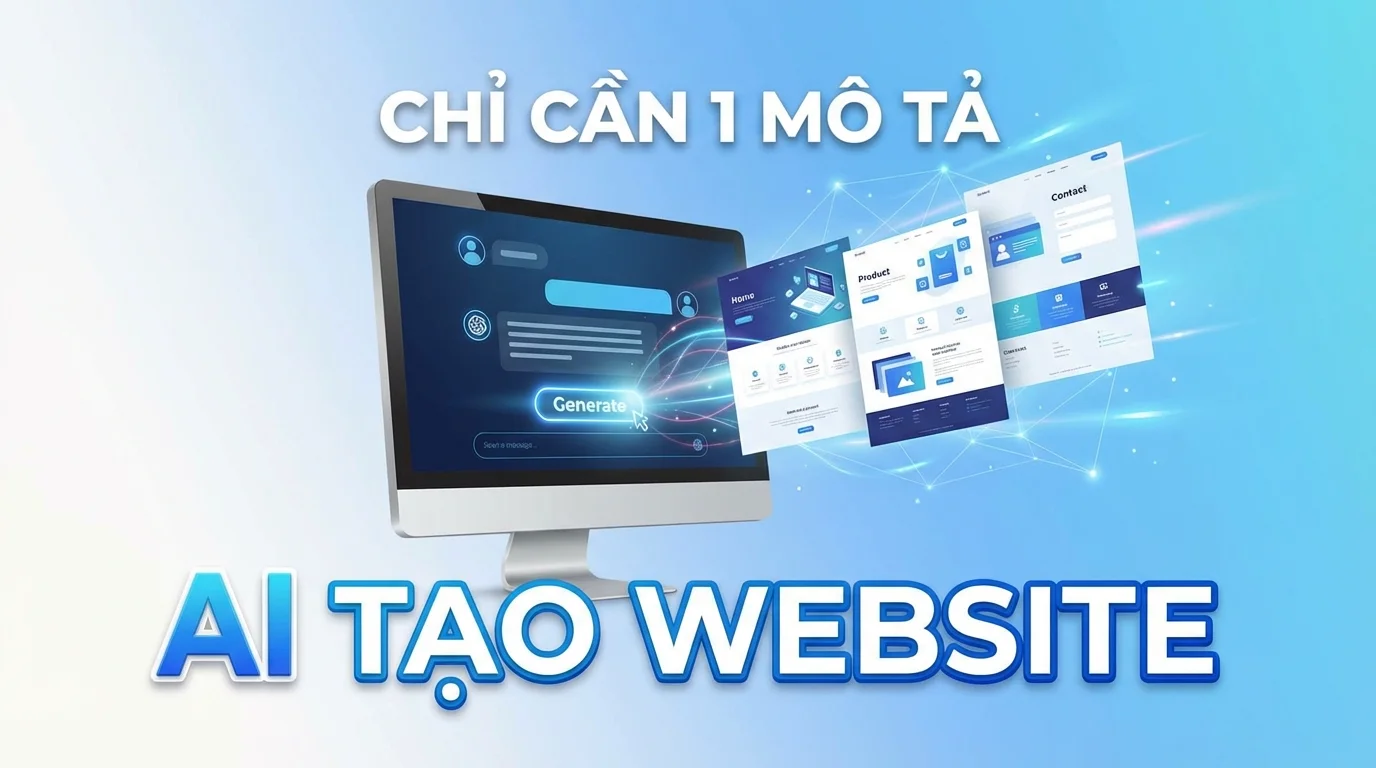
AI Website Builder
AI Website Section Generator

Social Hub
CRM

30+ One-Tap Revenue Growth Playbooks — Cart Recovery, Failed Payment Rescue, Win-Back, Lead Nurturing, Post-Purchase Service

Comprehensive sales solution for retailers