AI Image Studio User Guide
AI IMAGE STUDIO
GTG CRM Team · GTG CRM
March 05, 2026
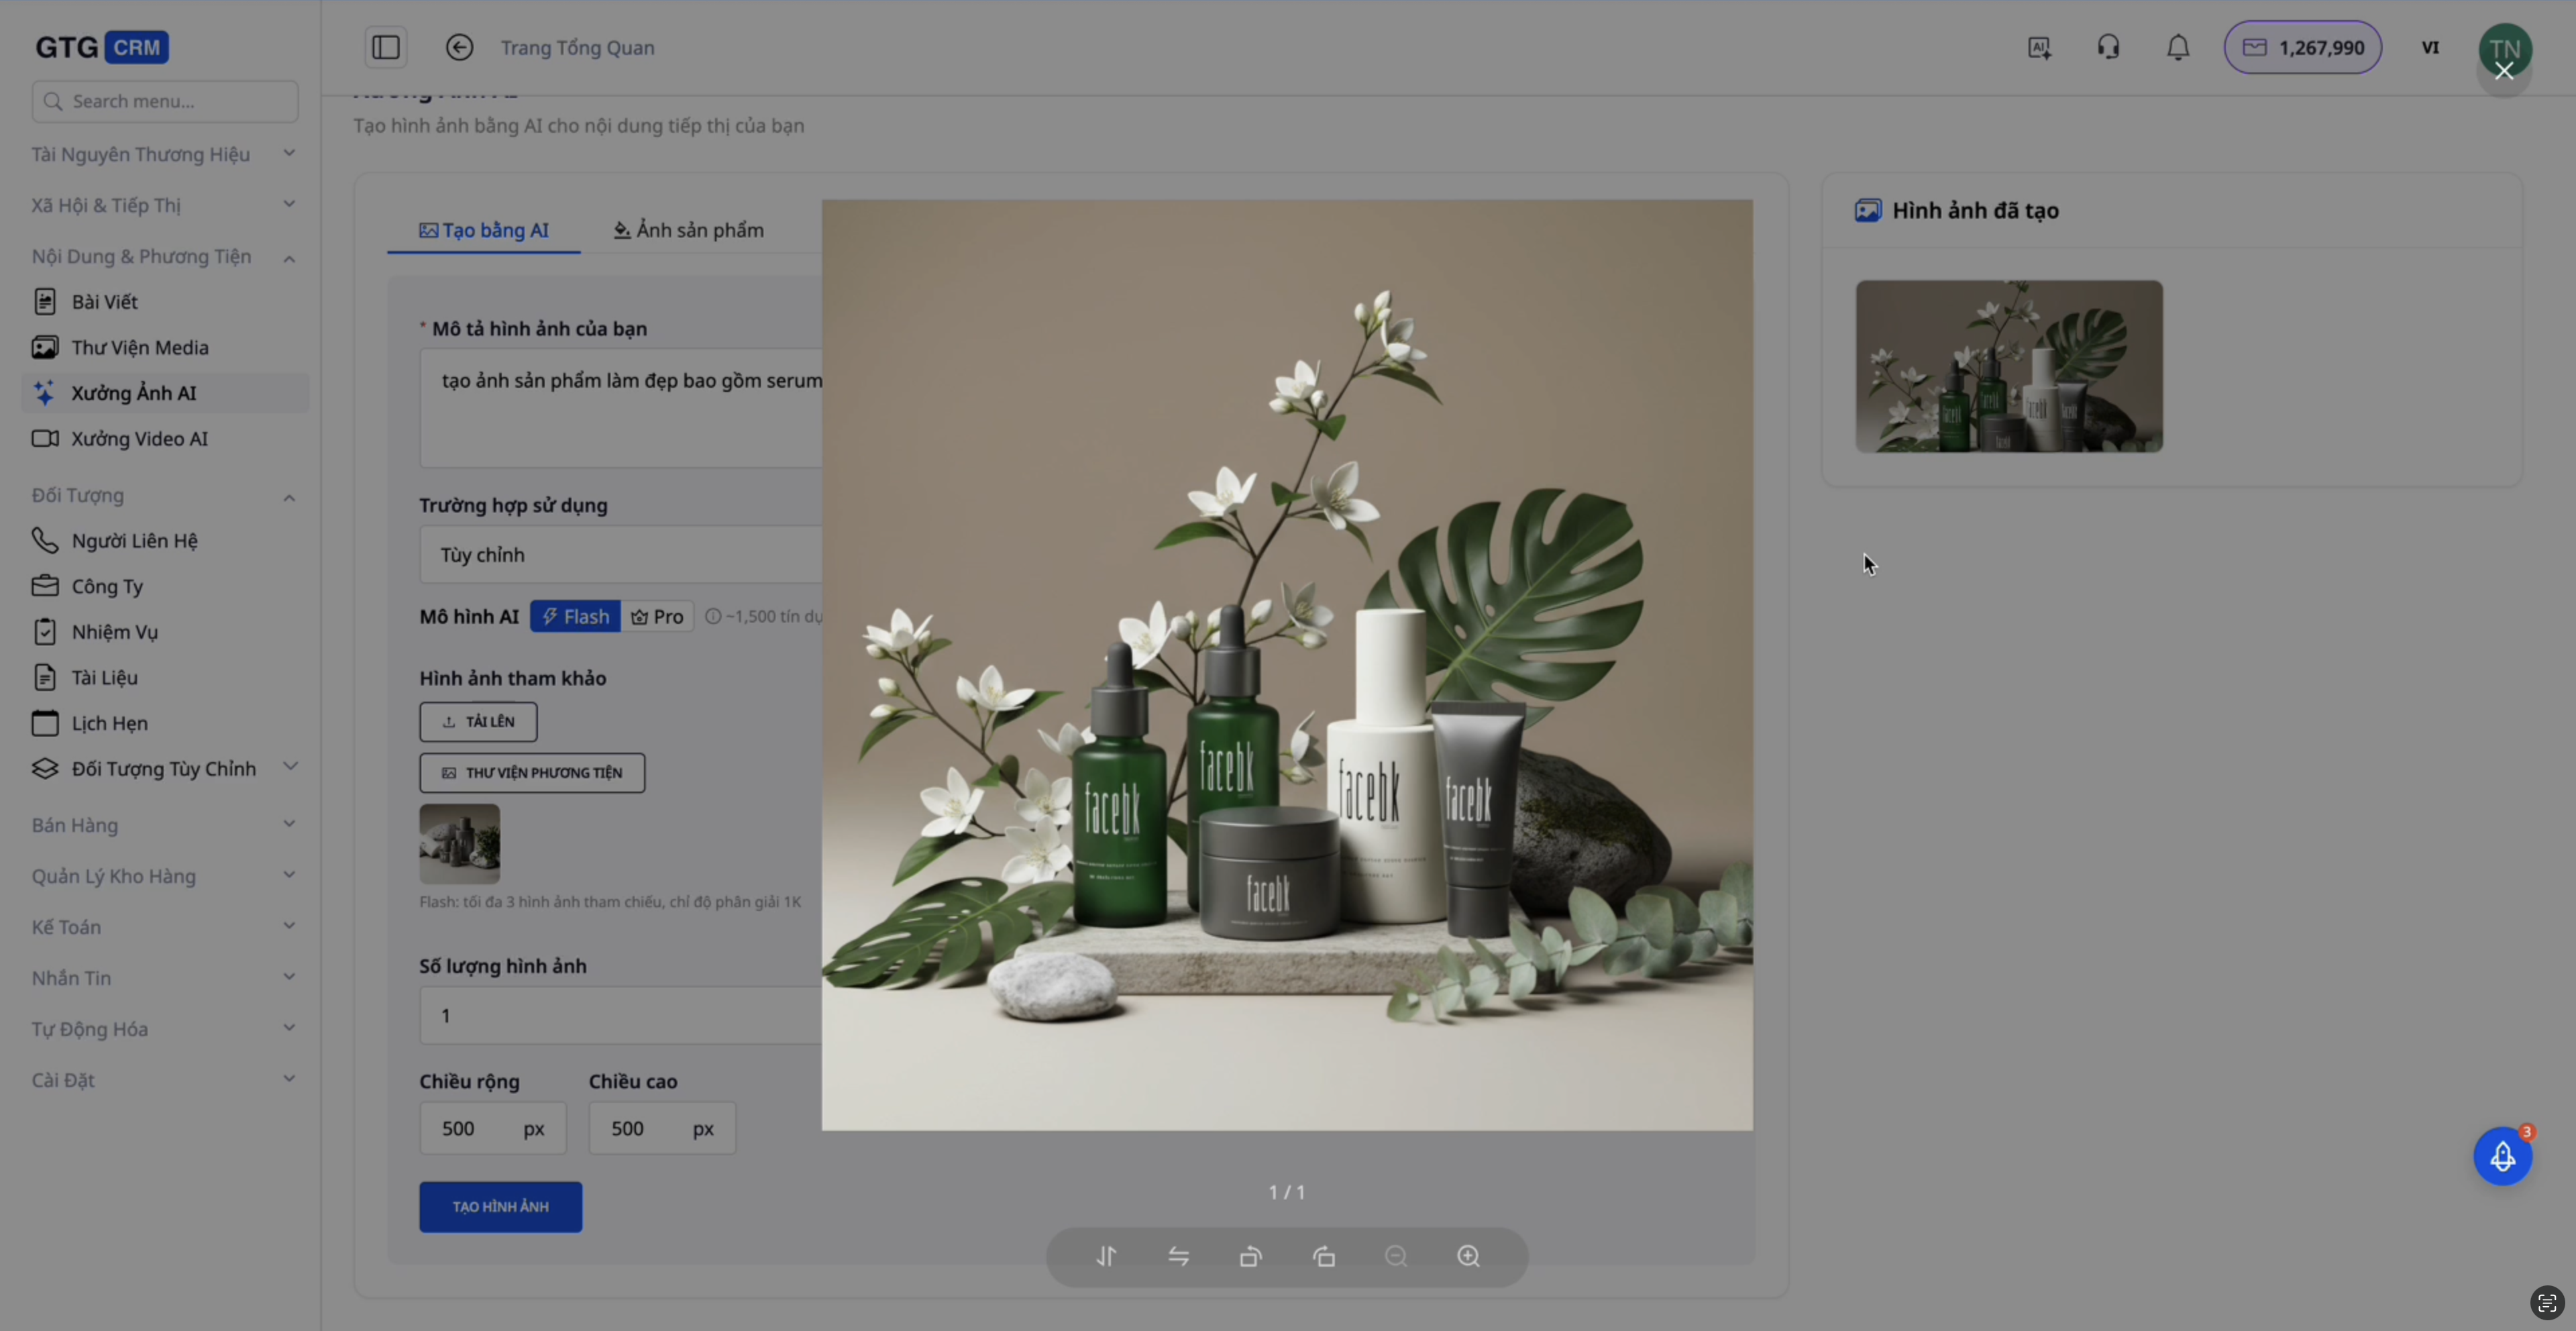
Table of Contents
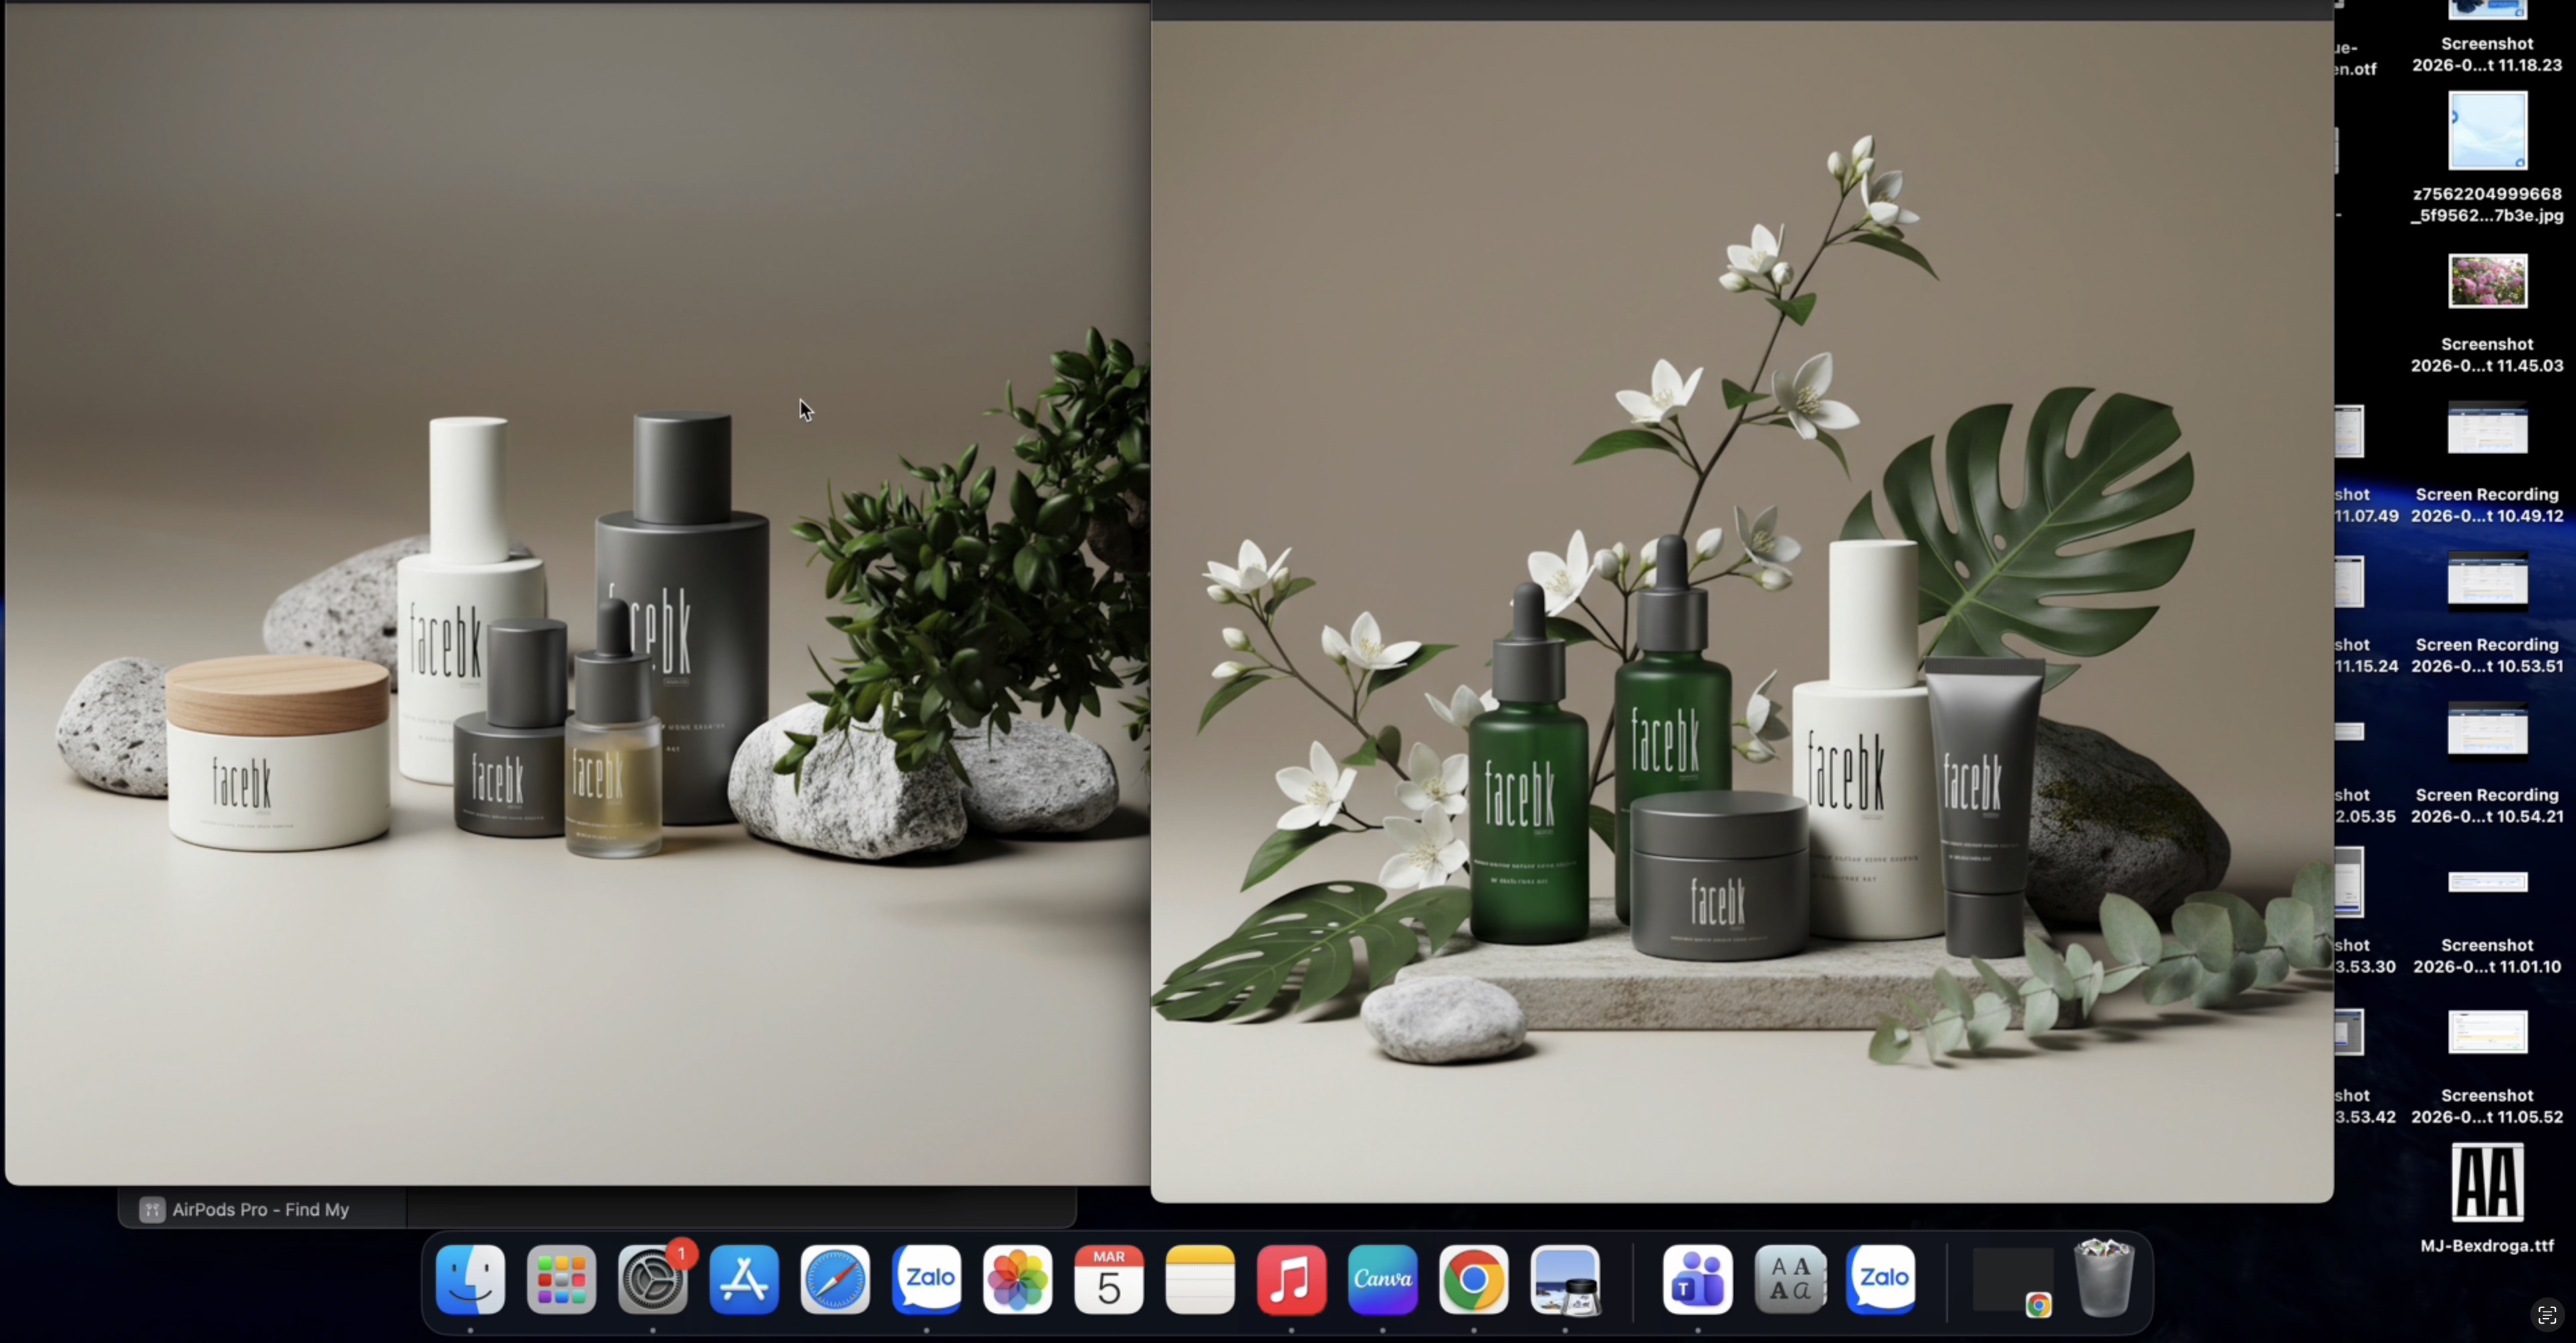
AI Image Studio is a professional AI-powered image editing and creation tool that helps you generate high-quality product images and marketing content in just a few minutes. With intelligent image processing capabilities, you can easily create showroom images, change backgrounds, remove unwanted objects, and much more.
This feature is particularly useful for e-commerce, marketing, and retail businesses – it helps save on the cost of hiring photographers and studios, while simultaneously creating numerous professional image variations for testing and conversion optimization.
Key Features
- Generate Images from Reference Photos - Upload a sample image and let AI create a new version in a similar style.
- Virtual Try-on - Upload product images and see them on a model with various backgrounds.
- Change Product Background - Switch backgrounds from white to studio, lifestyle, beach, etc.
- Style Transfer - Modify the color tone and style of images as desired.
- Smart Object Removal - Eliminate unwanted parts of an image.
- Advanced Editing - Adjust quality, brightness, and colors.
- Media Management - Save directly to your library or download to your device.
Detailed User Guide
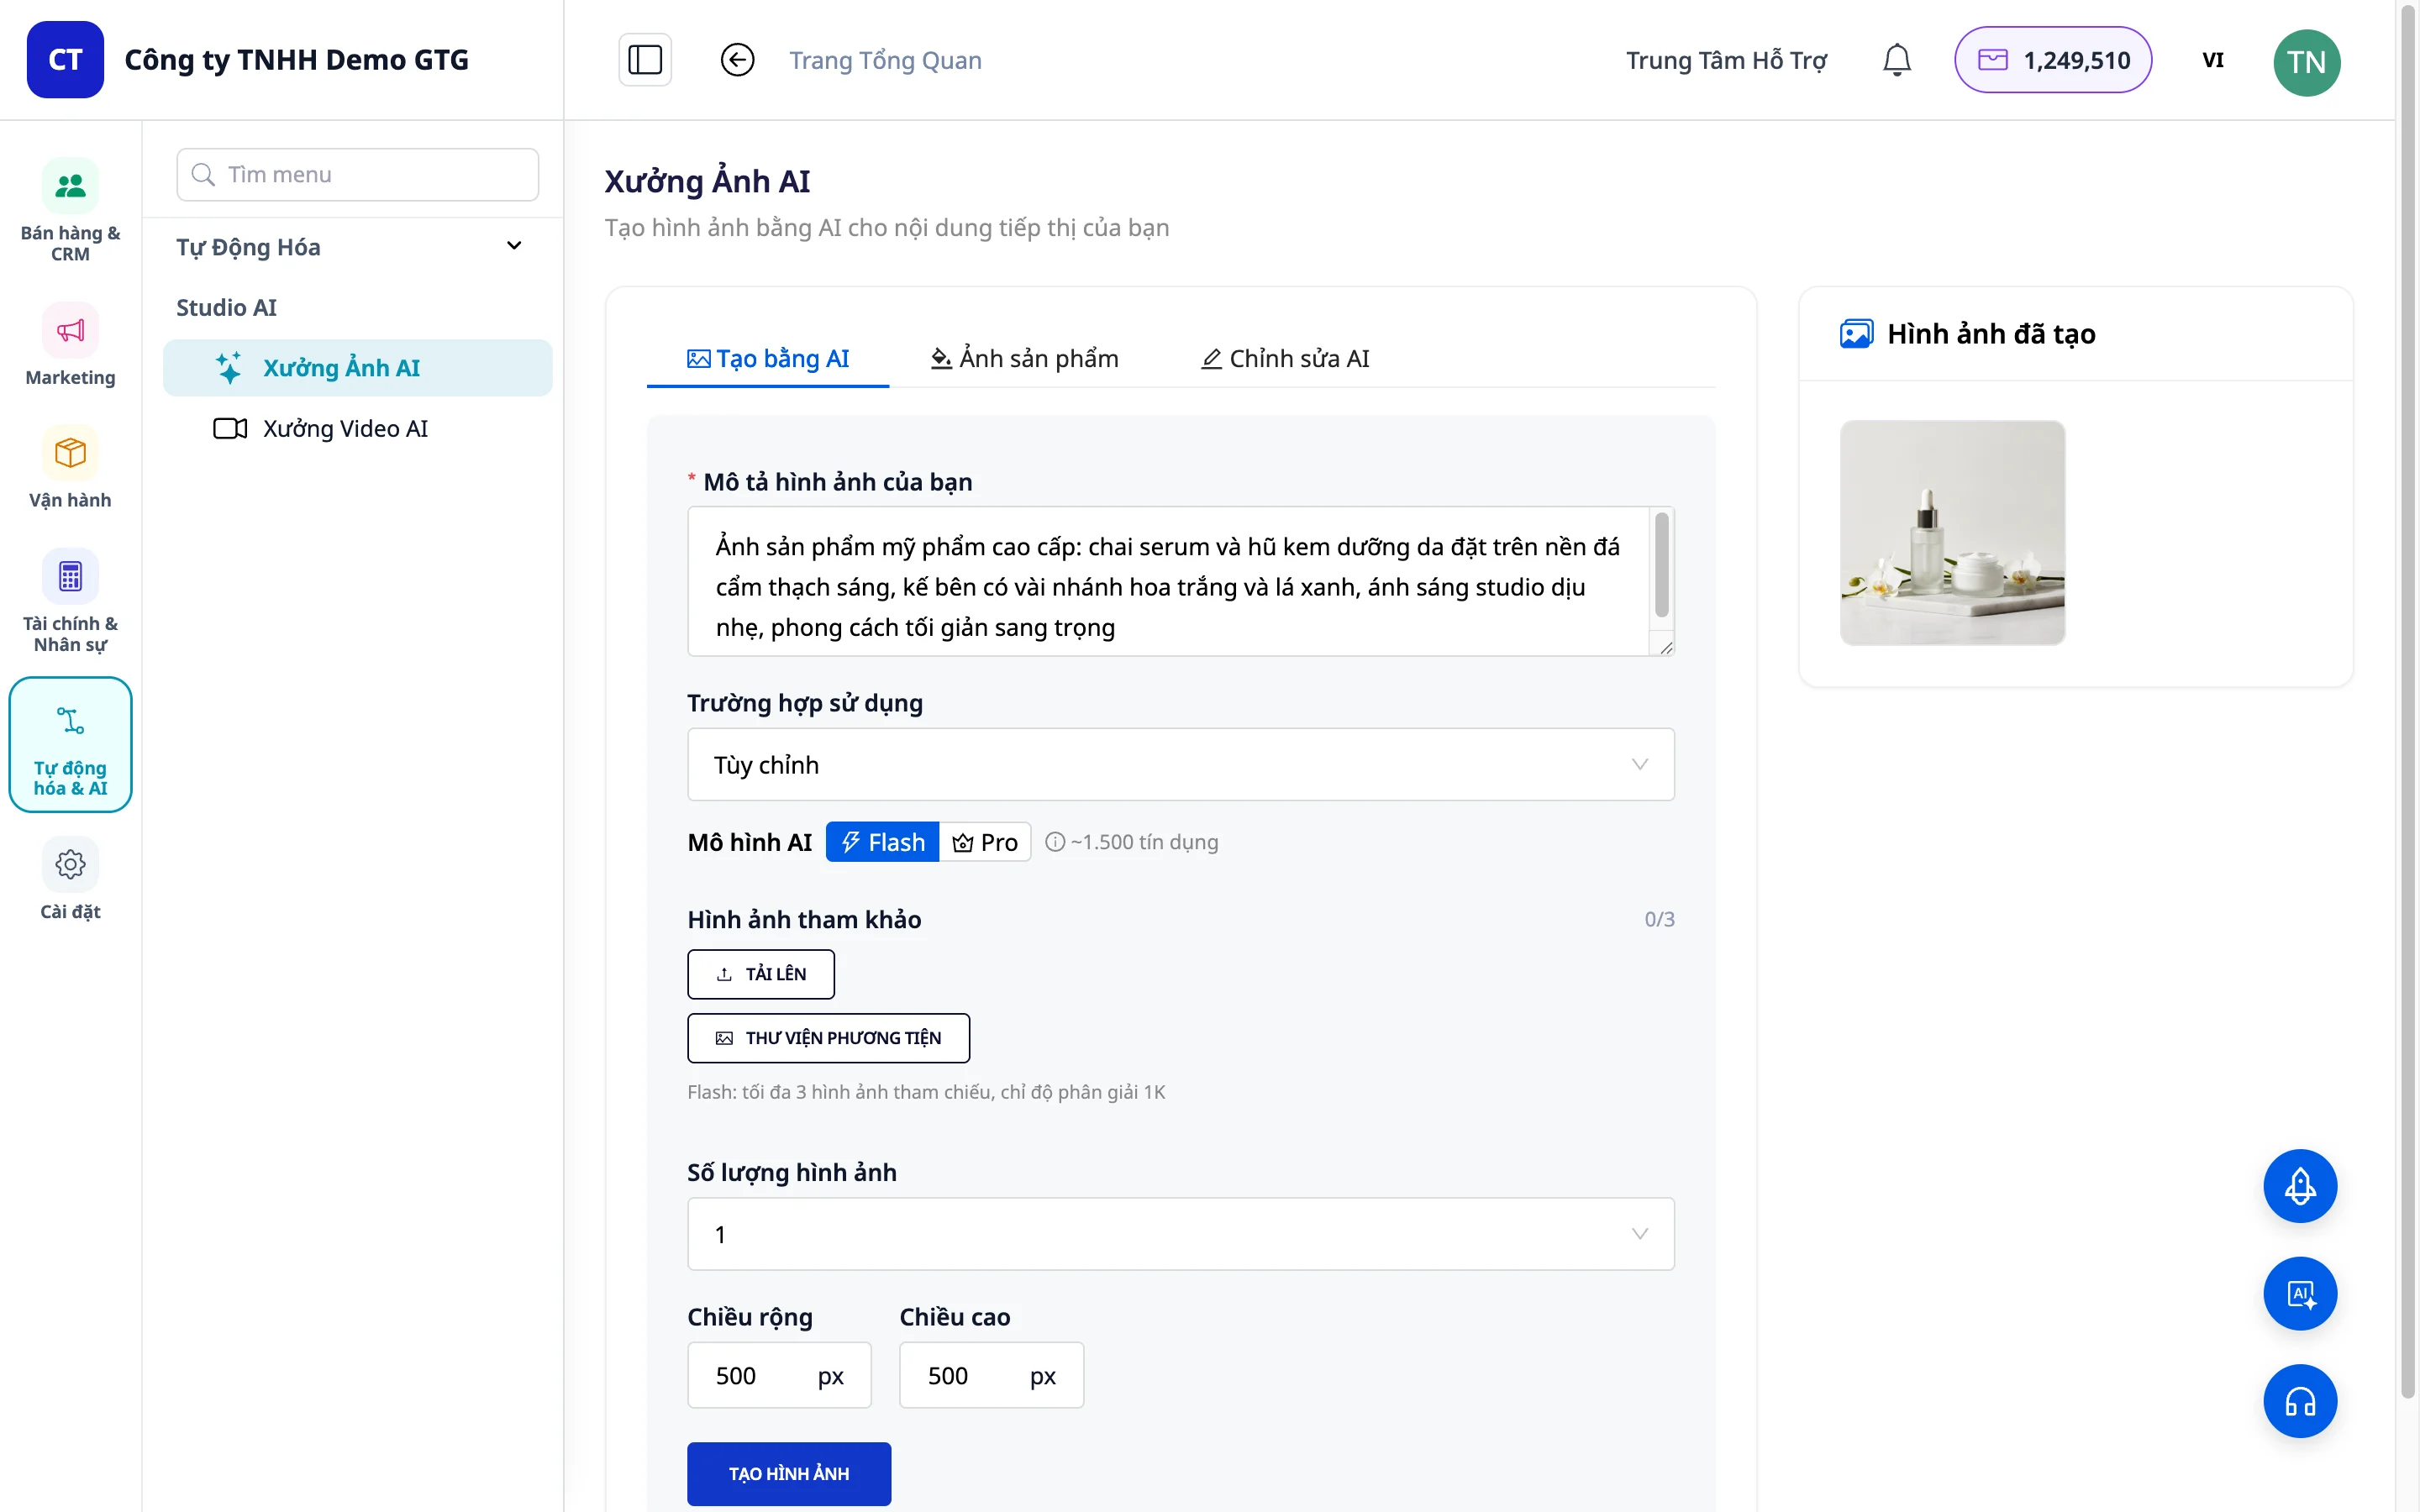
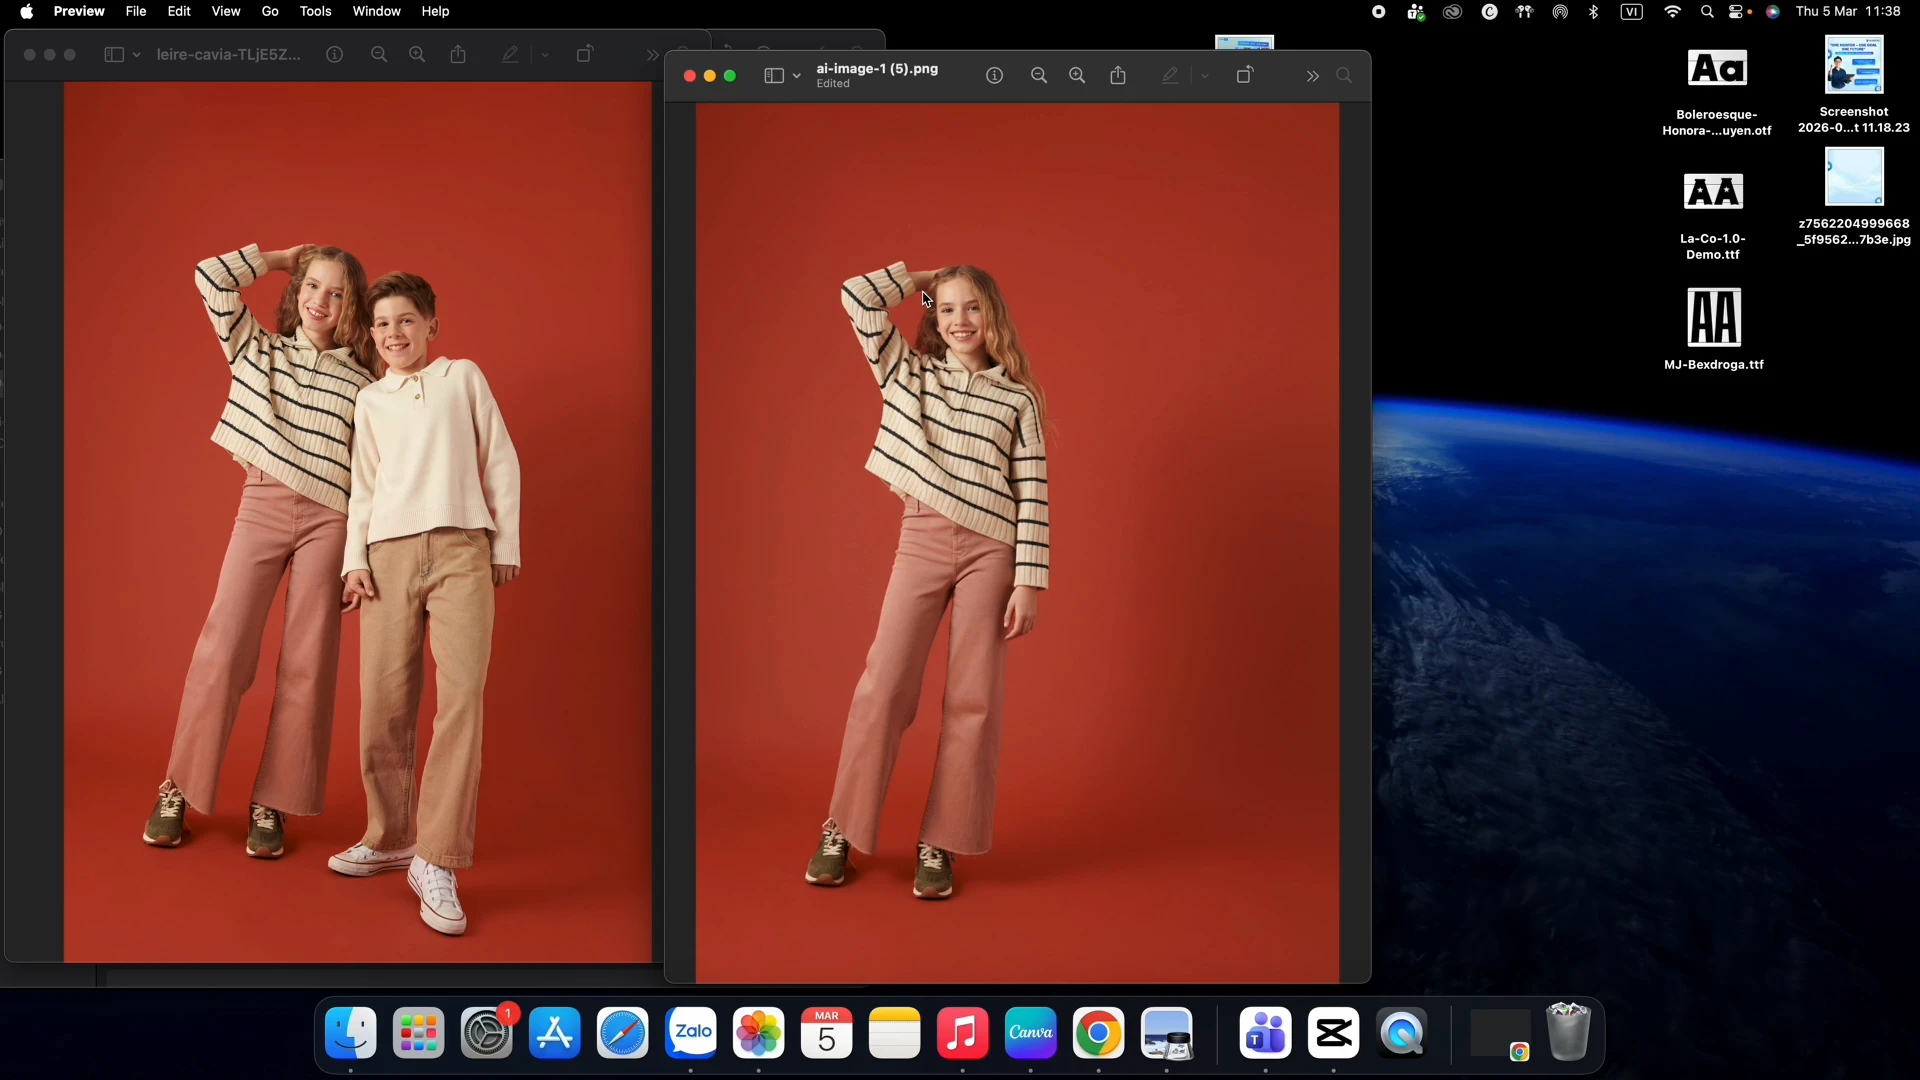
1. Generate Images from Reference Photos
This feature allows you to upload a sample image, and AI will generate a new version in a similar, often enhanced and more professional, style.
Steps:
Step 1: Navigate to the "Generate with AI" section in AI Image Studio.
Step 2: Select the desired image size:
- Facebook Post
- LinkedIn Post
- Custom Size
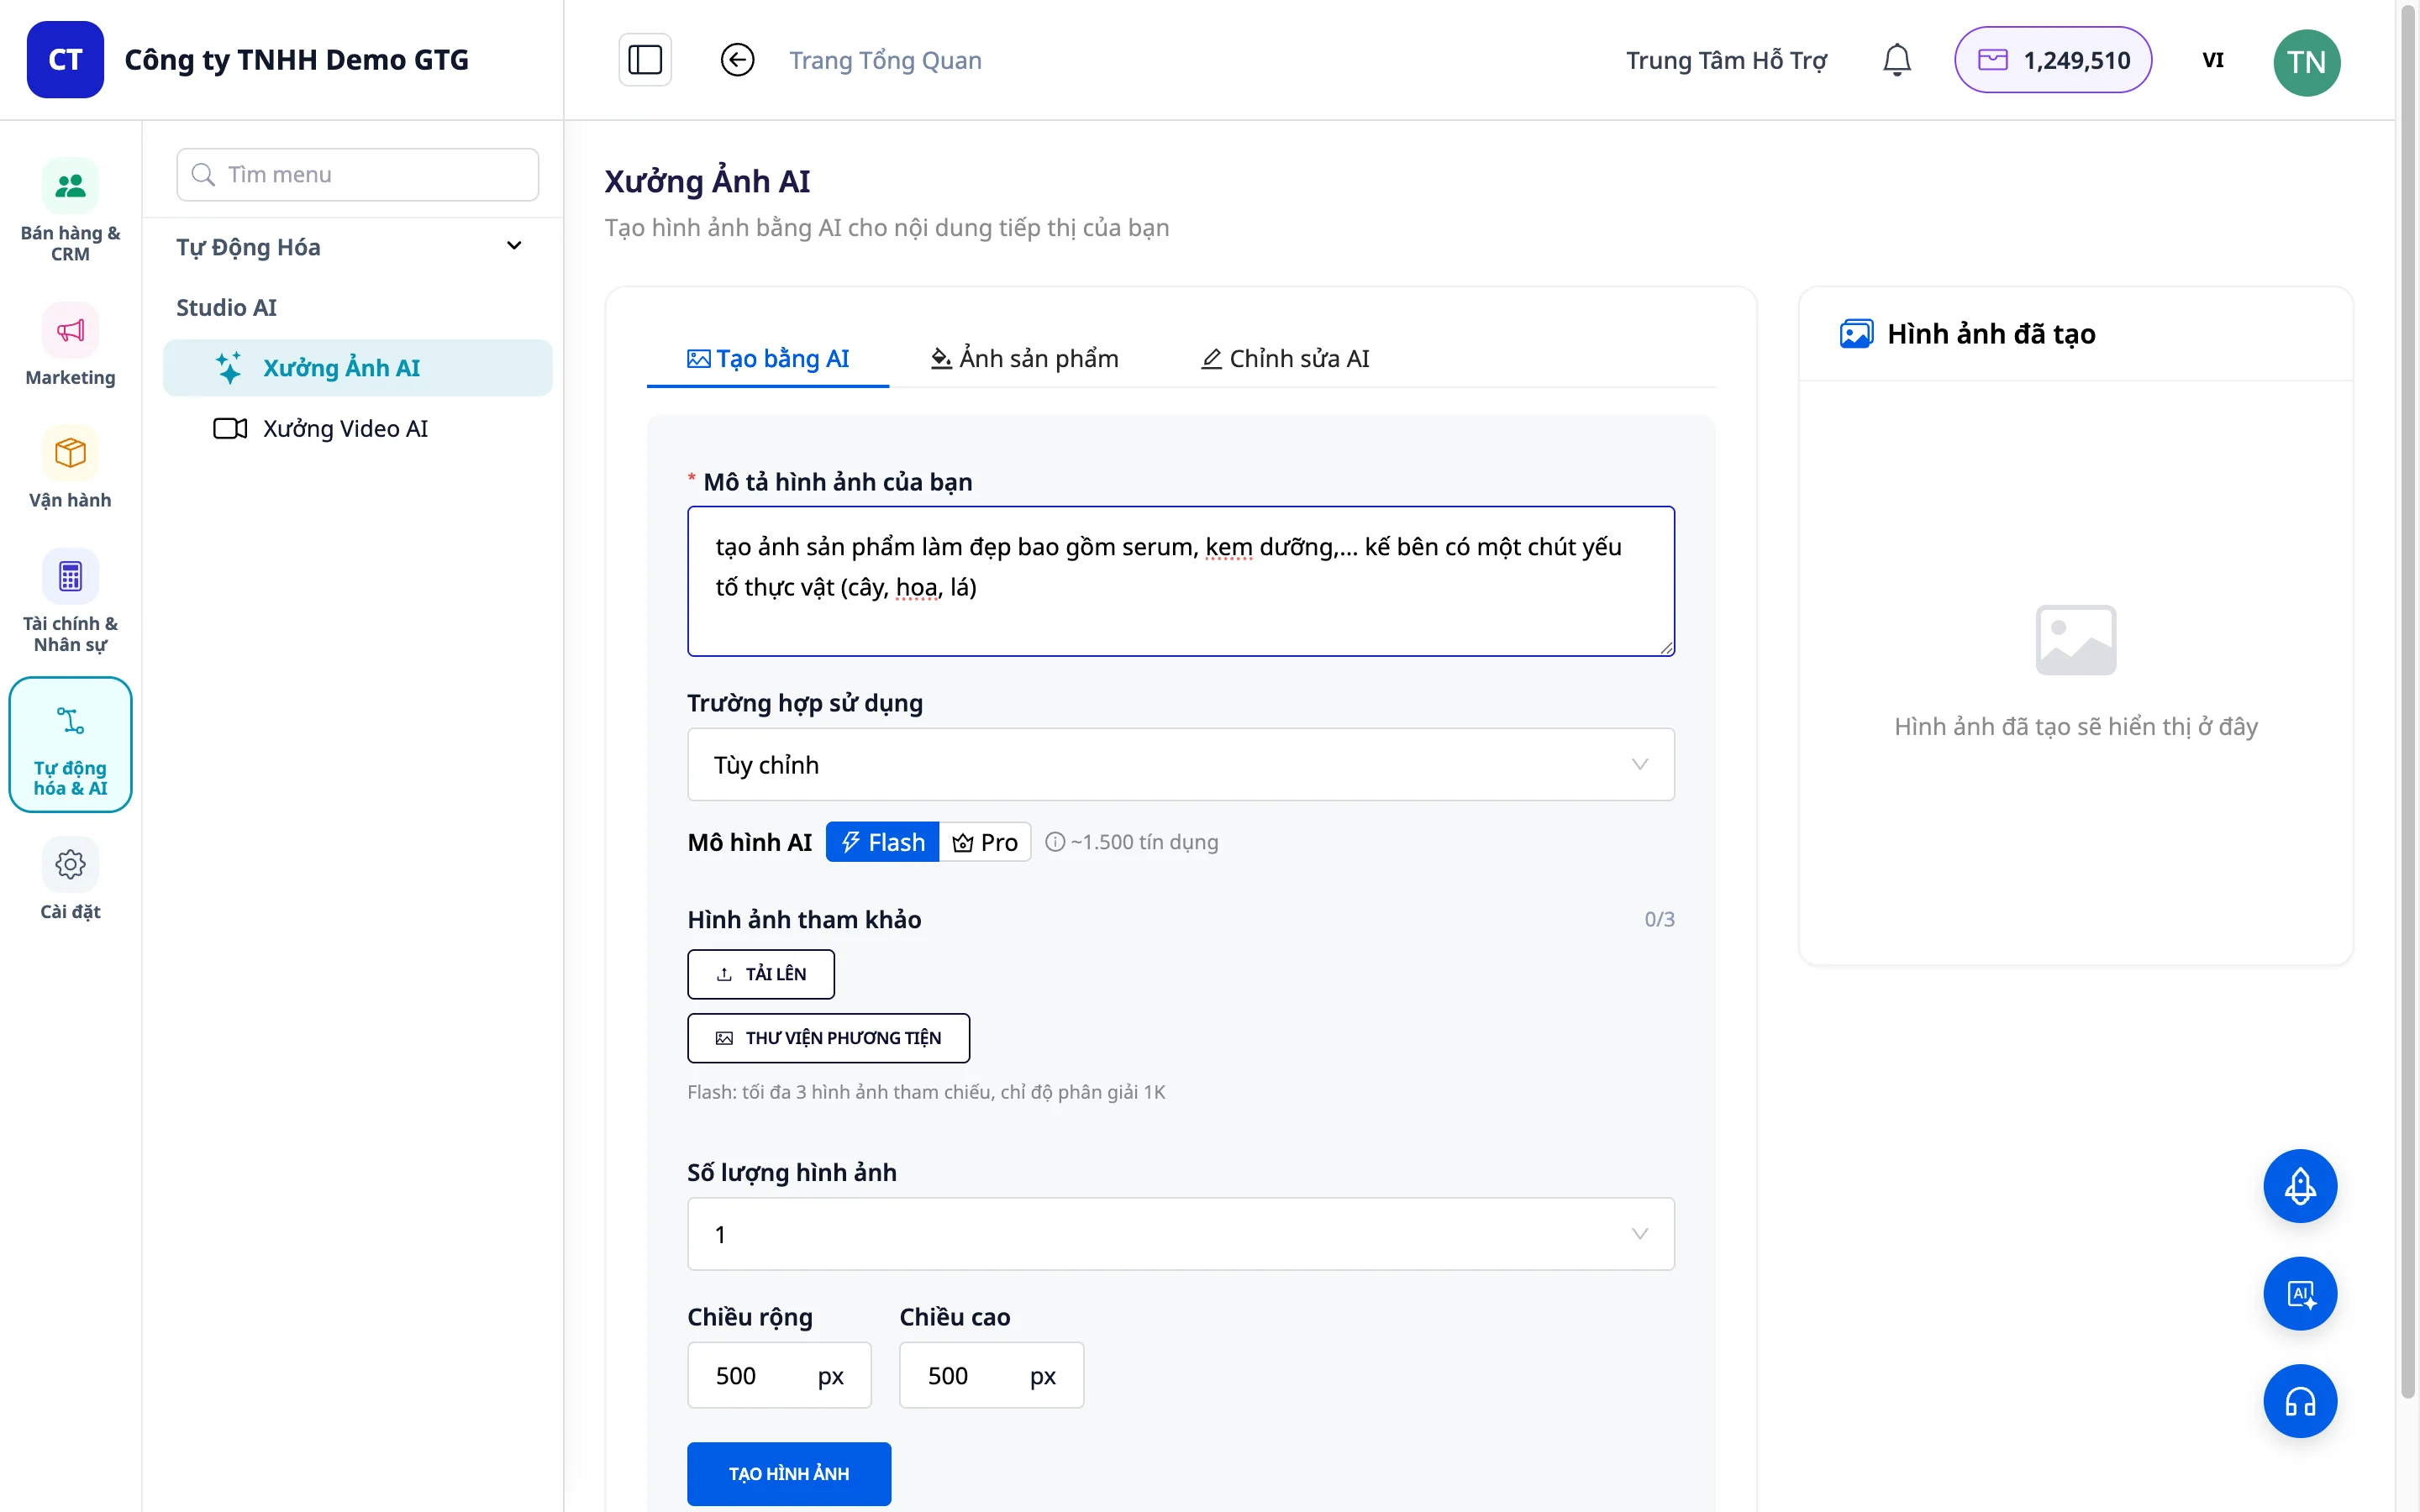
Step 3: Upload your reference image. - Click the "Reference Image" button. - Select an image from your computer.
Step 4: Adjust parameters: - Number of Variations: Choose how many images you want to generate (usually set to 1). - Width and Height: Customize the image dimensions.
Step 5: Click "Generate Image" and wait for AI processing.
Step 6: Compare and save results. - View the comparison between the original and AI-generated images. - Click "Save to Media" to store it in your library. - Or click "Download" to save it to your computer.
2. Virtual Try-on
This feature allows you to create professional product images with models and backgrounds without the need for actual photoshoots.
Step 1: Switch to the "Product Images" section.
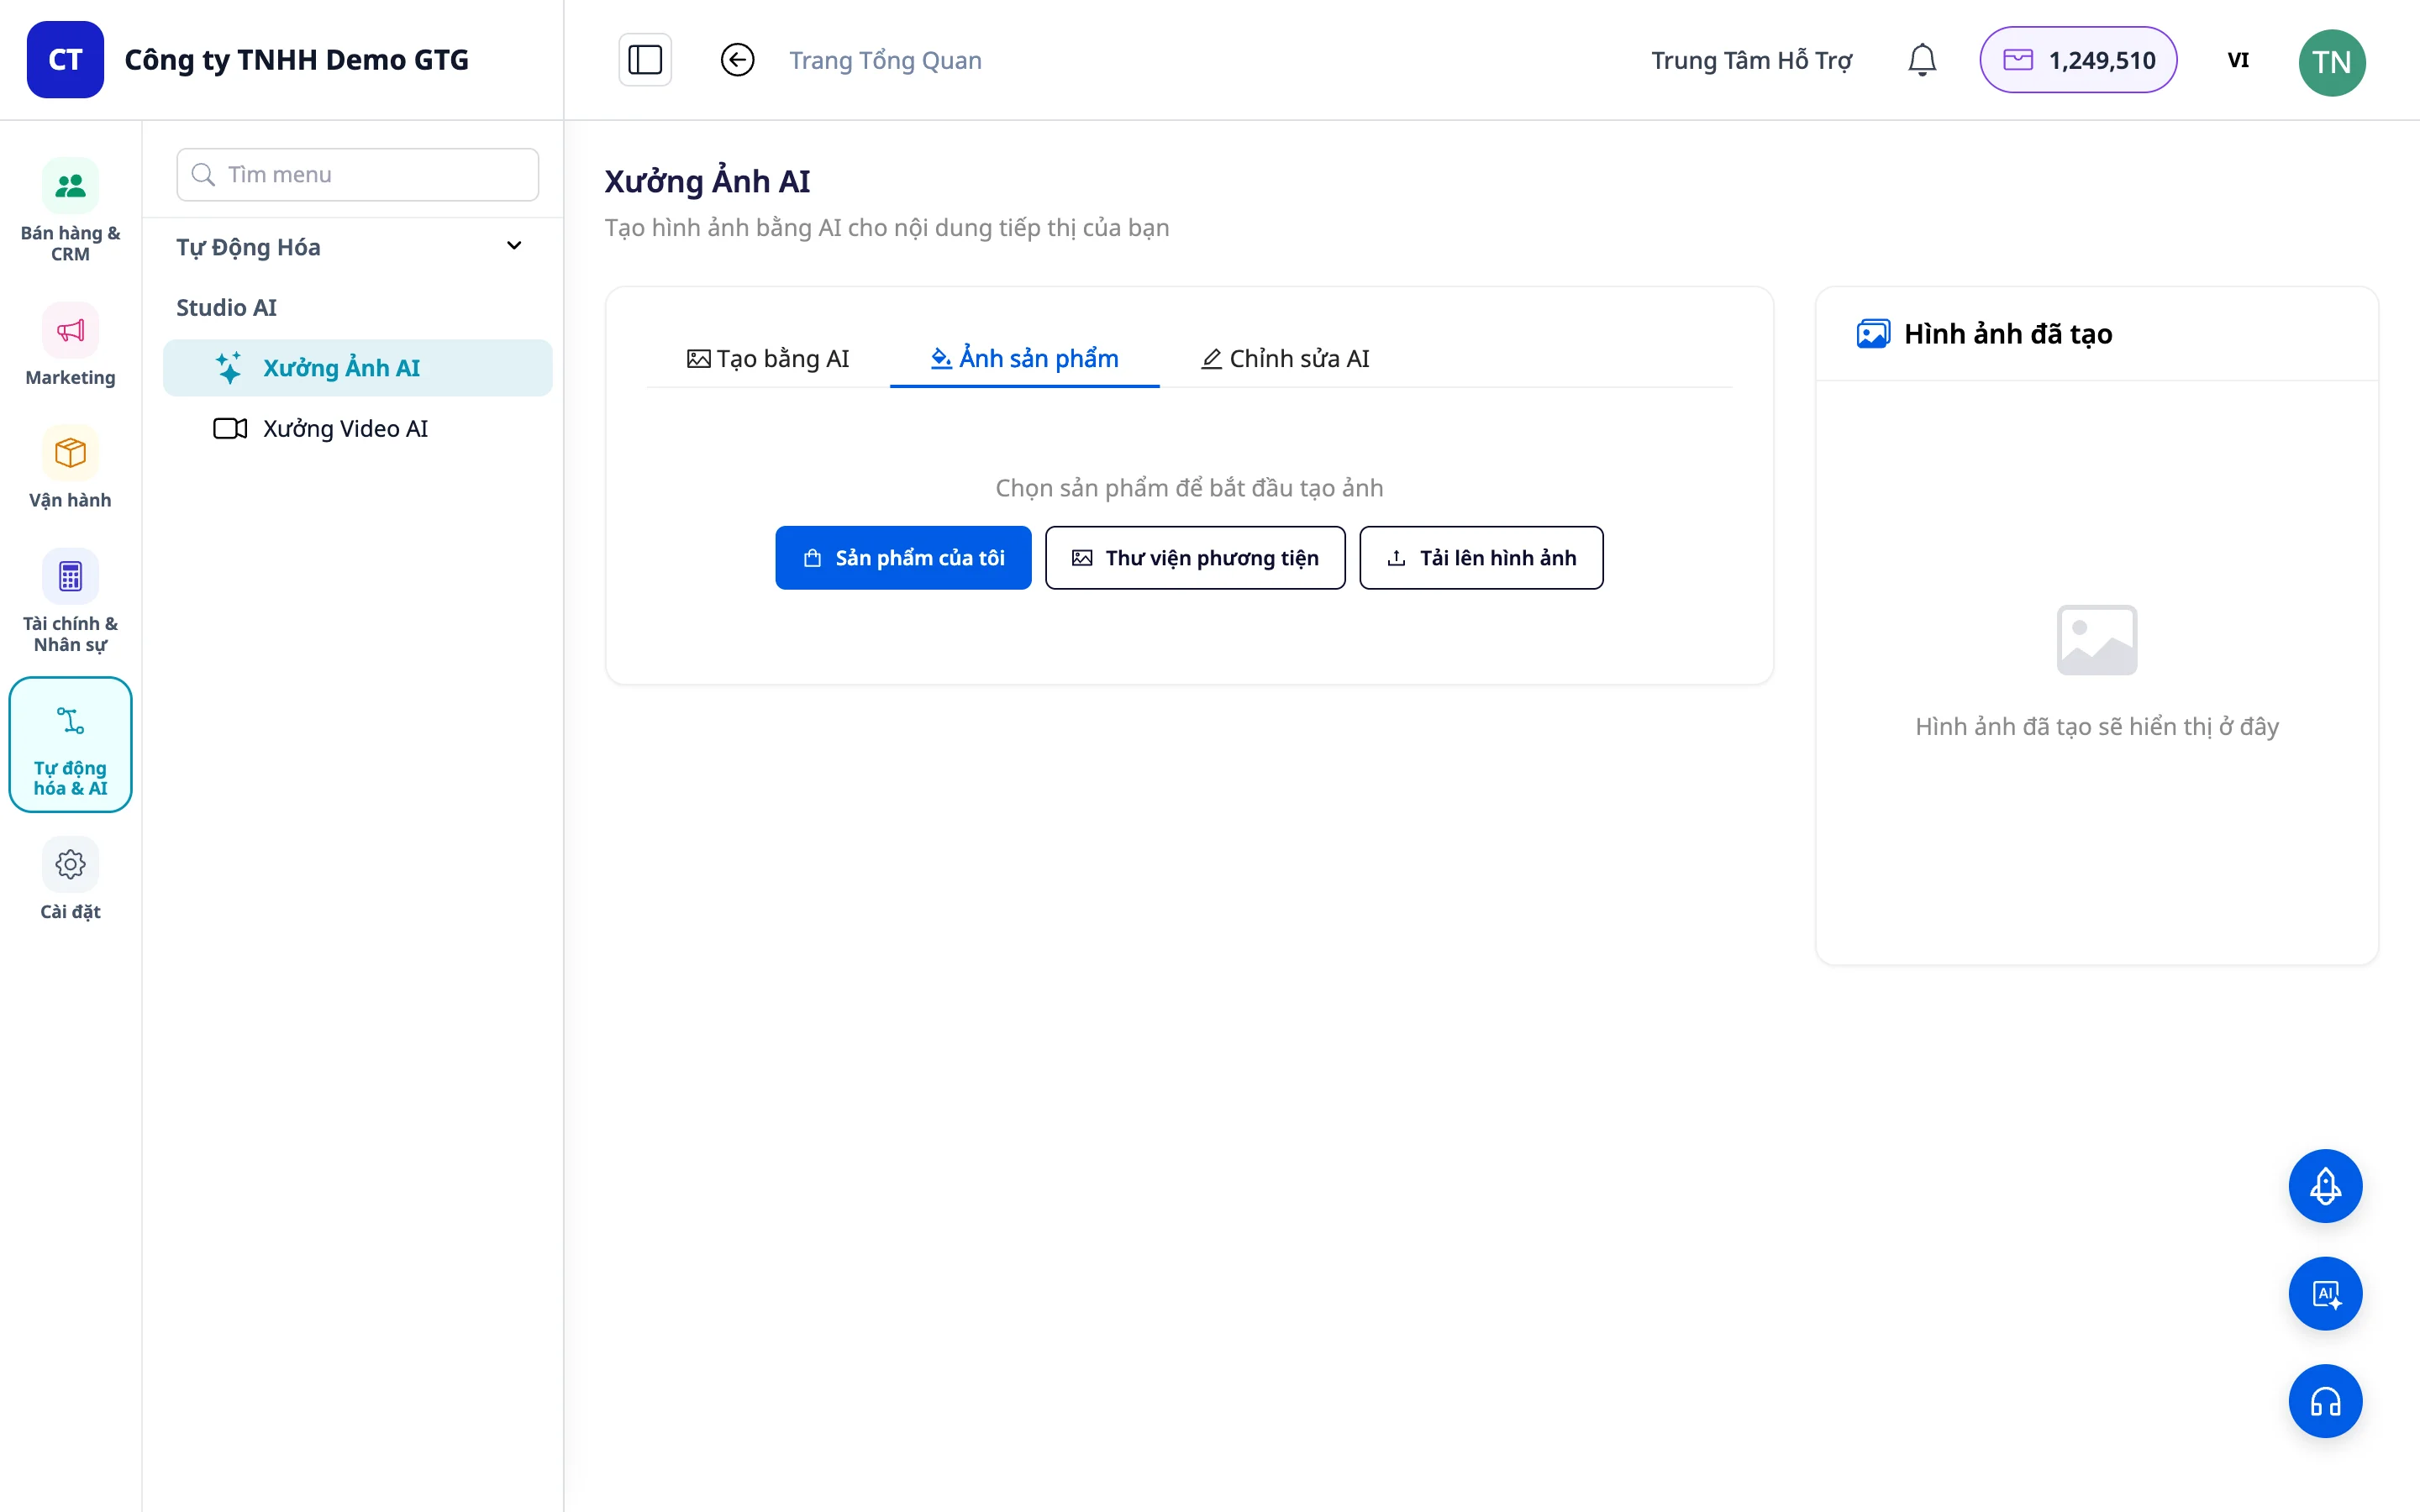
Step 2: Upload your product image. - Click "Upload from Computer" to upload a new image. - Or select "Library" to use an image already stored in Core Media.
Step 3: Choose style and background. - Lifestyle: Use when you already have a model and only want to change the background (studio, interior, beach, etc.). - Try-on: Use when you only have the product image and want AI to generate a model wearing it.
Step 4: Enter a description for AI (if needed) and click "Generate Image".
Step 5: Save the result to Media or download it to your computer.
3. Change Product Background
This function allows you to change the background of product images to various styles.
Steps:
Step 1: Upload the product image whose background you want to change.
Step 2: Select "Change Background".
Step 3: Choose your desired background style (e.g., marble background).
Step 4: Review the result and compare it with the original image.
4. Remove Unwanted Objects
The intelligent removal feature allows you to eliminate unnecessary parts of an image while maintaining quality.
Step 1: Upload your image.
Step 2: Select the object to remove (person/text/clean image).
Step 3: Provide additional instructions for AI to achieve the most desired result (Optional).
Step 4: Check the result – AI will accurately remove the marked area while preserving other elements (clothing, face, hair, etc.).
5. Other Editing Features
AI Image Studio also offers additional features: - Style Transfer: Change the color tone and style of the image. - General Editing: Enhance quality, adjust brightness, and fine-tune colors. - Advanced AI Functions: Expand and complement the above features.
Benefits of Use
- Save Time and Cost - No need to hire professional photographers, studios, or models.
- High Image Quality - AI generates professional images, often superior to the originals.
- Create Multiple Variations Quickly - Easily test different backgrounds and styles.
- Centralized Management - Store in Core Media for reuse.
- Flexible and Easy to Use - Intuitive interface, no professional editing skills required.
Important Notes
- The quality of the output image depends on the quality of the input image – use high-resolution images.
- Some features may take a few minutes to process depending on complexity.
- It is recommended to save images to Core Media for easy management and reuse.
- For object removal, accurately mark the area to be removed for the best results.
- You can generate multiple variations from the same original image to select the best one.
Maybe You Should Read These
AI Image Studio

AI-Powered Product Creation

AI Website Section Generator

Create Brand Identity
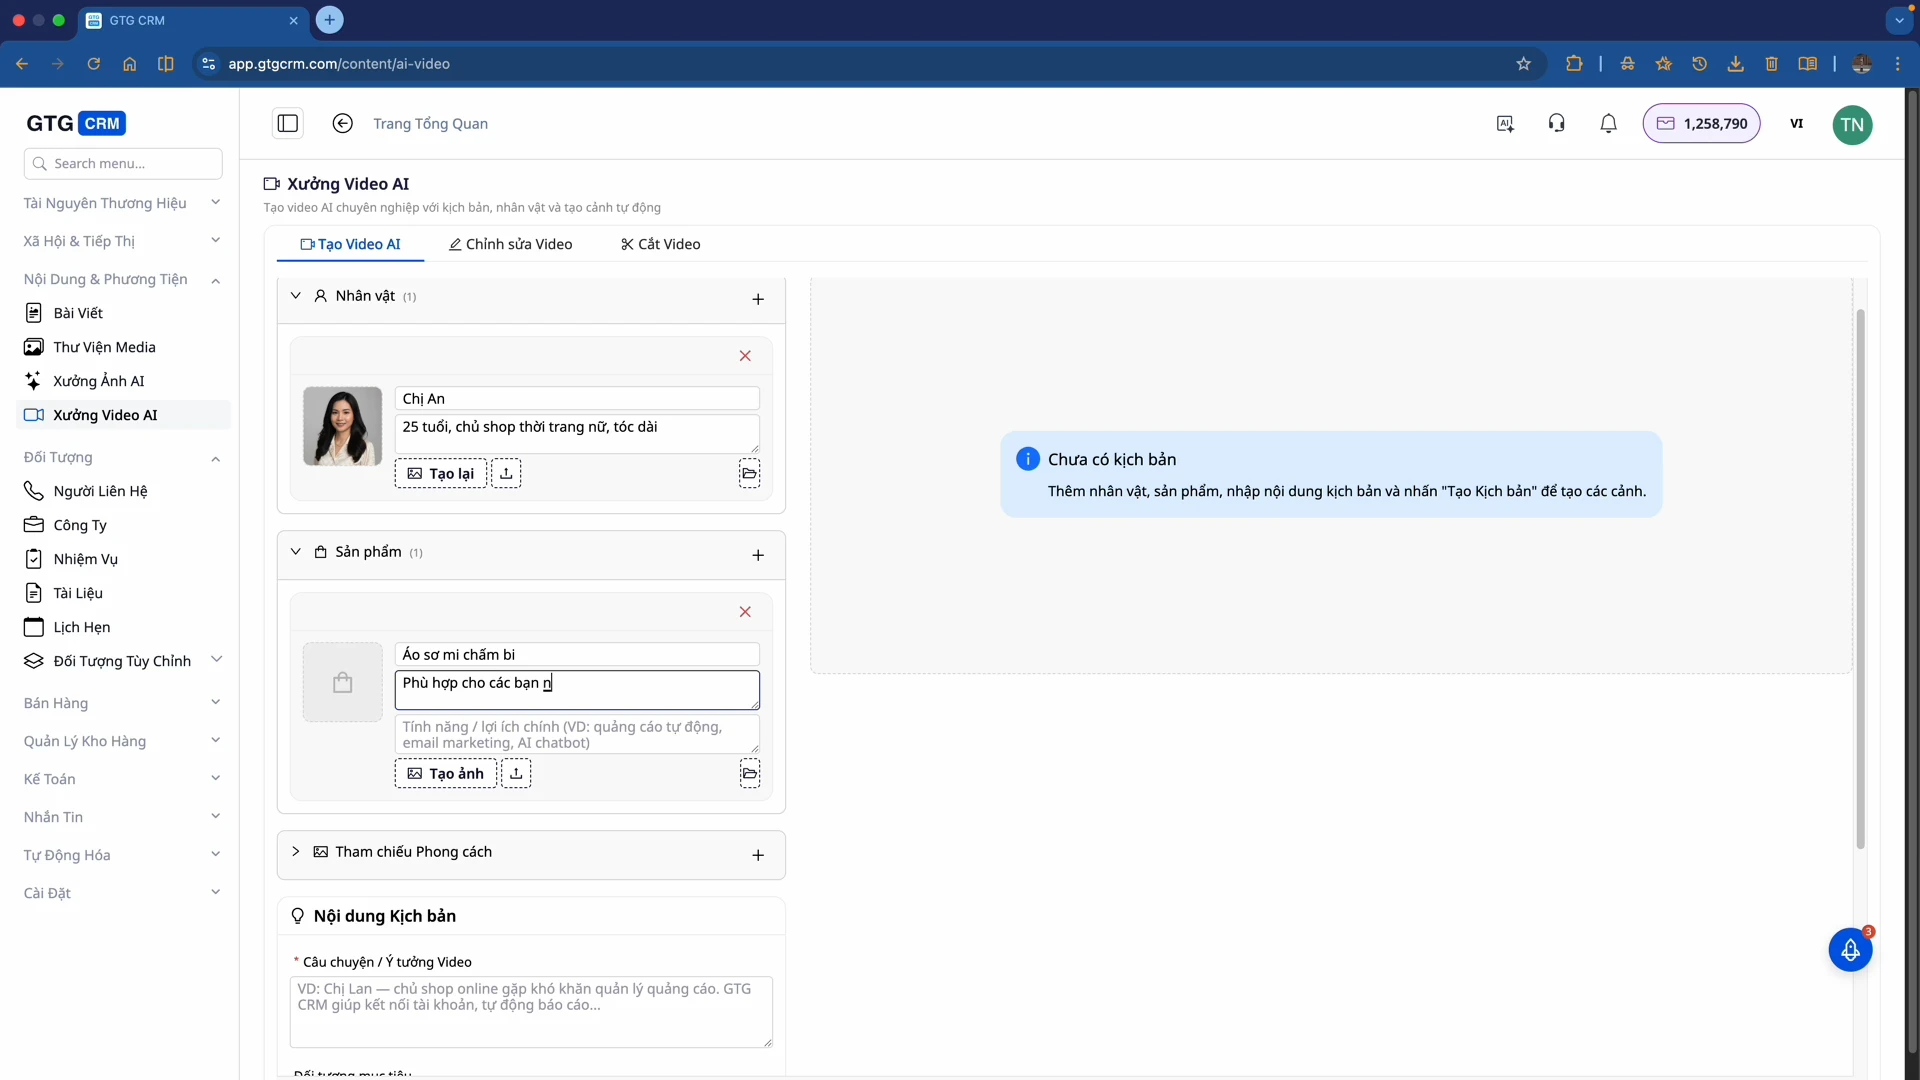
AI Video Studio
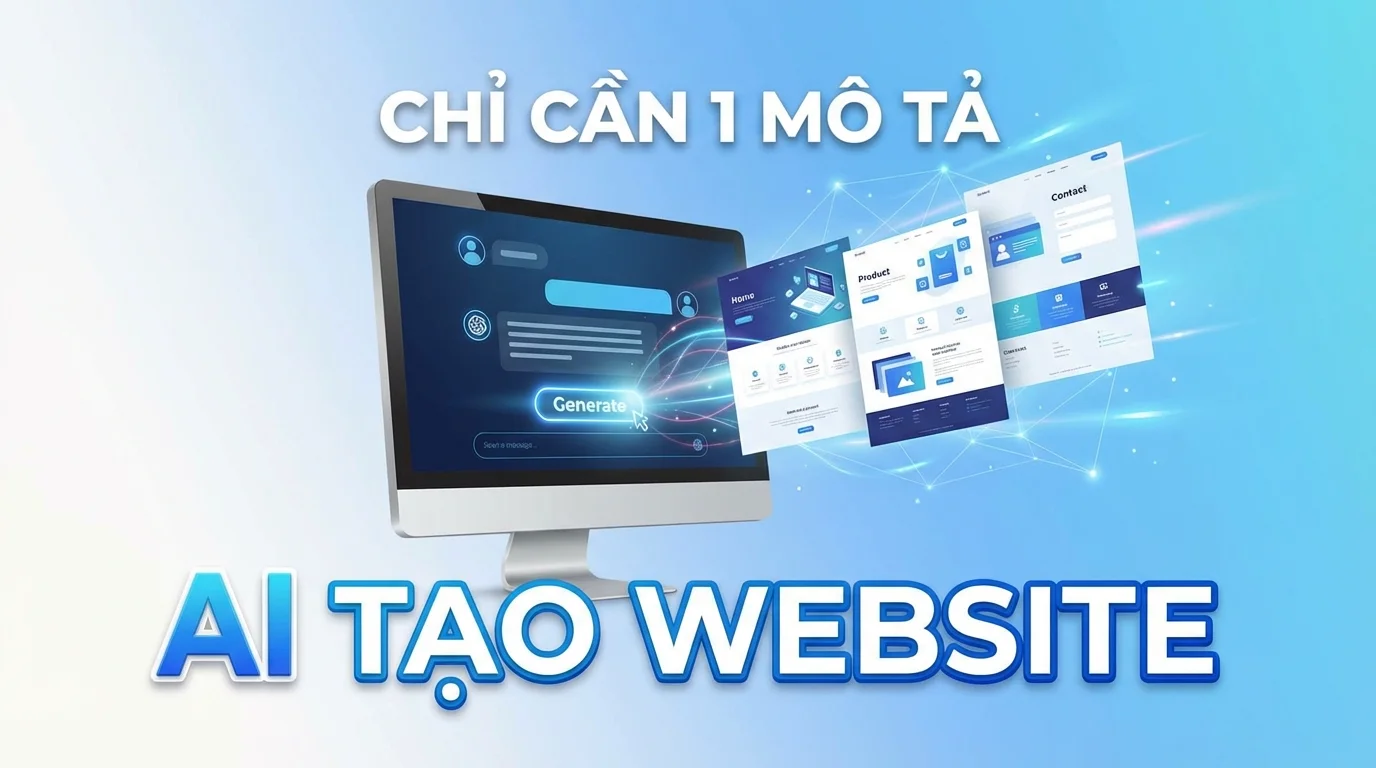
AI Website Builder
Website in GTG CRM
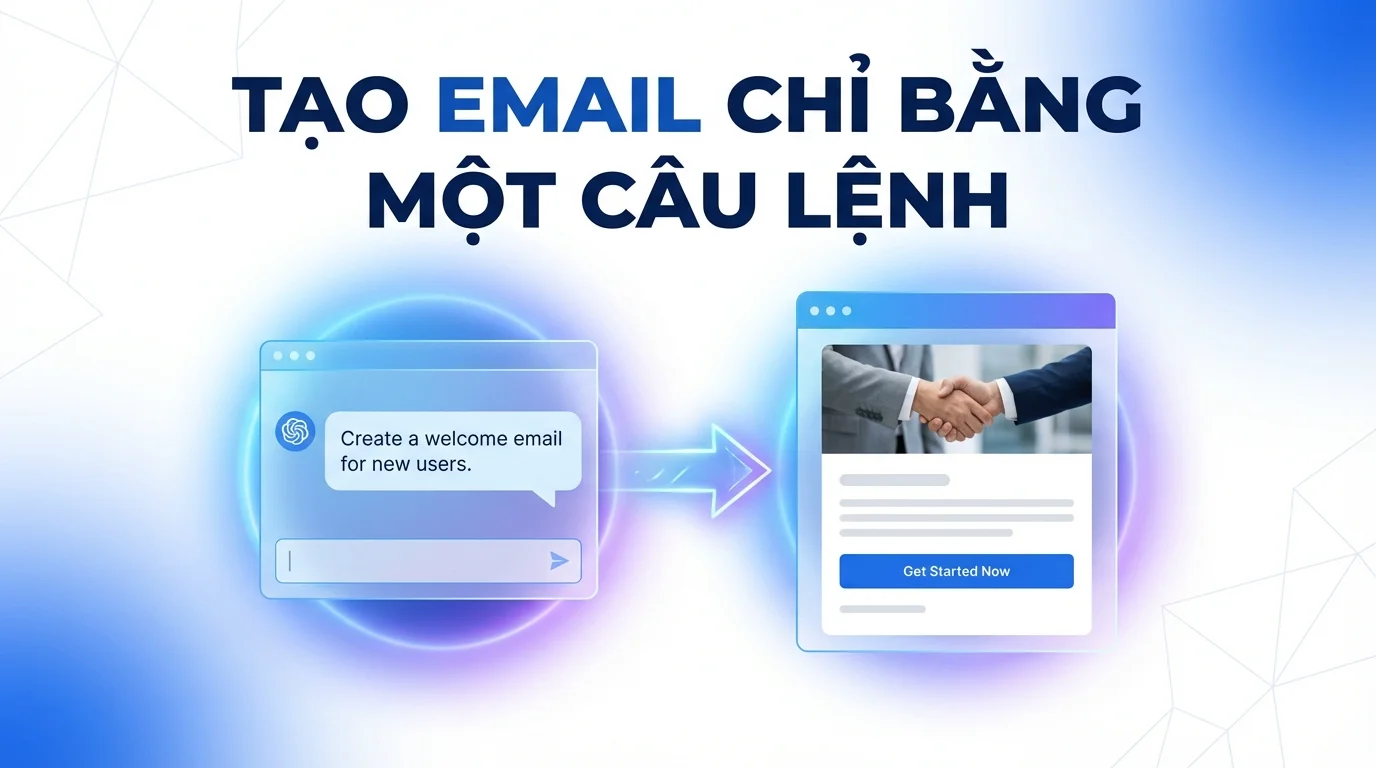
AI Email Campaign
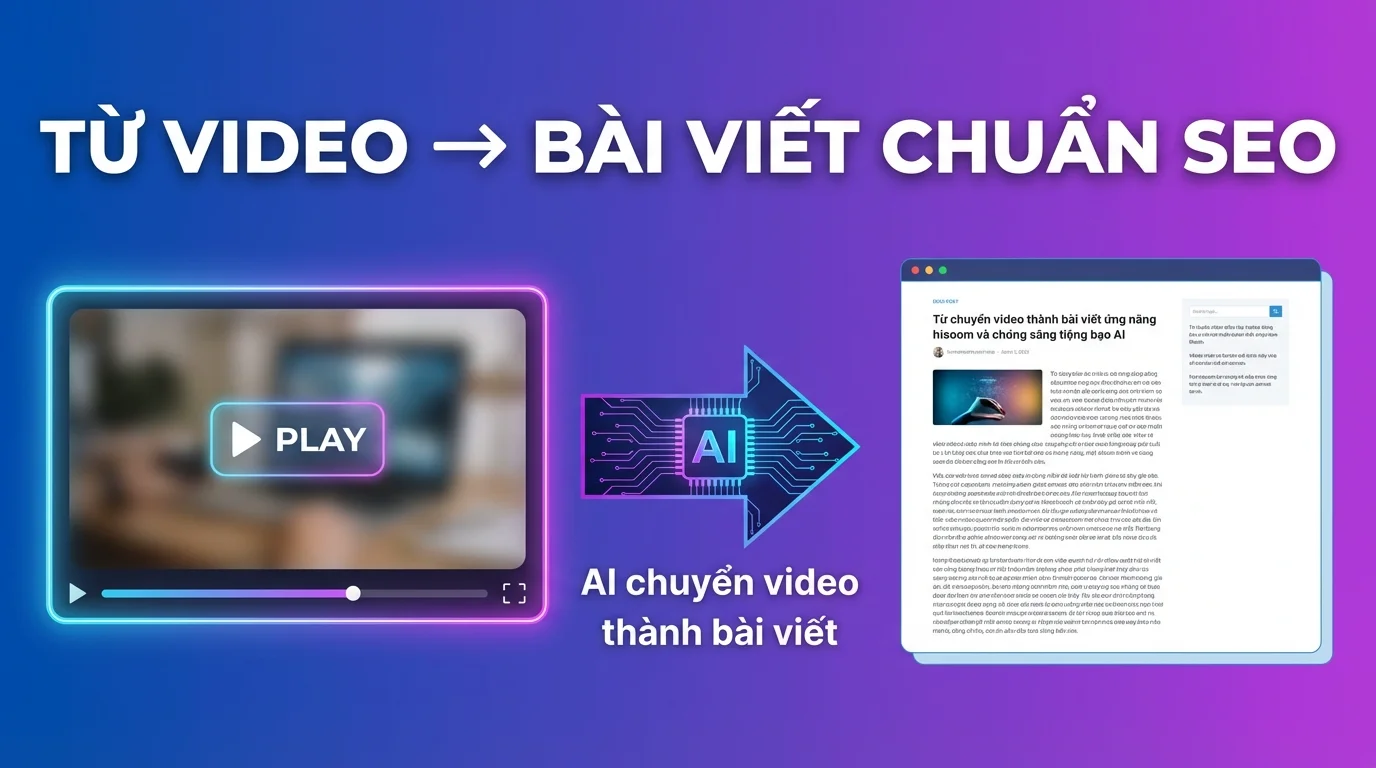
AI Article Generator
Email Builder
AI Chatbot