Guide to Creating Customer Information Collection Forms
Detailed Step-by-Step Guide
GTG CRM Team · GTG CRM
April 16, 2026
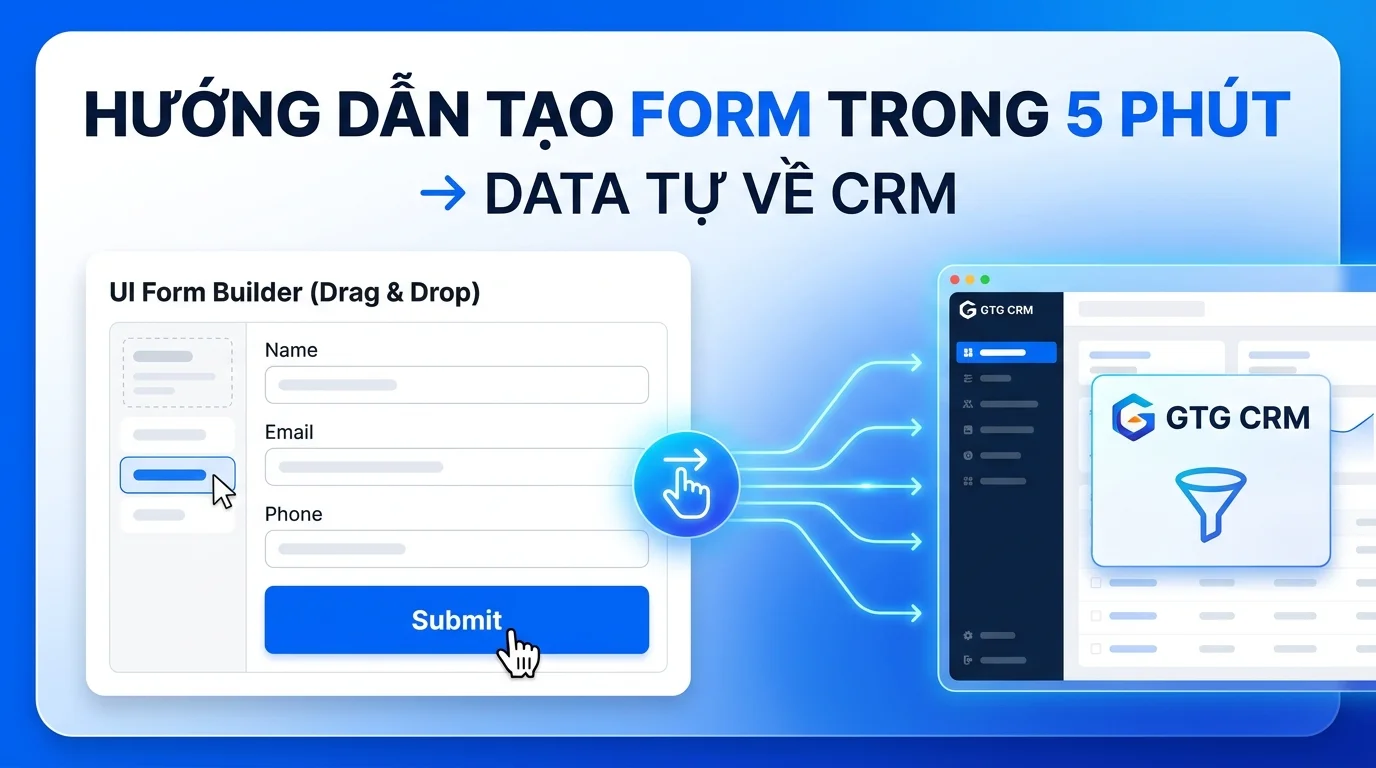
Table of Contents
In business operations, quickly and accurately collecting customer information is crucial to conversion rates. GTG CRM provides a customizable form creation tool that helps you build professional information collection forms, automatically synchronizing data to your management system without requiring programming knowledge or third-party integration.
This feature allows you to create forms with a fully customizable interface, from colors and layout to the information fields to collect. Once created, you can embed the form directly into your WordPress, Shopify, or other web platforms with just a simple piece of code. All customer information entered into the form will automatically appear in GTG CRM's contact list, enabling you to manage and nurture your customers effectively.
Key features
- Create custom forms with an intuitive drag-and-drop editor, no coding required.
- Add and arrange information fields flexibly with adjustable width.
- Customize the form's appearance, from colors and fonts to the layout.
- Automatically synchronize contact list data within the system.
- Integrate forms into your website via script, iframe, or sharing link.
- Track form views, submissions, and conversion rates.
- Share the form on social media platforms like Facebook and Zalo to reach customers quickly.
Detailed instructions for creating a form.
Step 1: Create a new form from the administration interface.
Access the Forms management section in GTG CRM and click the "Create Form" button. Here, you need to name your form according to its purpose, for example, "Buy Product" or "Register for Consultation".
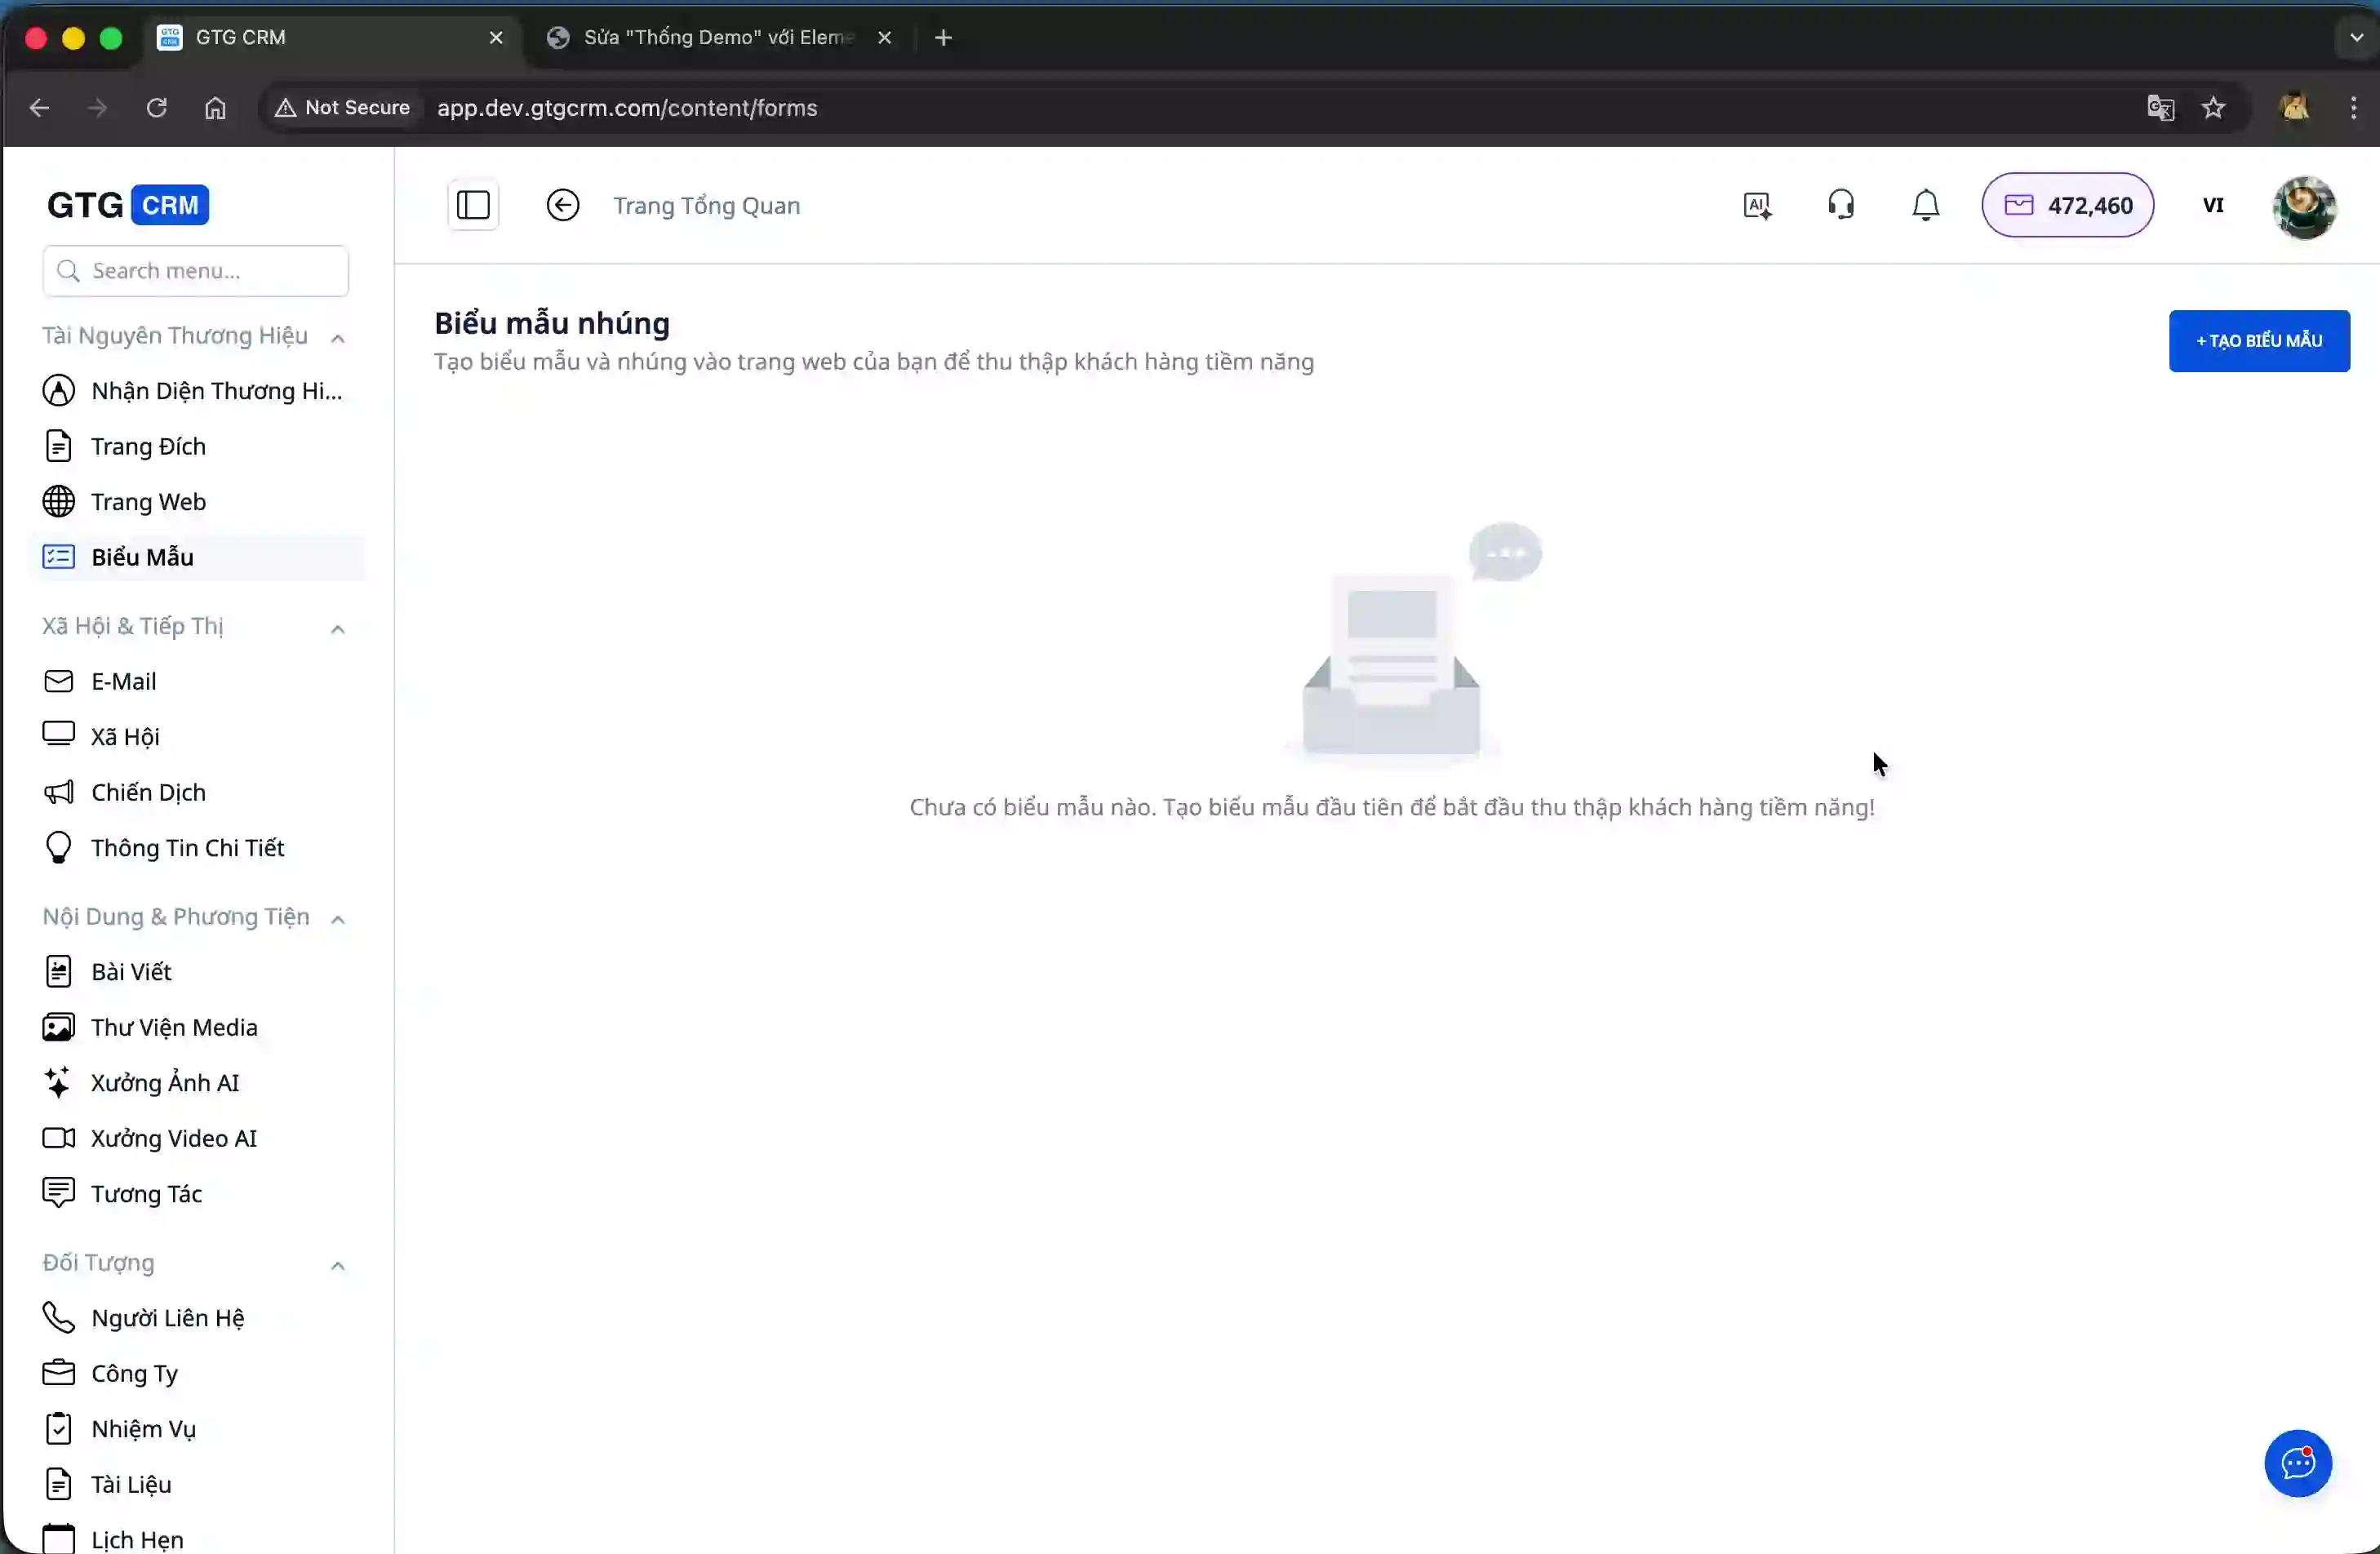
After entering your name and clicking the Create button, the system will automatically generate a basic form template. This form already includes some default information fields; however, you need to edit them to suit your information collection needs.
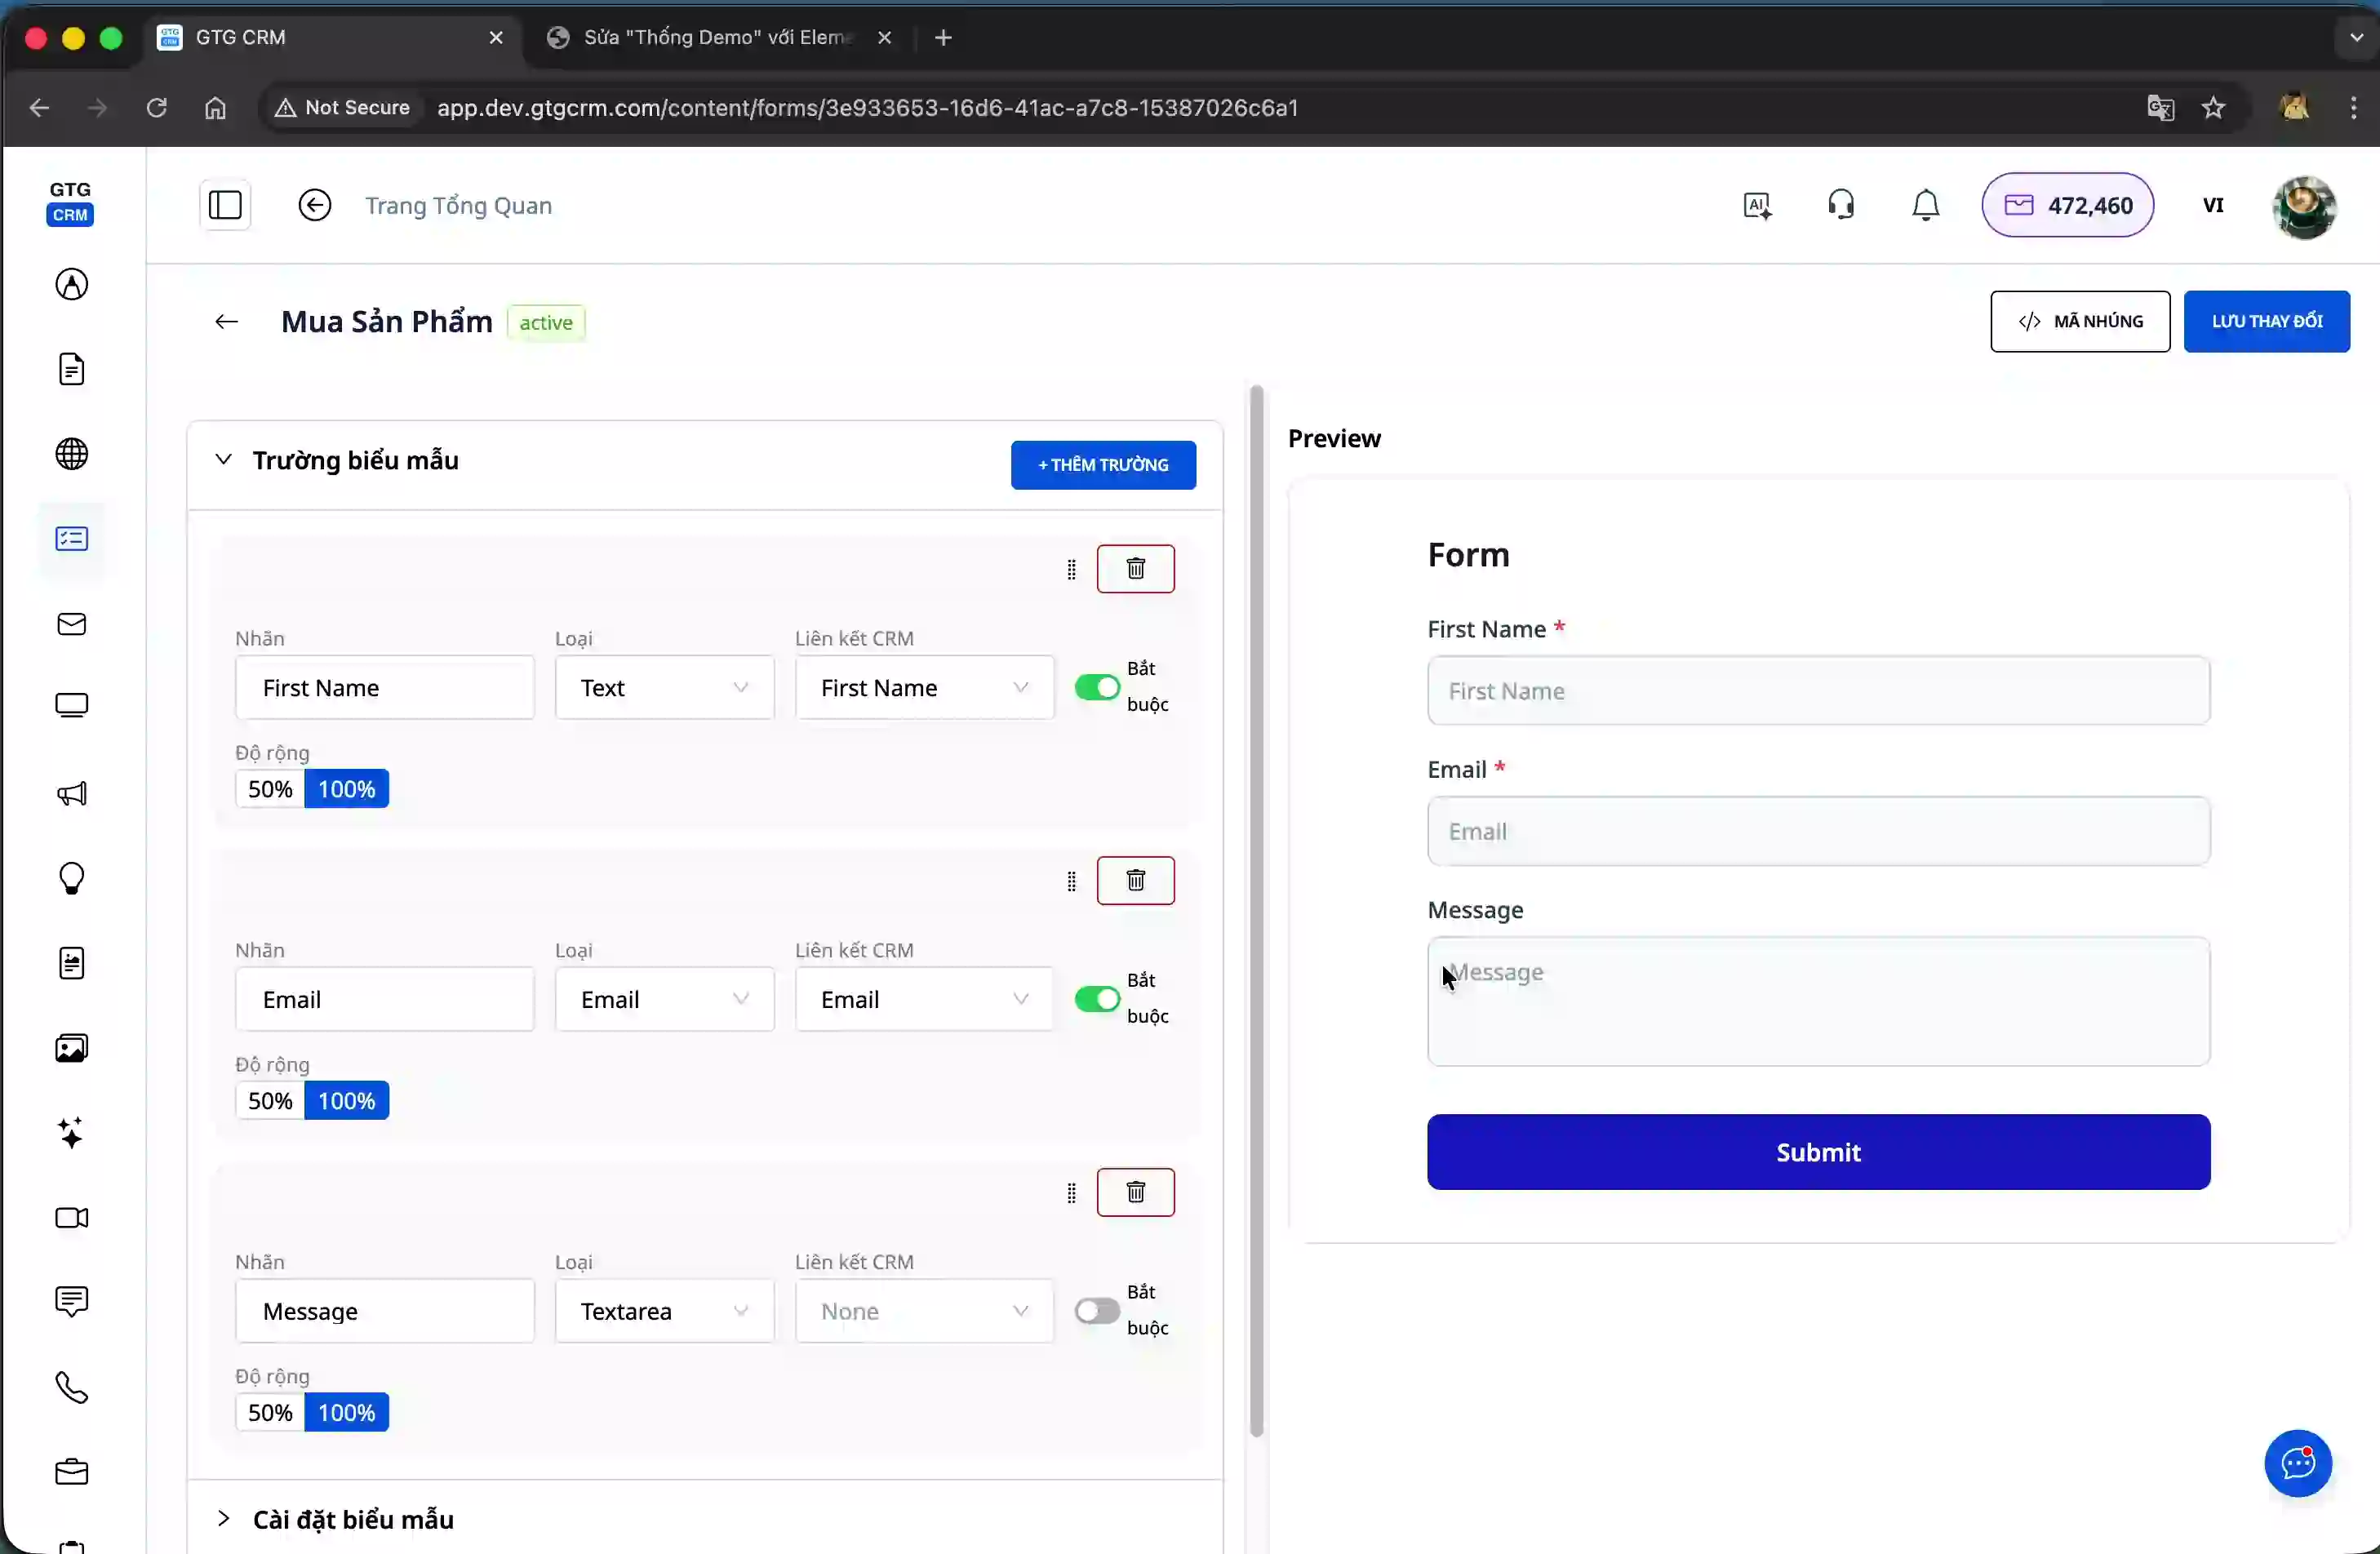
Step 2: Add and arrange the information fields.
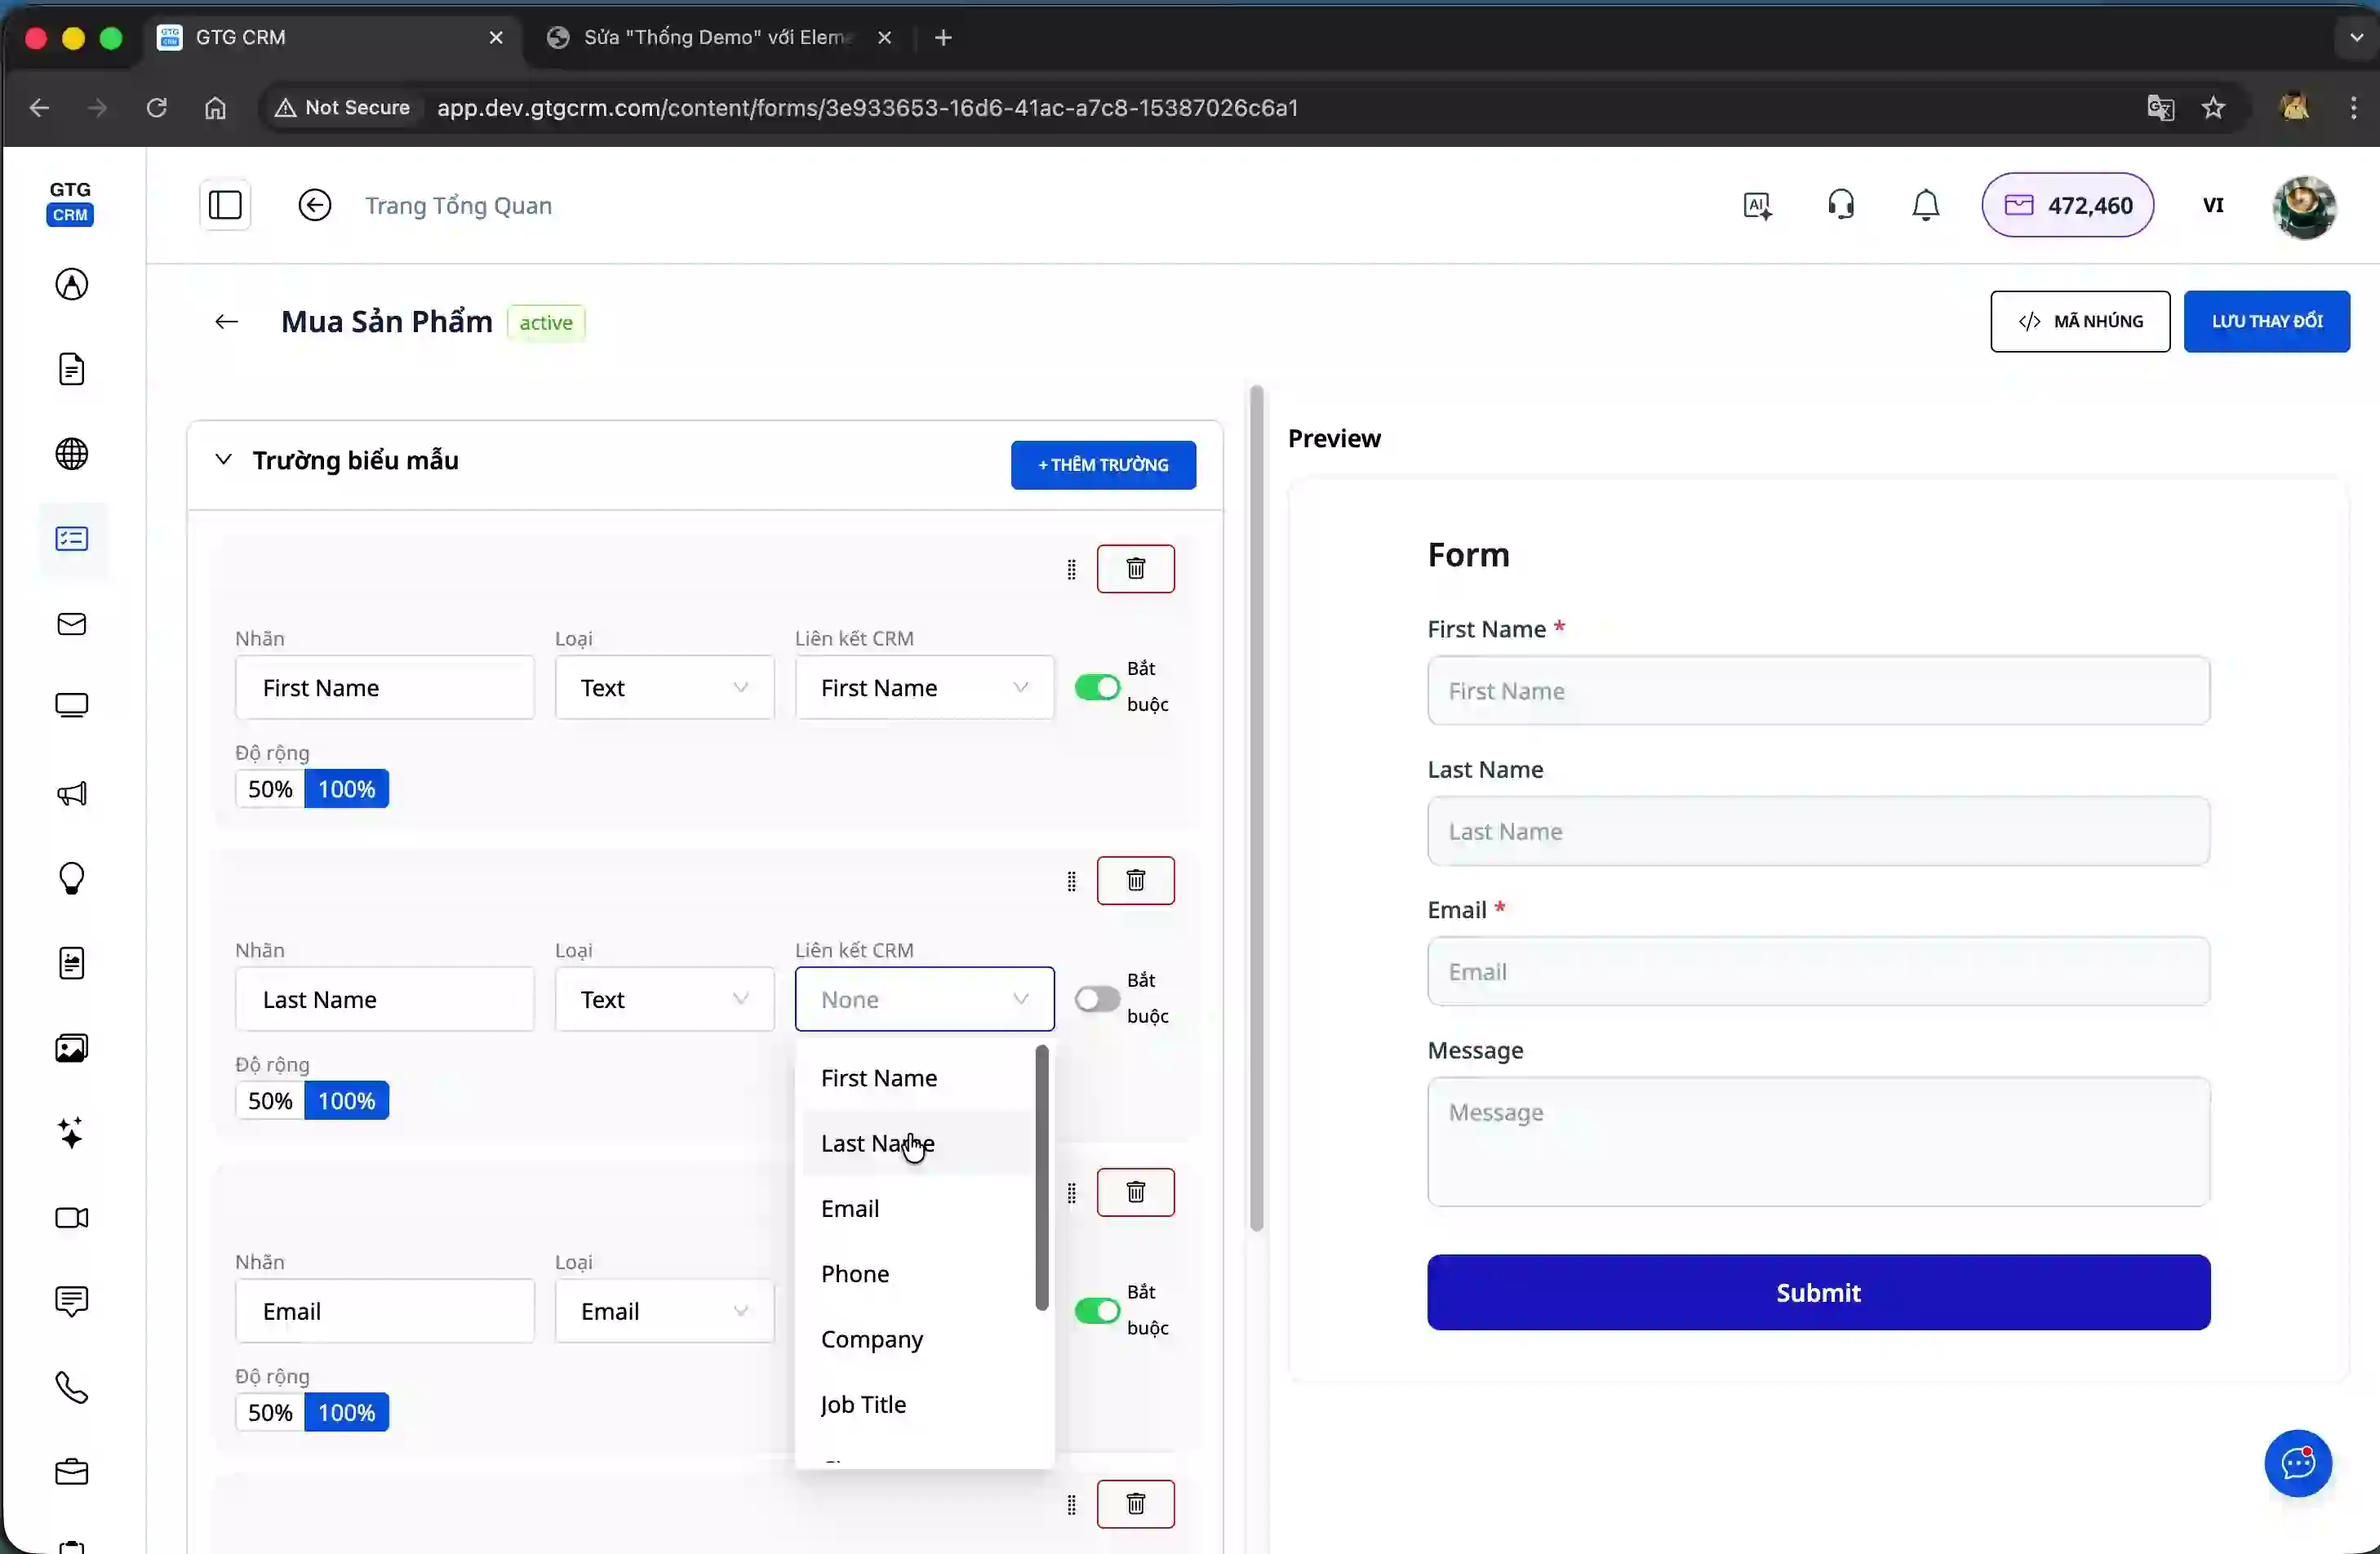
In the form editor interface, you can add new information fields by clicking the "Add Field" button. Each field can be dragged and dropped to easily rearrange its position, making the form logically structured and easy to fill out.
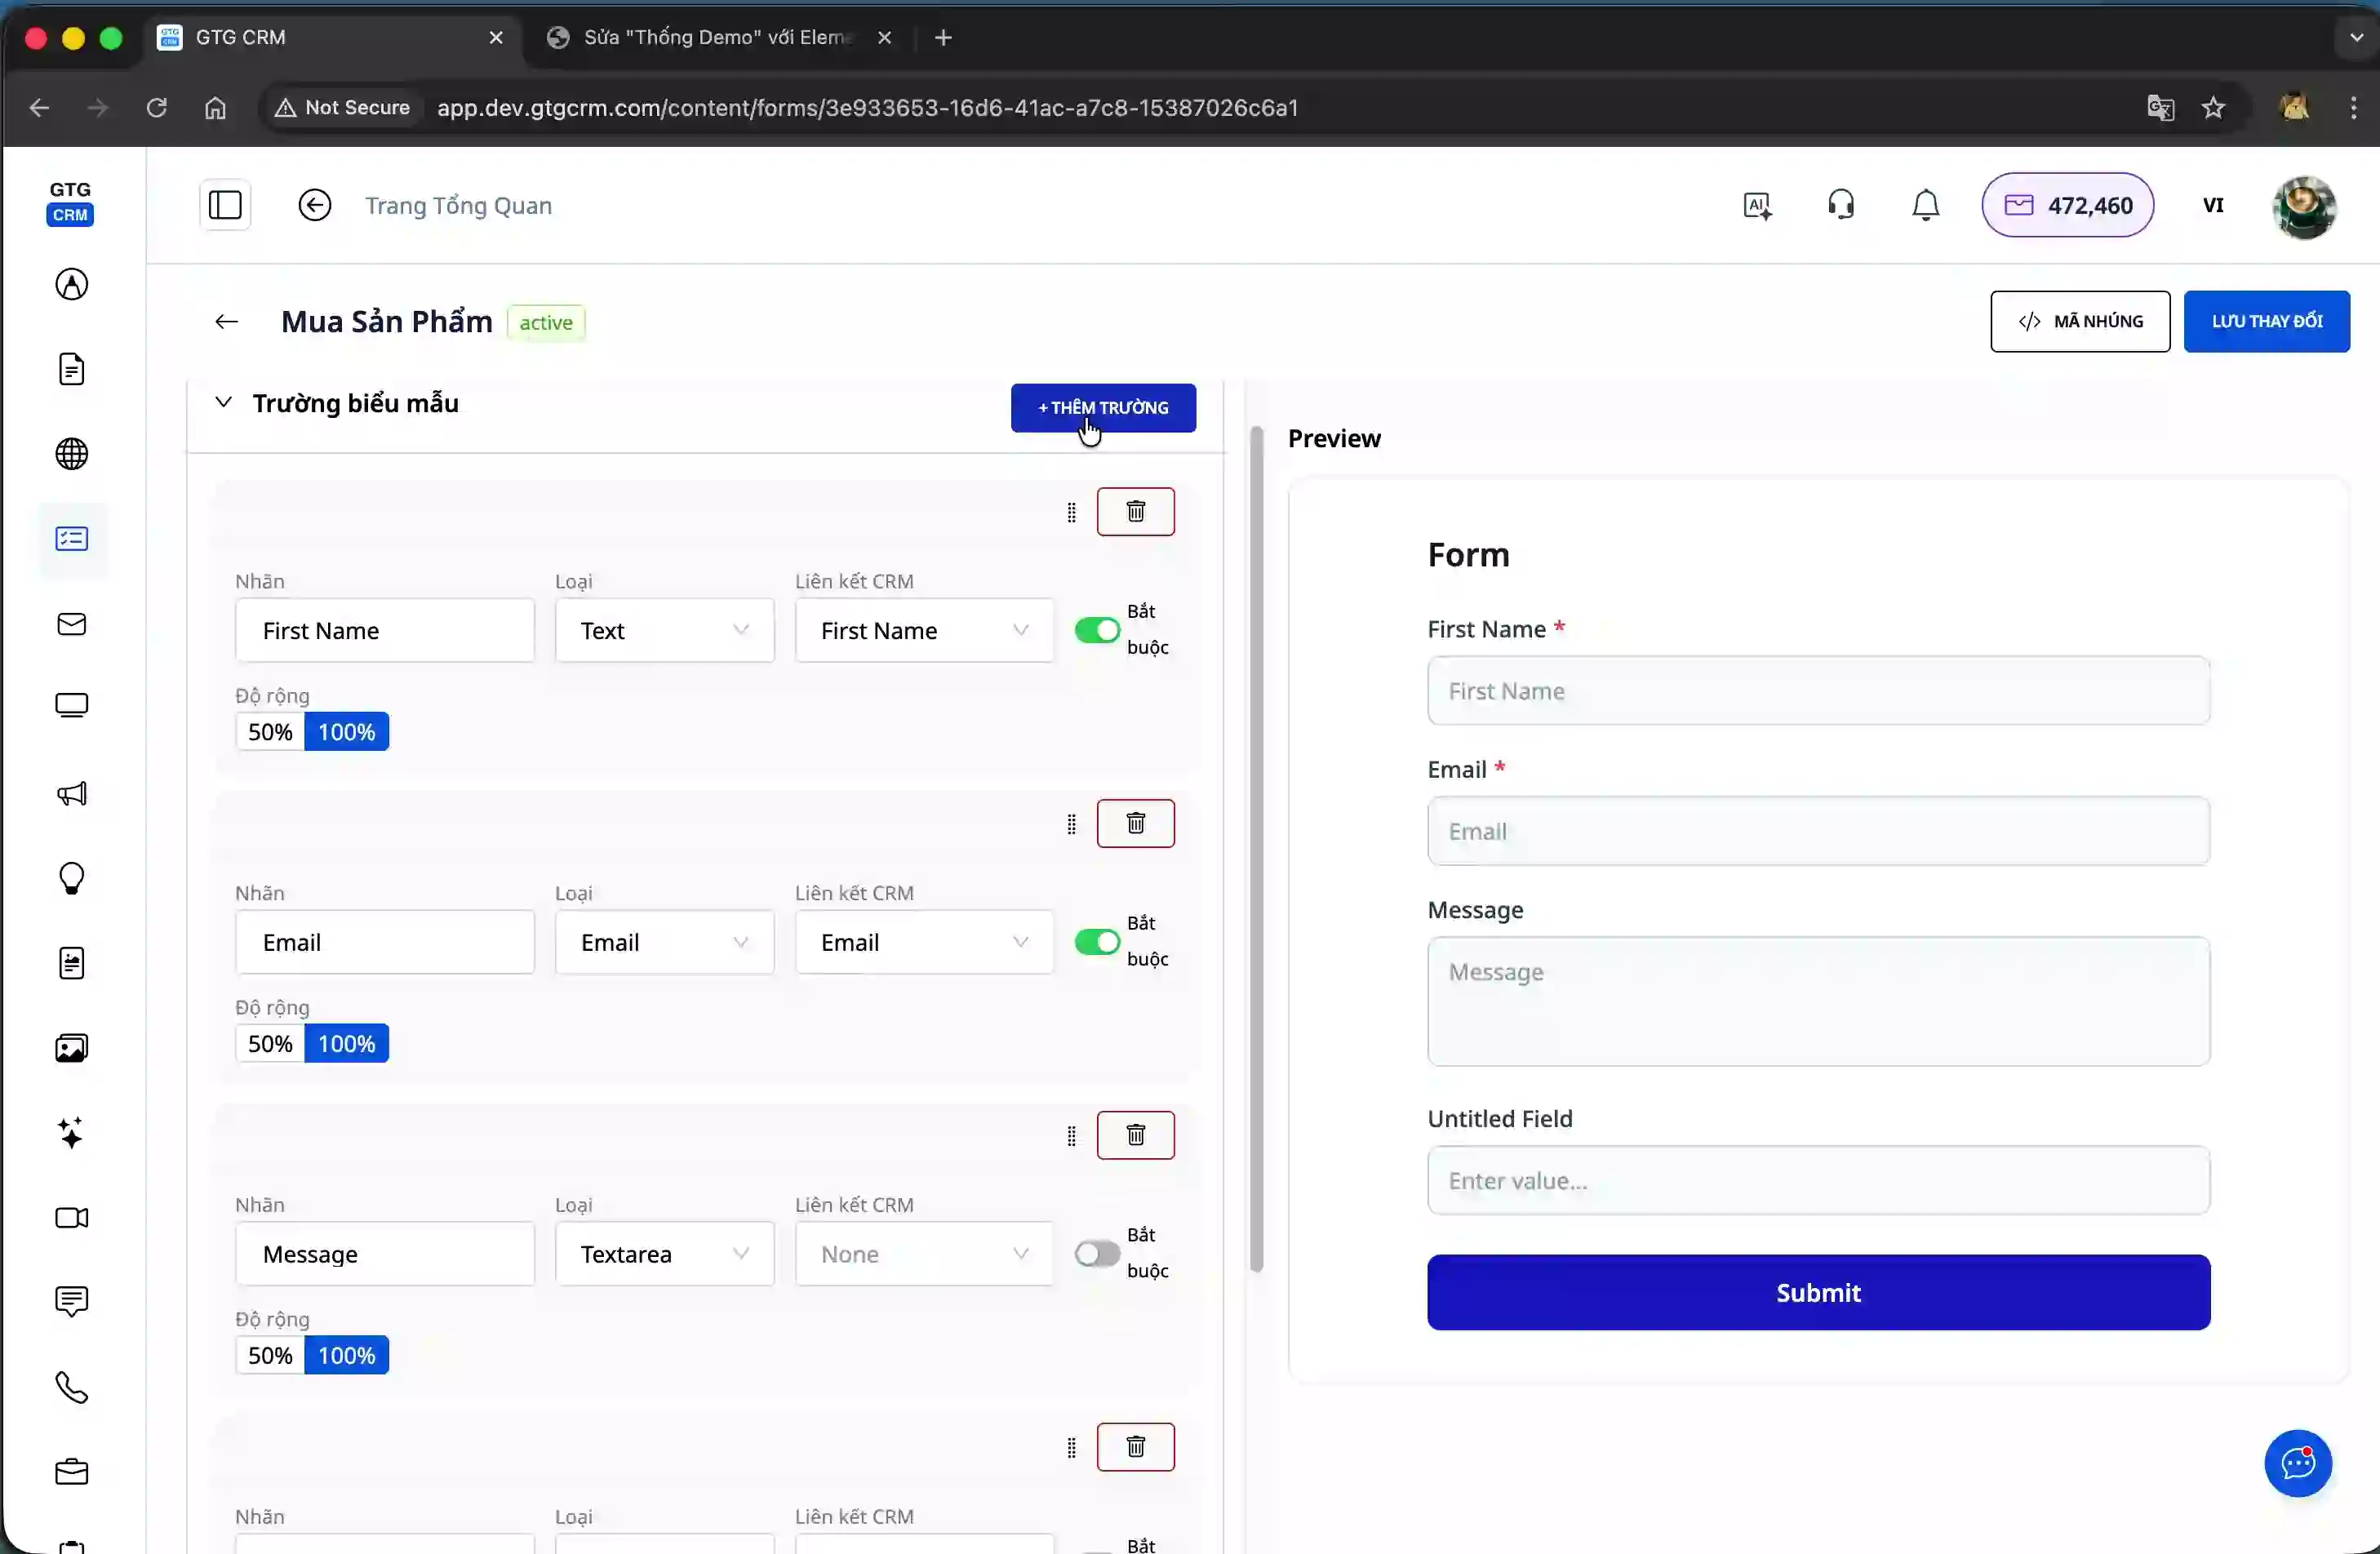
It's crucial to correctly map information fields to attributes within the GTG CRM system. For example, when creating a "Name" field, you need to select a mapping to the "First Name" field in the contact information to ensure accurate data synchronization.
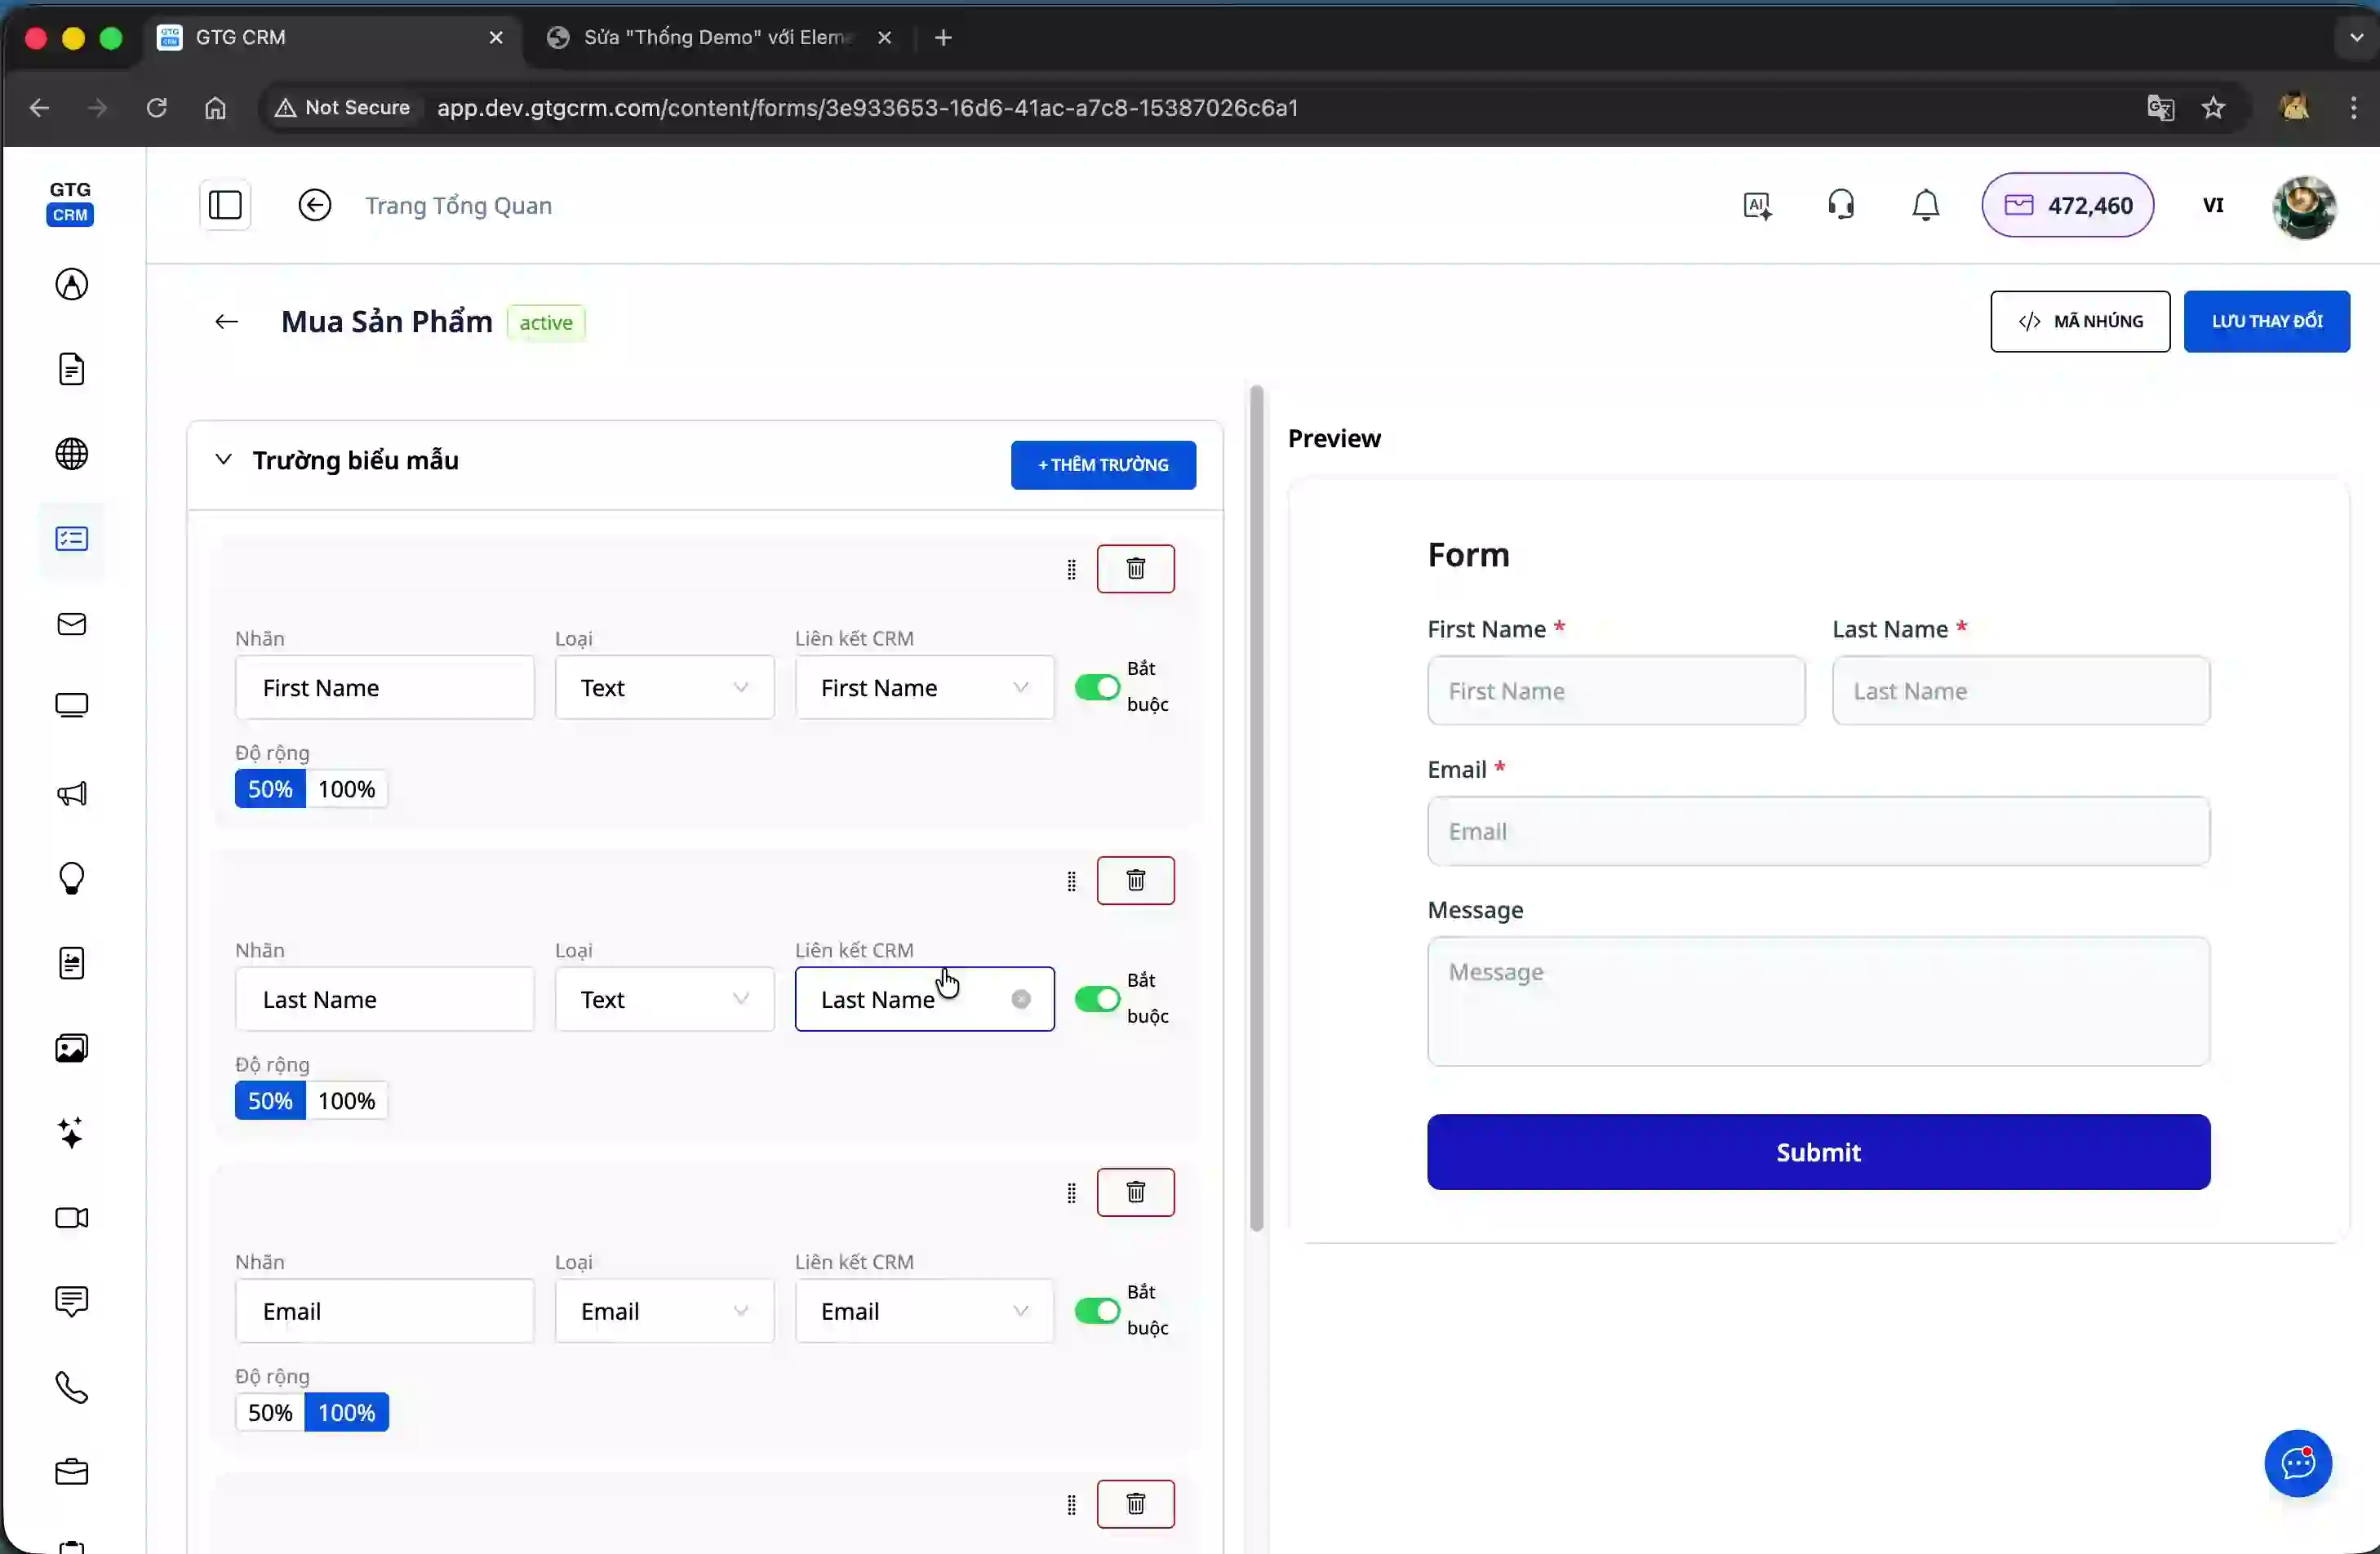
You can also adjust the width of each field. When you set two fields to 50% width, they will automatically be placed side-by-side on the same row, optimizing the form's display space.
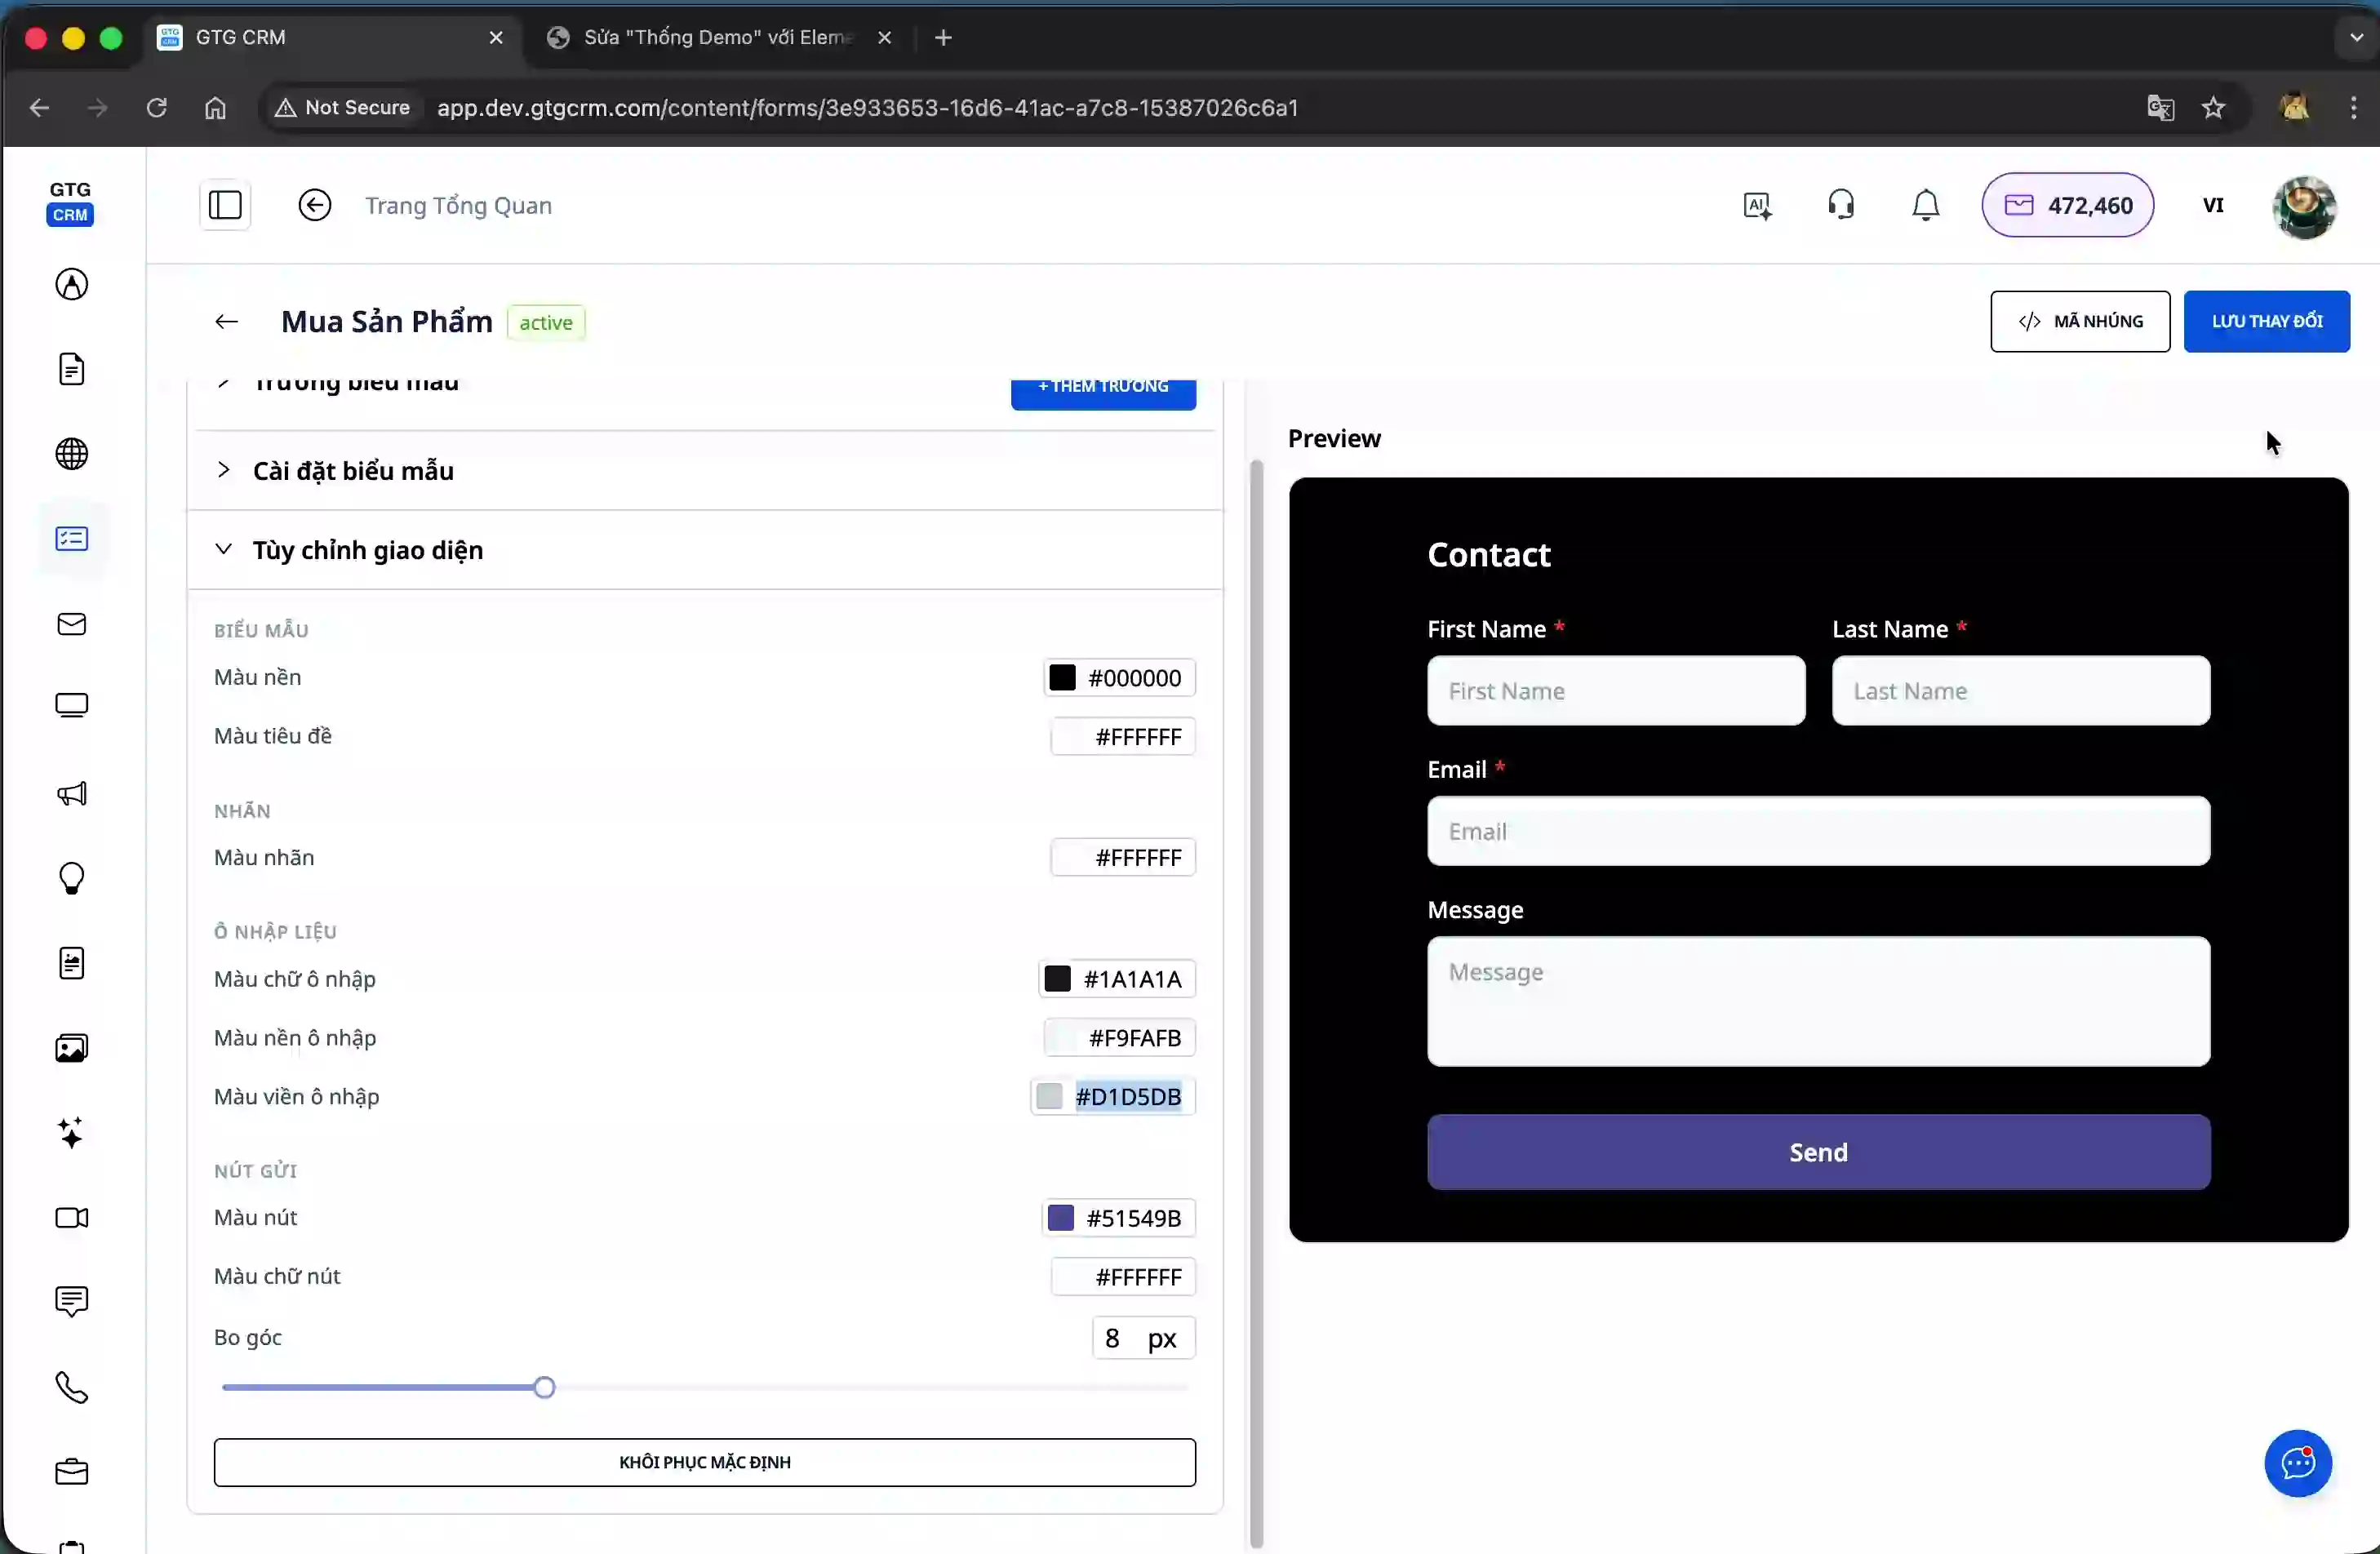
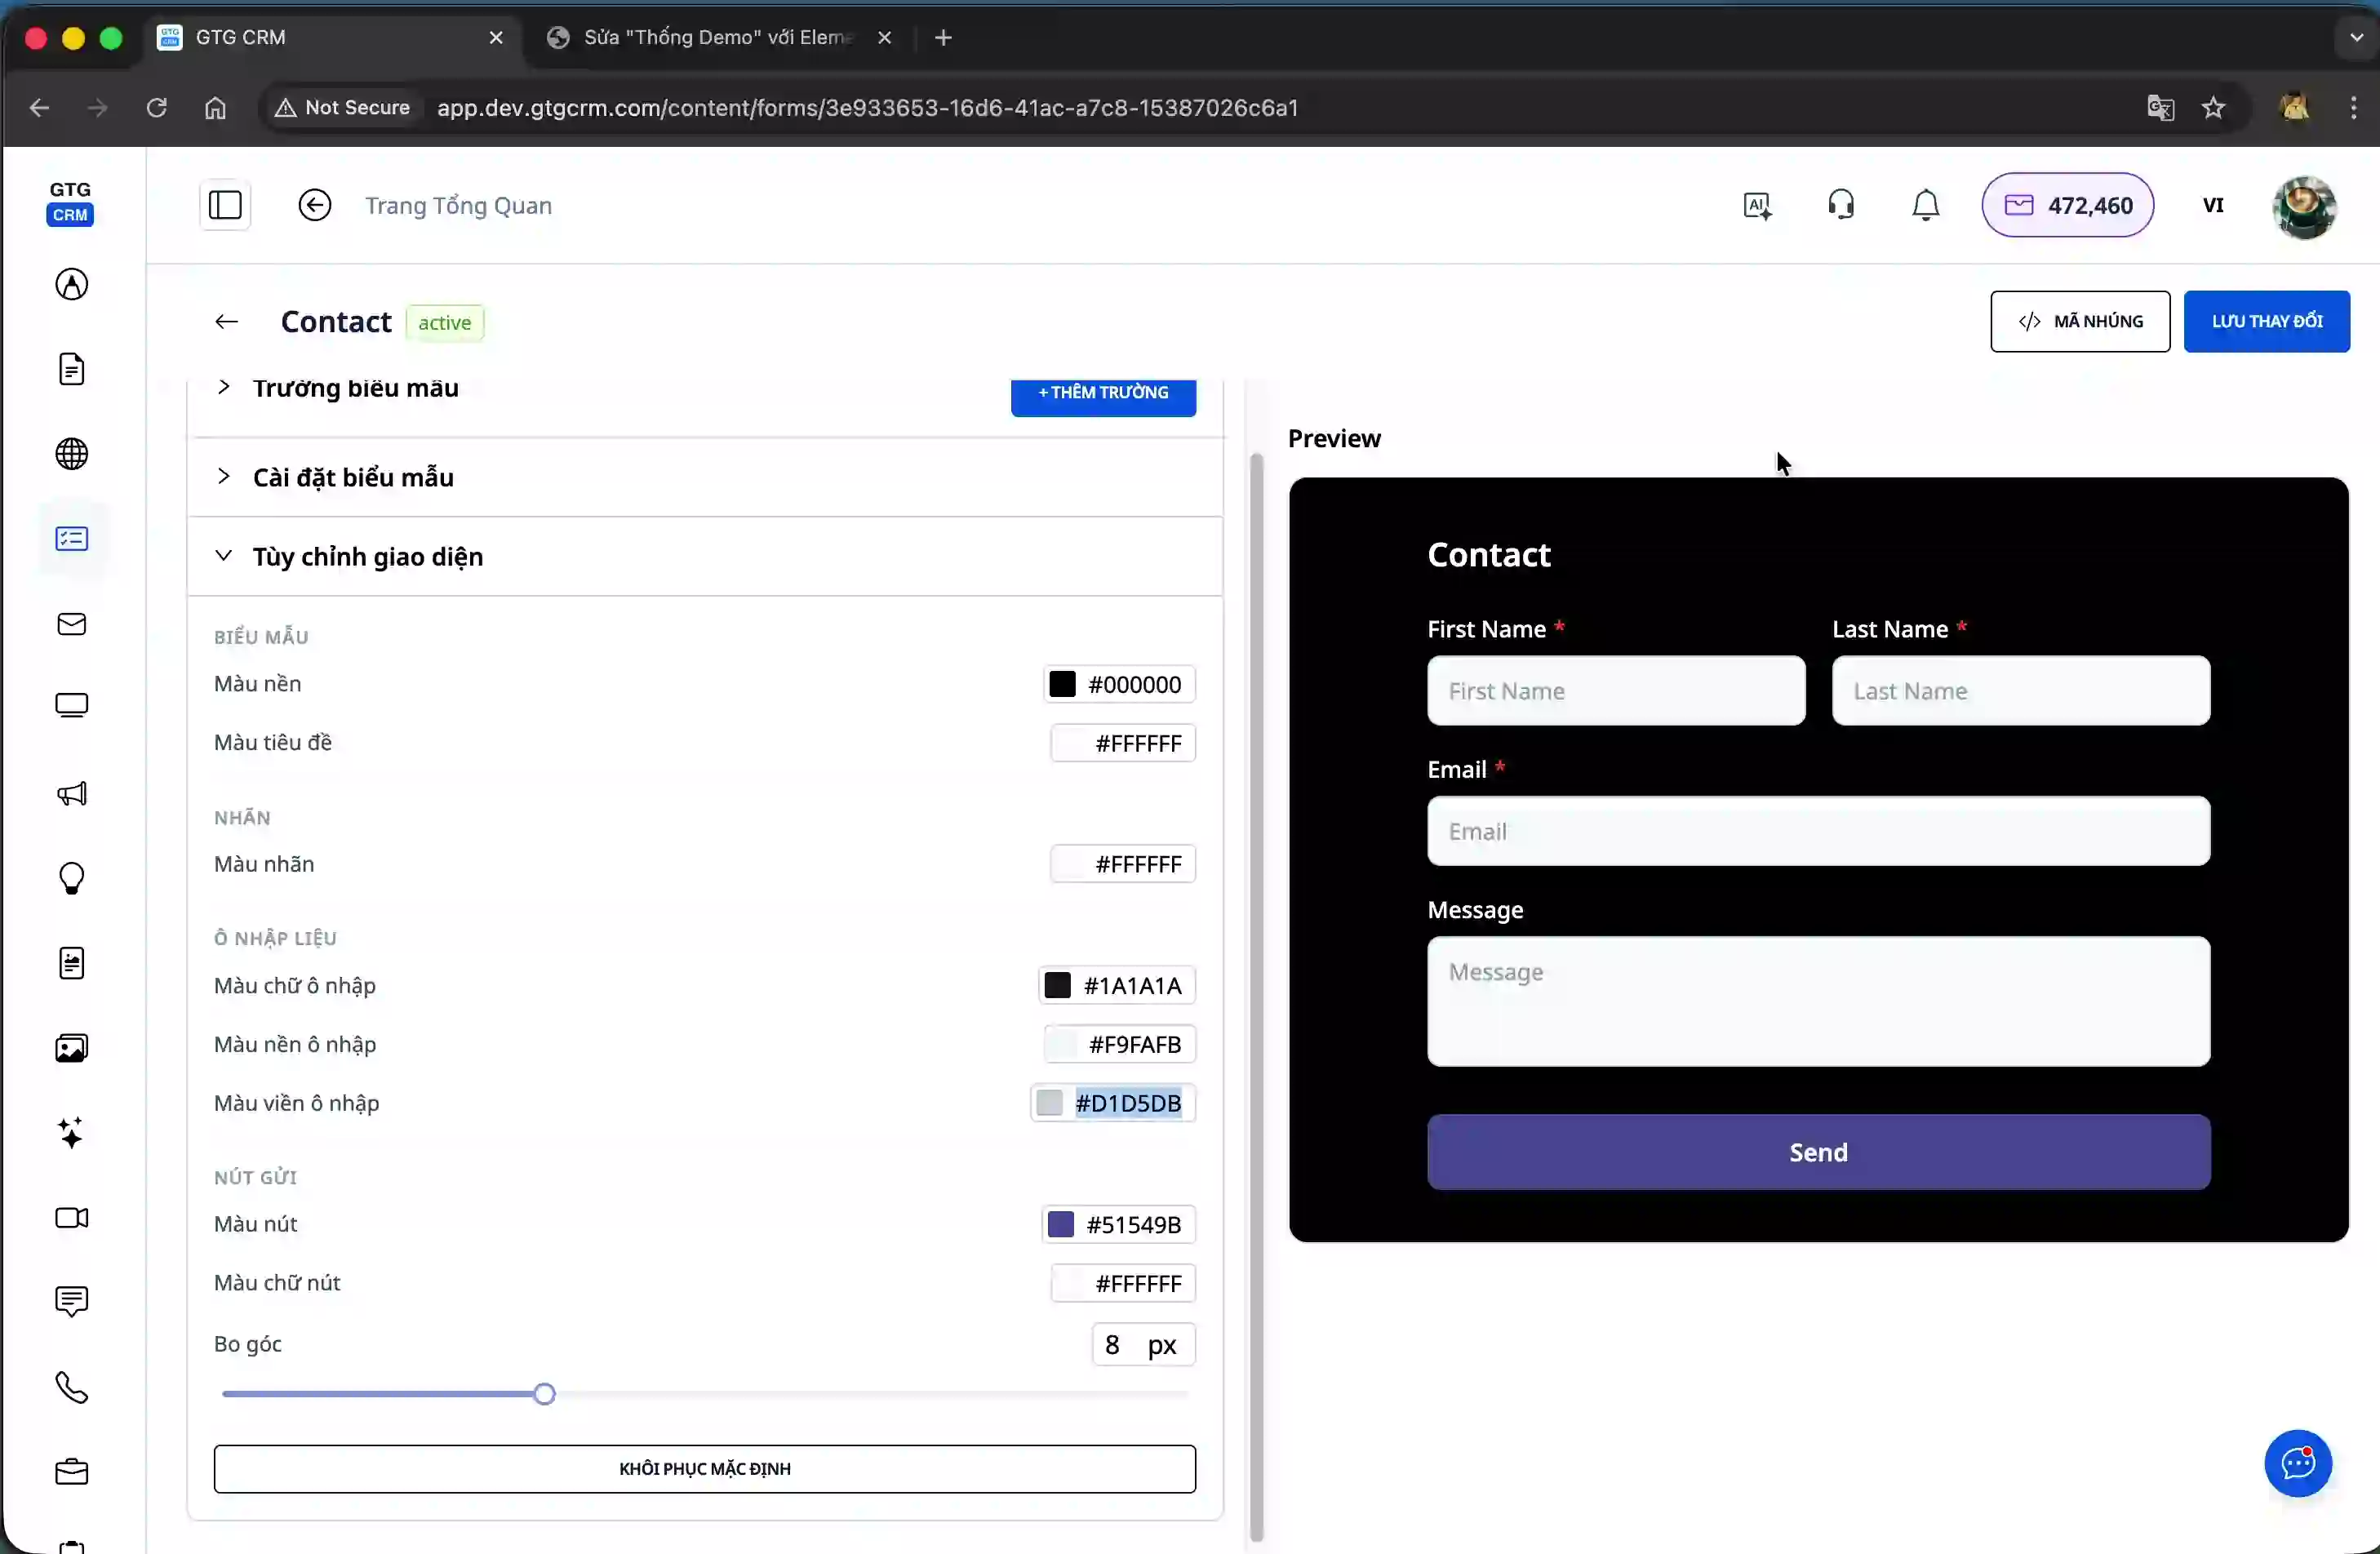
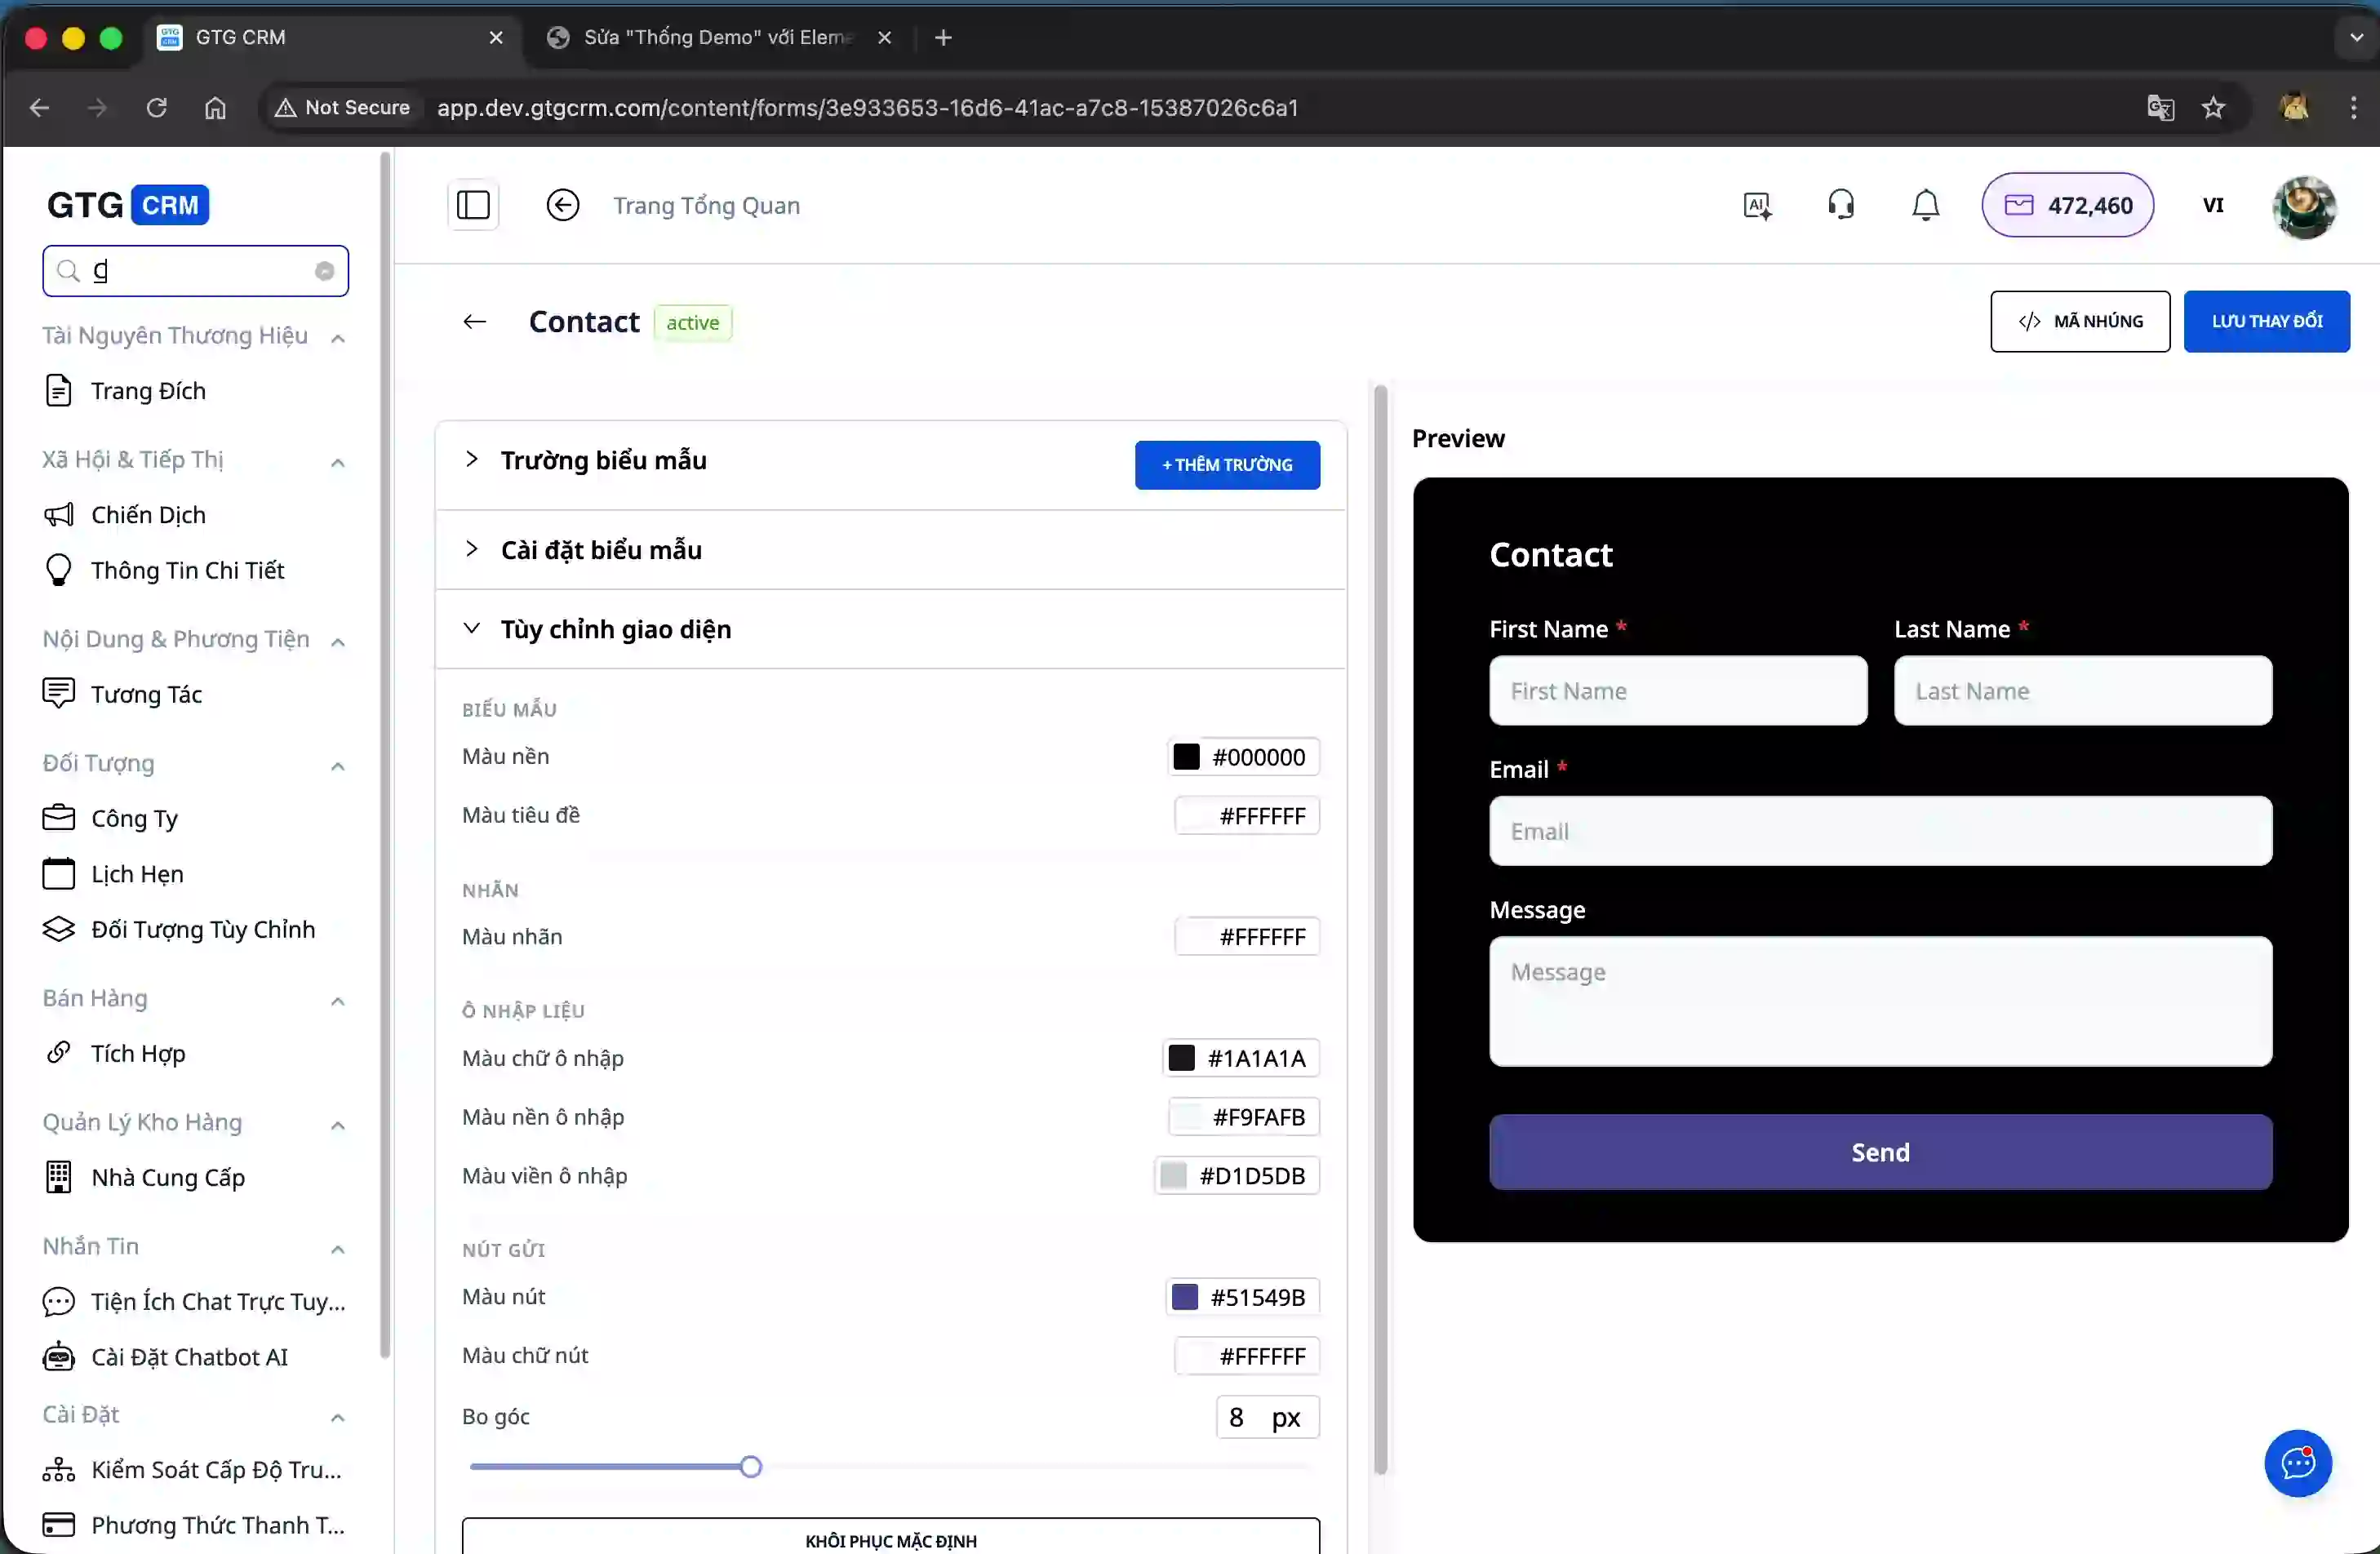
Step 3: Customize the form interface
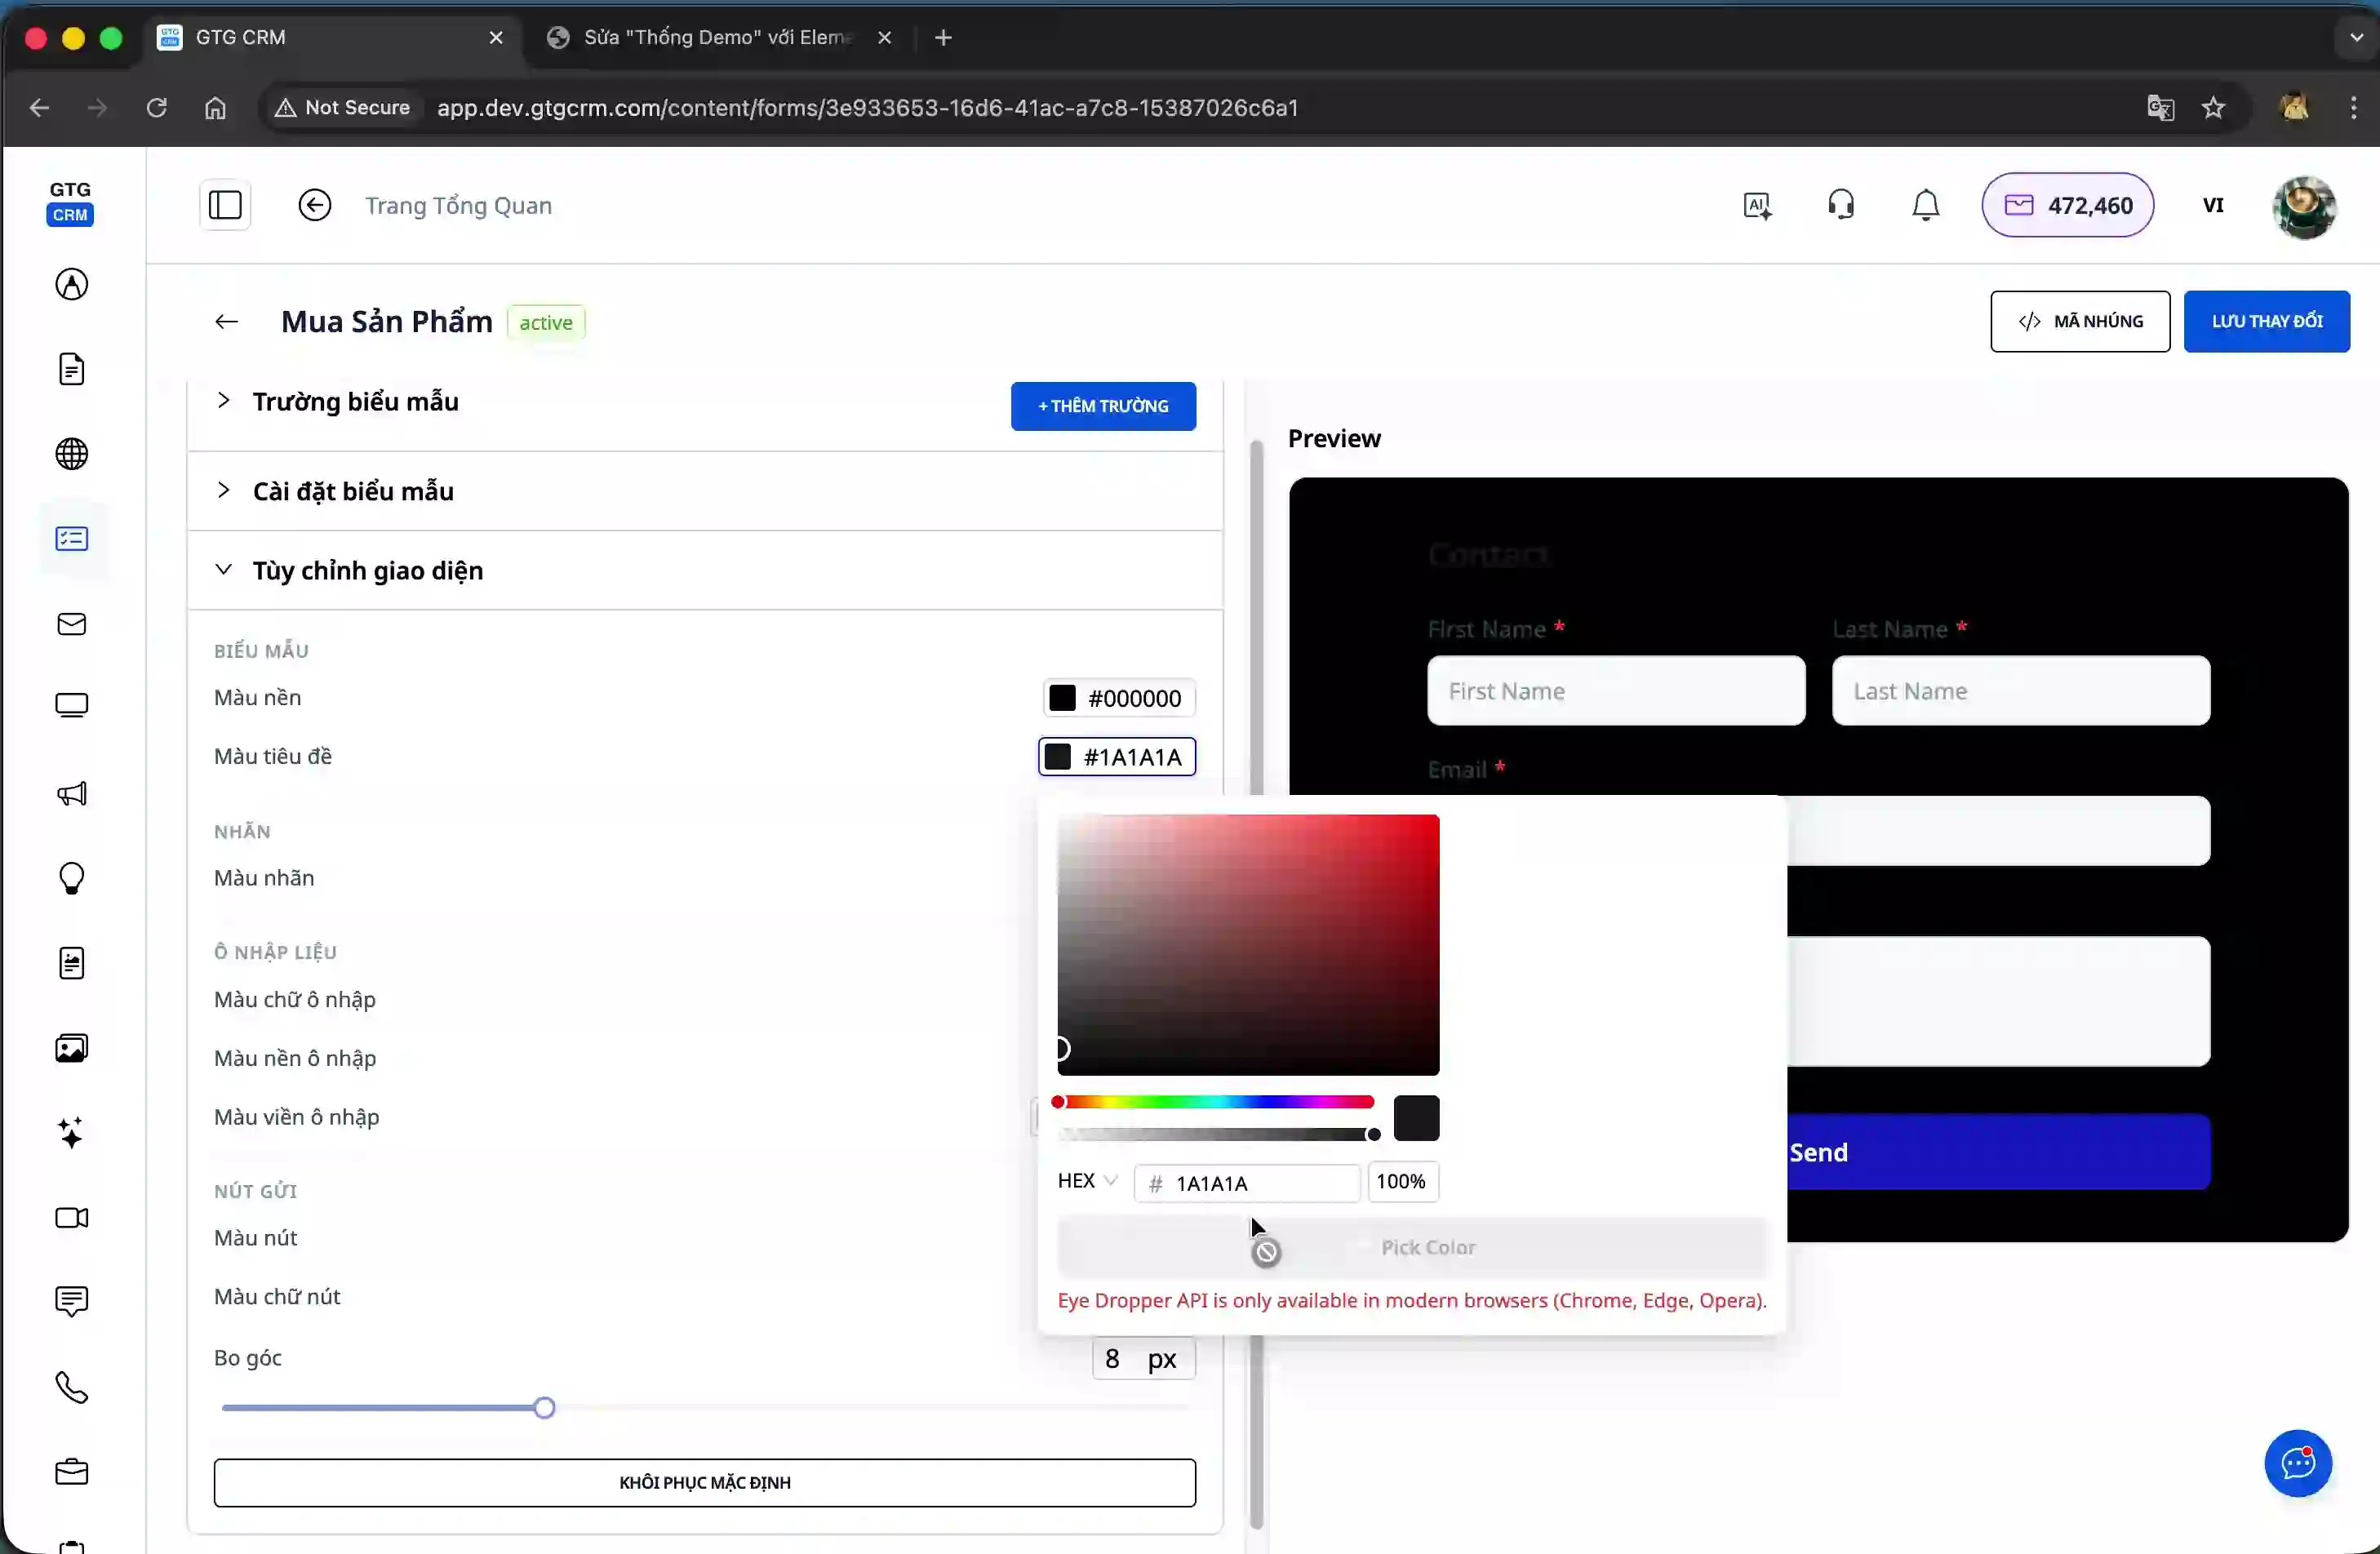
GTG CRM allows you to fully customize the form interface to match your company's brand. You can change the background color, font color, and other display attributes.
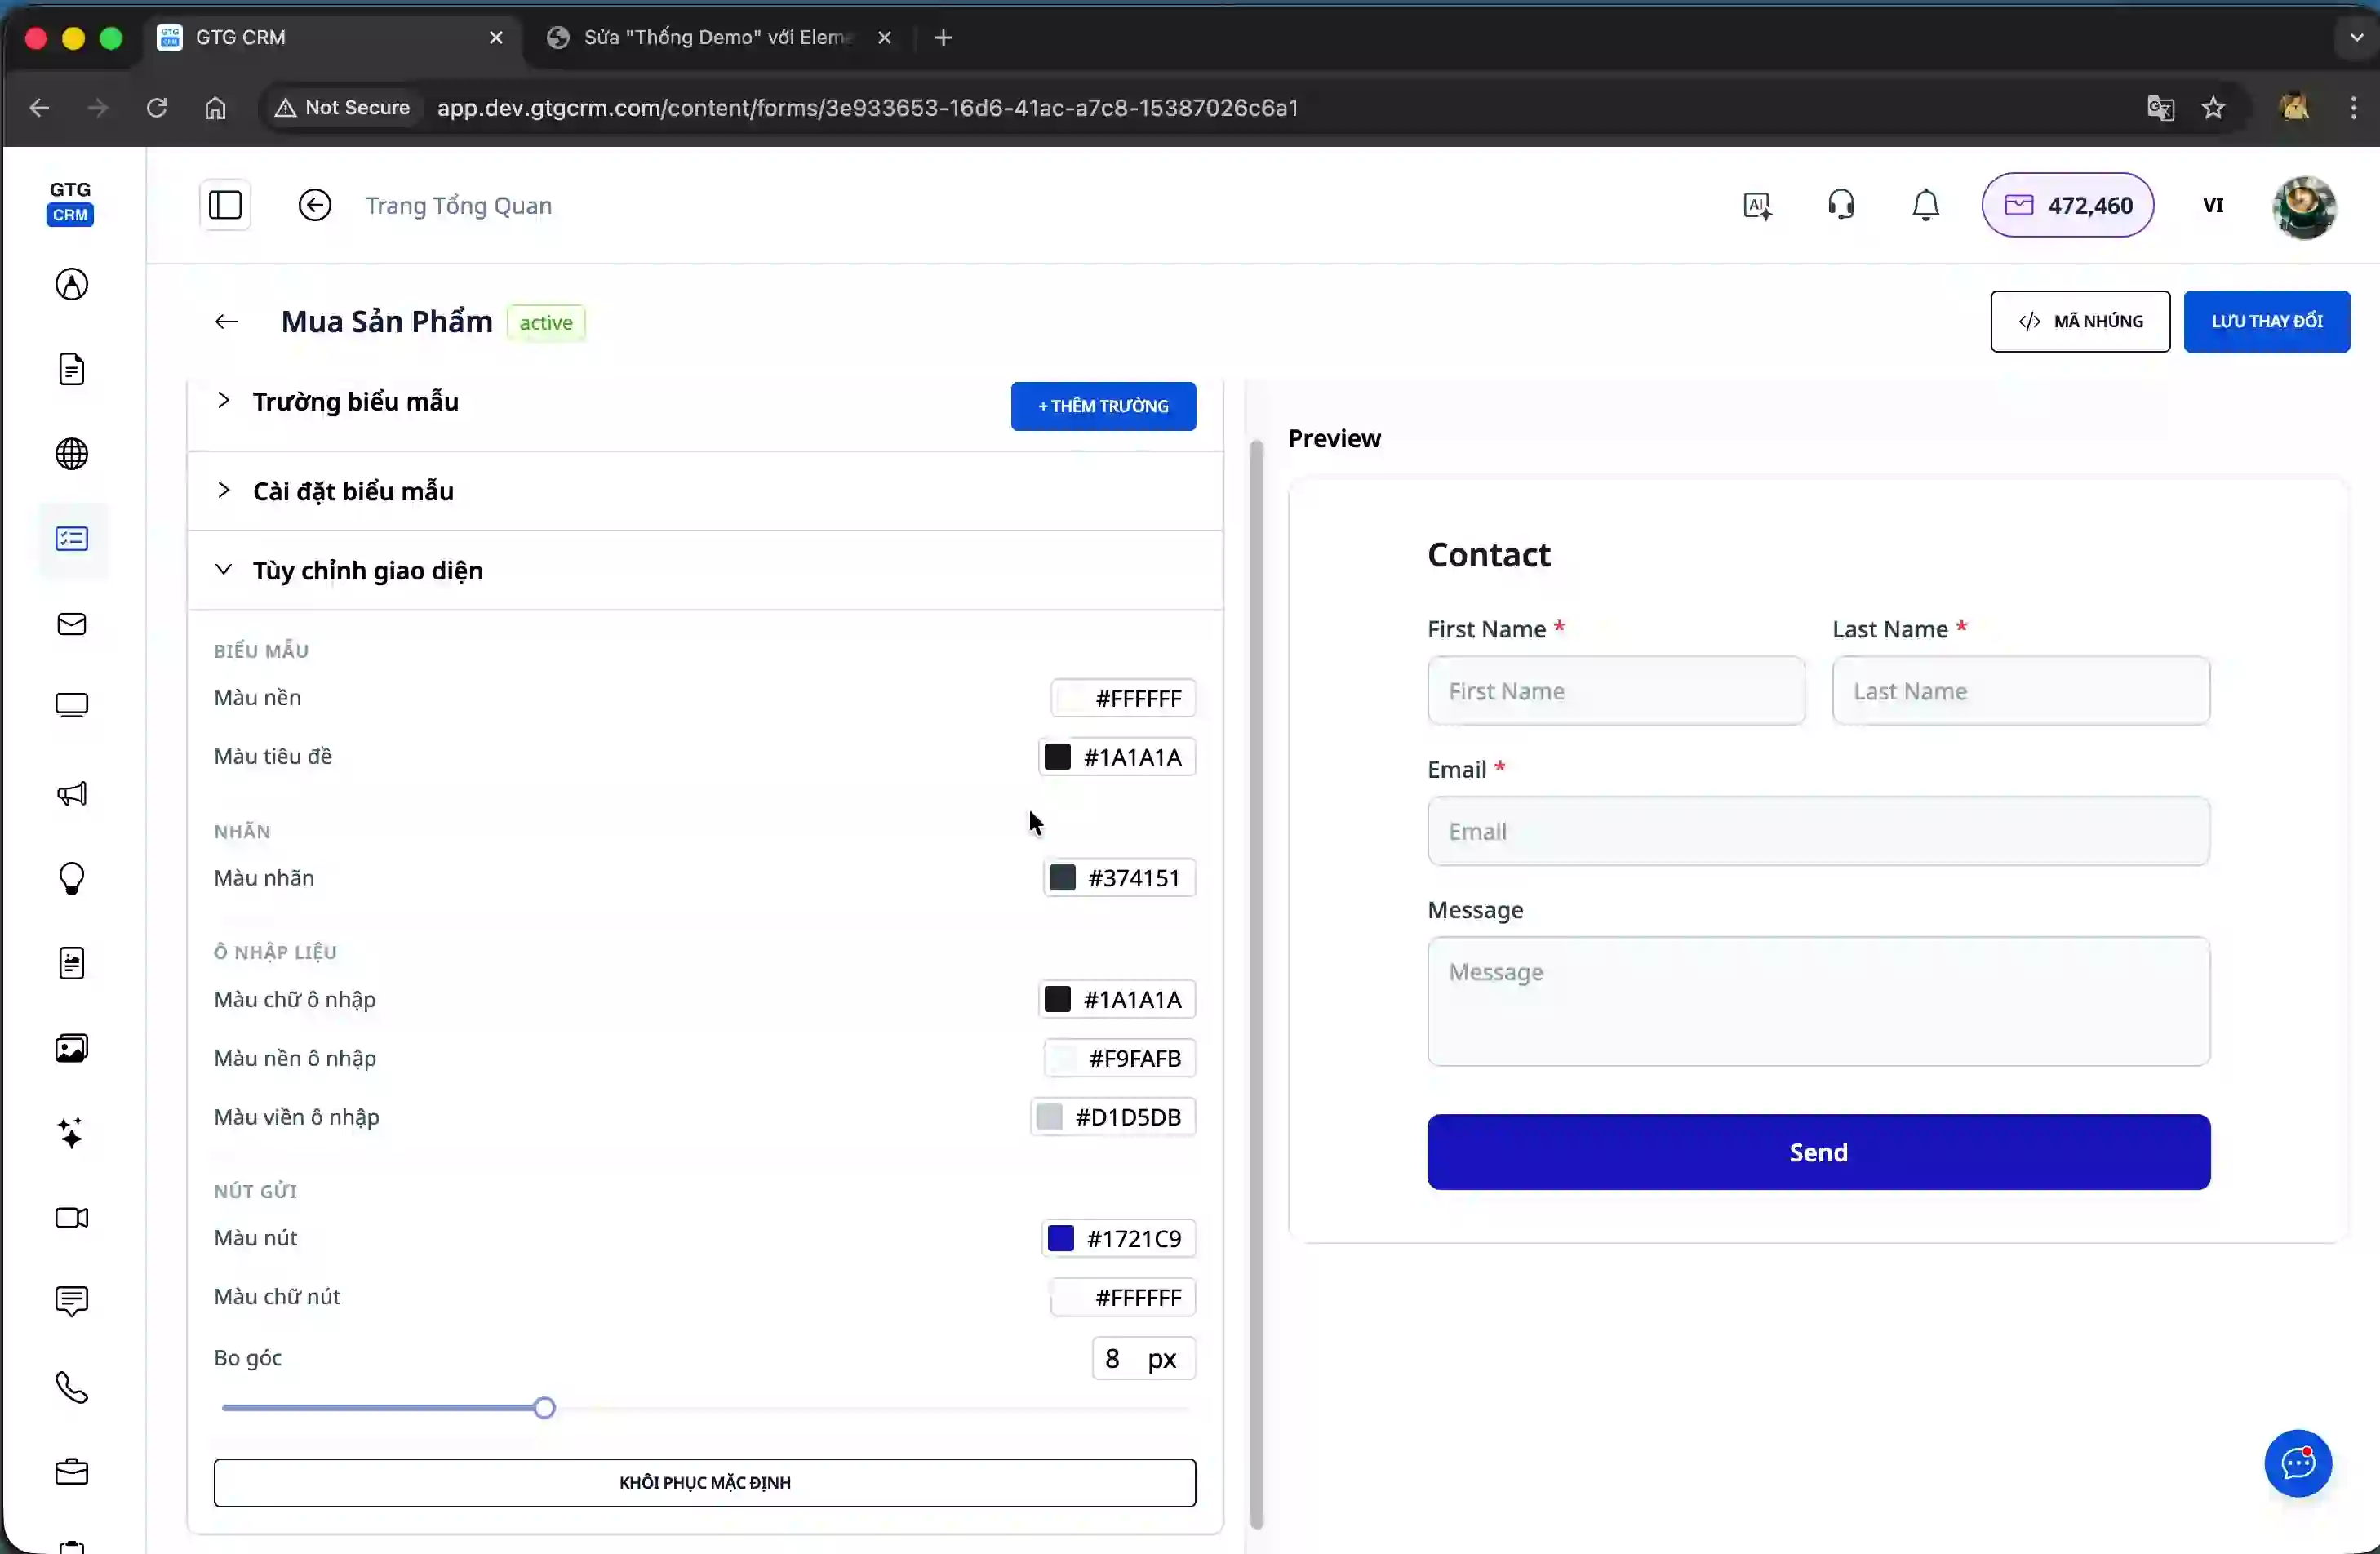
Besides color, you can also edit the font and font size to make the form more professional and easier to read. These changes help the form harmonize with the overall design of the website.
After you have finished editing the interface and information fields, click the "Save" button to save your form configuration.
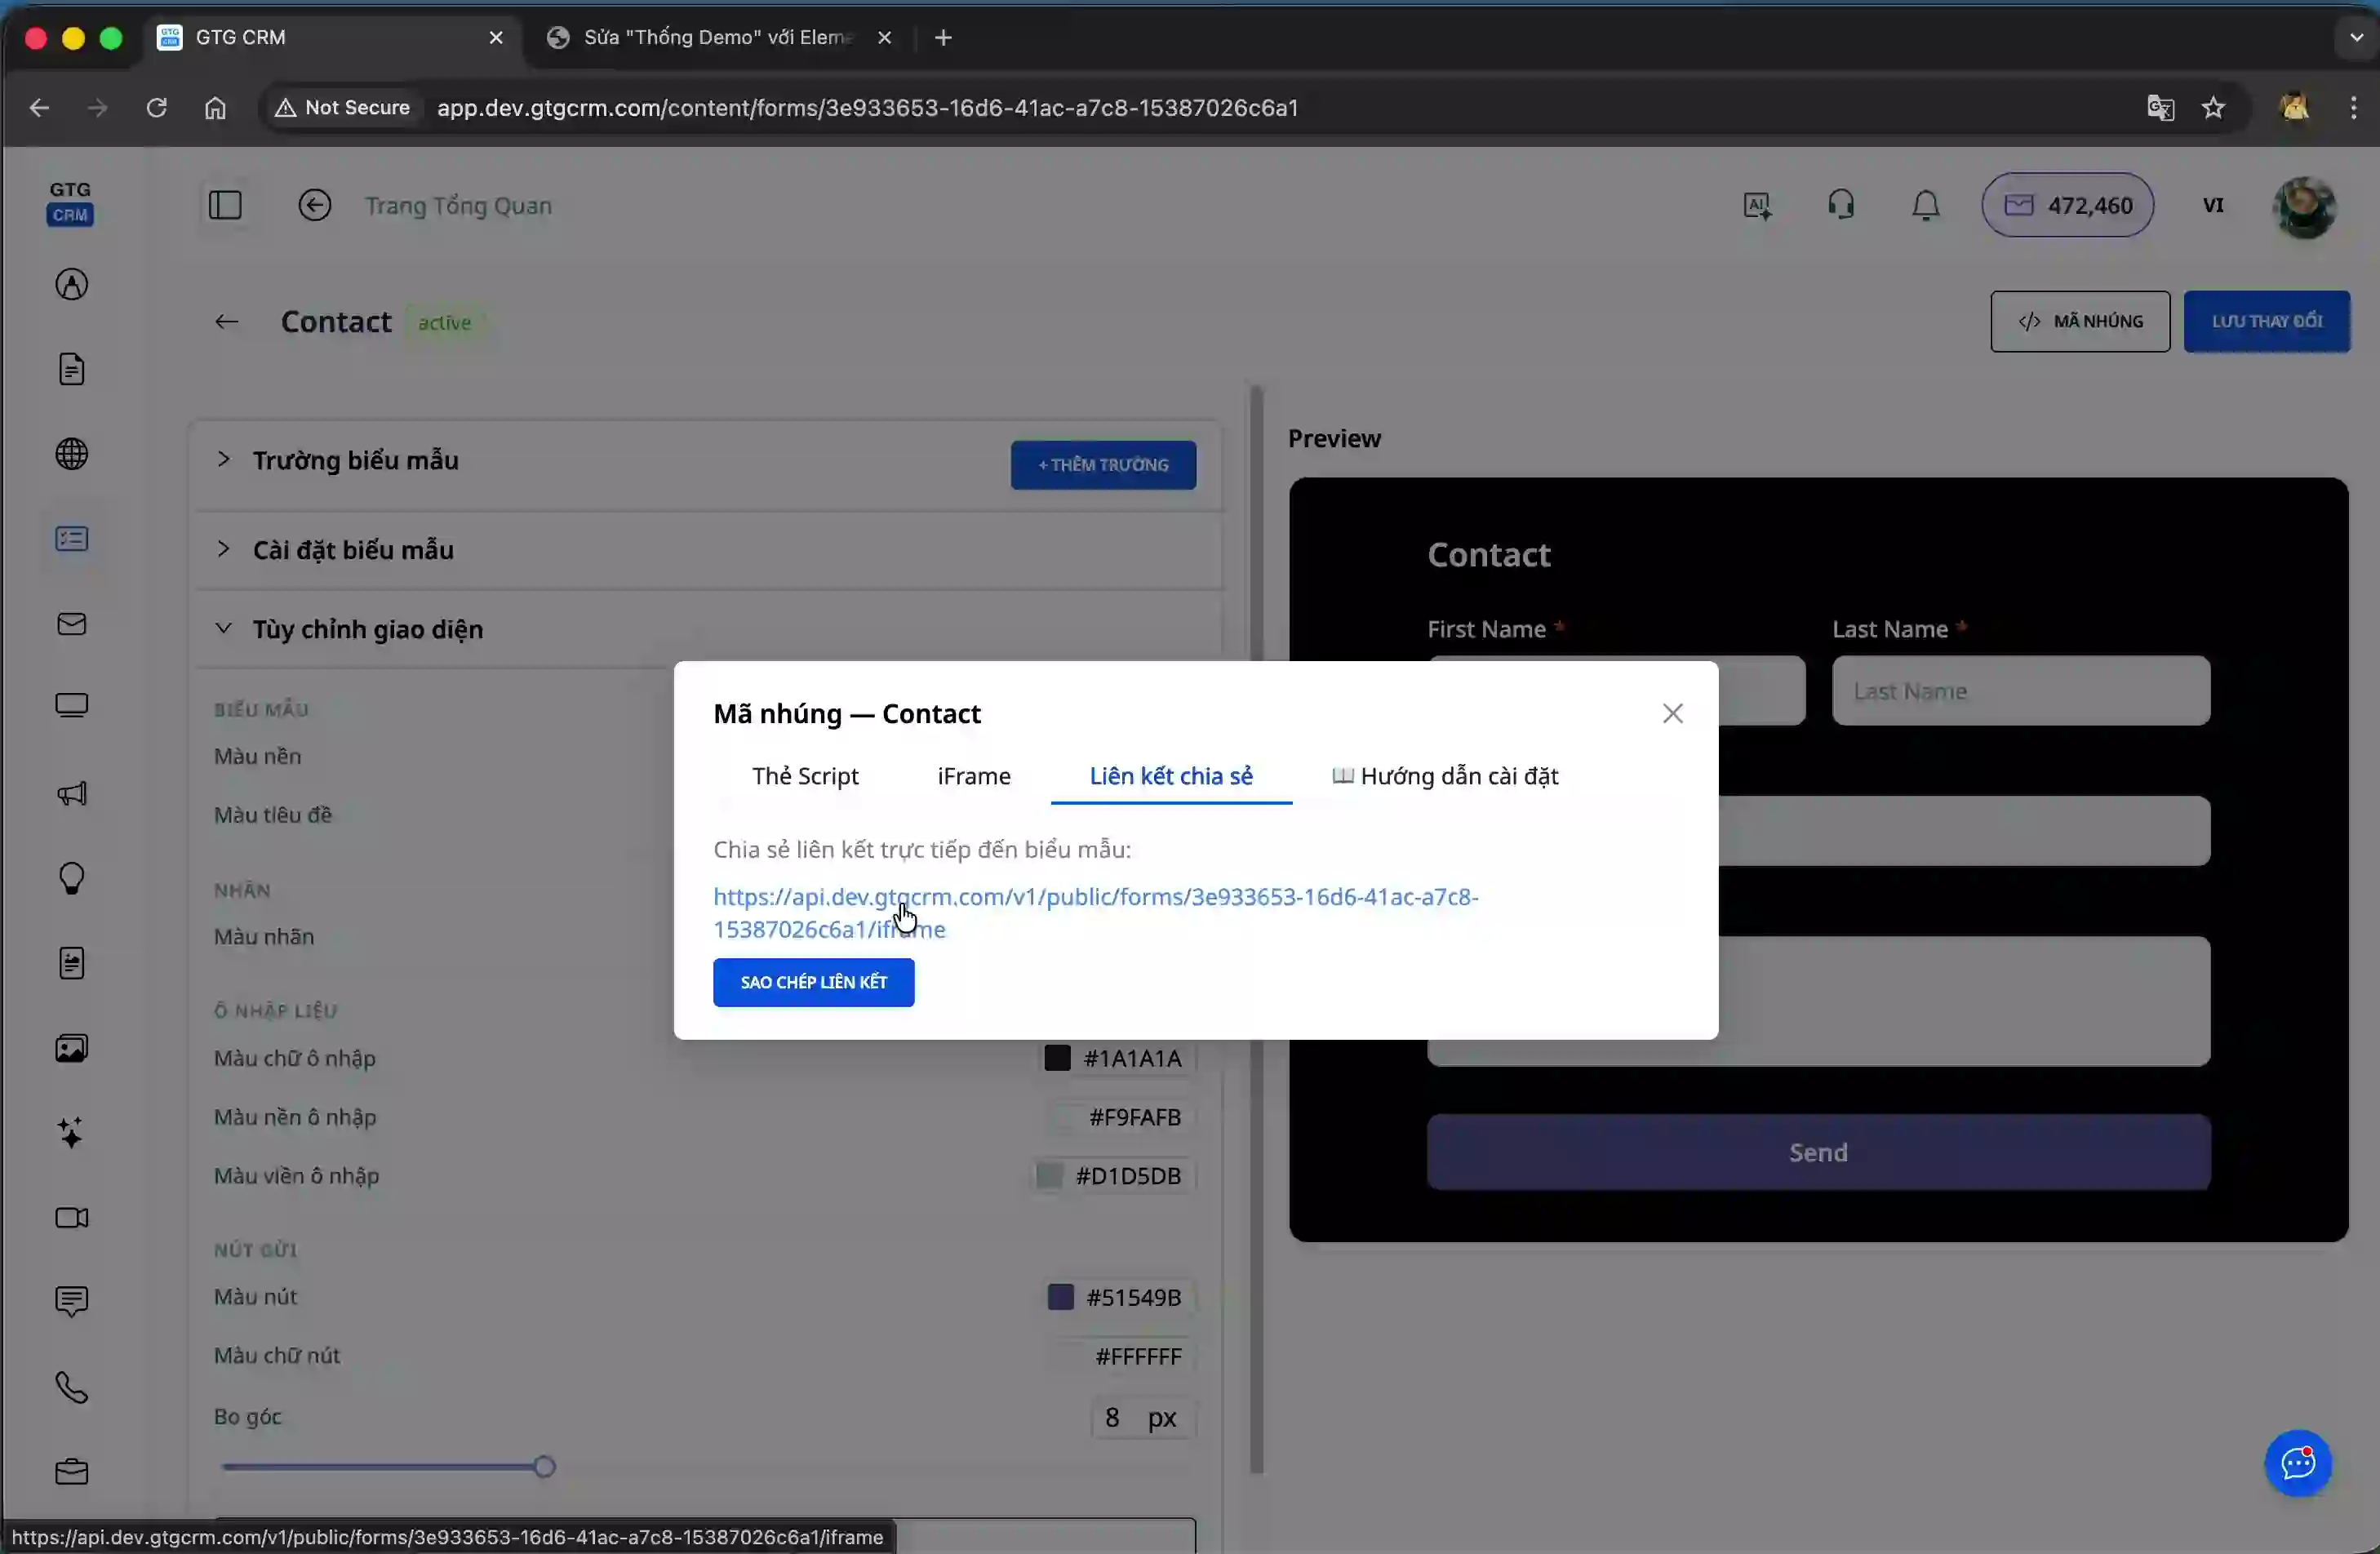
Step 4: Obtain the embed code to integrate into your website.
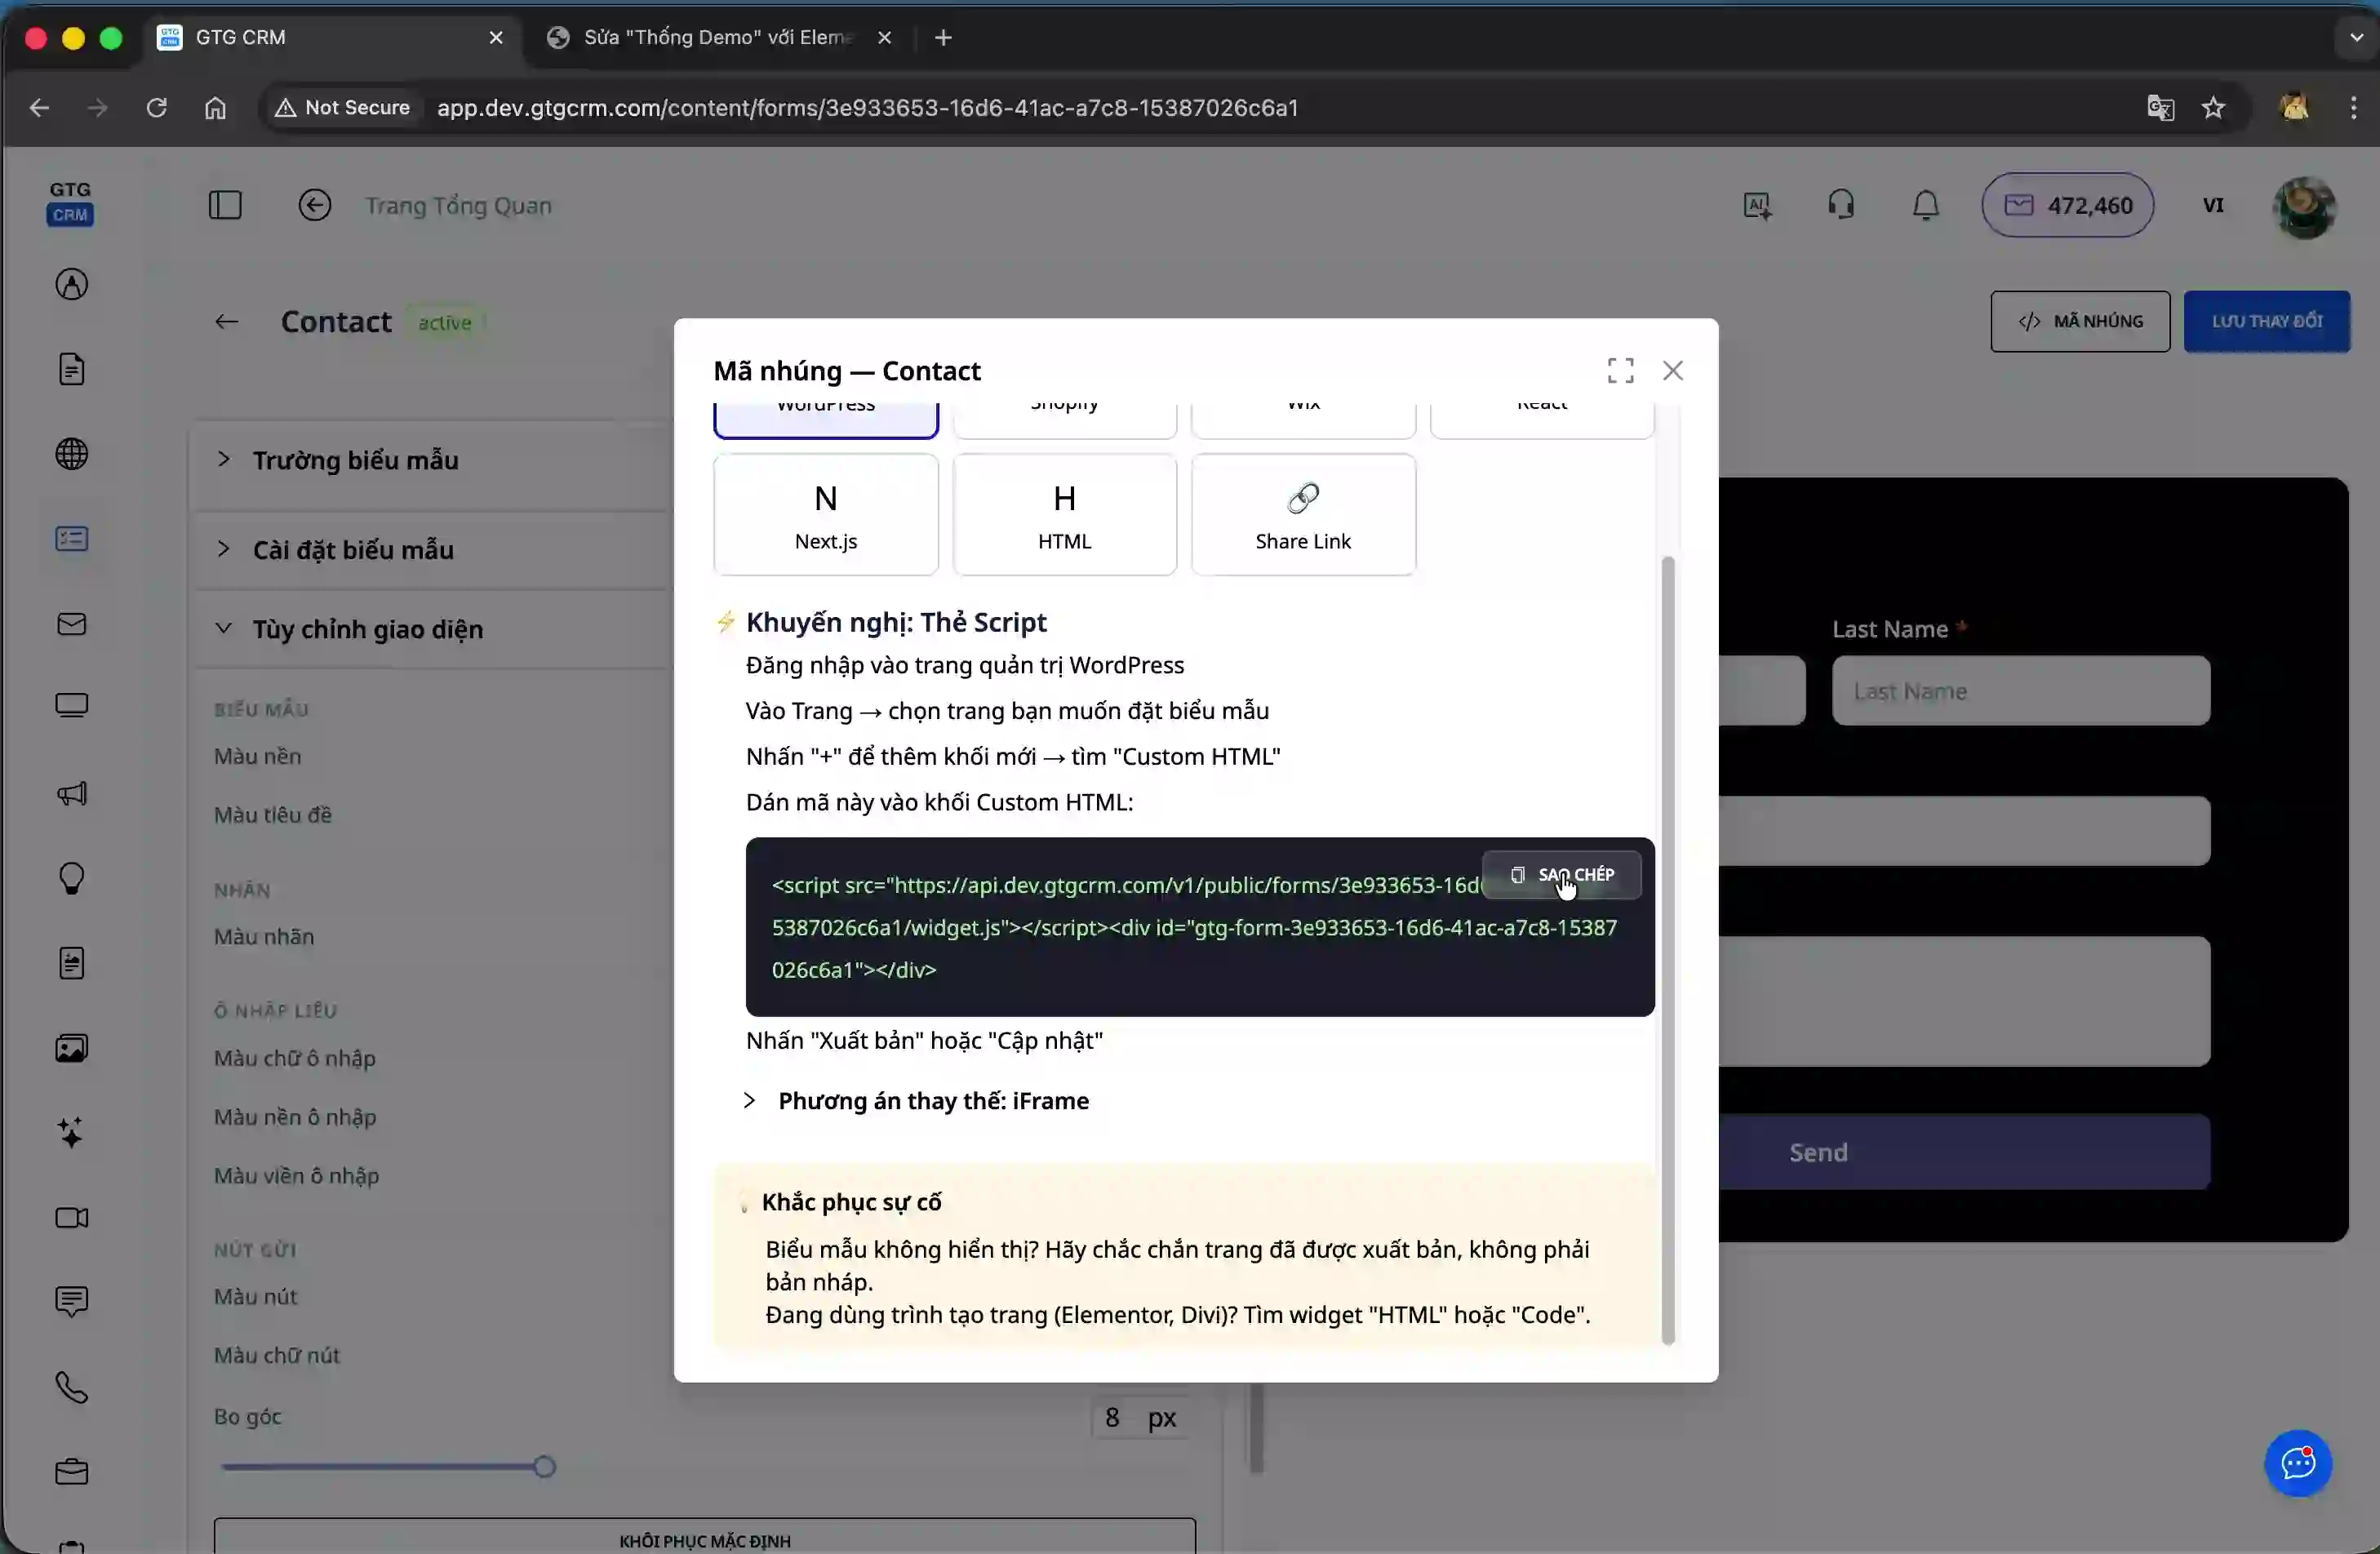
After creating the form, you need to get the embed code to upload it to your website. Click the "Embed Code" button in the form management interface.
The system offers three methods for integrating forms into your website. First is Script, suitable for most websites. Second is iFrame, ideal for cases requiring a standalone form display. Third is Share Link, creating a unique URL that you can share via social media channels like Facebook or Zalo.
Step 5: Integrate the form into WordPress
To illustrate the integration process, we'll guide you through embedding a form into your WordPress website. First, log in to your WordPress admin panel.

After logging in, select the page where you want to embed the form. This could be a sales page, a contact page, or any page that needs to collect customer information.
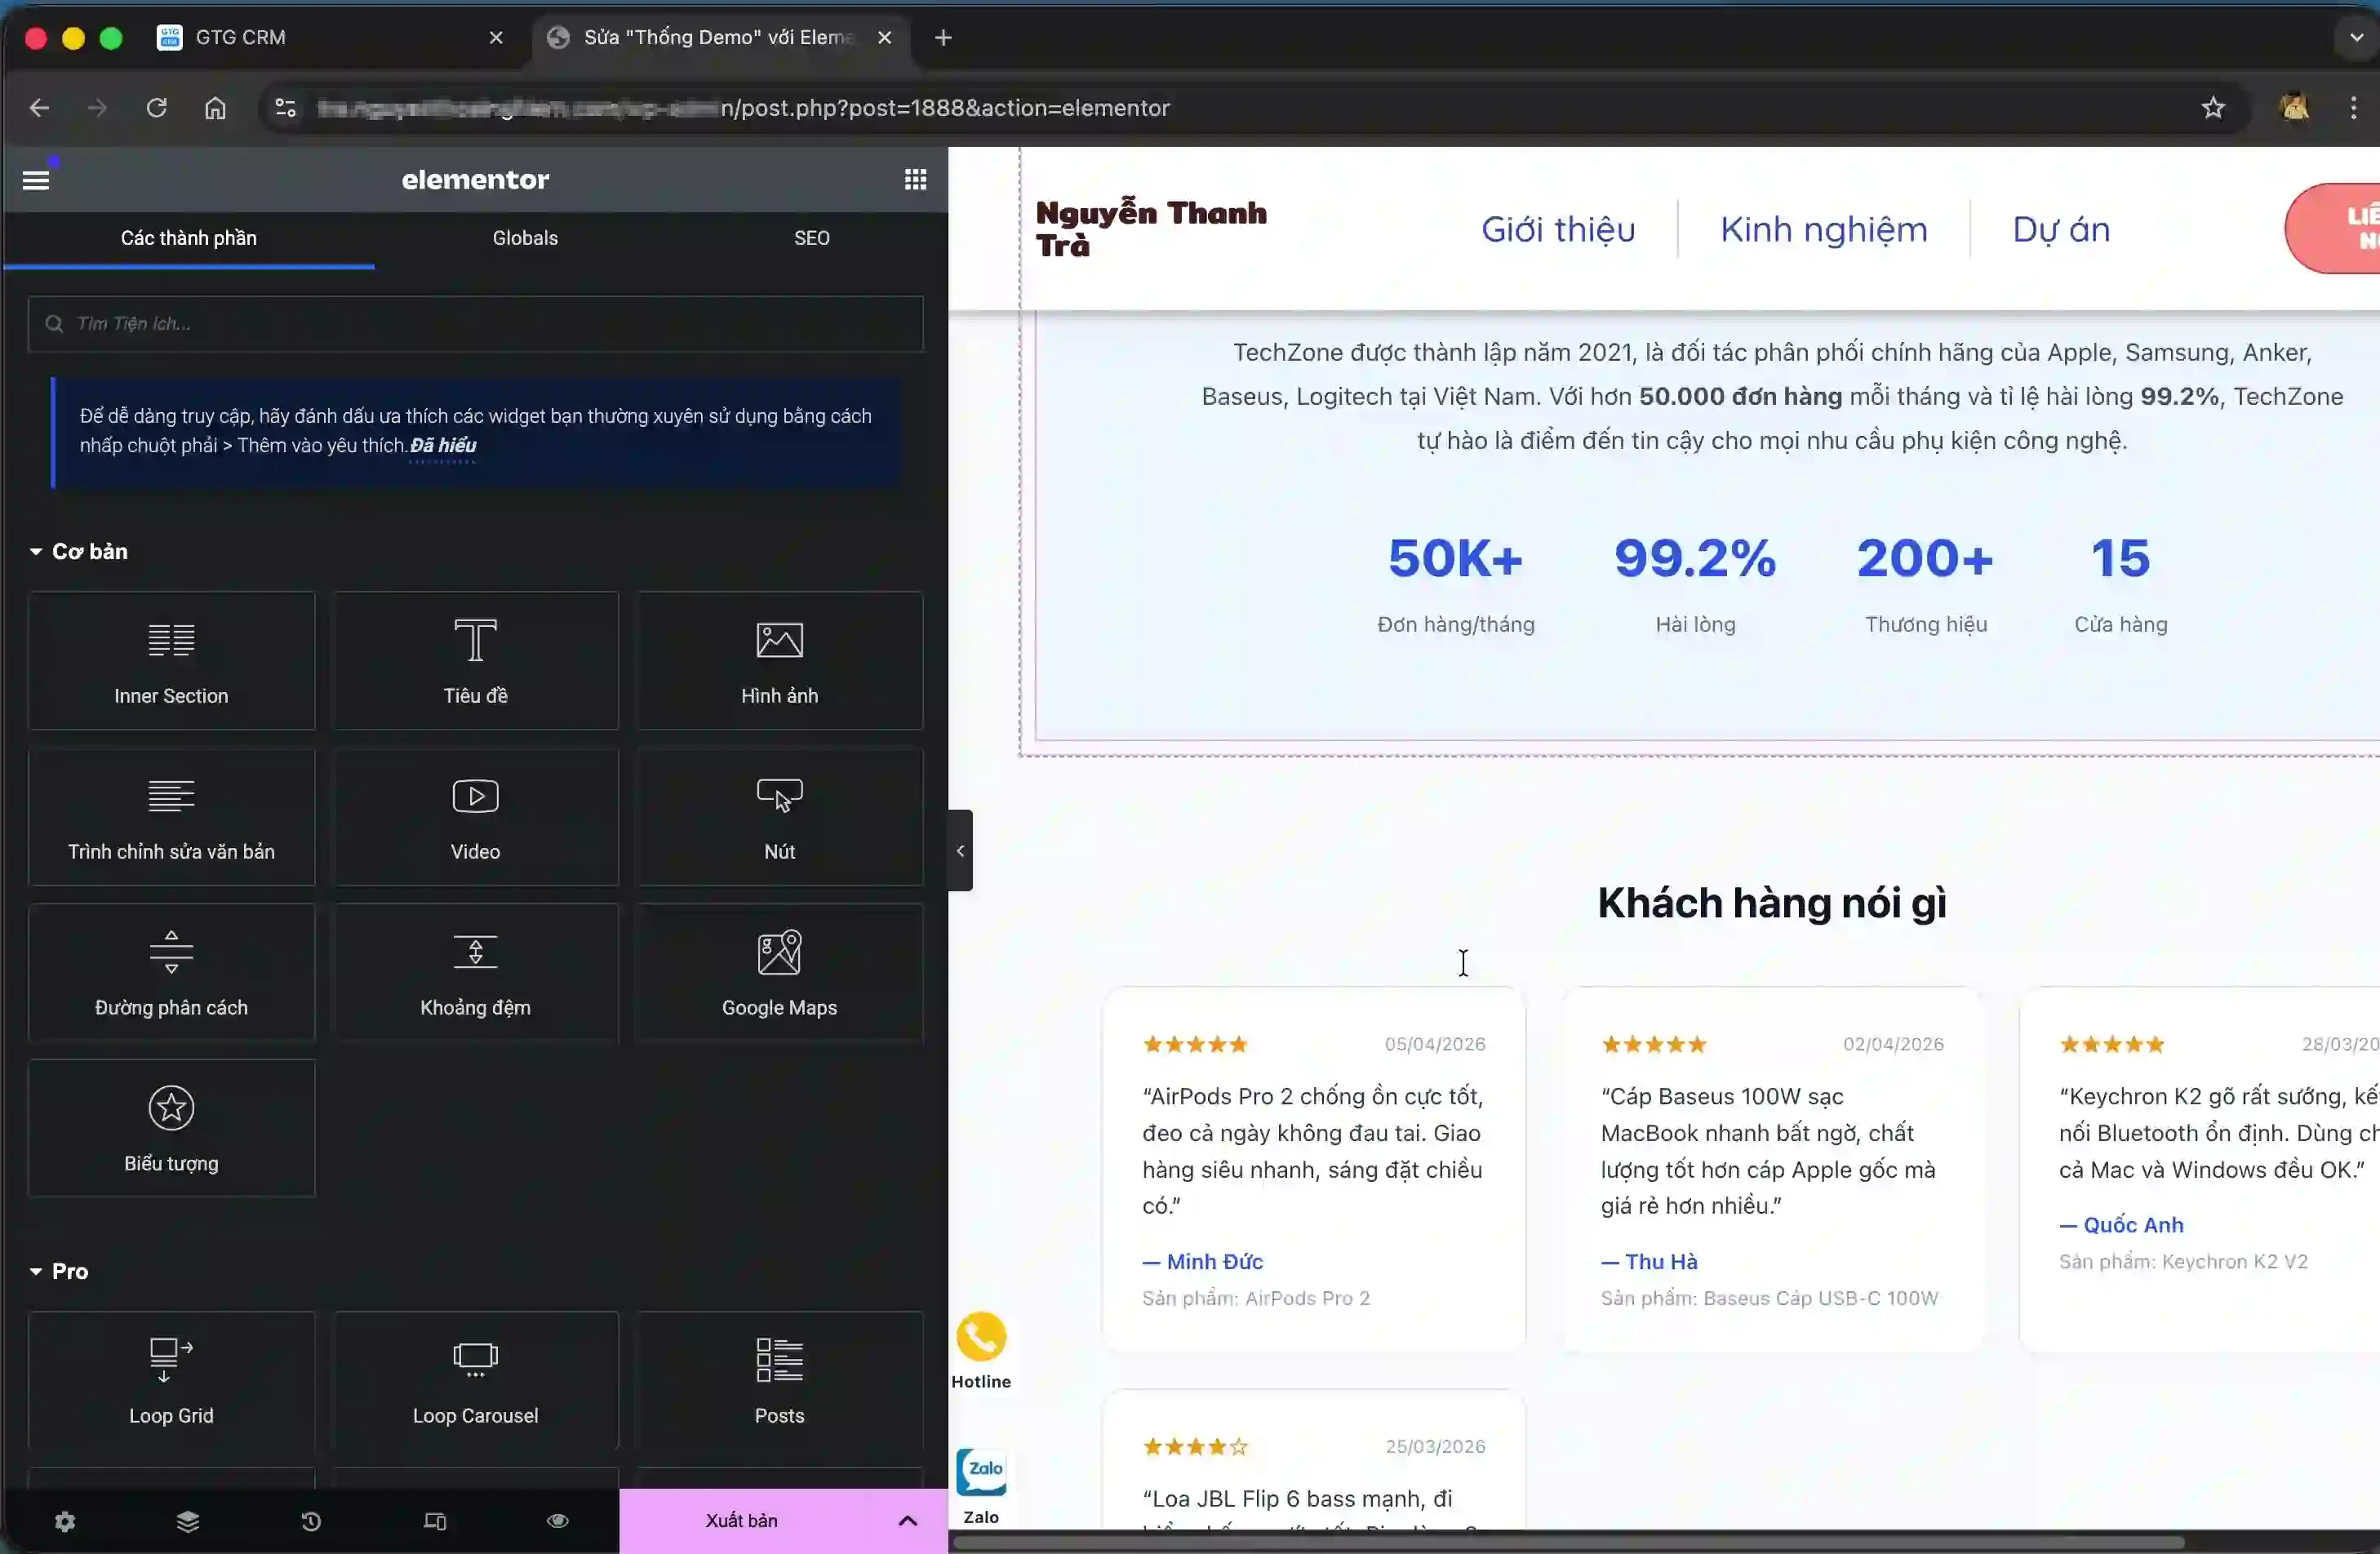
In the WordPress page editor, find the location where you want to place the form and click the plus sign to add a new block. In the list of blocks, find and select "Custom HTML".
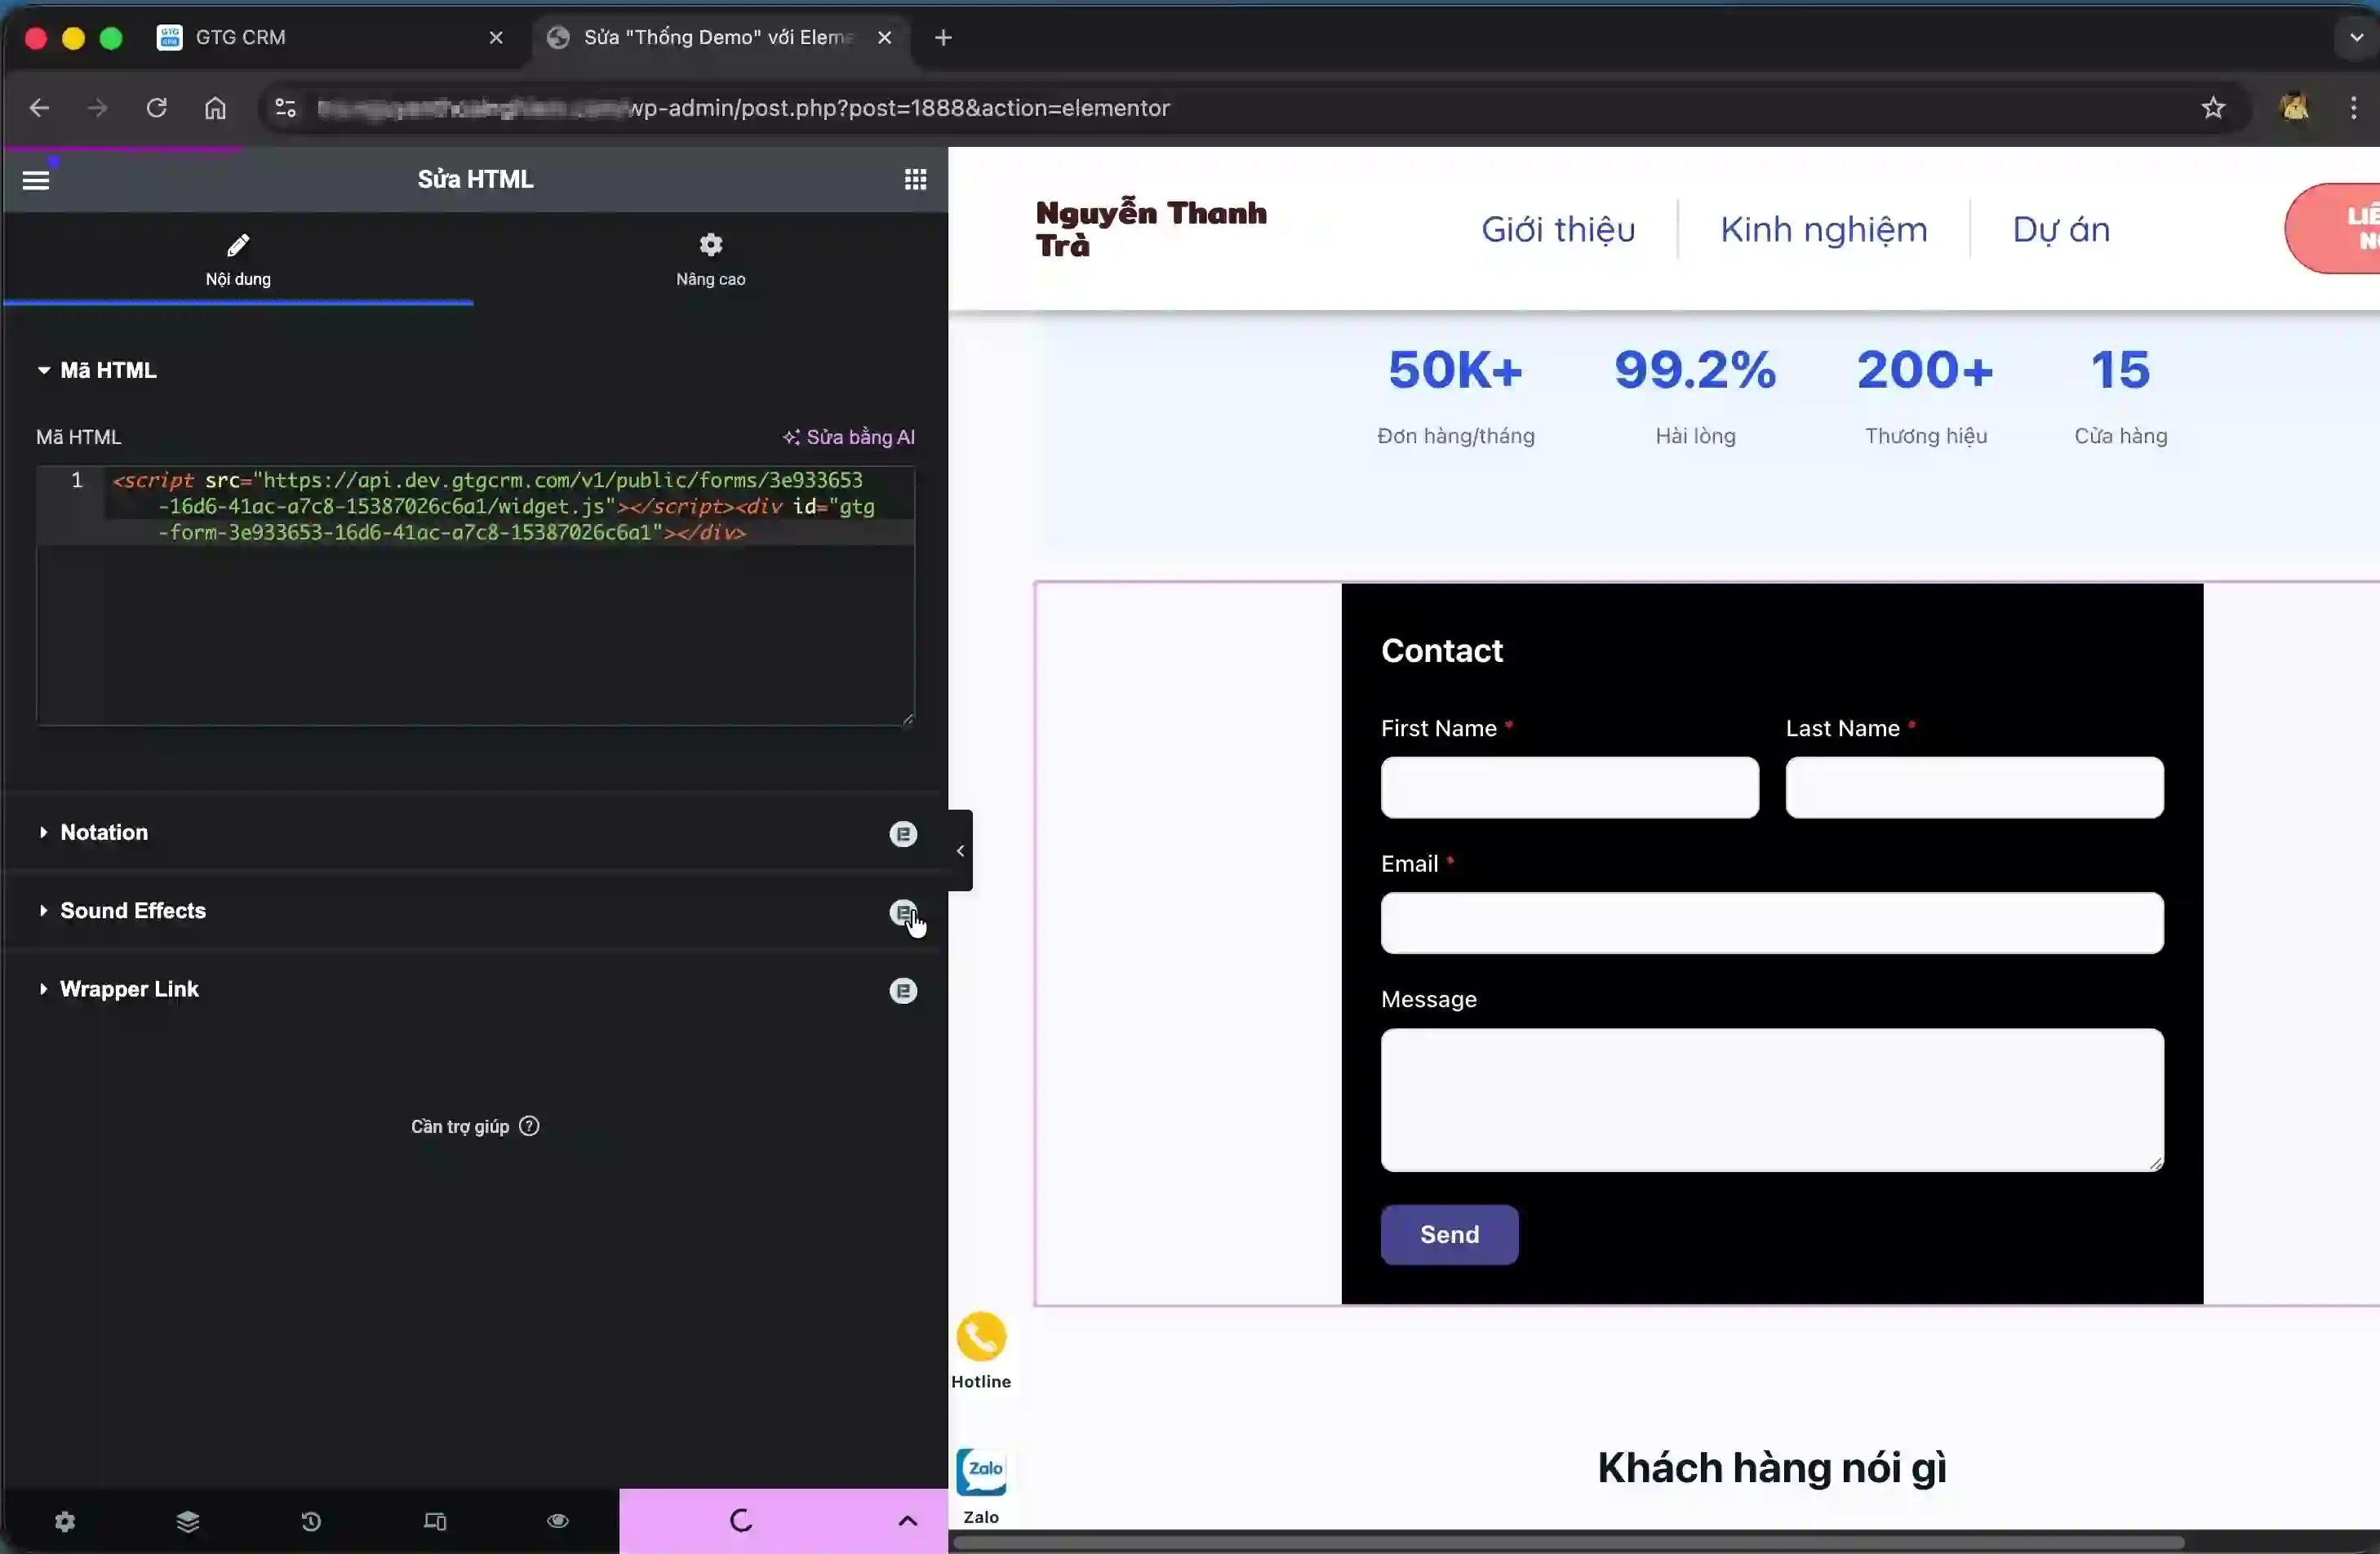
Go back to GTG CRM and copy the script that the system generated for your form. Then paste this code into the Custom HTML block you just created in WordPress.
Click the "Update" or "Save" button to save the changes. Your form has been successfully integrated into your WordPress site.
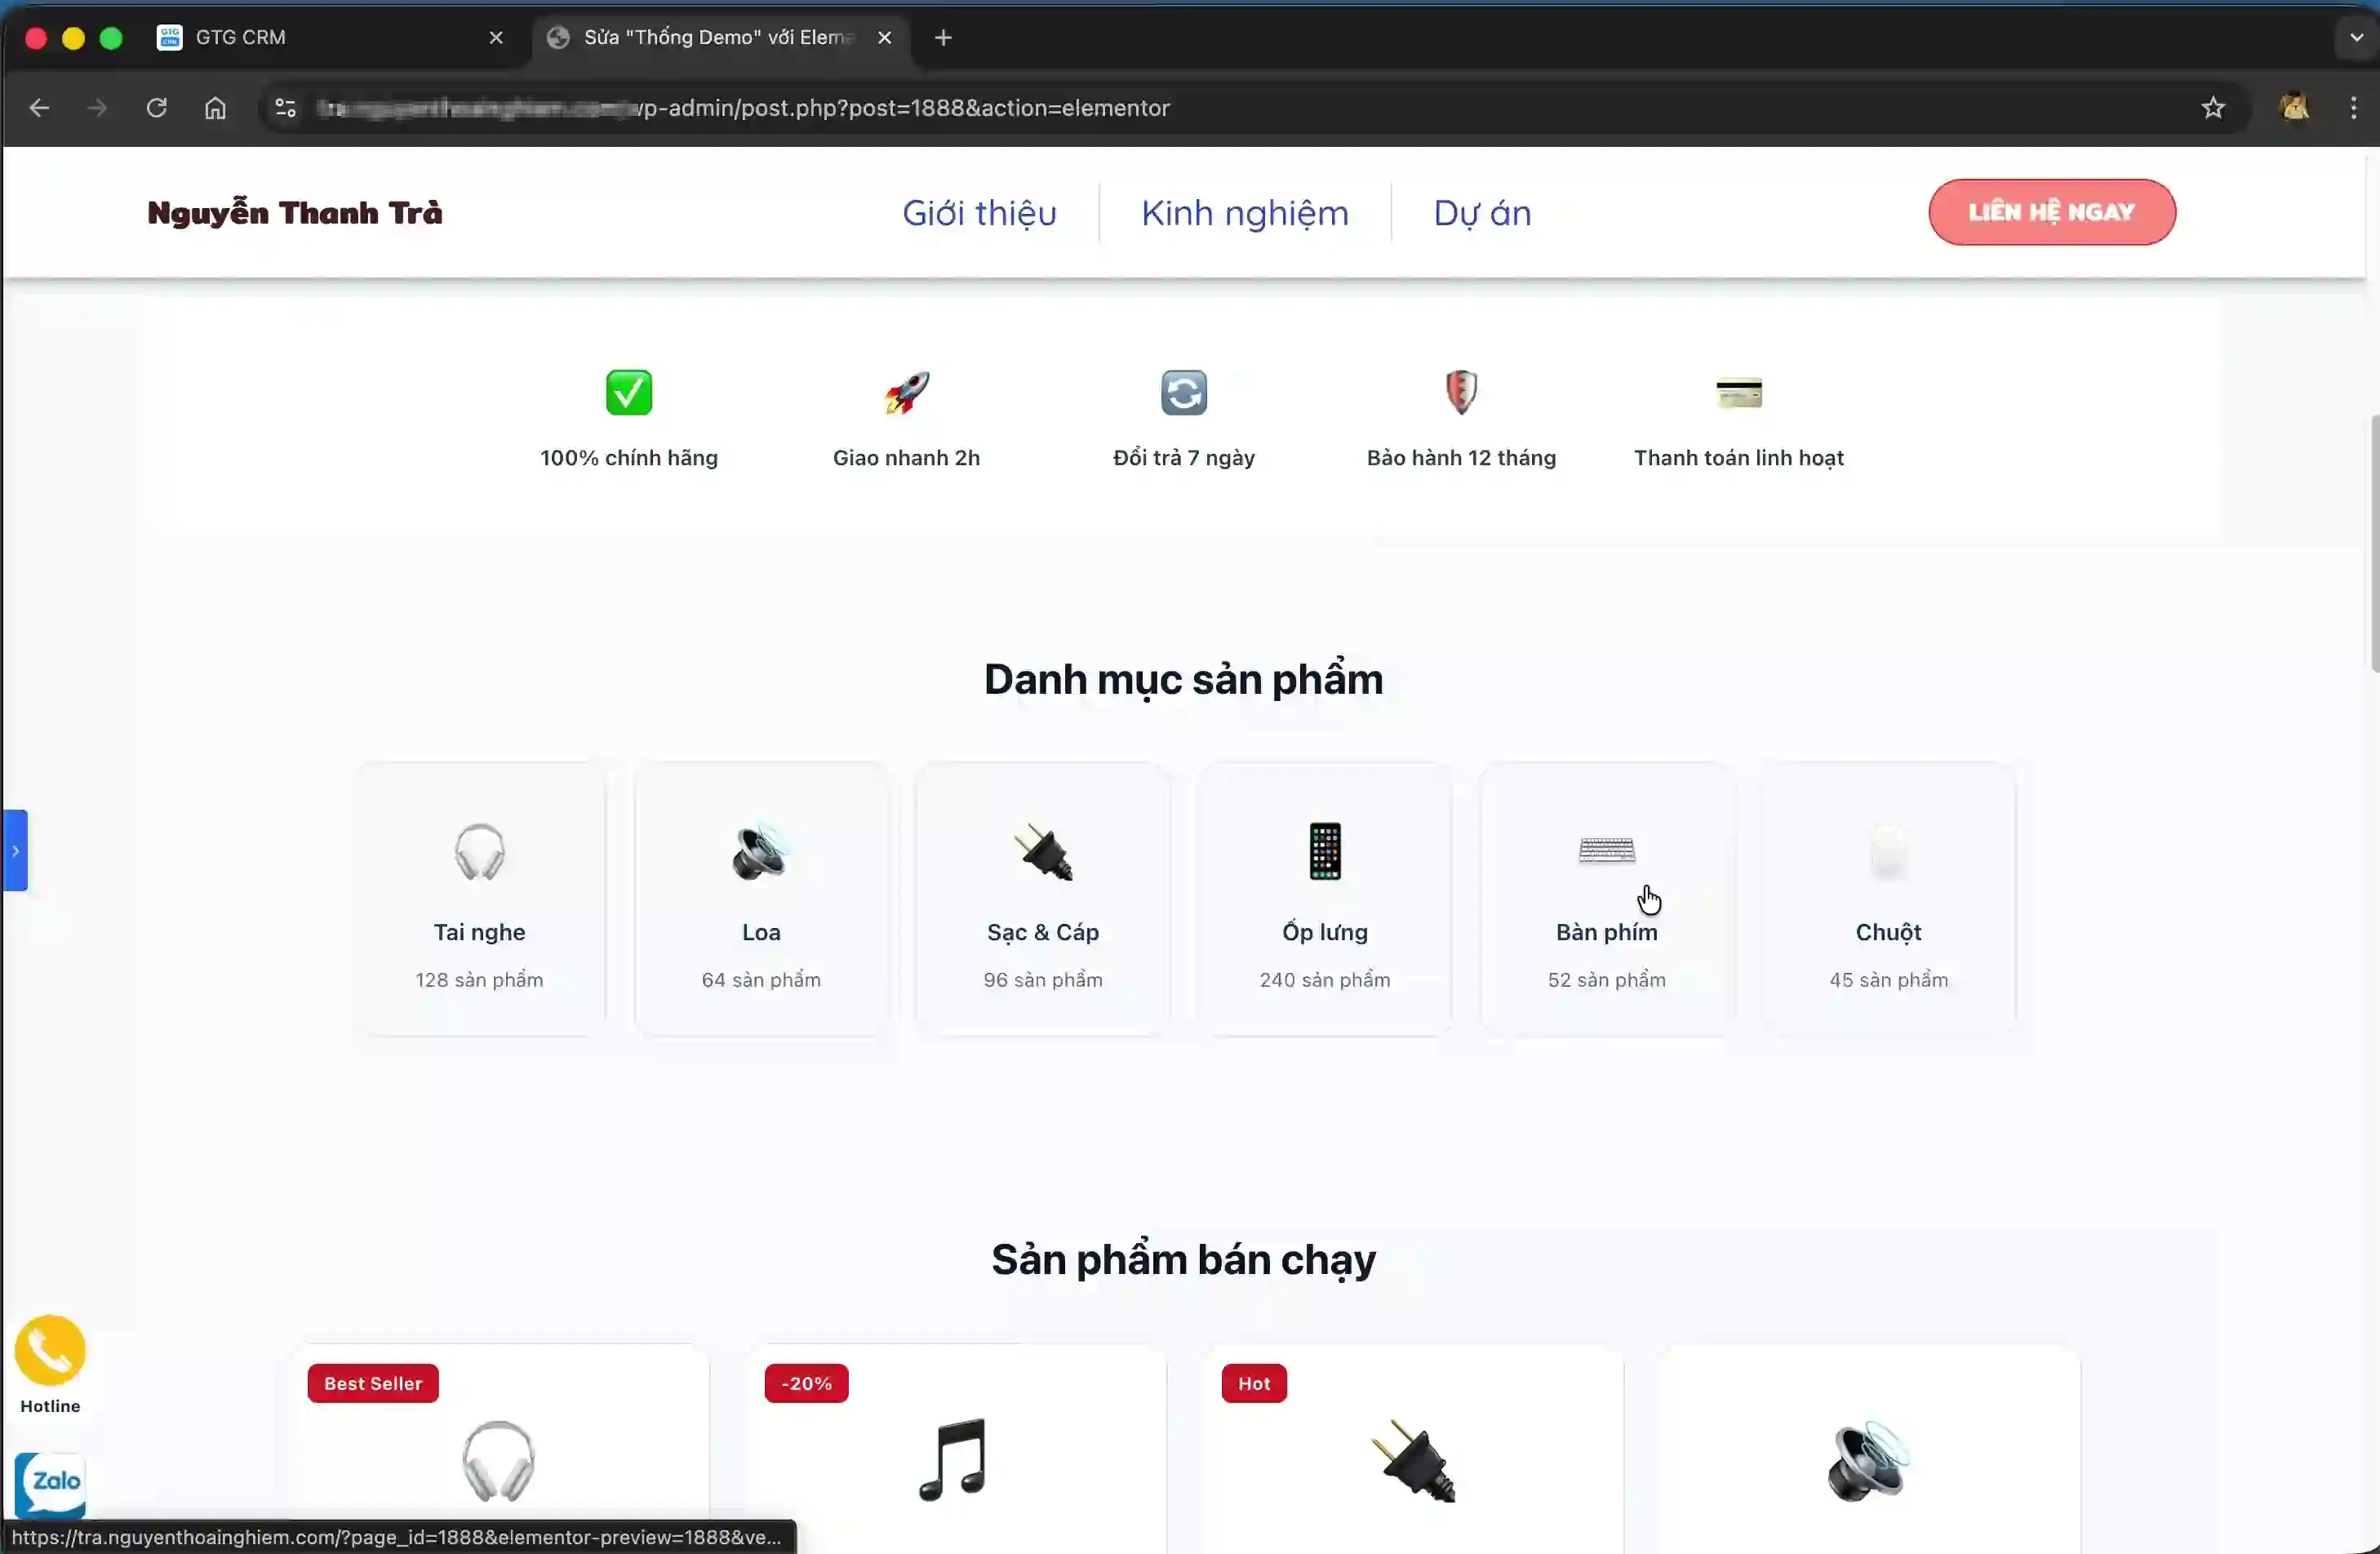
Step 6: Review the form and gather information.
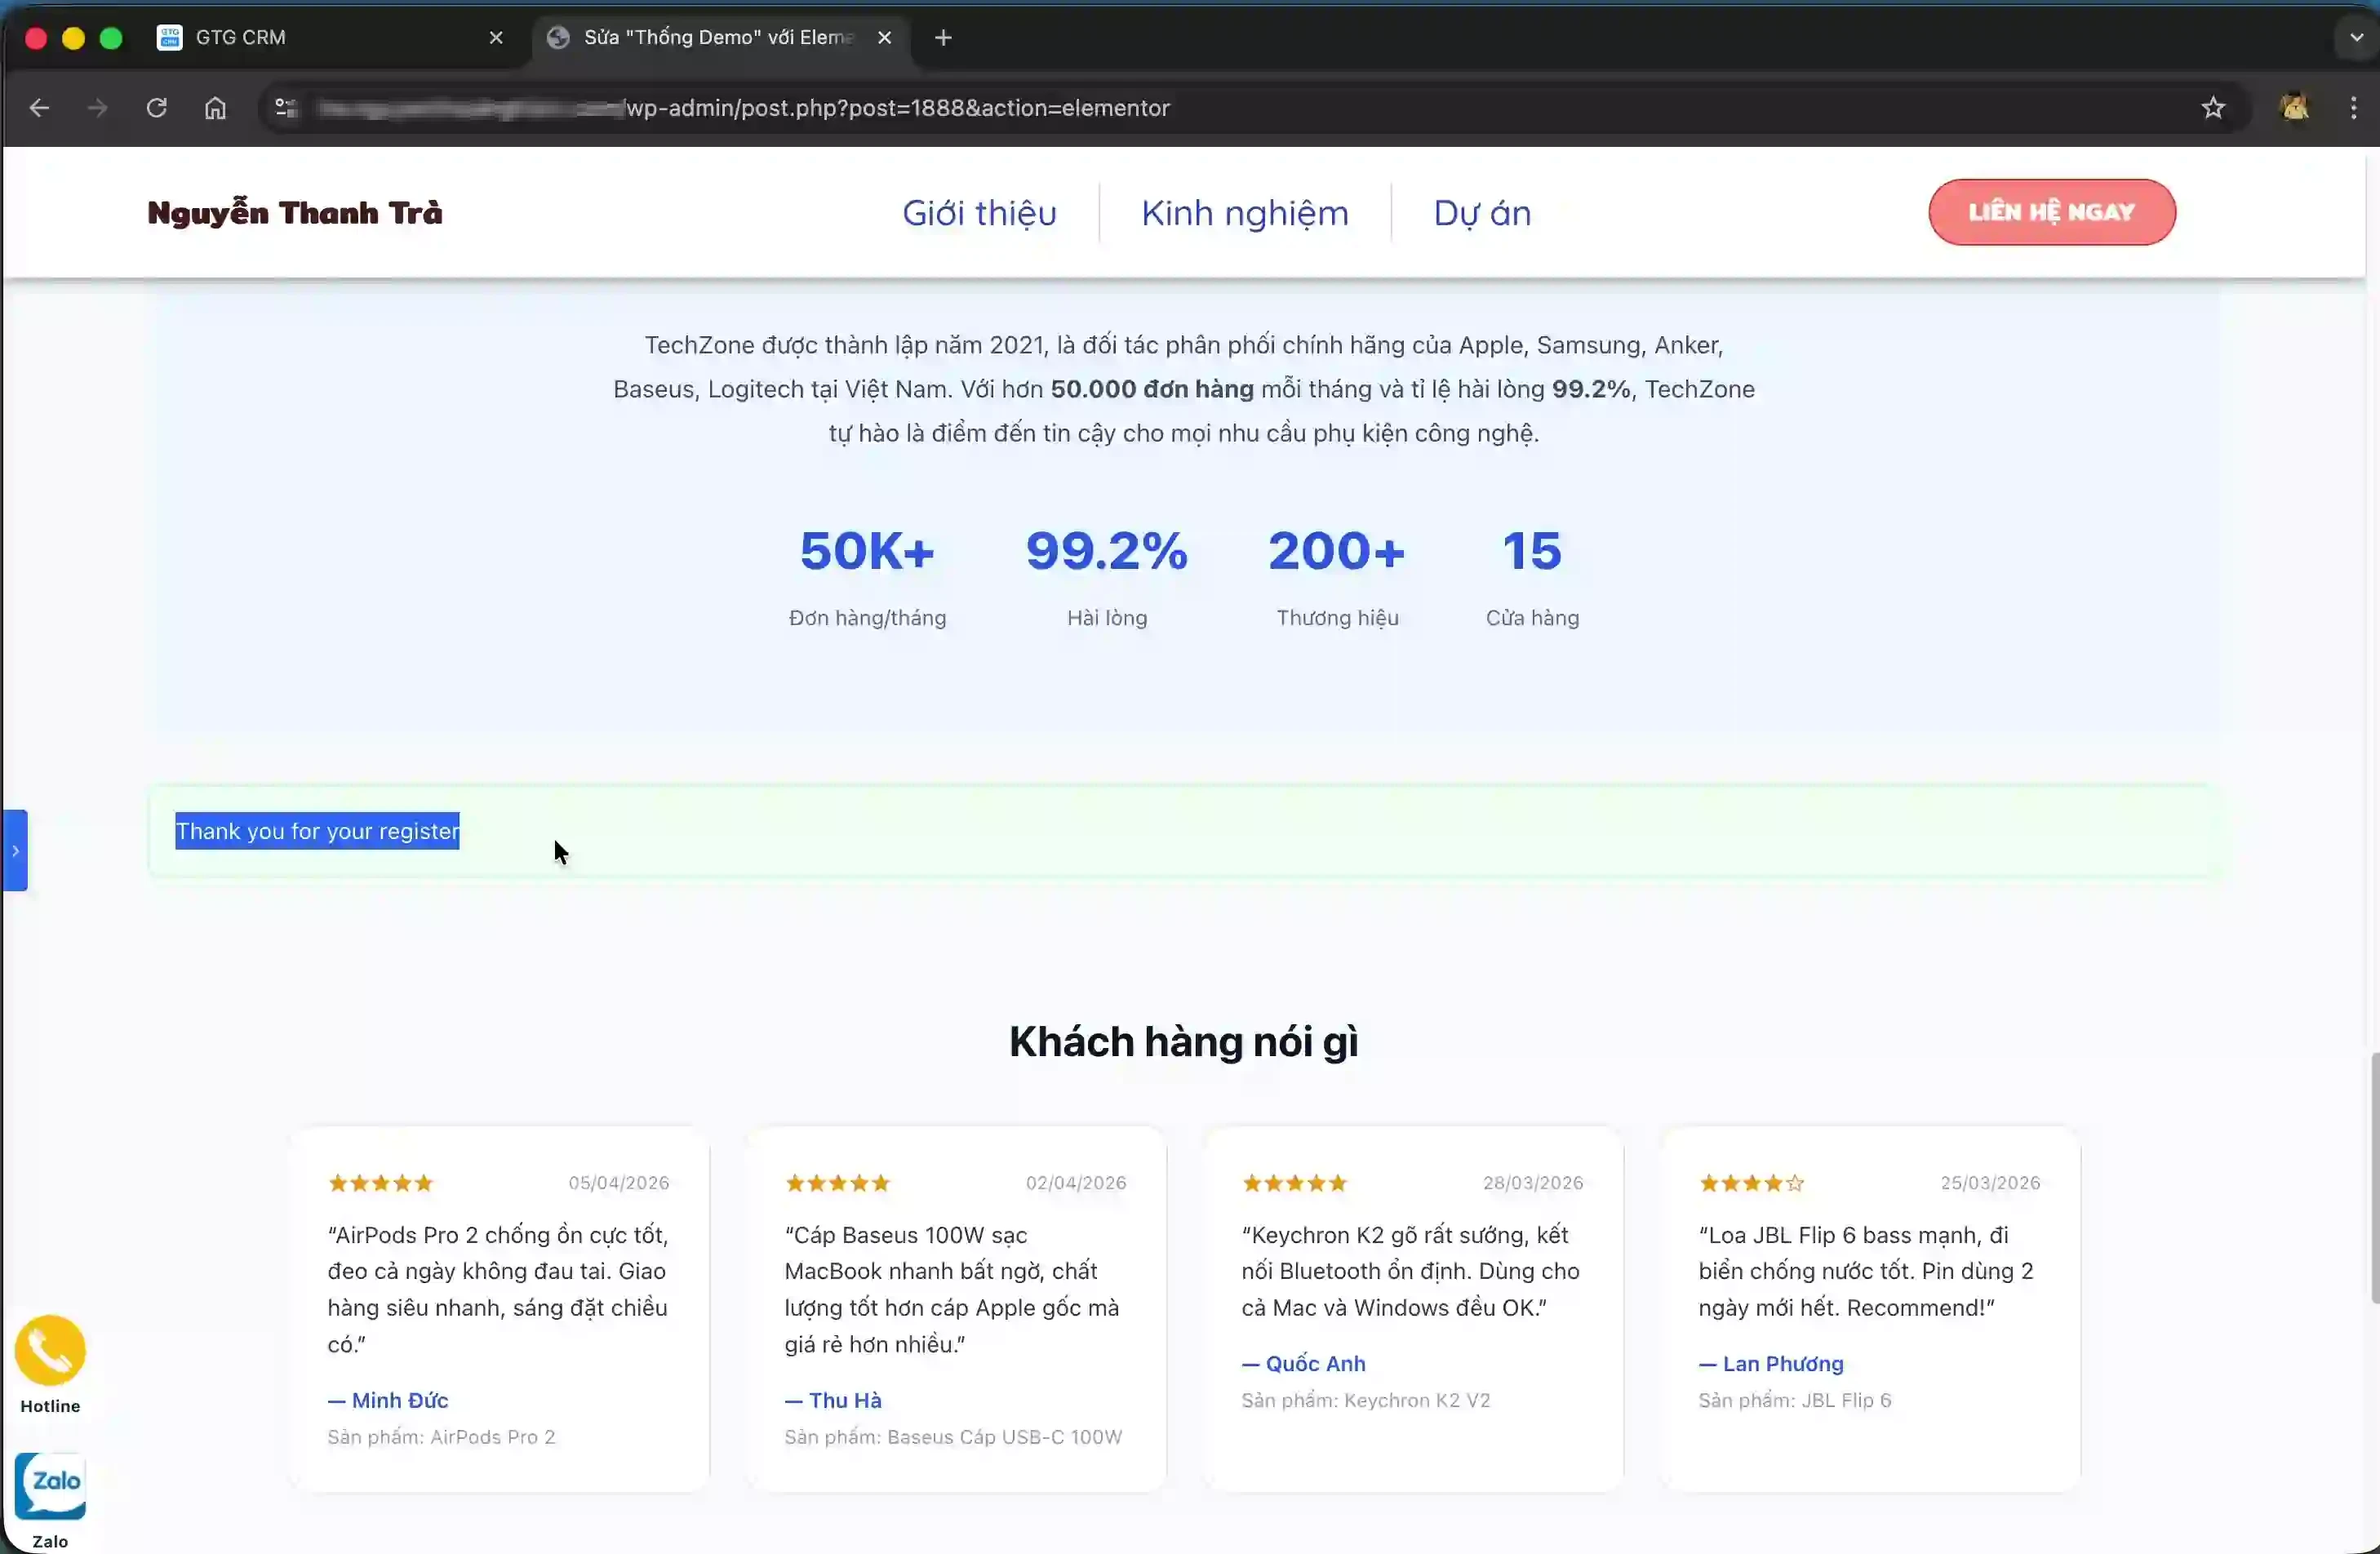
Access the website where you embedded the form to check the display. The form should appear with all the fields you configured.
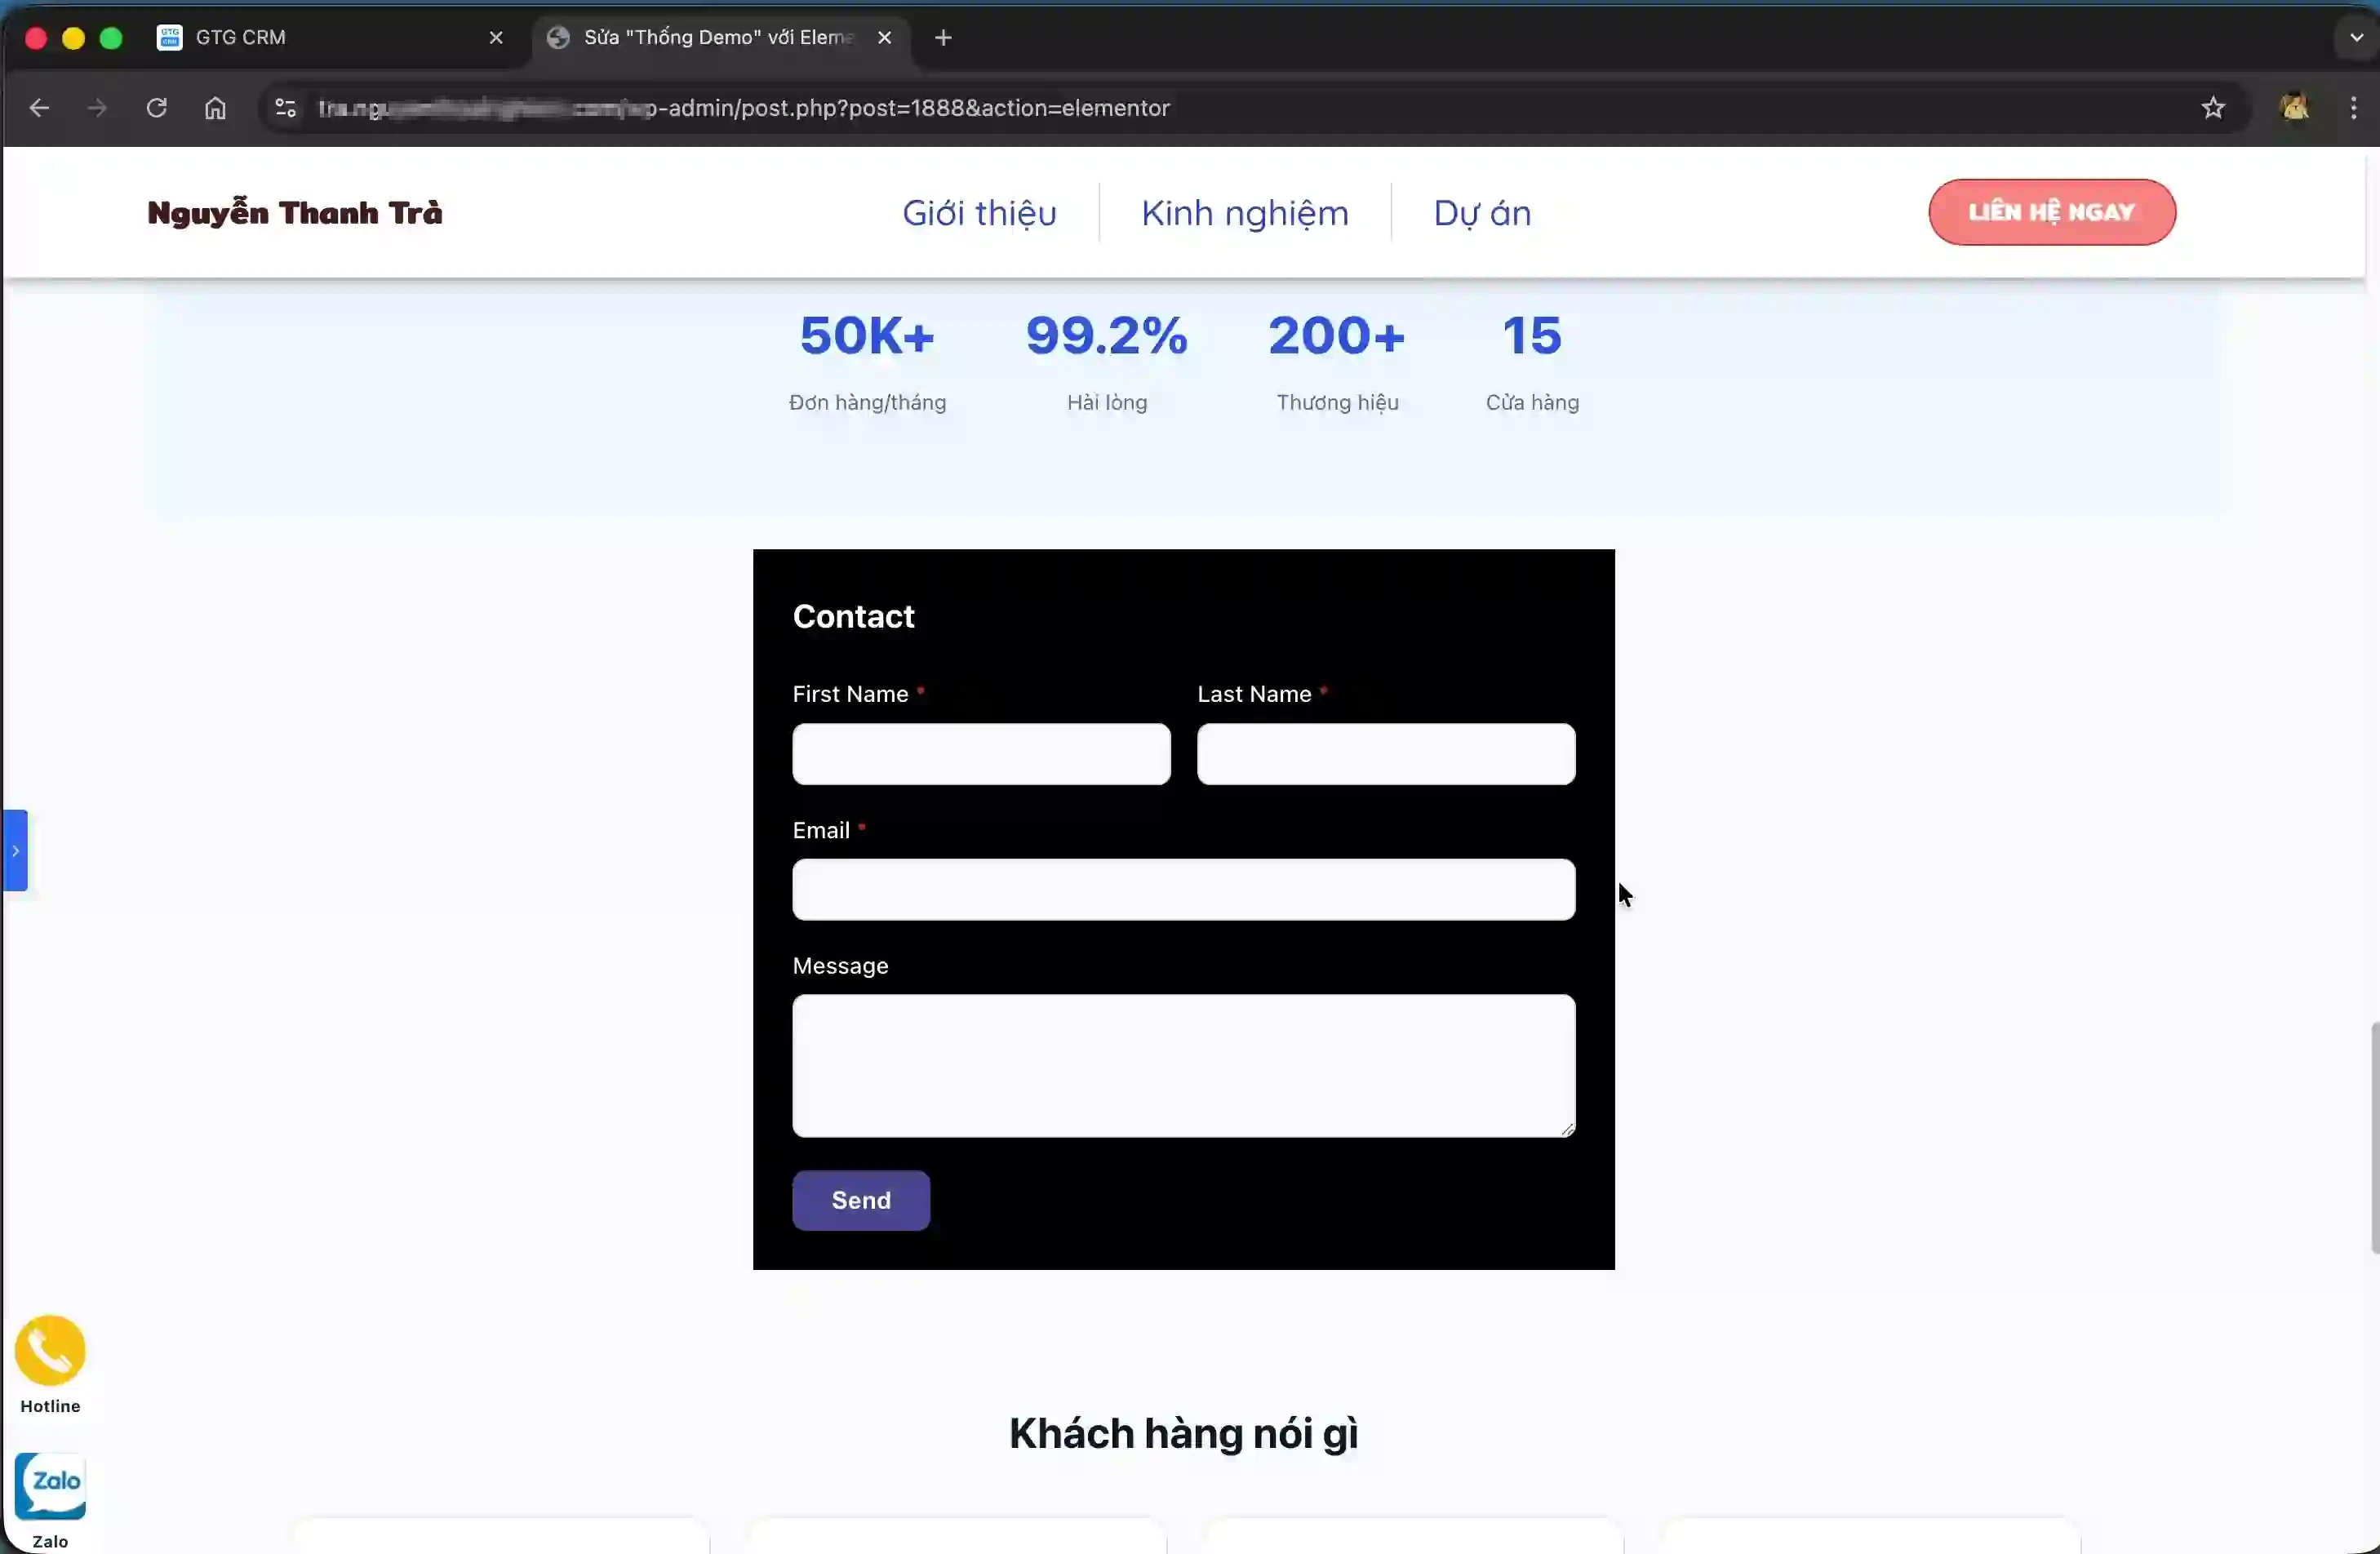
Customers can fill in the form completely and click the "Submit" button. After successful submission, the system will display the message "Thank you for your register" to confirm that the registration is complete.
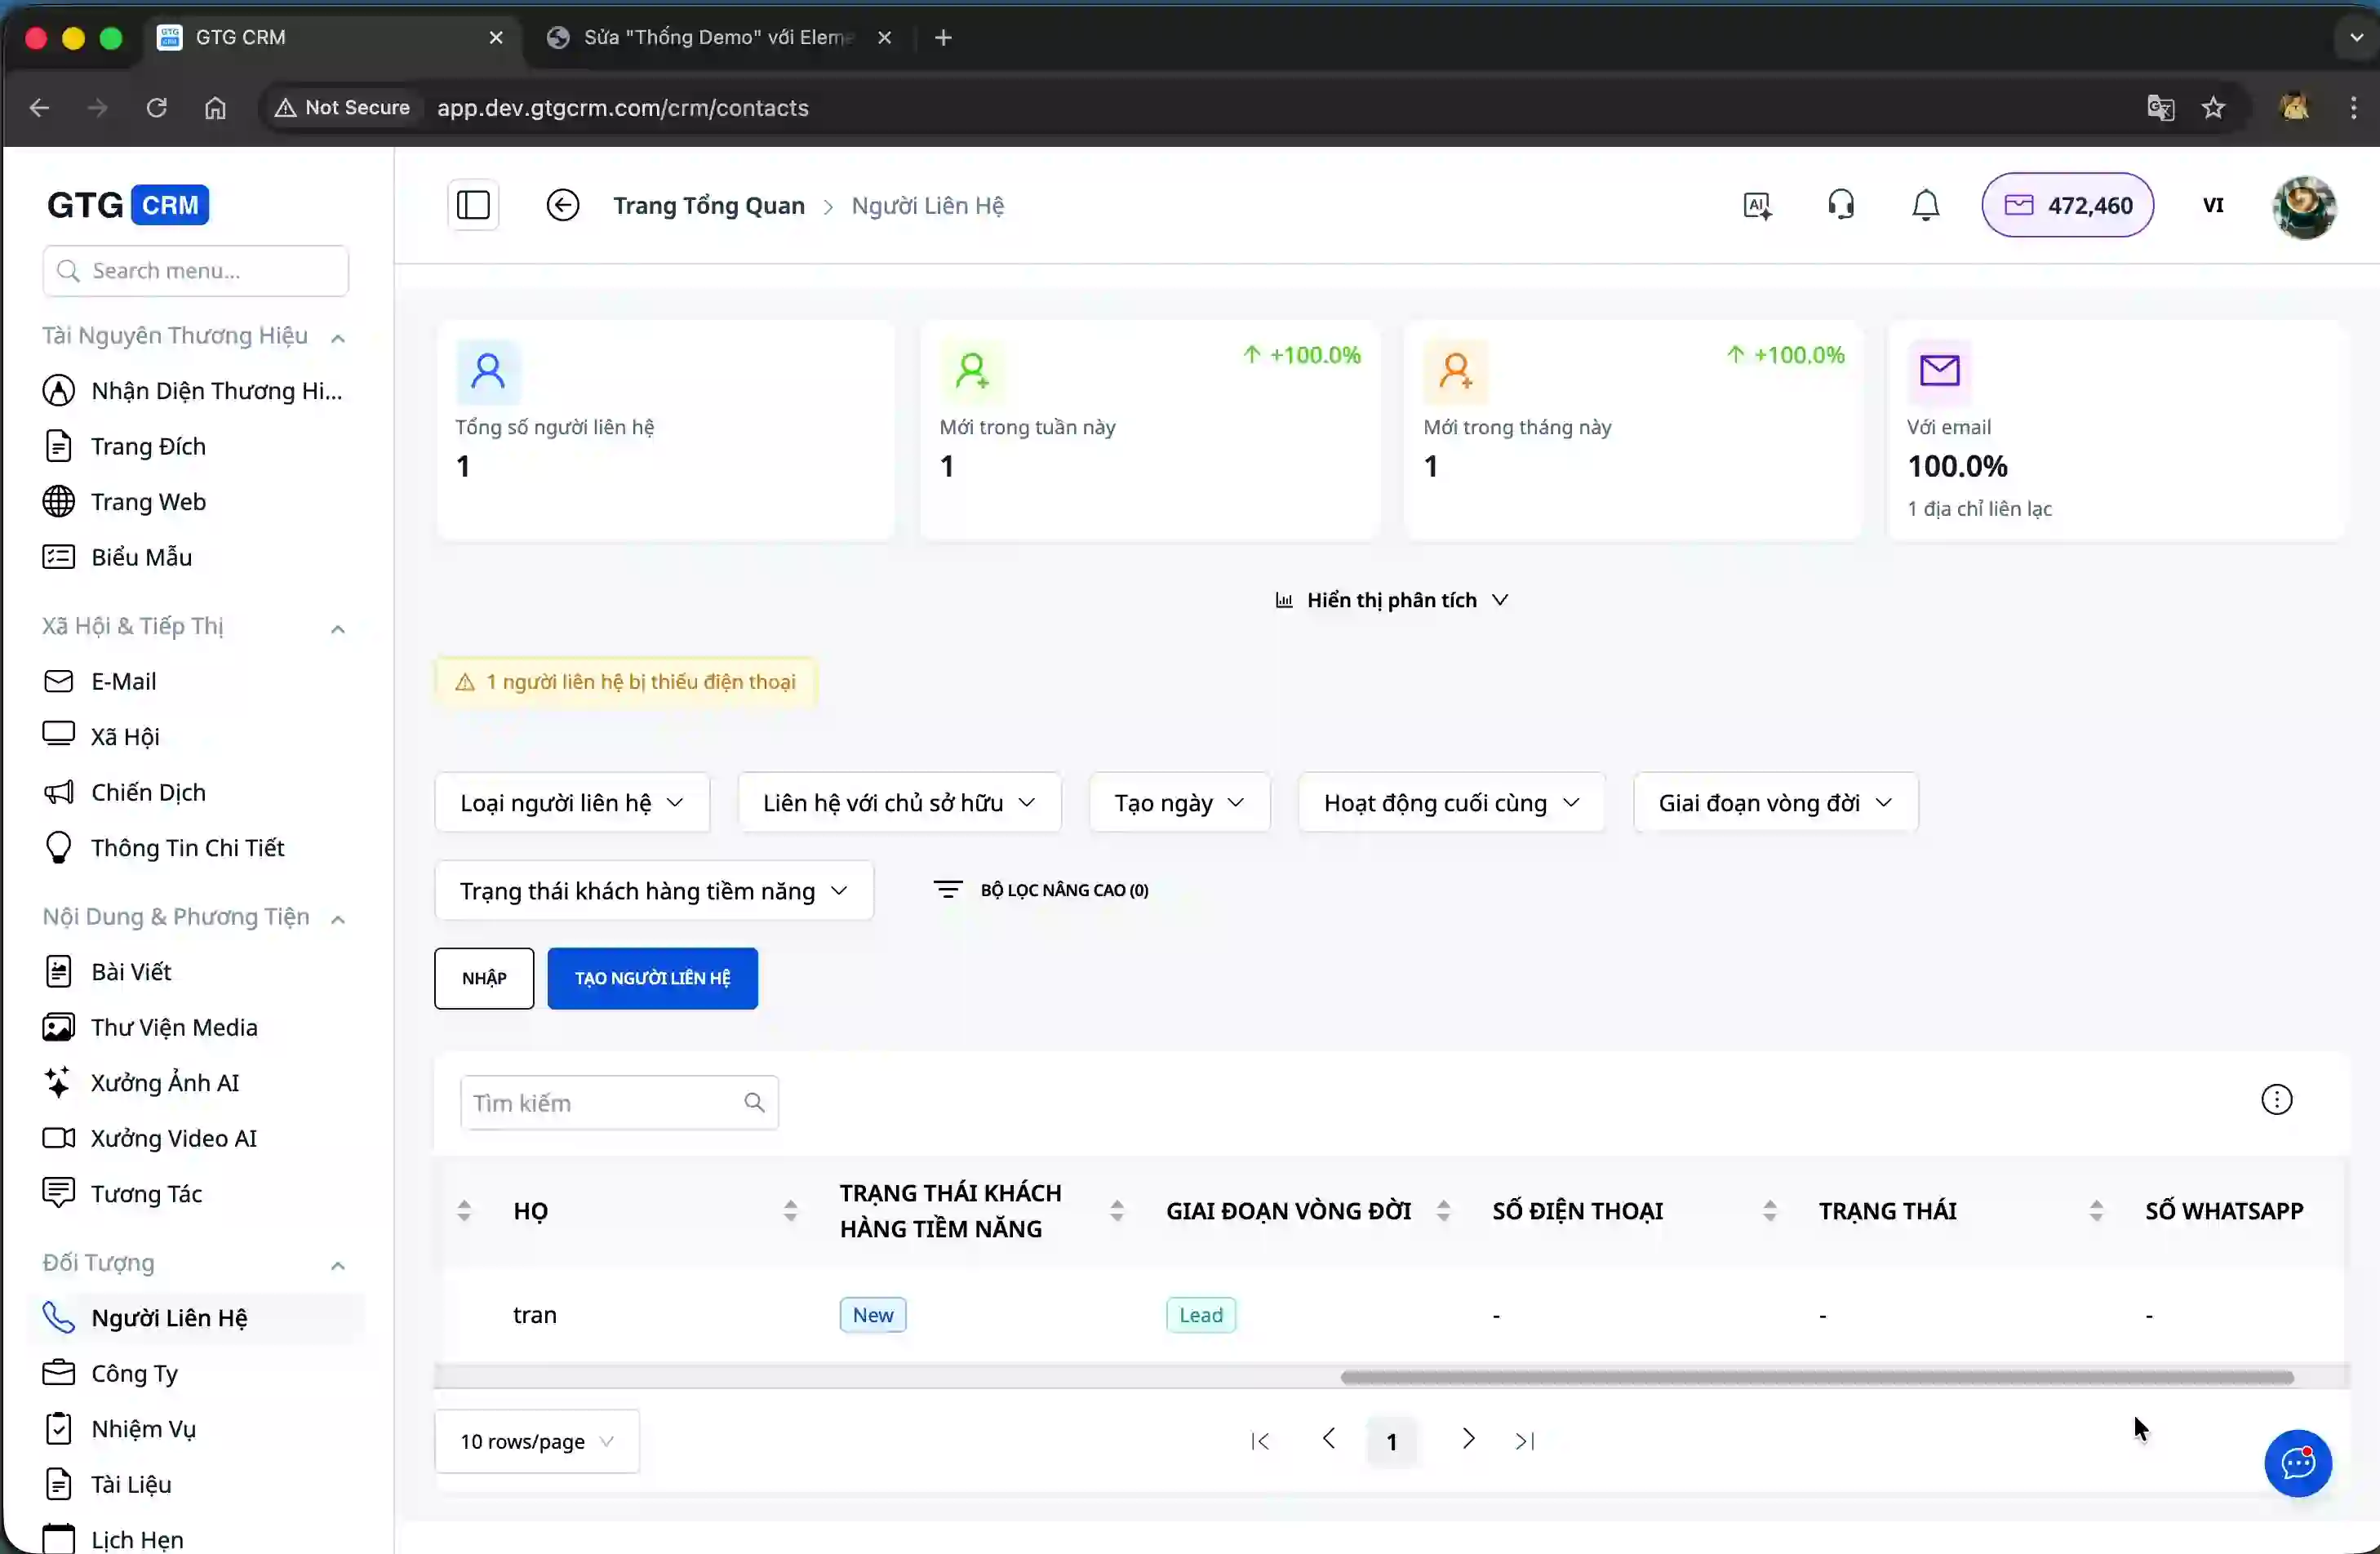
Step 7: Manage customer information in the system.
Return to GTG CRM and access the "Contacts" section to view the list of customer information collected from the form.
Here, you will see the details of the customer who just filled out the form, including their name, email, and other information fields that you have set up.
Step 8: Monitor form effectiveness statistics
GTG CRM provides detailed analytics on form performance. You can view total submissions, conversion rates, and other key metrics to evaluate the effectiveness of customer data collection.
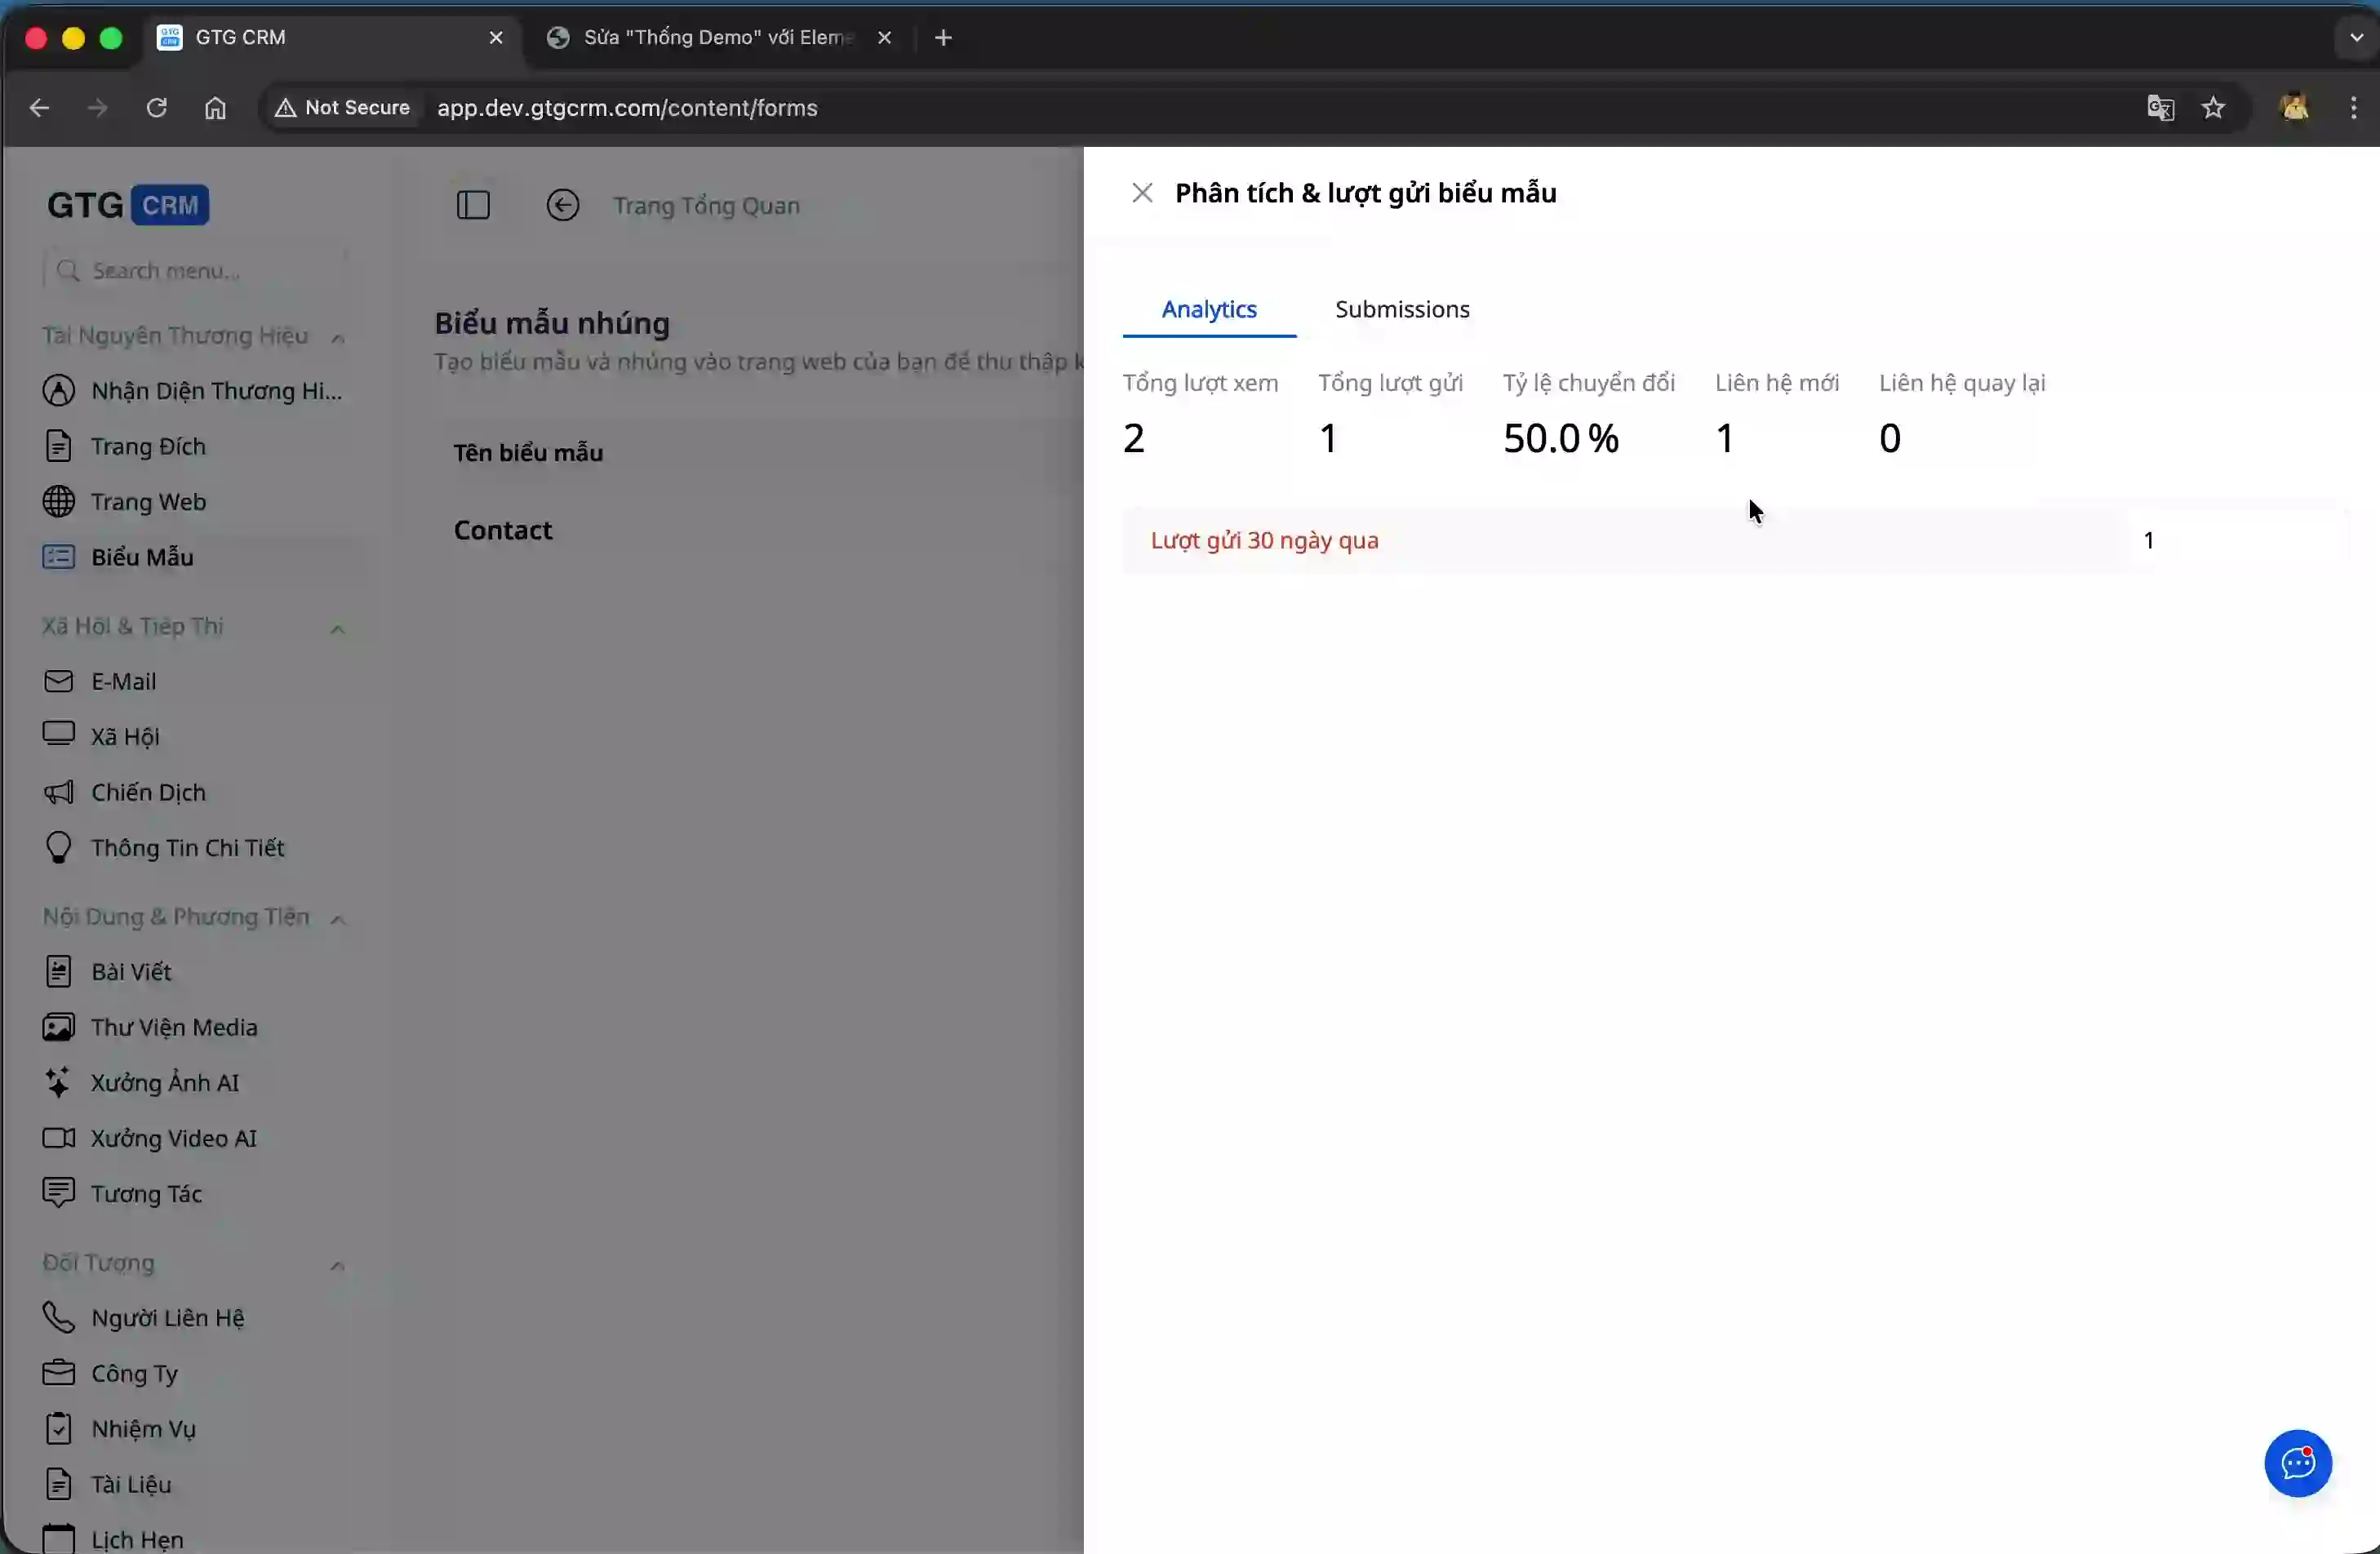
These metrics help you better understand customer behavior and optimize forms to increase conversion rates.

Benefits of using the Form Builder feature
GTG CRM's form creation feature offers many practical benefits for businesses in customer management. You don't need to hire programmers or use third-party services, significantly saving costs and deployment time. All customer information is automatically synchronized to the CRM system, allowing for centralized management and preventing data loss.
The ability to customize the form interface helps you create a professional experience that aligns with your company's brand identity. This increases customer trust and improves form completion rates.
The integrated statistics tool allows you to track the effectiveness of data collection in detail, thereby making decisions to optimize your customer outreach strategy. You can easily share forms across various channels, from websites and social media to email marketing, expanding your reach to potential customers.
Important note
When creating forms, ensure that the information fields are correctly mapped to the attributes in the GTG CRM system so that the data is accurately synchronized. Only collect the information that is truly necessary to avoid discouraging customers from filling out the form due to too many required fields.
It's important to thoroughly test the form's display across various devices, from computers to mobile phones, to ensure the best user experience. Regularly monitor statistical metrics to identify and address weaknesses in the form design, thereby improving conversion rates.
With GTG CRM's form creation tool, collecting and managing customer information becomes simpler and more efficient than ever before.
Maybe You Should Read These

Form Builder

CRM
Loyalty Program — Automate Scoring, Tiering, and Right Person Engagement

Comprehensive sales solution for retailers

30+ One-Tap Revenue Growth Playbooks — Cart Recovery, Failed Payment Rescue, Win-Back, Lead Nurturing, Post-Purchase Service

Article Integration

AI Website Section Generator
AI Chatbot

24/7 AI Chatbot

AI Website Builder
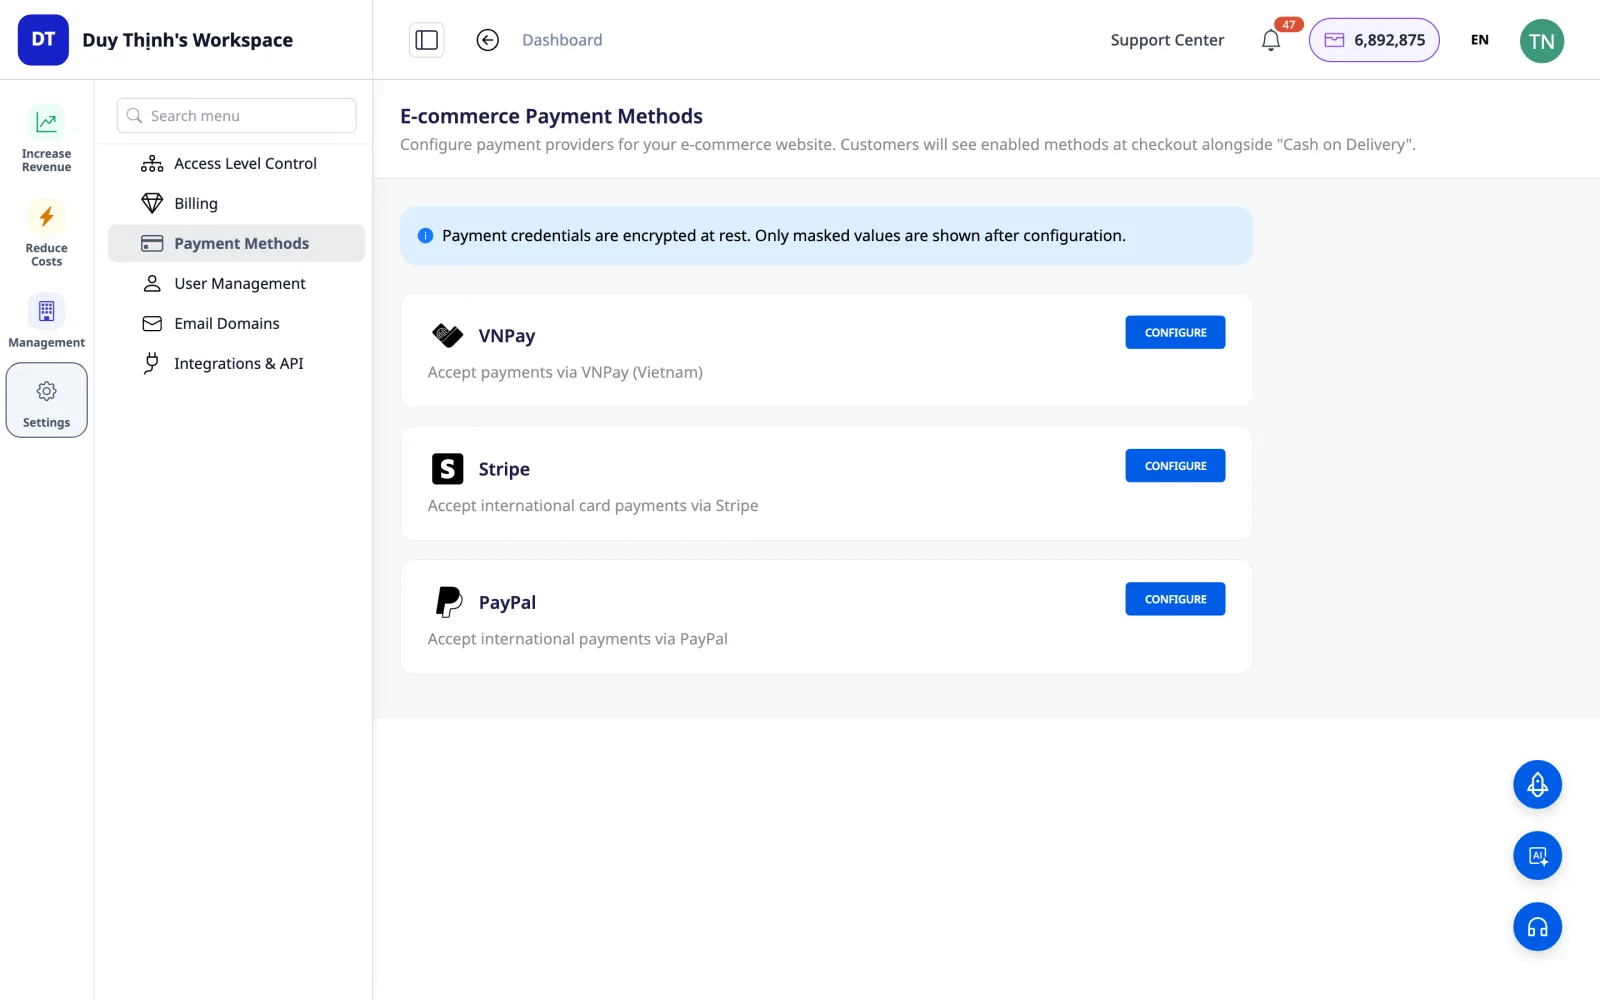
Accept International Payments on Your Website with Stripe & PayPal